


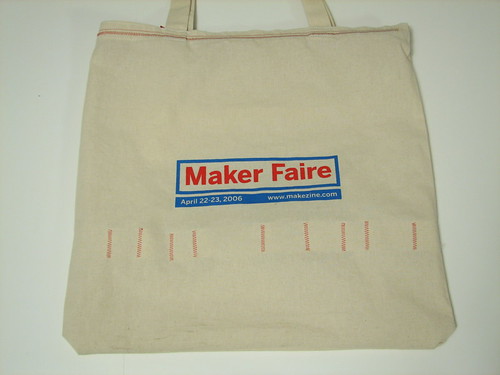
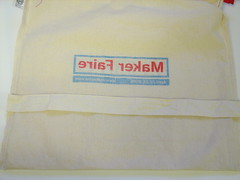
Last year at the Maker Faire they gave away nifty canvas tote bags that have nice large handles and are a great shape and size.
The recent call for proposals for this year’s Maker Faire has just reminded us (1) that we need to choose a project to submit (we brought our dining table last year), and (2) that we were going to do something cool with that bag! Some time ago, it was suggested in this instructable that there be a Make Bag Re-Make contest this year. In that spirit, we are providing this guide to improving your bag and making it a little more useful. We have added a zipper closure and pockets and loops for pens, tools, business cards, an mp3 player, and of course, our favorite slipstick.
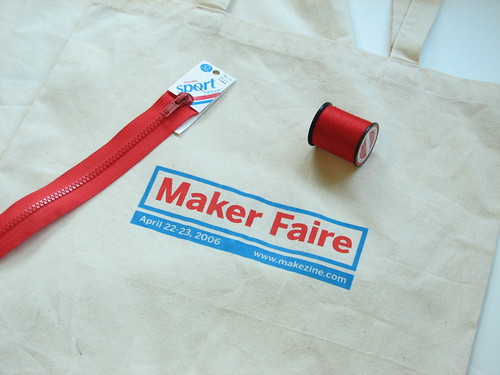
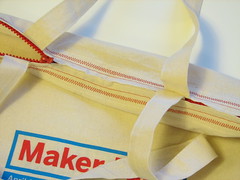
We will start with a Maker Faire bag, a second (sacrifical) canvas tote bag and a zipper. This is a reasonably simple modification, so everything we add will show on the other side of the material. As long as it’s going to show, we might as well play it up– so we’re using a bright red zipper and red thread to match the logos on the bag.
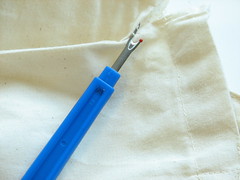
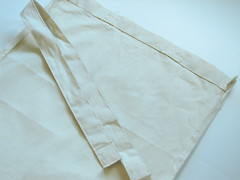
Rip apart your sacrificial canvas bag. You could cut the seams off, but seam ripping is fun, and commercially sewn things have such regular seams that they are super easy to rip. You’ll end up with with one large rectangle of canvas and the two straps.
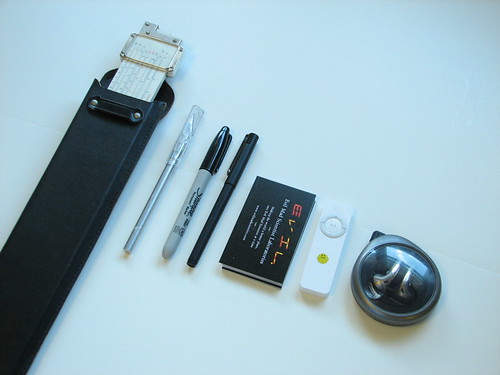
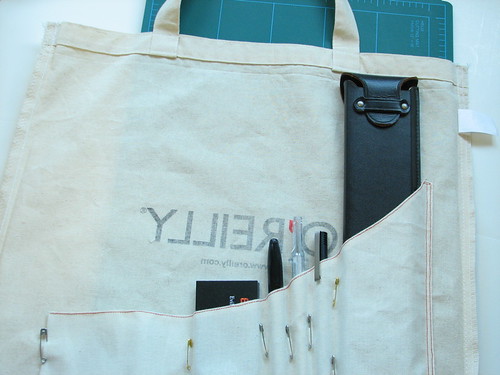
Next lay out the items you want pockets for. We have: a slide rule (Post/Hemmi Versatrig 1450), hobby knife, sharpie, pen, business cards, iPod, and headphones. Arrange them according to size so that you can make the pockets out of a single piece of canvas with a sloping side. The slide rule is a little too big for a standard pocket, so we will make a slot for it instead.
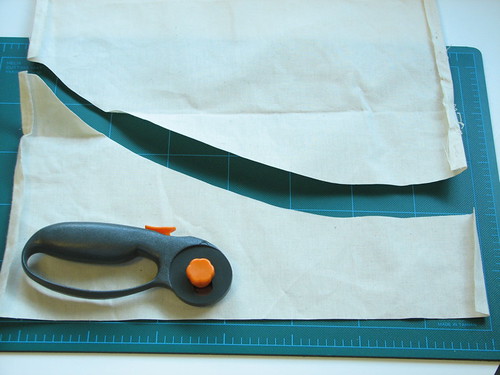
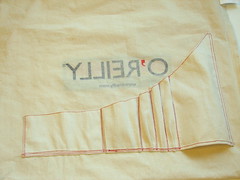
Draw a line on the canvas with a pencil so that it will be slightly larger than you think you need. Cut along the line with a rotary cutter or scissors. Depending on what you want pockets for, you could make this piece any shape you want, but a more complicated shape may make the sewing more difficult.
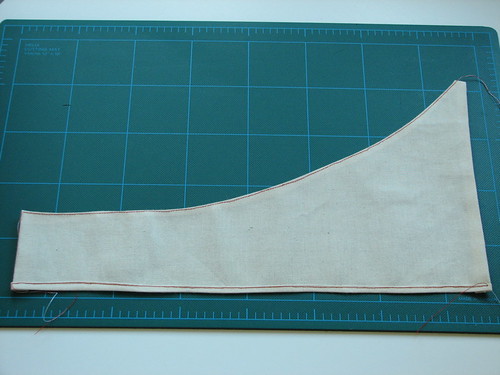
Fold each edge under (about one quarter inch) if you are doing a simple pocket. If you are doing a combination of pockets and slots, fold the edges under once on three sides, and fold the bottom edge up twice. This is so something going into the slot won’t catch on a folded edge at the bottom. After ironing down the edges, sew a single seam along the top edge. Also sew a single seam along the bottom if you are making a slot. The seam on the top edge will prevent fraying, and the seam on the bottom edge will keep the folded part from unrolling across the slide rule slot.
When ironing the curve, we made a couple of uneven creases, which did not show at all once the fabric had been folded into pocket shapes. So, you don’t need to worry if your ironing isn’t precise.
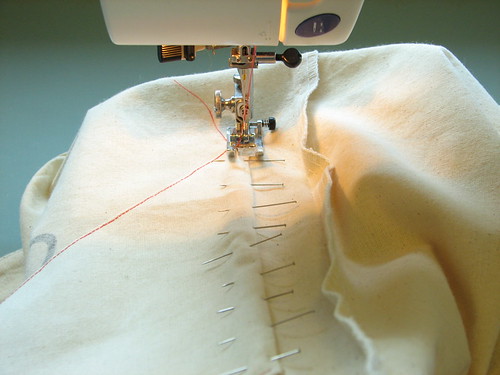
With the intact bag inside-out, make an estimate of where the side of the pocket should be and pin down the long edge before sewing the seam. Each of the edges of the pockets and each pocket divider will be sewn with two straight (well, reasonably straight) seams for extra strength.
After sewing the first side seam, place your pocket items on the bag and pin in between to get an idea of where the seams should go. Here’s a clever trick to make this easier: put the cutting mat inside the bag so that you pin only the layers you want. After pinning, you may want to draw a line with a pencil where your seam will be. You can swap the safety pins for straight pins, after removing the objects, so that you can sew the seams.
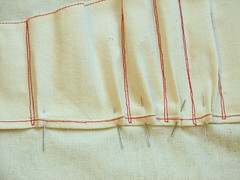
After sewing the pocket divider seams, pin the darts in the bottom of the pockets so you can sew the bottom seams. Caution: there are a lot of layers of canvas, and it’s pretty easy to break a needle at this point. It may help to put in a stronger needle, slow down, and move the machine forward by hand over each dart.

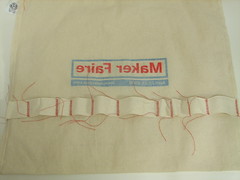
Everything fits! And the seams look a little like a bar graph from the outside.
For the tool strap we will use one of the handles from the bag we disassembled. Lay it across the inside-out bag where you want the strap to be and draw a line below it with a pencil.
While you can pin it in place, we did this one free-hand, since we didn’t have any specific tools in mind, and we wanted a variety of slots that could be used for different tools.
We will use a zigzag stitch in between each tool slot, which will contrast nicely with the highly rectangular Maker Faire logo. First stitch the strap to one of the inner seams of the bag, and then, leaving a little slack, align it with your pencil mark where you want the next seam. Sew and repeat.
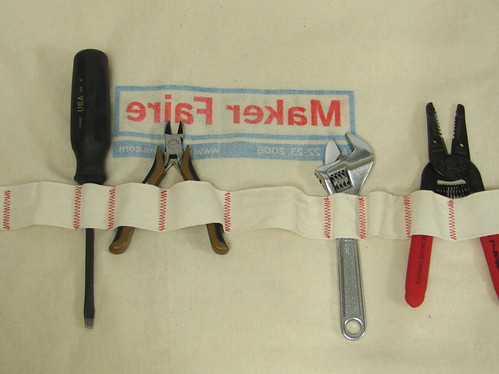
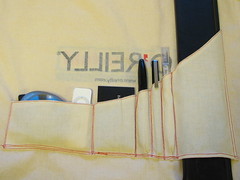
After knotting and trimming the threads and cutting the excess strap off, we tried it out with a few tools.
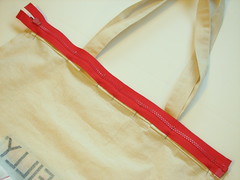
The only thing left is the zipper. Pin it in, run a straight seam along the edge of the zipper, and reinforce it (both mechanically and thematically) with a zigzag.
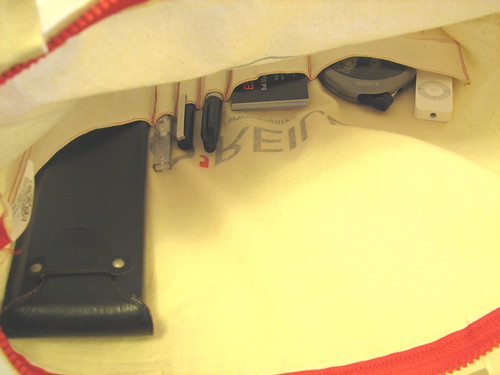
Peek inside – you can see everything where it ought to be.
Hopefully this will inspire you to take one of the ubiquitous free bags and make it just right for you. Also cool would be if it inspired you to go to the Maker Faire. And not just for a free bag!

Can you add more features? This bag needs a remote. Press one button on the remote, and the bag plays a happy tune, so you can find where’ve you’ve set it down, or tell it apart from all the other bags. Press another button to activate the anti-theft device, which gives the would-be klepto a jolt of electricity when he/she grabs the handles. Third button activates the motion sensor mounted in a small frame inside the top third of the bag so that if someone slips his/her hand in to liberate the mp3 player a loud alarm goes off. It would also be nice if the bag would purr and say "ooh baby" when just the right person put their hand inside…
Of course you can add more features. You could incorporate conductive thread to deliver your anti-theft jolt. For your locator, alarm, and "ooh baby" functions go, you could add speaker pockets (see http://www.evilmadscientist.com/article.php/MusicSatchel). The features we’re thinking about adding first are a stiffener in the bottom and an external pocket for keys, but there’s no reason you couldn’t rule the world with this bag.