


A low power CO2 laser cutter (like the one that we use) is fantastic for cutting and engraving wood, fabric, paper, and plastics. It’s also great for engraving painted or otherwise surface coated metal, like anodized aluminum (for example, making the labels on a Maglite).
However, with only a few exceptions, a laser like this generally falls down flat if you want to cut or engrave a chunk of bare metal. One exception is that you can actually cut through metal if it’s thin enough. Another is that you can make dark marks on metal with the help of a ceramic coating compound like CerMark. CerMark is sprayed on metal, then blasted with the laser so that it fuses to the surface, leaving a dark, permanent mark. Unfortunately, a spray can of CerMark costs $60, and as it is a specialty item, it may not be easily available when you happen to need it. So what do you do if you need something like this and you don’t have it?
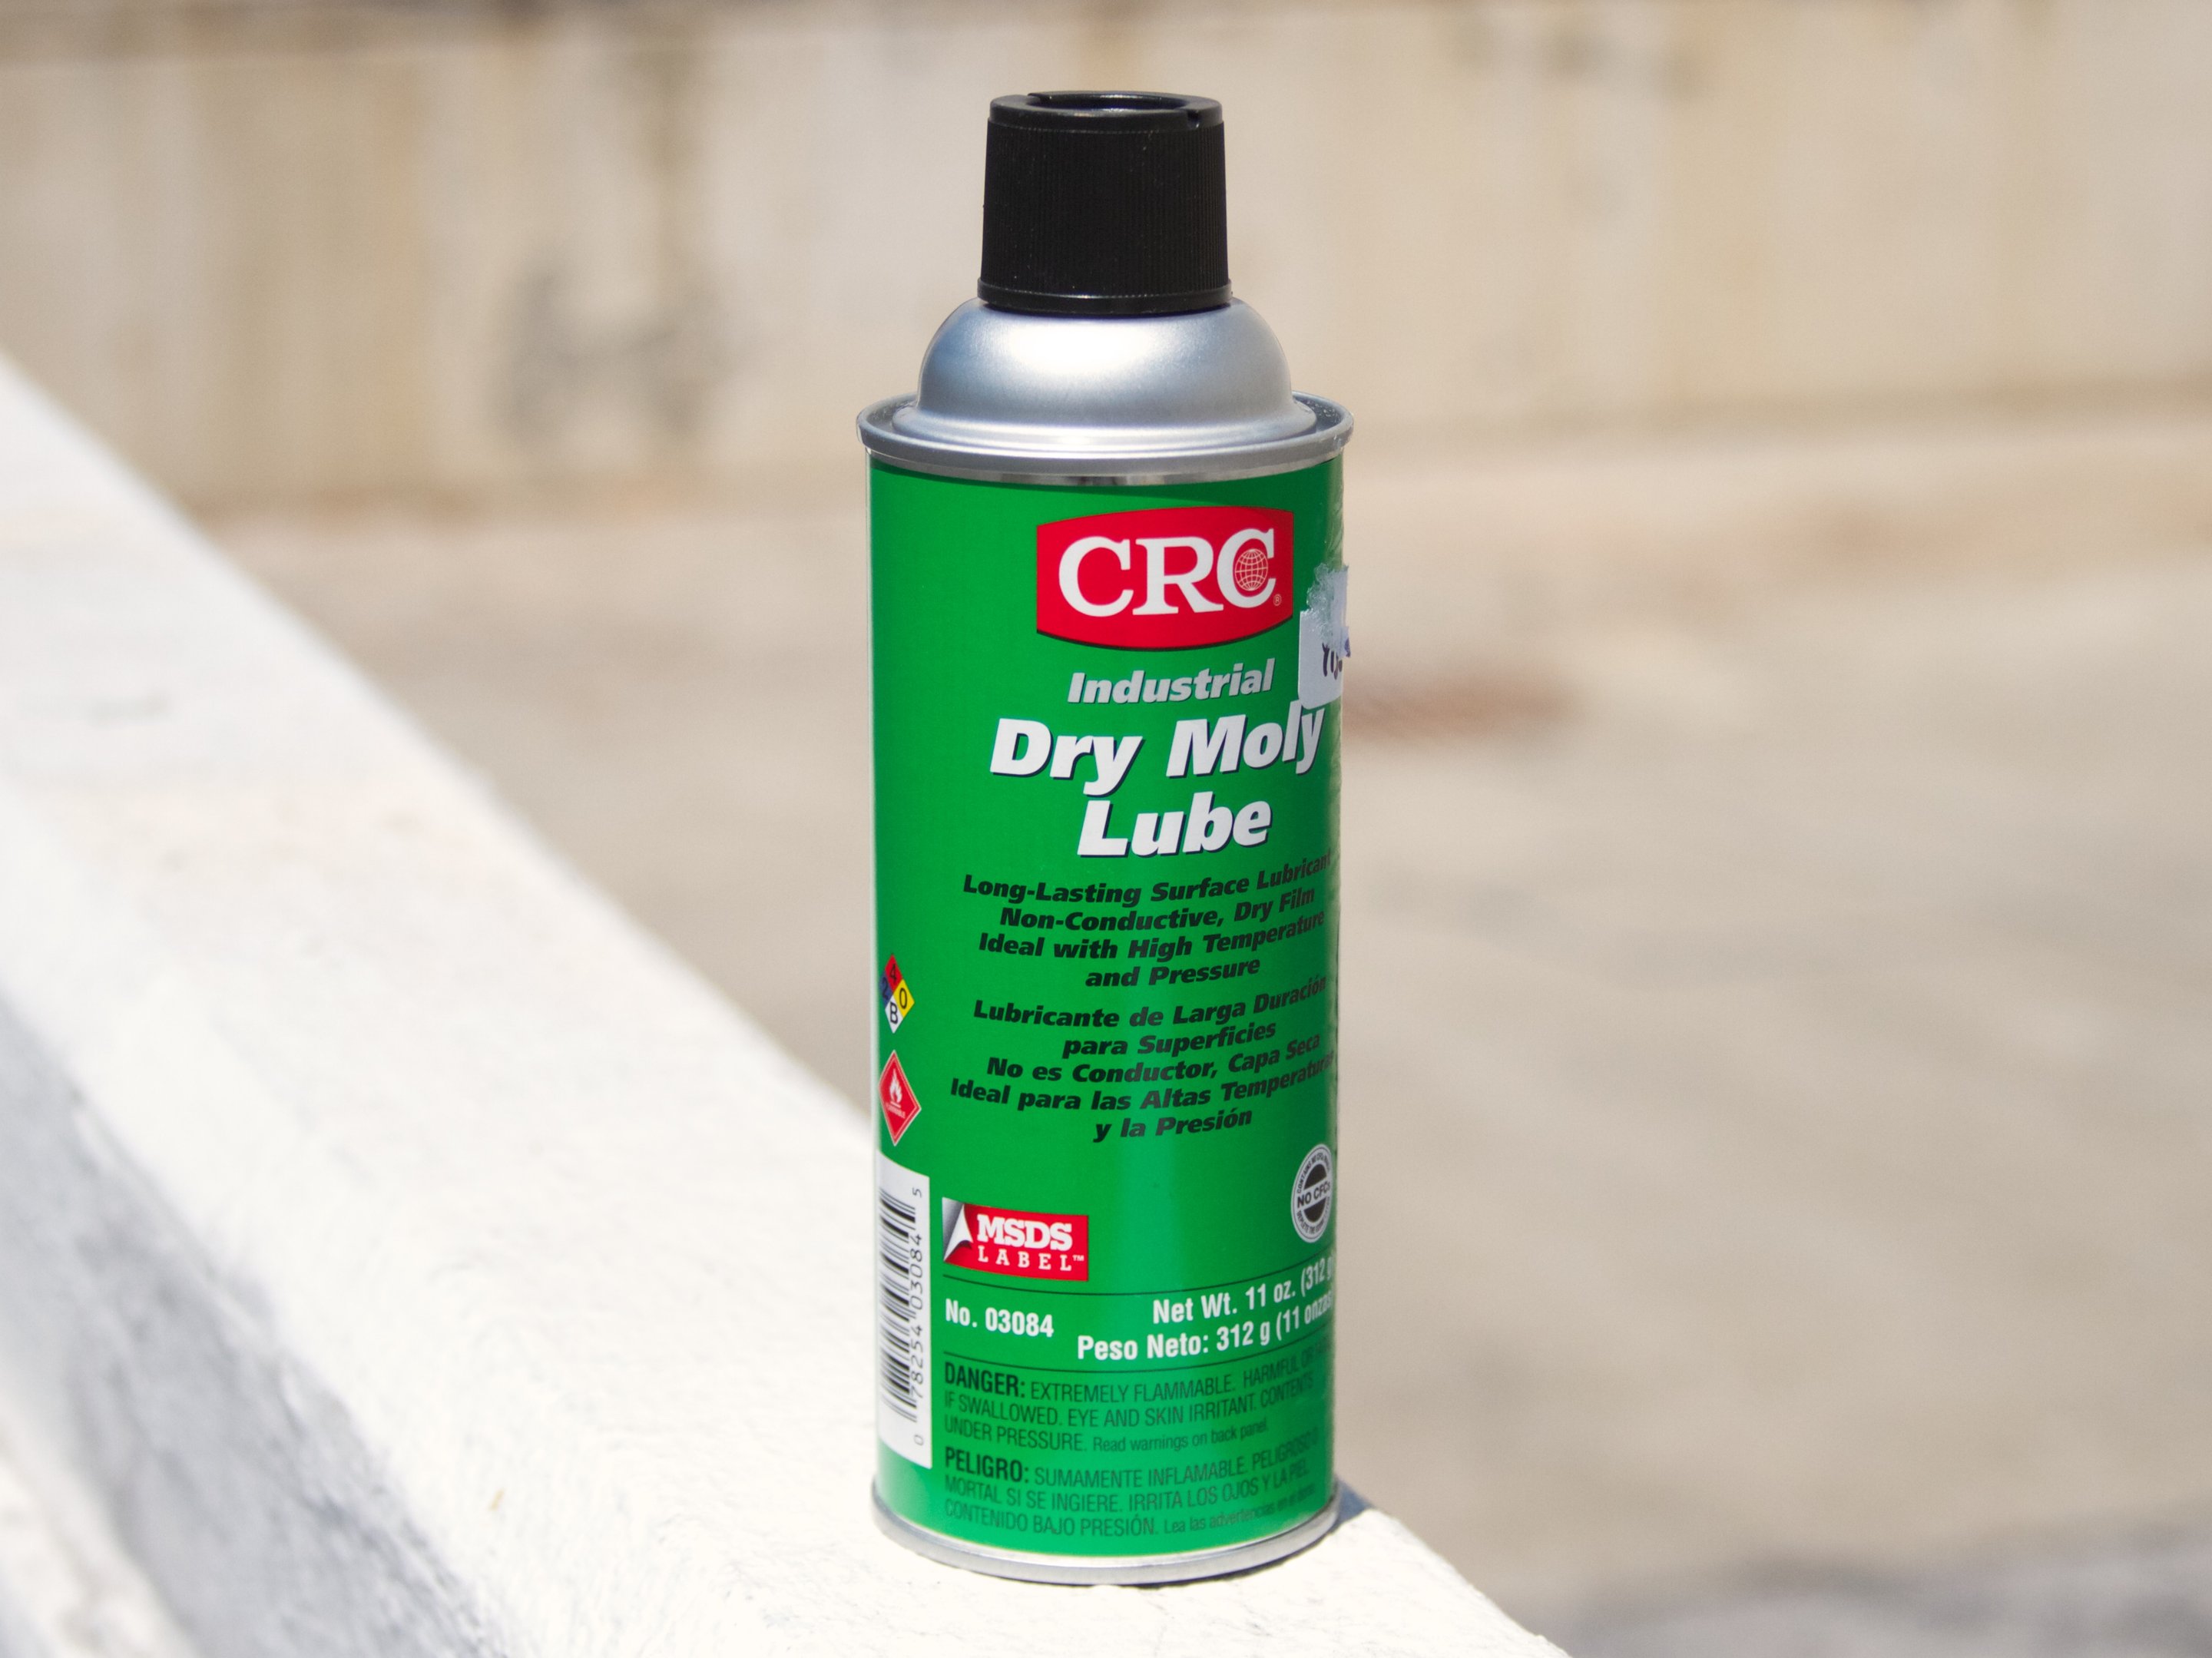
Searching around for alternatives, we came across this discussion at Sawmill Creek, suggesting that a $10 spray can of dry moly lube might work well, and we decided to give it a try. Dry moly lube is commonly available at industrial supply shops; we were able to locate a can of CRC brand for $12 at Grainger, only a few blocks from our workshop.
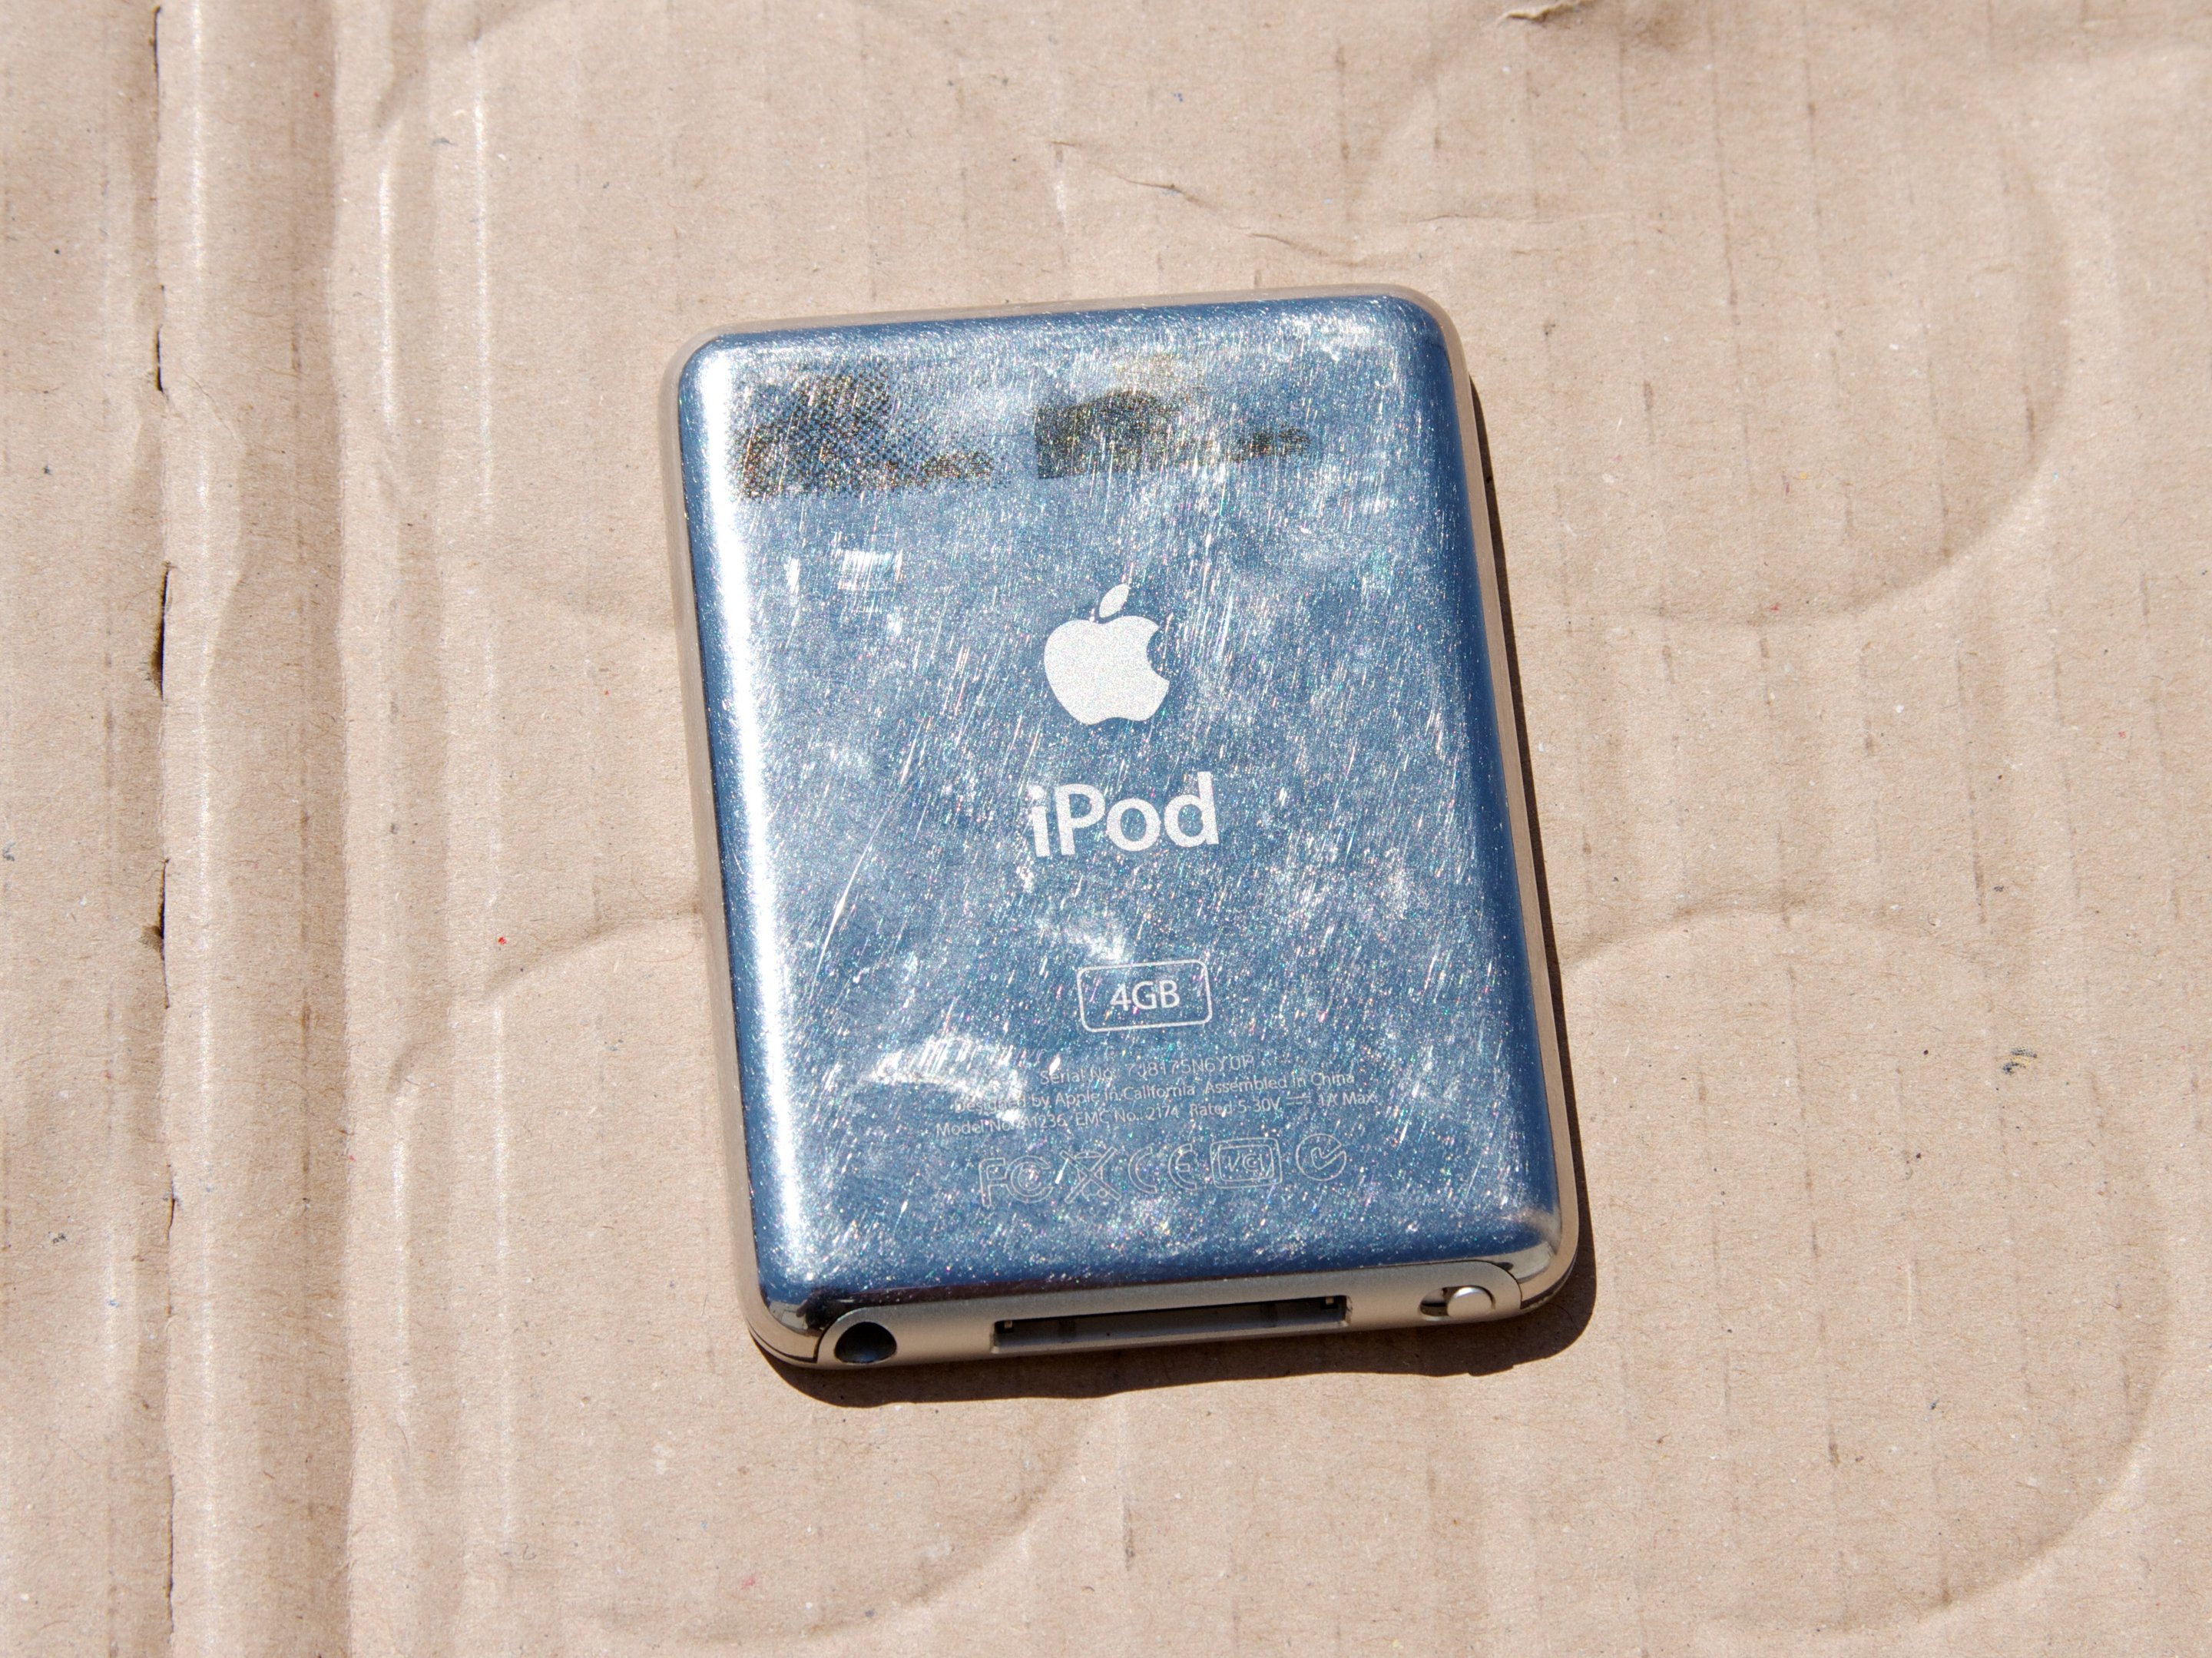
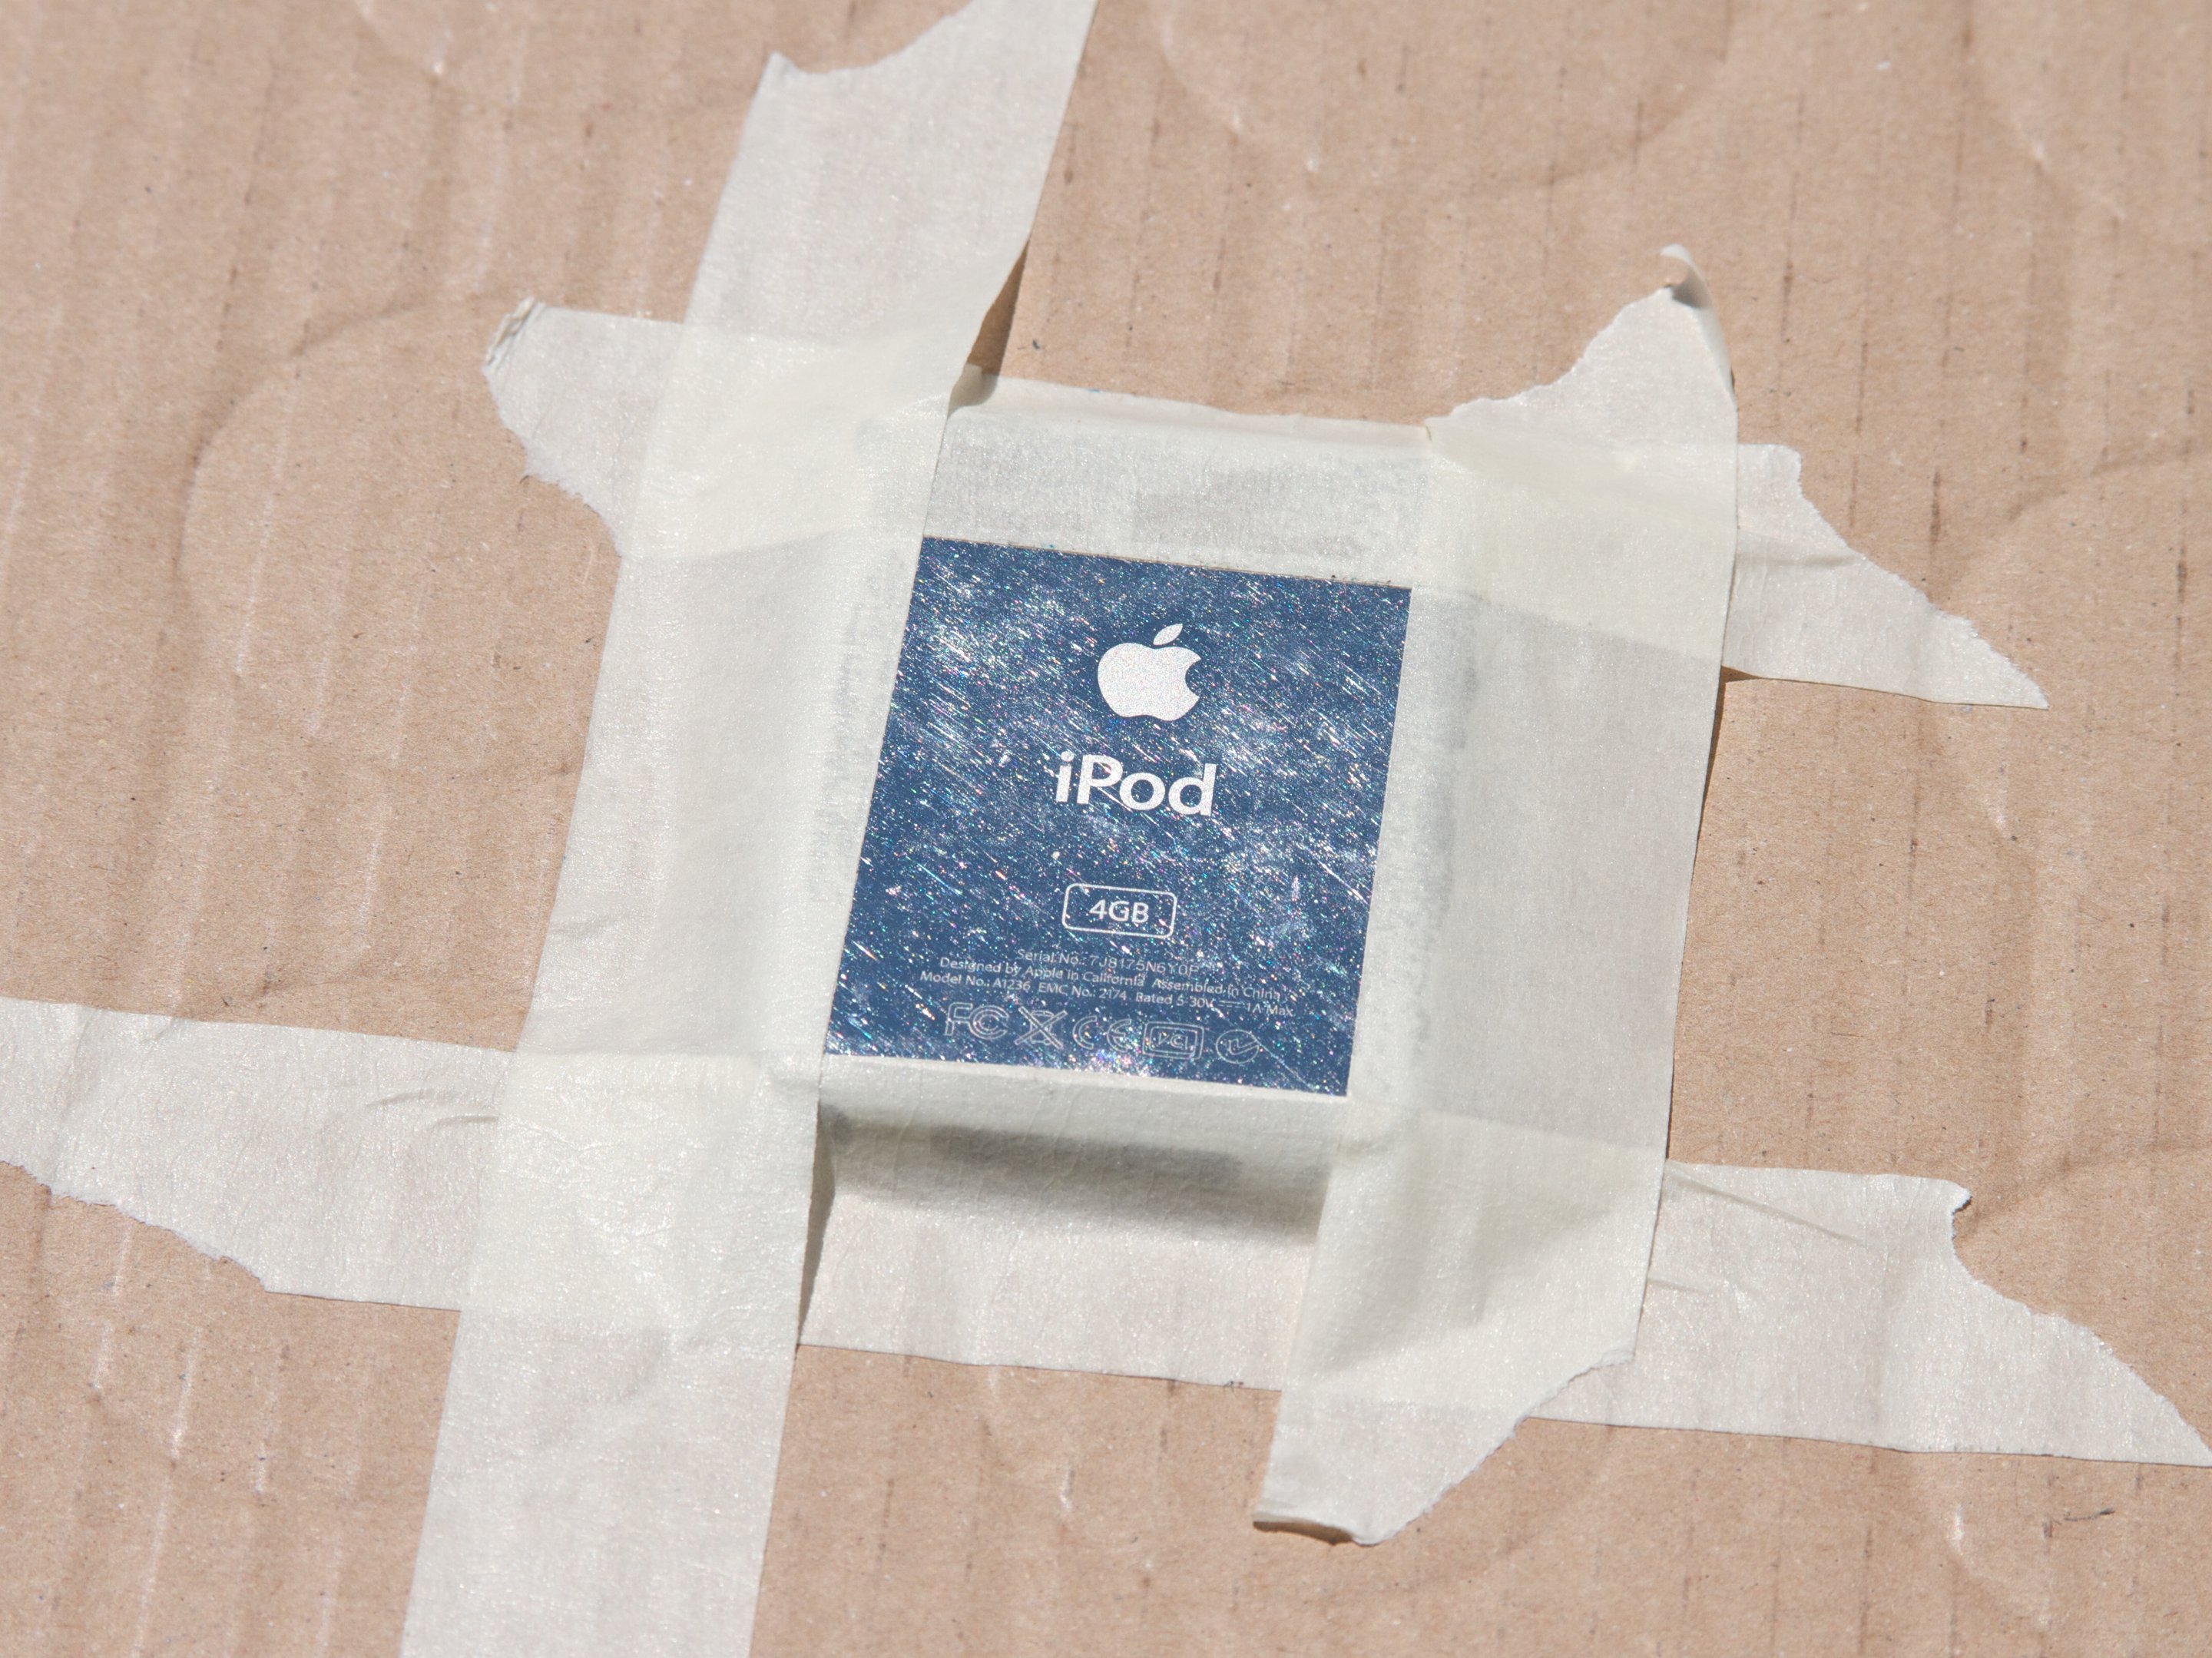
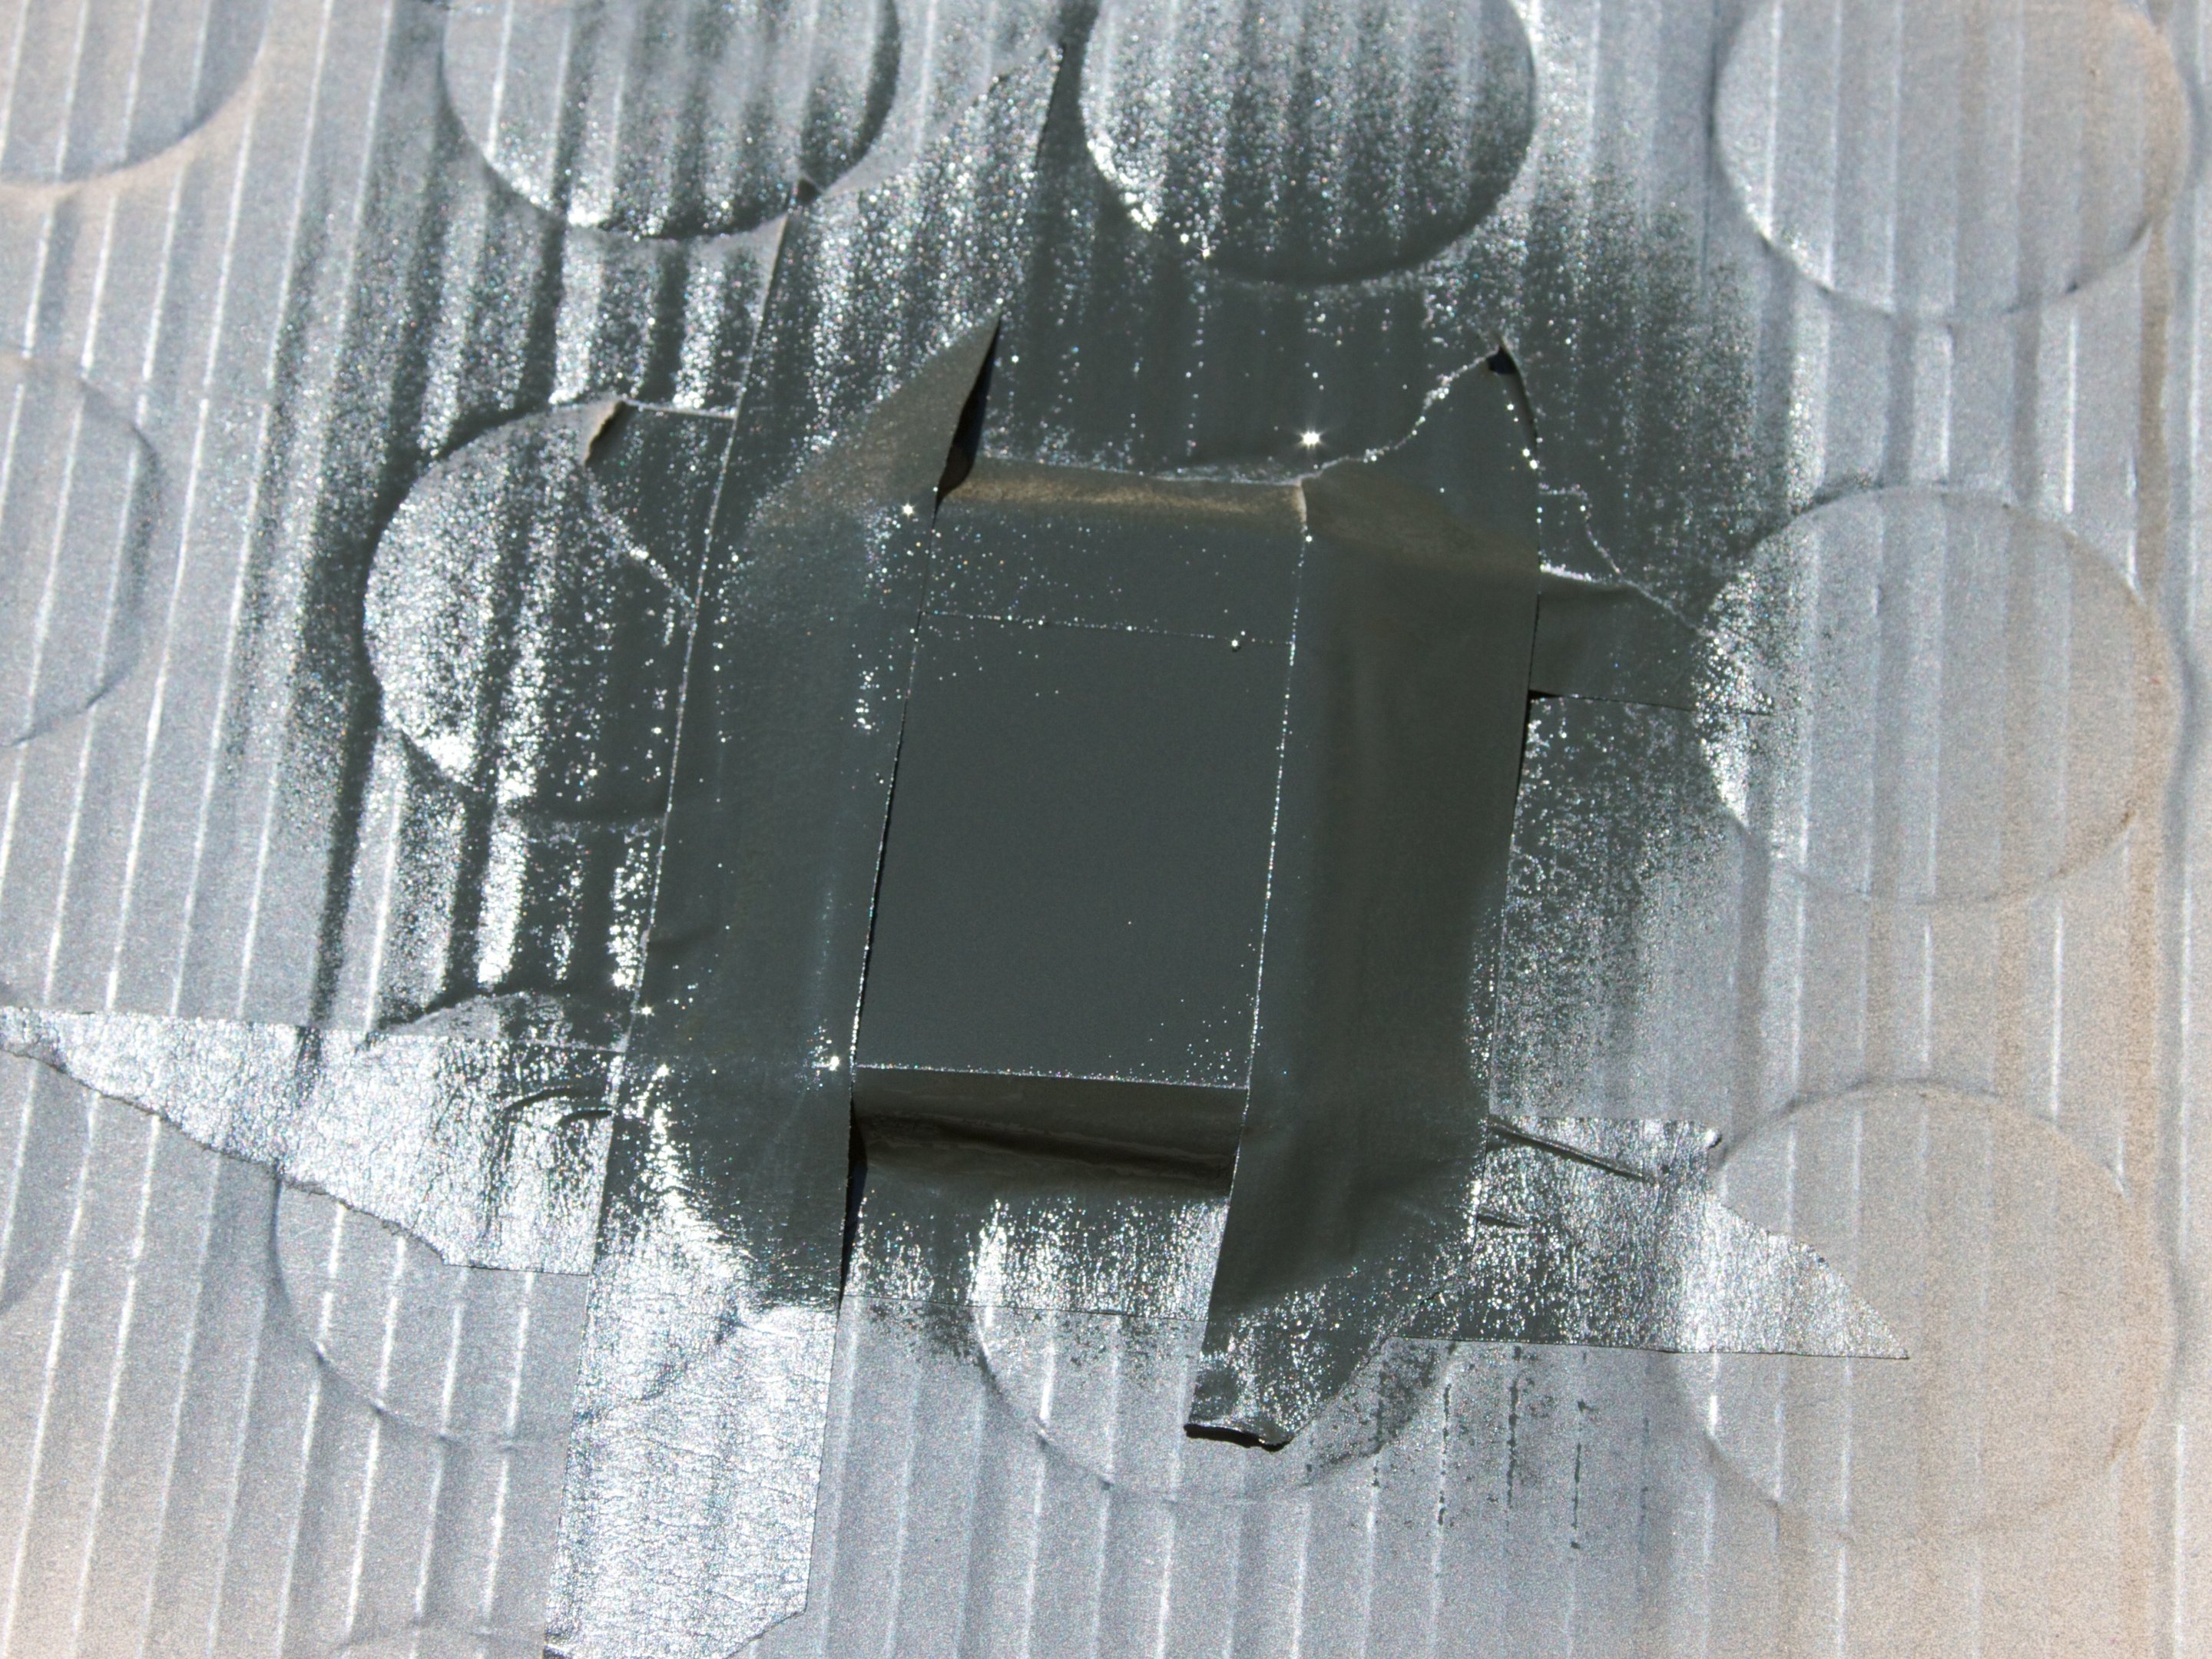
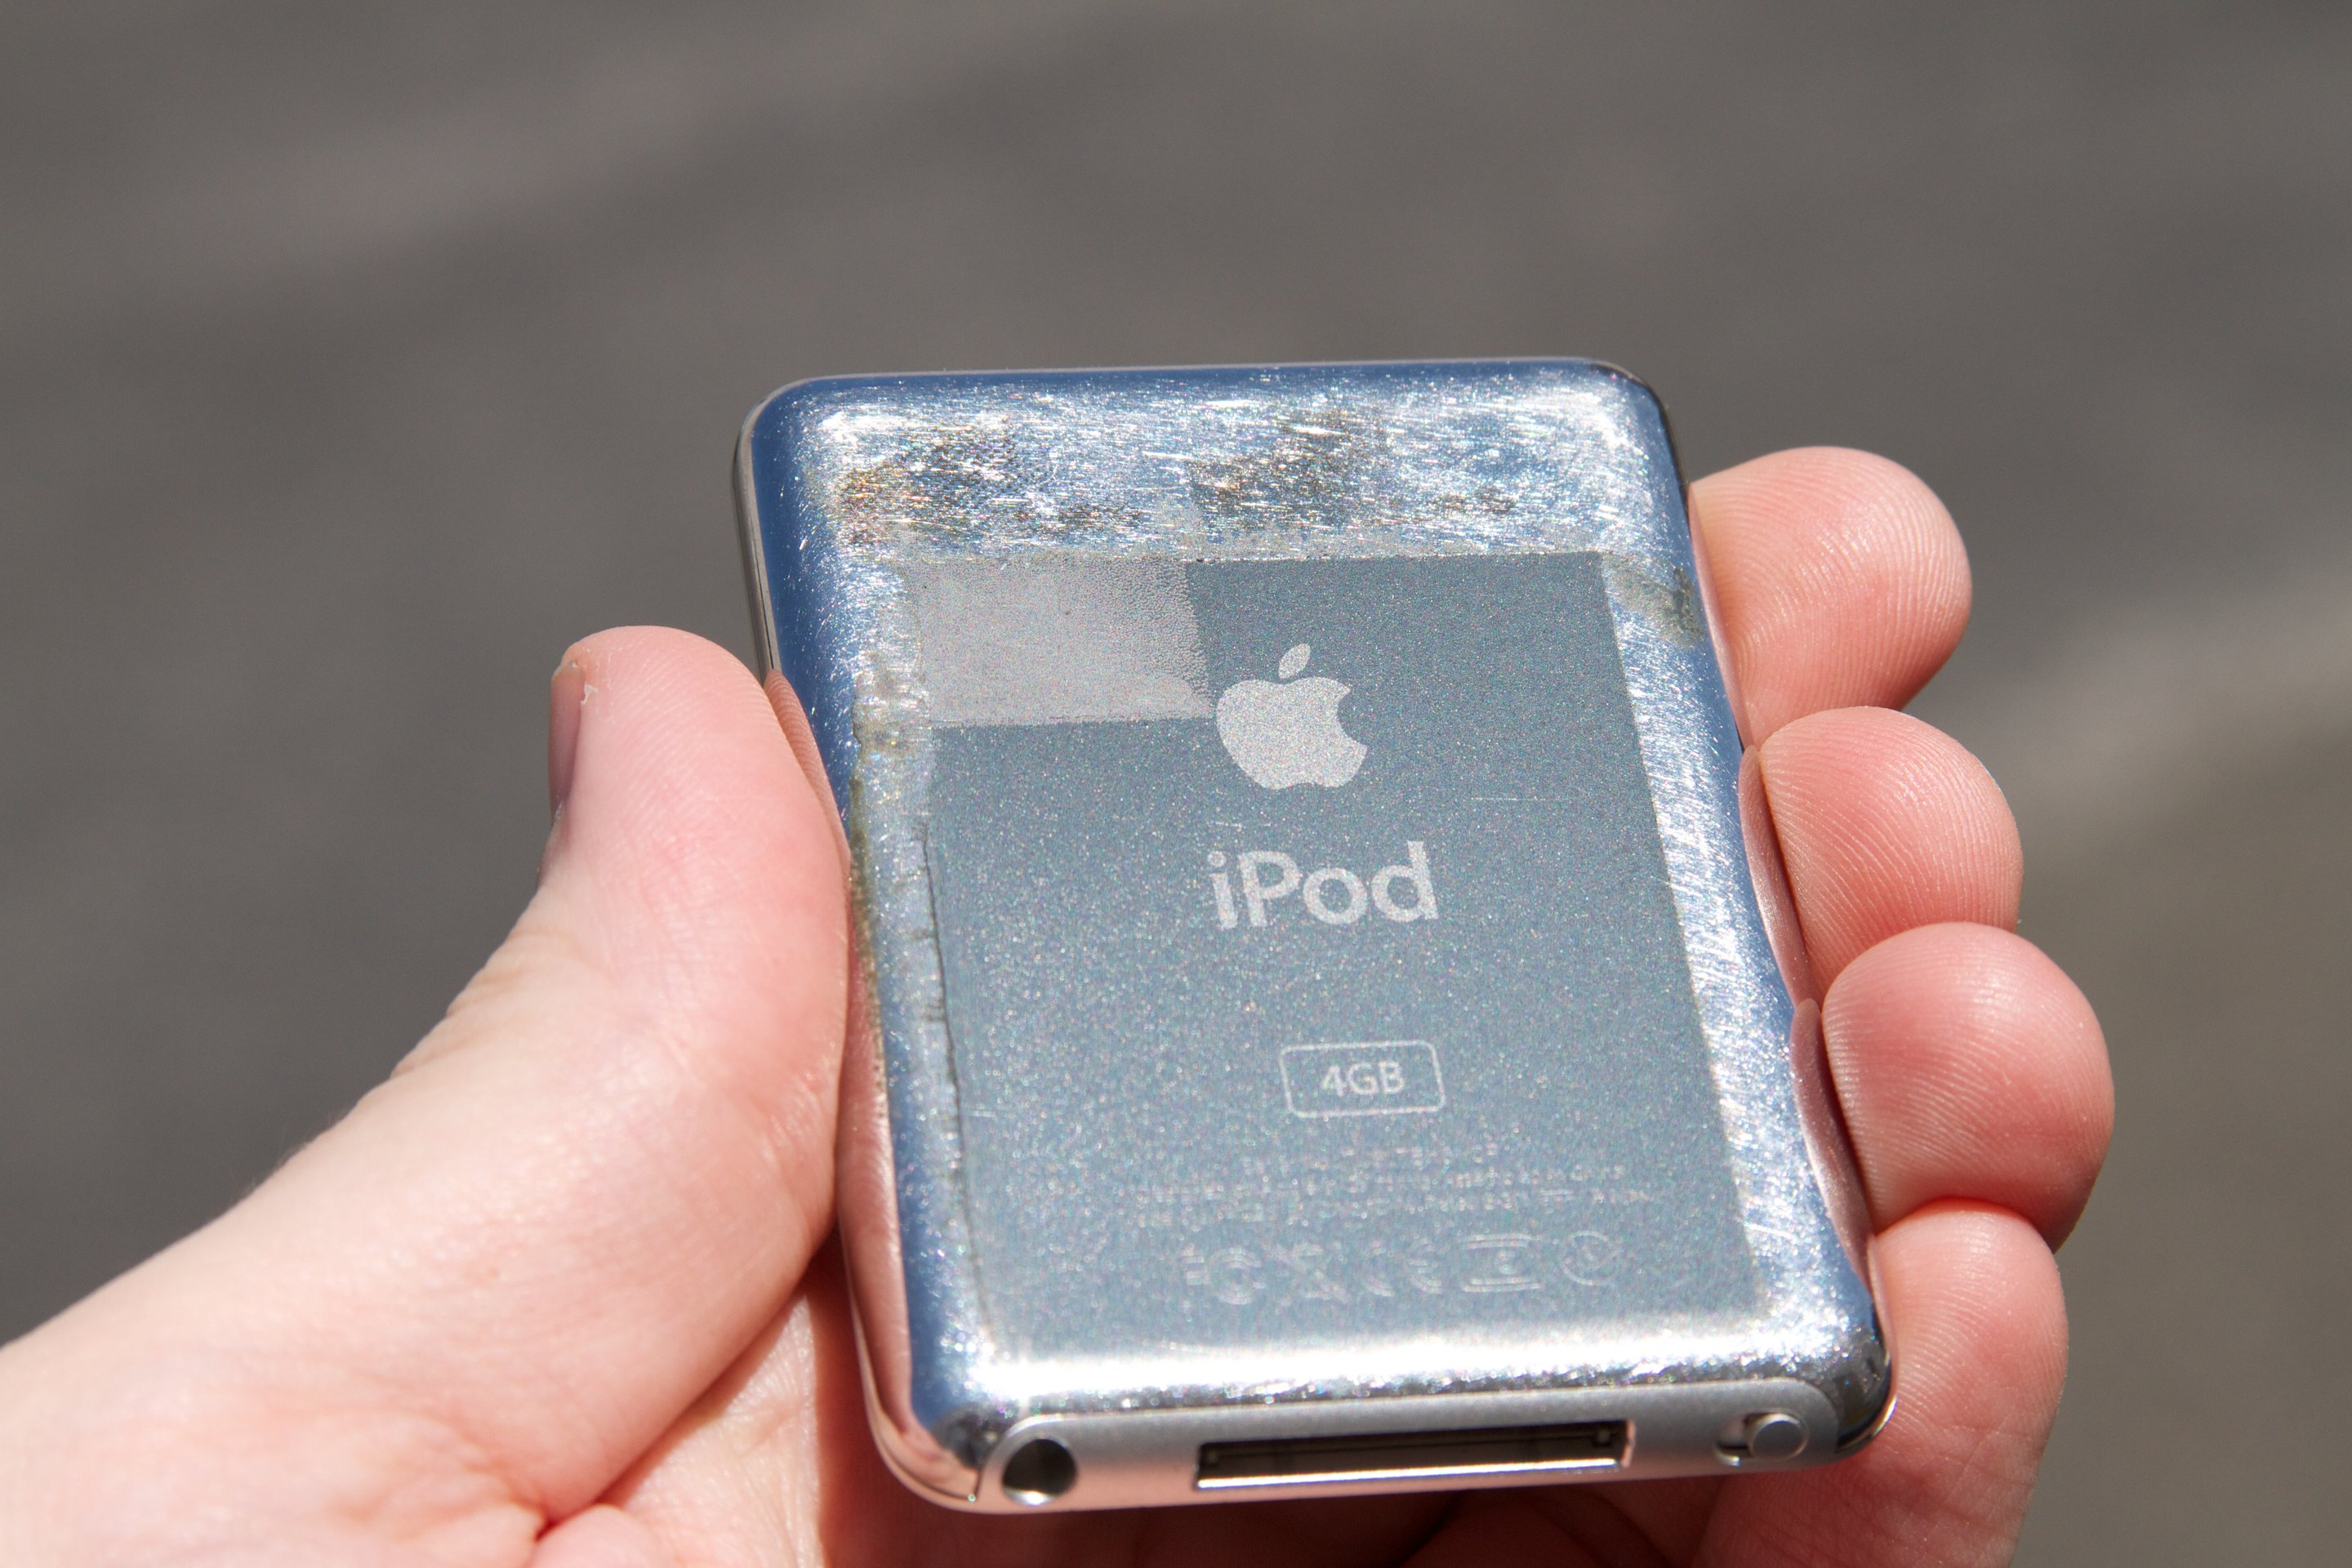
Our test victim was an old, nonfunctioning iPod with a stainless steel back. First step, not pictured: Clean it off with isopropyl alcohol. Then, use masking tape to isolate the region that you want to spray.
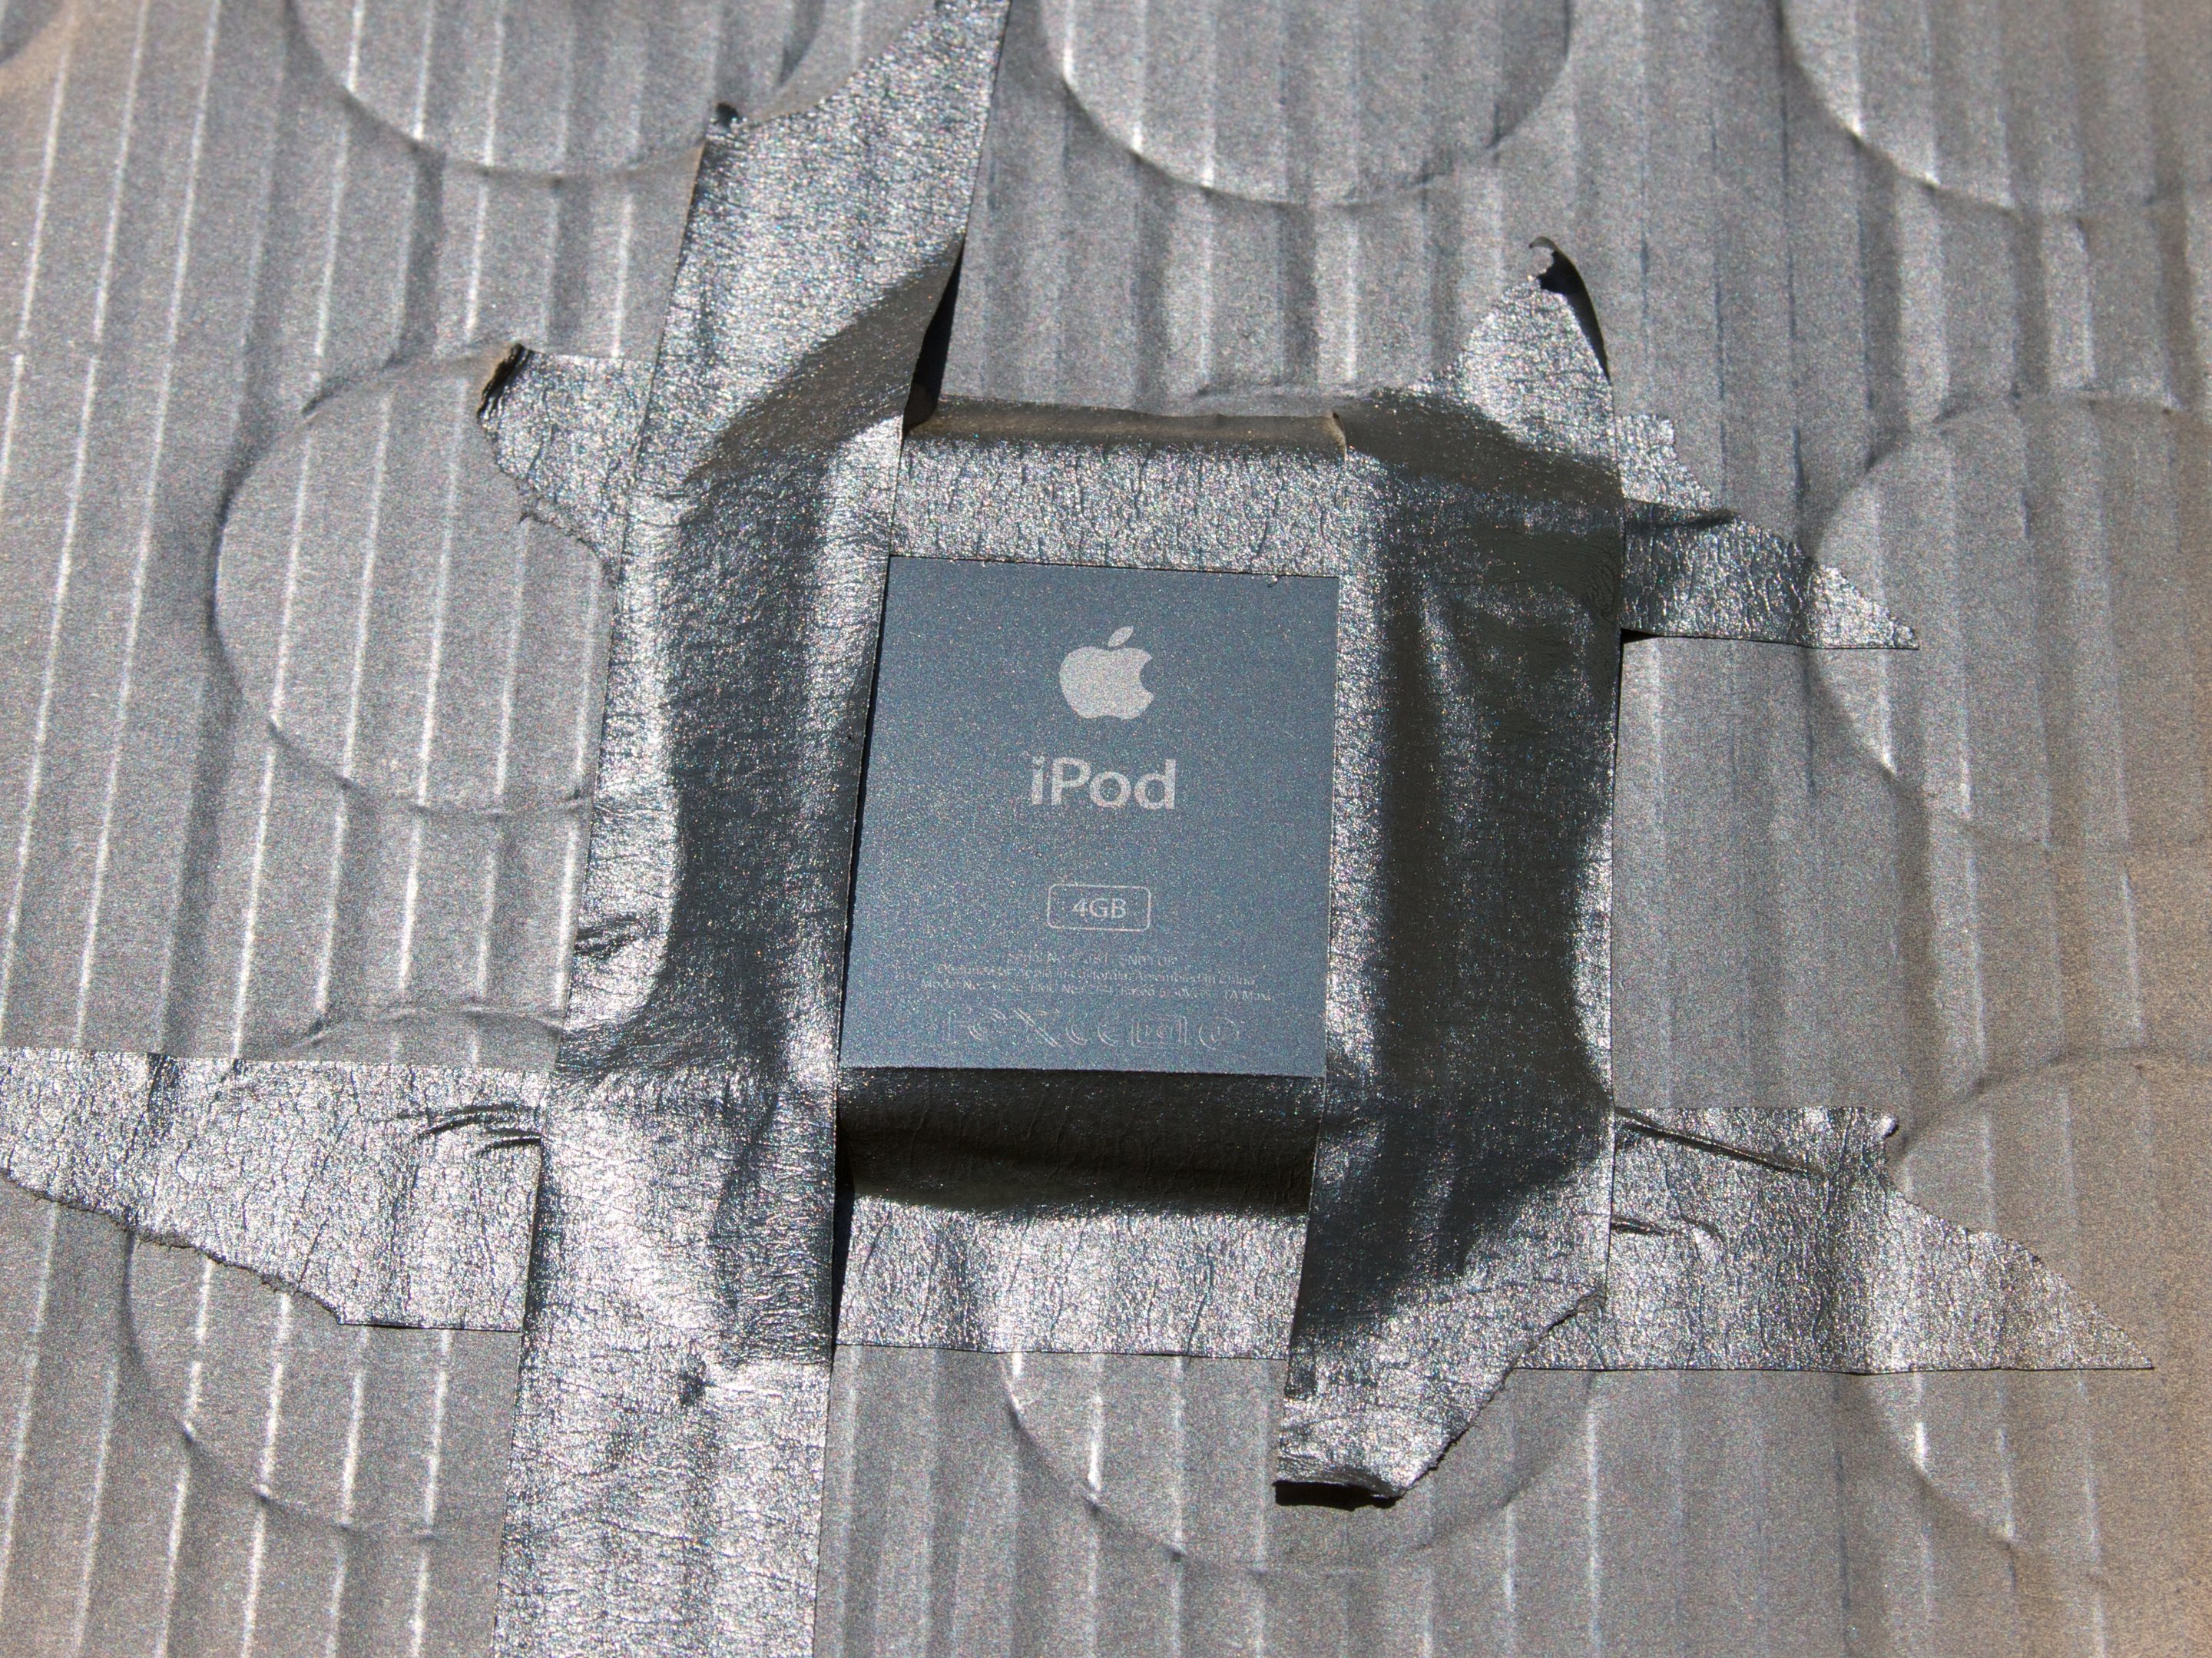
When you spray the surface with the Moly, it looks like black and nasty spray paint, but it evaporates– very, very quickly –leaving a completely uniform film. The film is so smooth and uniform that you can read the existing laser engraving through it.
Spray 2-3 full coats, allowing each to dry in between.
Once dry, the surface can be touched; molybdenum disulfide is a firm, dry smooth lubricating coating, a bit like graphite.
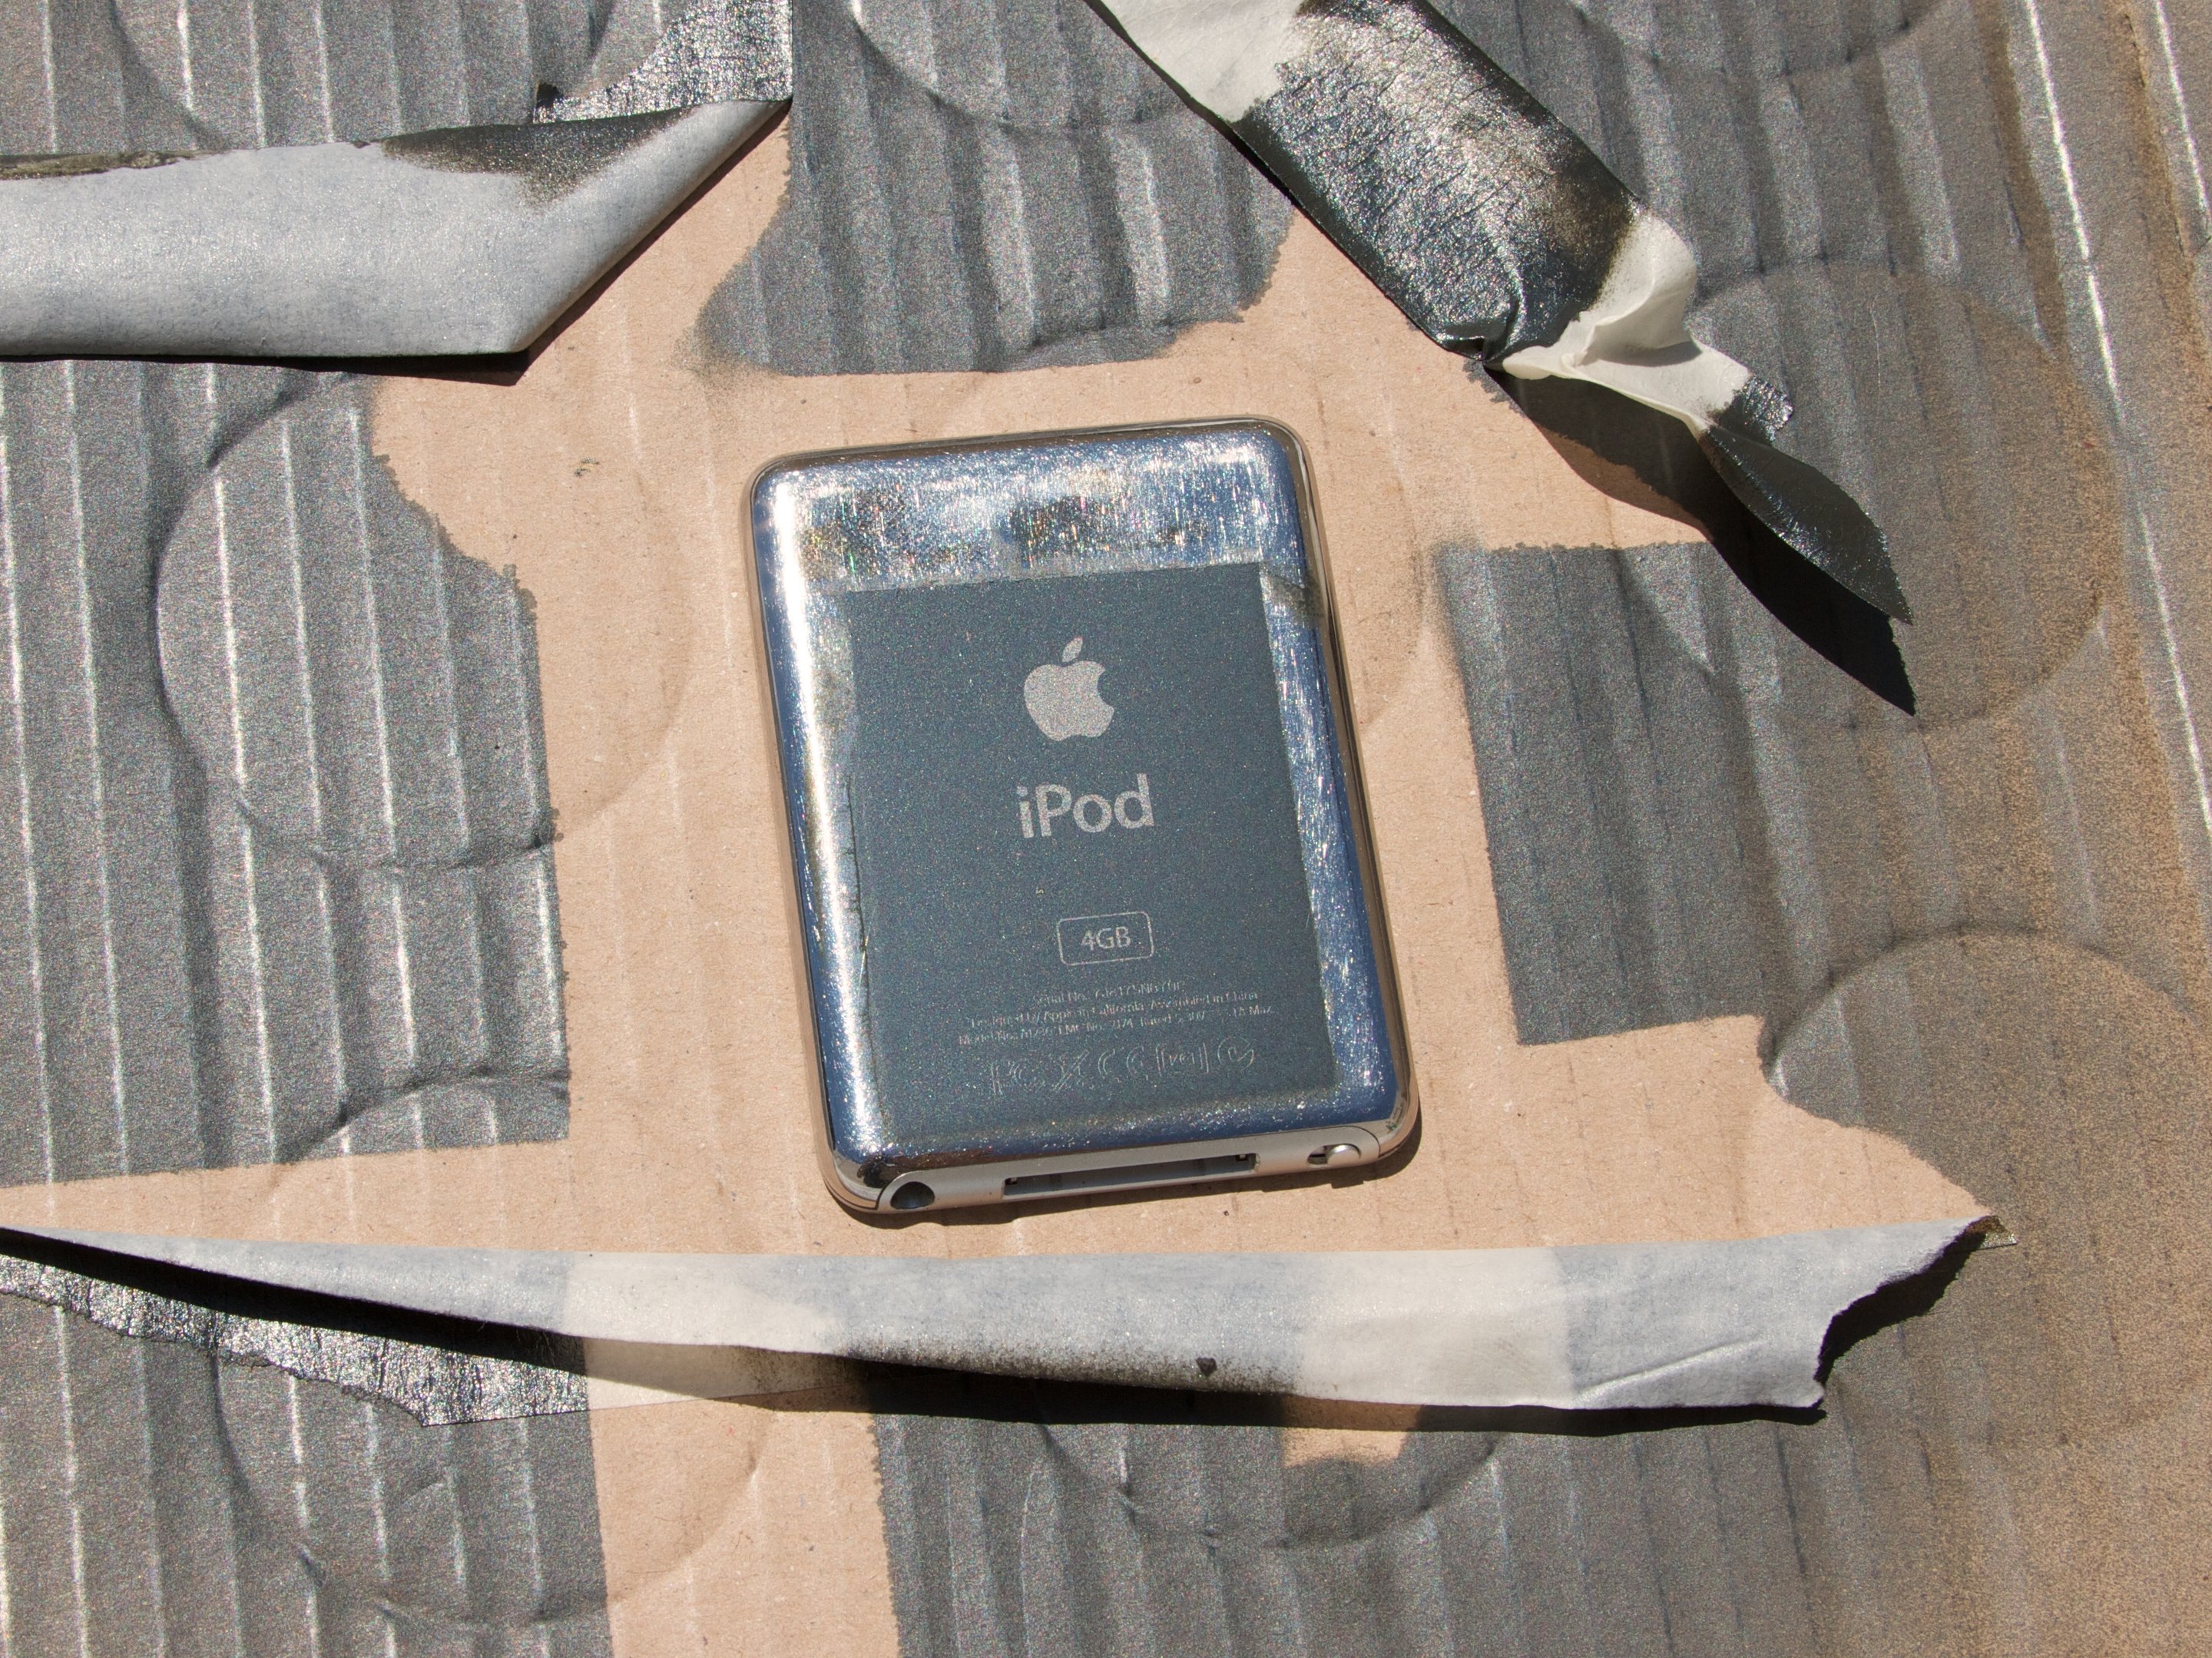
And then, we engrave it. As this is a test object, we’re just engraving a little patch, with a test picture. Unfortunately, you can’t see anything yet– you have to remove “unbaked” moly to reveal what you engraved.
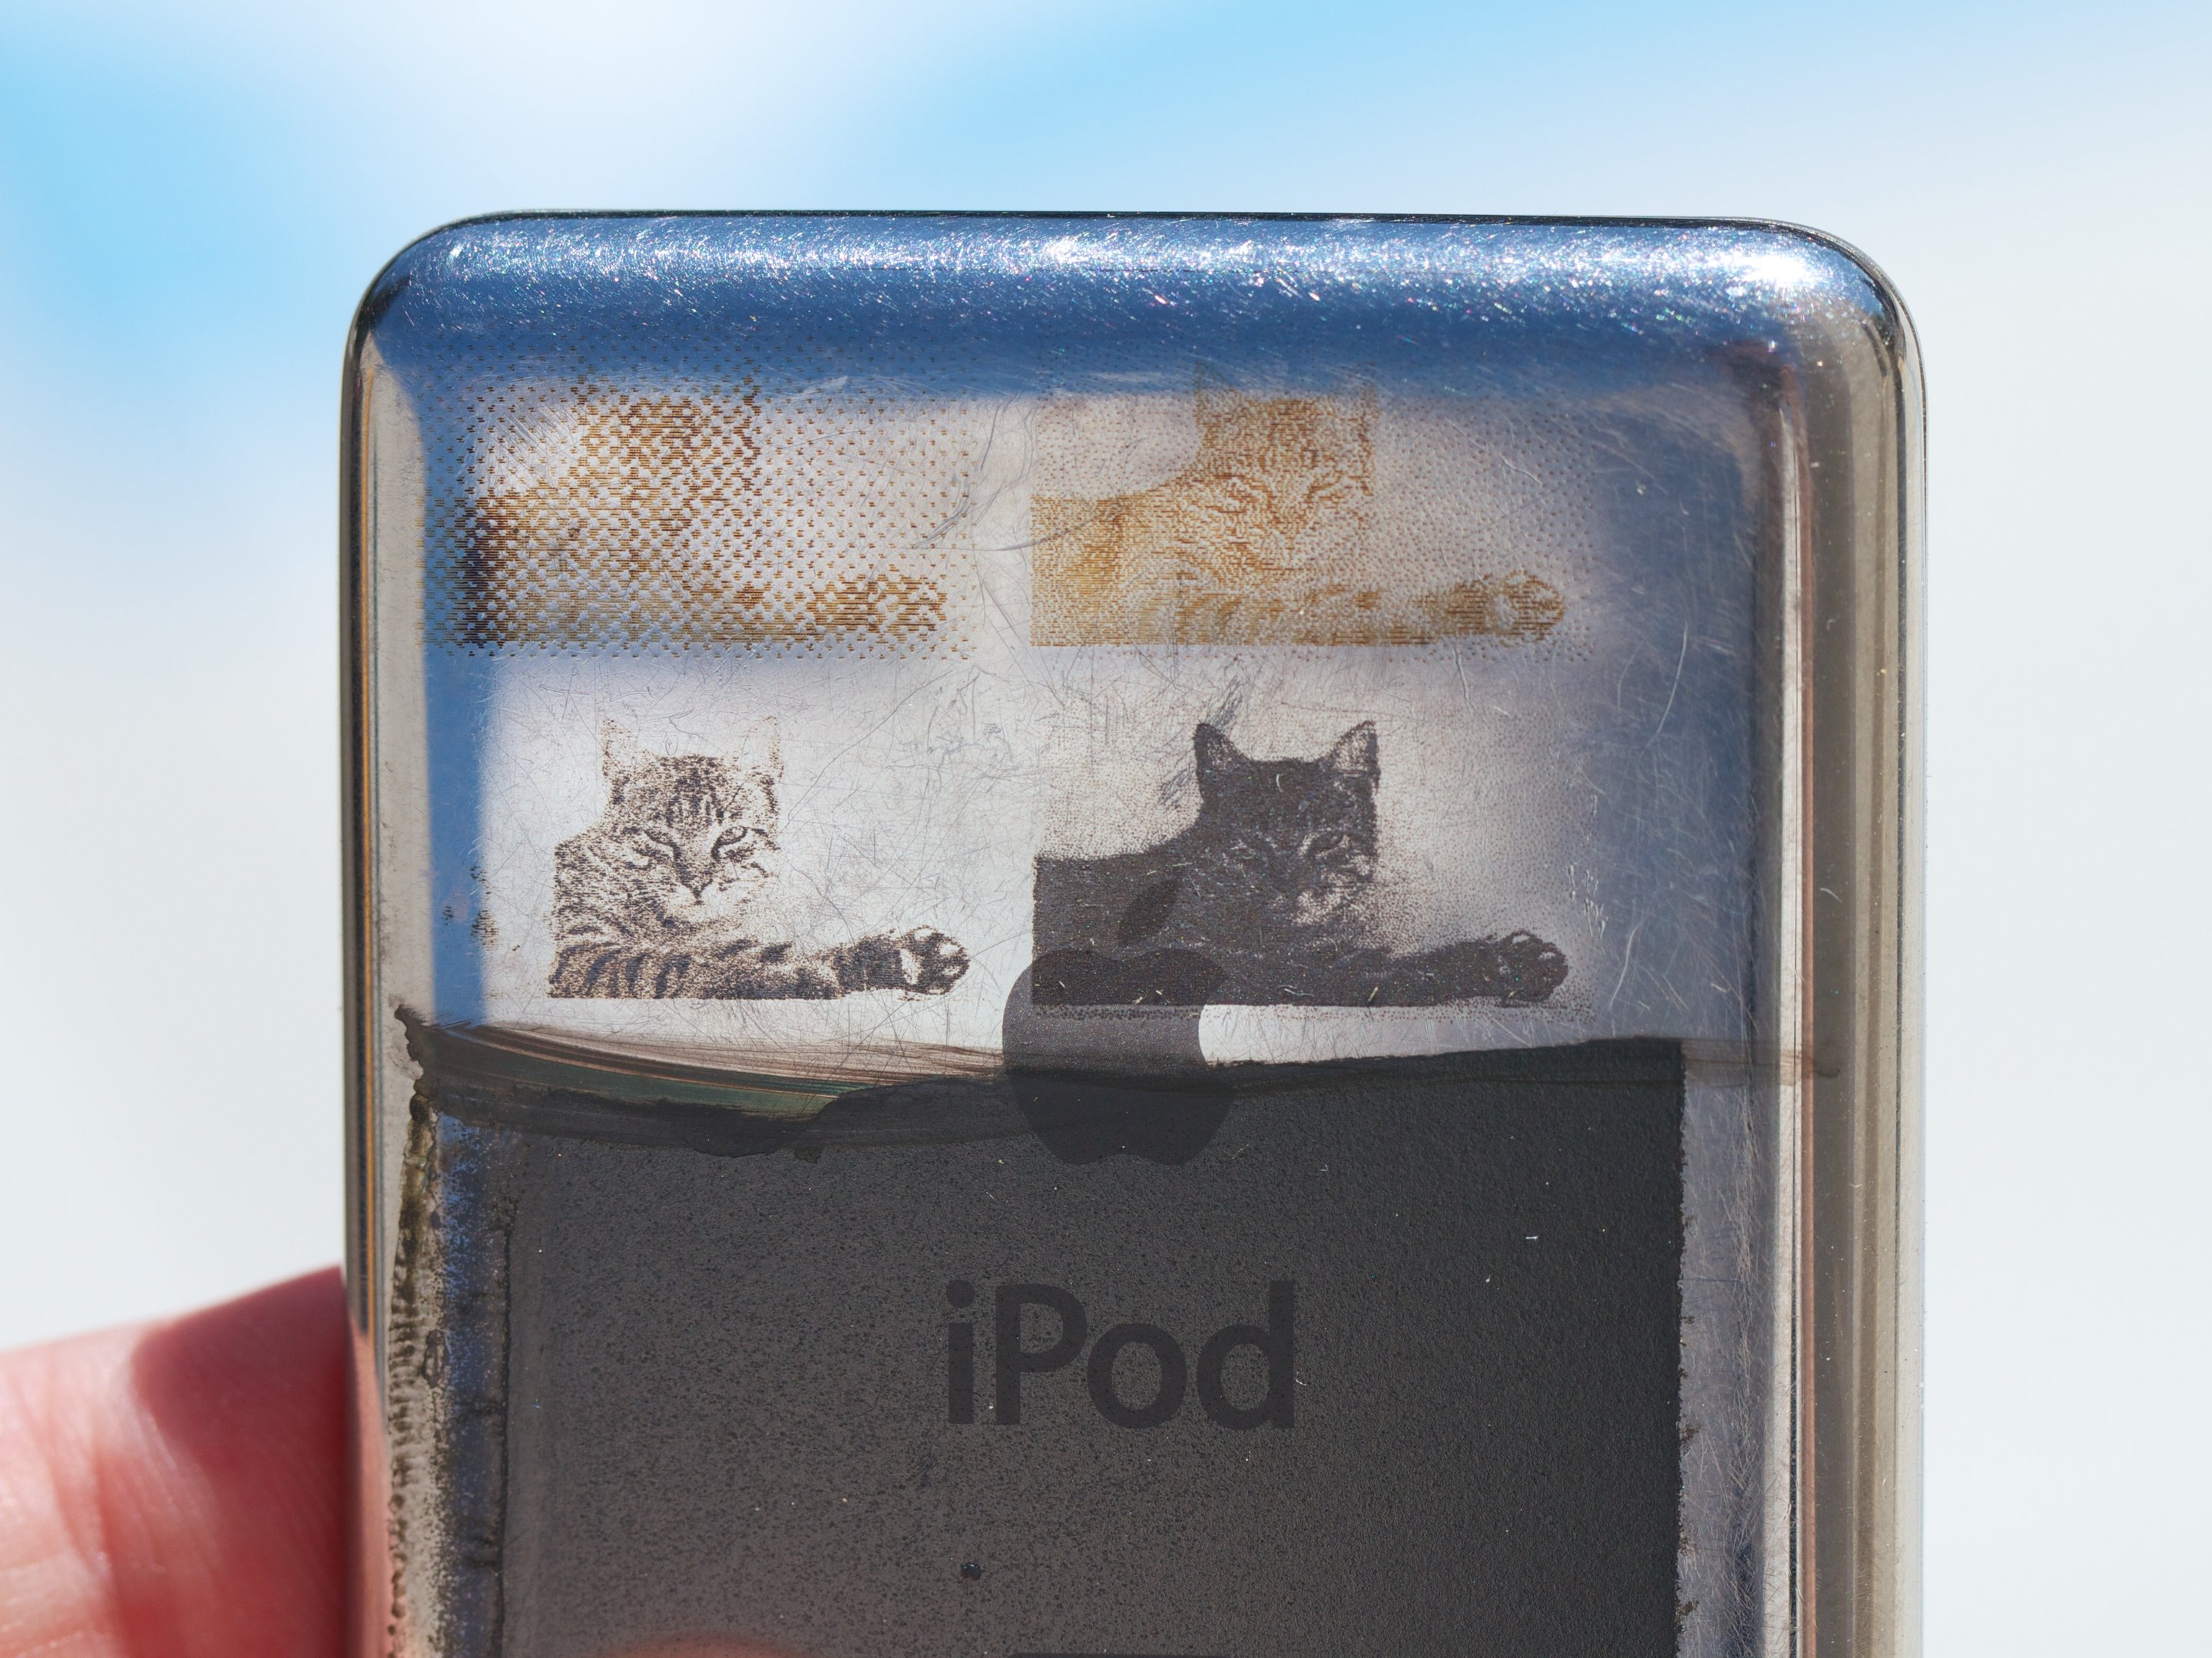
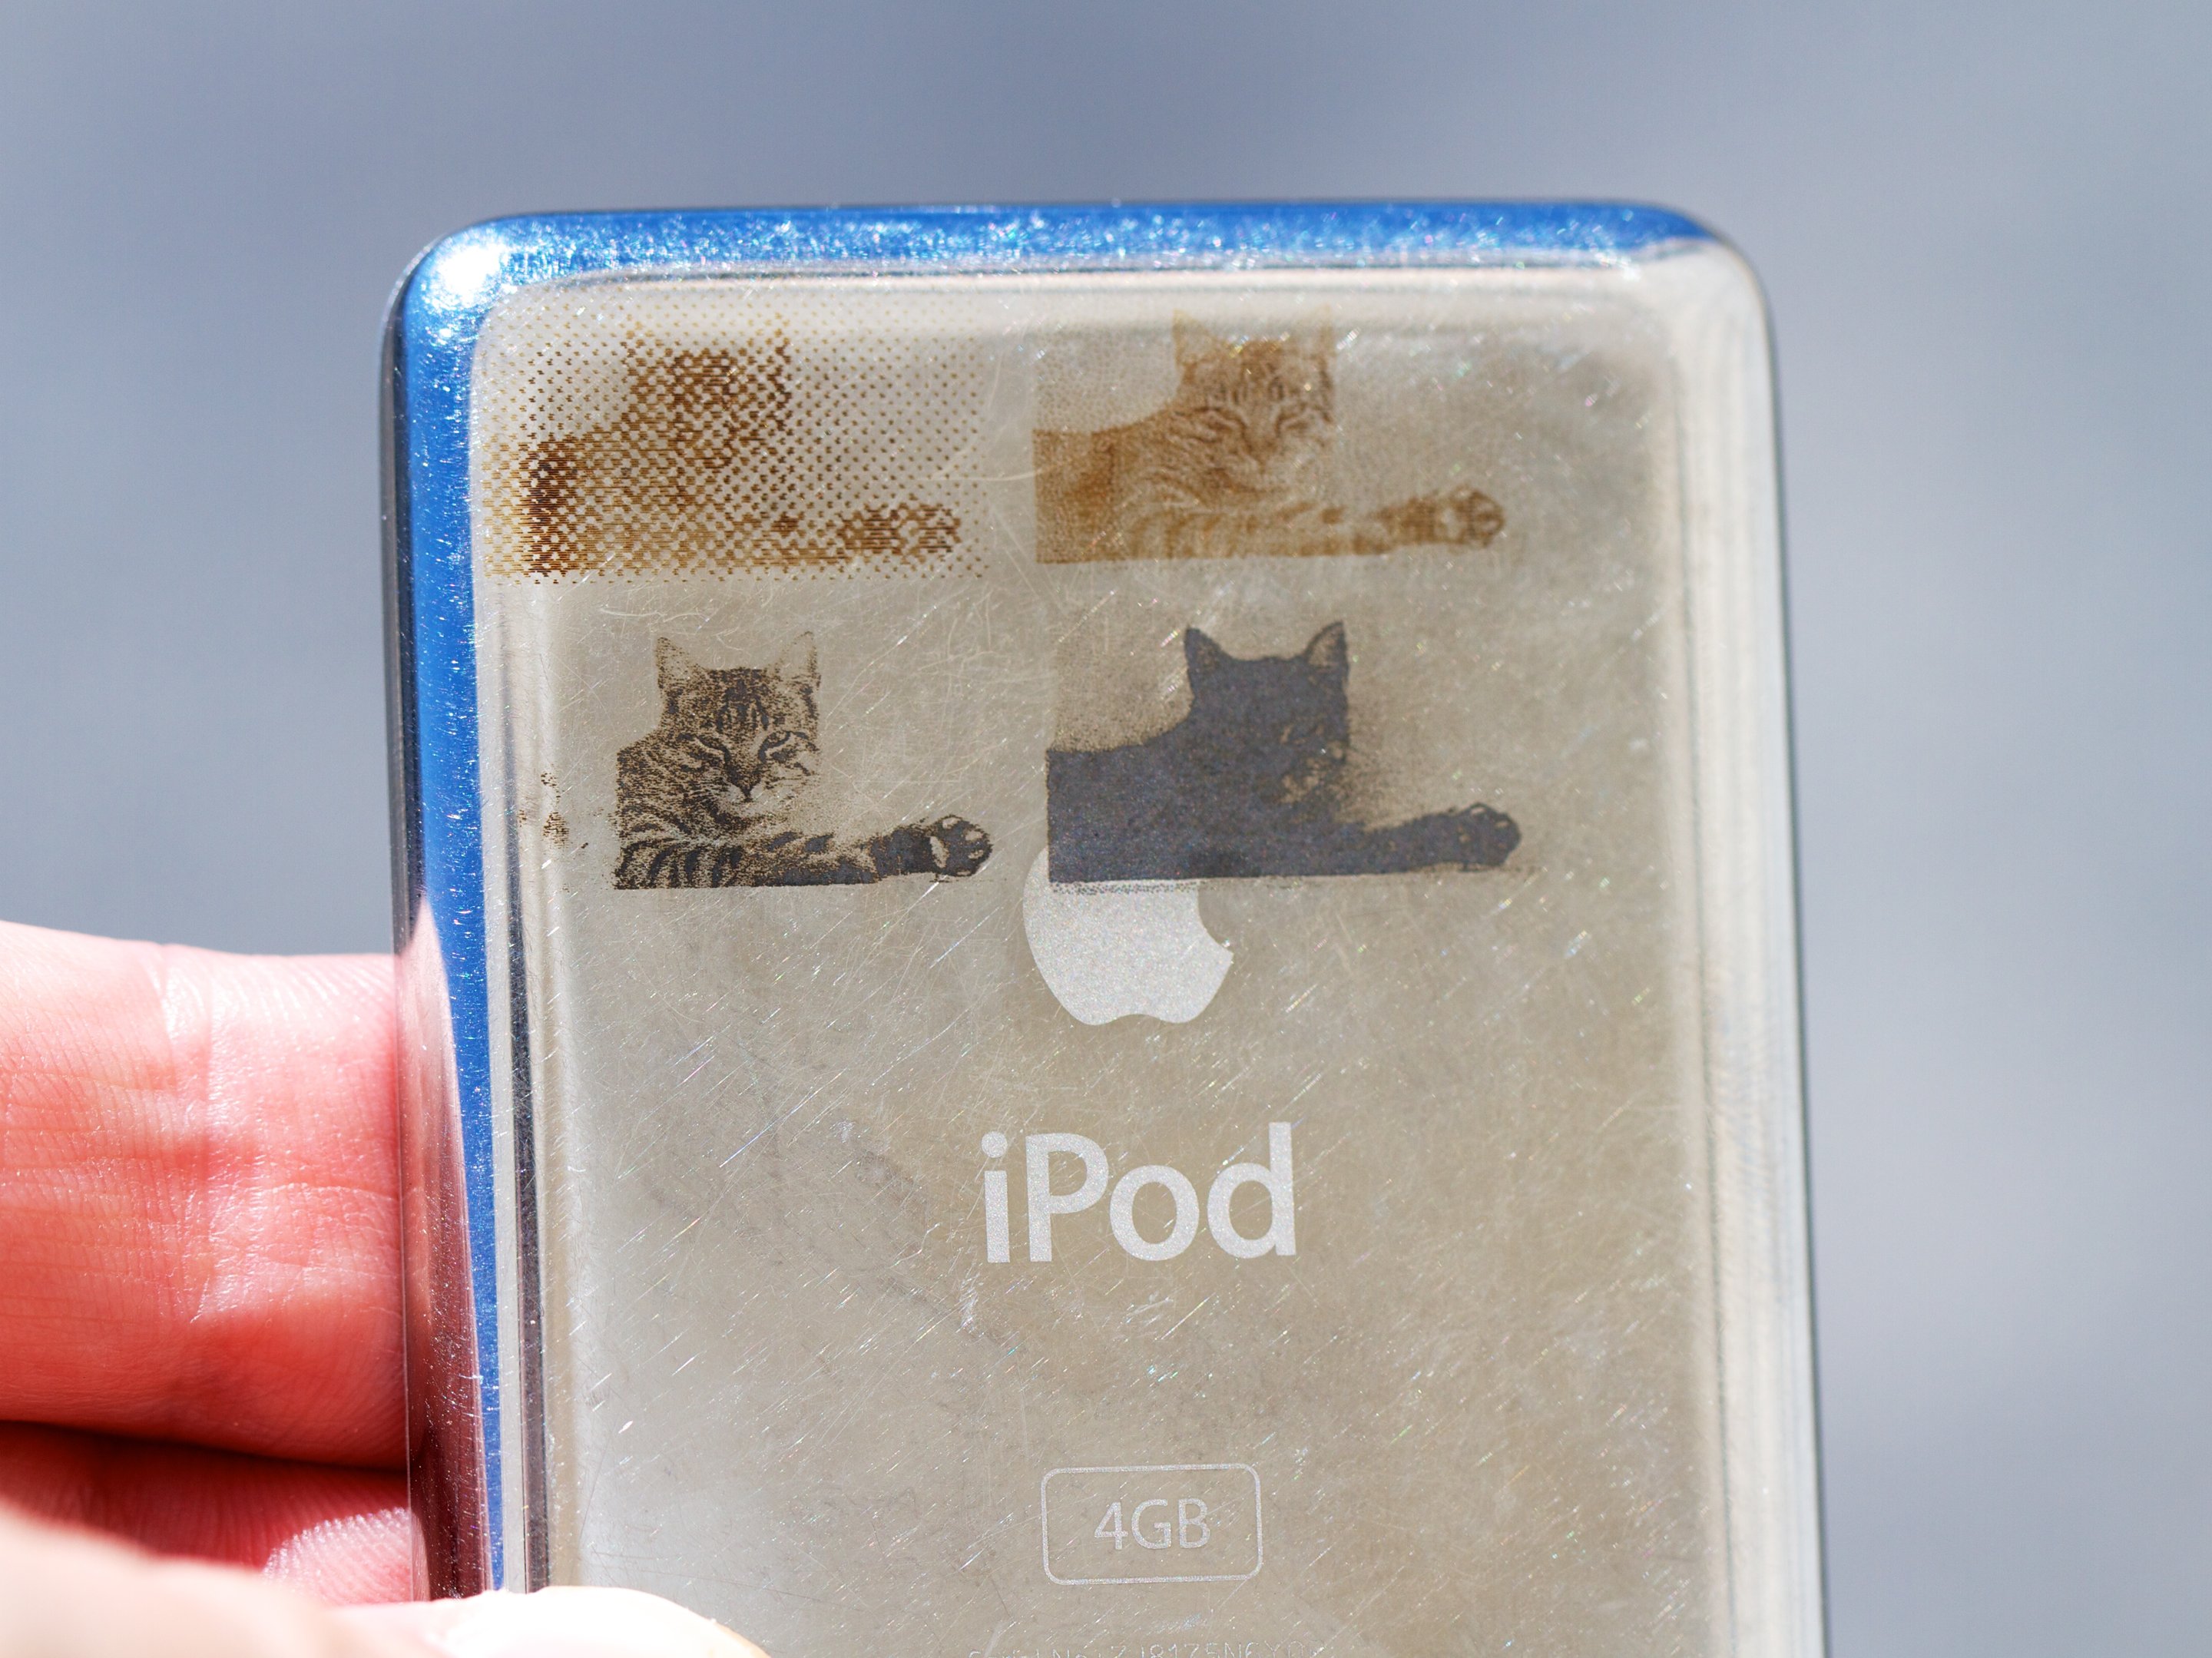
Wiping away the moly with a little more alcohol, you can see four test images.
The upper two images were laser engraved *before* the moly coating, at 2% speed, with different resolutions. There is some effect on the stainless steel– a darkening (browning) due to heat, but unfortunately, it has poor quality and there is too much heat. If you look closely, this fairly-thin steel is actually warped under the upper right image from being overheated there.
The lower two images were engraved into the moly spray, at 30% speed (lower left) and 20% speed (lower right). You can see that (1) the images are much darker, (2) the image quality is excellent if you don’t cook it too long, and (3) it’s pretty sensitive to the laser speed (i.e., deposited heat). The images are quite tough; they feel like proper ceramic coatings, and certainly don’t come off with alcohol.
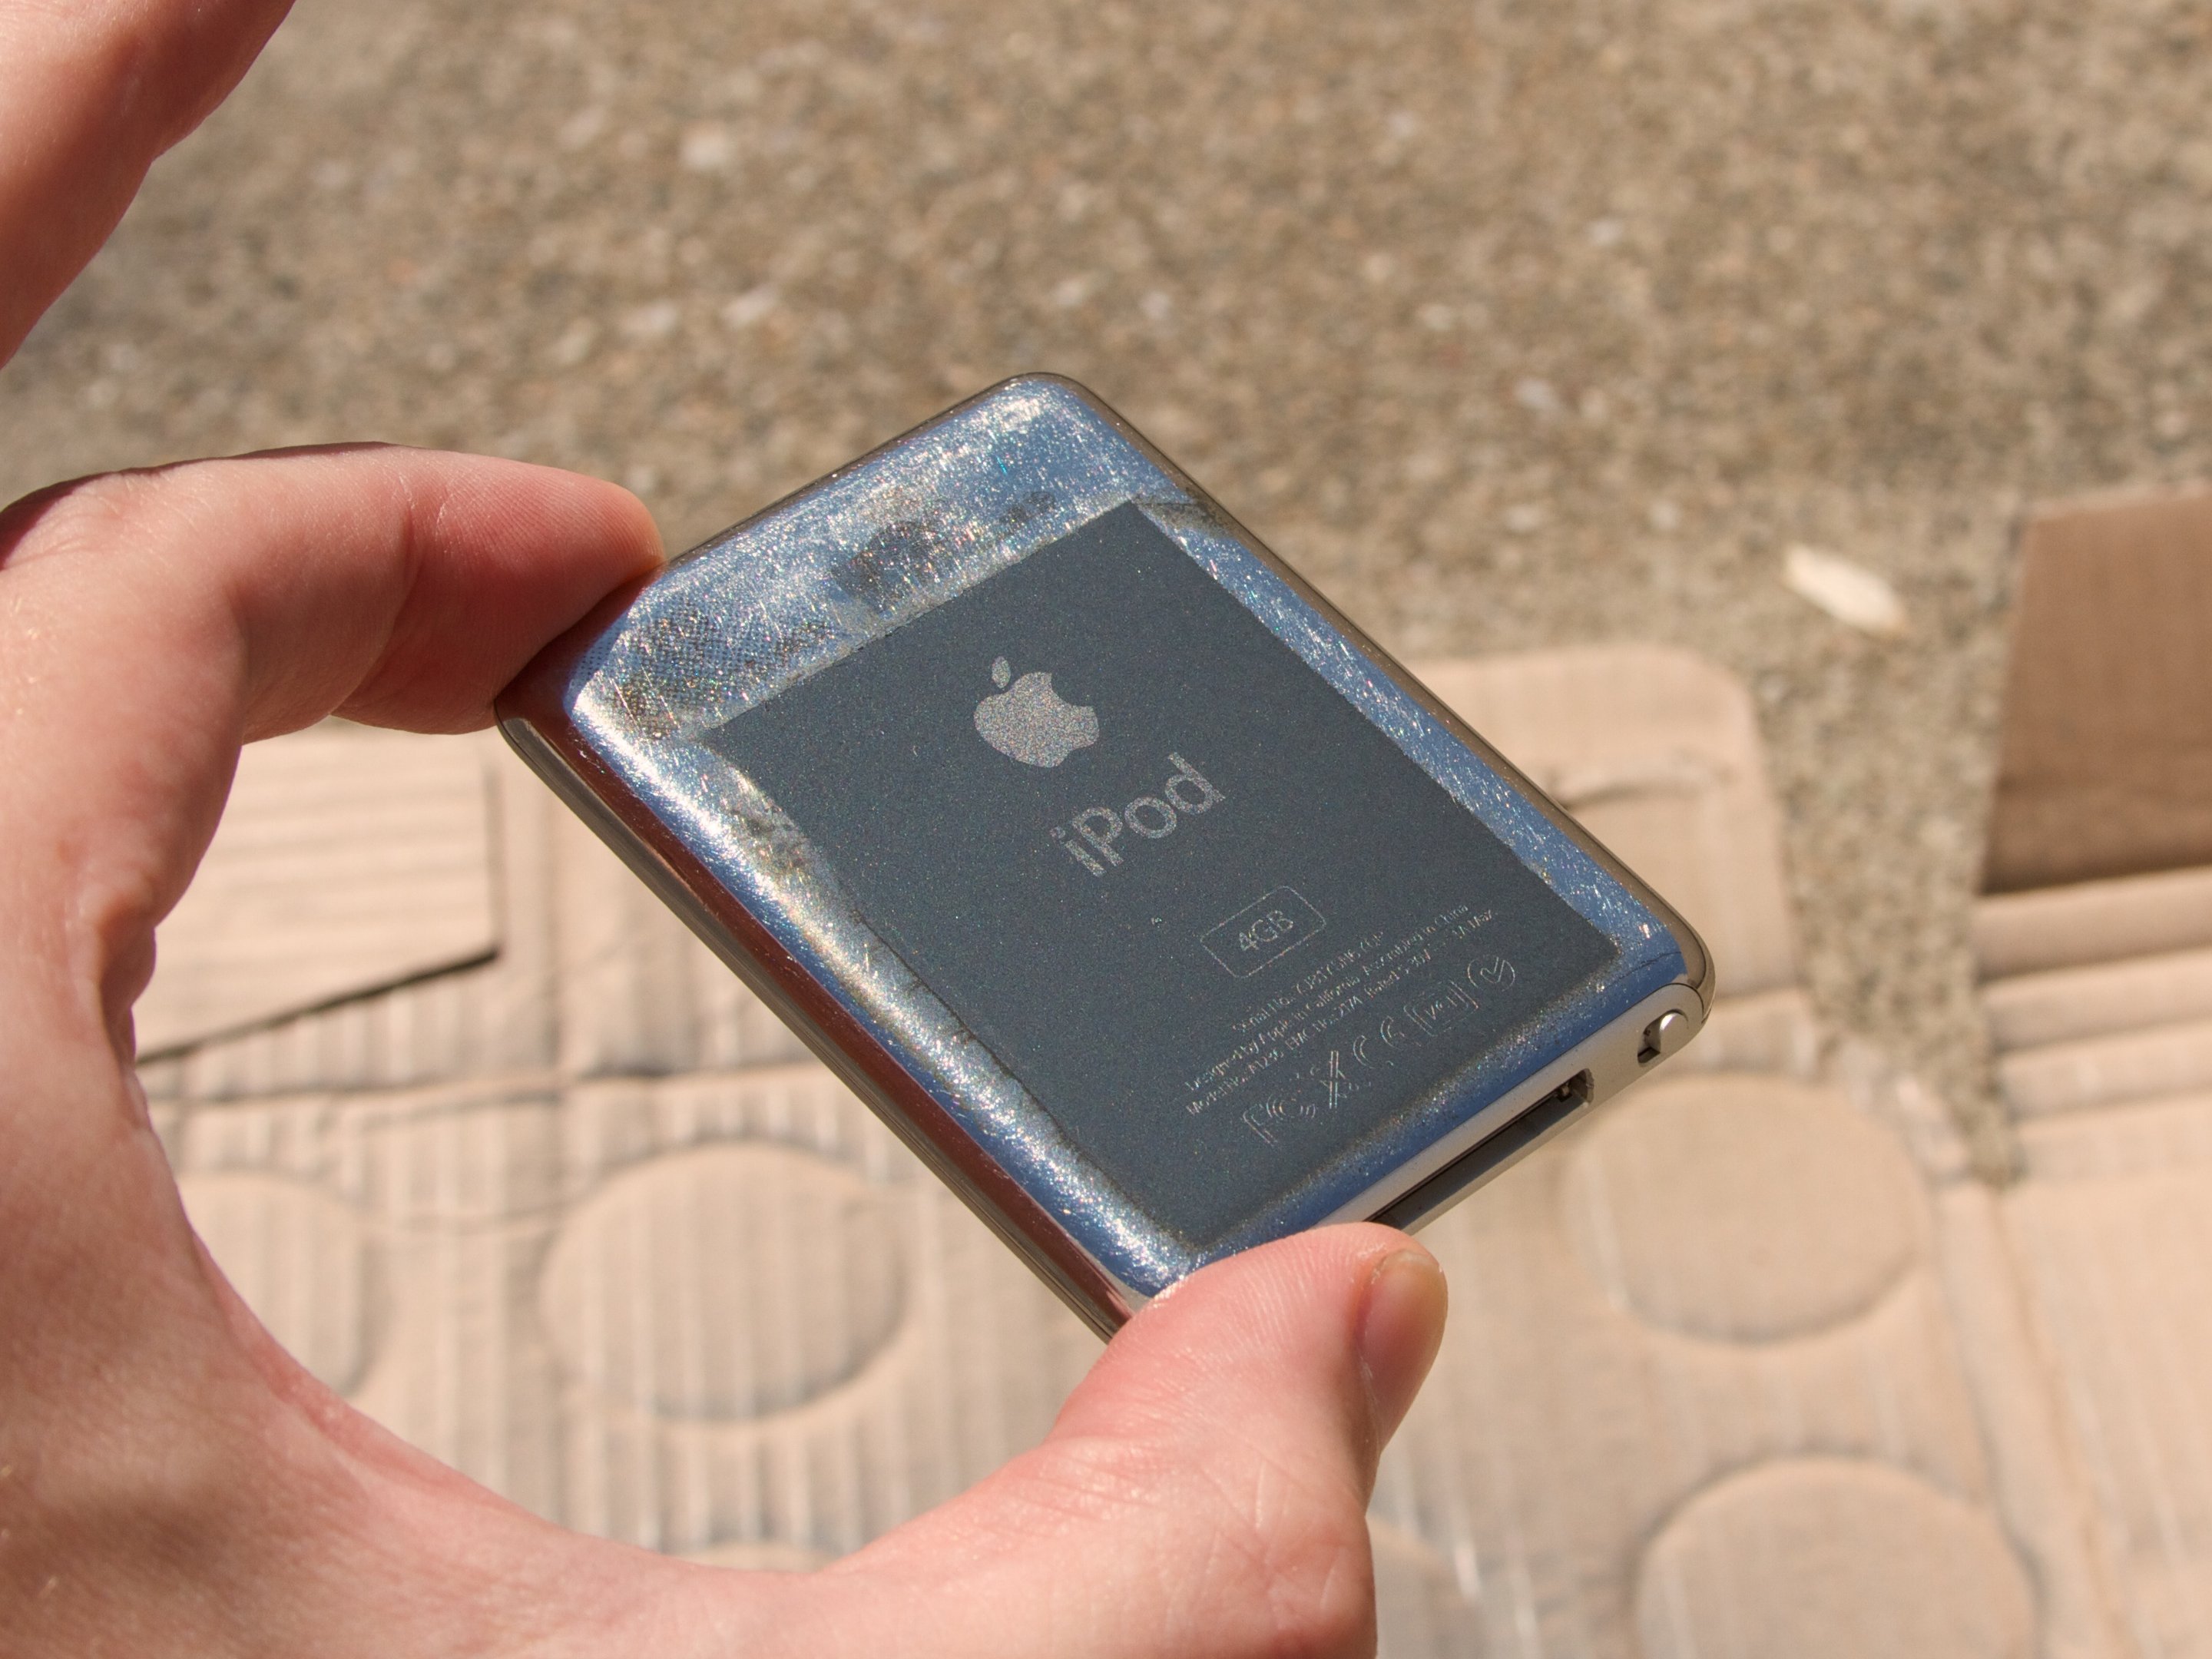
And here it is after a little more cleanup. We expect that the marks that you get out of CerMark or other brand-name ceramic coatings are a little darker and more permanent, but it’s clear that this is a viable (if low-end) method of using a low-power CO2 laser to make permanent marks on steel.
Cool project – always great to find unexpected uses for everyday products.
This had me thinking – years ago my mother used to make enameled jewelery – she would sift enamel powder onto a copper backing and then bake it in a small kiln to fuse it. I wonder whether a dark coloured enamel powder would absorb enough energy to do the same under the laser. Might be hard to get the powder layer thin enough I guess.
It certainly seems plausible. I wonder if colored enamels could be fused to a surface (and retain their color) with laser fusing, too.
Very interesting! Looks like the Cermark products use molybdenum (20-30%) and vanadium compounds (10-20%), based on their MSDS:
http://www.thermark.com/TM_Downloads/MSDS/LMM6000_Aerosol_MSDS.pdf
I guess that’s where the inspiration to try a molybdenum lubricant came from…
Patrik
Yes indeed! I’d be interested to compare the two, to see how much the rest of the components really help.
Hi, that discussion referenced one of my blog posts. Nice to see the concept picked up here again. I used ambersil ‘dry moly’ spray, but like the article suggest, any molybdenum sulphate containing spay will probably work.
If you wish to experiment further with it: you can just buy moly powder on ebay, mix it with some acrylic paint and apply a thin layer. A spray gun would probably give a more even result. Works well if you want to try out different compositions (like added vanadium).
Glass enamel works, but only somewhat. I could get glass frit to fuse to enamelled stoneware tiles though, just a bit rough.
The moly paste also works well to get a dark line when engraving white tiles (kiss lines actually).
“Even if the saying is strange and blue, if its on a tile it must be true”