


A soft fabric case is a great way to protect your electronics from banging around in your bag, so here’s how to make a cozy for your Meggy Jr RGB.
Started by cutting out the front and back pieces. You can trace around a Meggy onto a piece of fabric (twice), or if you don’t have your Meggy yet, or are sewing for someone who won’t let you borrow it, you can download the PDF and SVG files for the handles here (780 kB .ZIP file) and use them as a pattern. Cut outside the lines to give a quarter inch seam allowance.
You’ll also need a strip one and a half inches by about eighteen inches long for the edge. Eighteen inches is a few inches extra, but it’s better to have a little too much than not enough.
The last fabric piece will be three inches by six and a half inches for the front flap.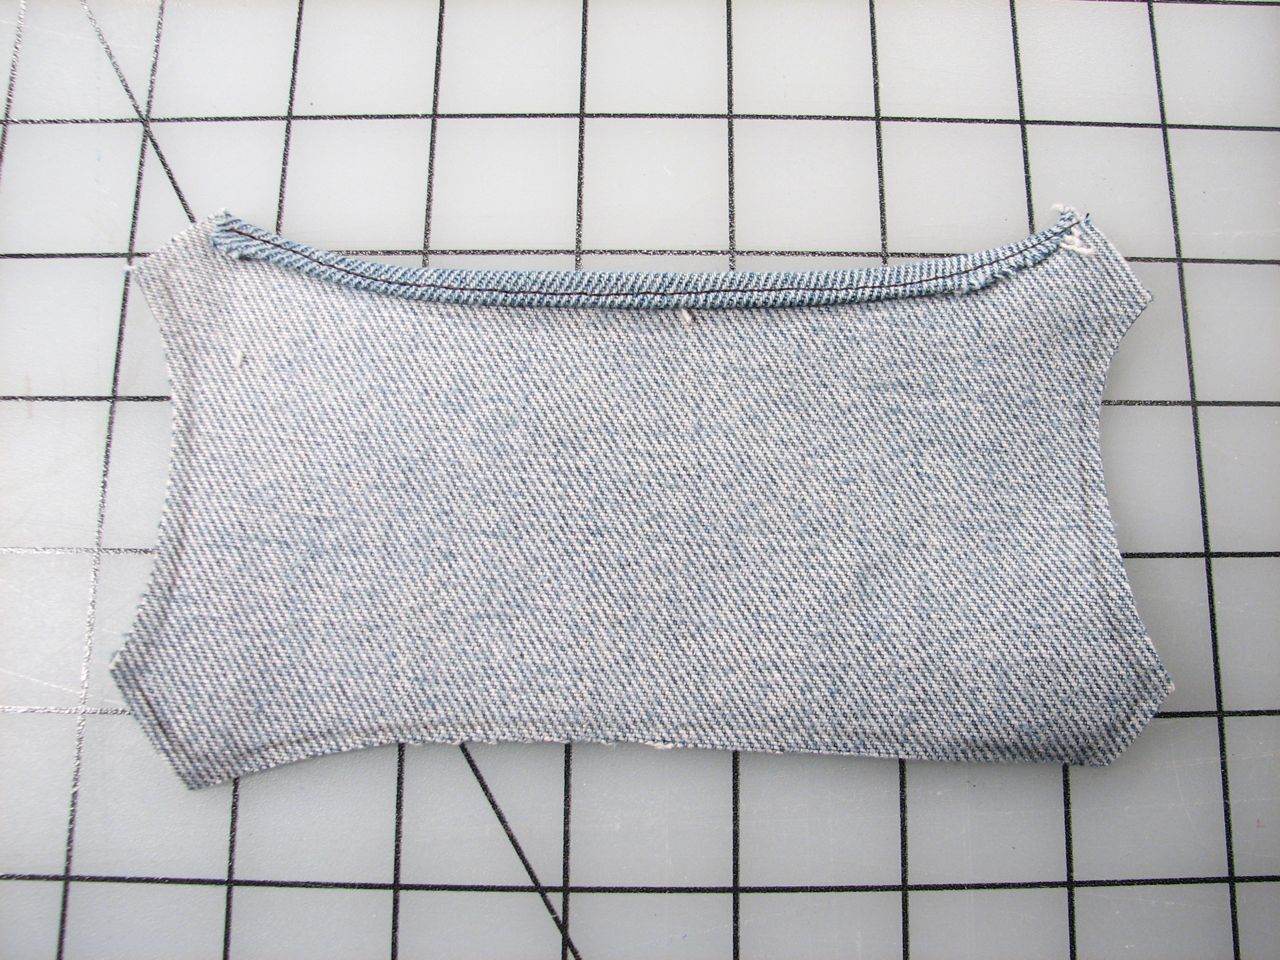
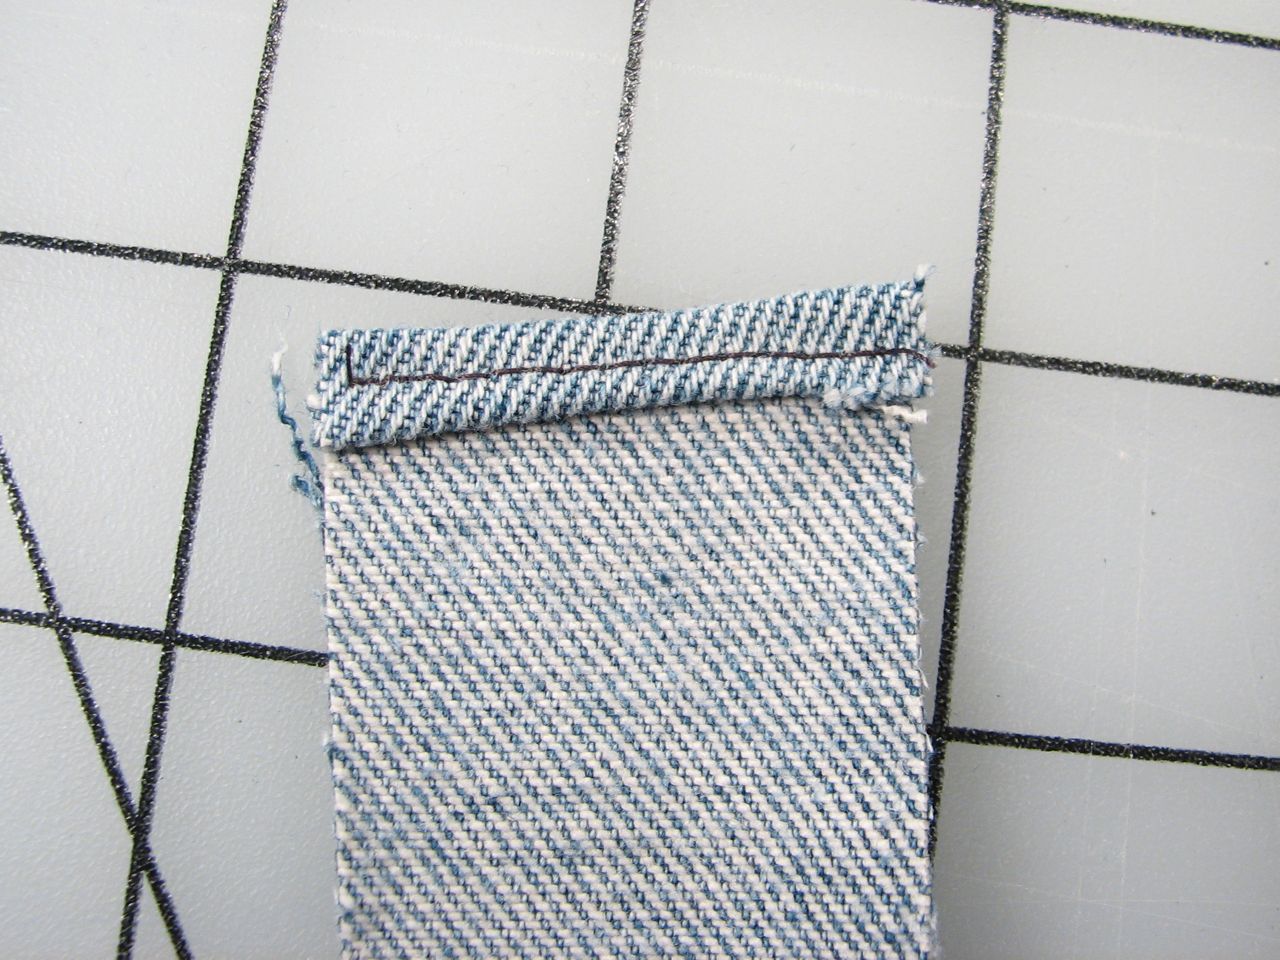
Roll a hem on one edge of the front piece of denim, and on one end of the edge strip.
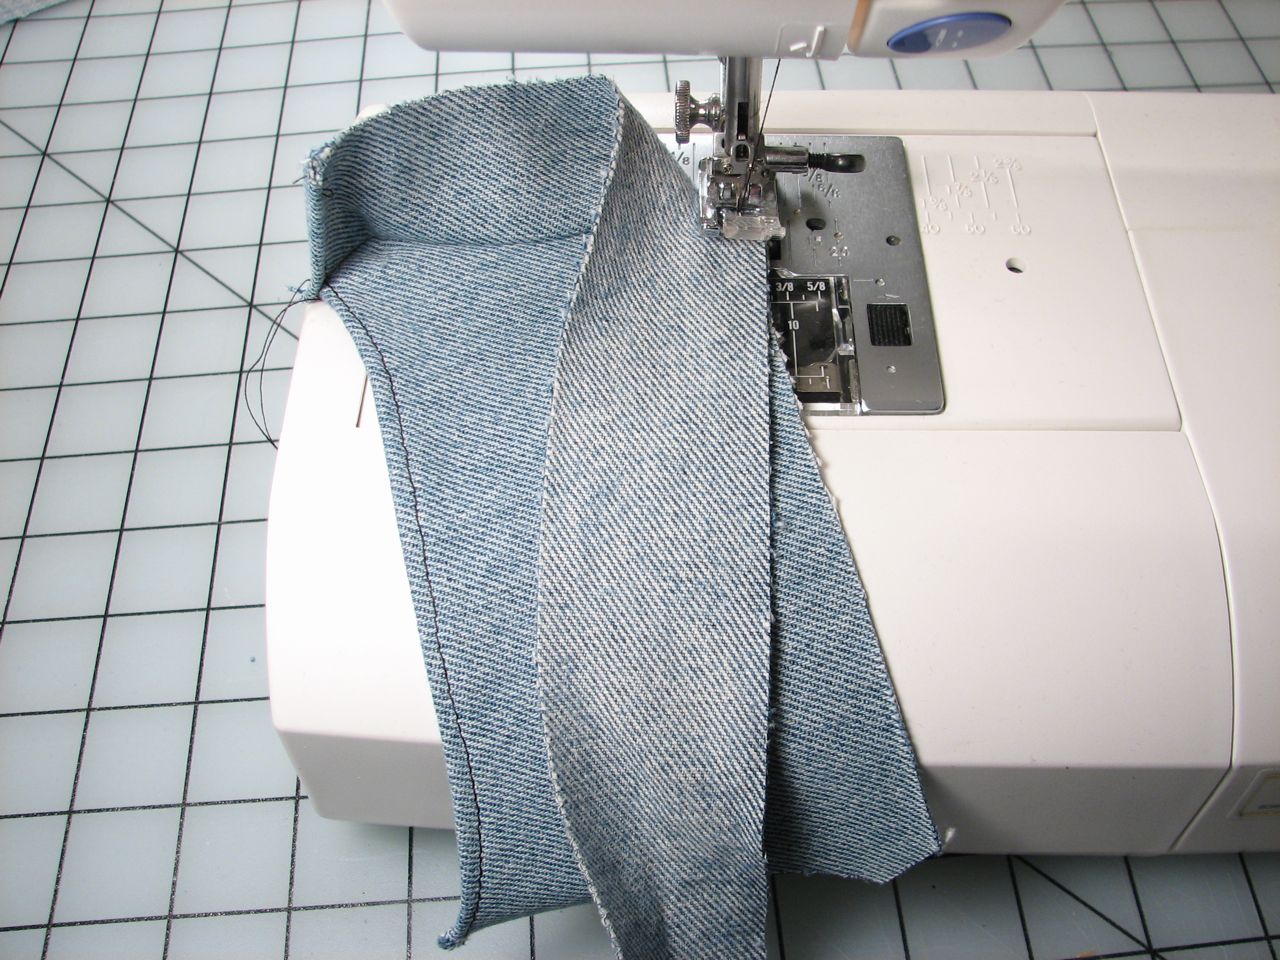
Start stitching the edge strip to the front piece, starting at the edge of the rolled hem, pivoting at the turns as necessary.
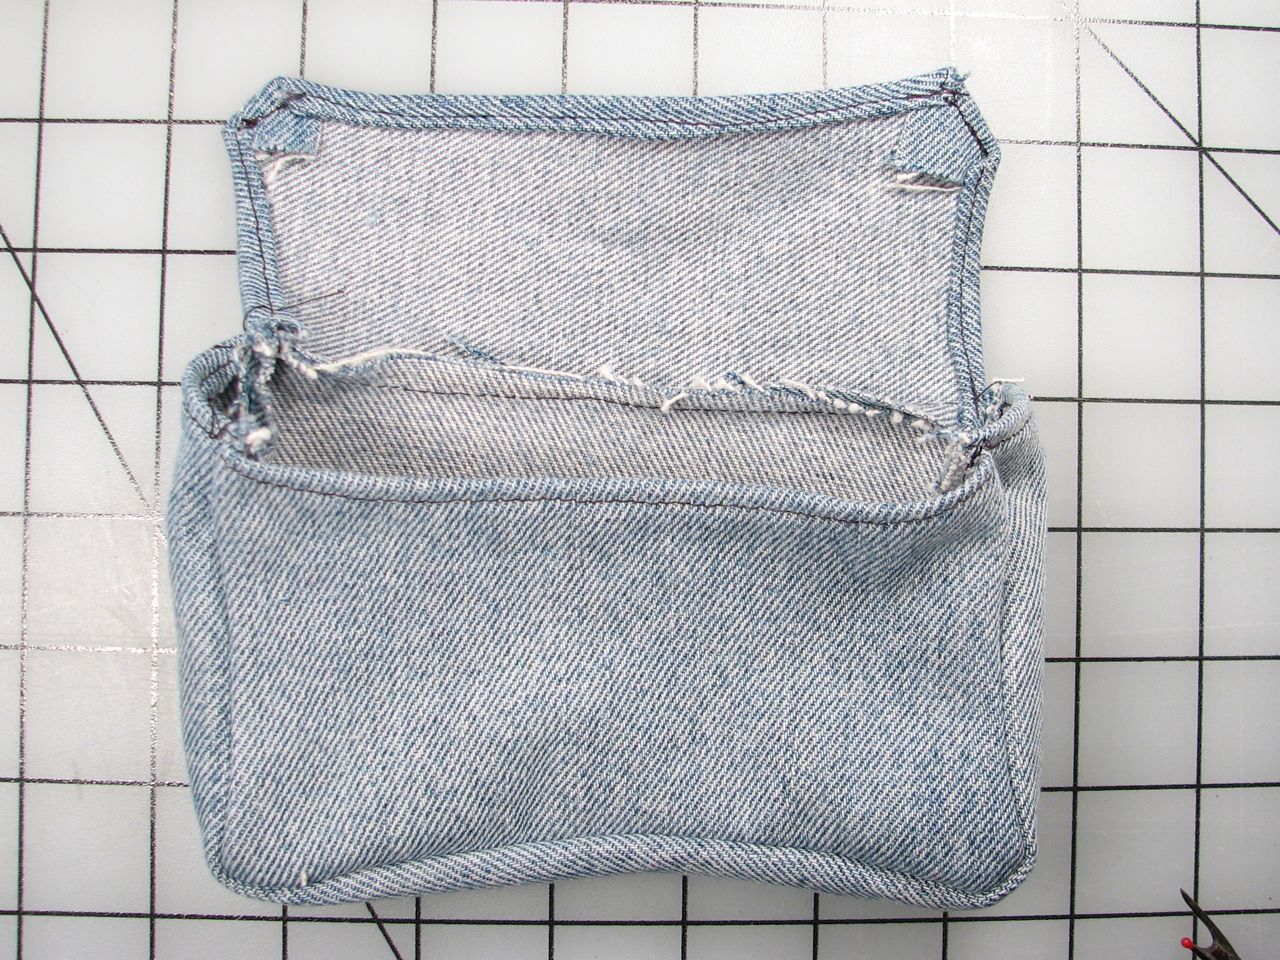
Stitch the back piece on. Take the extra length of the edge strip and trim, roll and hem.
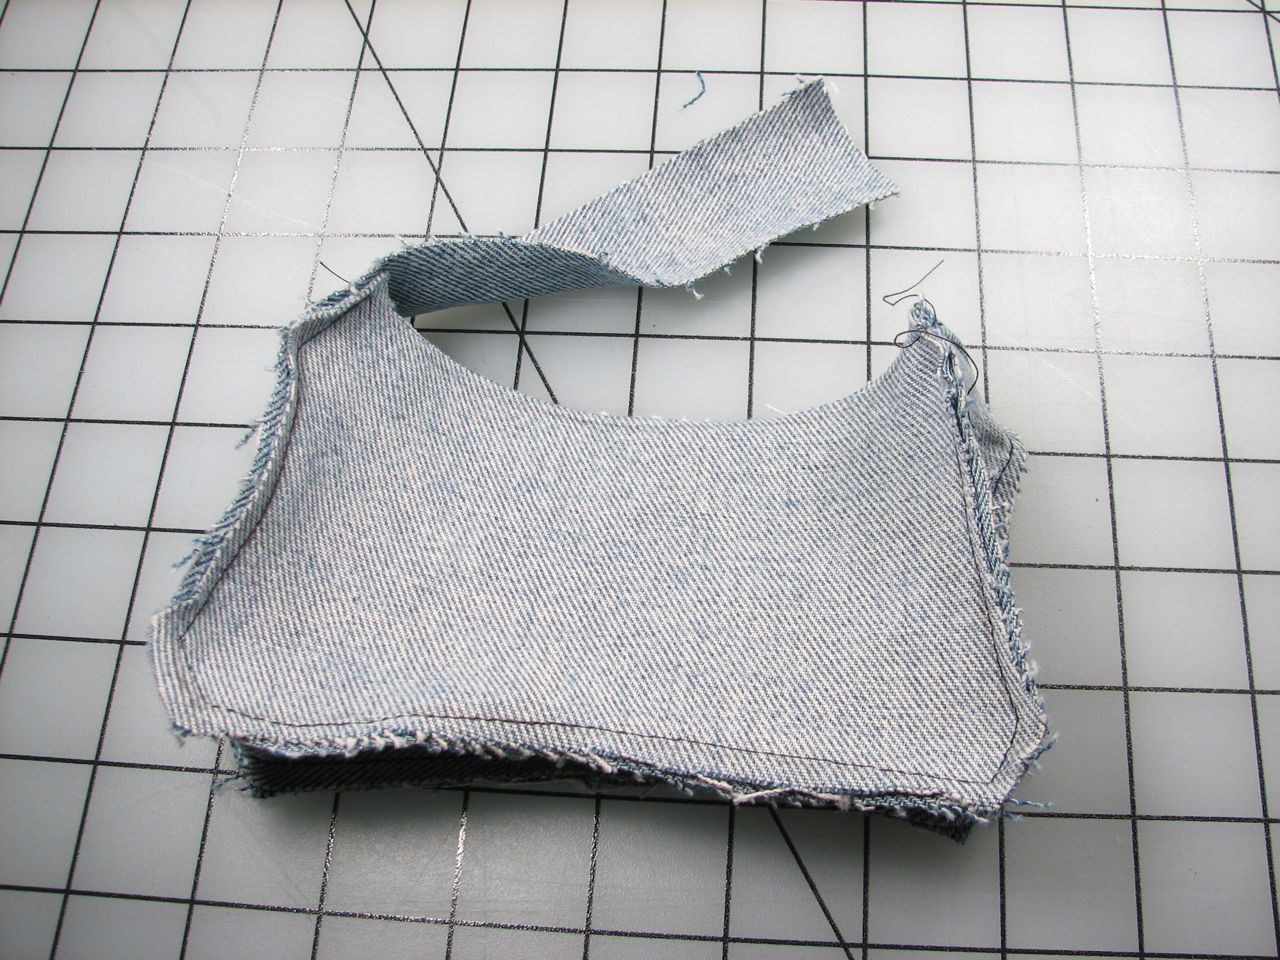
Turn it right side out and stitch the flap on, leaving enough allowance on each side to hem.
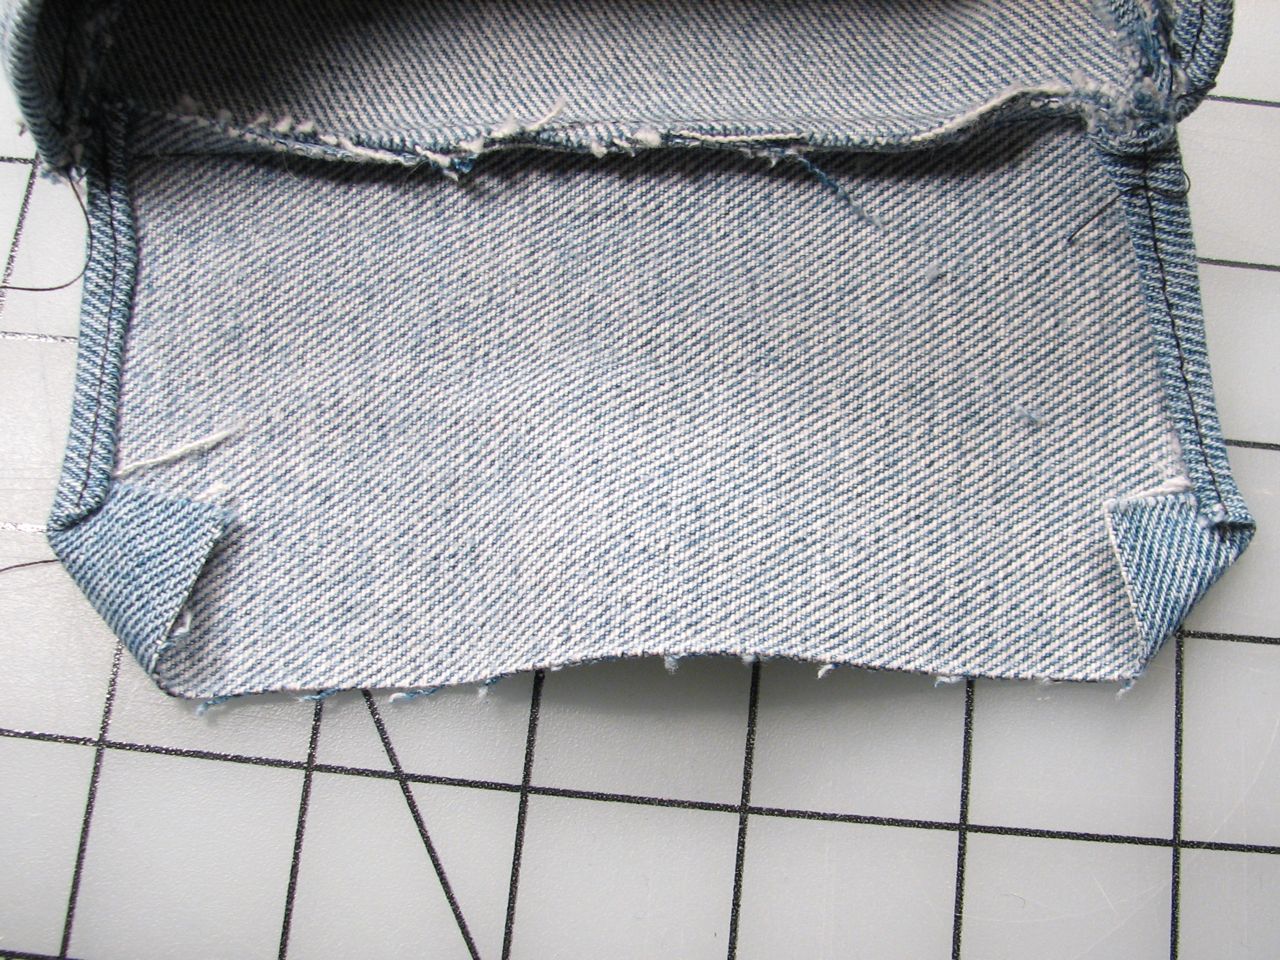
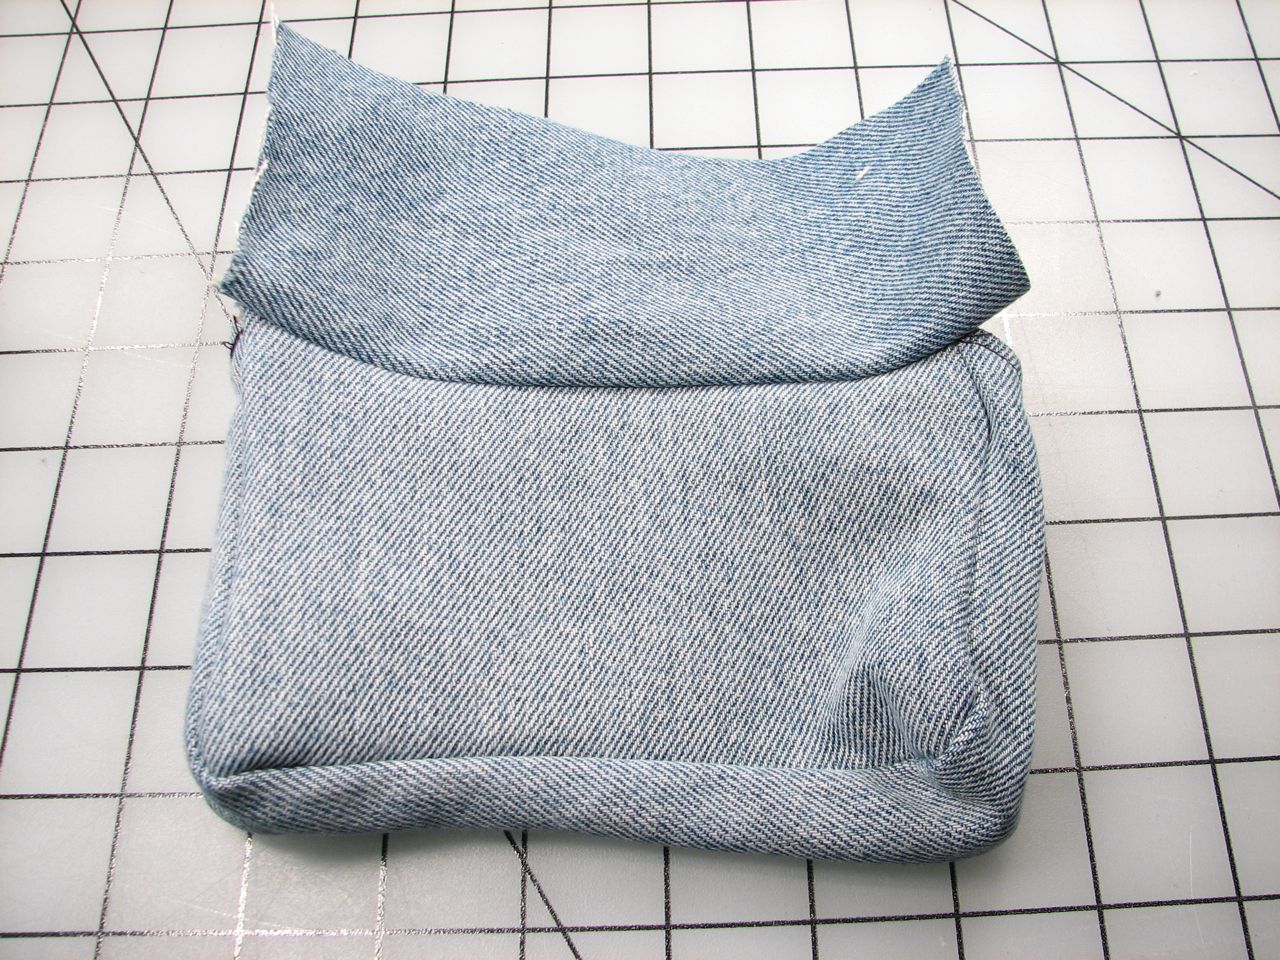
Fold one corner down (pin, if necessary) and roll a hem on that side. Then fold the other corner down and roll a hem on the second side.
When you roll the front edge, you can roll in the middle a little further to give it a bit of a curve to match Meggy’s curved edge.
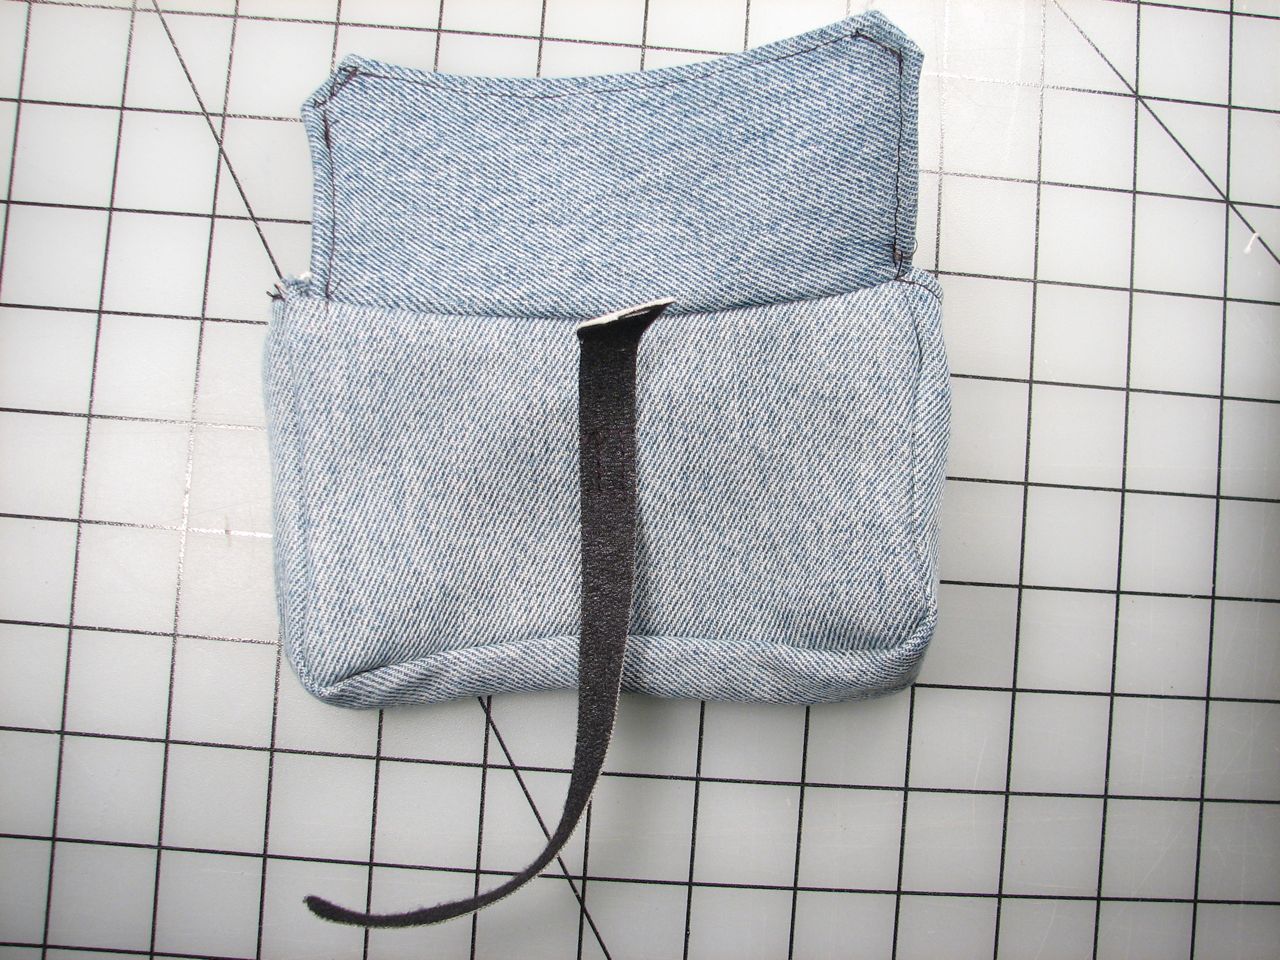
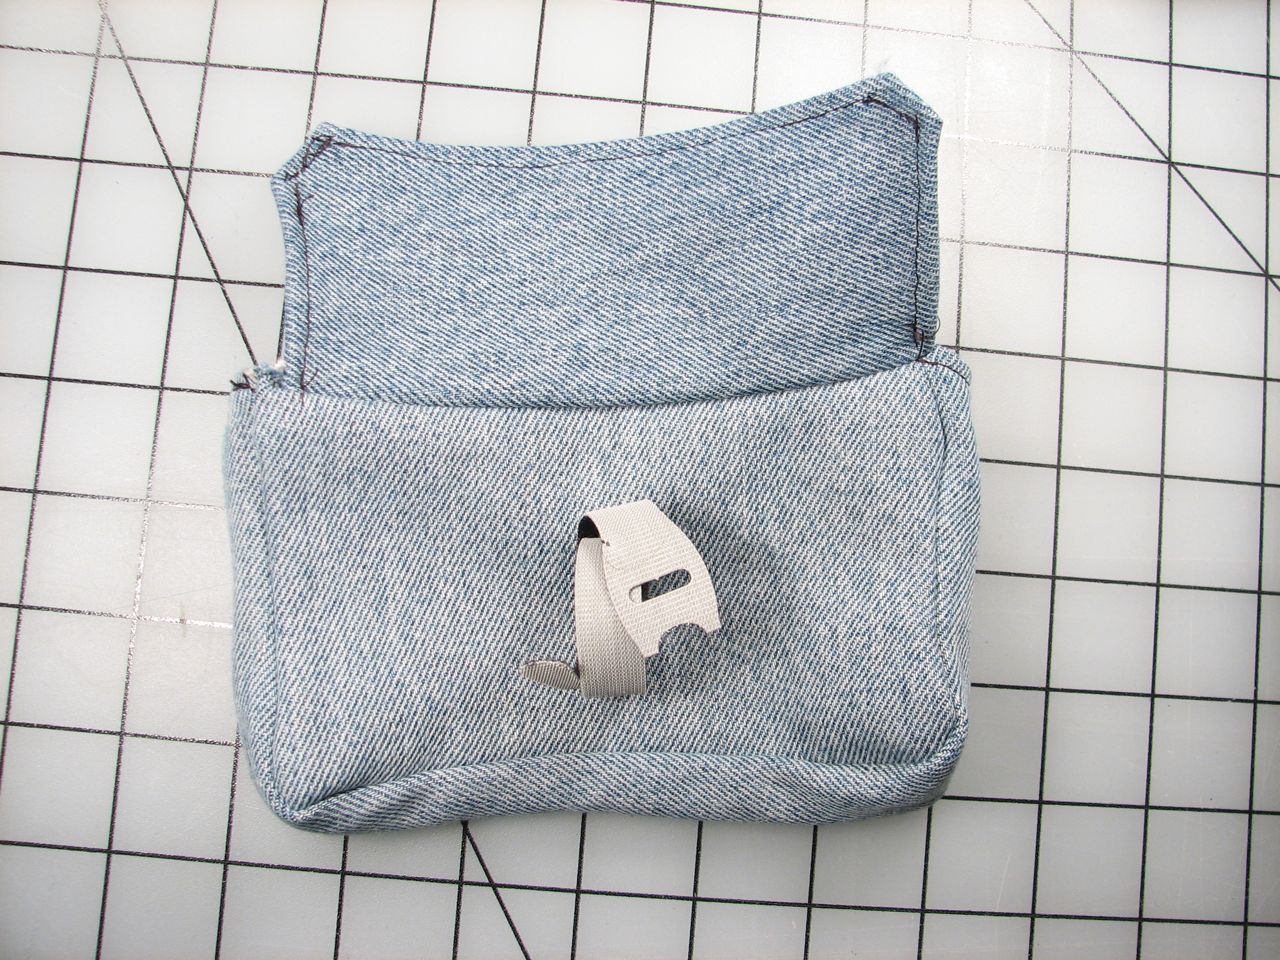
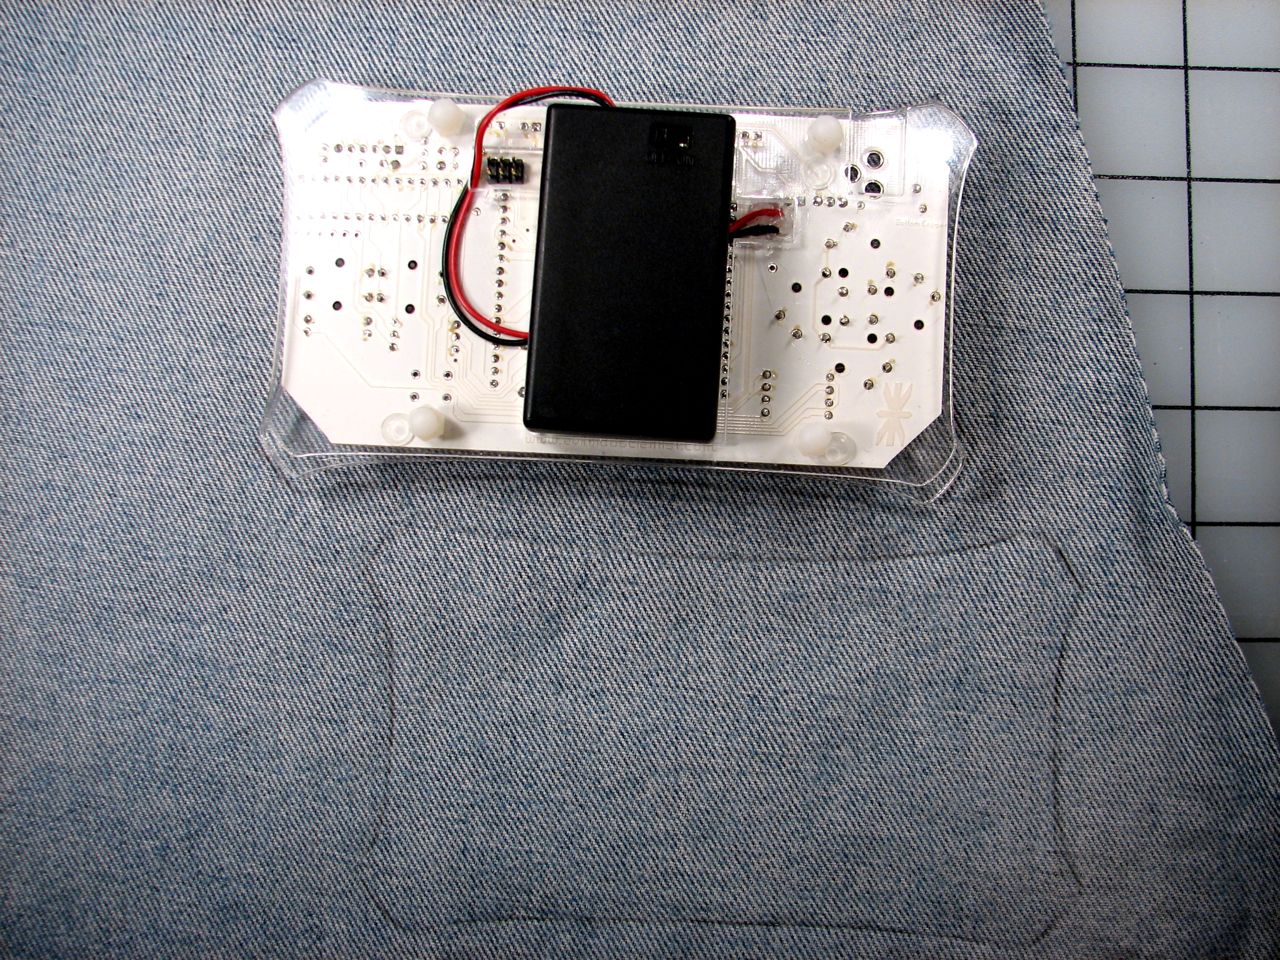
You will most likely want to put a velcro strap on the back to hold your USB-TTL cable. We had some velcro cable ties leftover from another project which are, of course, perfect for the job.
Another possible addition to the back would be some battery pockets, similar to those on our camera cozy.

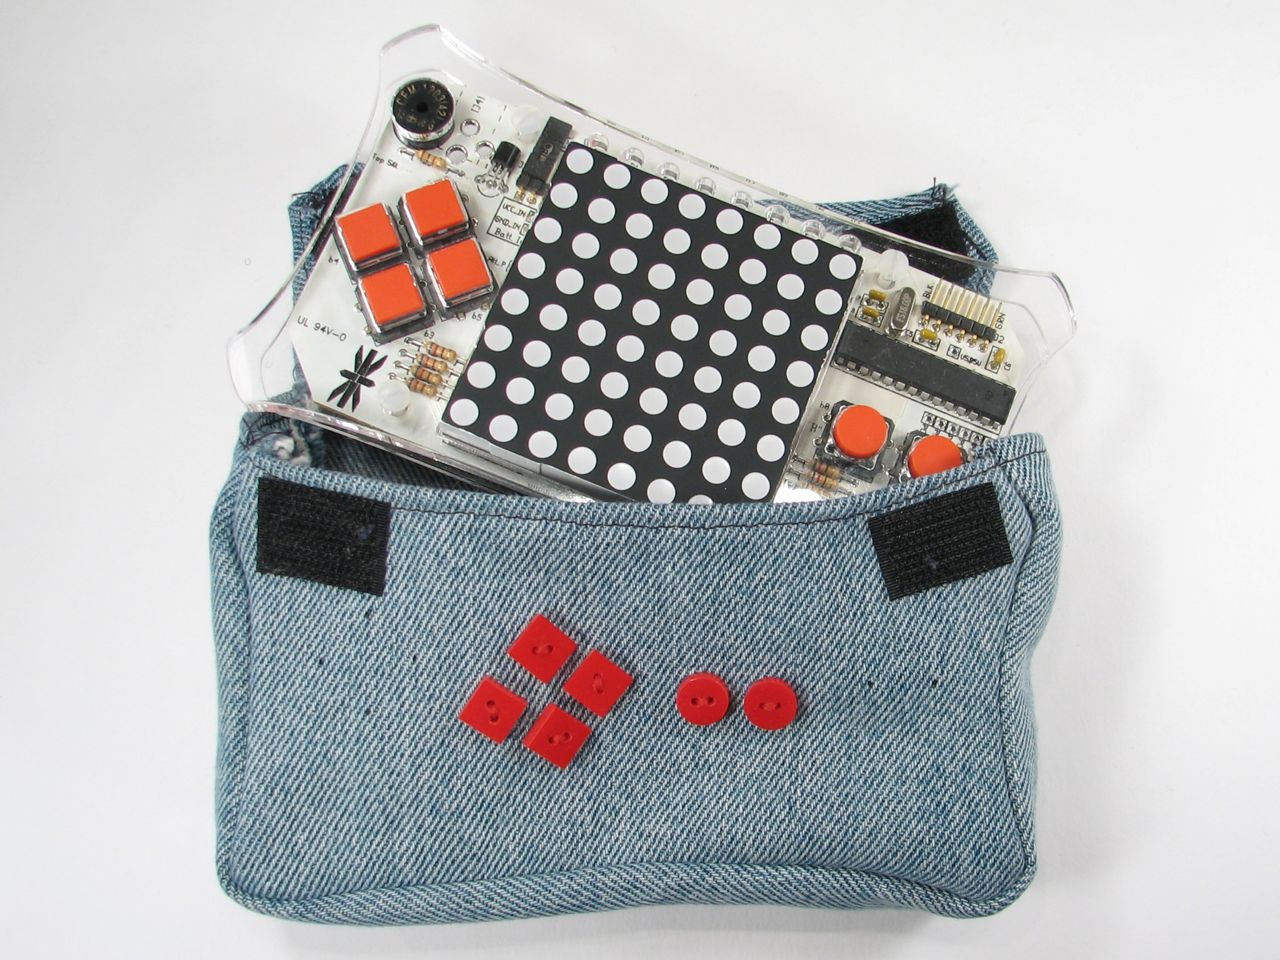
Next up, add velcro closures to the corners.
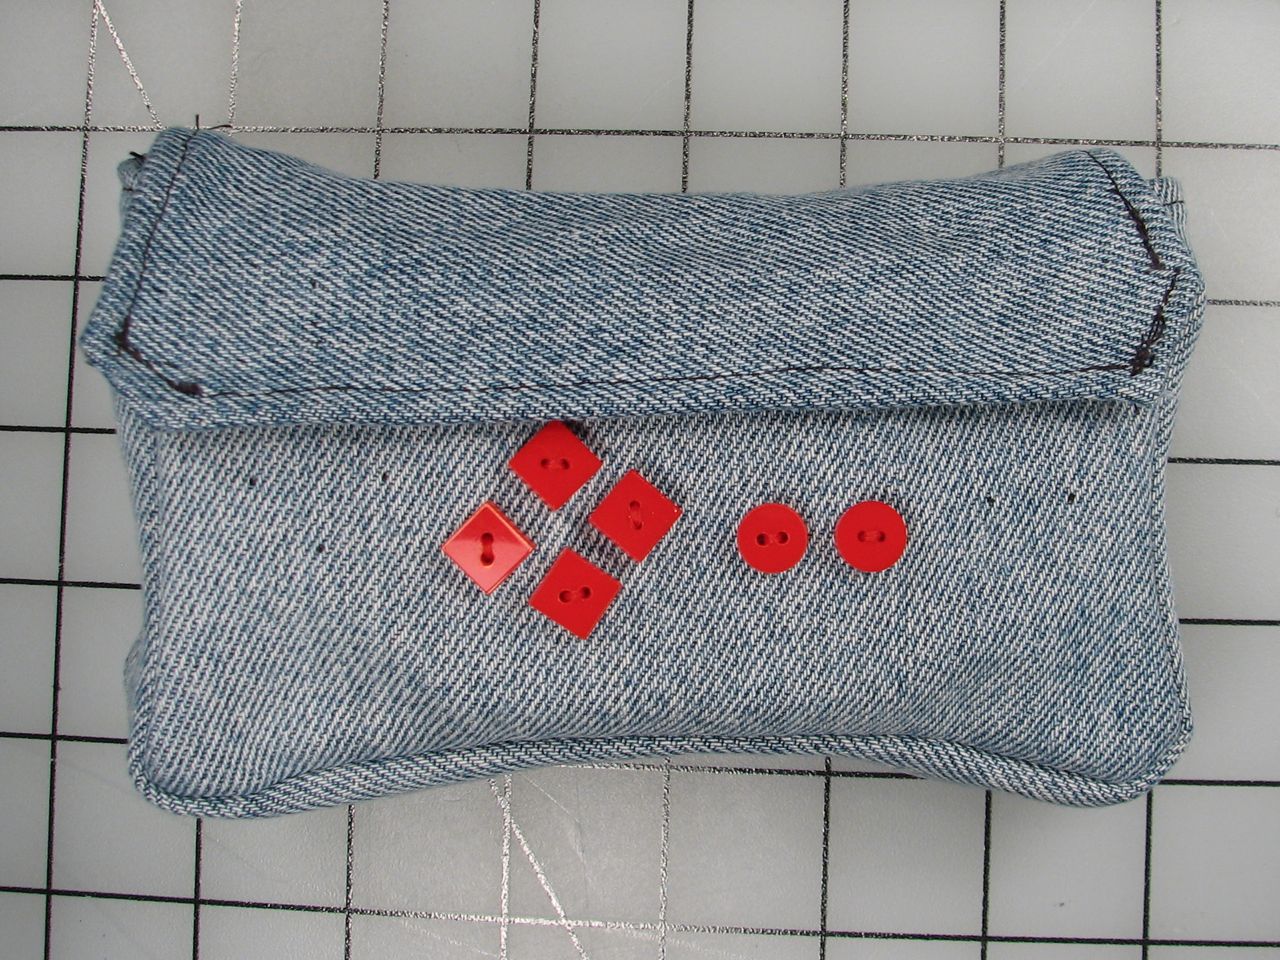
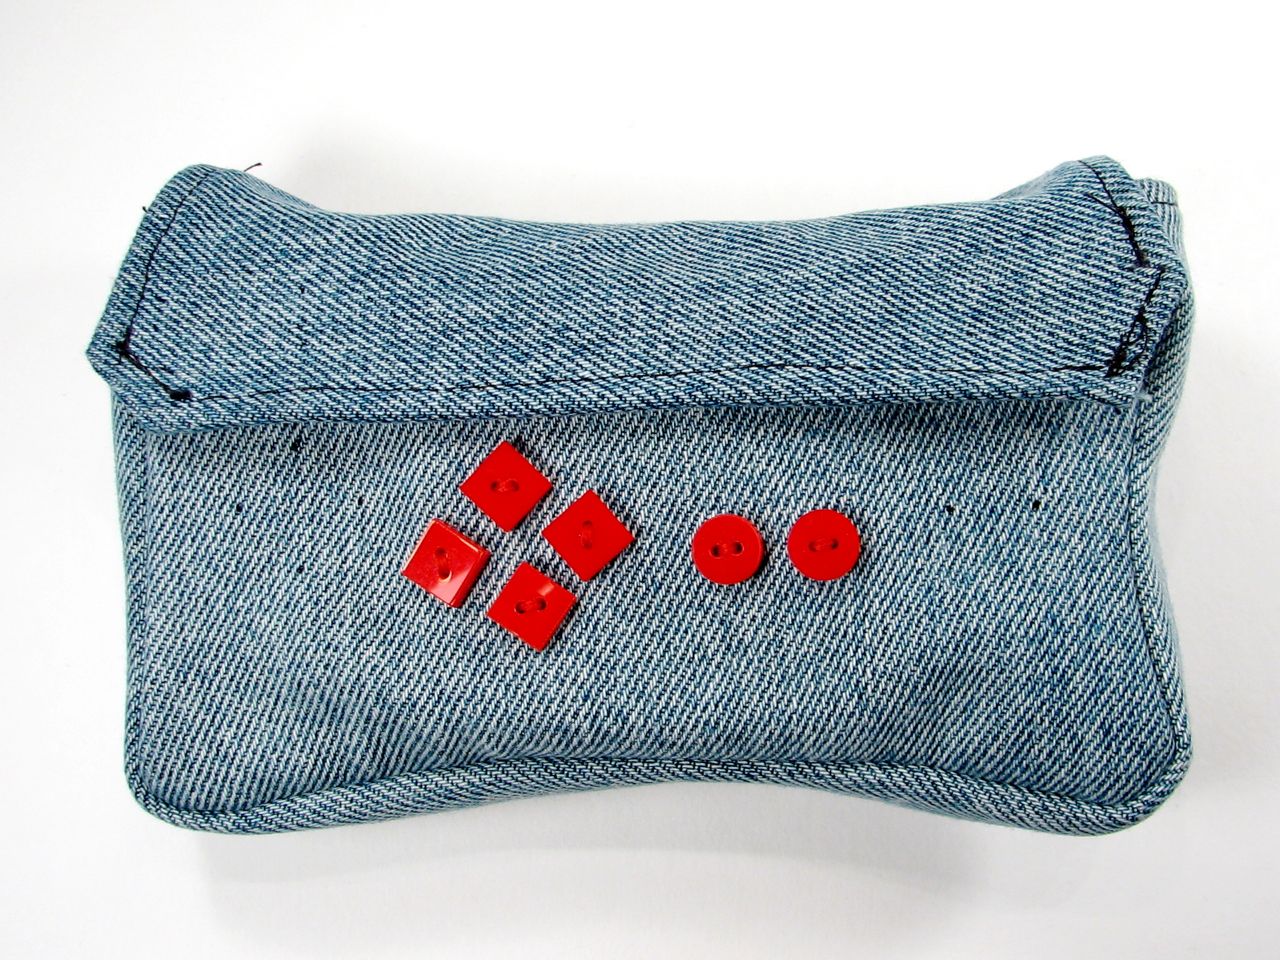
Lastly, some buttons add that final decorative touch.
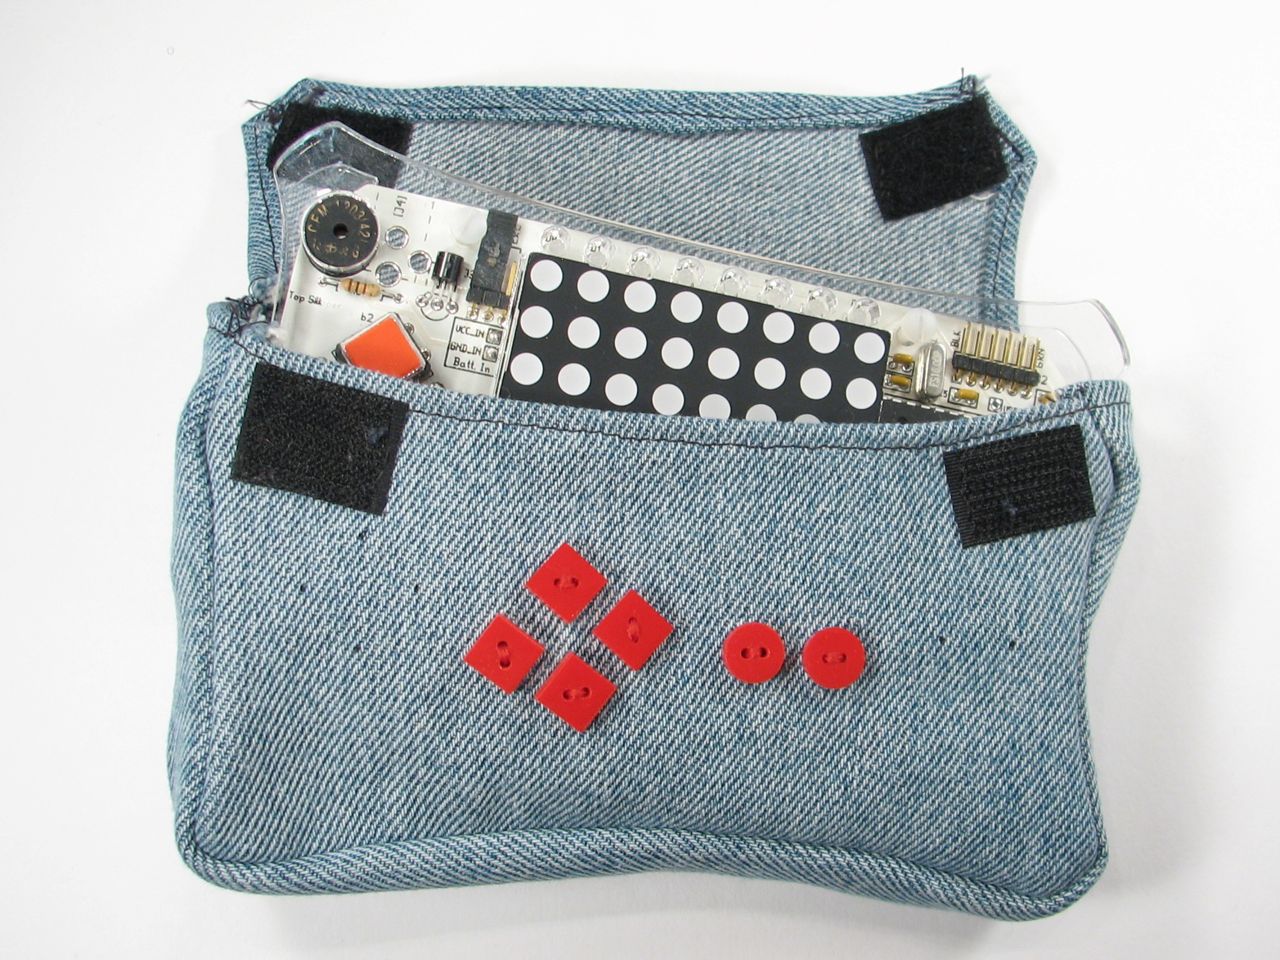
Slide your Meggy in…
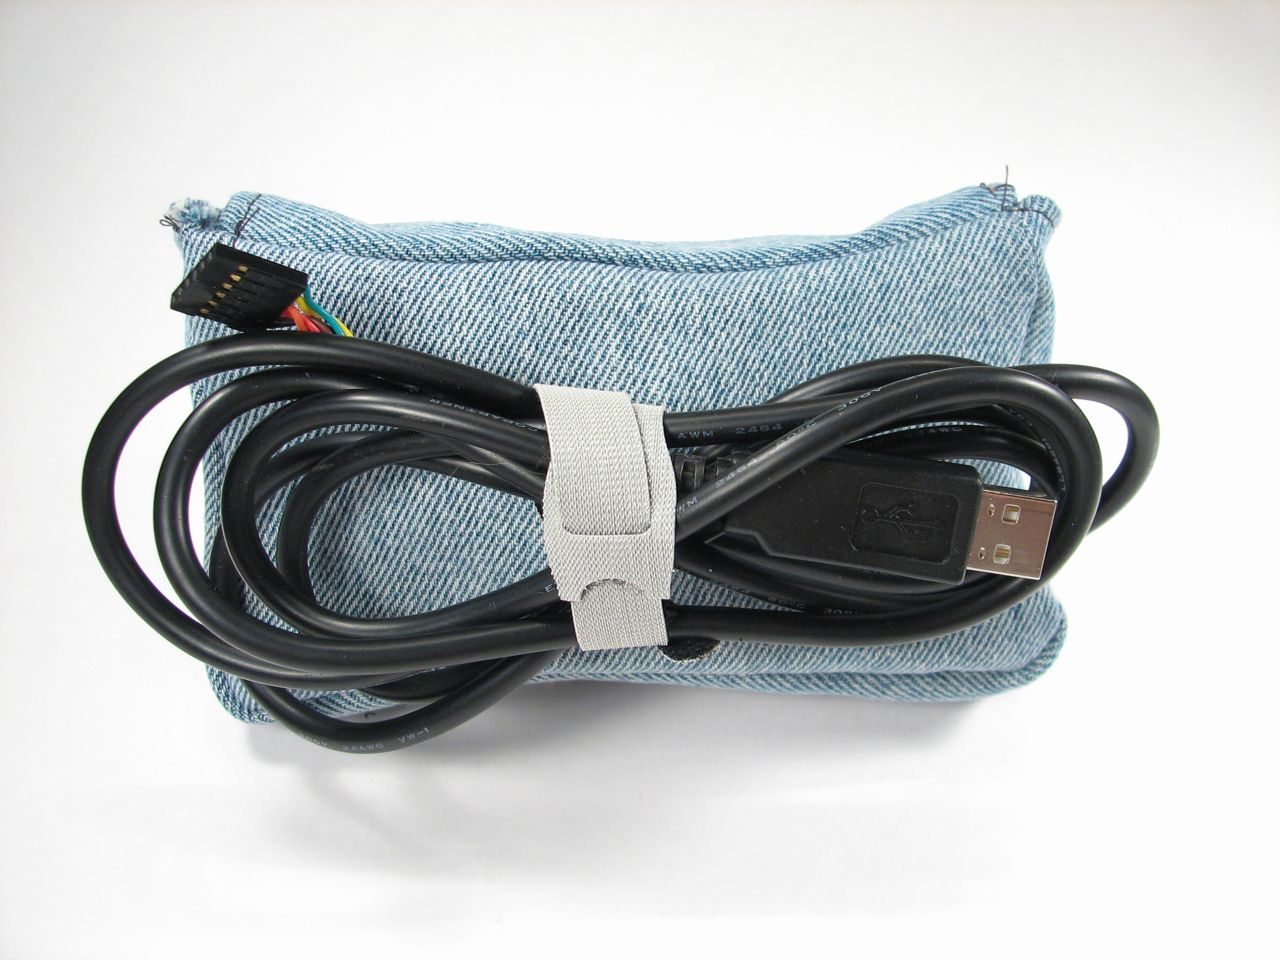
…strap your programming cable on, and you’re ready to go.