


You’ve got something that just looks boring. Maybe it’s too plain, or has been defaced by ugly corporate logos. You want to jazz it up, and you want it to be permanent. Here’s an easy way to make a fabulous multicolor paint job using stickers to mask your layers.
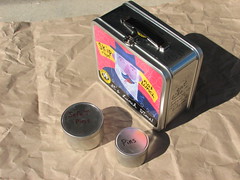
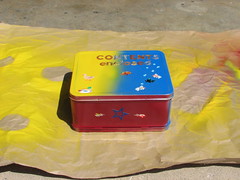
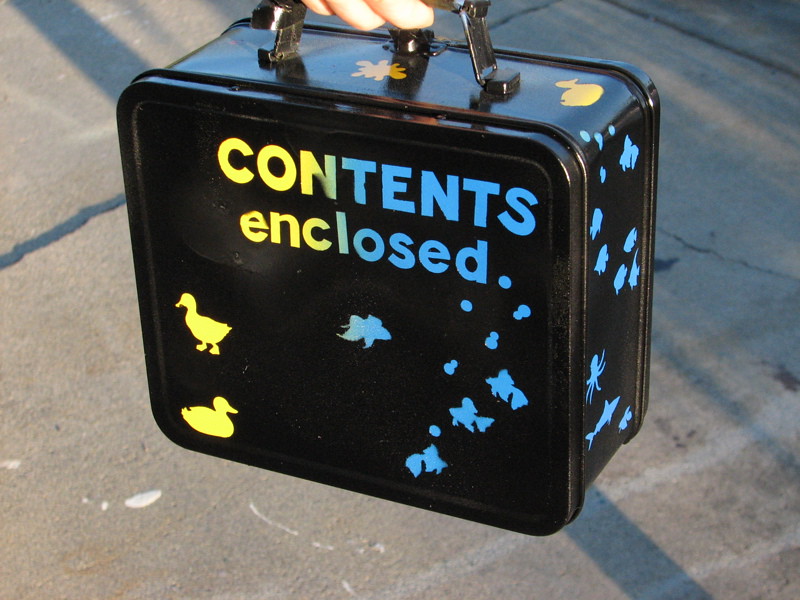
We’re going to demonstrate with a promotional lunch box (now repurposed for holding sewing supplies) and a couple of round tins. However, this technique works well on any hard smooth surface.

Clean your parts well before painting. Rubbing alcohol is a nice solvent – it even removes Sharpie marks. More importantly, it gets grease off so your paint will adhere better.
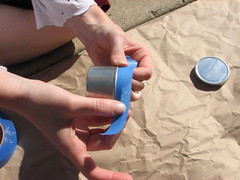
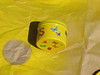
Mask the parts you don’t want to paint – in this case, the rim of the tins where the lid slides on. We also masked the handle and latch on the lunchbox.
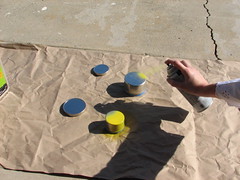
Lay everything out on something you can get paint on. Light even coats are the key to avoiding drips. For interesting textures, heavy and uneven coats can be fun. The tins are going to be a straightforward dark over light pattern.
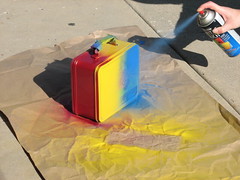
We’re going to do a scratchboard effect with the lunchbox. Start by making your design in the color, then add the black layer! A little bit of blur between the colors is desirable, so masking or shielding between colors isn’t necessary.
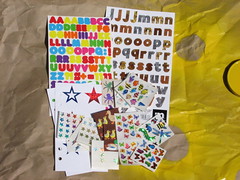
Now is a good time to gather your sticker collection, since you need to let these first coats dry very well. You don’t want to put your stickers down on paint that hasn’t had a chance to cure.
After the undercoat has dried, you can apply your stickers. Press them down firmly to get clean edges for your designs.
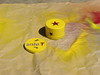
These tins normally hold pins. One for safety pins, one for dangerous (straight) pins. We’ll label them with letters left over from Stella’s paint job, and give them different sticker shapes, just for fun.
The lunch box is going to be a sampler to take advantage of the color variation and the fact that the Evil Mad Scientist Labs sticker collection is rather diverse. How else can we justify using both a duck and a shark?

Now it’s time to put on the top coats. The tins are each getting a different top color to further differentiate them.
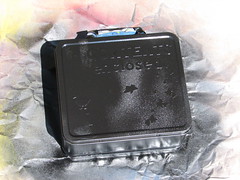
Here’s the black for the scratchboard effect. Keep in mind that the sooner you can get the stickers off, the easier it will be, so don’t abandon them in the garage at this stage. As soon as your top color is dry, peel off those stickers!
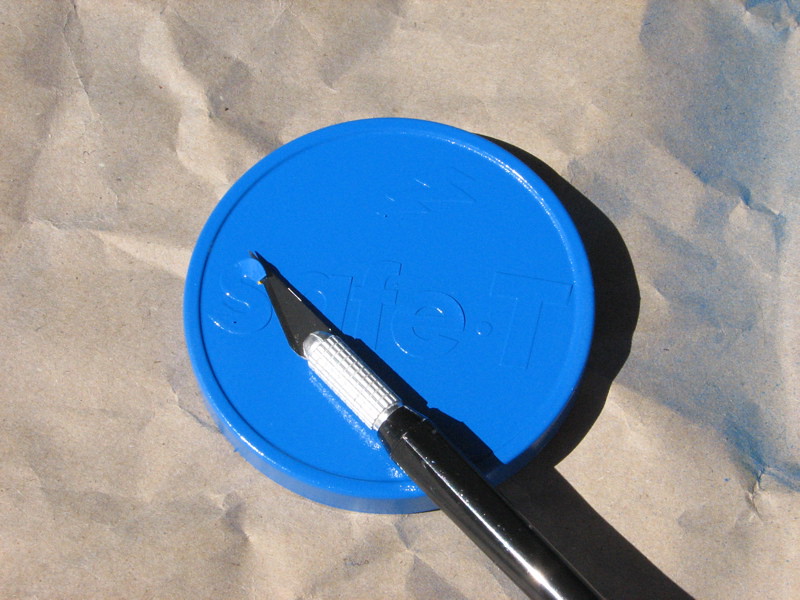
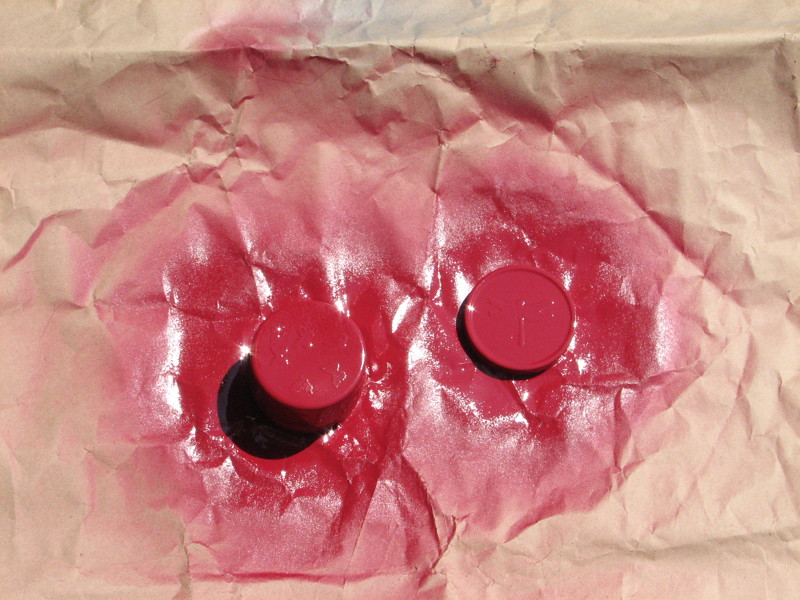
Magical moment – taking the stickers off! The easiest way is to lift a corner of the sticker with the point of your blade and then peel the rest off. This can be tedious, especially if you used a lot of very small stickers. Patience!
OK, you’ve got your stickers off. (Or so you think! If you use enough stickers you’re almost sure to miss one somewhere.) Now, apply a clear coat before you take off your masking tape. It will smooth out rough edges and form a nice protective layer.
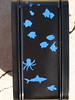

Here are a couple of close-up shots so you can see just how well some of these details came out.
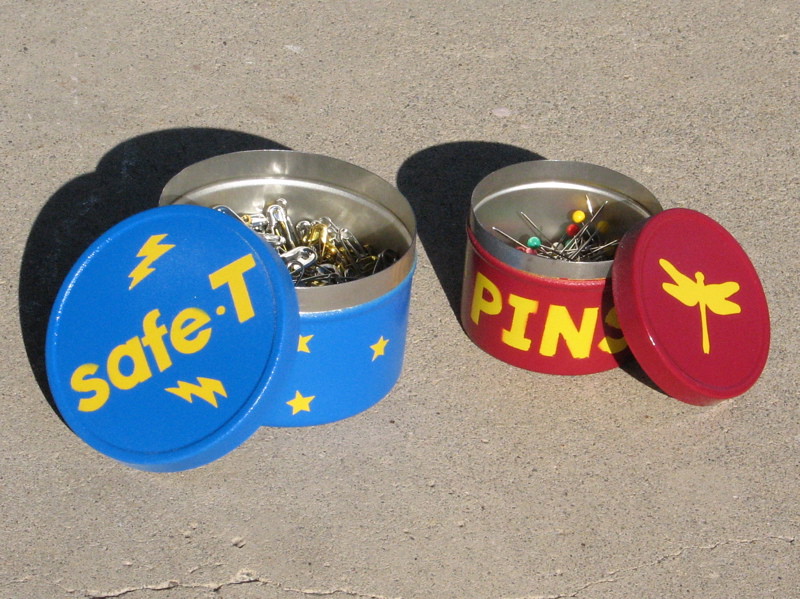
Voila! Back to usefulness, but now looking pretty darned good.
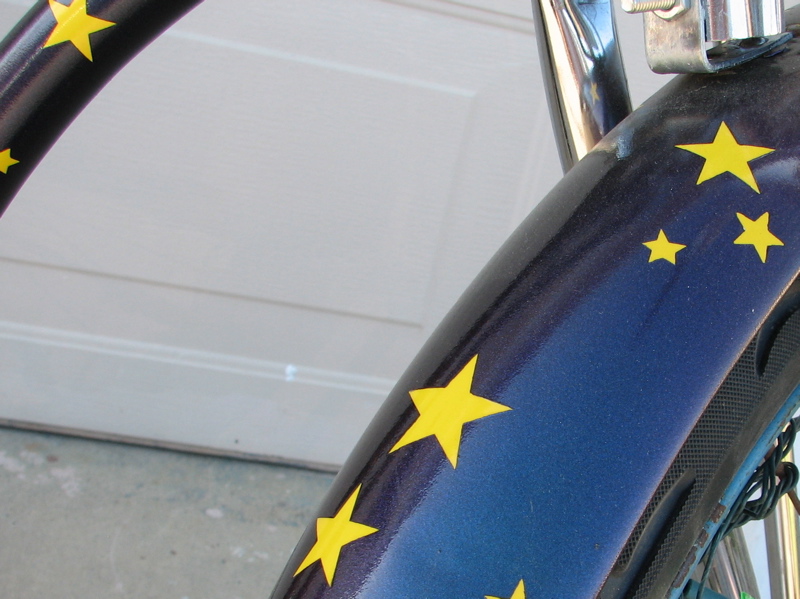
Our first sticker-stencil paint job was a bike, Stella. After primer, we gave her a nice thick coat of yellow. Hundreds of star stickers later (and a few letters – her headbadge being the inspiration) we sprayed her with a metallic color-changing blue/purple layer.
After peeling off hundreds of stickers, she got a nice clear coat to finish everything off. Now, a bike is a pretty big project, but you can see that this works for small things, too. We’d love to hear about what you paint this way!
1 thought on “How to paint things using stickers as stencils”
Comments are closed.
*Love* it!!
This might be just the thing to finish off a couple of keyboards I’m modifying…
Thanks for an excellent idea Lenore.
:)