


In some ways, we really like candy message hearts. They make good ammo, you can stamp them with your own messages, they make halfway decent sidewalk chalk, and they do bizarre things if you cook them.
On the other hand, you may or may not like the way that these things taste. (To us, many years ago, they compared very favorably to the other varieties of sidewalk chalk that we had tried.) In either case there is certainly some room for culinary alternatives.
Read on and learn how to make your own highly edible custom cookie message hearts.
Our shortbread message hearts are a slightly grown-up version of the classic. They are much larger, but keep a lot of the fun.


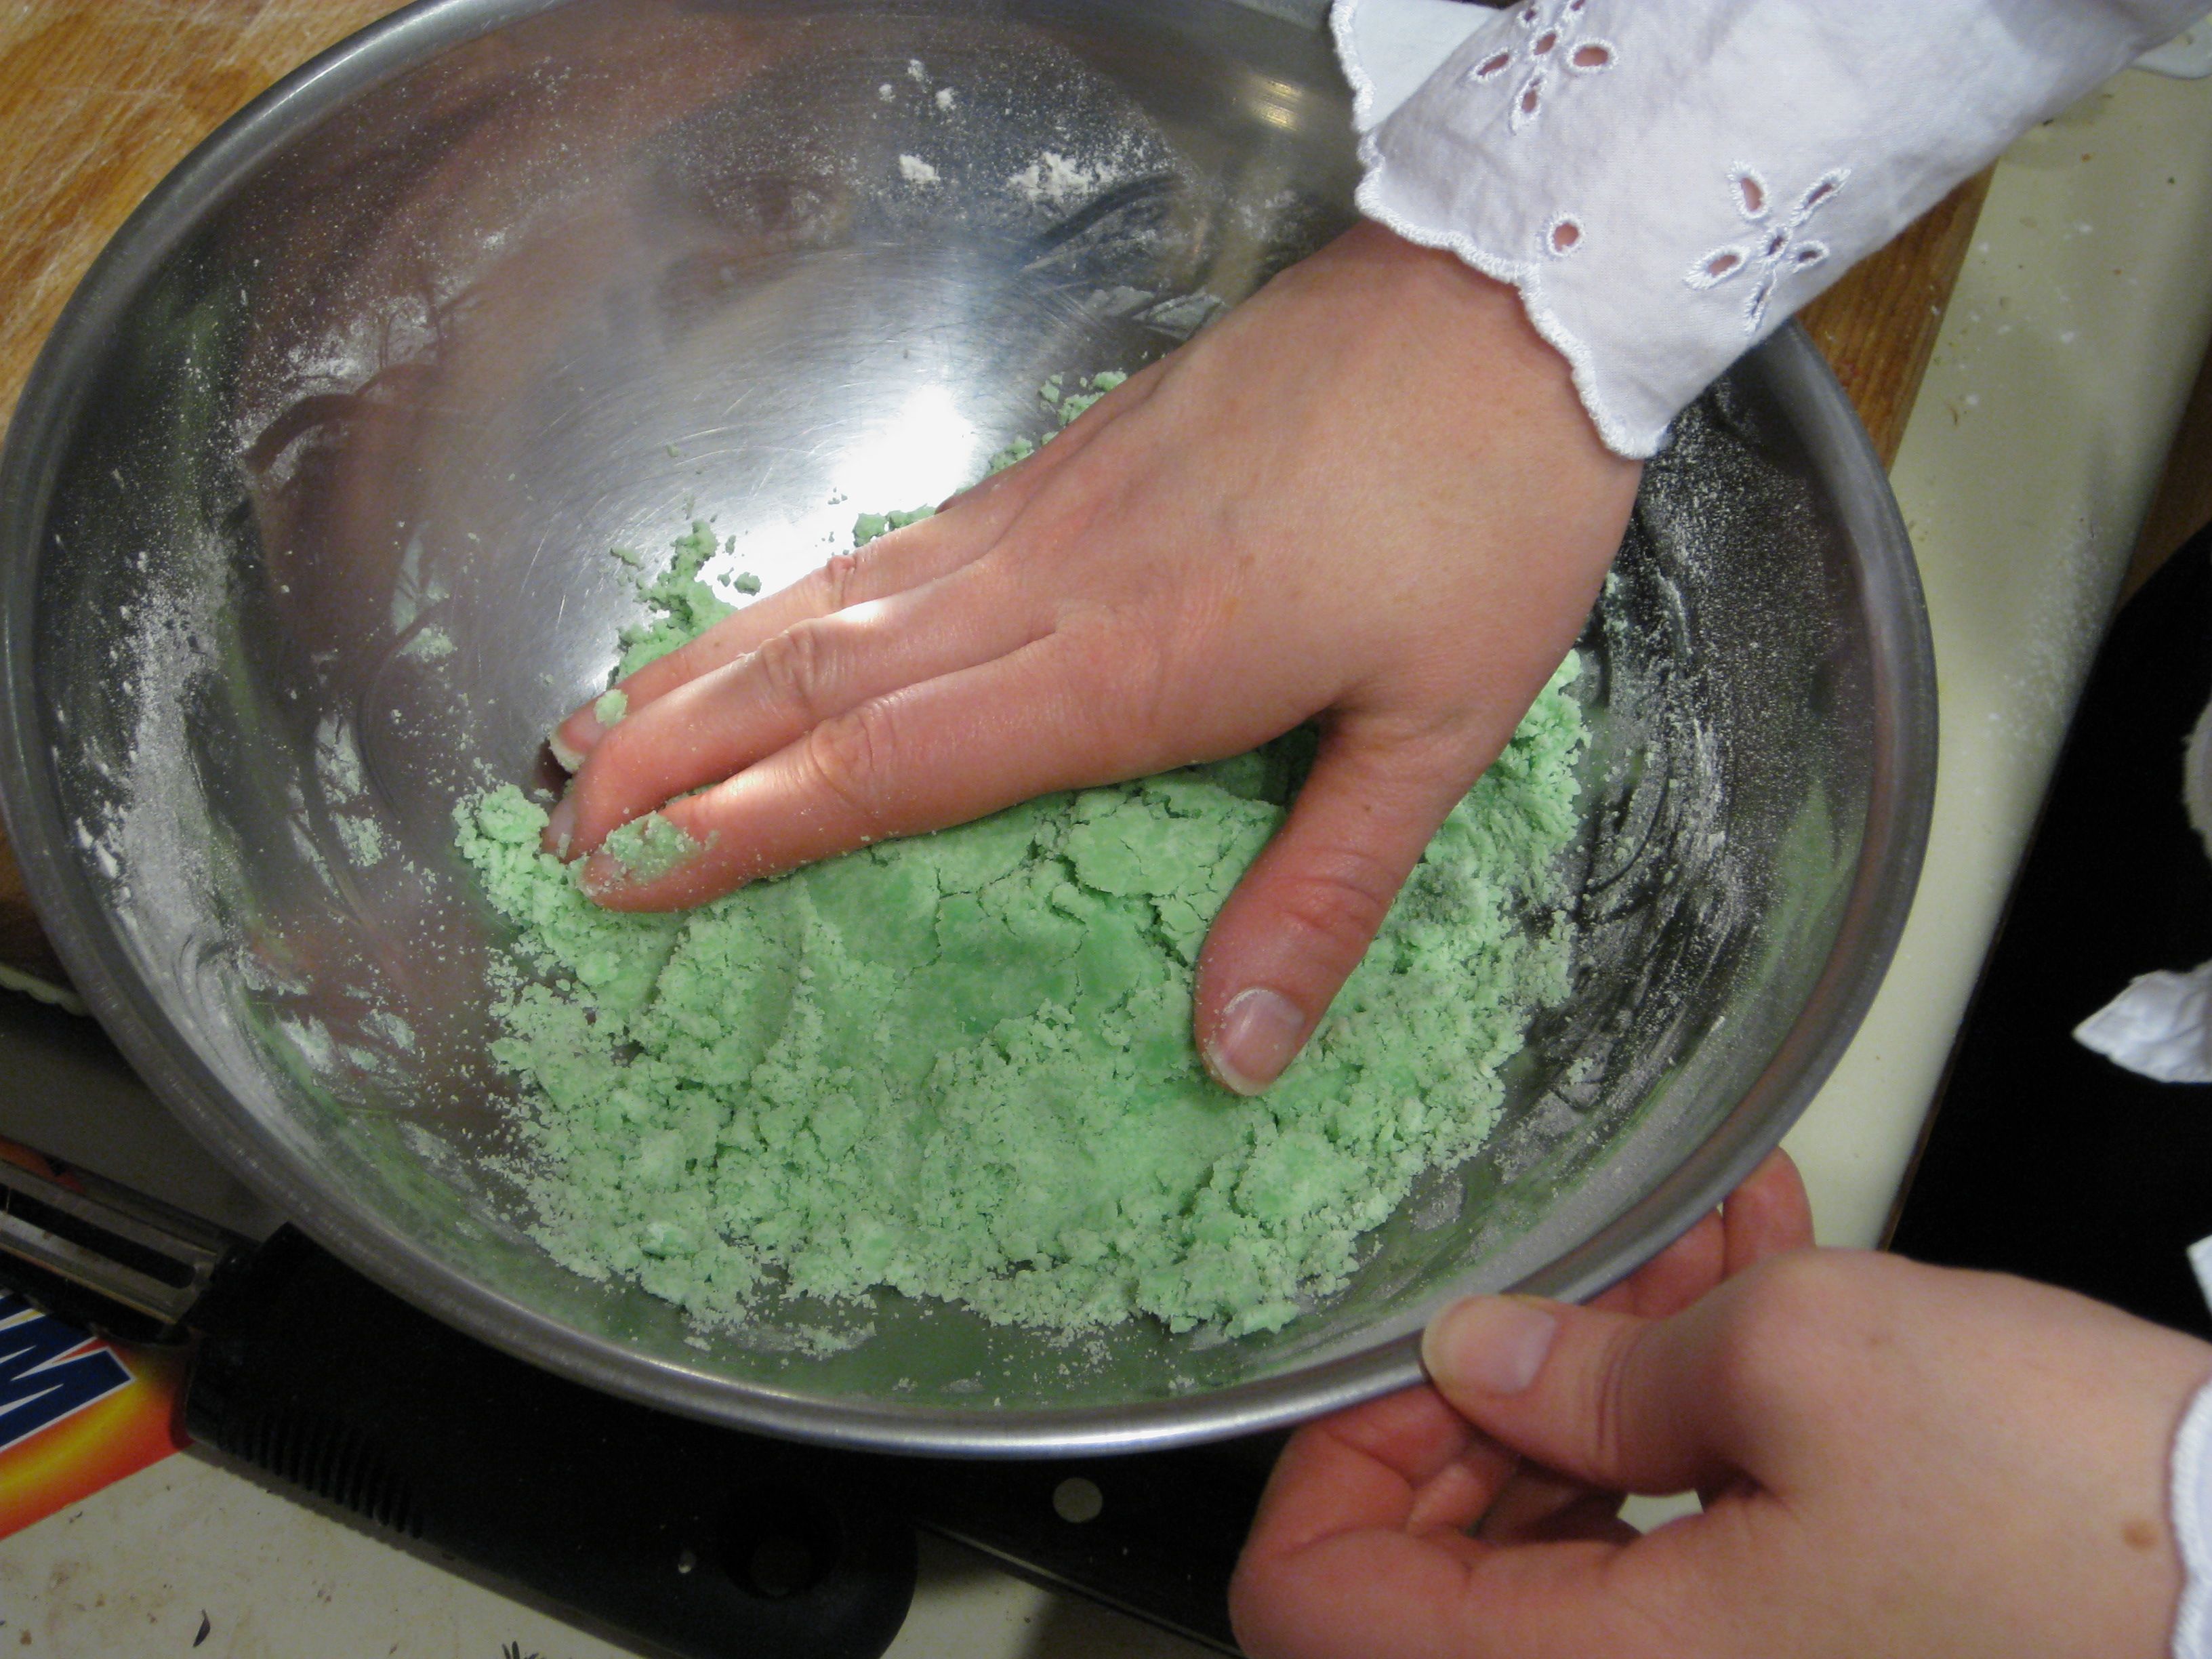
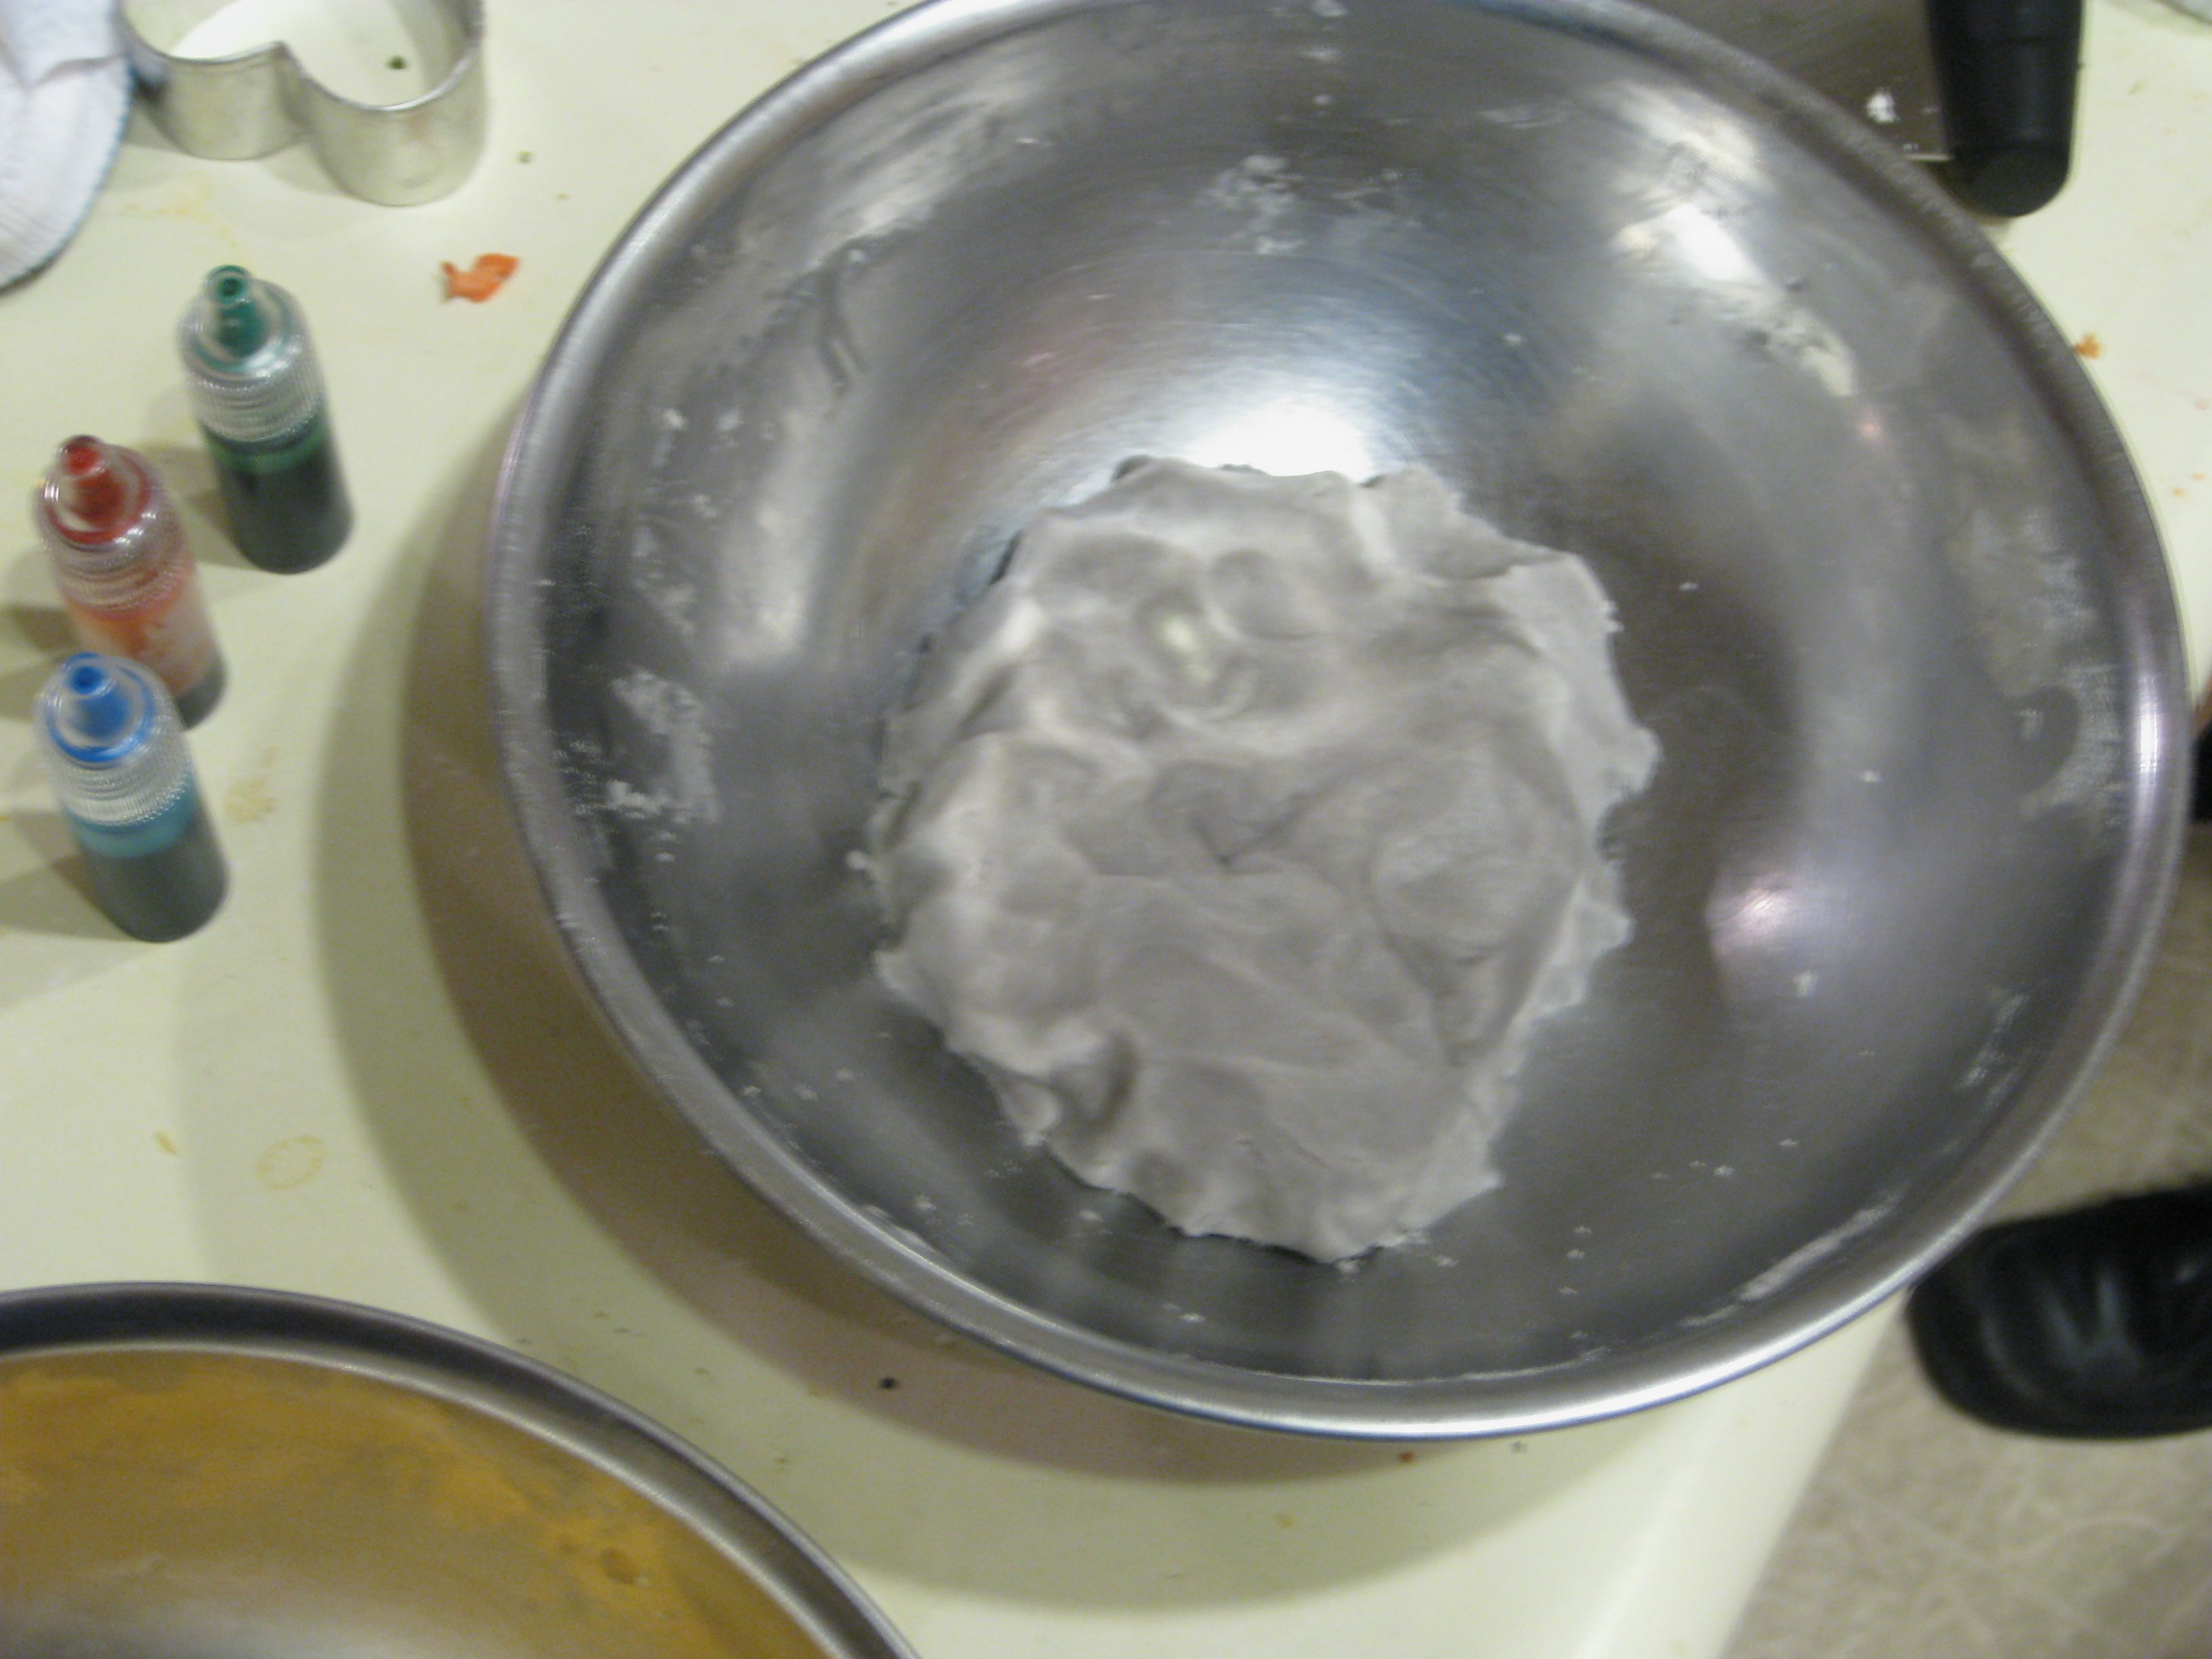
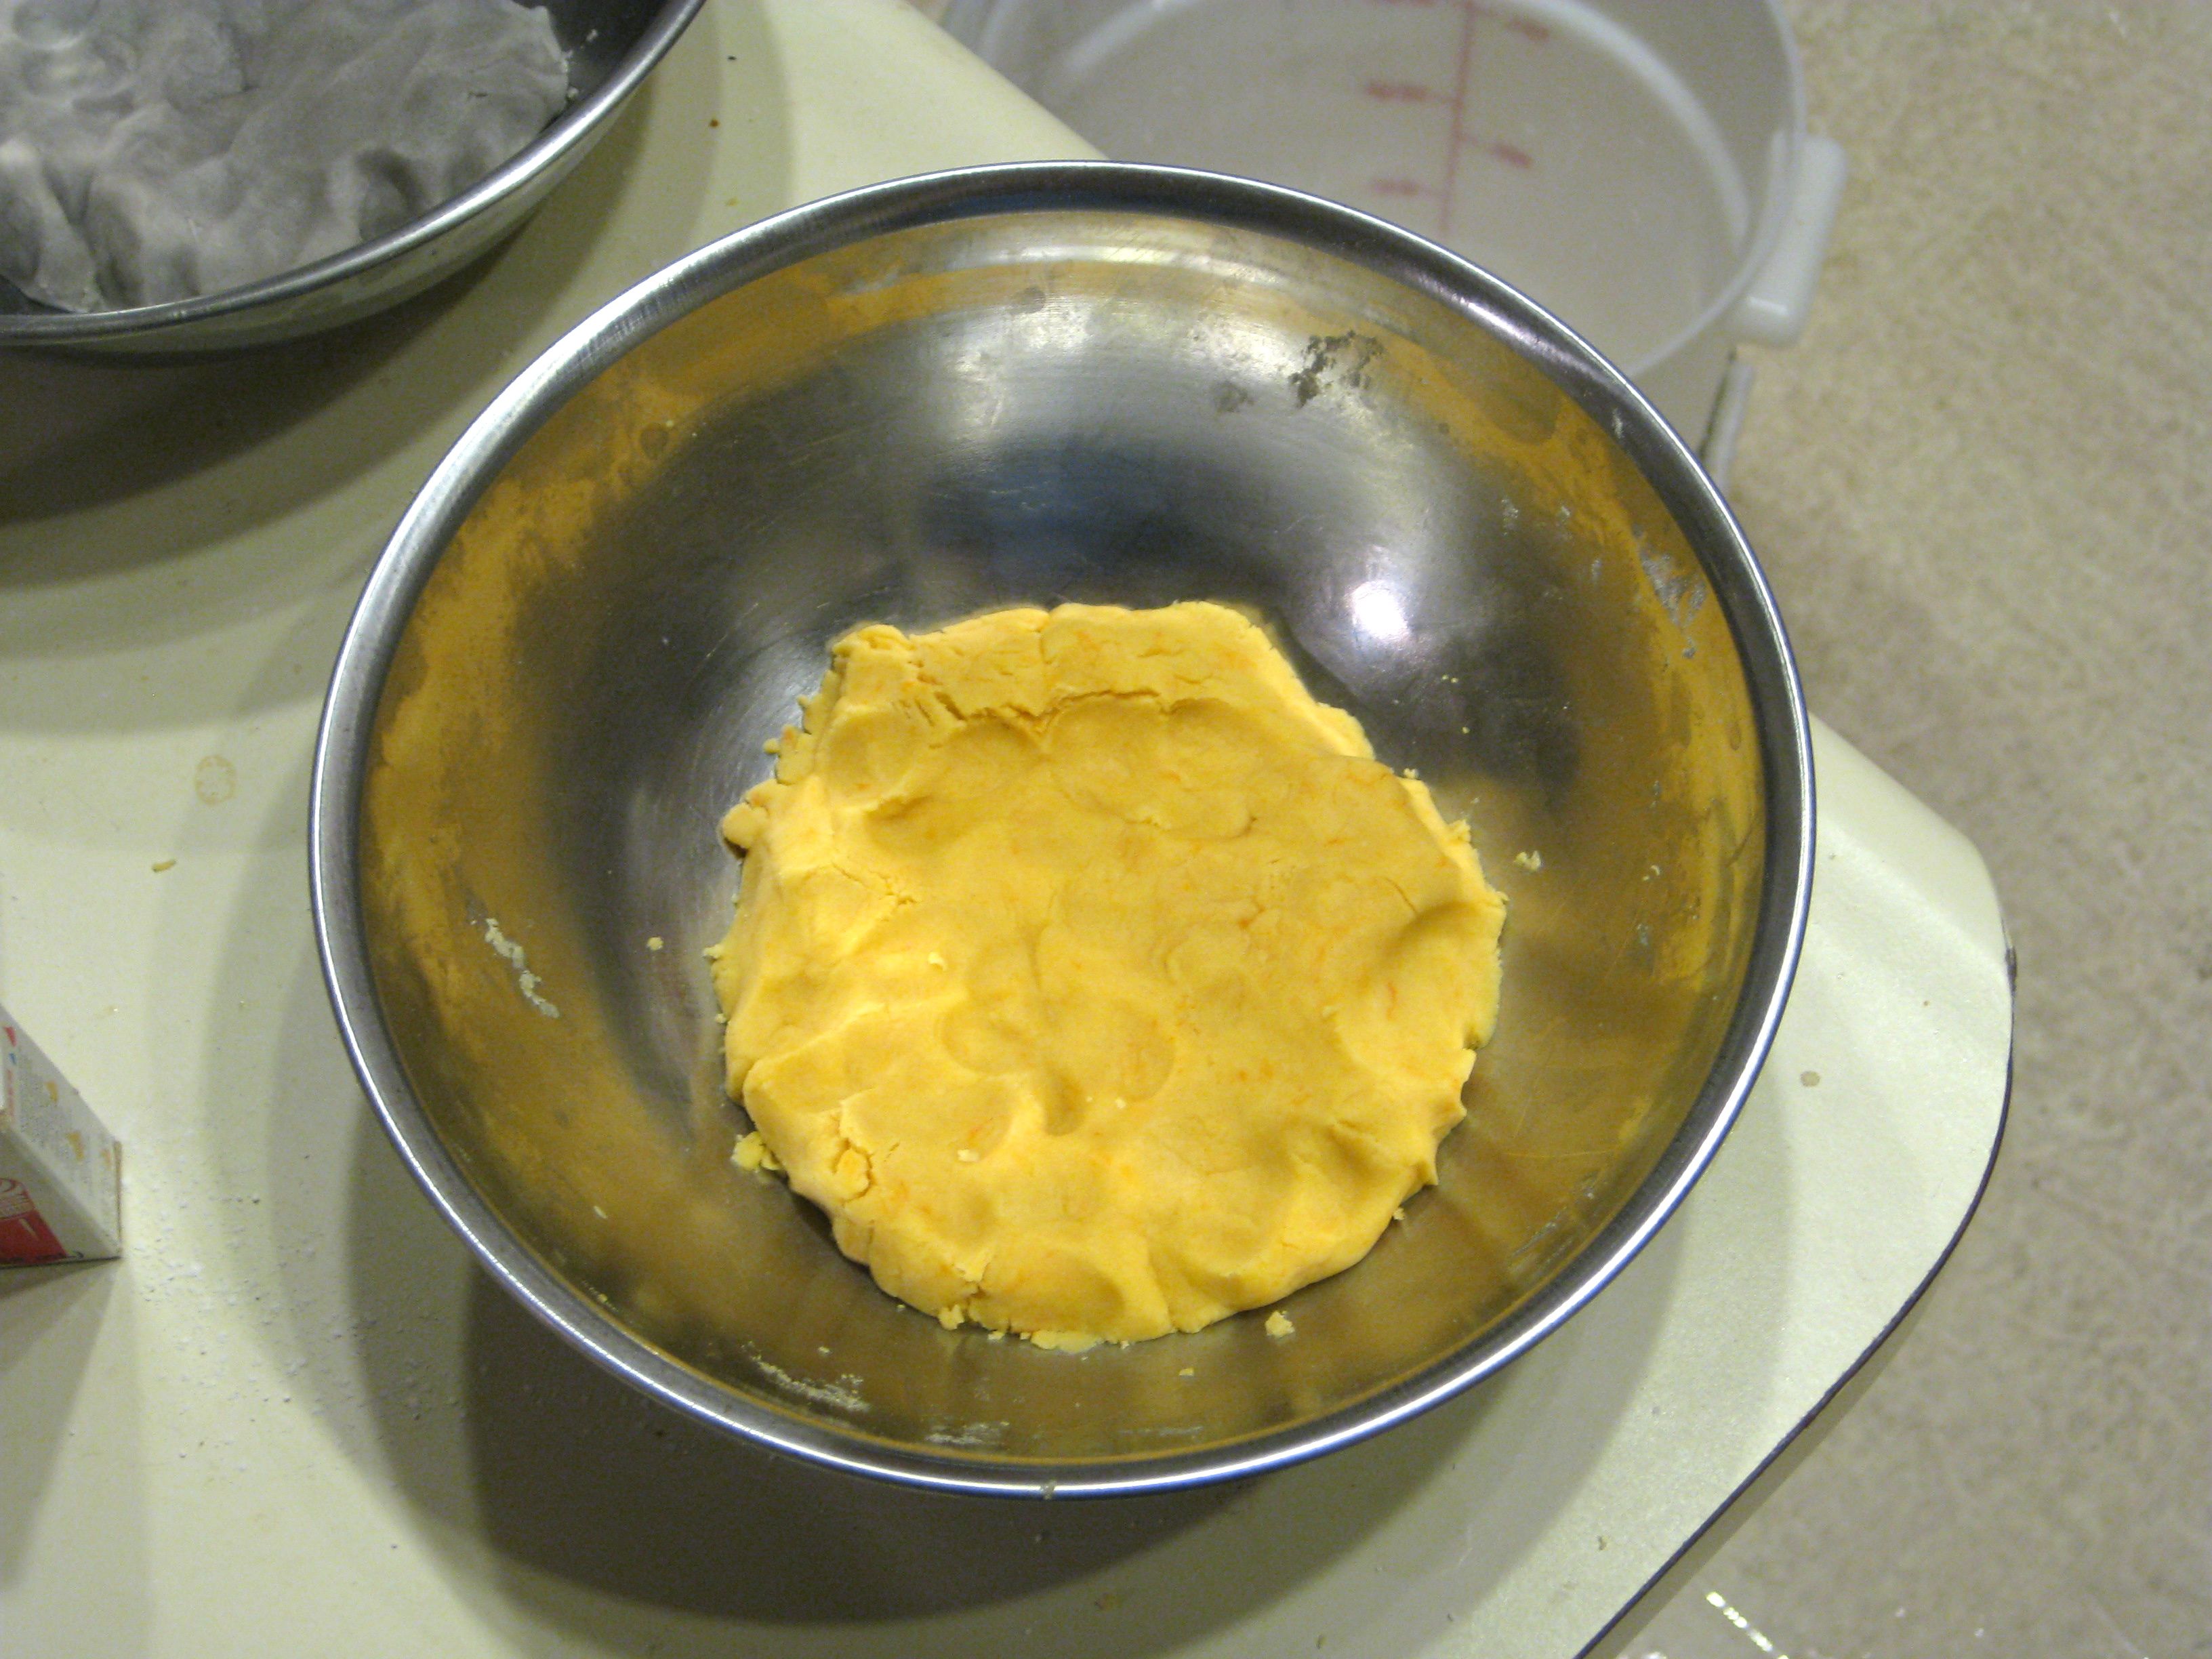
 We started with a basic recipe for shortbread cookies. You can use your favorite, but it’s good to pick a simple version because candy hearts come in an assortment of colors. That means that we’ll be making several small batches, each in a different color. Don’t add food coloring to the dough, but instead plan ahead a bit and add the food coloring when you cream the butter and sugar.
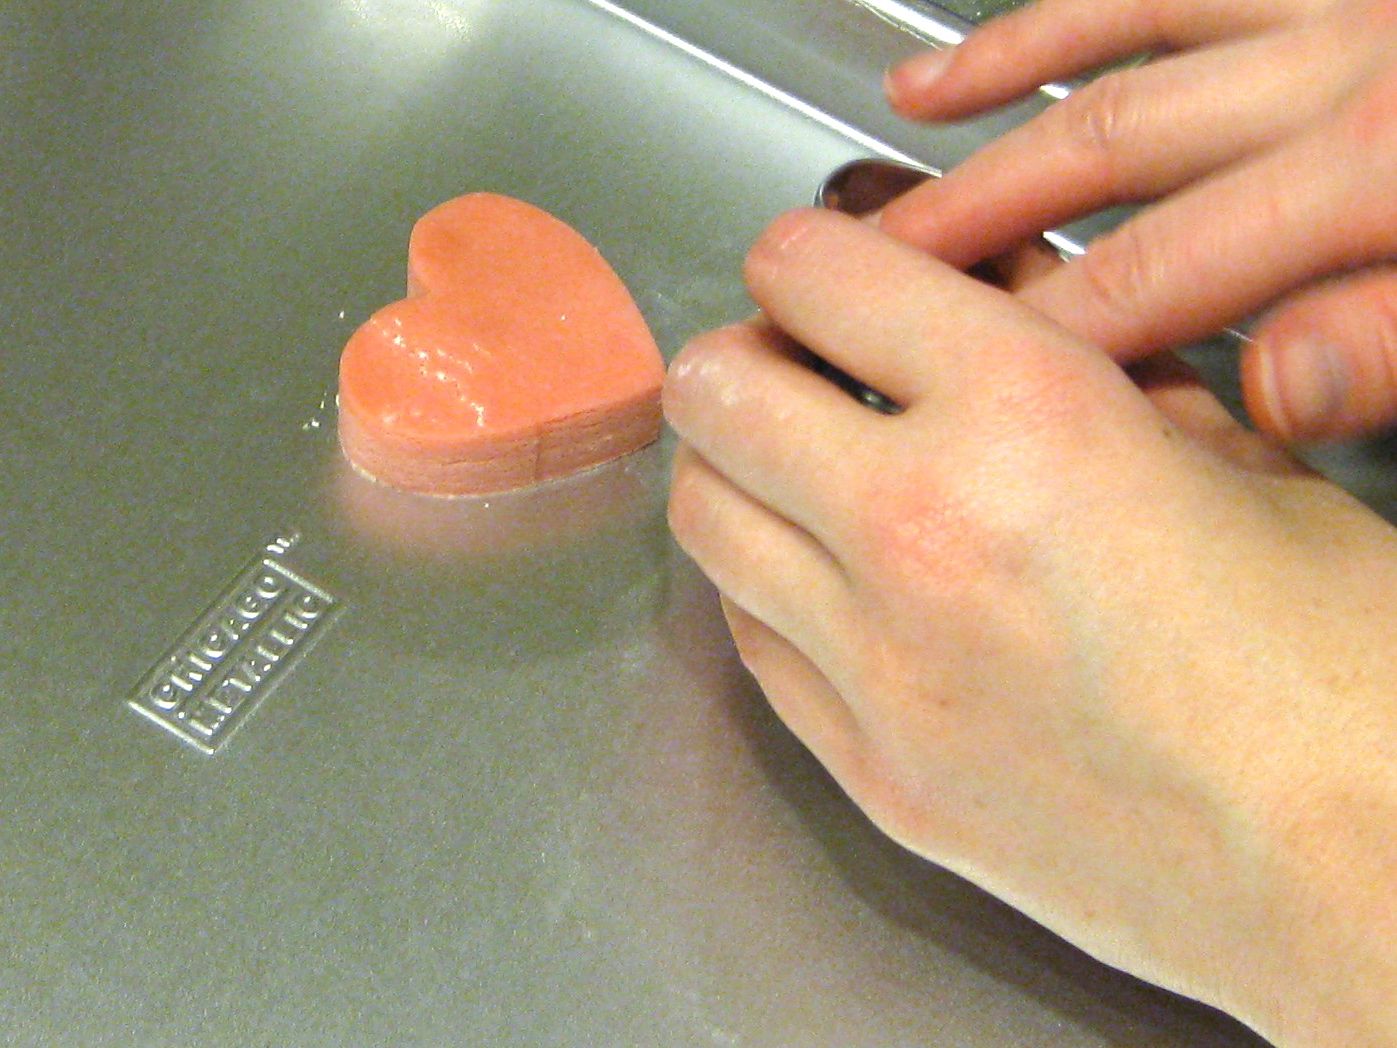
Our first set of hearts is in pink, for which we added some red food coloring.
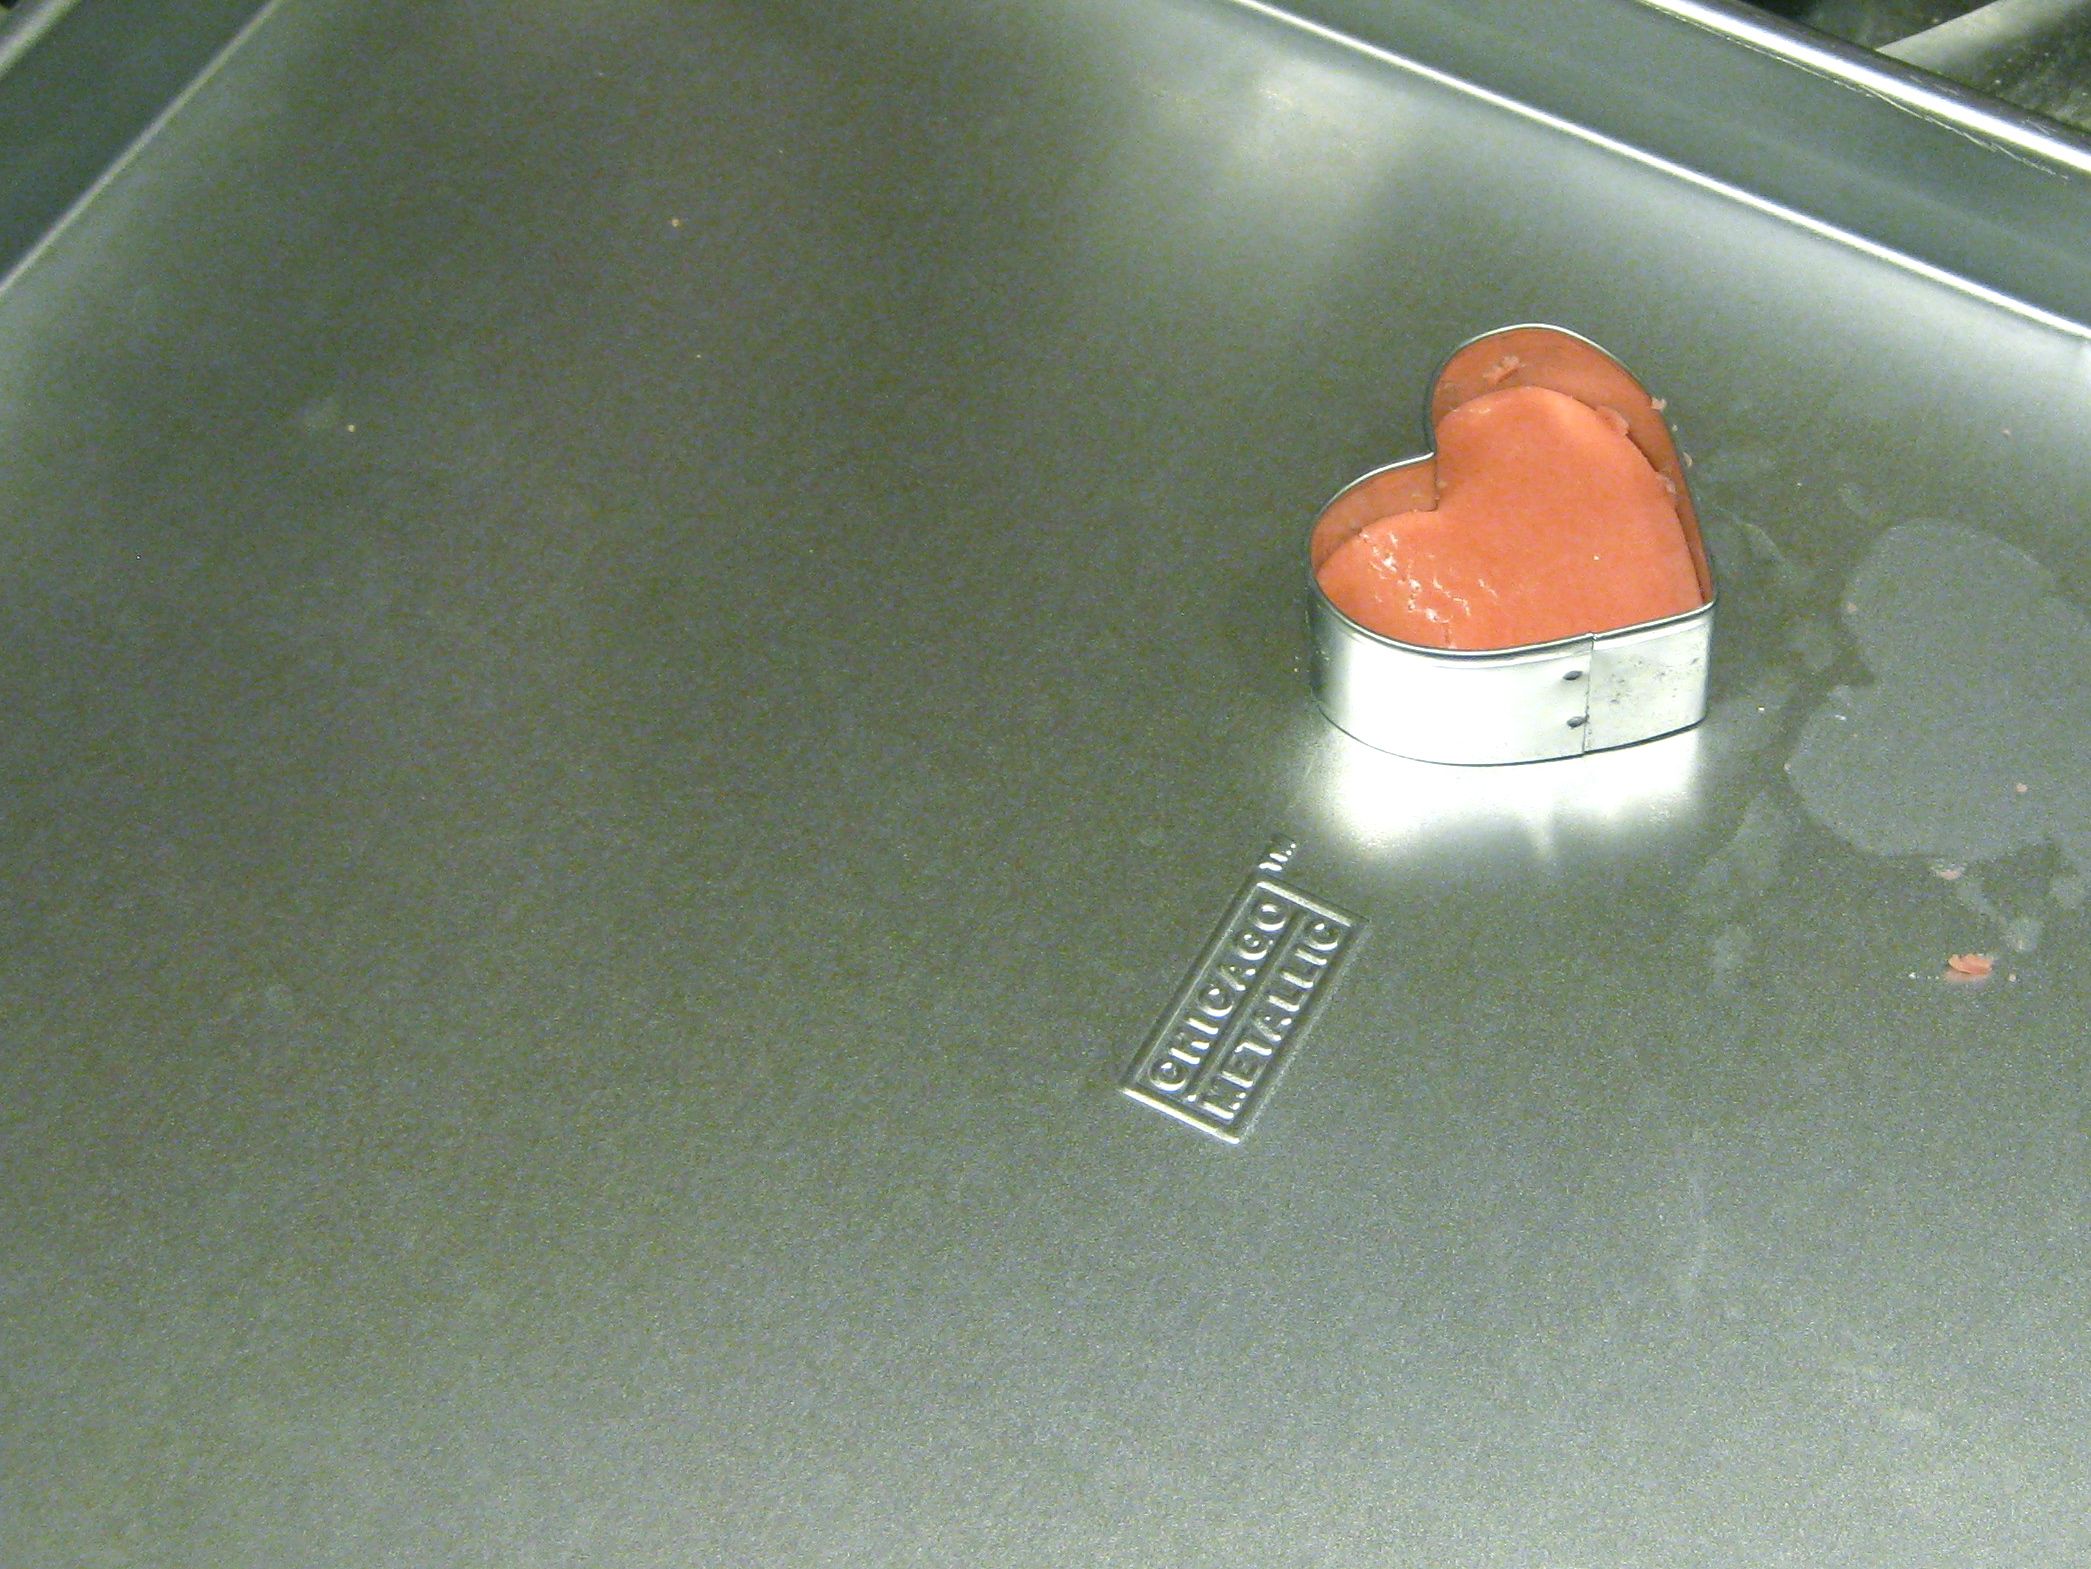
We had a selection of different heart-shaped cookie cutters in different sizes, and opted for one that’s palm size. It’s important to get the area/thickness aspect ratio right so that they end up looking like thick pieces of candy. Roll out the dough to the appropriate size, dusted in powdered sugar, and cut out the hearts. Carefully remove them from the cutter; try to keep the edges nice and vertical.

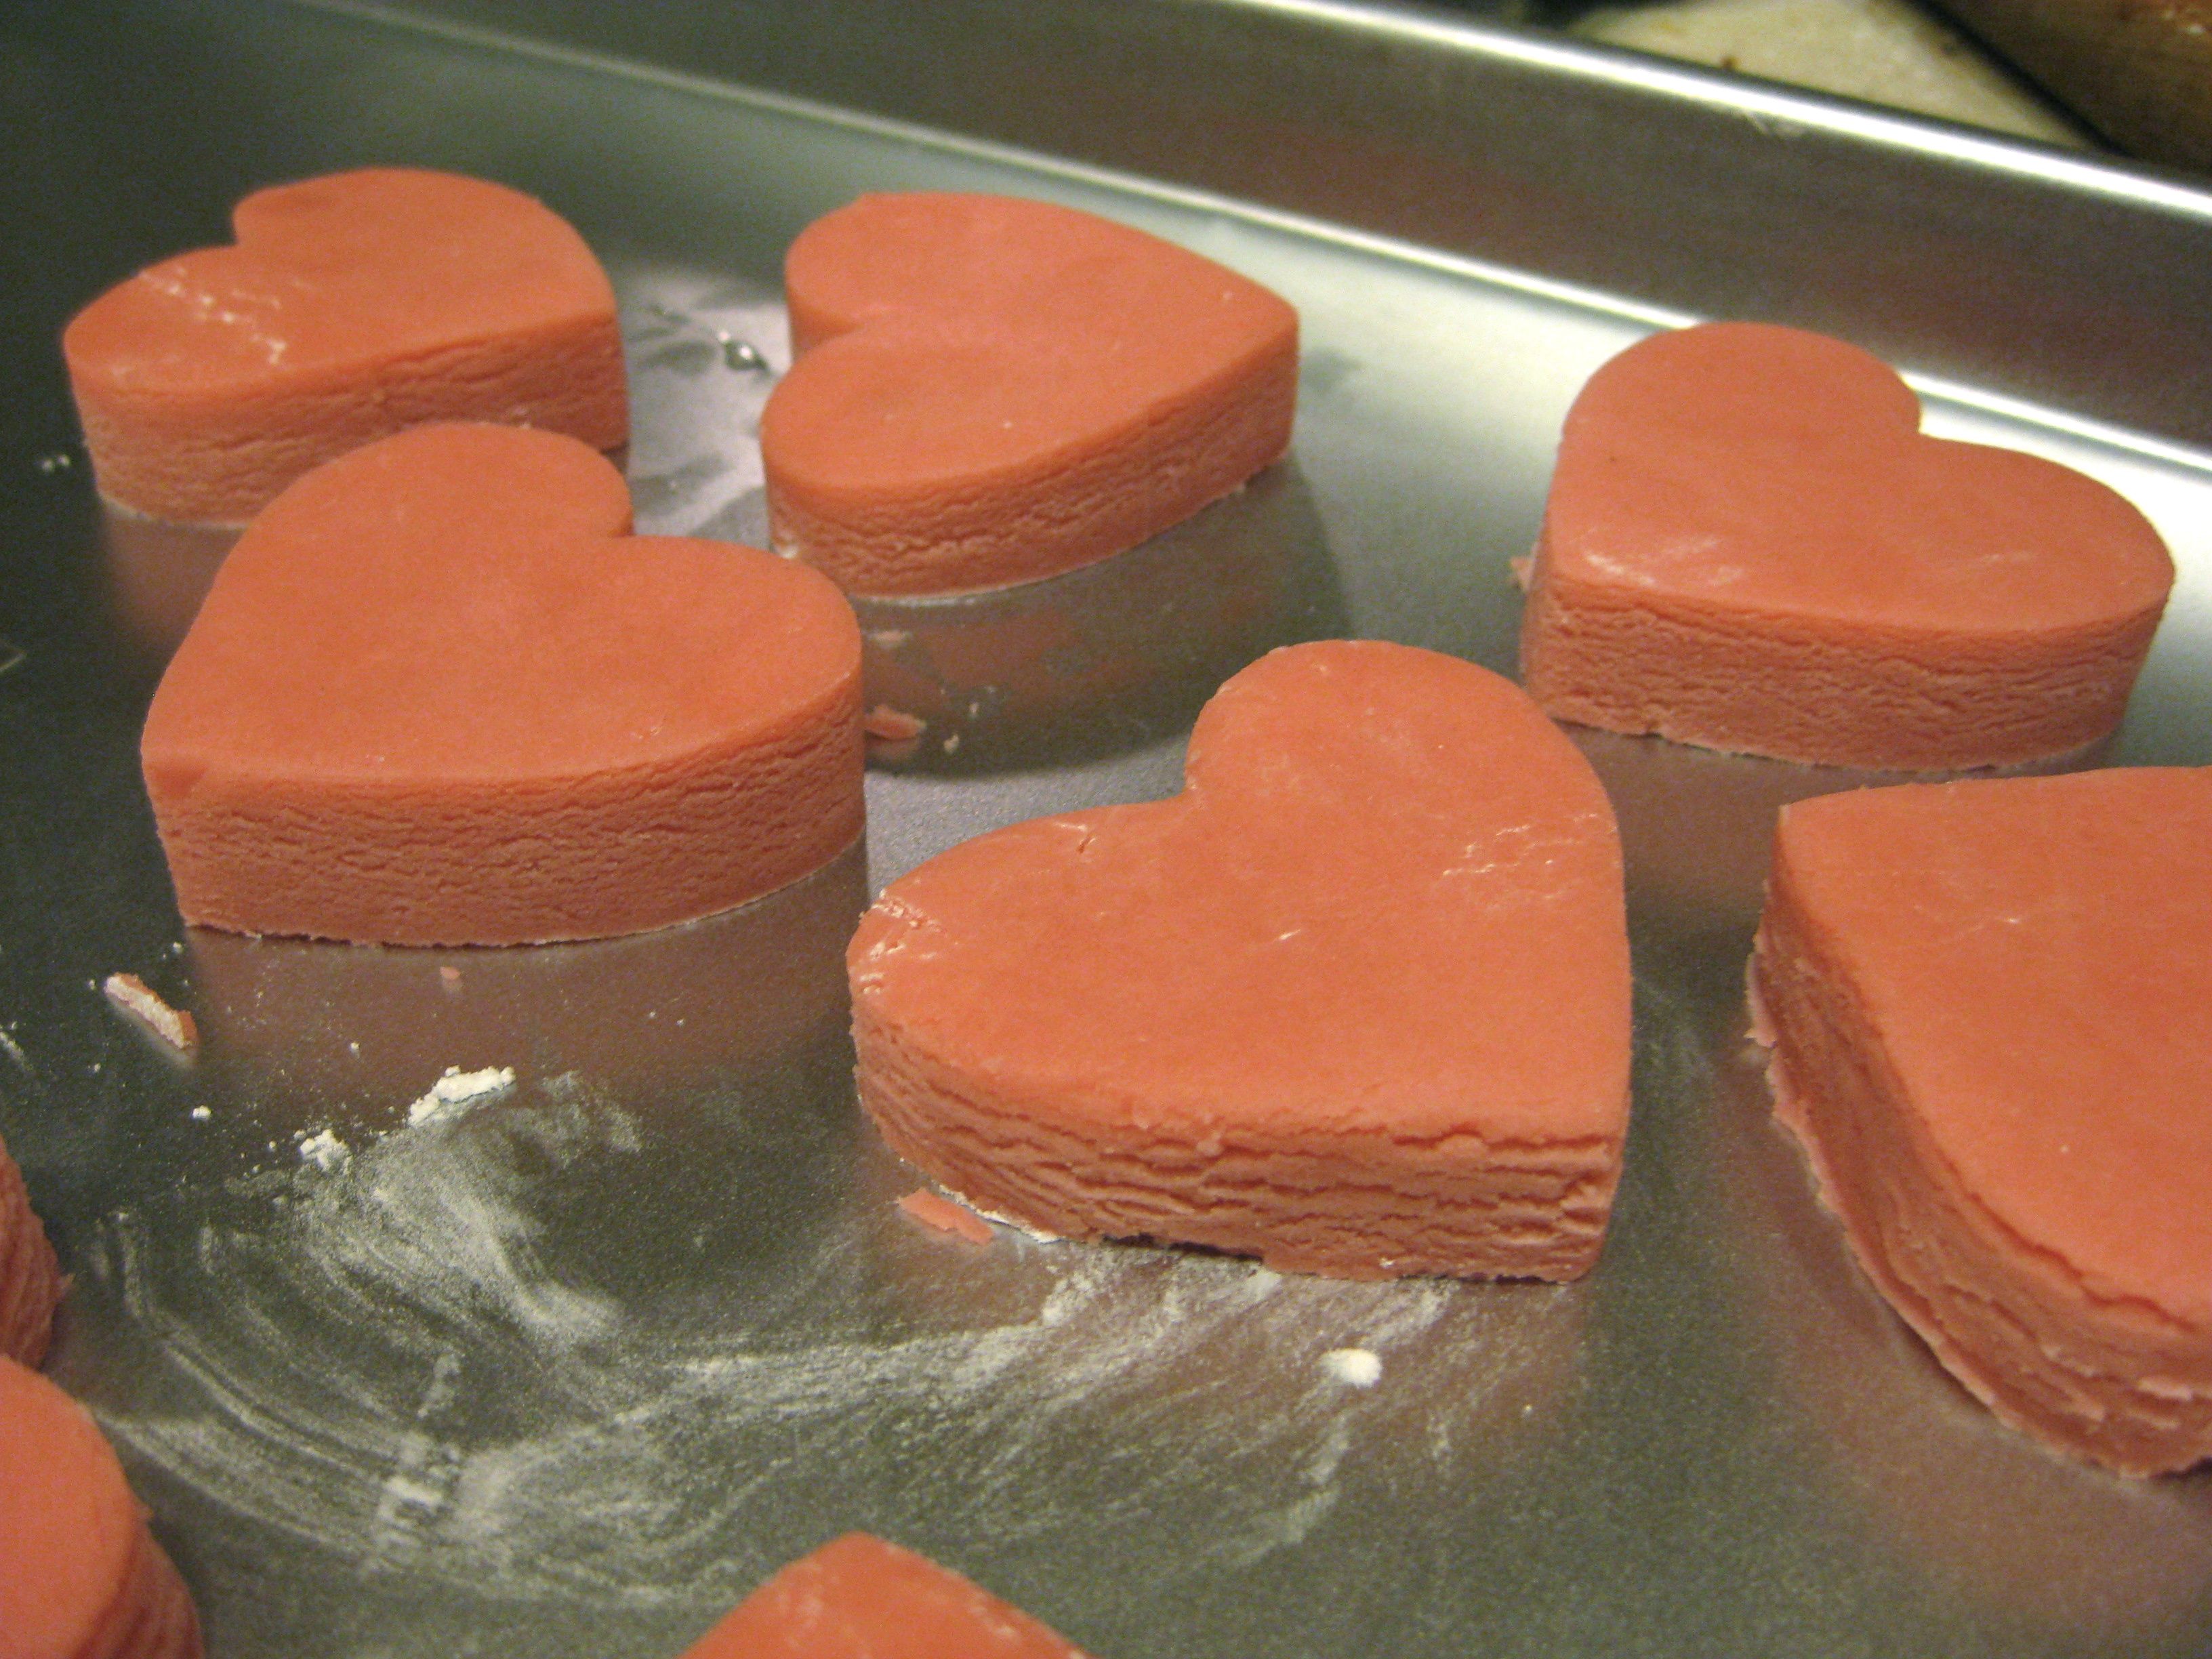
The next few batches of dough here are orange, green, blue and yellow, which are usual colors that you’ll find in a box of message hearts. We opted not to go for white– we have white food coloring, but the idea of dyed-white shortbread was a little bit much for us. (Isn’t it bad enough to use bleached flour?)
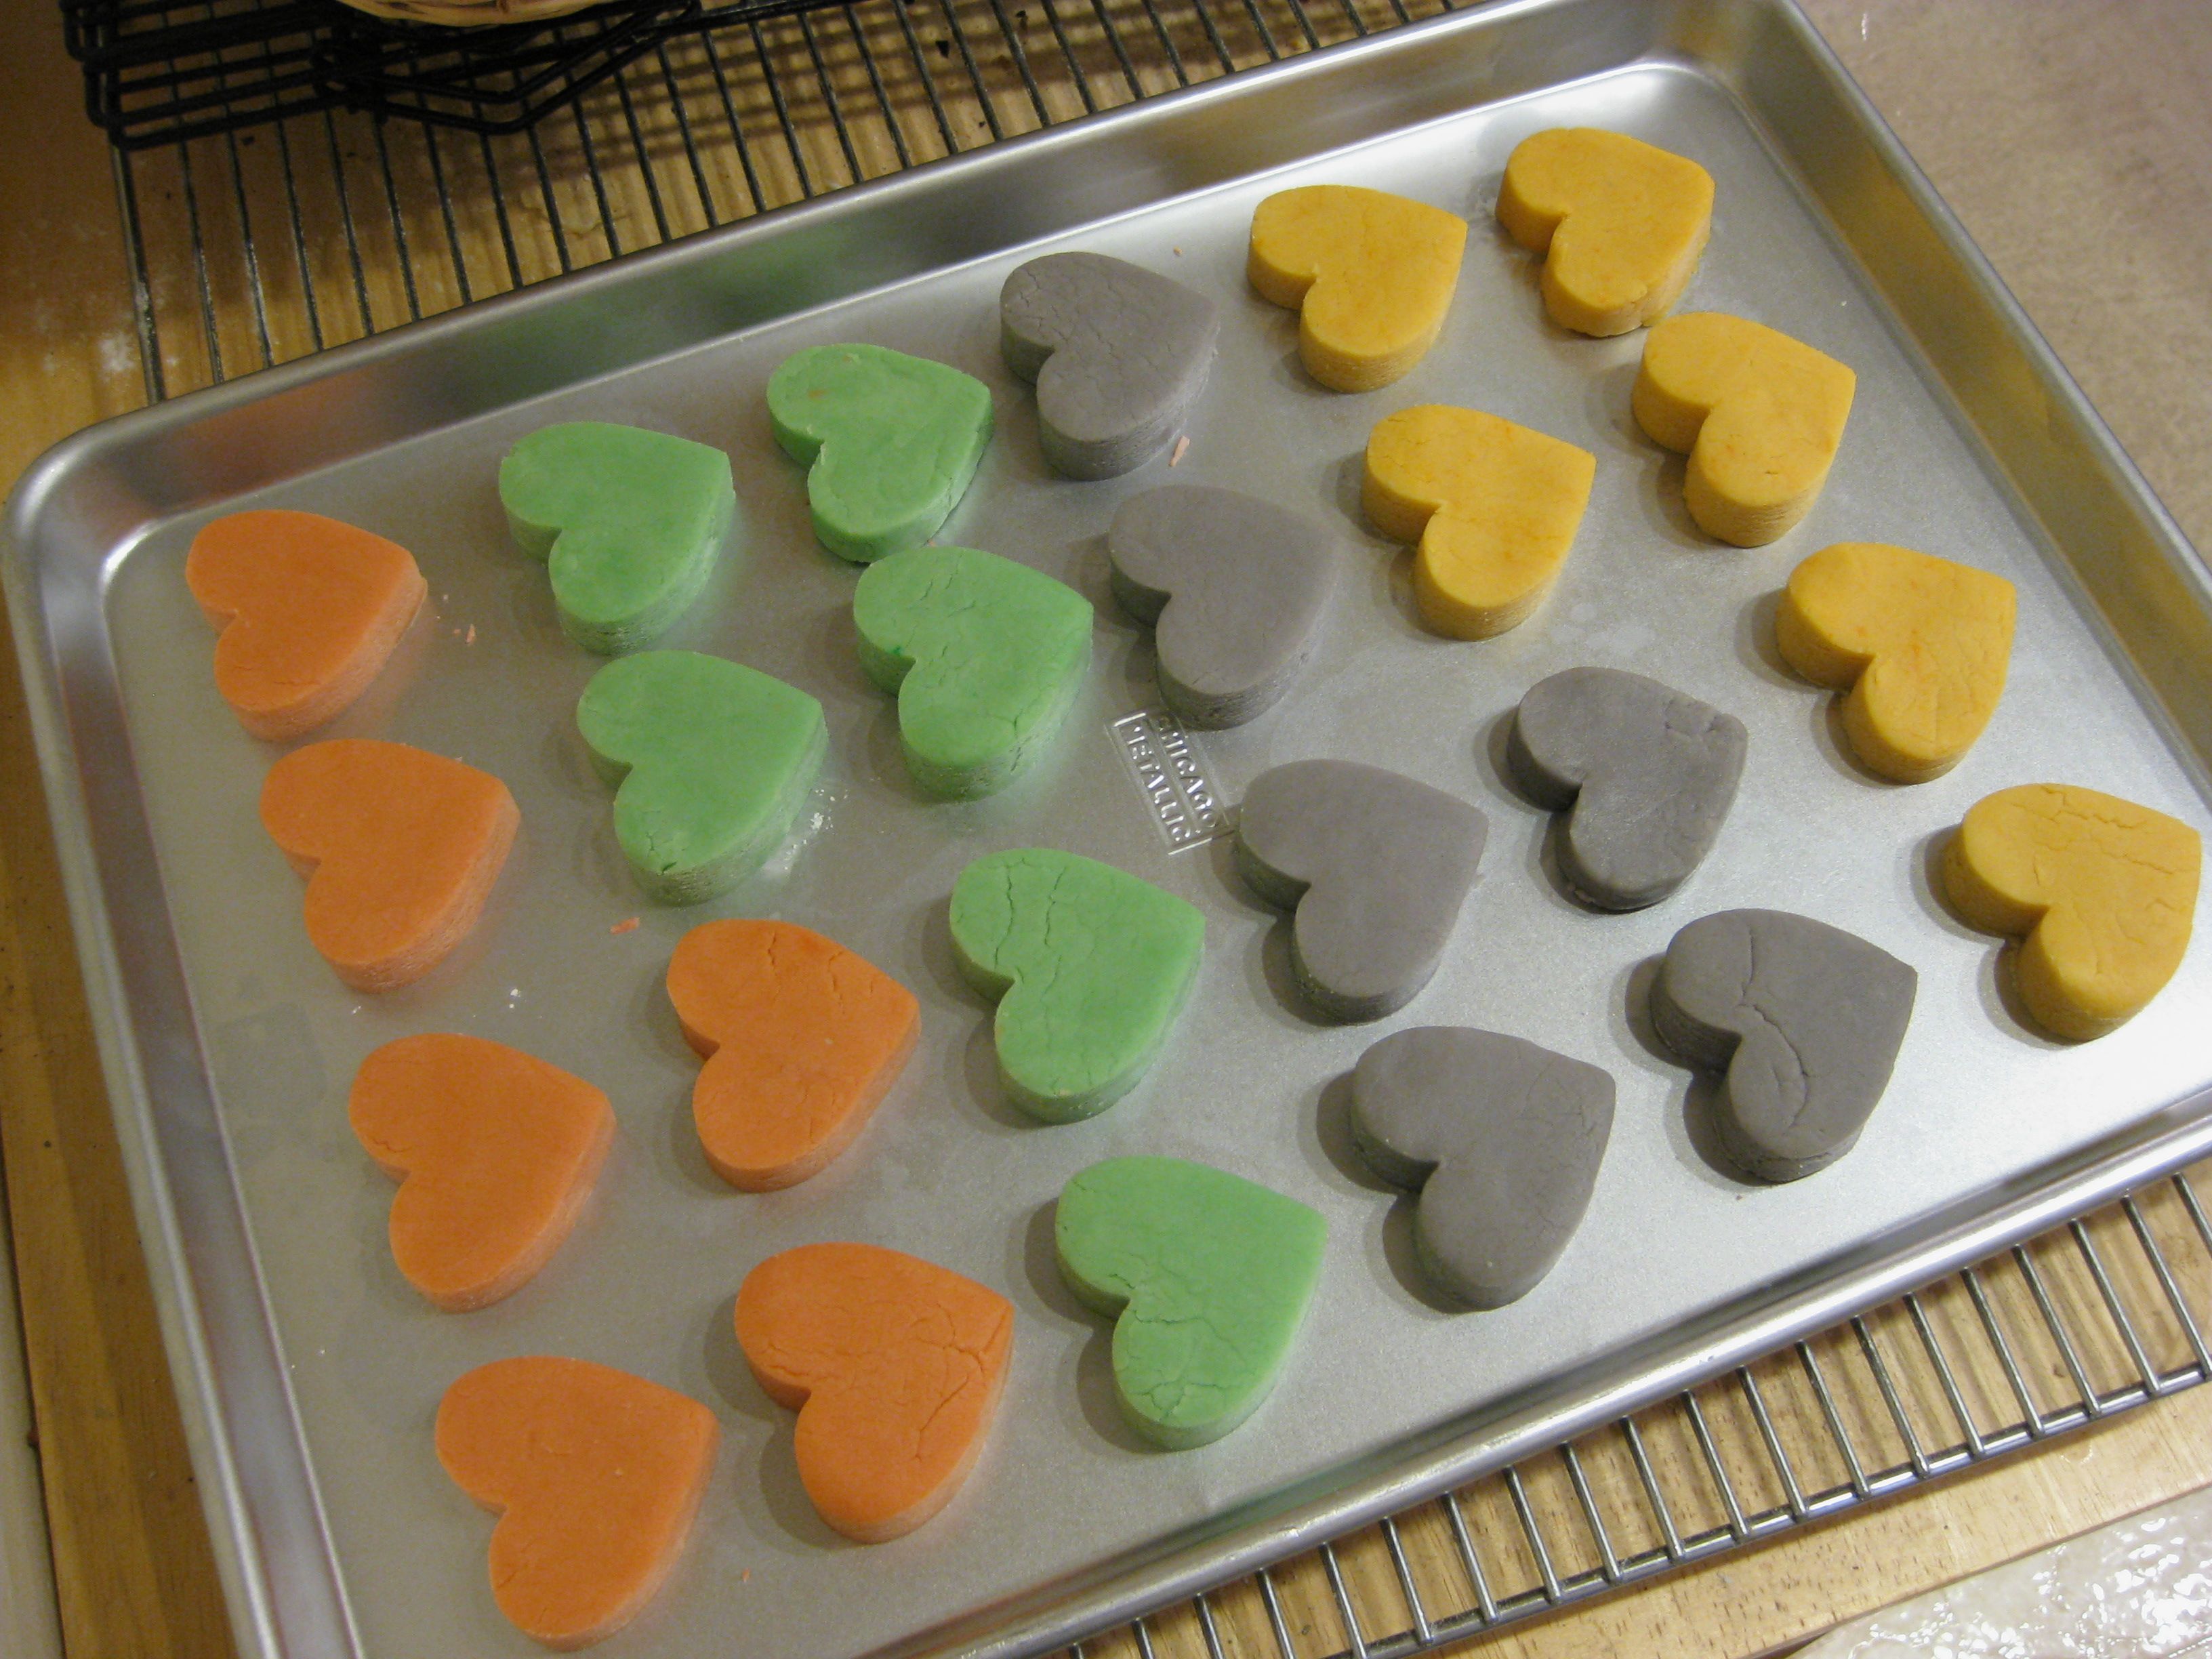
And here they are. (The colors will become more muted when they cook, of course.)
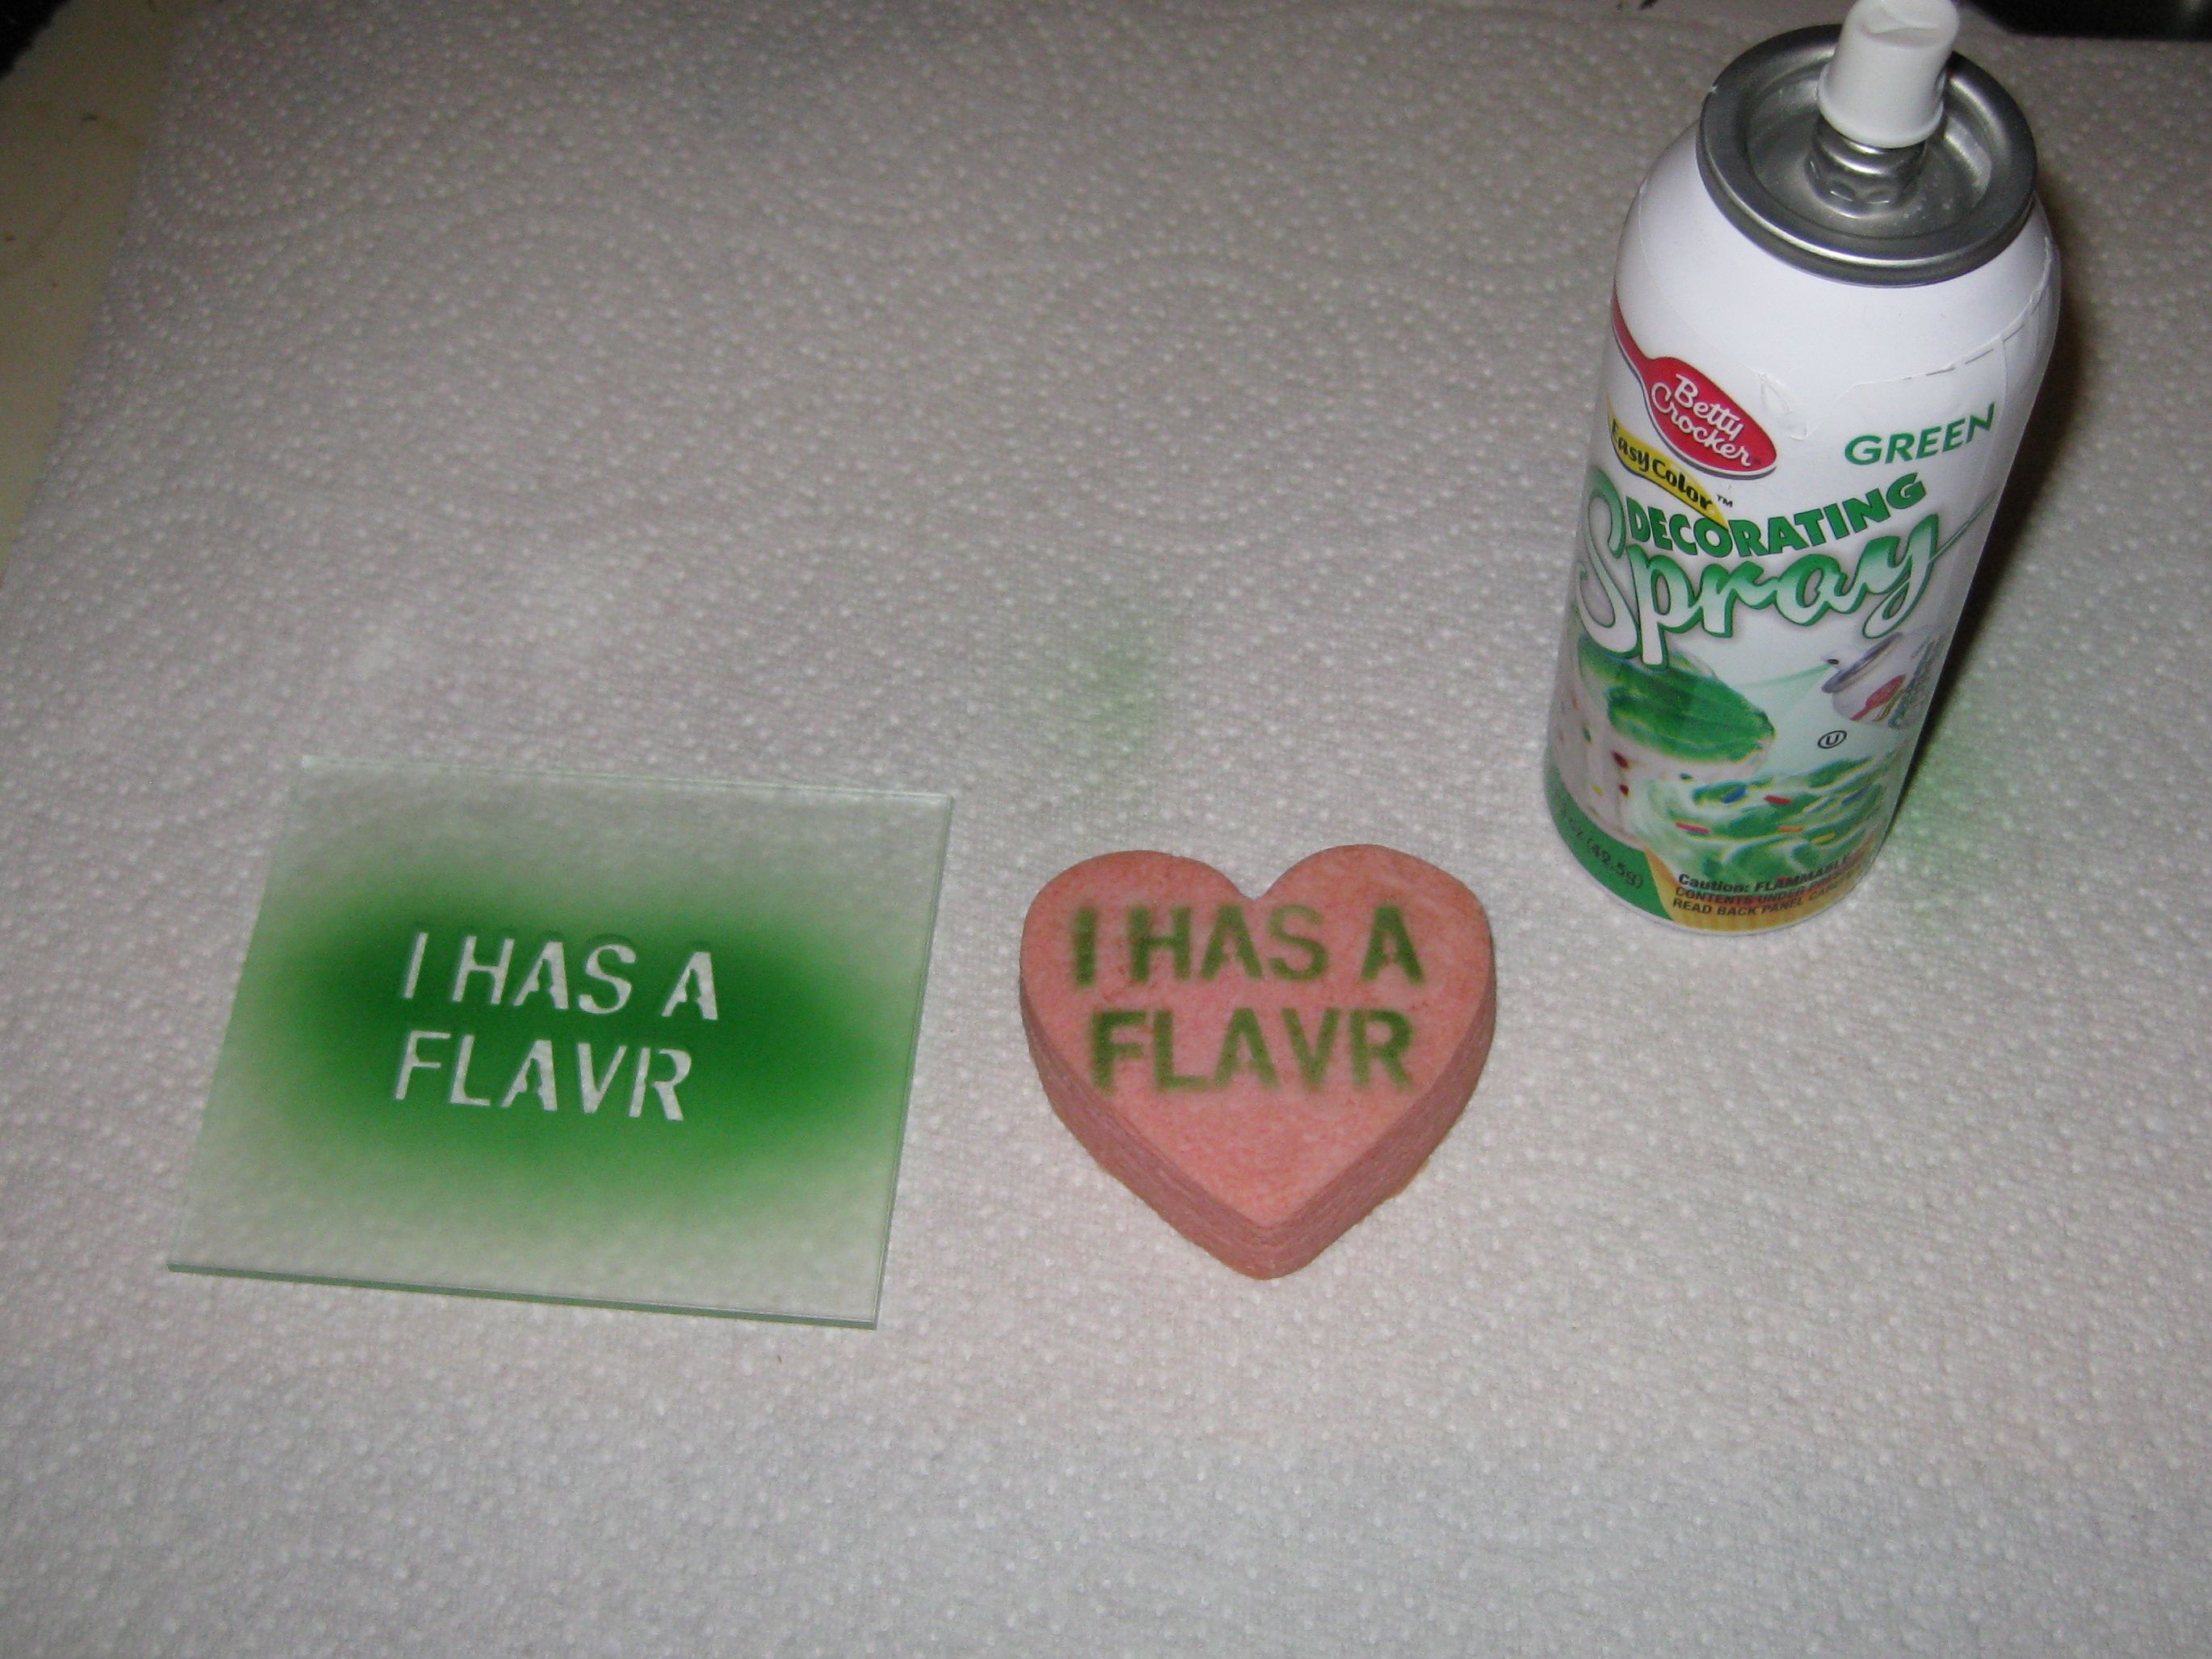
The next step is to start adding messages to the hearts. We tried a few things that did not work first. Stamping or painting the cookies with regular food coloring or food coloring markers (before or after baking) was rather ineffective, presumably because of the buttery nature of the cookies. However, spray color (like we used in the circuitry snacks project) turned out to be effective, either before or after baking. To apply it where we wanted, we cut out some stencils, doing our best to mimic the visual style of the text on message hearts. We used 1/8″ plastic sheet for the stencils, but the thickness proved to be a distraction– card stock would have been a better choice.

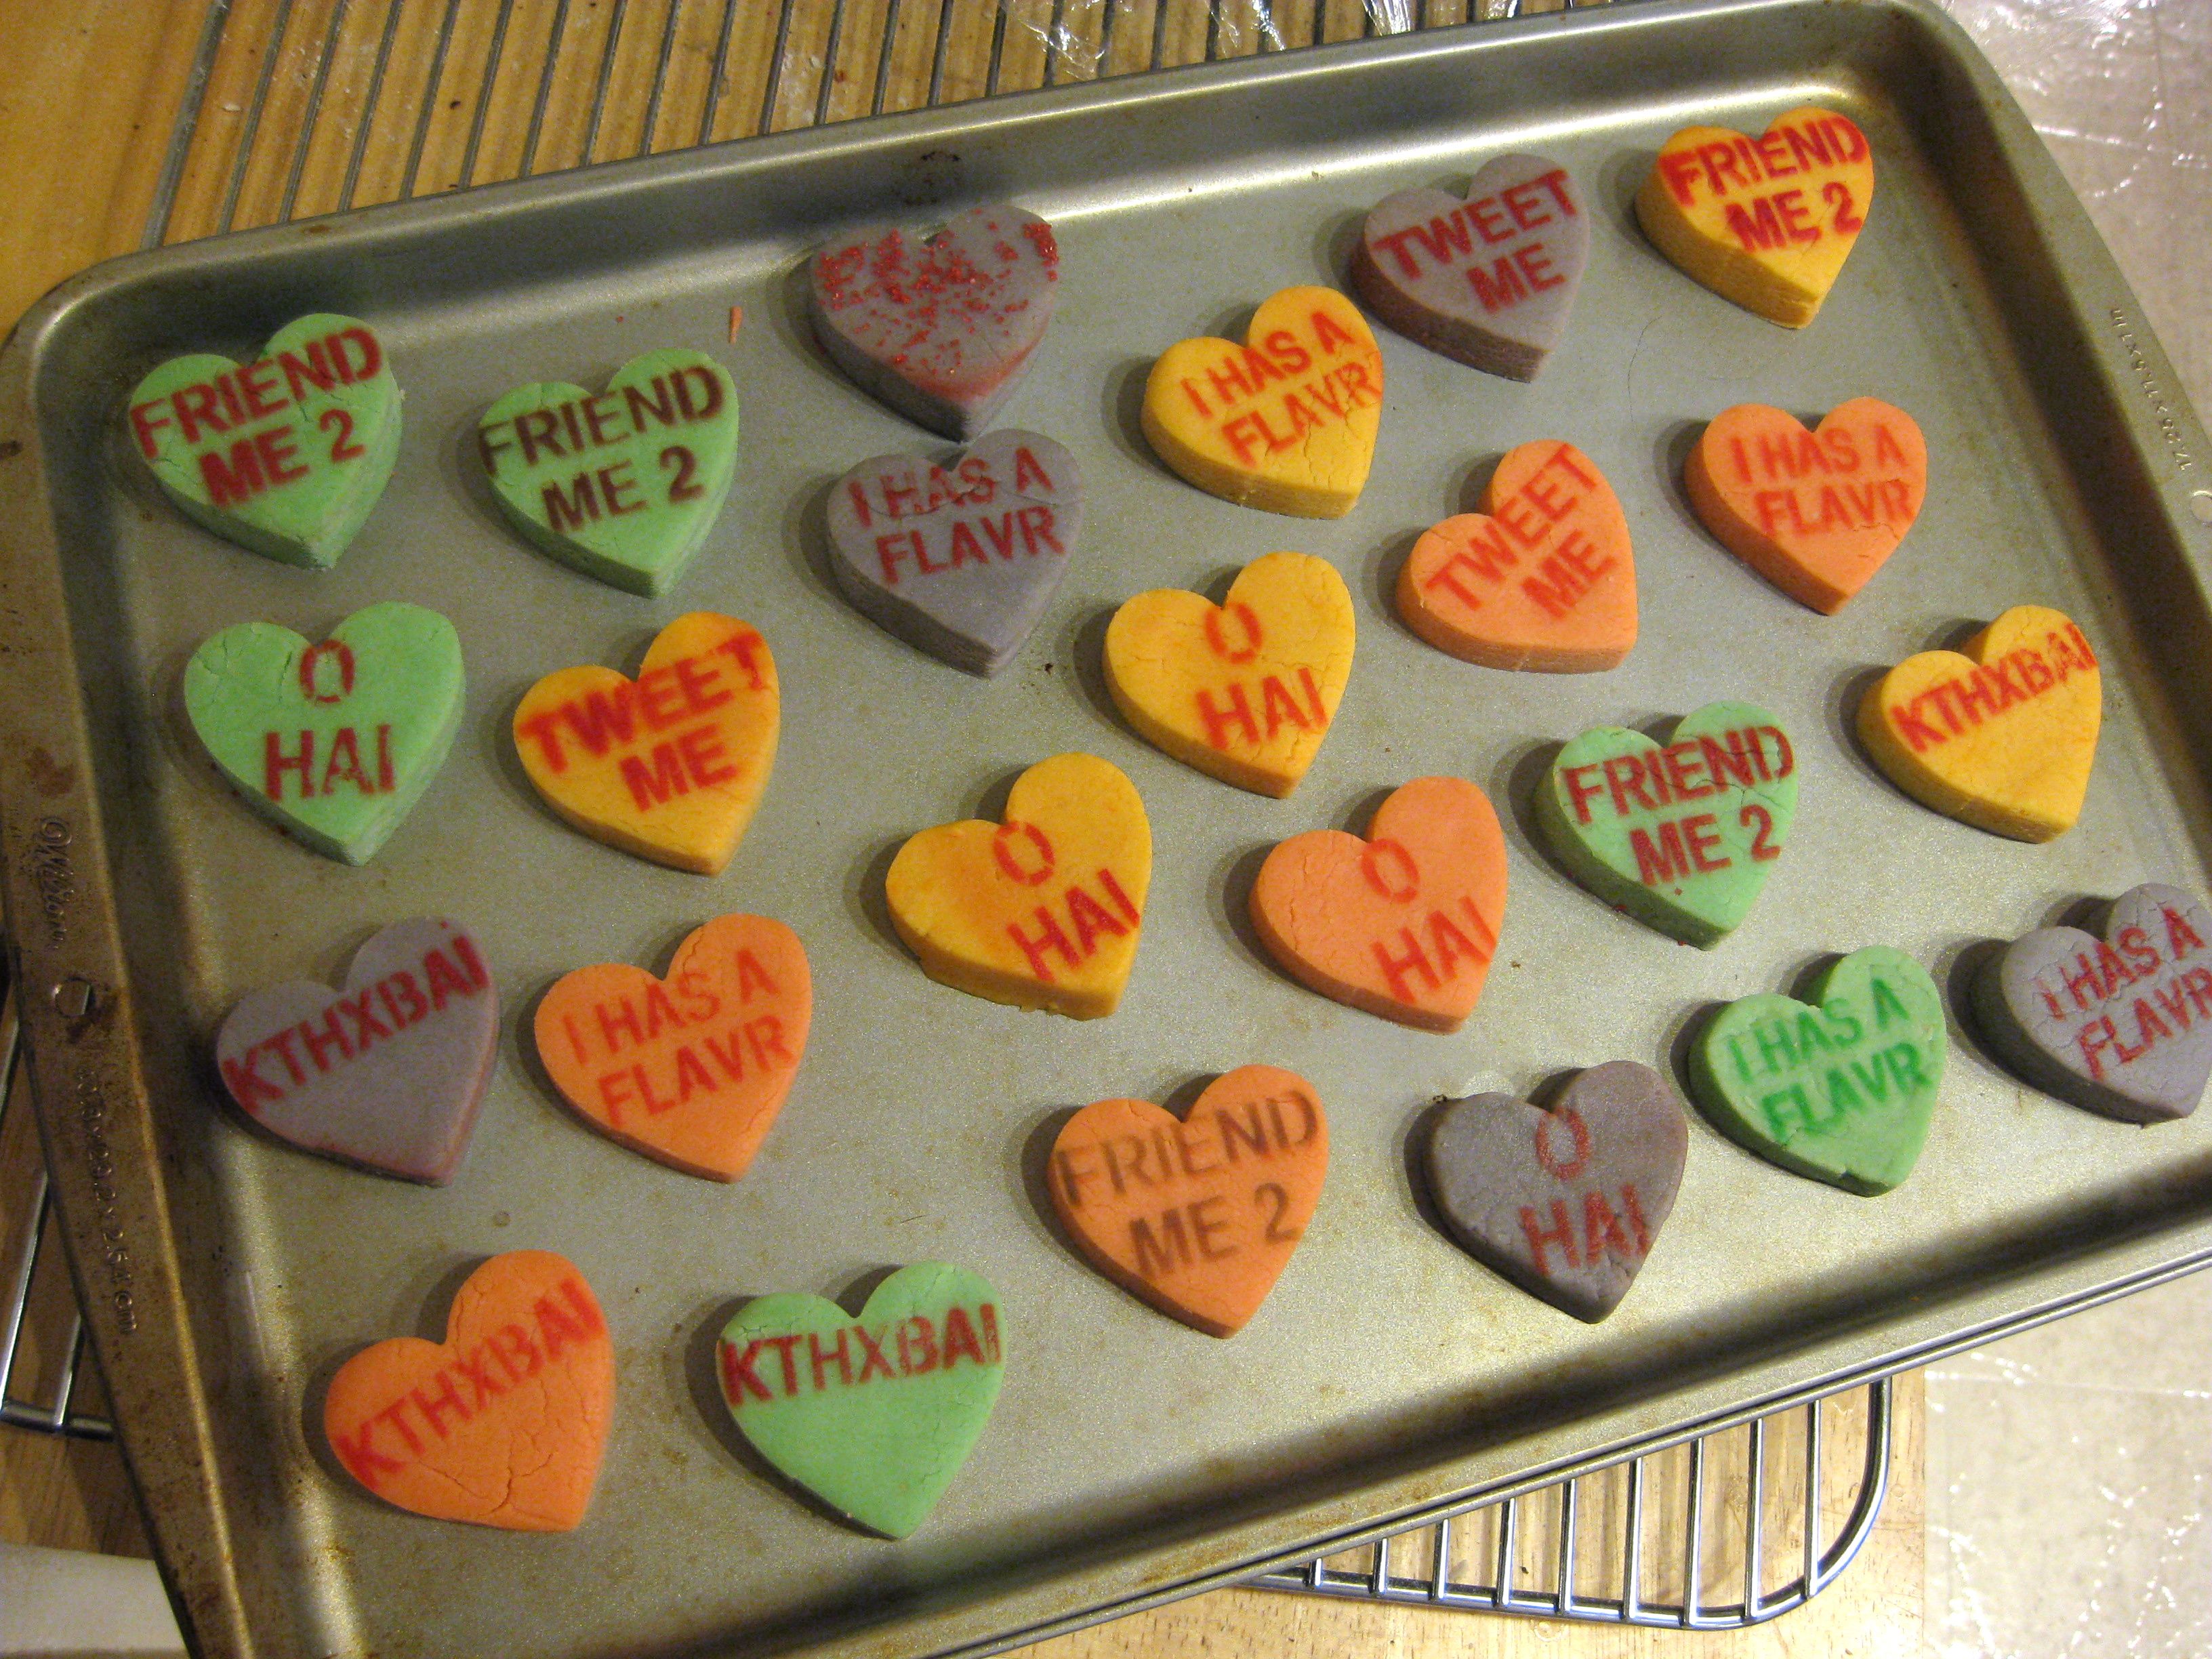
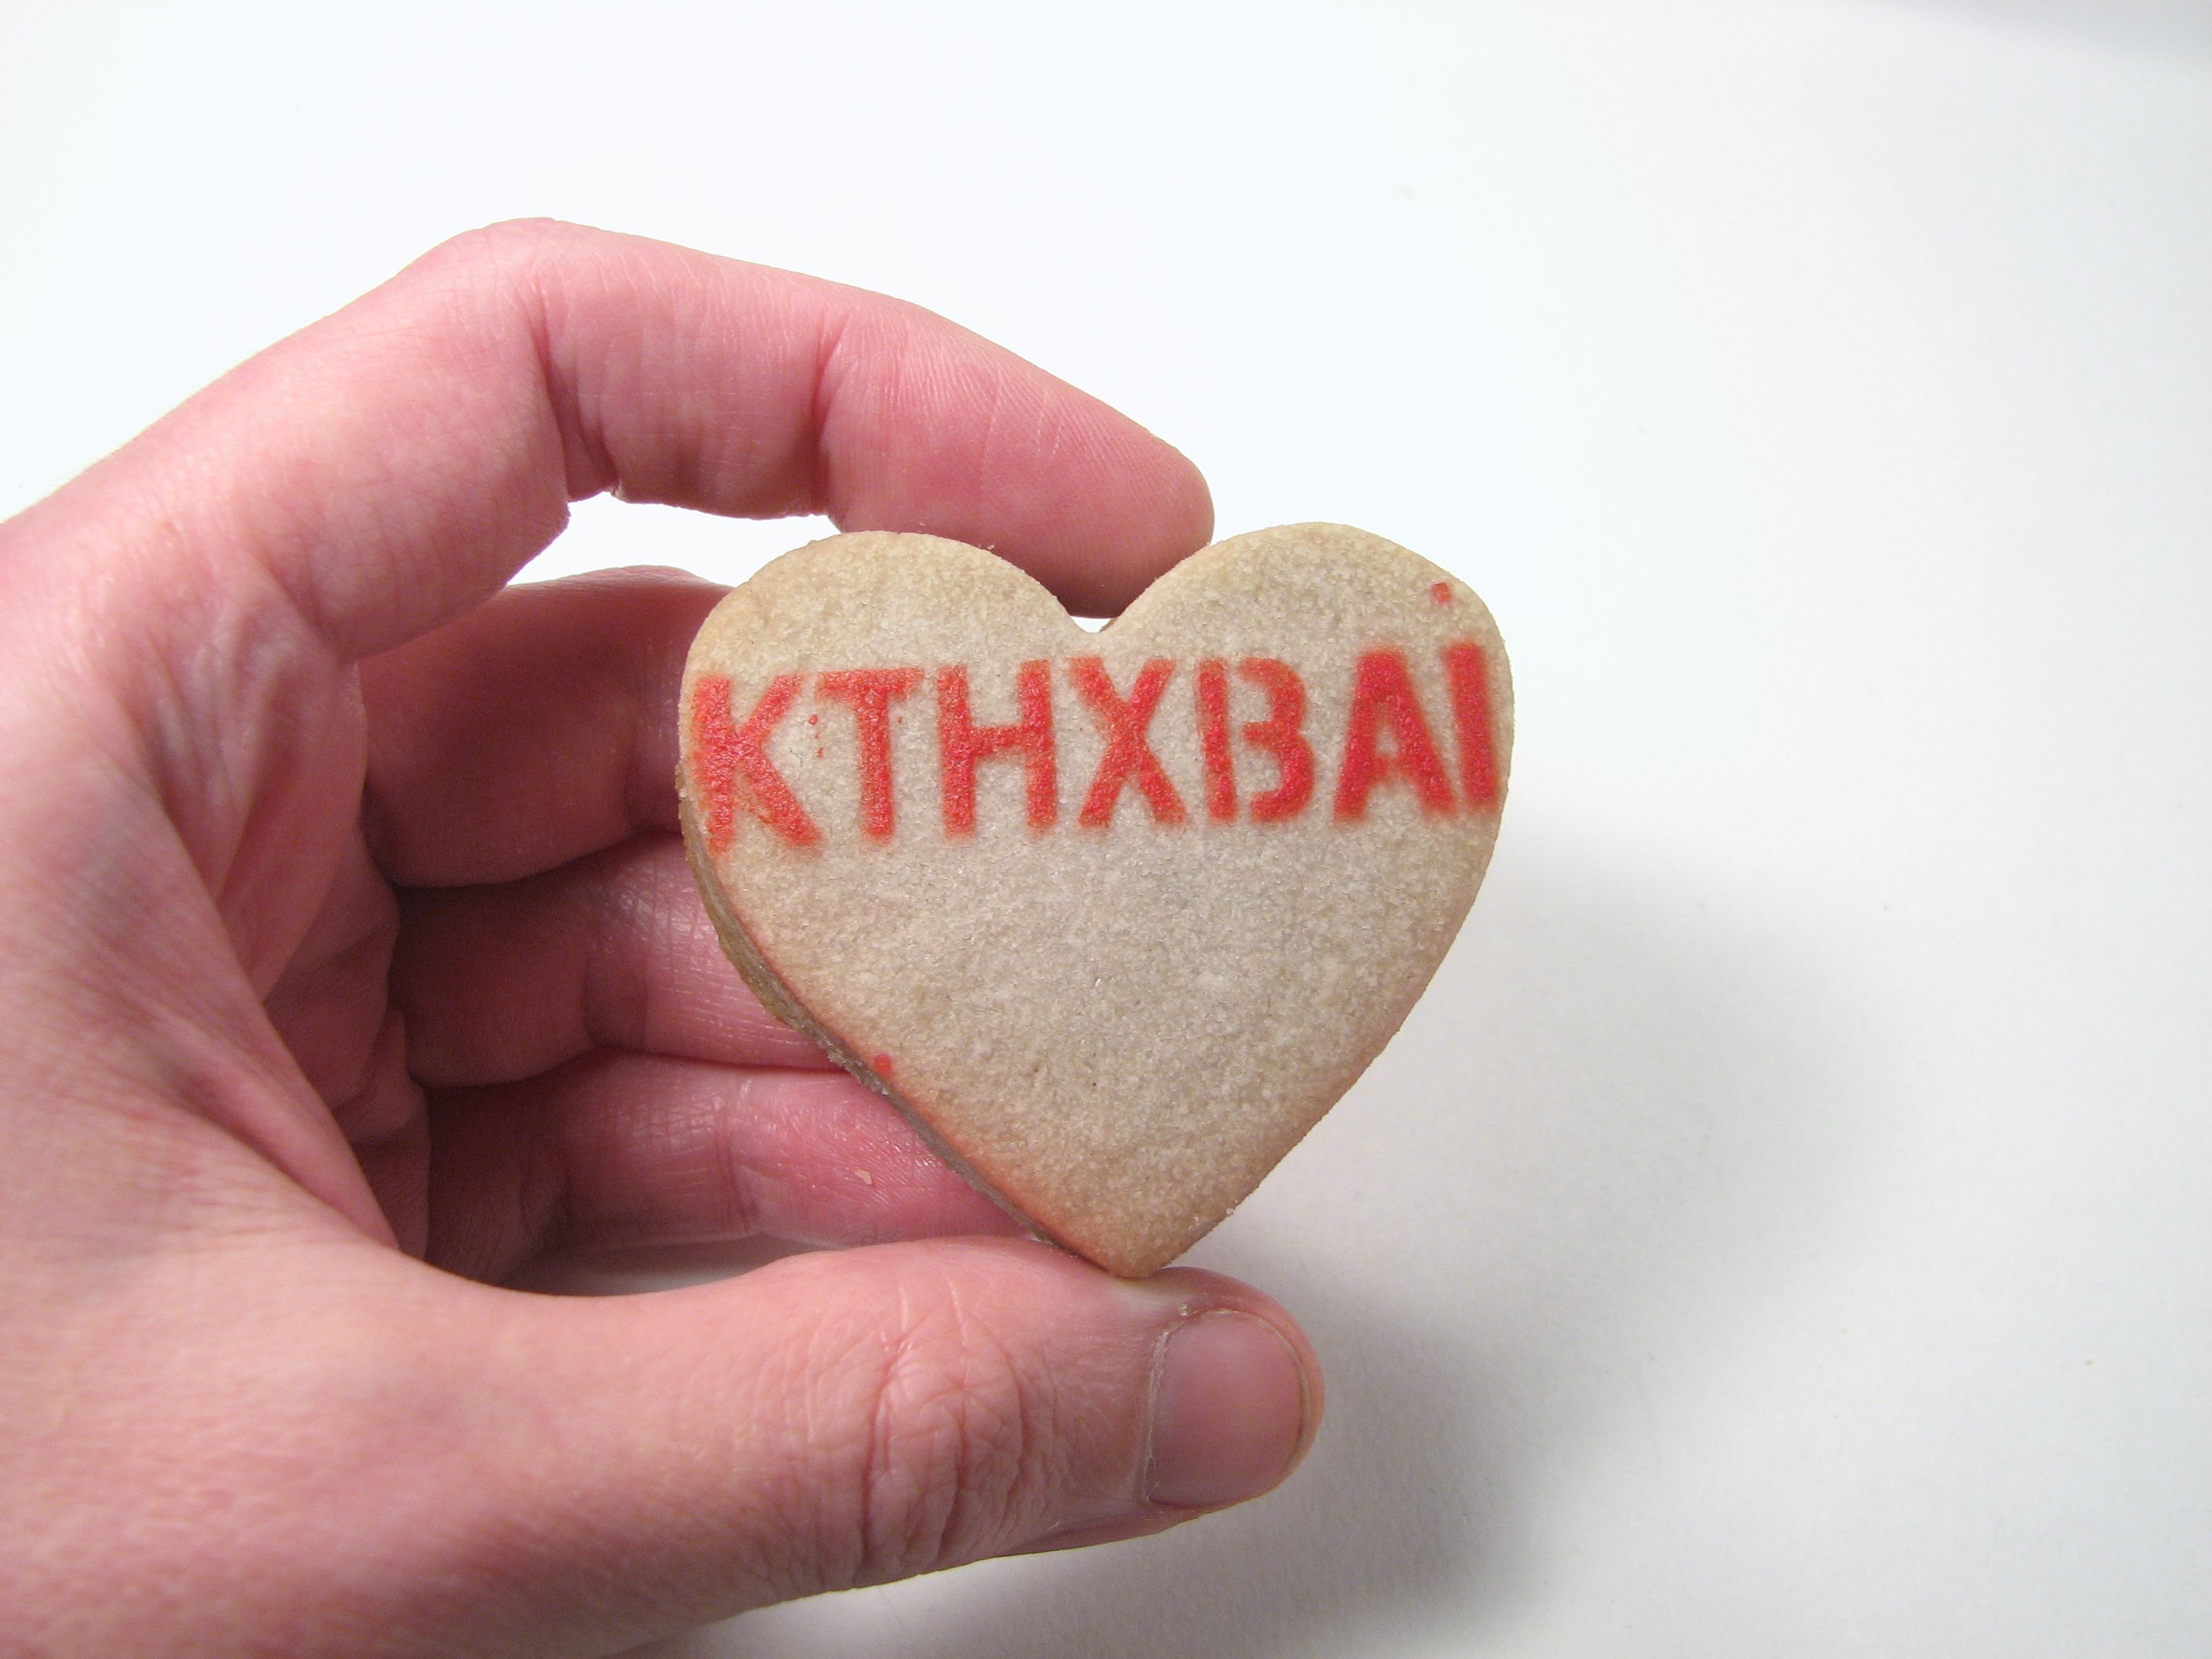
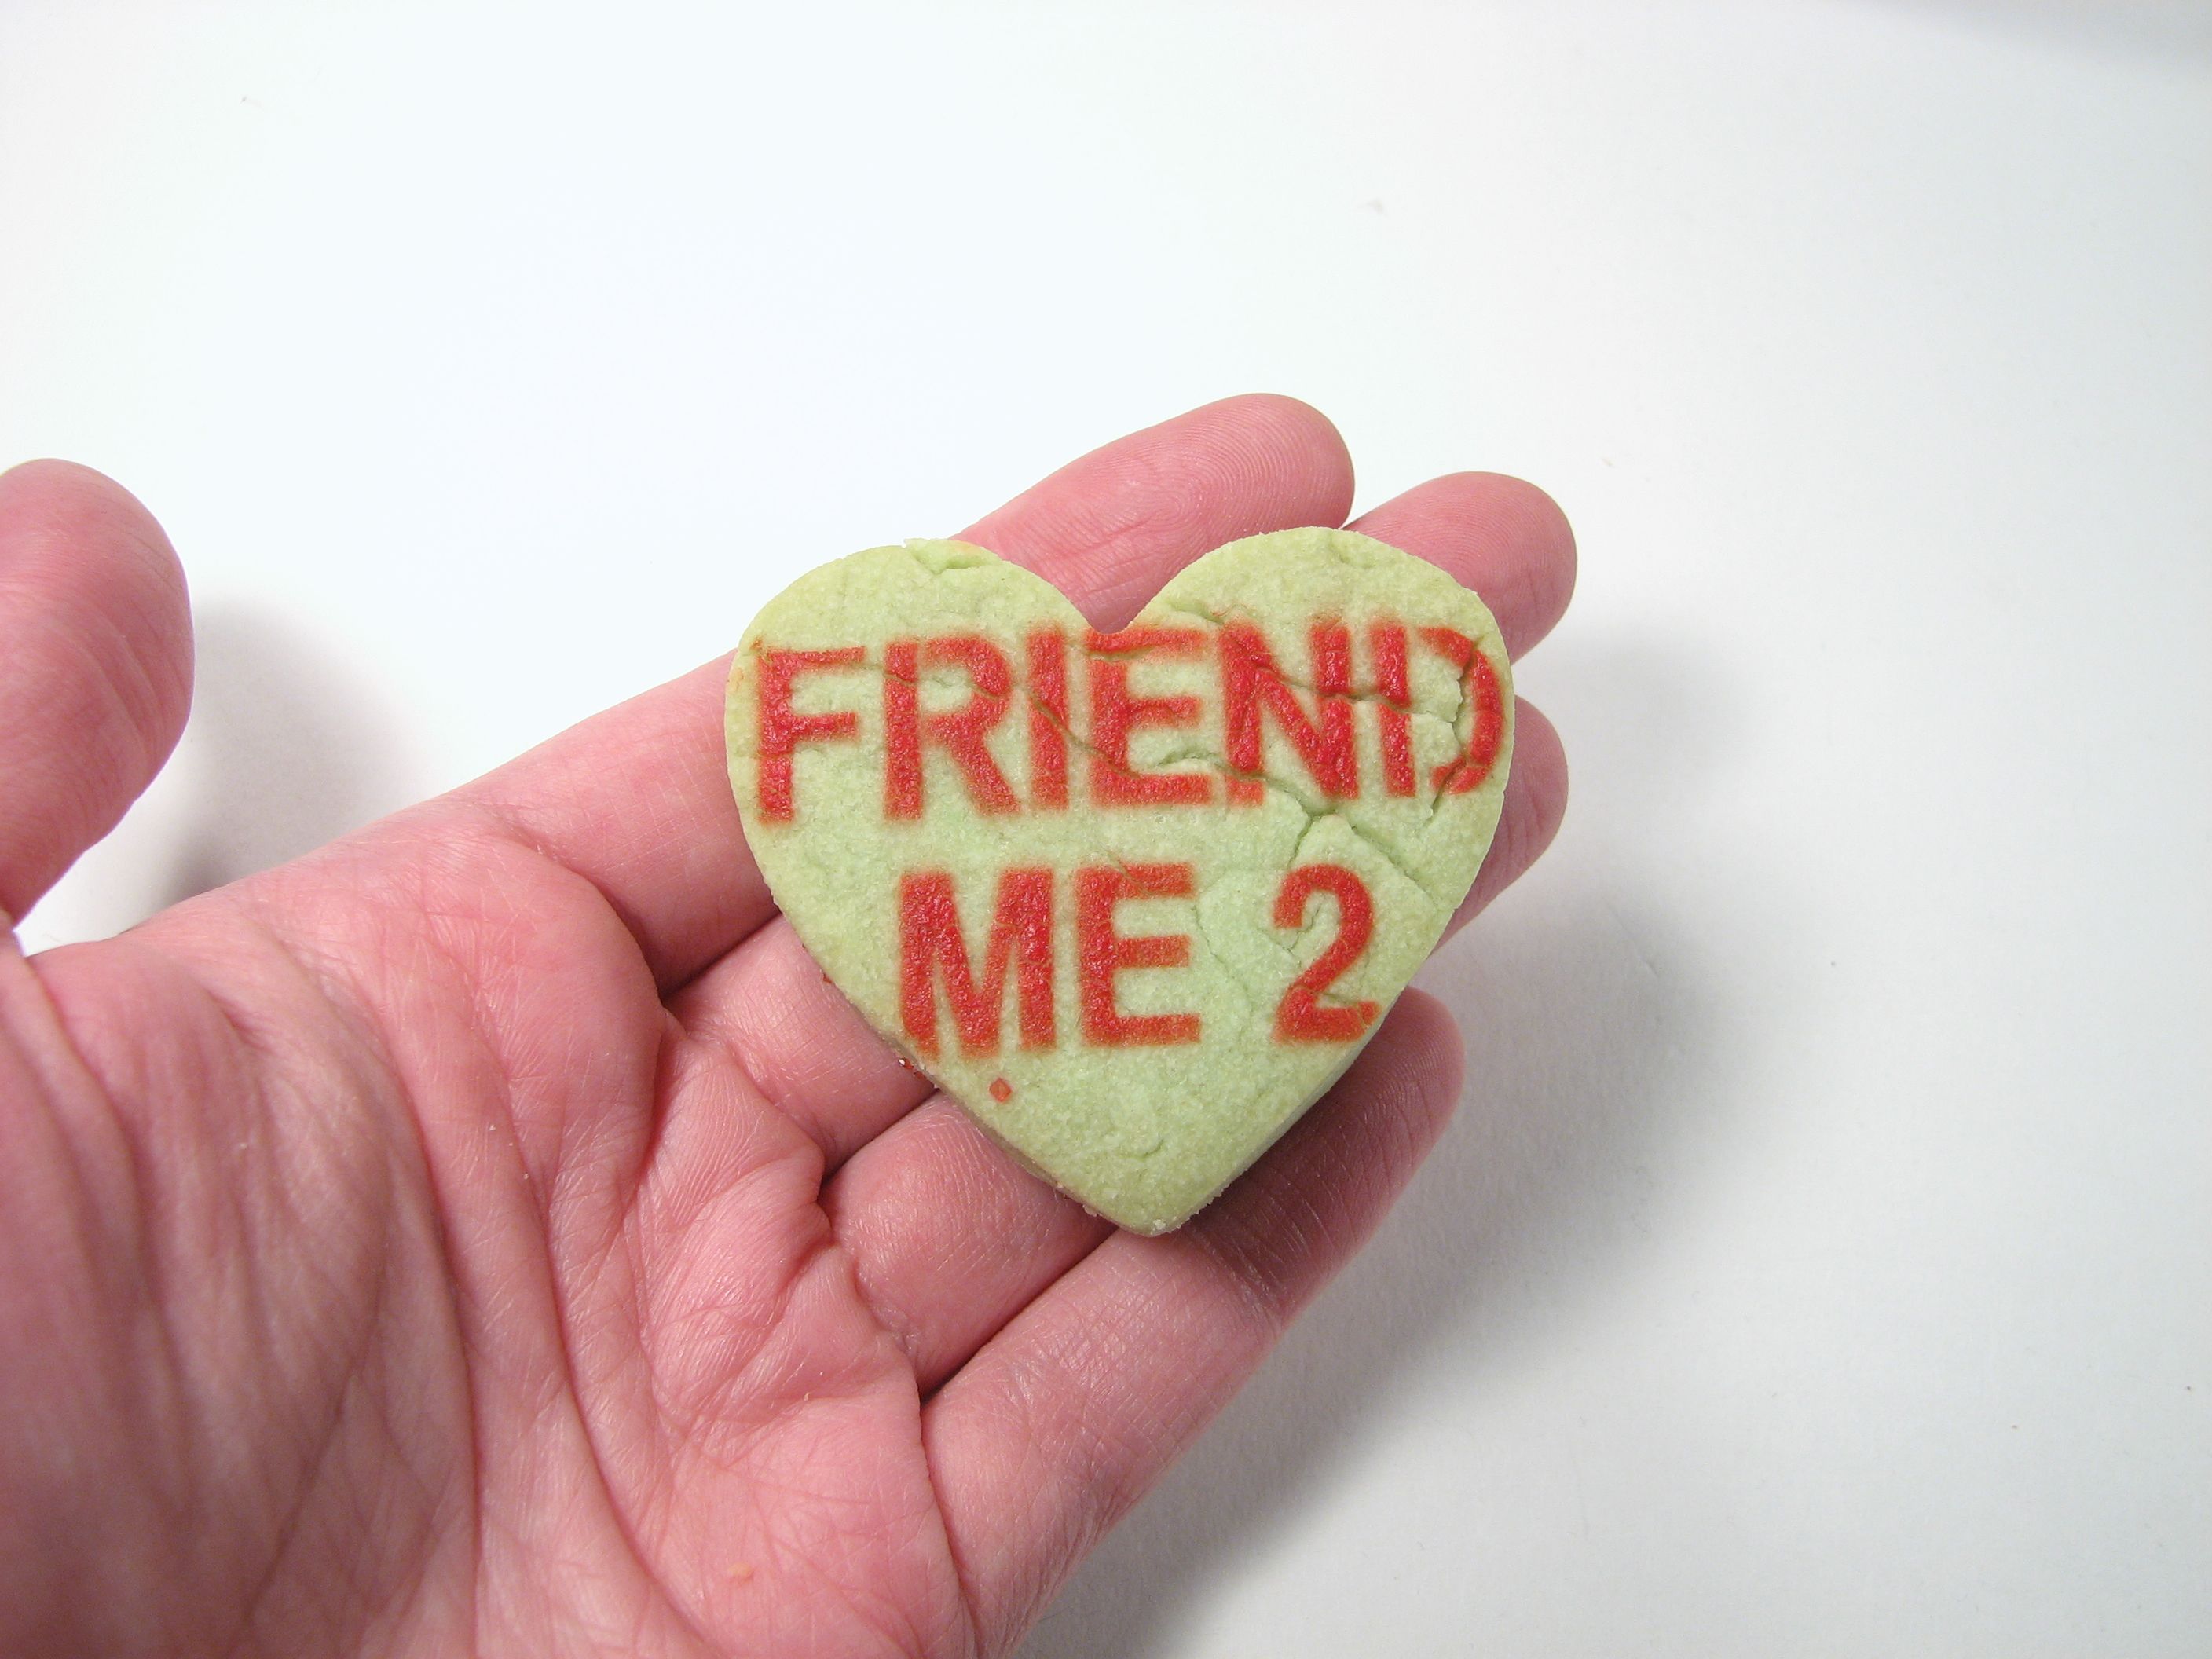
We used both green and red color spray; the red generally seemed more appropriate.
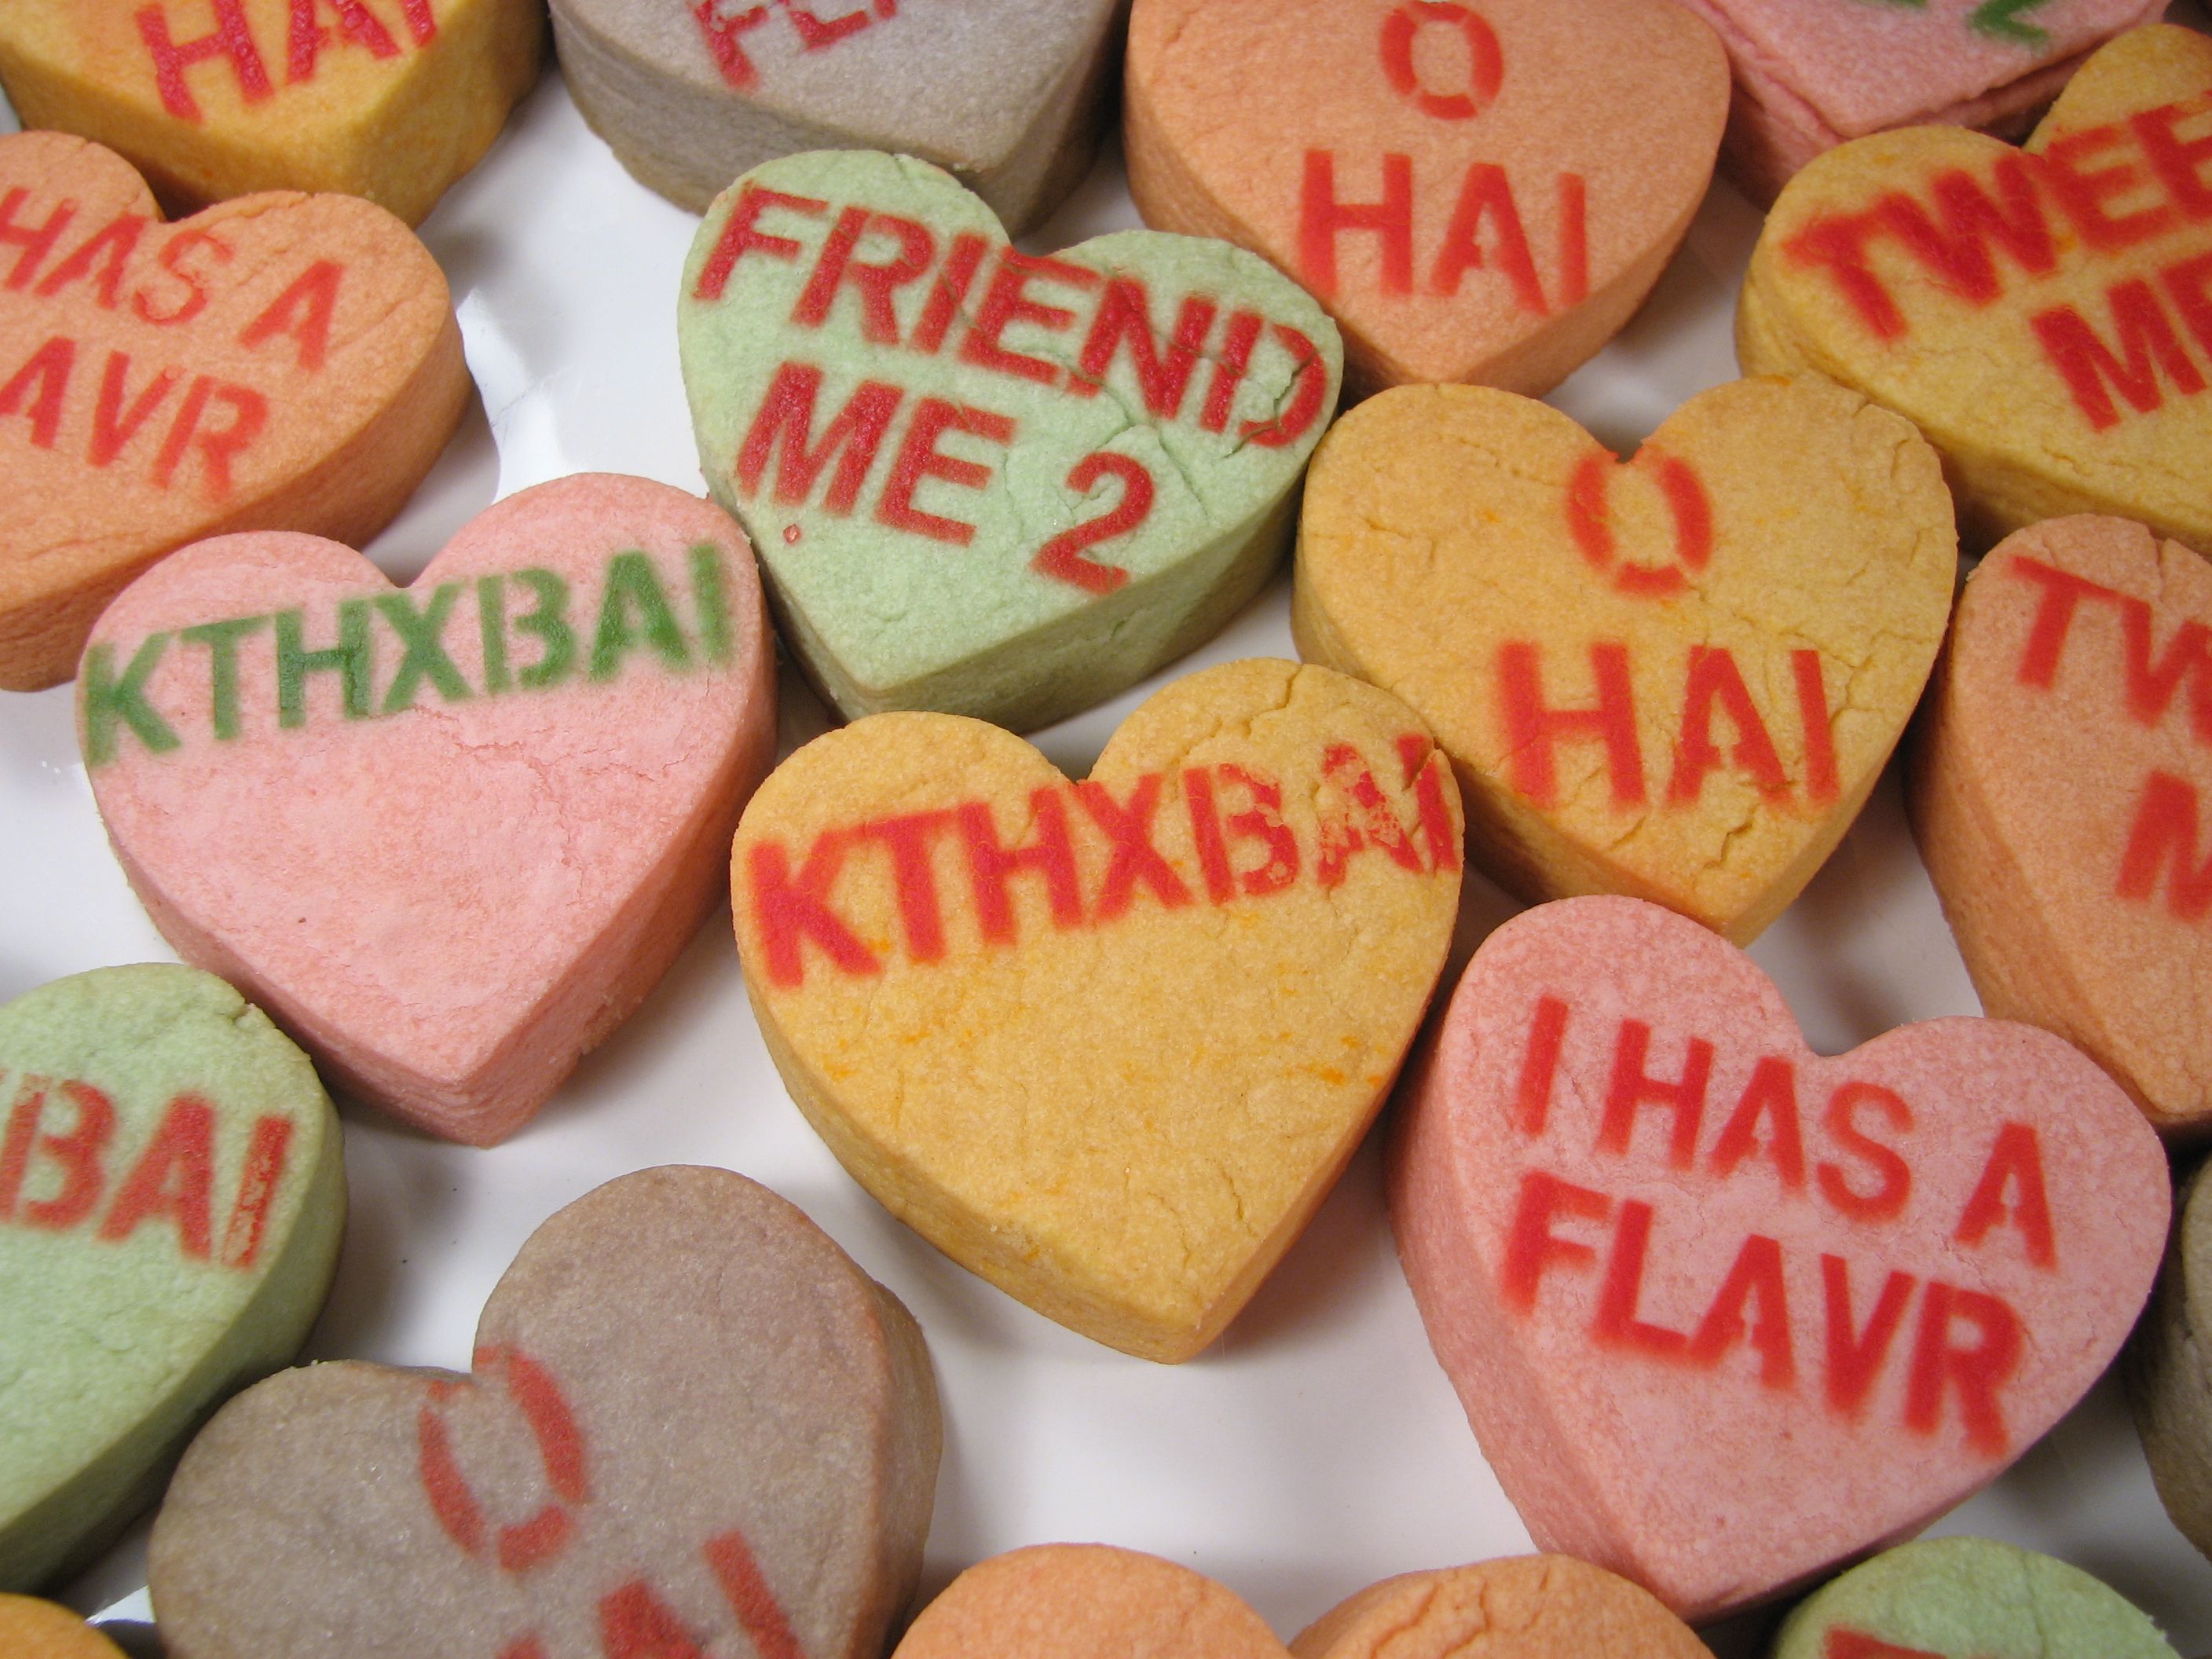
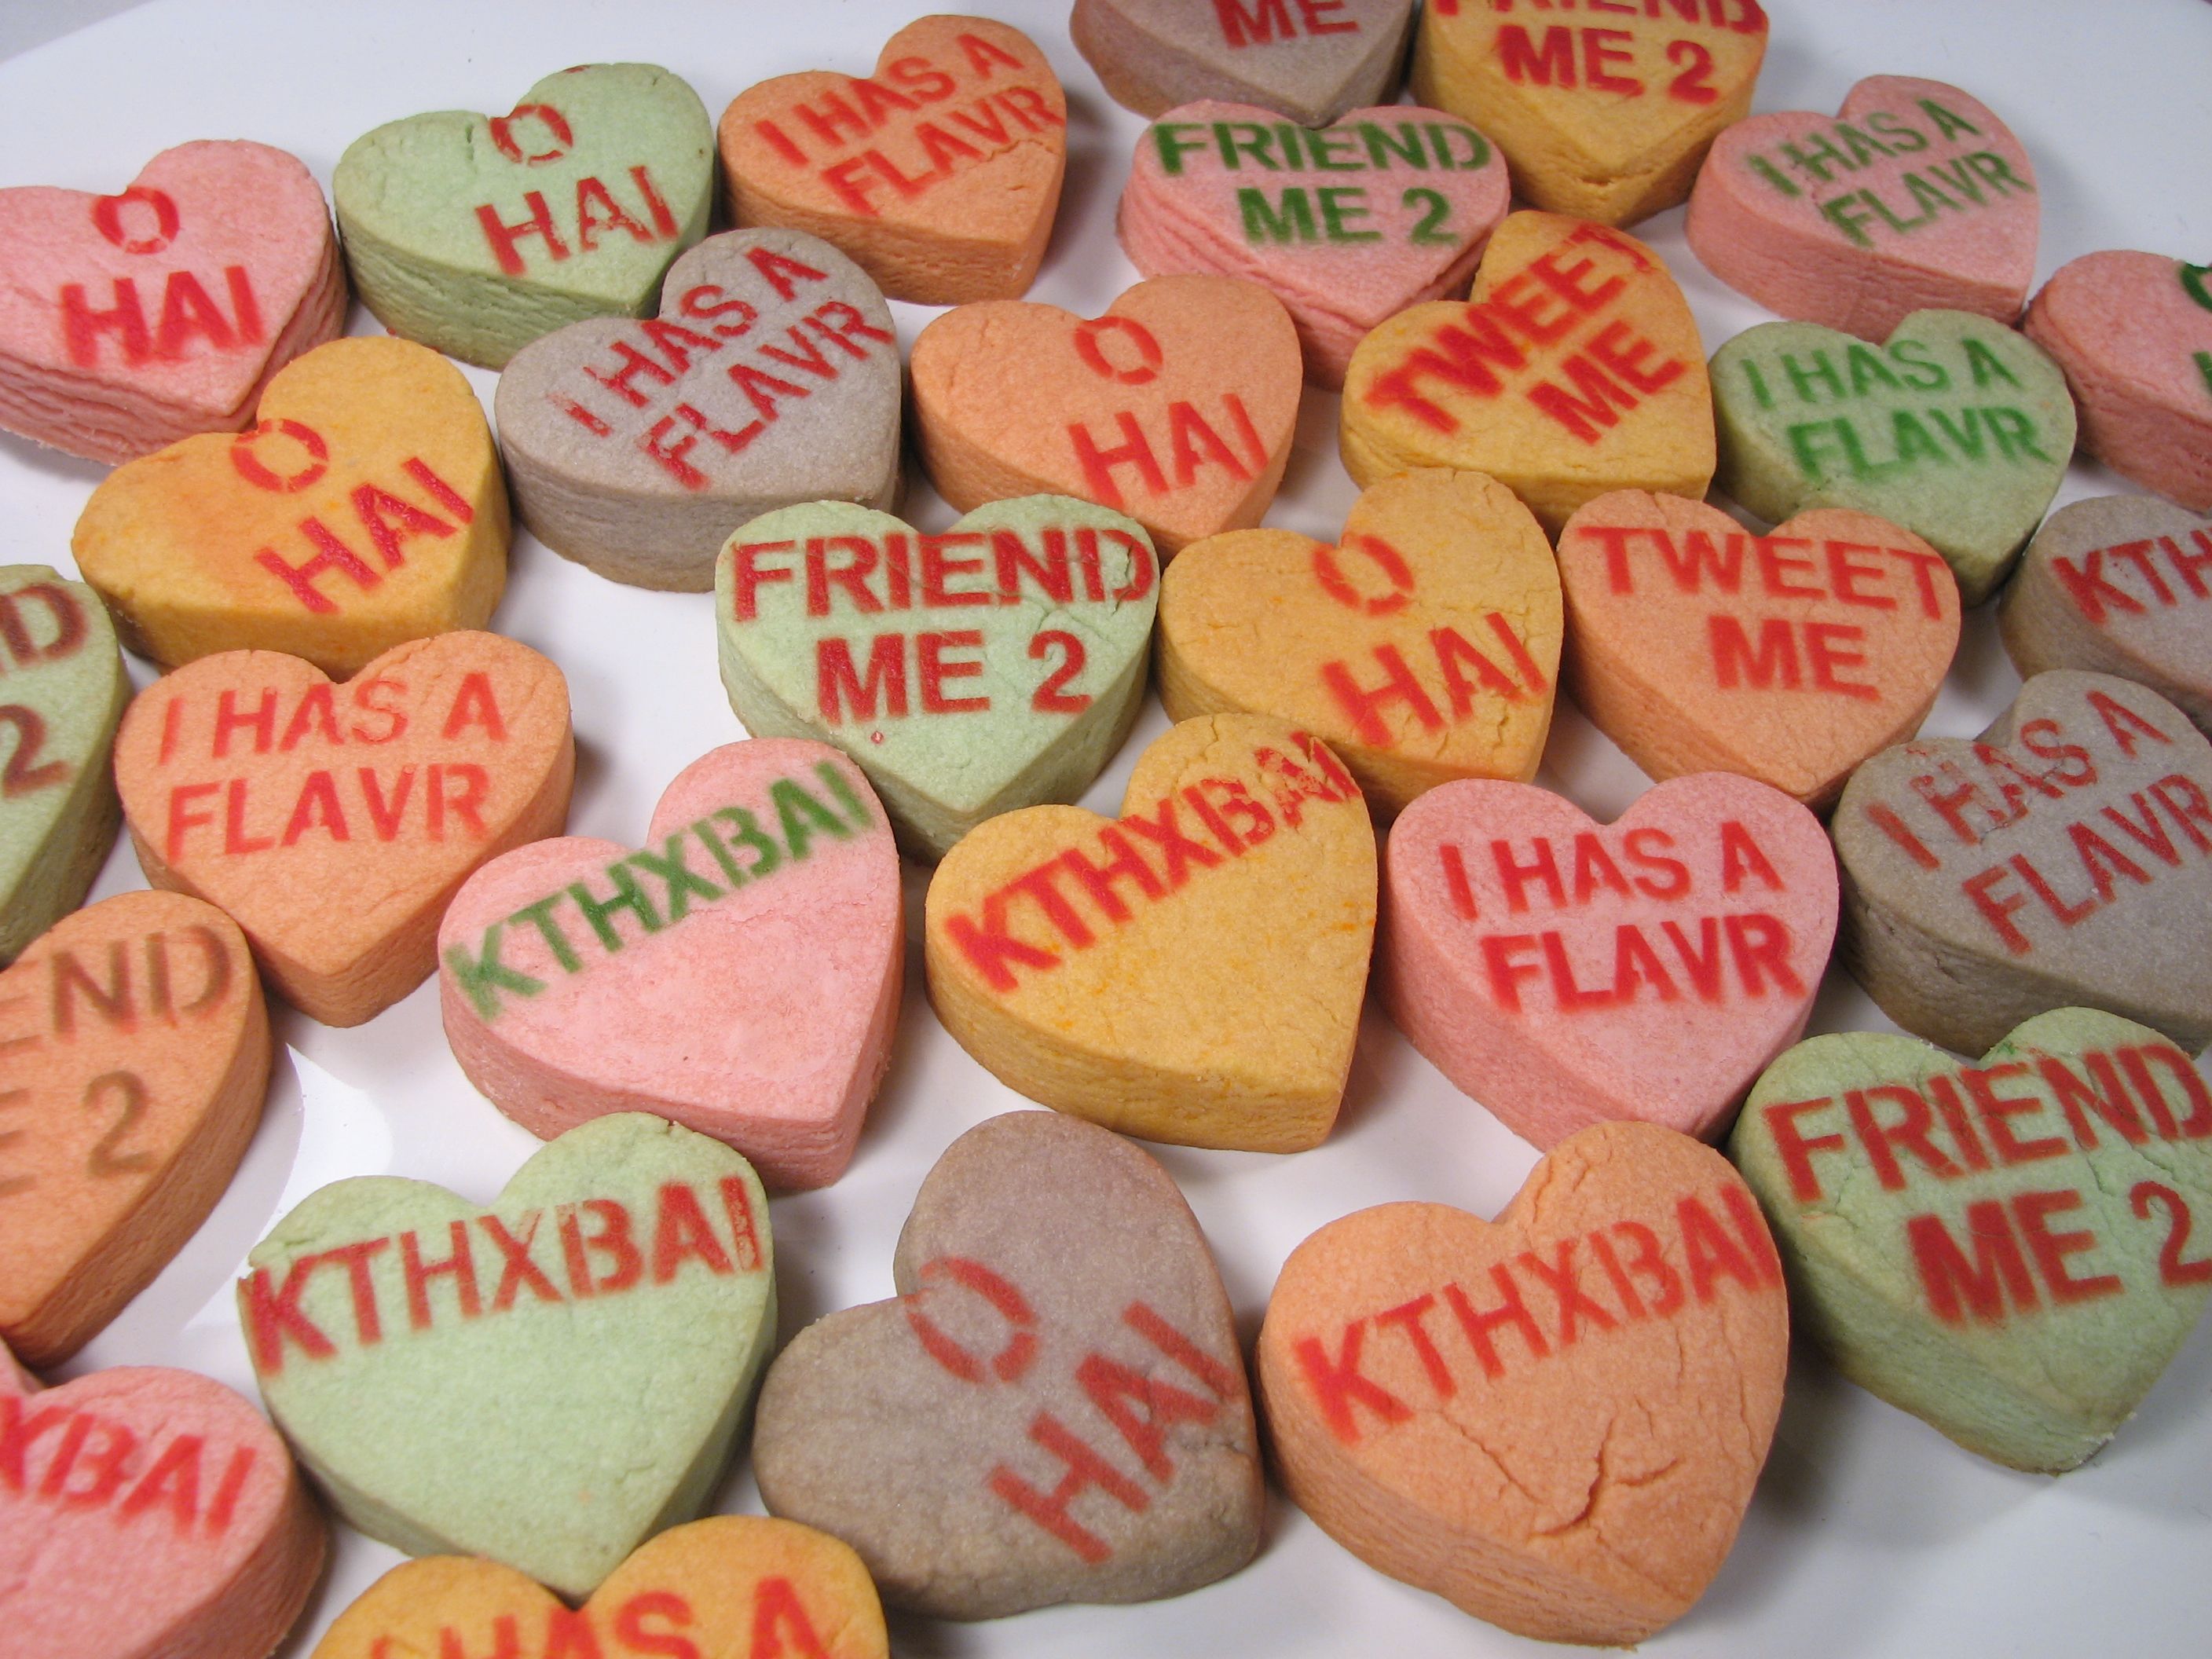
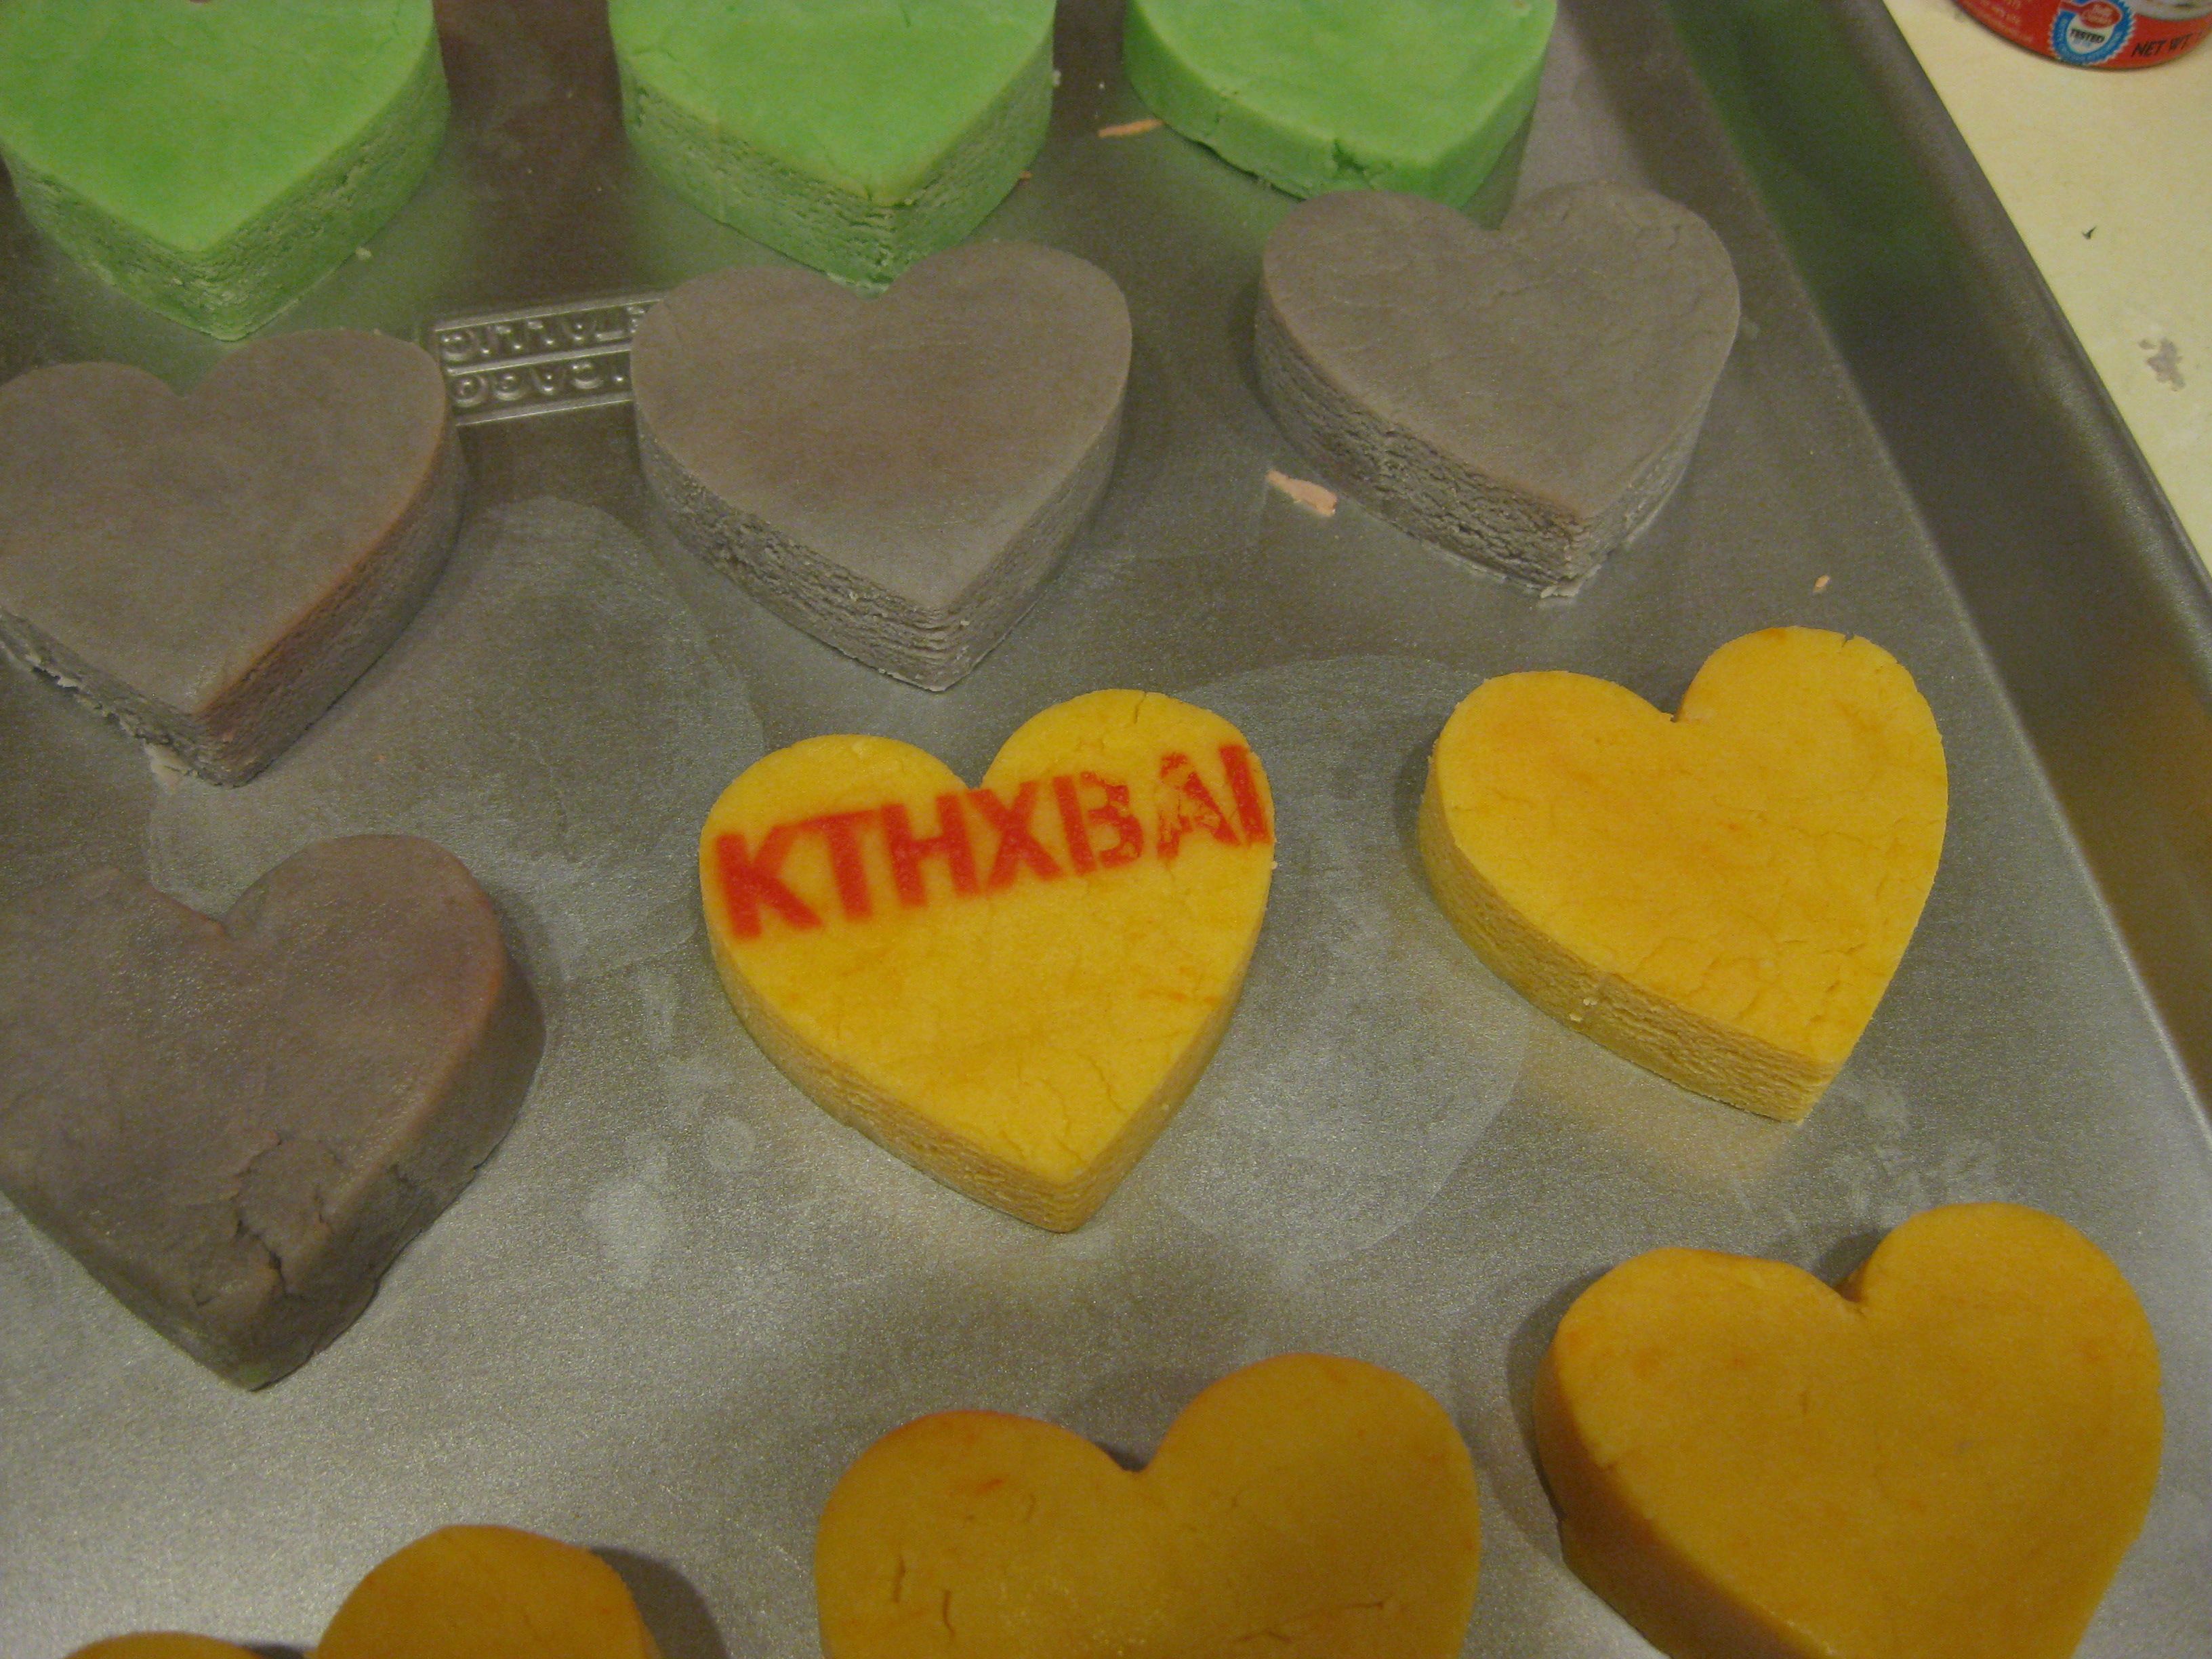
And finally, after baking.
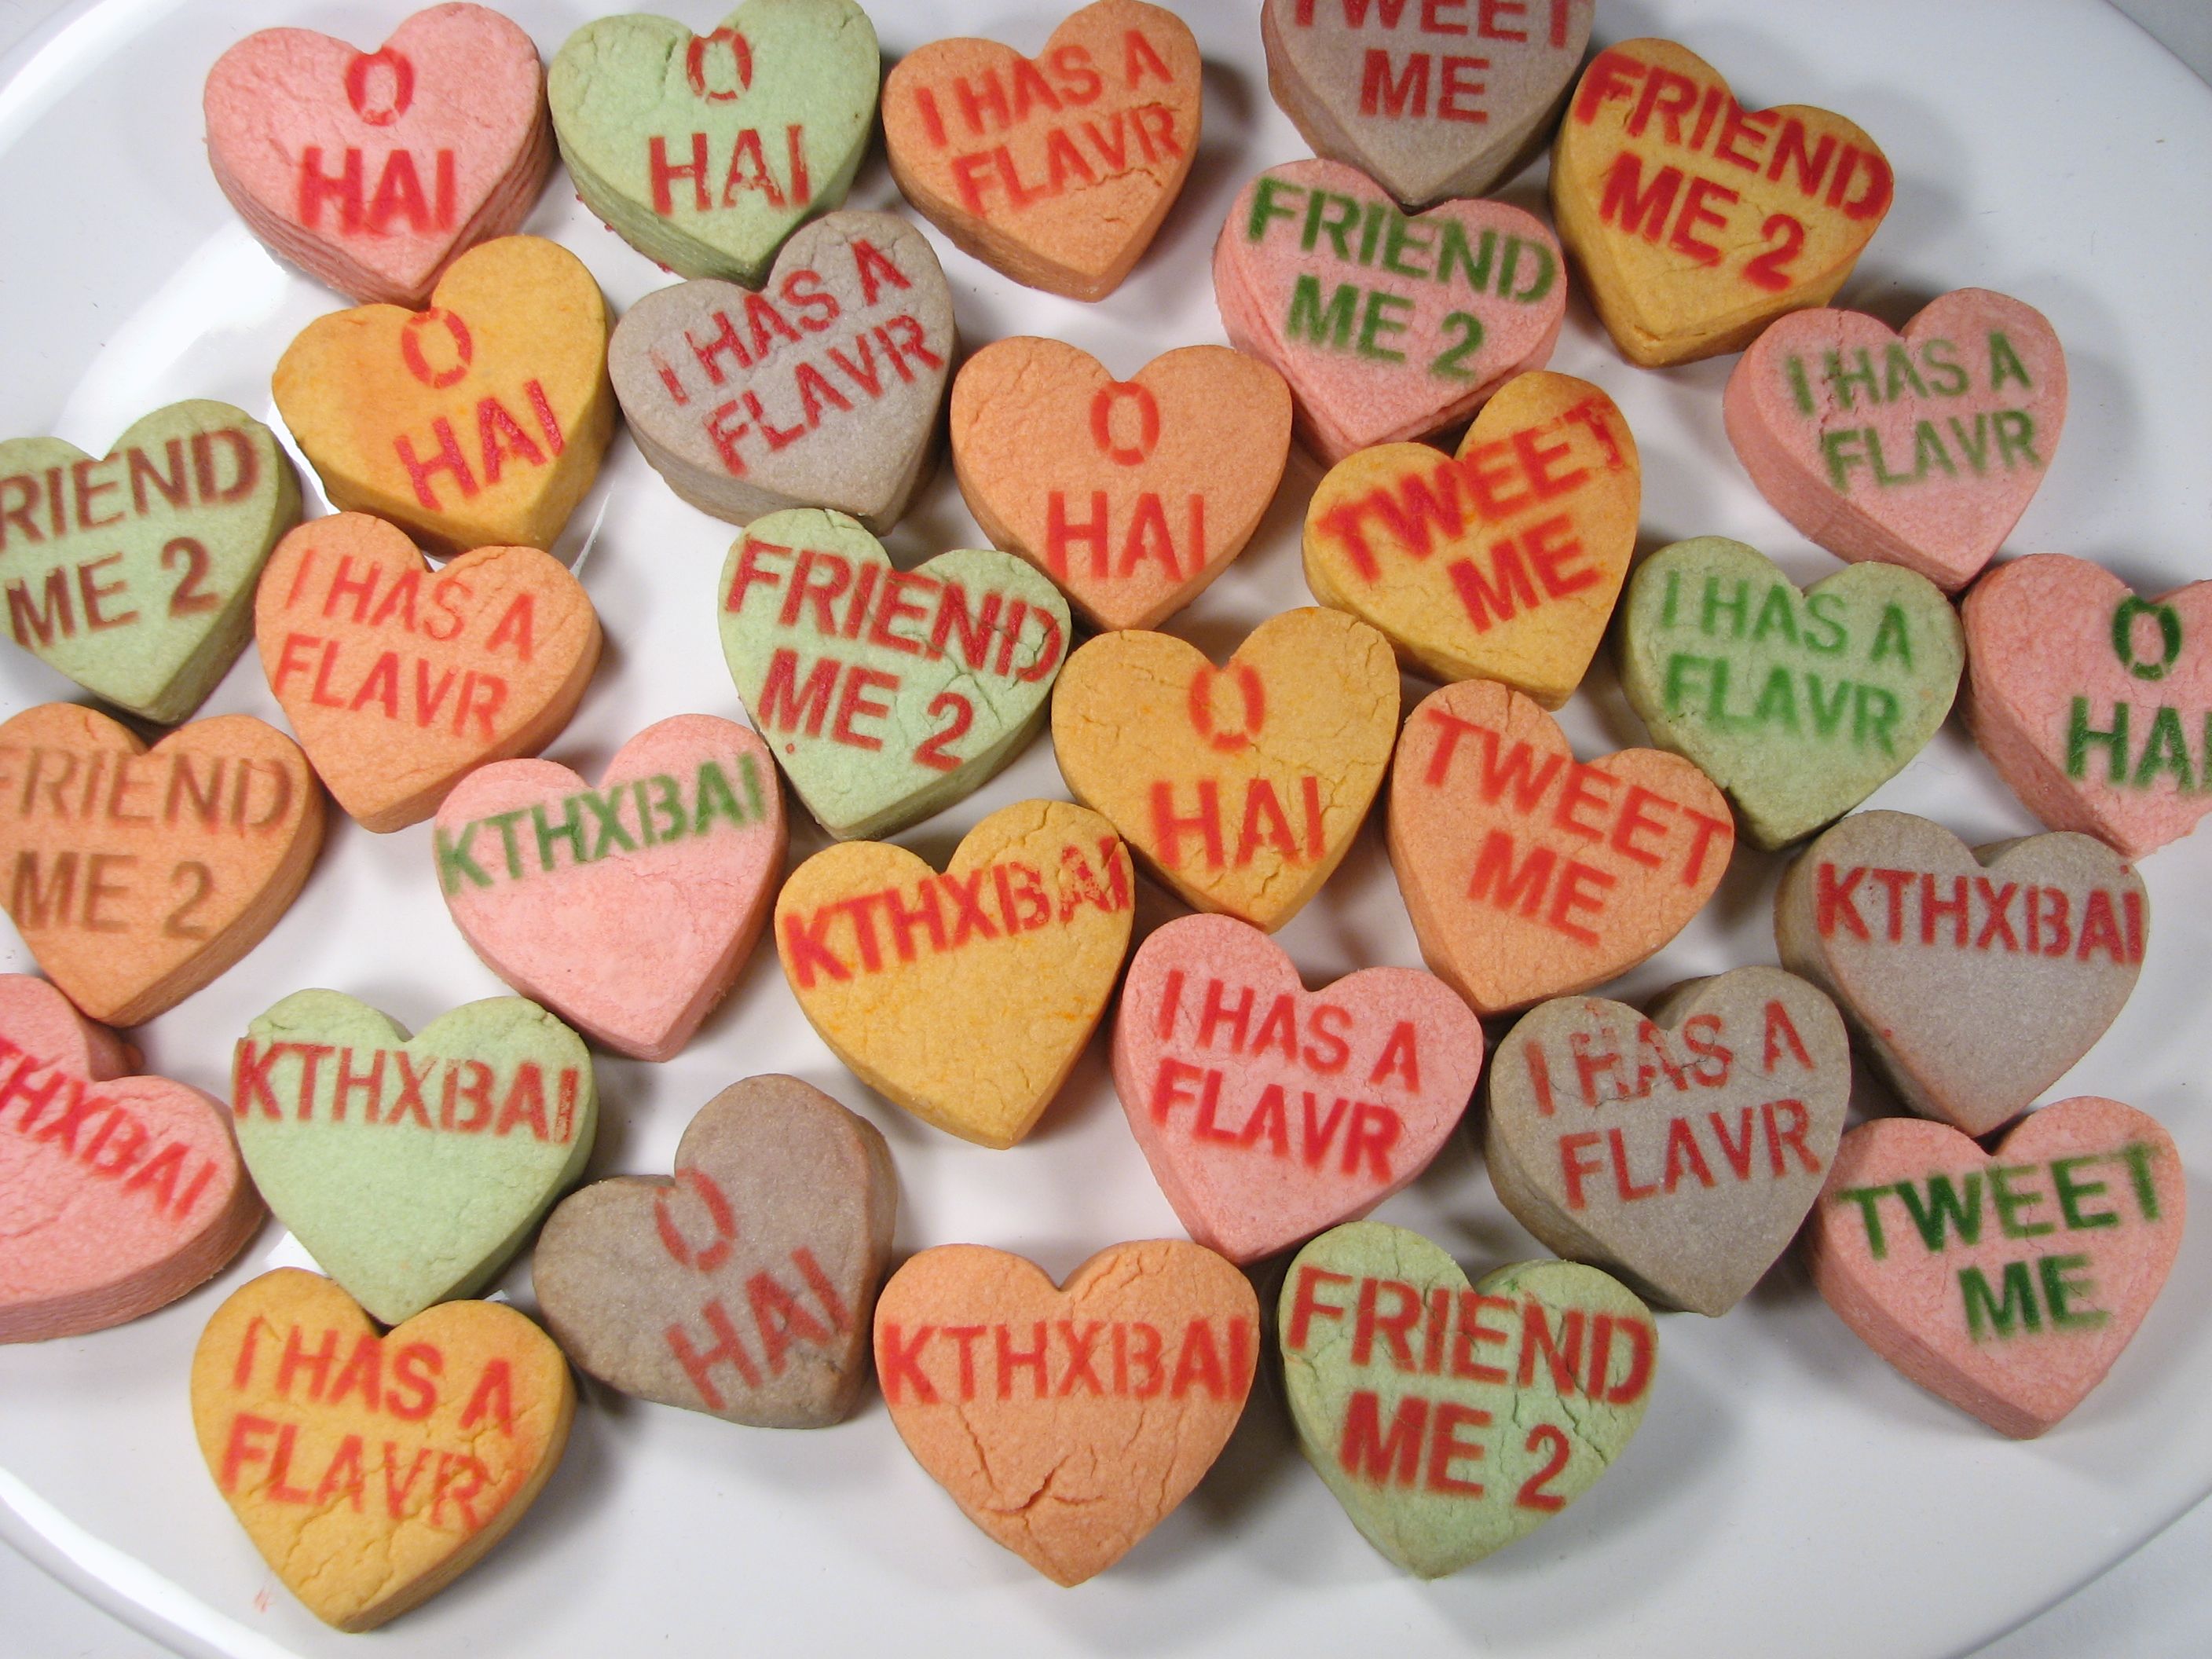
…I can has cookie?
These are FABULOUS! SO much fun and I love the messages you used! Thanks tons for the how-to, I’ll be linking to this.
DO WANT.
If anyone wants to know, you can find the decoration spray at Micheal’s Craft Store and Hobby Lobby. Both sold it for about $14
Thanks– that’s good to know about! (Ours was about $4 at the grocery store.)
—
Windell H. Oskay
drwho(at)evilmadscientist.com
http://www.evilmadscientist.com/
Wow – these are so cute. I love it.
I may have to attempt… how did you cut the stencils? Exacto??
Exacto is a great idea! We used a much more complicated method, but the best thing would be to print out your design on some cardstock (or print on paper and paste onto cardstock) and cut it out with a hobby knife.
I am definitely doing this for valentine’s day.
Very cute idea… taking the kids to a Valentine Party and cookie exchange… so thanks to you I will now have the coolest cookies…I will of course give you full credit and give them the link to your web sight. (o:
I tried this with a less than adequate spray by Wilson. Evidently the betty crocker spray is key to making this work. back to the drawing board
>> We used 1/8" plastic sheet for the stencils, but the thickness proved to be a distraction– card stock would have been a better choice. <<
I used card stock and this did NOT work well. After a few sprays, the paper was soaked and had begun to distort. Use something waterproof!
Also, I found that I was breathing the spray dye. You may find you need a dust mask and a well ventilated area.
OK– thanks for the feedback! I guess we want thin *plastic* stencils then?
—
Windell H. Oskay
drwho(at)evilmadscientist.com
http://www.evilmadscientist.com/
Freezer paper or parchment paper might be more resilient in the face of moisture.
I attempted this, because I think the idea is AWESOME.
Firstly, I totally didn’t have the patience to make stencils at such short notice. Buuuuut that’s just as well, since the recipe for shortbread I used made something very much NOT cookie-cutter-friendly! I ended up making pink hearts by spooning them into the cookie cutter on the sheet. Hopefully, I’ll still have hearts when they’re out of the oven, and not just pink blobs!
….well, they’re out of the oven and look mostly like hearts. Some morphed into circles, but overall they’re fine.
Hey, they’re pink and tasty! Good enough for me!
My recipe suggested adding a few drops of water if the dough wasn’t holding together well, so that is one option for improving the workability.
My recipe also said to avoid overmixing, but I ignored that directive and kneaded it quite a bit to get a pliable consistency for rolling out. I don’t think the texture suffered greatly from my overmixing – they were more flaky than crumbly, but still quite tasty.
I did it and it worked out well. Coated the stencils in super glue first, no weakening from spray. I took the idea a bit further and scaled up a Sweethearts candy box, too. Here is a link to my Picassa album about it…
http://tinyurl.com/d3g58v
Whole lot of work, but the reactions were worth it!
kOz
Has anyone tried using the cricut or icut paper crafting tool to make the stencil? I know you can cut laminated pieces of card stock with it. It is computer precise but might be hard to get the middle of letters with certain fonts. It would be more waterproof and hold up better than parchment paper.
GAH! Don’t overwork or add water to your shortbread. Smush it together as best you can and rest. then take it out of the fridge a half hour, smush, roll. trust me, it’ll be perfect
o hai there <3