


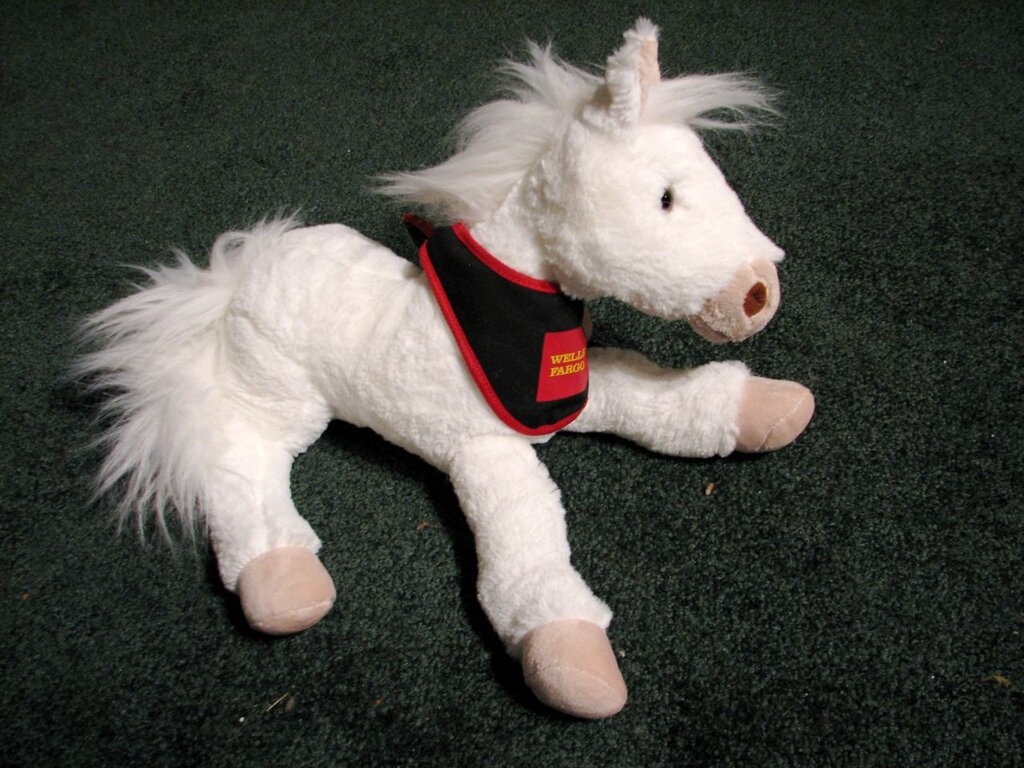
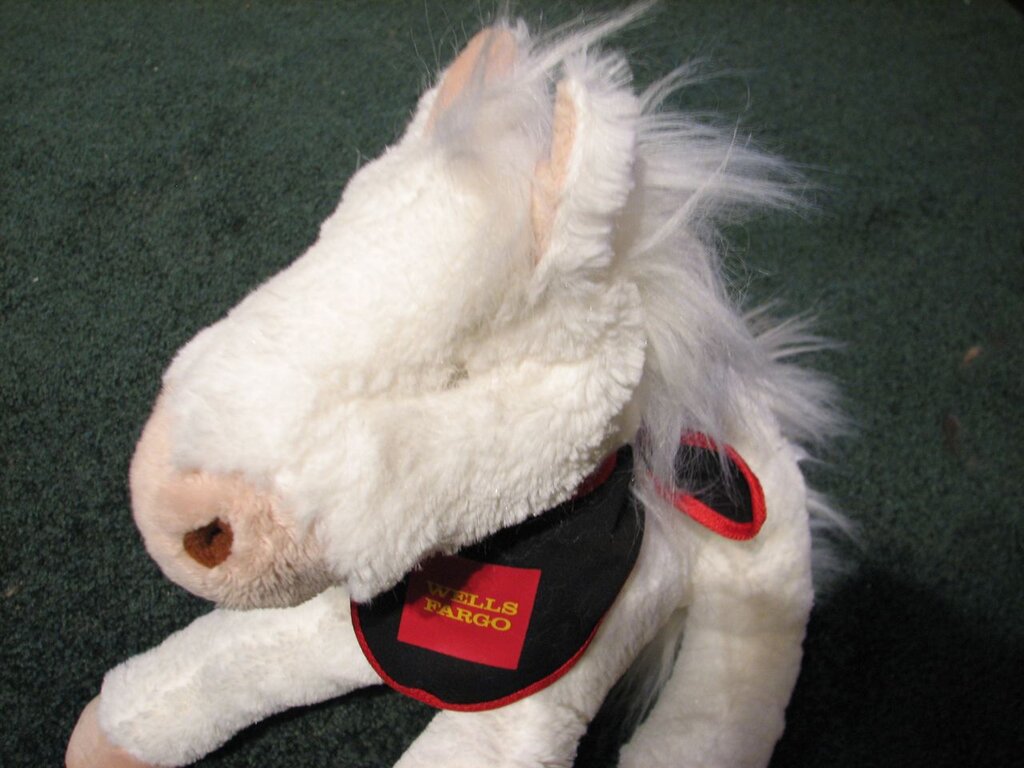
Mollie is the 2008 Wells Fargo special edition freebie plush pony (activity book here). “Unfortunately,” Mollie was attacked and killed by zombies.
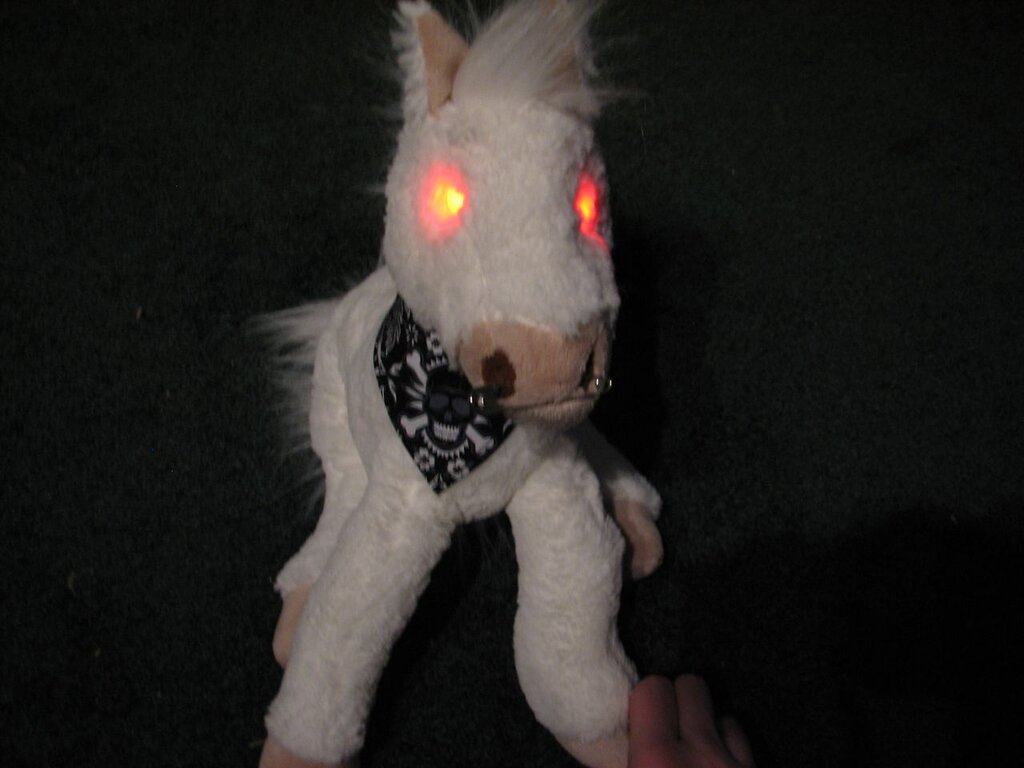
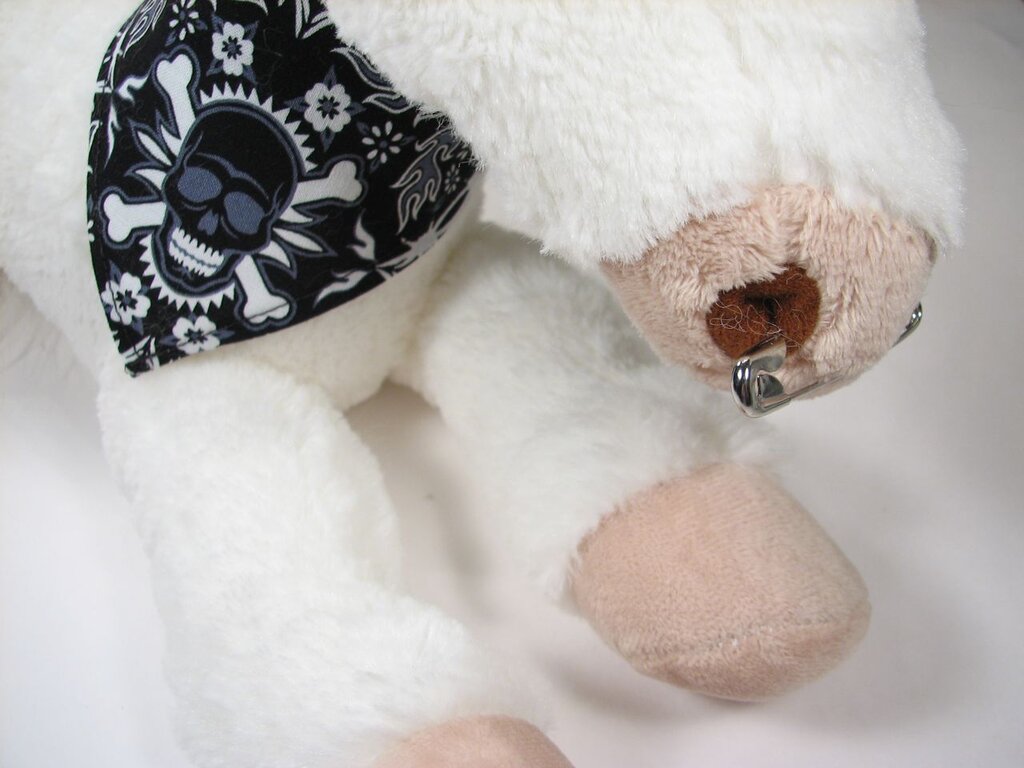
Mollie was reanimated as Maulie. With creepy red eyes and a brand new skull & crossbones bandana, Maulie is a distinct improvement over the old Mollie.
Molly came with an adorable Wells Fargo collar and big brown eyes. Those eyes will be the first things to go.
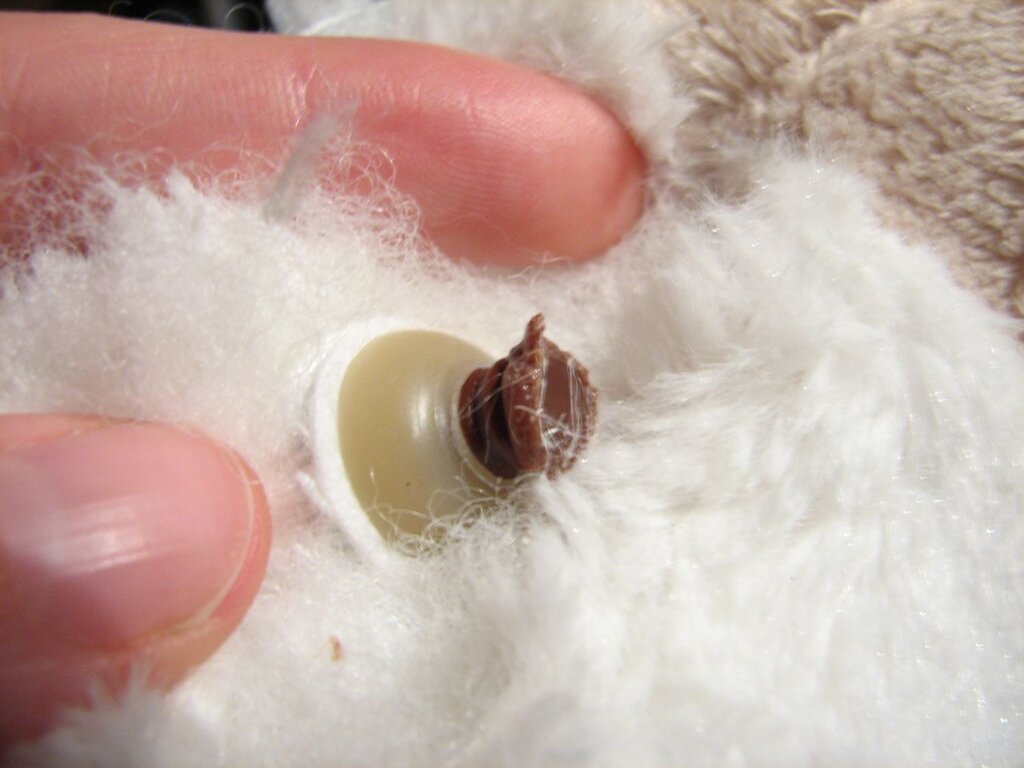
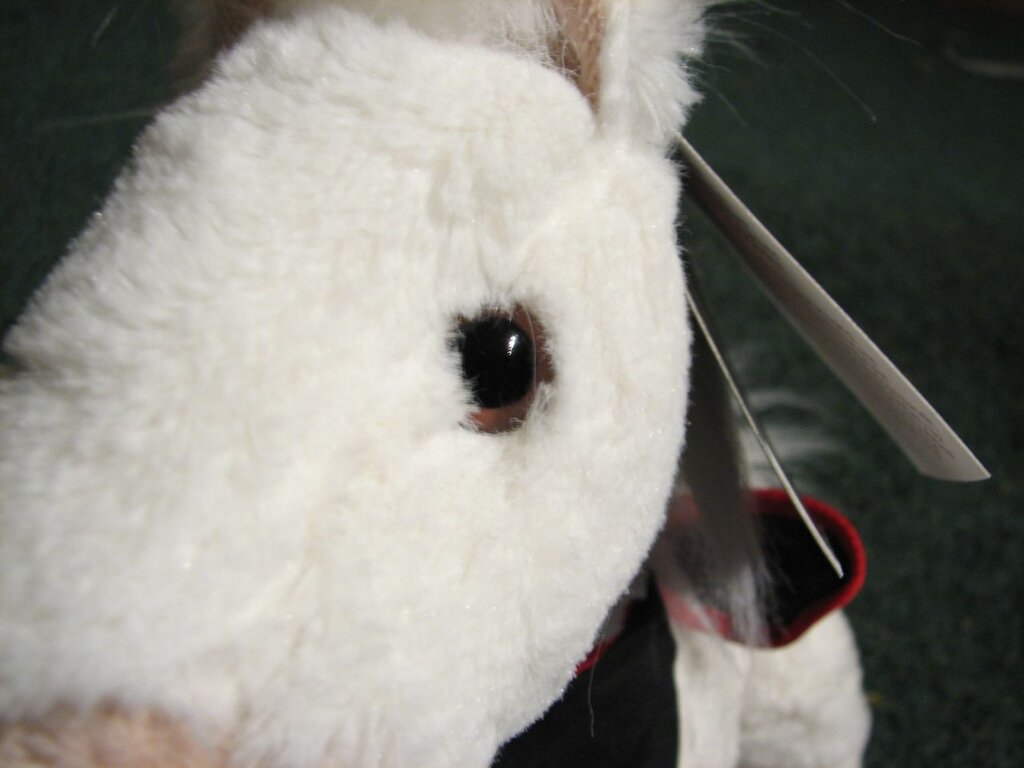
For any plushie mod, you’ll want to pick seams that can be unstitched to access key points. Seams that are on fluffy fabric hide any restitching quite well as opposed to smoother sections. Alternately, use a thick contrasting thread to form scars. In this case, a seam under the chin gives access to the eyes, which are mounted via a plastic post with a press-on closure.
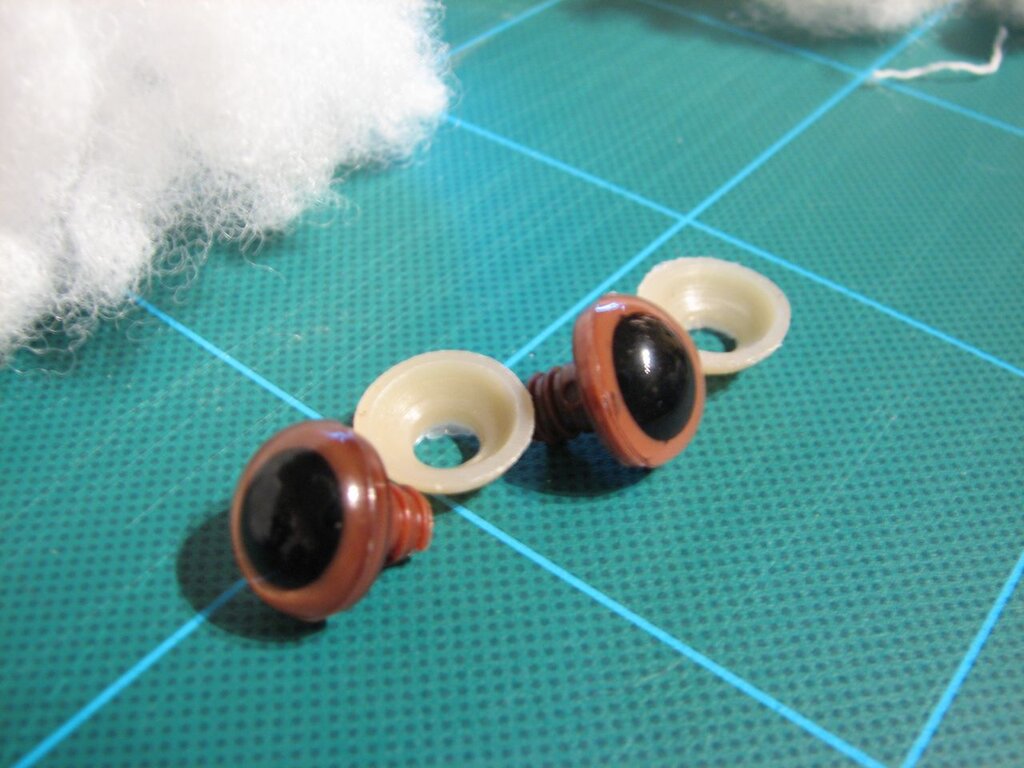
After unstuffing the head (reserve the filling for later restuffing) clip off as much of the post as possible, and use pliers to pop off the backing piece.
The holes for the eye posts aren’t quite large enough for the 10 mm LEDs we’re using (you can get them at our LED Headquarters), so cut them wider to fit.
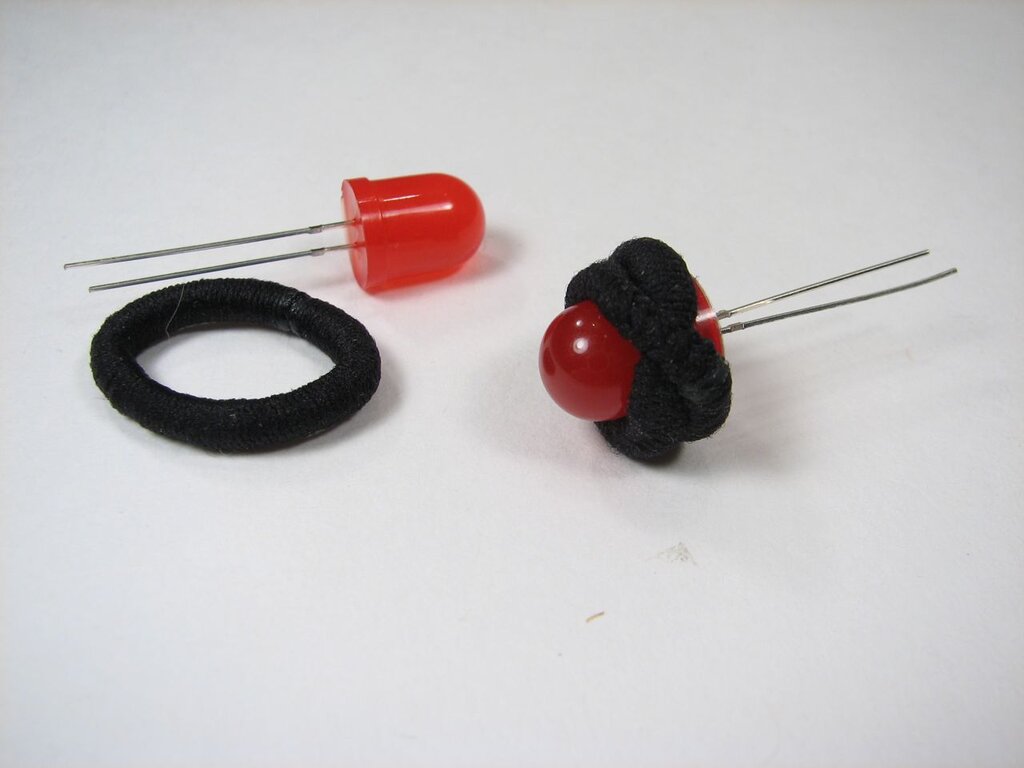
We’re taking advantage of the fact that a standard 10 mm LED package is about the same size and texture as the glass eyes that come on stuffed critters. However, the package is a little too tall and doesn’t have any surface to sew onto. To solve those issues, you can wrap a fabric covered “hair tie” rubber band around the base and attach it with a couple of drops of super glue.
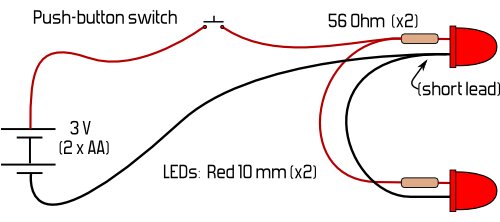
The circuit we’re using is simple: just a battery box, two LEDs, two resistors, and a switch.
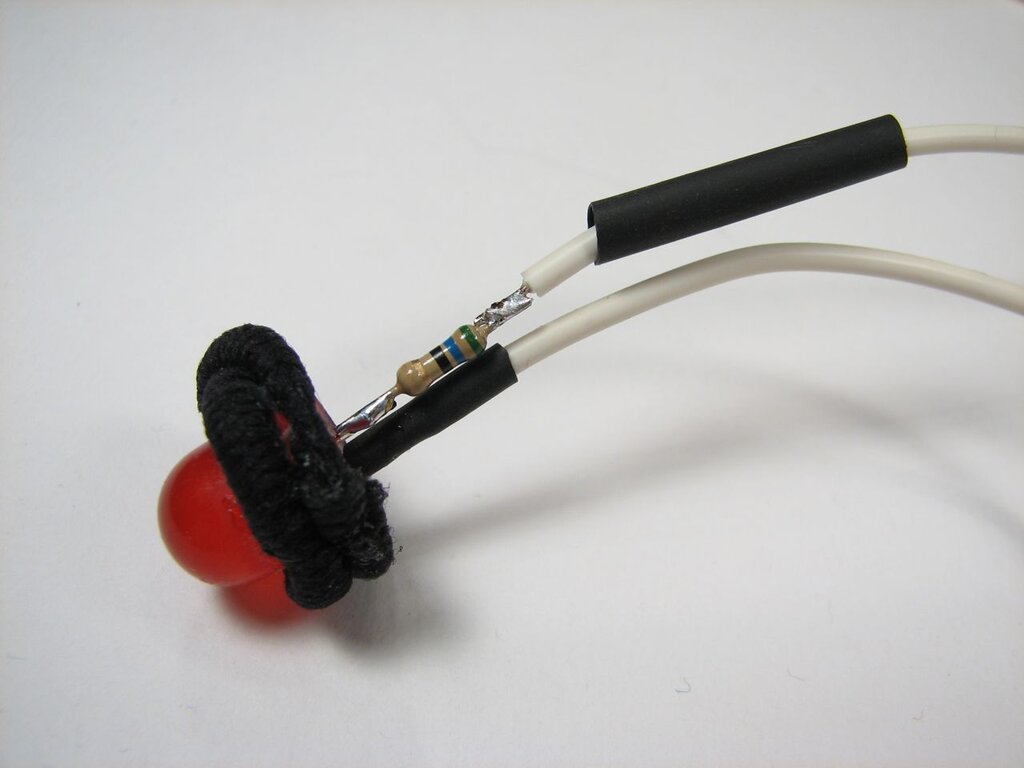
We’ve decided to put the switch in the hoof, battery box in the neck, and LEDs in the eyes, so we’re ready to start wiring up the circuit. Use flexible wire and cover your joints, and even the resistors, with heat shrink tubing to prevent short circuiting inside your plush critter.
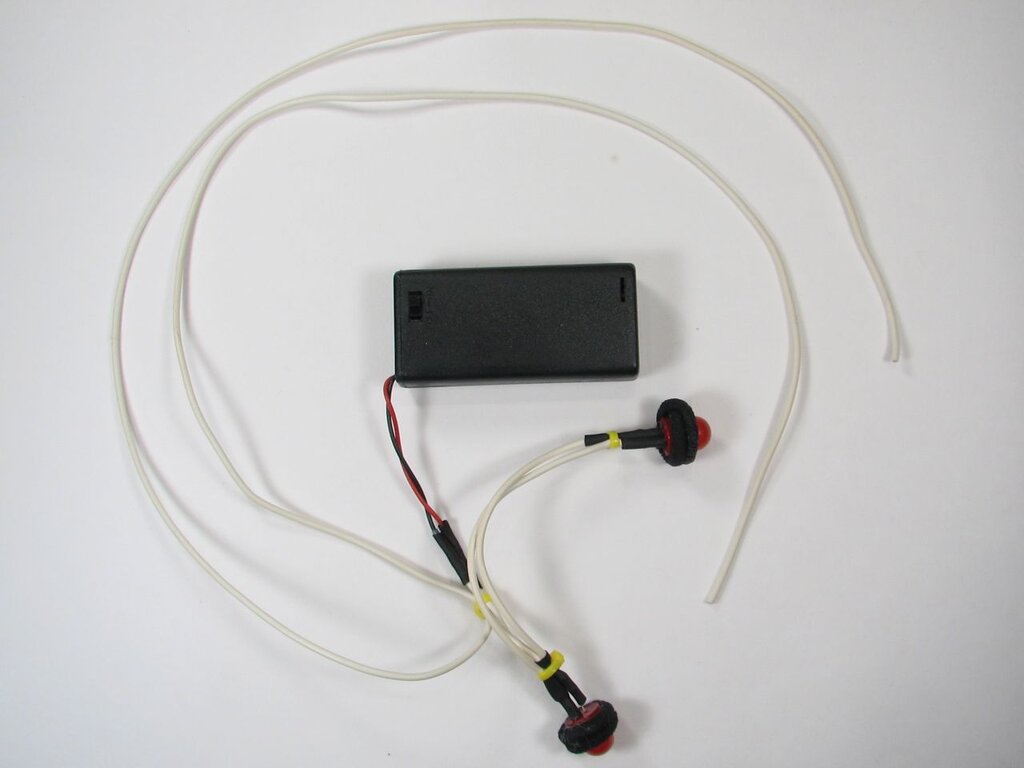
Put everything together except for the switch, using cable ties for strain relief where appropriate.
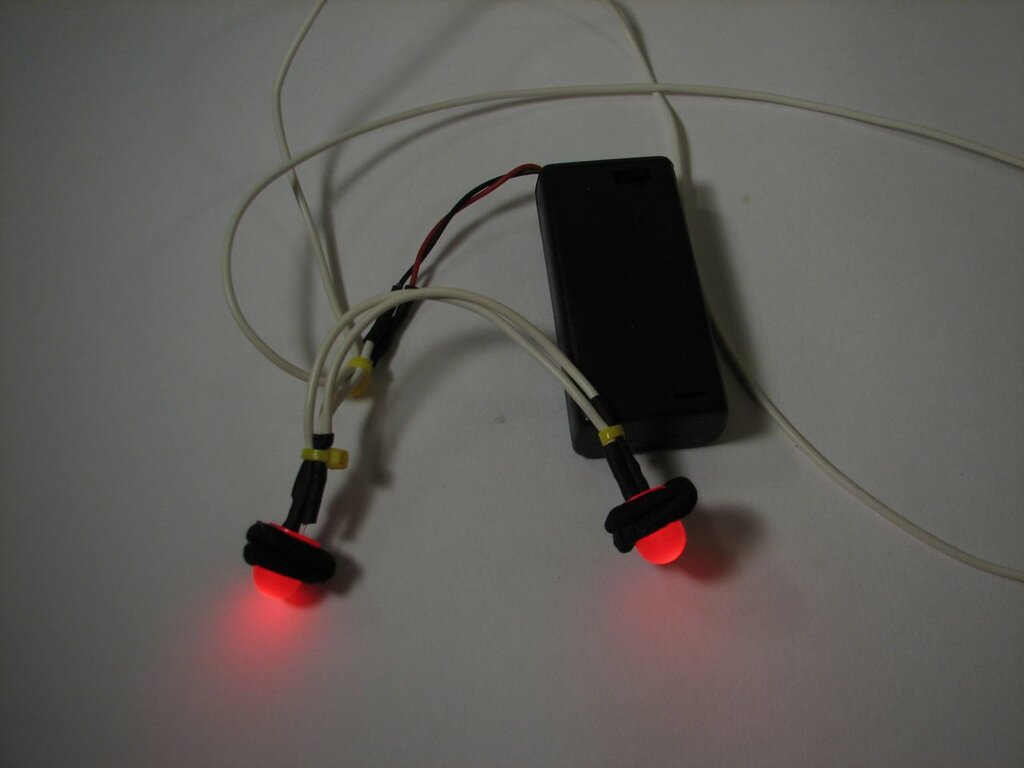
Test your circuit to make sure everything works before putting it inside.
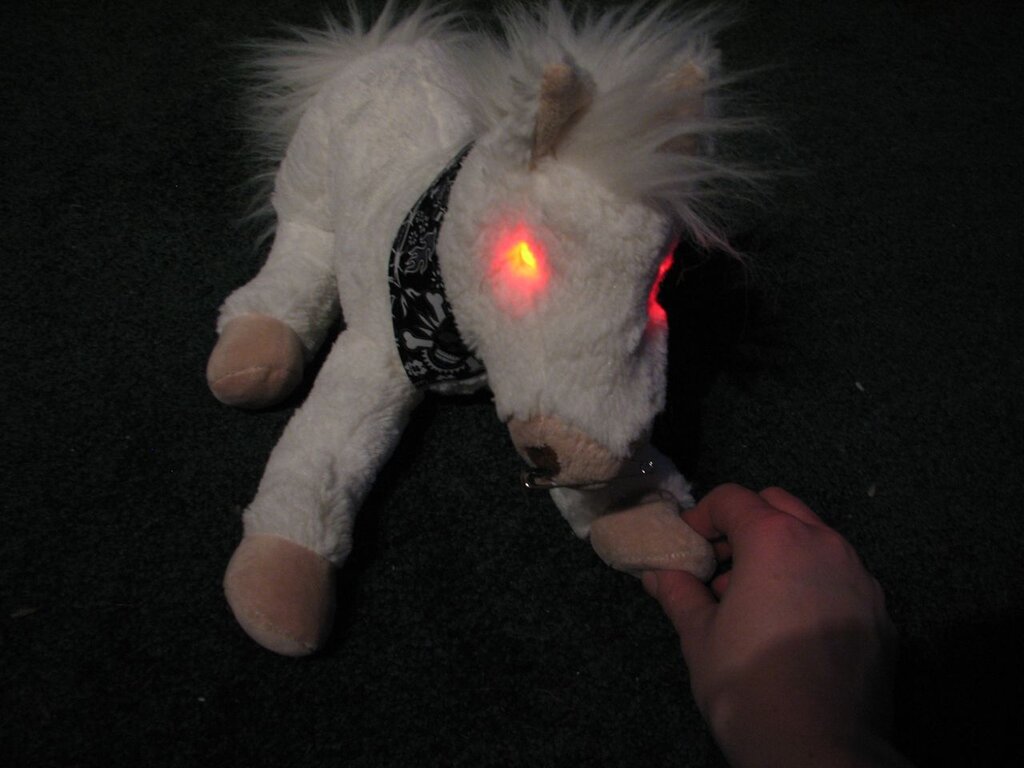
Stitch the eyes in place.
The new red eyes look much better than the plain old brown ones.
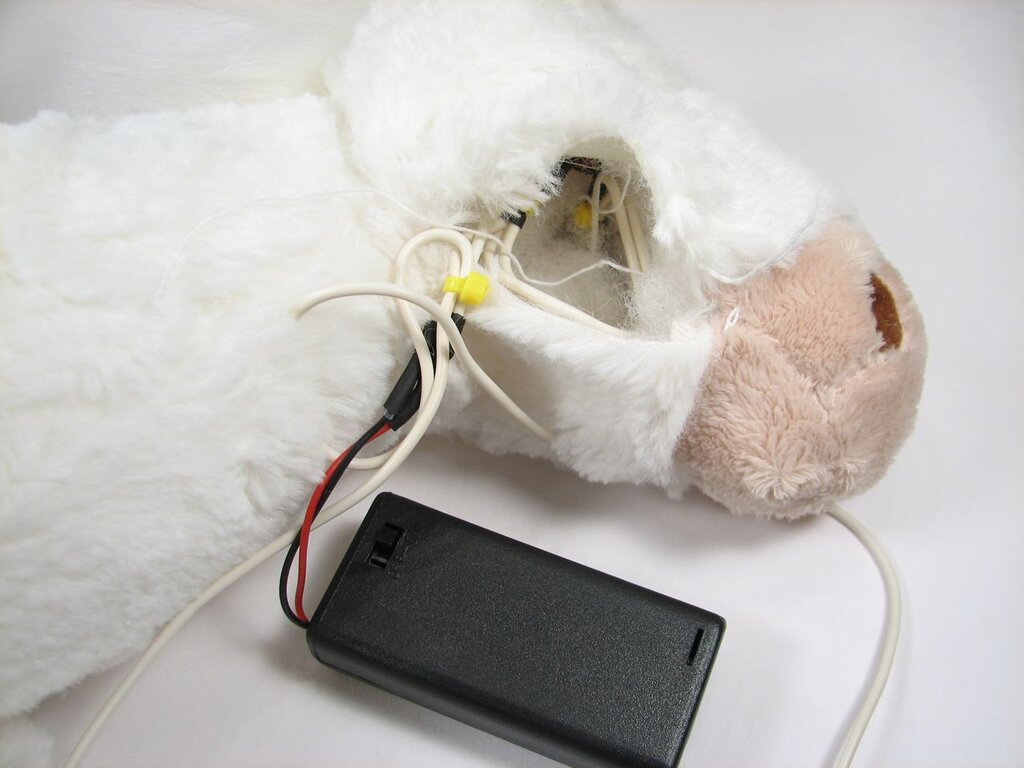
Identify your switch location, and unstitch a seam appropriately nearby to thread the wires through. Thread the wires leading to the switch onto a yarn needle and maneuver the needle through the stuffing to the opening near your switch location.

Solder your switch on. We used a switch of type B3F-4050 with a B32-1220 button cap. The large size made it very responsive inside the polyethylene pellets that filled the hoof.
Position your switch and test. If the positioning is particularly sensitive, you can sew the switch in place. Draw any extra wire back up through the body.
Position the battery box in a convenient spot. The neck provided enough stuffing to mask its presence. Restuff the stuffing you’ve removed and restitch your seams. Since the switch can’t stay on, the batteries should last nigh unto forever, but you could conceivably put in a closure of some sort like a zipper or velcro. Or you could use a safety pin for a little bit more ragged look. We’re content to rip out the seam again should the day ever come that the batteries need replacement.
All that’s left is to accessorize! We punked Maulie out with a safety pin and a bandana.
You can find more Halloween decor projects in our Halloween Project Archive.

Hmmph. How does one GET Wells Fargo Freebie Pushies? I’ve got WF accounts and never even heard of such a thing!
(I see a whole TEAM of zombie Maulies pulling a ghost wagon…)
Well, I took a teenager in to open a new account near the holidays, but there may be other rules in play.
Hmm… if you could get your hands on an appropriately sized plastic brain, you could also consider cutting back part of Maulie’s skull for extra effect. Attach the skin flap with some white velcro, and you can easily switch between "Molly" and "Maulie"
Holy cheese. Made something very similar to this about a year ago (last April Fools’) to stick on a shelf of toys. Only difference I can see is in the choice of connector to the LEDs and the plushie. I used a beanie baby unicorn.
Just to clarify, was it cheese when you did it or do things only become cheese after you have done them? Because if your saying "I WAS FIRST!!1" to adding LEDs to a plush toy then I think a trip to google may be in order.
Anywho I think it looks neat and was well executed.
Only meant to say this was a funny coincidence, didn’t mean to come off as saying "zomg u stole my idea!" Sorry for any offense caused.
you need to take it back in to wf and show them the new and improved version
I love that hair tie is in quotes, indicating your unfamiliarity with such common feminine items.
Hair tie is in quotes because it is not the only use for fabric covered rubber bands and there are other words that can describe them. And hair ties are by no means feminine. In our house, everyone with long hair, male or female, uses them. (This seems like an good time to point out yet again that you should always use appropriate safety gear when working with soldering irons, stoves, sewing machines, hot glue guns and other dangerous machinery.)
As far as feminine objects go, I am rather familiar, as I am not in possession of a Y chromosome. But perhaps you are not familiar with the feminine name "Lenore"? It is French in origin and commonly used in bad poetry and horror films.
Next step: Mall-E. Give your WF Mollie some binocular-type eyes (the first building material that comes to my mind are paper cups, but I’m pretty low-tech), modify the front hooves into pincers, possibly add some rubber tire treads to the bottom, and voila! I’d love to make this myself but I’m just not that talented, though I did just get a Mollie. (The bank tellers had obviously been waiting ALL DAY to give one out so I just didn’t have the heart to tell them that I really didn’t need a plushie pony with a WF logo on it…)
Hey thanks! Now I can ruin my brothers penguin and have the switch in the wing!
This is totally awesome. I worked as a receptionist for Wells Fargo Home Mortgage for a few years, and I had like twelve of these things staring at me every day.
Employees there tend to refer to the place as Hell’s Cargo, so it’s totally appropriate.
Is there any way to make this without using a soldering iron?
Sure. Twisting wire together works pretty well if you insulate it– like wire nuts, for example.
—
Windell H. Oskay
drwho(at)evilmadscientist.com
http://www.evilmadscientist.com/