


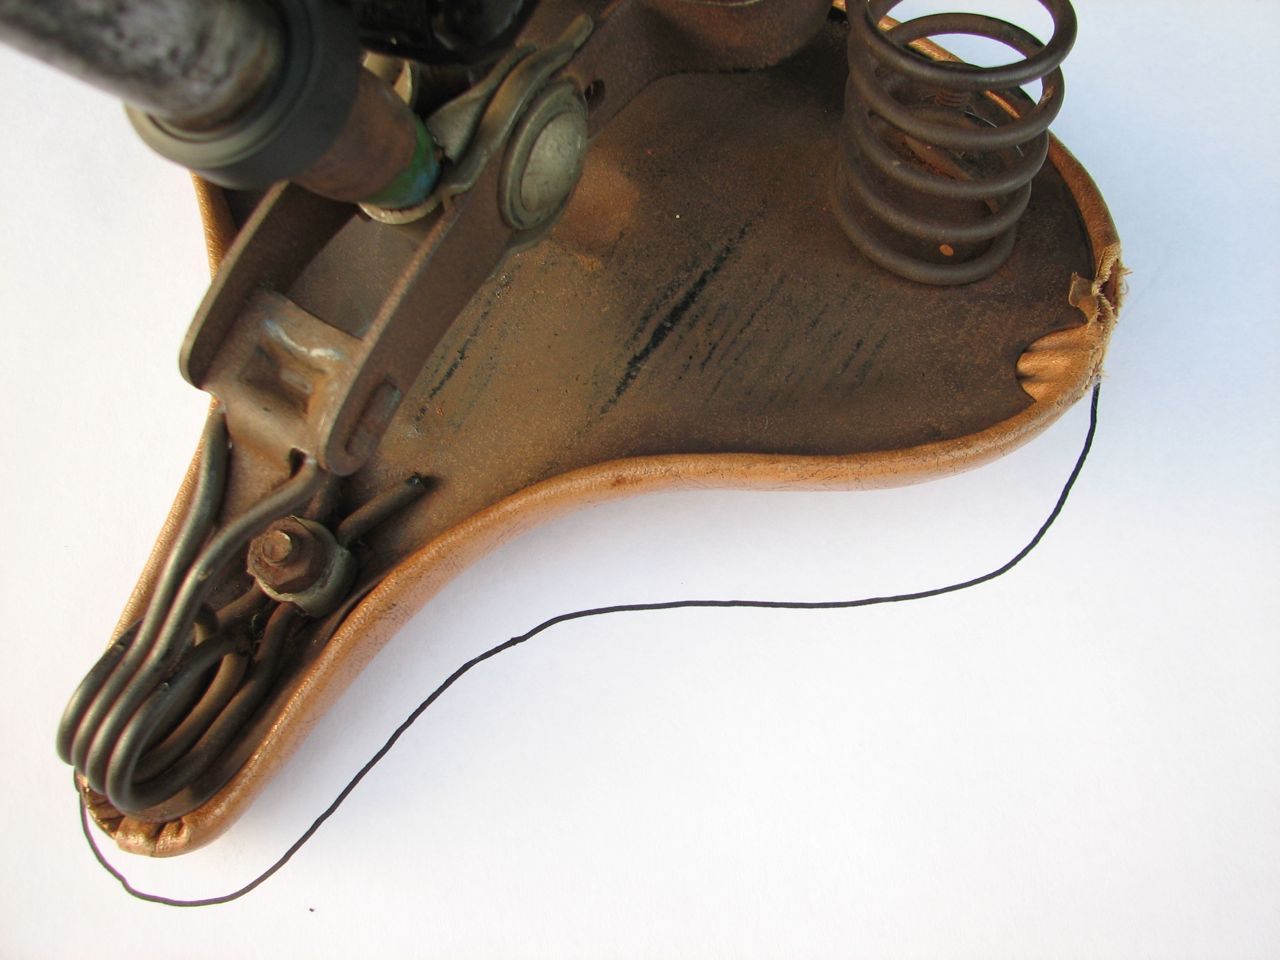
My vintage cruiser bike has an unusual seat post both in diameter and in the amount of taper at the top where the saddle mounts. I have not been able to locate a new saddle mounting bracket that will fit on the very small top of the seat post, nor will my non-standard mounting bracket fit on a replacement saddle, so I can’t just grab a replacement off the shelf. So, for both aesthetic and comfort reasons, I decided to make a seat cover.
The first step was to make a pattern. I took the saddle off of the bike, put it on a piece of paper, and traced around it with a sharpie. I then added 5/8″ around the outside: 1/2″ to accommodate the padding, and 1/4″ seam allowance. 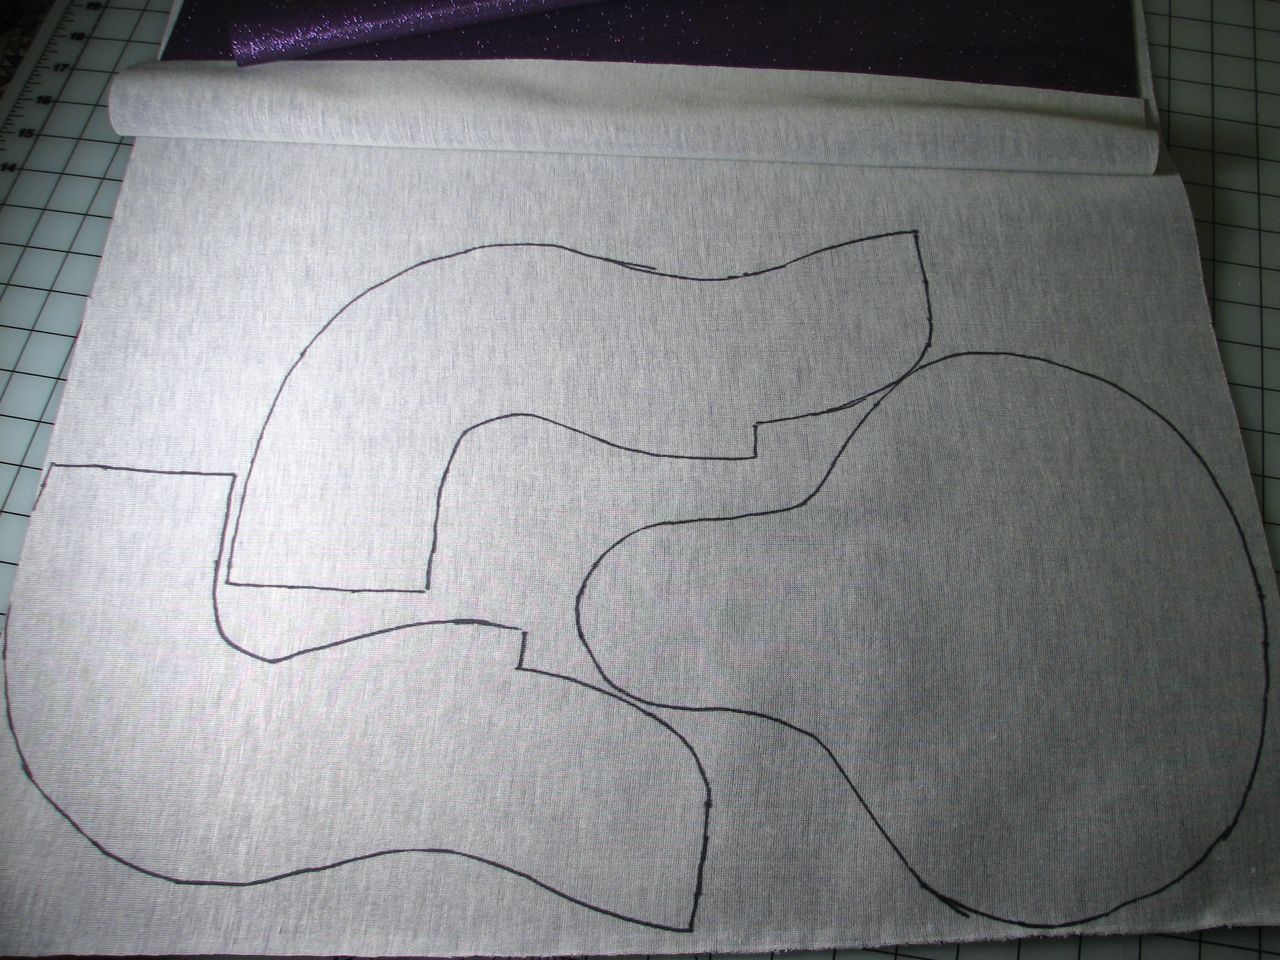
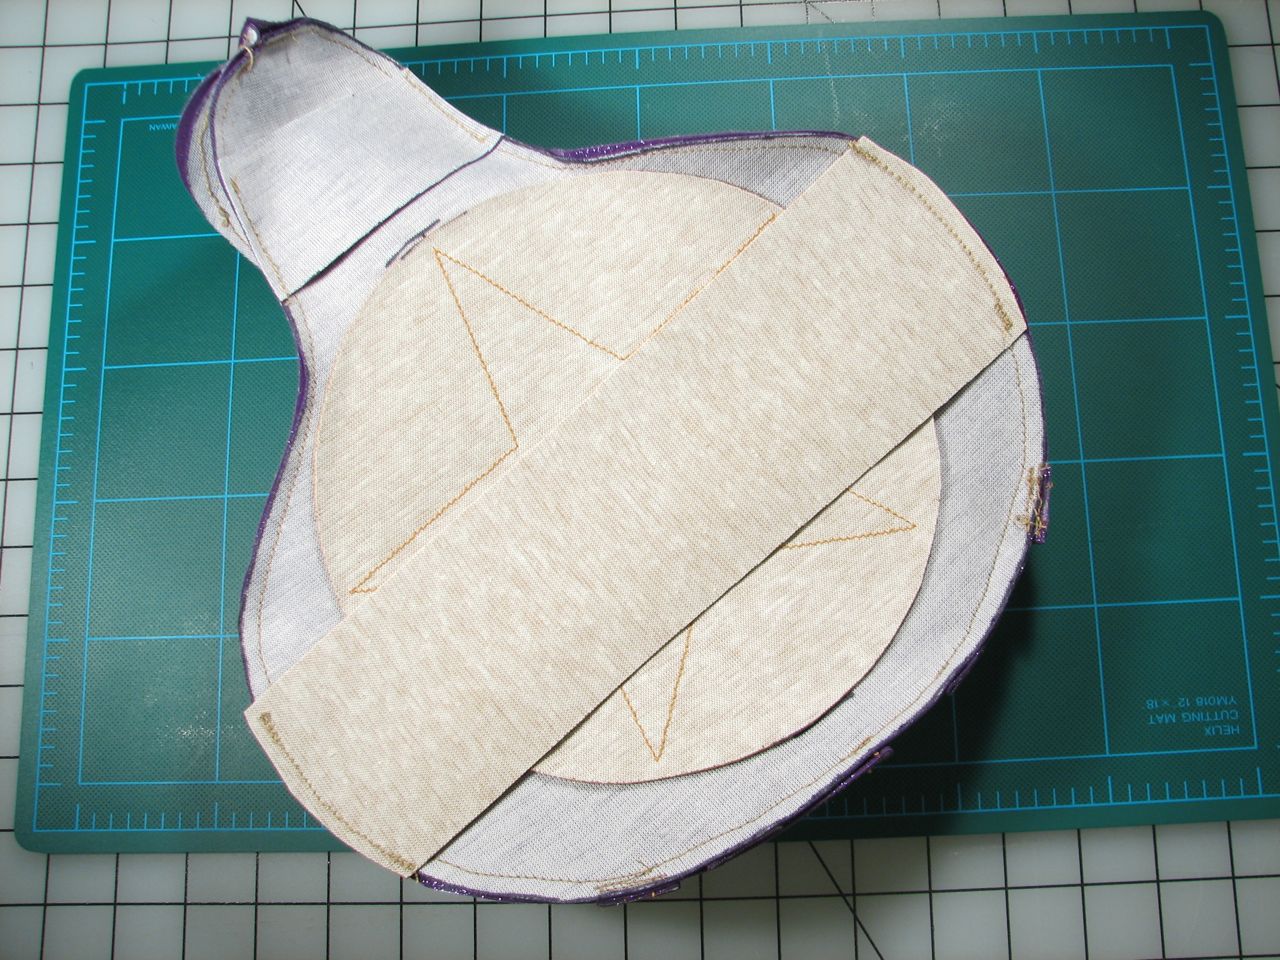
These are the three main pieces for the cover: the top, and two pieces fitting underneath. I wanted a snug fit for the pieces going under the saddle, so I couldn’t just use a rectangle (as is done in this project) for the lower portion. So, I drew a relaxed version of the curves of the saddle and mocked it up in canvas to make sure it fit about right.
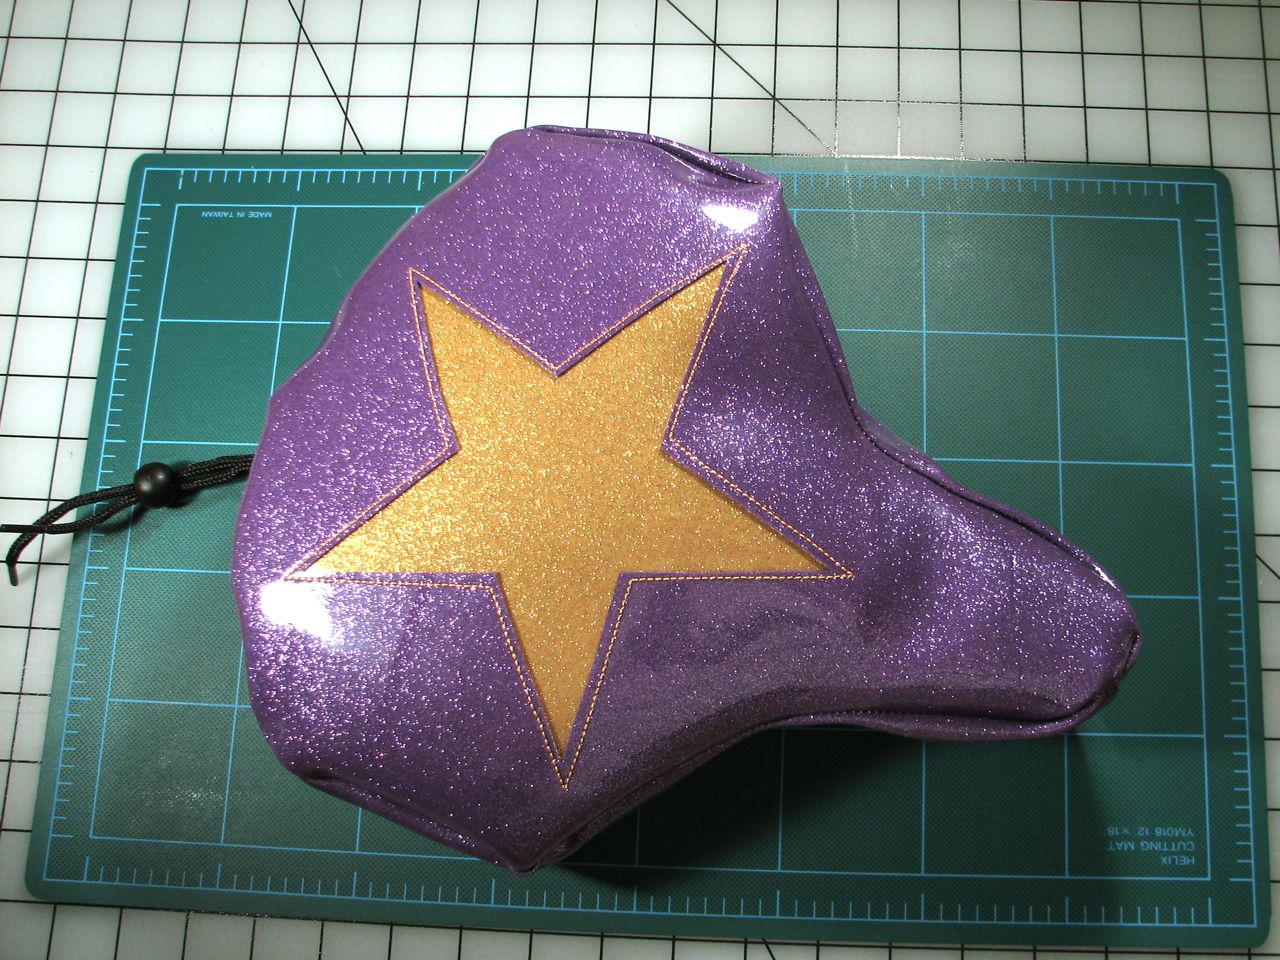
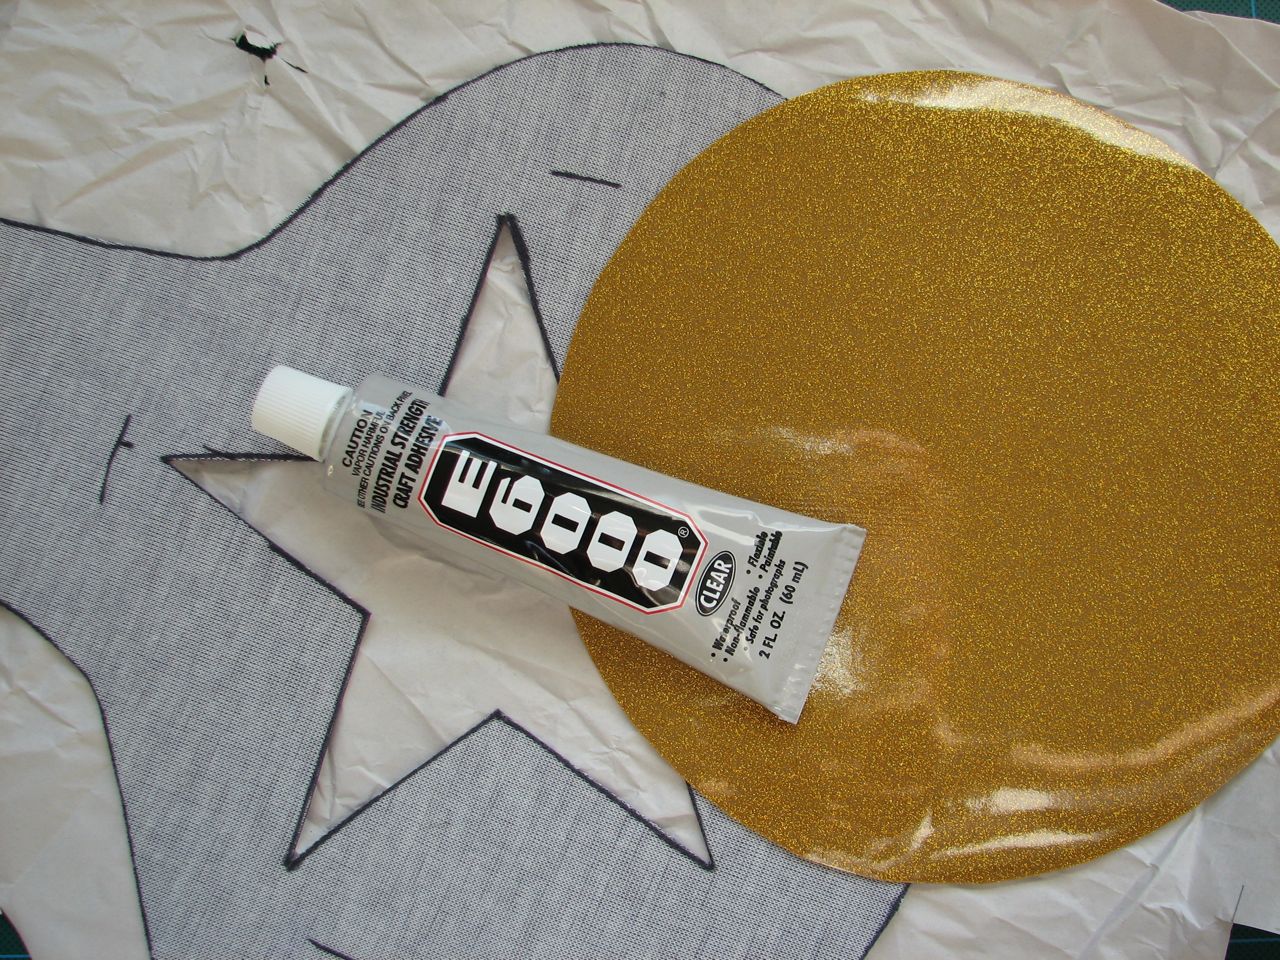 To complicate matters a bit, I opted to put a star onto my seat. First I cut the star out of the purple saddle top with an exact-o knife, and then glued a circle of gold vinyl to the back to hold it in place for top-stitching. The glue should also help keep water from seeping through to the foam rubber pad inside.
 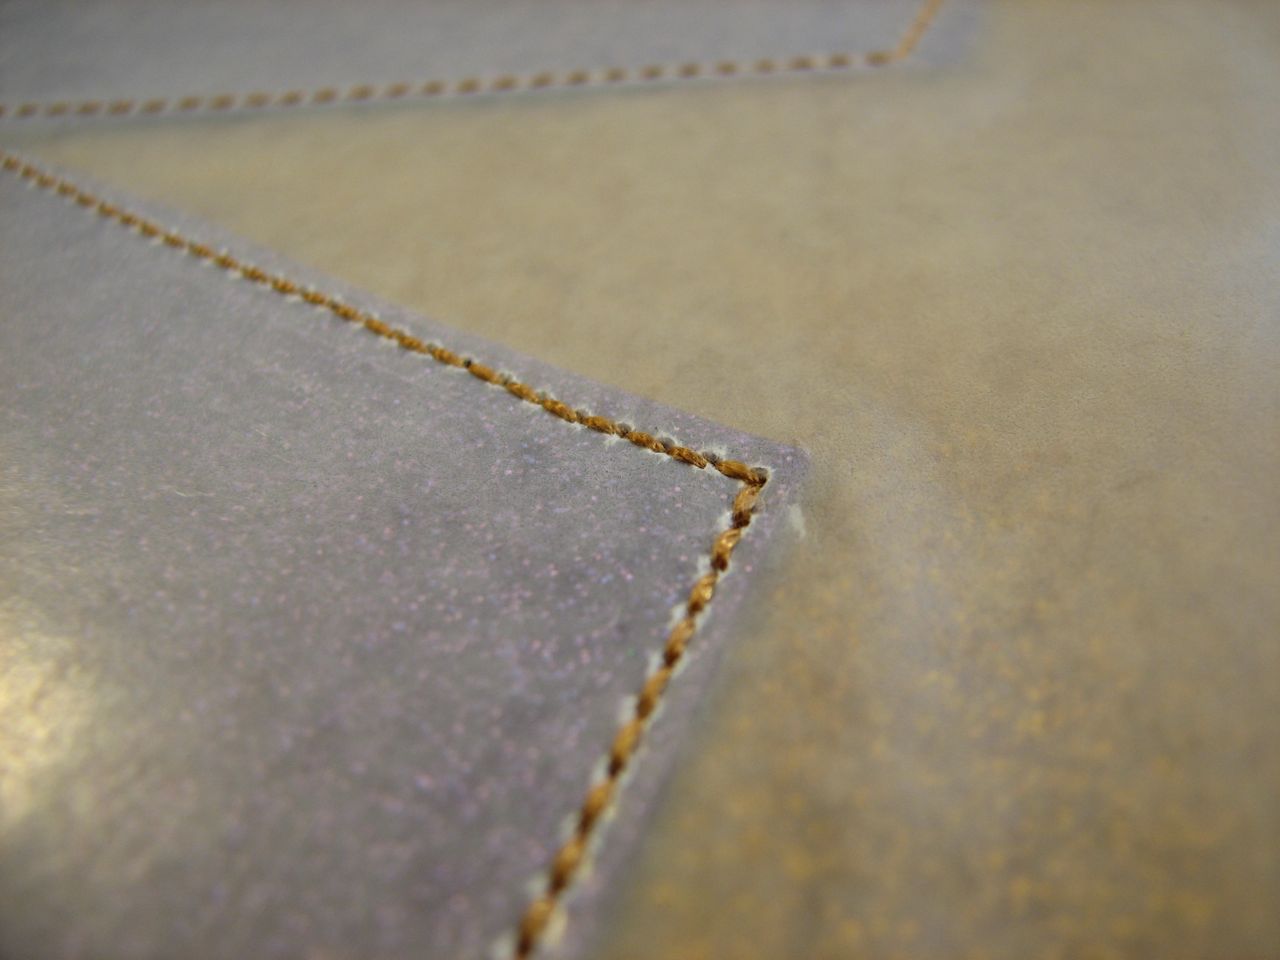 Not having sewn vinyl before, I was very grateful for the tip I was given by the helpful folks at Stone Mountain & Daughter Fabrics in Berkeley. Vinyl won’t slide under the presser foot, so place waxed paper over the top when you’re sewing with the top side up.
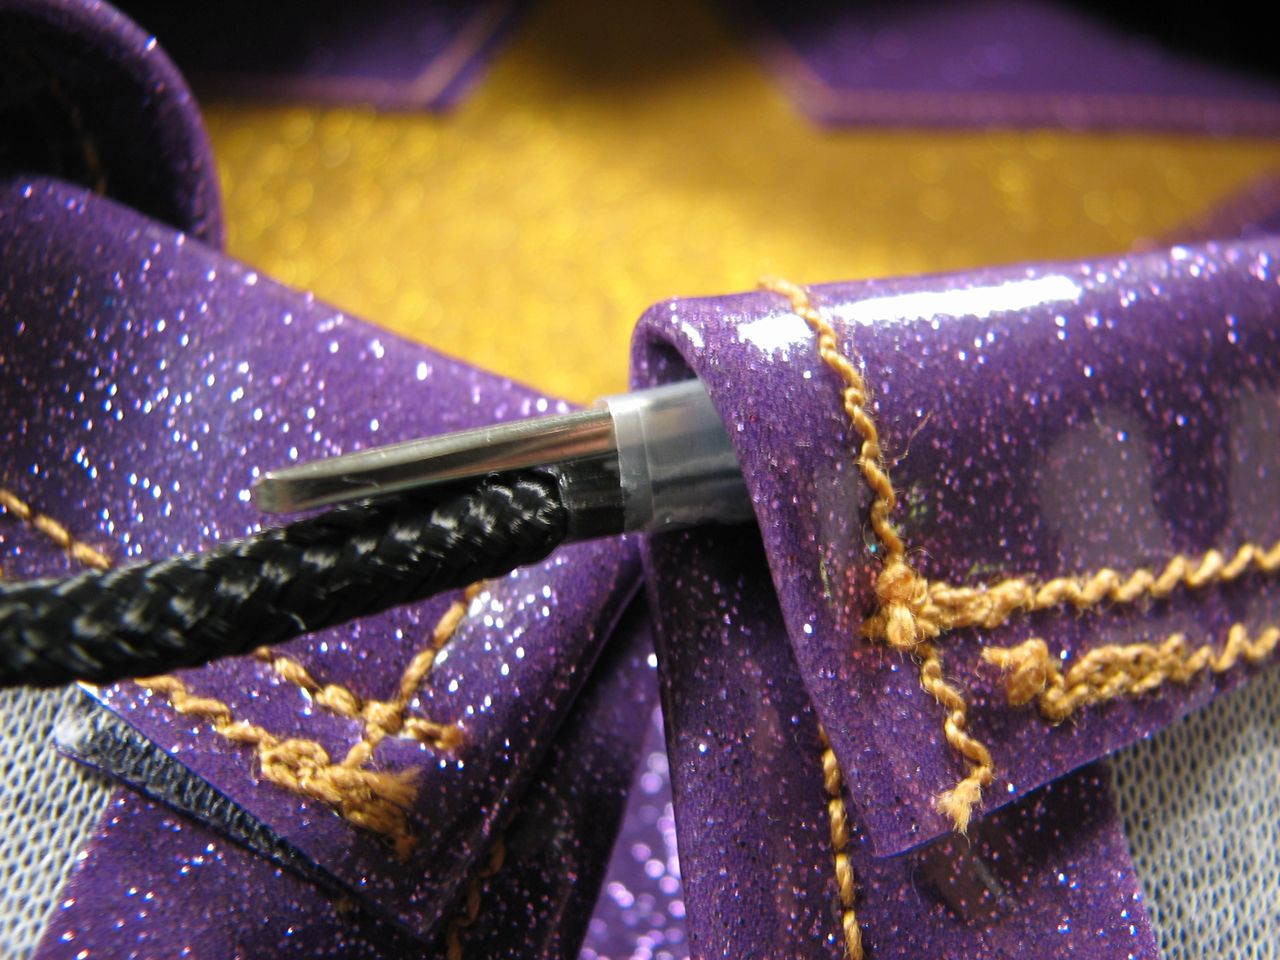
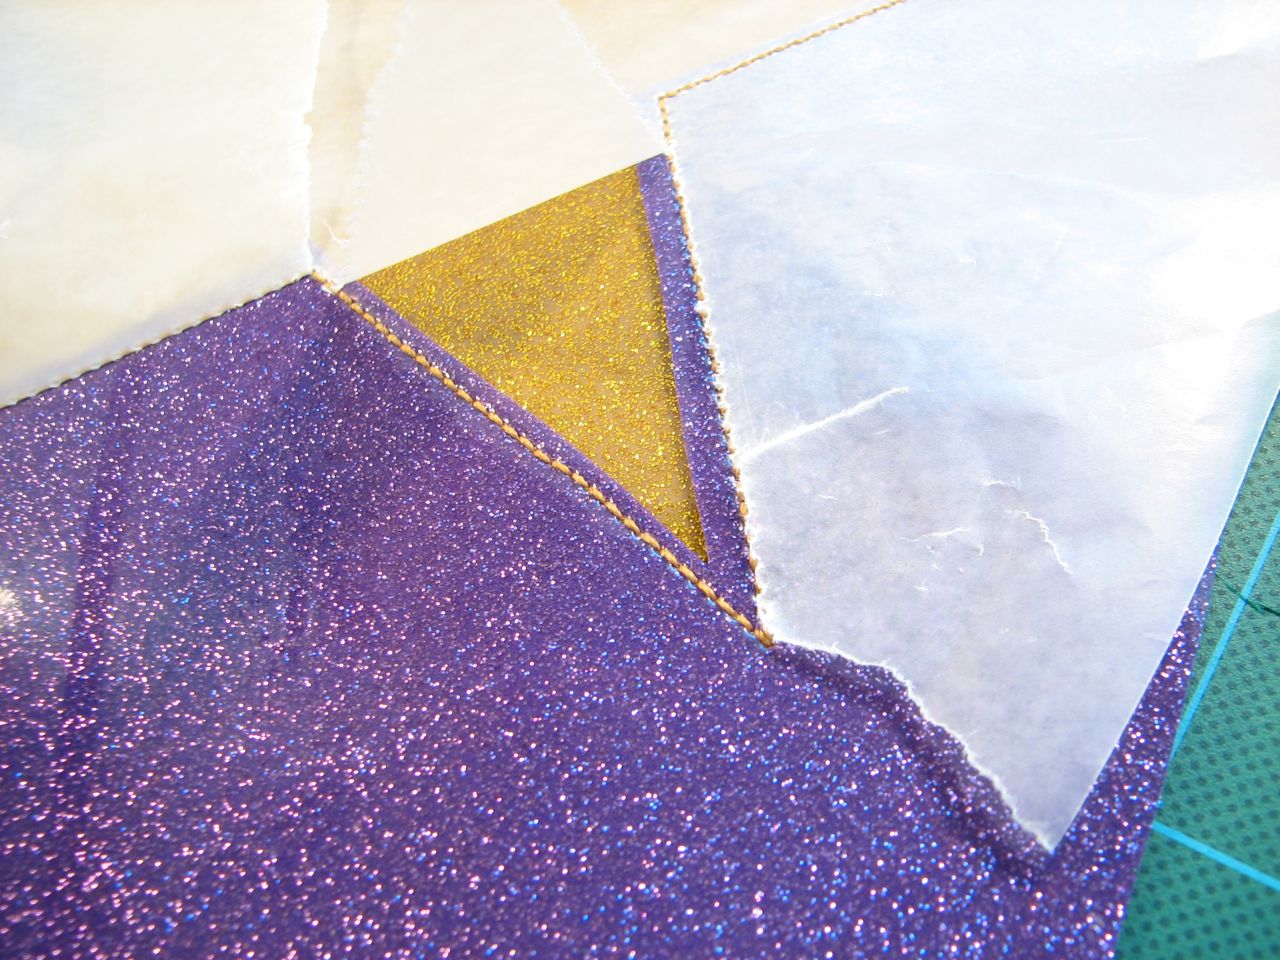 The waxed paper tears away when you’re finished sewing, revealing the classic glitter vinyl that Schwinn Sting Ray banana seats were made with.
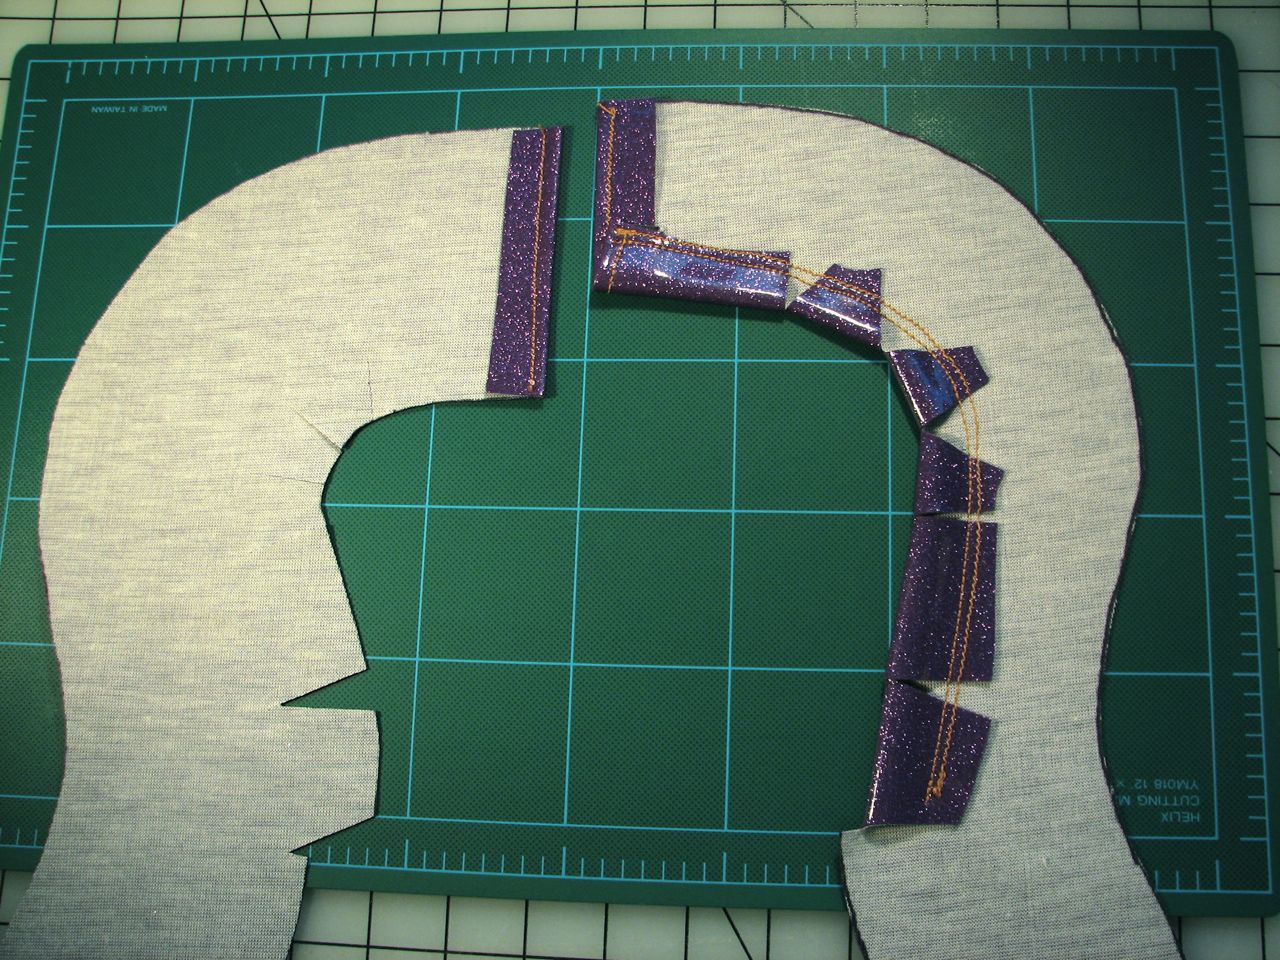
The first step on the lower pieces is to create the loops for the drawstring which will hold the cover tight.

I made a couple of straps for attaching tail lights or a license plate. I thought taping the vinyl together might be a nice short cut instead of using waxed paper, but it turns out that removing the tape is a much bigger hassle than holding the vinyl under the waxed paper. Stick with the waxed paper! 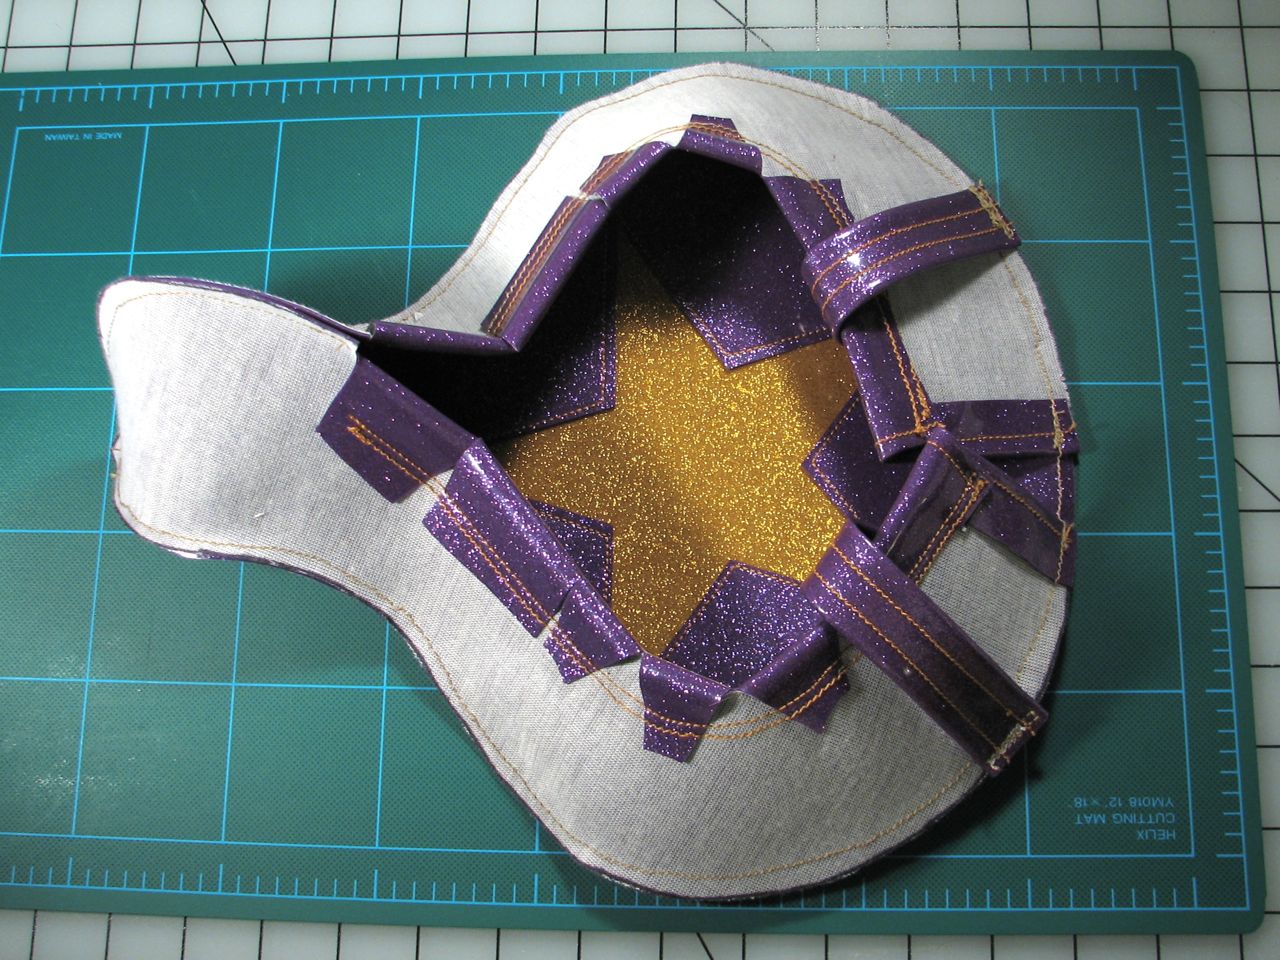
Obviously pinning the pieces together would be difficult with vinyl, so I decided to wing it. By taking it slow with the machine, I was able to line up the curves as I went along, and the stickiness of the vinyl helped keep it in place. I would recommend starting at the nose end, since precision matters a little more there. I started out at the back, and my nose seam isn’t quite centered.
I added the tail light straps while stitching the circumference – taking it extra slow over all those layers of fabric.
After stitching the circumference, I stitched the bottom of the nose together. This section has to be pretty large for my bike, as it has to accommodate a big old spring. For most bikes, this could be a lot smaller.
At this point I added a couple of straps to hold the foam pad in place. That’s the last of the sewing.
I used a cord and cinch from a name tag lanyard for the drawstring. I taped the cord to a big needle to thread it through the loops.
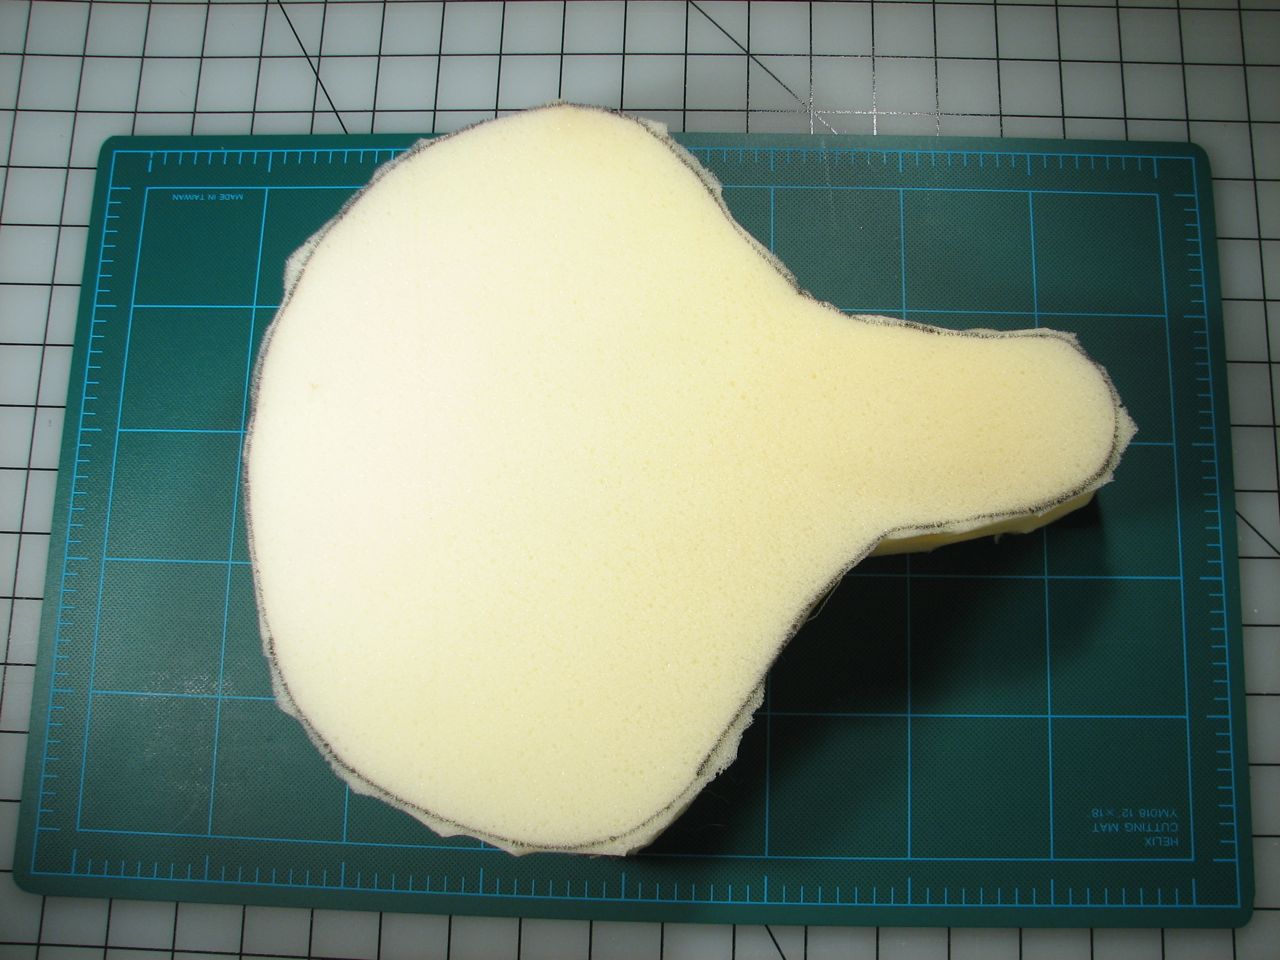
I cut a piece of foam rubber out in the shape of the bike seat.
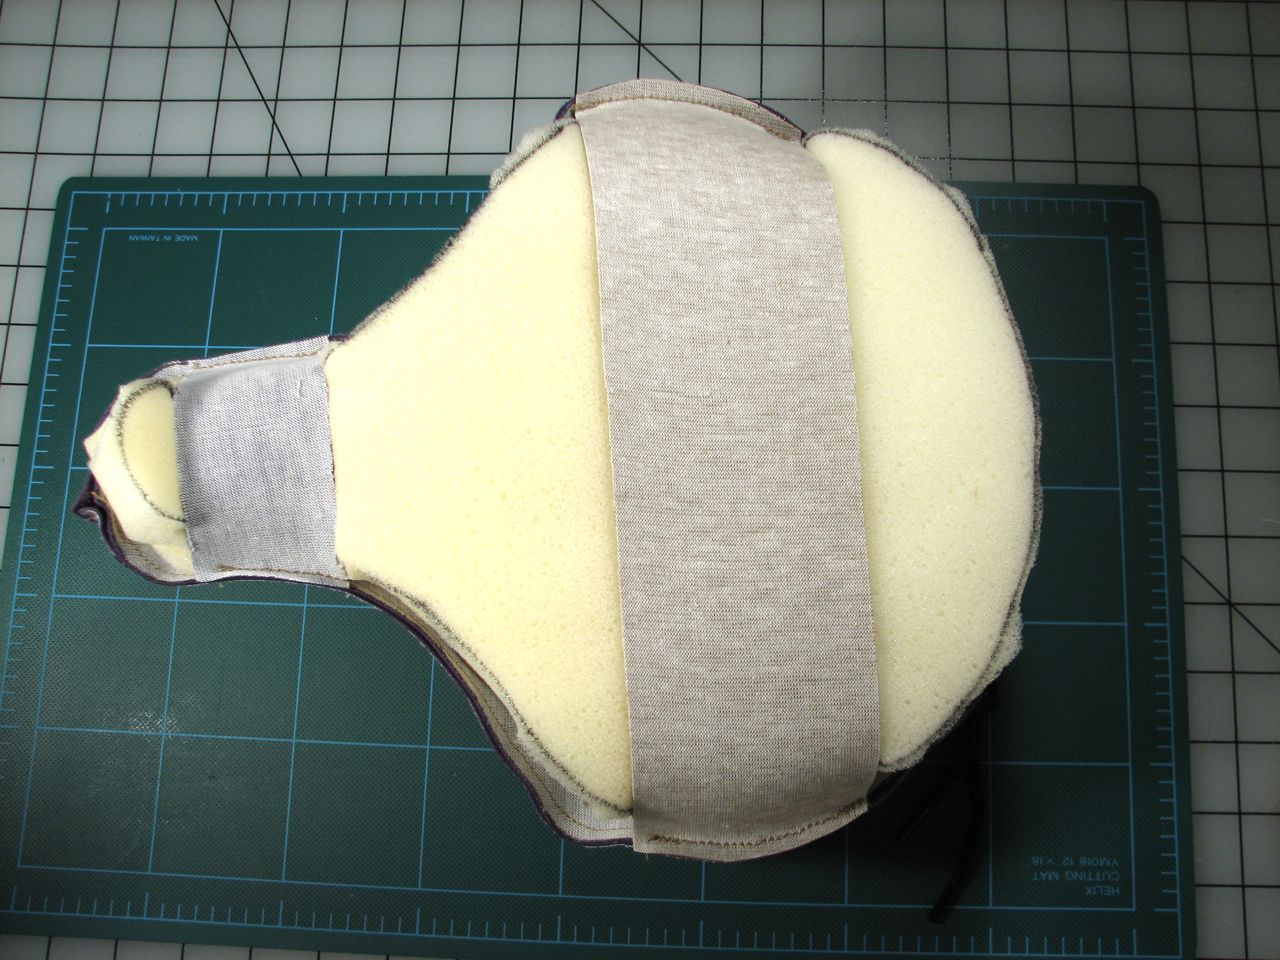
The foam slips under the straps, and then it’s time to turn it right-side out and put it on the bike.
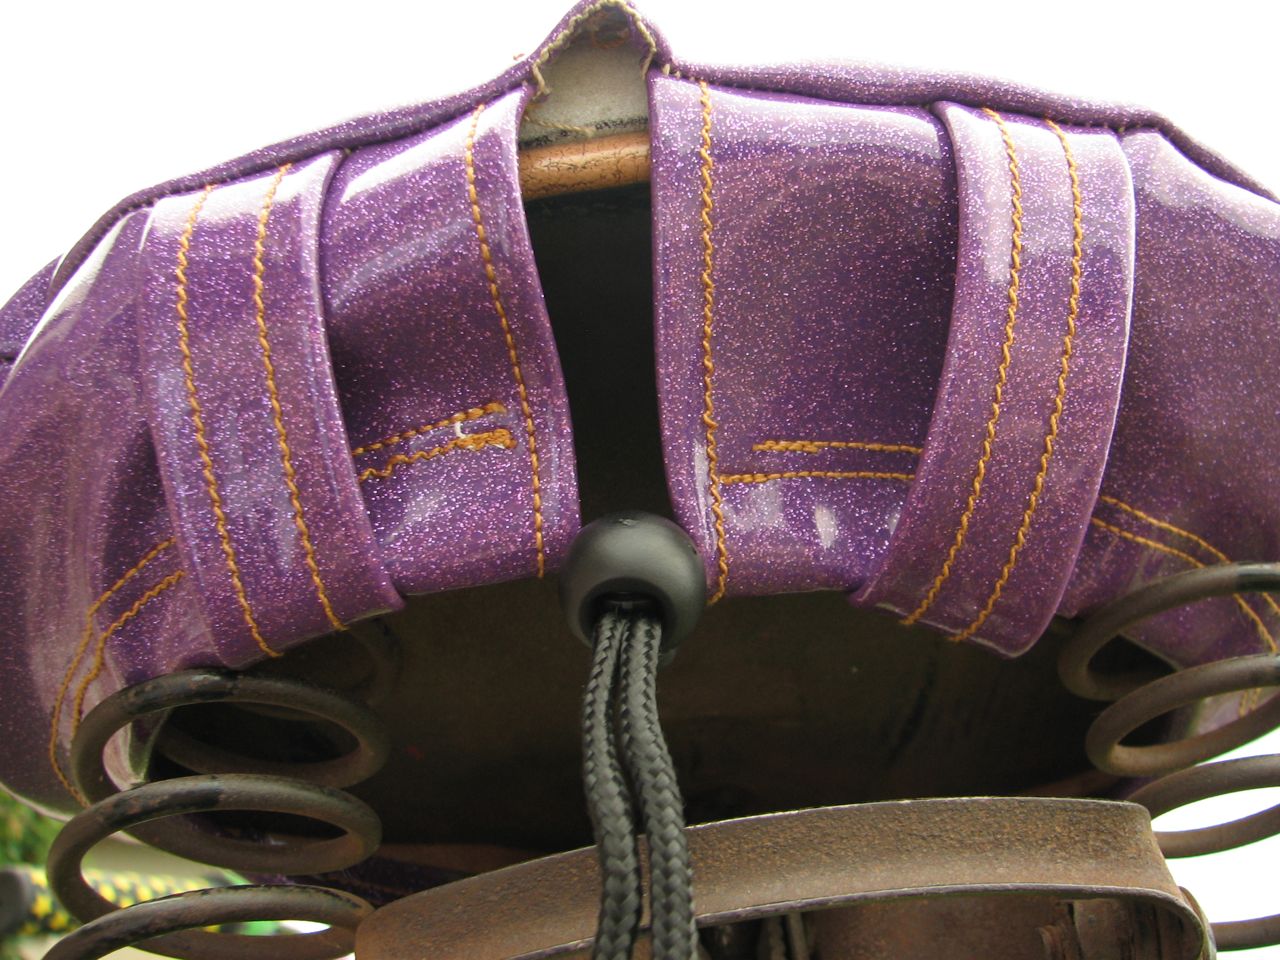
You can see the gap in the back where the separation between the two lower pieces allows the cover to fit around the saddle.
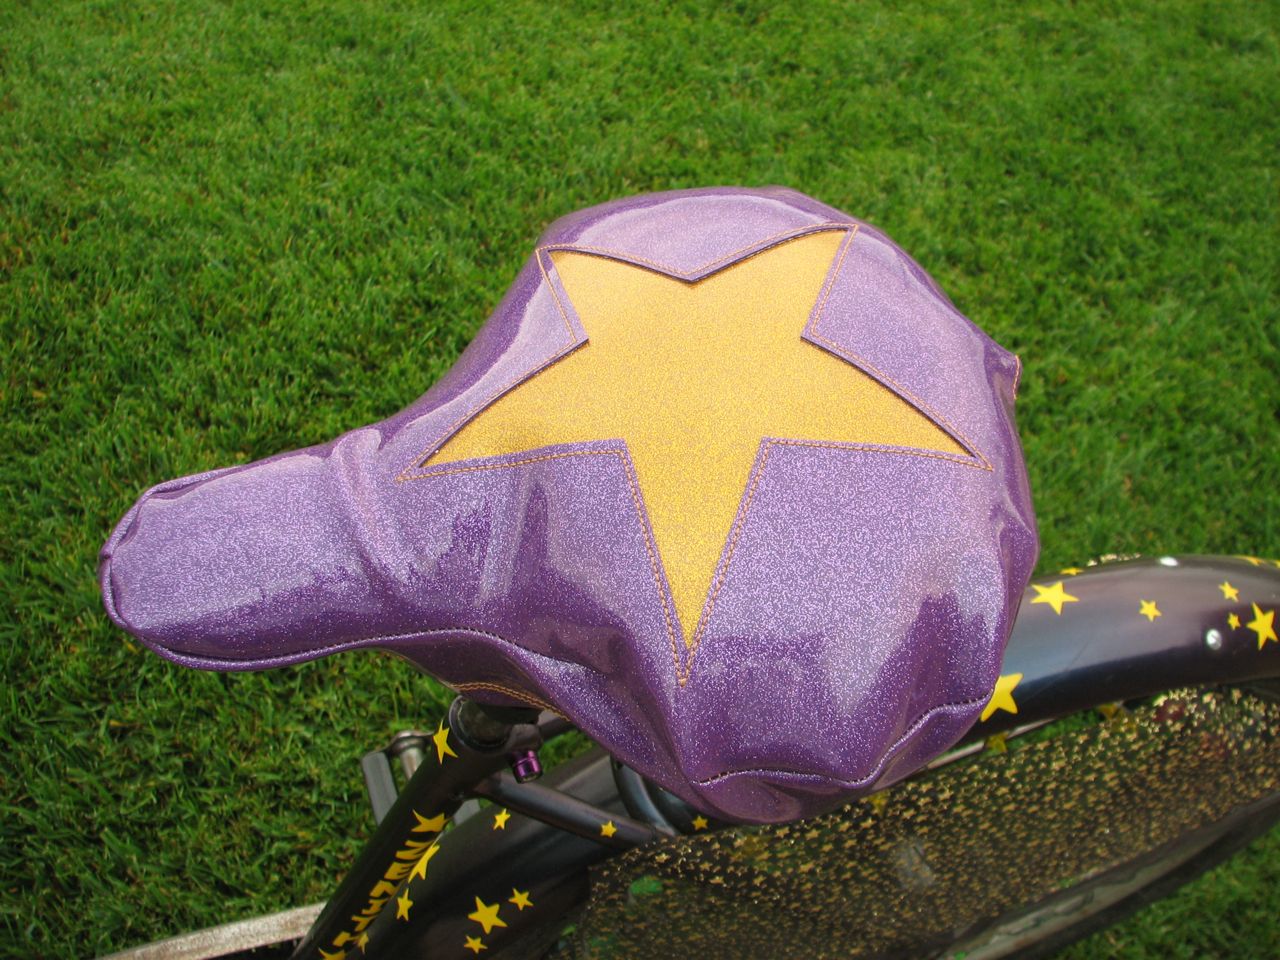
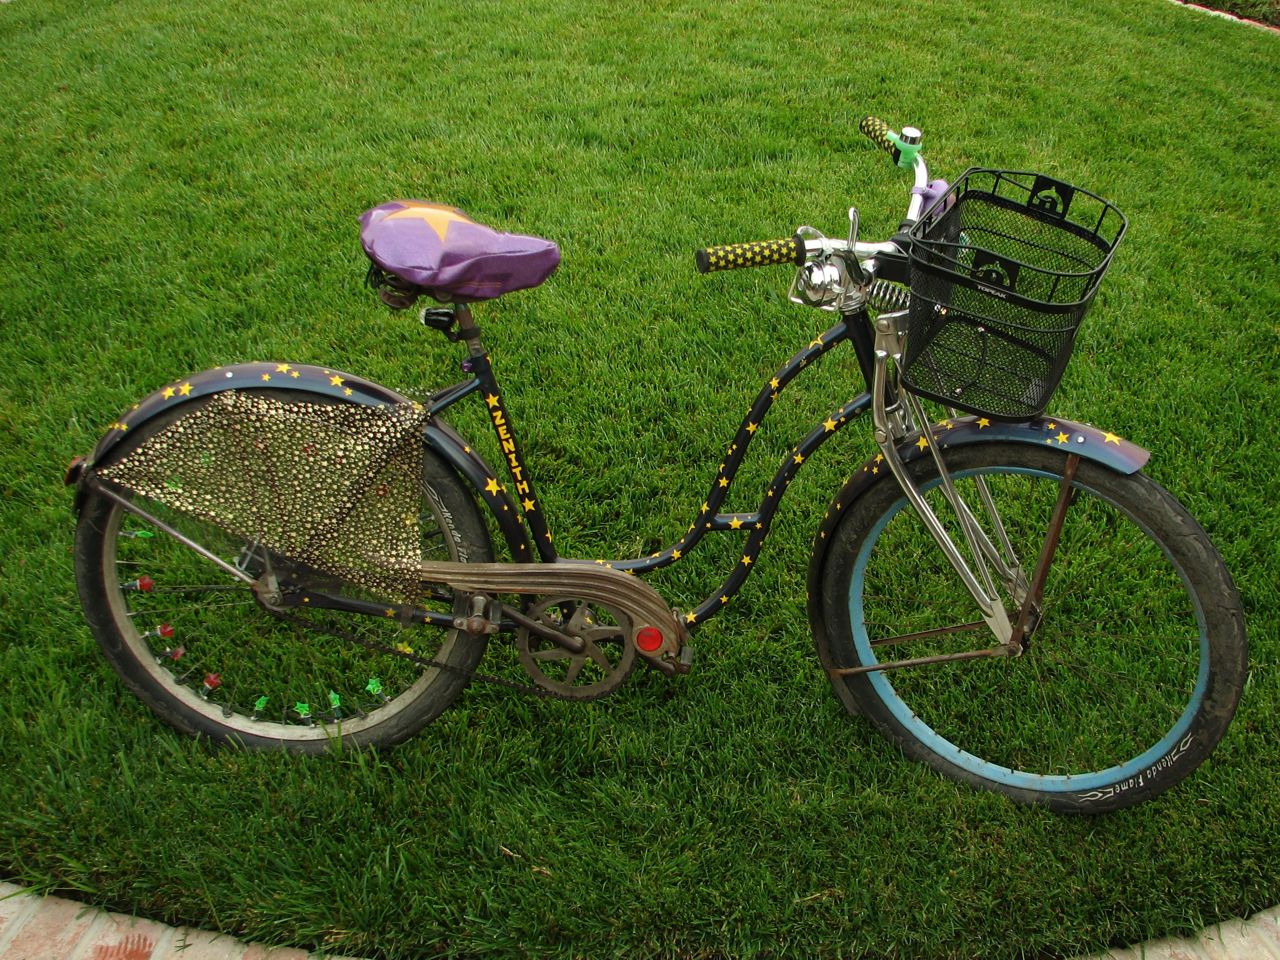
This is a great improvement to my ride: it is much comfier than the old hard saddle, and it goes fabulously with my bike. Time to cruise!
for future reference, you may be able to flip your seatpost over and find a seat bracket that fits the other end… a bikeshop told my friend with a similar old schwinn that she would need to do that when she got a new seat. what you’ve made is gorgeous, though!
That’s a great idea! However, my seat post is very short and doesn’t have a minimum insertion line, so I’d be concerned about losing even the short length of the tapered portion for support, so I don’t think I would dare.
I want a bike with a tractor seat. That would take a much bigger cover!
Oh a cushioned bike seat? That would be AWESOME to have a cushioned seat on my bike! Thanks for the tips. My bike will be spiffed up soon thanks to you.