


A few weeks ago we showed you how to build a BristleBot, a tiny vibrating robot (vibrobot) that is formed from the unlikely union of a toothbrush (with directional bristles) and a vibrating pager motor. Despite its simplicity, it drives like a drunken bat out of hell– propelled by the ratcheting action of the vibrated bristles.
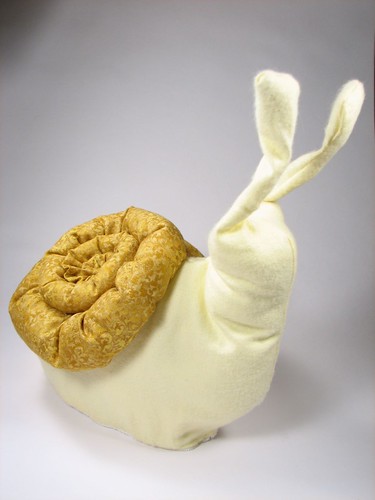
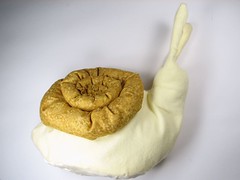
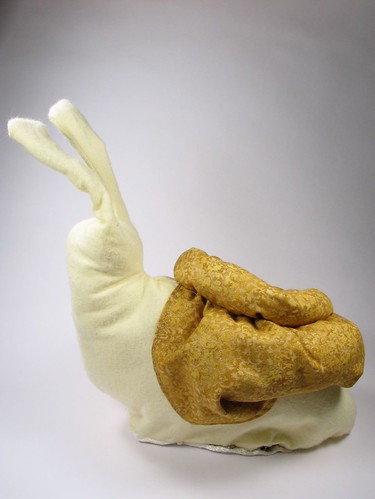
Of course, toothbrushes aren’t the only system where you can find find oriented bristles. Approaching this process from an entirely different perspective, it turns out that certain types of velvet can also form a directional bristle system that can be driven with vibrations. Here we build a plush racing snail– a velvet vibrobot that crawls forward… at a snails pace.
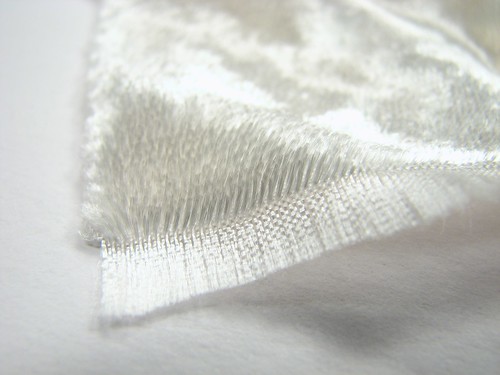
Here’s a close up view of our velvet– it has slightly slanted bristles.
The snail is made of two main parts: the shell and the body. The shell is made of cotton print. The body is made of flannel with flannel pocket inside over a velvet foot. The motor is mounted on a piece of rubber (mouse pad), and the pocket is closed with snaps…more on that later.
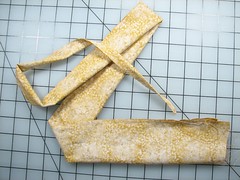
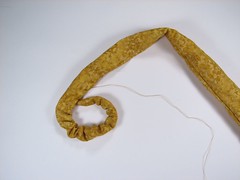
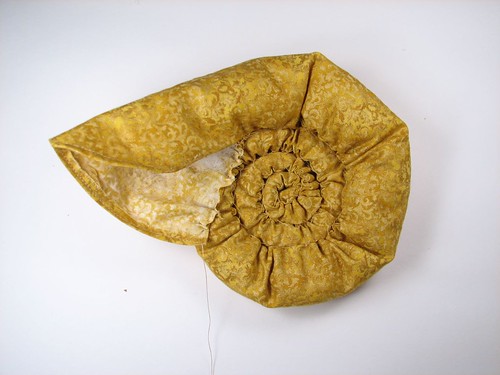
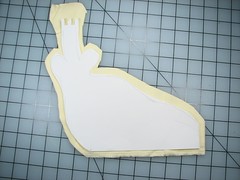
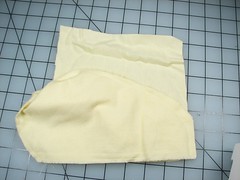
For the shell, take a triangle of fabric about 6 inches wide, and about 4 feet long, fold in half and sew into a cone.
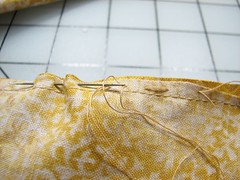
Sew a running stitch along the inside of the seam allowance to use for gathering later.
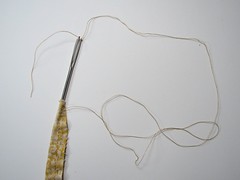
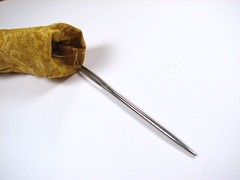
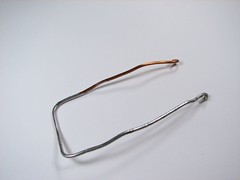
You can use a yarn needle to help in turning the cone right side out – just tie it to the extra thread on the end and drop it through to pull it out the other side.
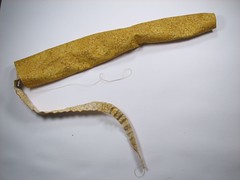
Since it is so long and narrow, you may want to start by turning as much right side out by hand as possible.
I sewed my cone a little too narrow at the end, so it didn’t quite all turn right side out, but that’s okay, since it turns into stuffing for that end.
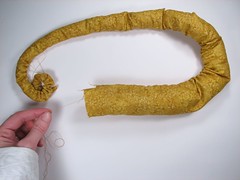
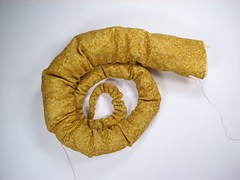
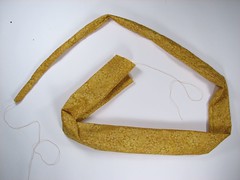
Stuff the snail shell loosely so that it can still bend easily. Pull the gathering thread and push the wrinkles to the small end to start it coiling up. Adjust the gathering to arrange the coil neatly.
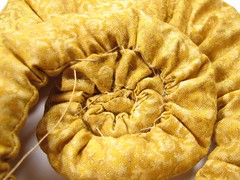
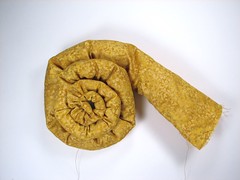
Sew the coils together on the back side, keeping the seam on the back as well. Leave a few inches unstitched.
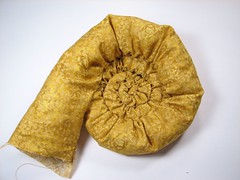
The shell will form a mantle over the shoulder of the snail. You can trim and sew down the border in a curve to make it neat.
Set aside the shell and move on to the motor.
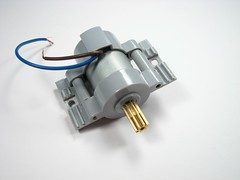

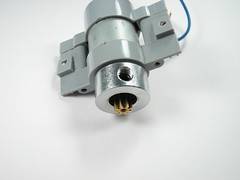
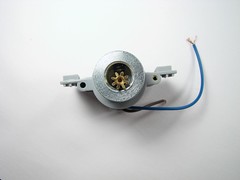
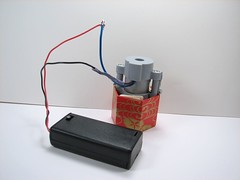
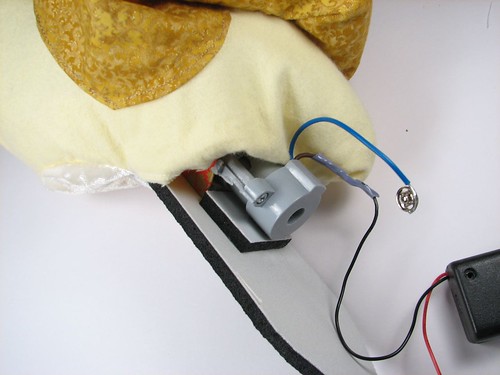
The motor is one that we took out of a cheap radio control boat– just about any type of inexpensive DC motor will do. To make it shake, we attached a heavy shaft collar ($2.09 at the hardware store), off center, to the output shaft. If you happen to have a motor from a toy that already had an offset weight, that’s fine too.
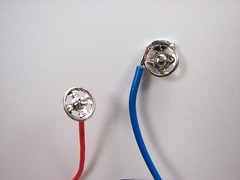
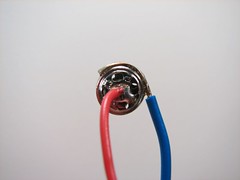
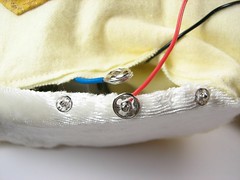
Here’s one of the clever parts: This sew-on snap is the escargobot’s power switch. It turns out that the nickel plating on the two sides of the snap is a well, snap to solder to. When the two sides of the snap are clicked together, the snail begins to move.
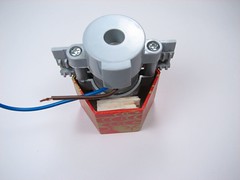
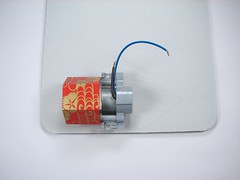
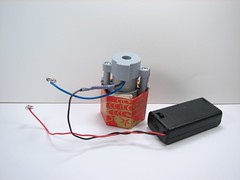
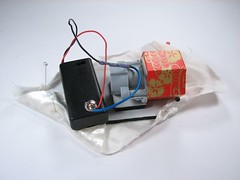
The offset weight needs an isolated area to spin without tangling in anything– a little box over that end of the motor does the trick. In this case, the box needed some extra spacers to keep the motor centered– a couple of small pieces of balsa.
A mouse pad will form a semi rigid base for the motor to sit on.
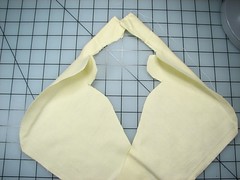
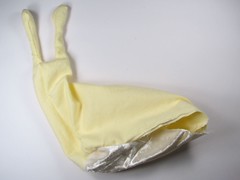
The snail body pieces look a little odd– the funny bits sticking out on either side of the eyestalks help fill out the head.
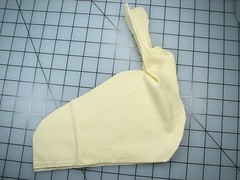
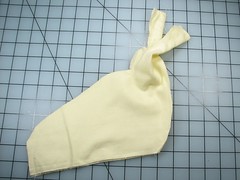
On each of the pieces, first sew the eye stalks and the seam across the top of the head. Next, sew the two pieces together from the top of the head to the front of the foot. Lastly, sew from the back of the head to the back of the foot.
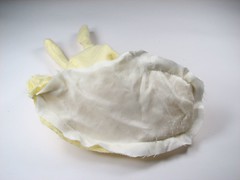
A rectangle of material will form a loose pocket inside to keep the stuffing material away from the motor, wires, and battery box. Sew along first one side, and then the other, leaving the ends of the pocket open to leave a method for adding stuffing later. As soon as you get it right side out you’ll notice that you need a piece of wire to put into the eyestalks to make them posable. However, hold that stuffing thought until you’ve put the foot on.

The motor is glued to the mouse pad with craft glue. An extra piece of mouse pad keeps everything balanced.
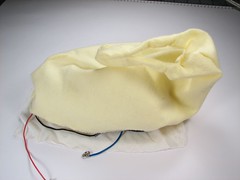
Pin your mouse pad with its motor to a piece of velvet and turn it on to get a feel for which direction it will go. Once you have it oriented correctly, trace around so you’ll know where to attach your velvet foot.
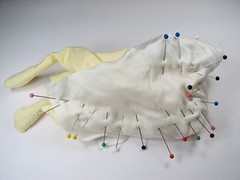
Everything should fit inside the pocket inside the snail body.
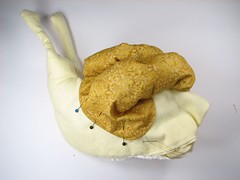
With the snail mostly inside out, pin the foot on around the line you’ve drawn. Sew it about two-thirds of the way around.
When you turn it right side out, you should have a large enough opening left to put the motor in.
Time to stuff it! Insert the eyestalk wire and add sufficient stuffing to make a nice plump neck and body, leaving the bottom section hollowed out for the motor.
Pin the snail shell to the body and hand stitch in place.
Insert the motor on its pad.
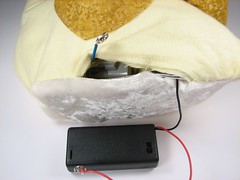
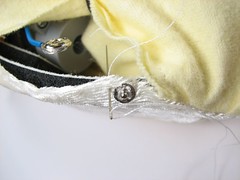
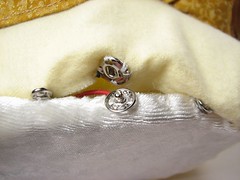
Arrange the motor so that the snap can reach the opening.
Additional snaps may be necessary, depending on the size of your opening.
Connect the snap to start up your racing snail.
And… VROOOOOOOMMMMMM!!!…er… crawl. Actually, it moves forward at a rate that’s about right for a snail of this scale.
Velvet with a slight angle to the fibers works well for this application but other materials are possible as well– some short fake furs and other plush fabrics have sufficiently directional strands to propel a plush toy. We think gastropods are probably the best choice of subject, but any small round critter could be adapted to a motorized version.
As always, if you make one, we’d love to see pictures in the Evil Mad Auxiliary on Flickr!

Oh dear. Two of my favorite posts, combined …
Needs video!
— Dave
1) I’d love to see a video of how it goes
2) A muscled stalk with an eye on the end is called an ommatophore which is probably the best word ever.
Ah. That’s a huge snail; you might want to show something common in one of the pictures for scale; when I first started reading I was imagining something on the same scale as the toothbrush head, only covered with fabric. And then I got to the part where it had "full sized" toy motors and an AA battery pack inside!
Ah– indeed it is huge. It’s all too easy to forget to put a hand in a photo somewhere– thanks for pointing this out! I think that the grid squares shown in the photos are one-inch in size– that should give the idea pretty well. But, maybe we do need to add a new photo as well.
—
Windell H. Oskay
drwho(at)evilmadscientist.com
http://www.evilmadscientist.com/
There’s one picture of gathering the material for the shell (remember that 4 foot long piece of fabric?) where the my hand is in the picture. But, yes, it is indeed a large snail without much for reference in the pictures.
What a tease! Youtube video now please!
For those interested, the directionality of the velvet has a name, it’s called "nap". You can tell the direction of the nap by stroking with your hand. Stroking with the nap produces a smooth, soft feel, while against the nap produces a slightly broken, rougher feel.
When sewing velvet clothing it is important to notice the direction of the nap, as the fabric looks different from different angles. If the nap runs downwards, the garment generally has a slight sheen to it as there is more of the length of the fiber showing. If the nap runs upwards, the garment has a richer depth to it, as the fibers are pointing slightly upwards. If, for example, the front of a dress has the nap running up, and the back has the nap running down, the dress will look different along the side seams, which is generally considered undesirable.
Another interesting thing to note is that velvet and other napped fabrics are not usually good to use for undergarments because of the same effect that makes this snail crawl. Normal movement makes the velvet underneath rub against the outer garment, and the velvet tries to move relative to the other garment. If the nap is facing down, the outer garment will be pulled down; if the nap is facing up, the outer garment will ride up!
Some friends and I made snails (and a slug) over the past week. Here’s some pix, and a video of our Great Snail Race!
http://www.instructables.com/id/Snailbot-Build-Night-Part-1/
http://www.instructables.com/id/Snailbot-Build-Night-Part-2/
http://www.instructables.com/id/Snailbot-Races/
They were SO FUN! I highly recommend making these snails. Go Lenore!