


If you work with electronics, you have probably at some point come across chips that have gone bad. The usual strategies to deal with these include (1) writing “DEAD?” on them in large letters (2) throwing them out, and (3) hiding the evidence. I once heard about a lab student who, whenever he came across a dead chip in his circuit, would dutifully file it back in the drawer with the new chips of that variety– just in case it turned out to be good after all.
Here’s an alternative solution: Turn your chips into Chip Bugs: cute, tiny sculptures that leave no doubt as to which components are which.
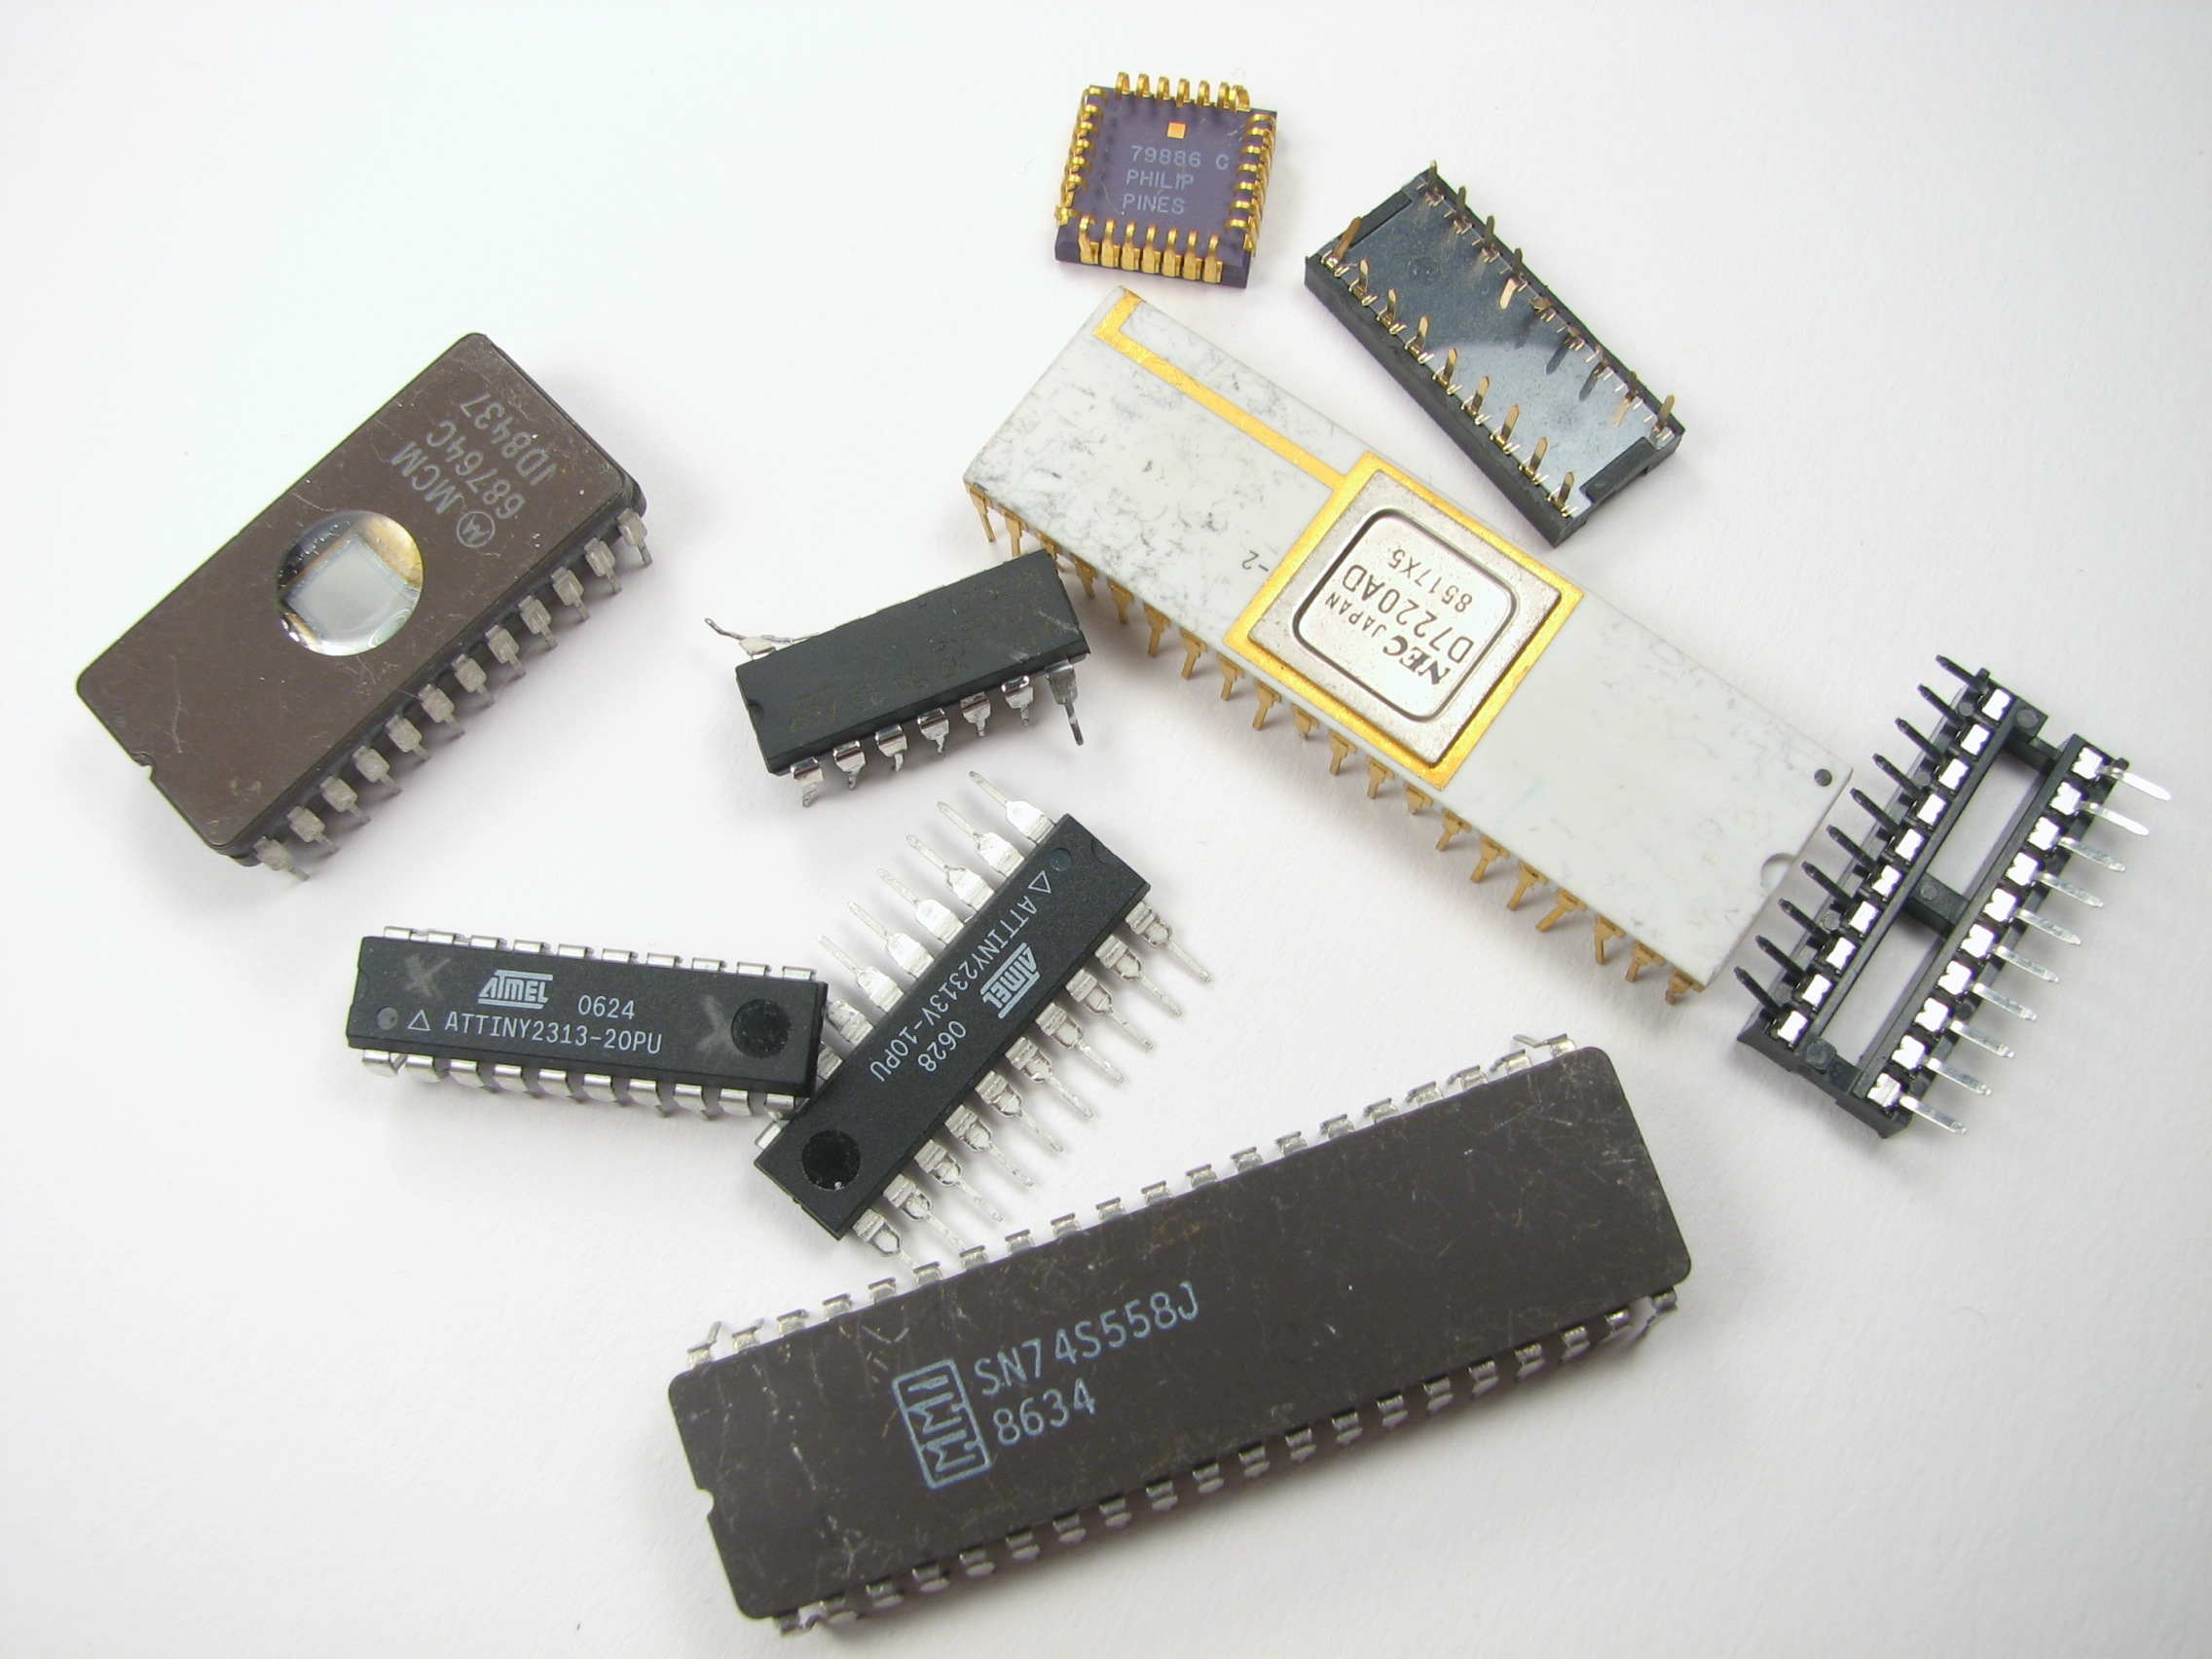
Materials needed for this project: Some dead chips (or at least ones that you are willing to sacrifice in the name of silly art projects).
Tools: Optional. Fingers work just fine, but you might find small pointy pliers helpful too. =)
 Let’s begin with the “Classic” Chip Bug.
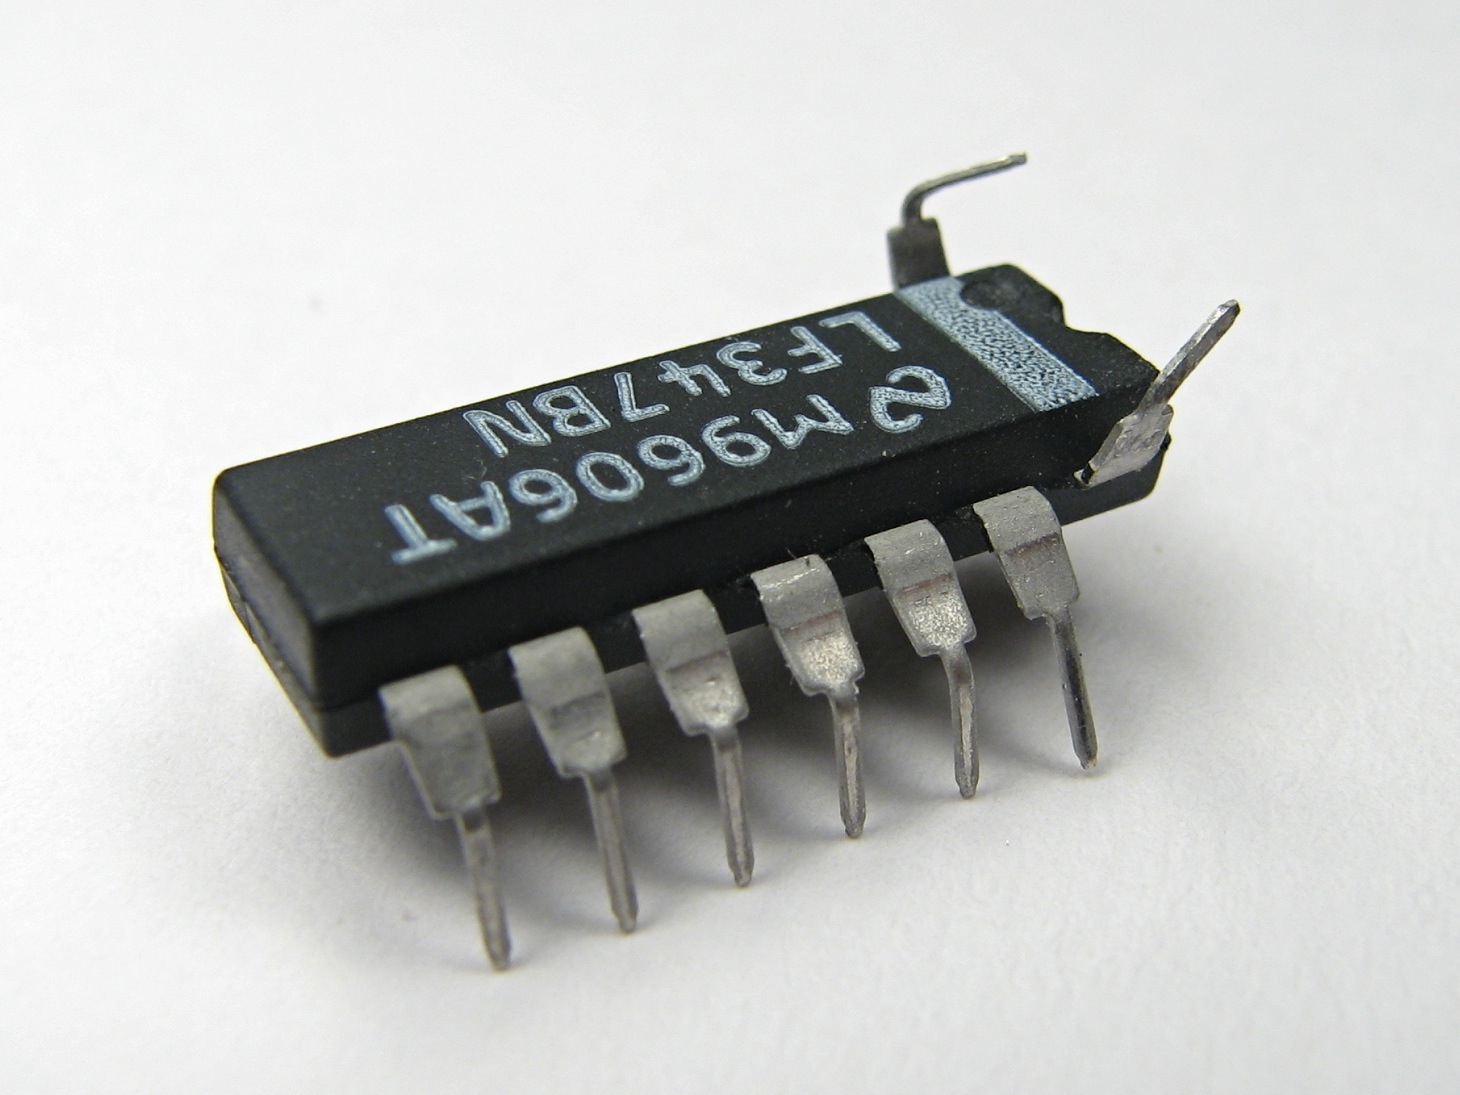
Grab a DIP (dual inline package) chip. The one shown here is a DIP-14 (it was a quad op-amp), which has seven pins on each side. Take the two pins on one end and bend them straight up and forwards. Bend the rest out, and then down.
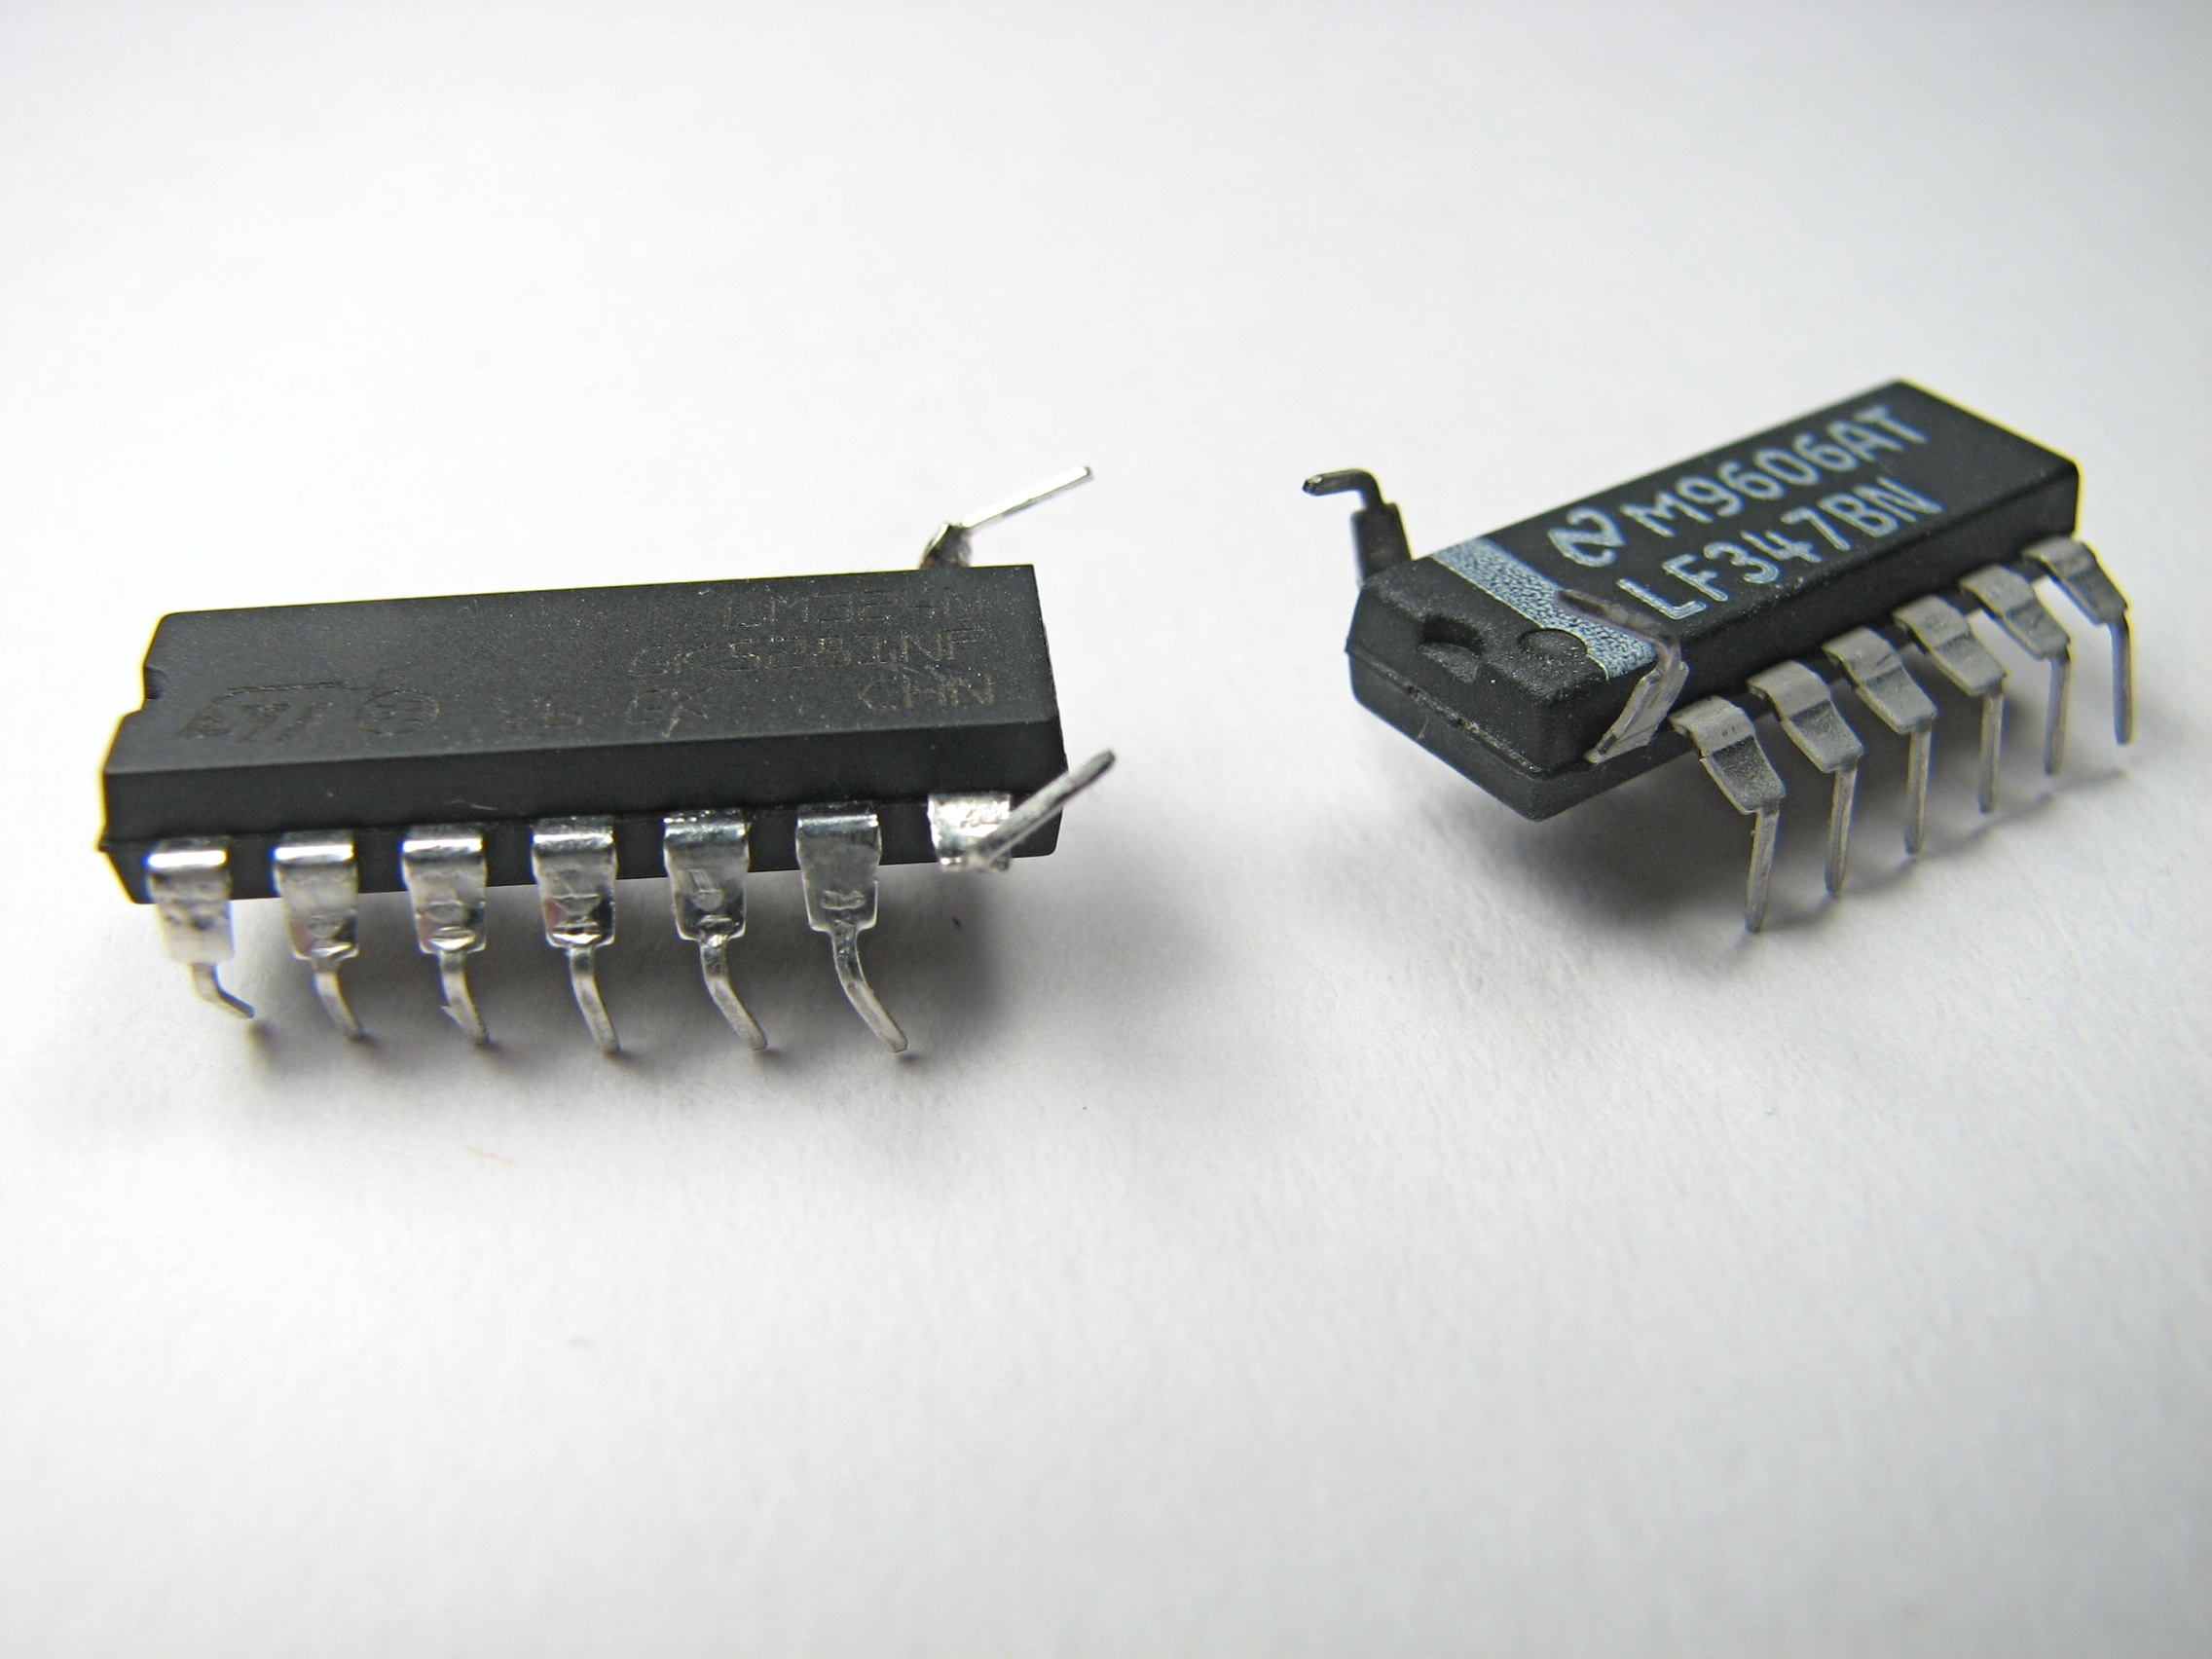

Of course, it can get lonely without some company.
Here is a straightforward variation: cut some of the legs off.
To do this easily without any tools, bend a leg back and forth, close to the body of the chip. After a few bends, the metal will fatigue and the leg will fall off.
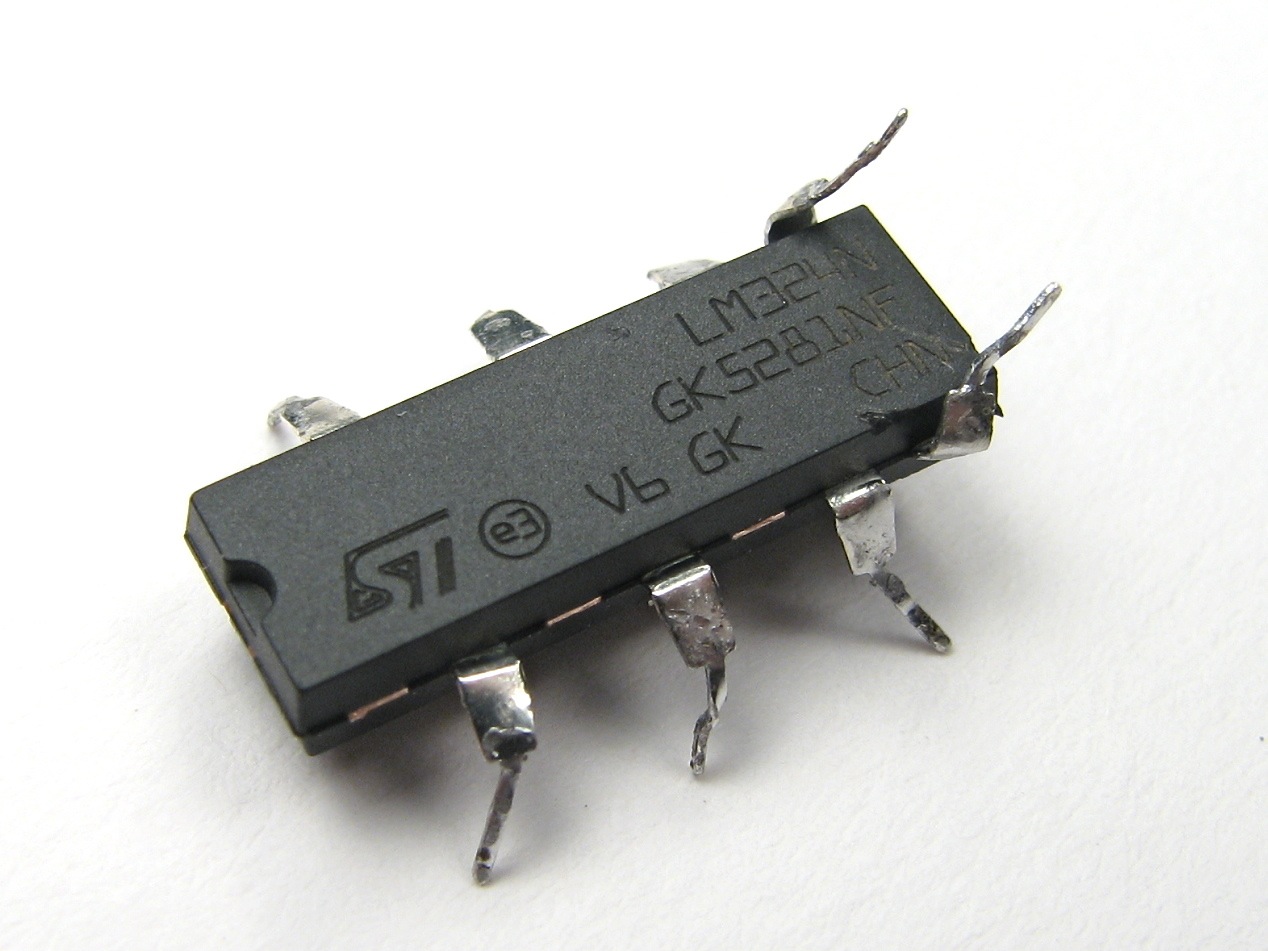
It’s a neat effect with three legs on each side– it looks a like a creature that is about to hop away.
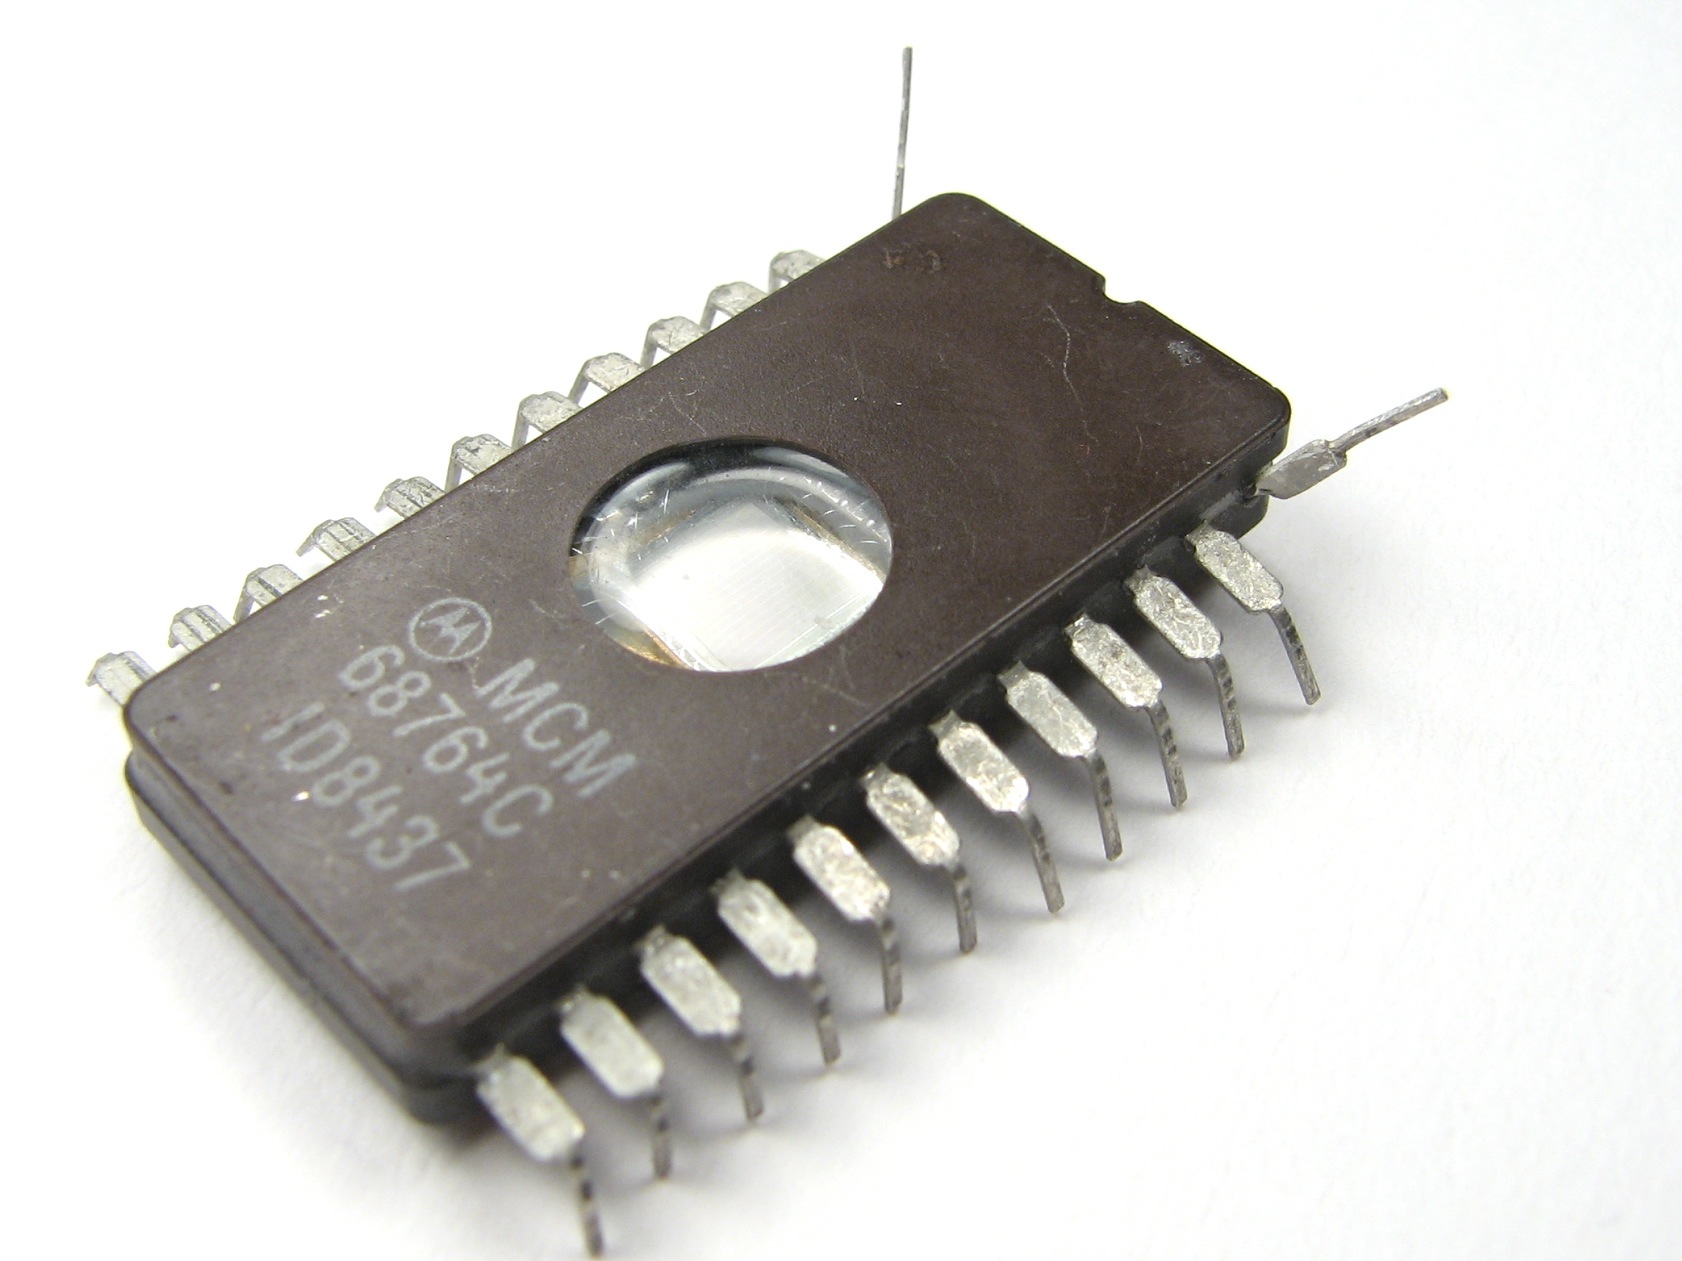 Oh no! We’ve got bugs in our firmware! Or, in this case, we’ve got bugs made out of firmware.
This variation with a wide-body DIP chip looks particularly good. To make this one, bend all of the leads (except antennae) straight out horizontally before bending the thin parts of the leg downwards.

You can use a variety of other packages as well– most simple surface mount packages will work if they have visible leads. Things can start to get pretty tiny, so proceed with caution.
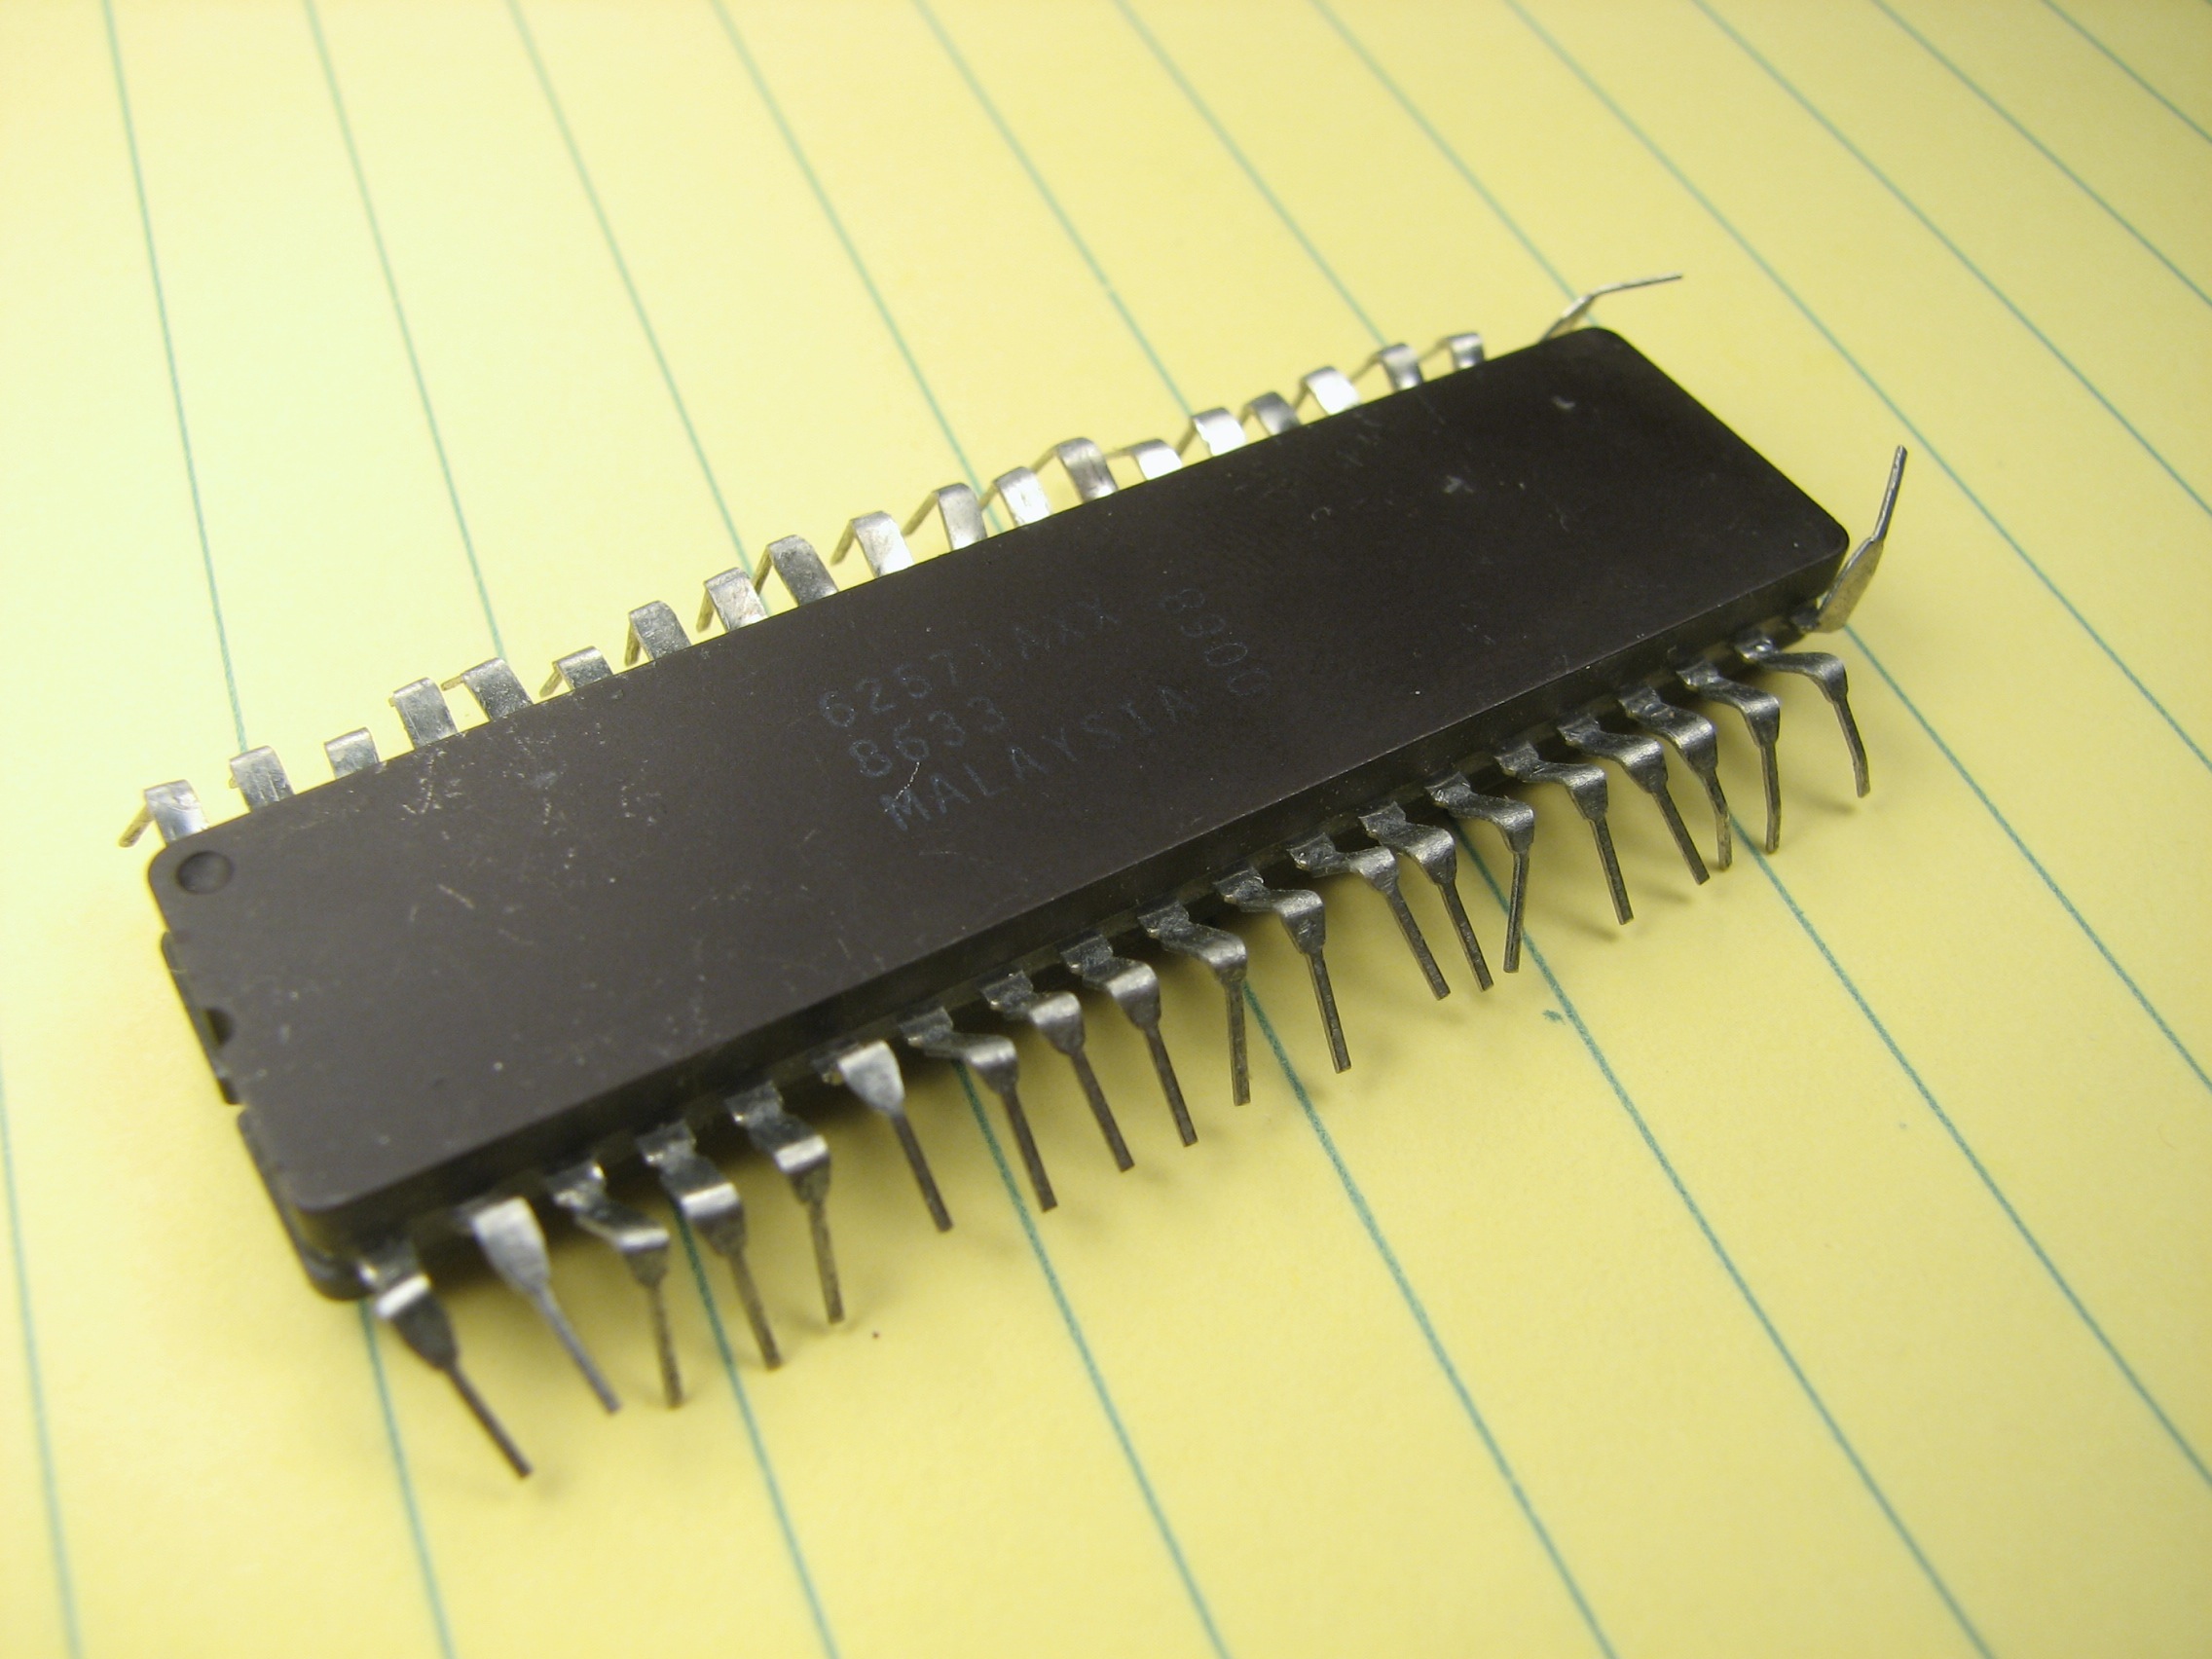
At the other end of the spectrum are the real monster DIP chips, like this old ceramic beast. These are great because they alreadylooked like insects– you don’t have to work very hard for it to keep it looking that way. We’ve actually used a slightly different technique on the legs here. We started out with the chip upside down, i.e., with the feet up. We bent the leads out at about 45 degrees, and then bent the outermost parts of the legs down by 90 degrees.
The final detail, if you really want to go for creepy, is to arrange the legs in a wave-like pattern so that the creature does indeed appear to be creeping.

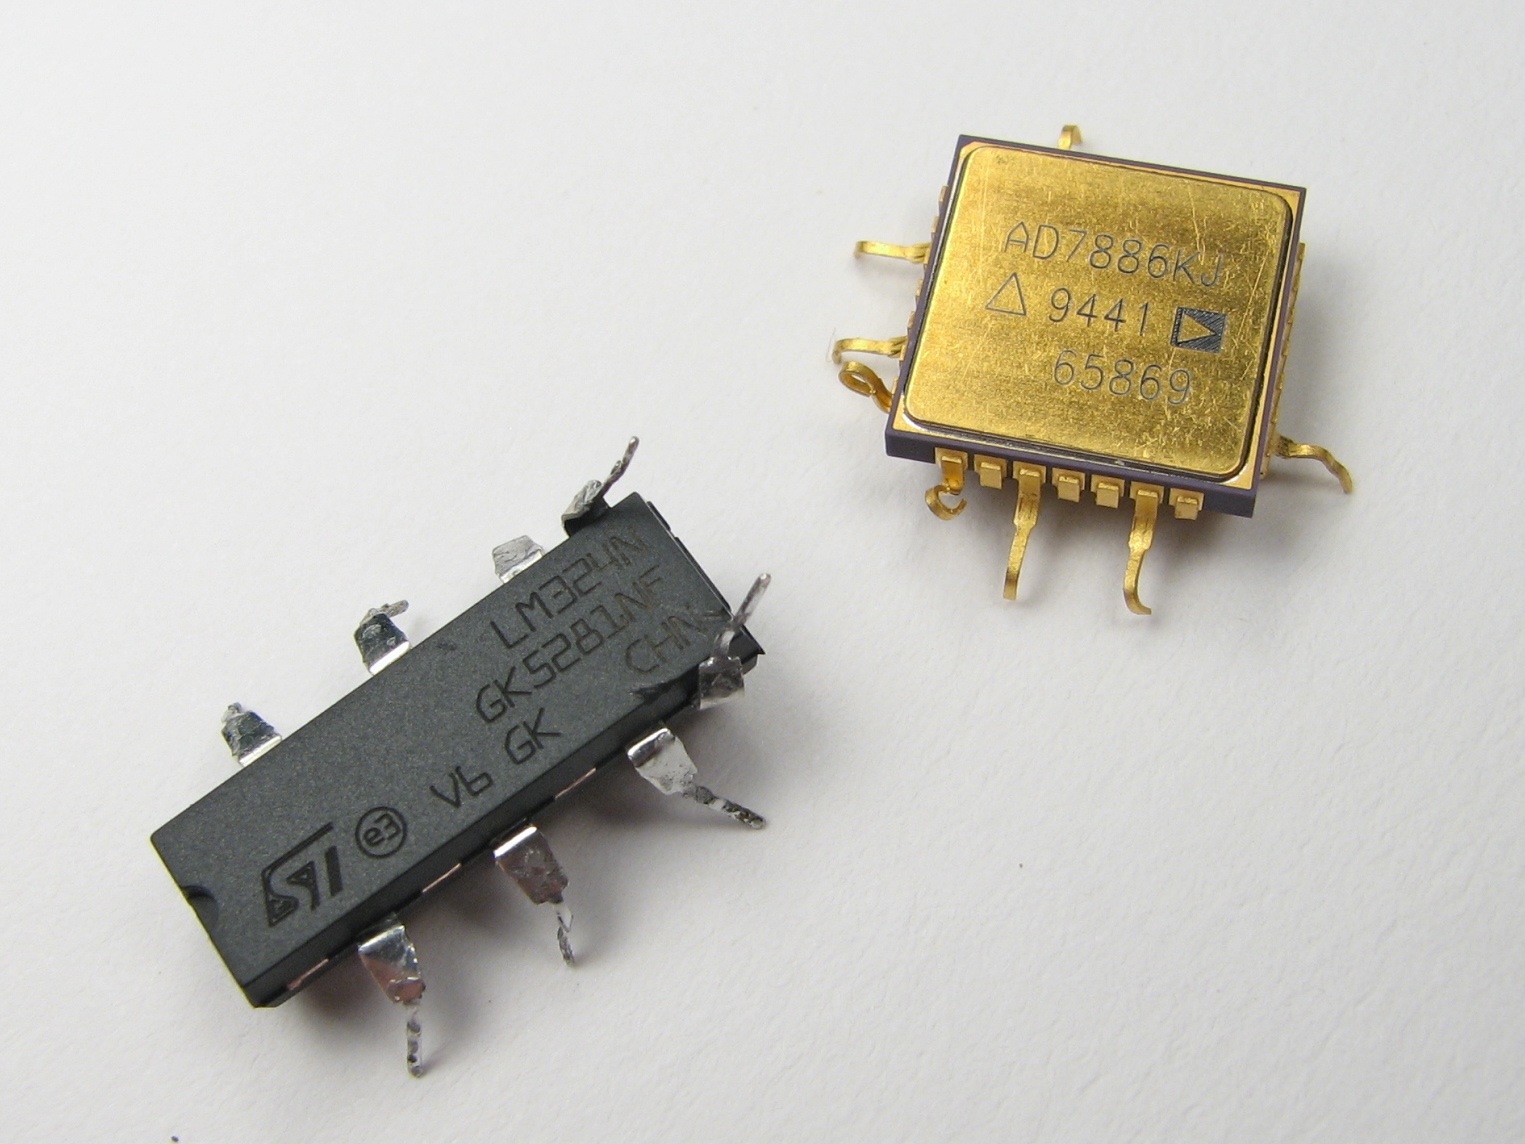
You are, of course, not limited to the types of chips that we’ve shown. Here is something completely different: A golden bug made out of a square surface-mount package with “J-leads”. It has six legs bent out to touch the ground plus two curled up antennae in front.
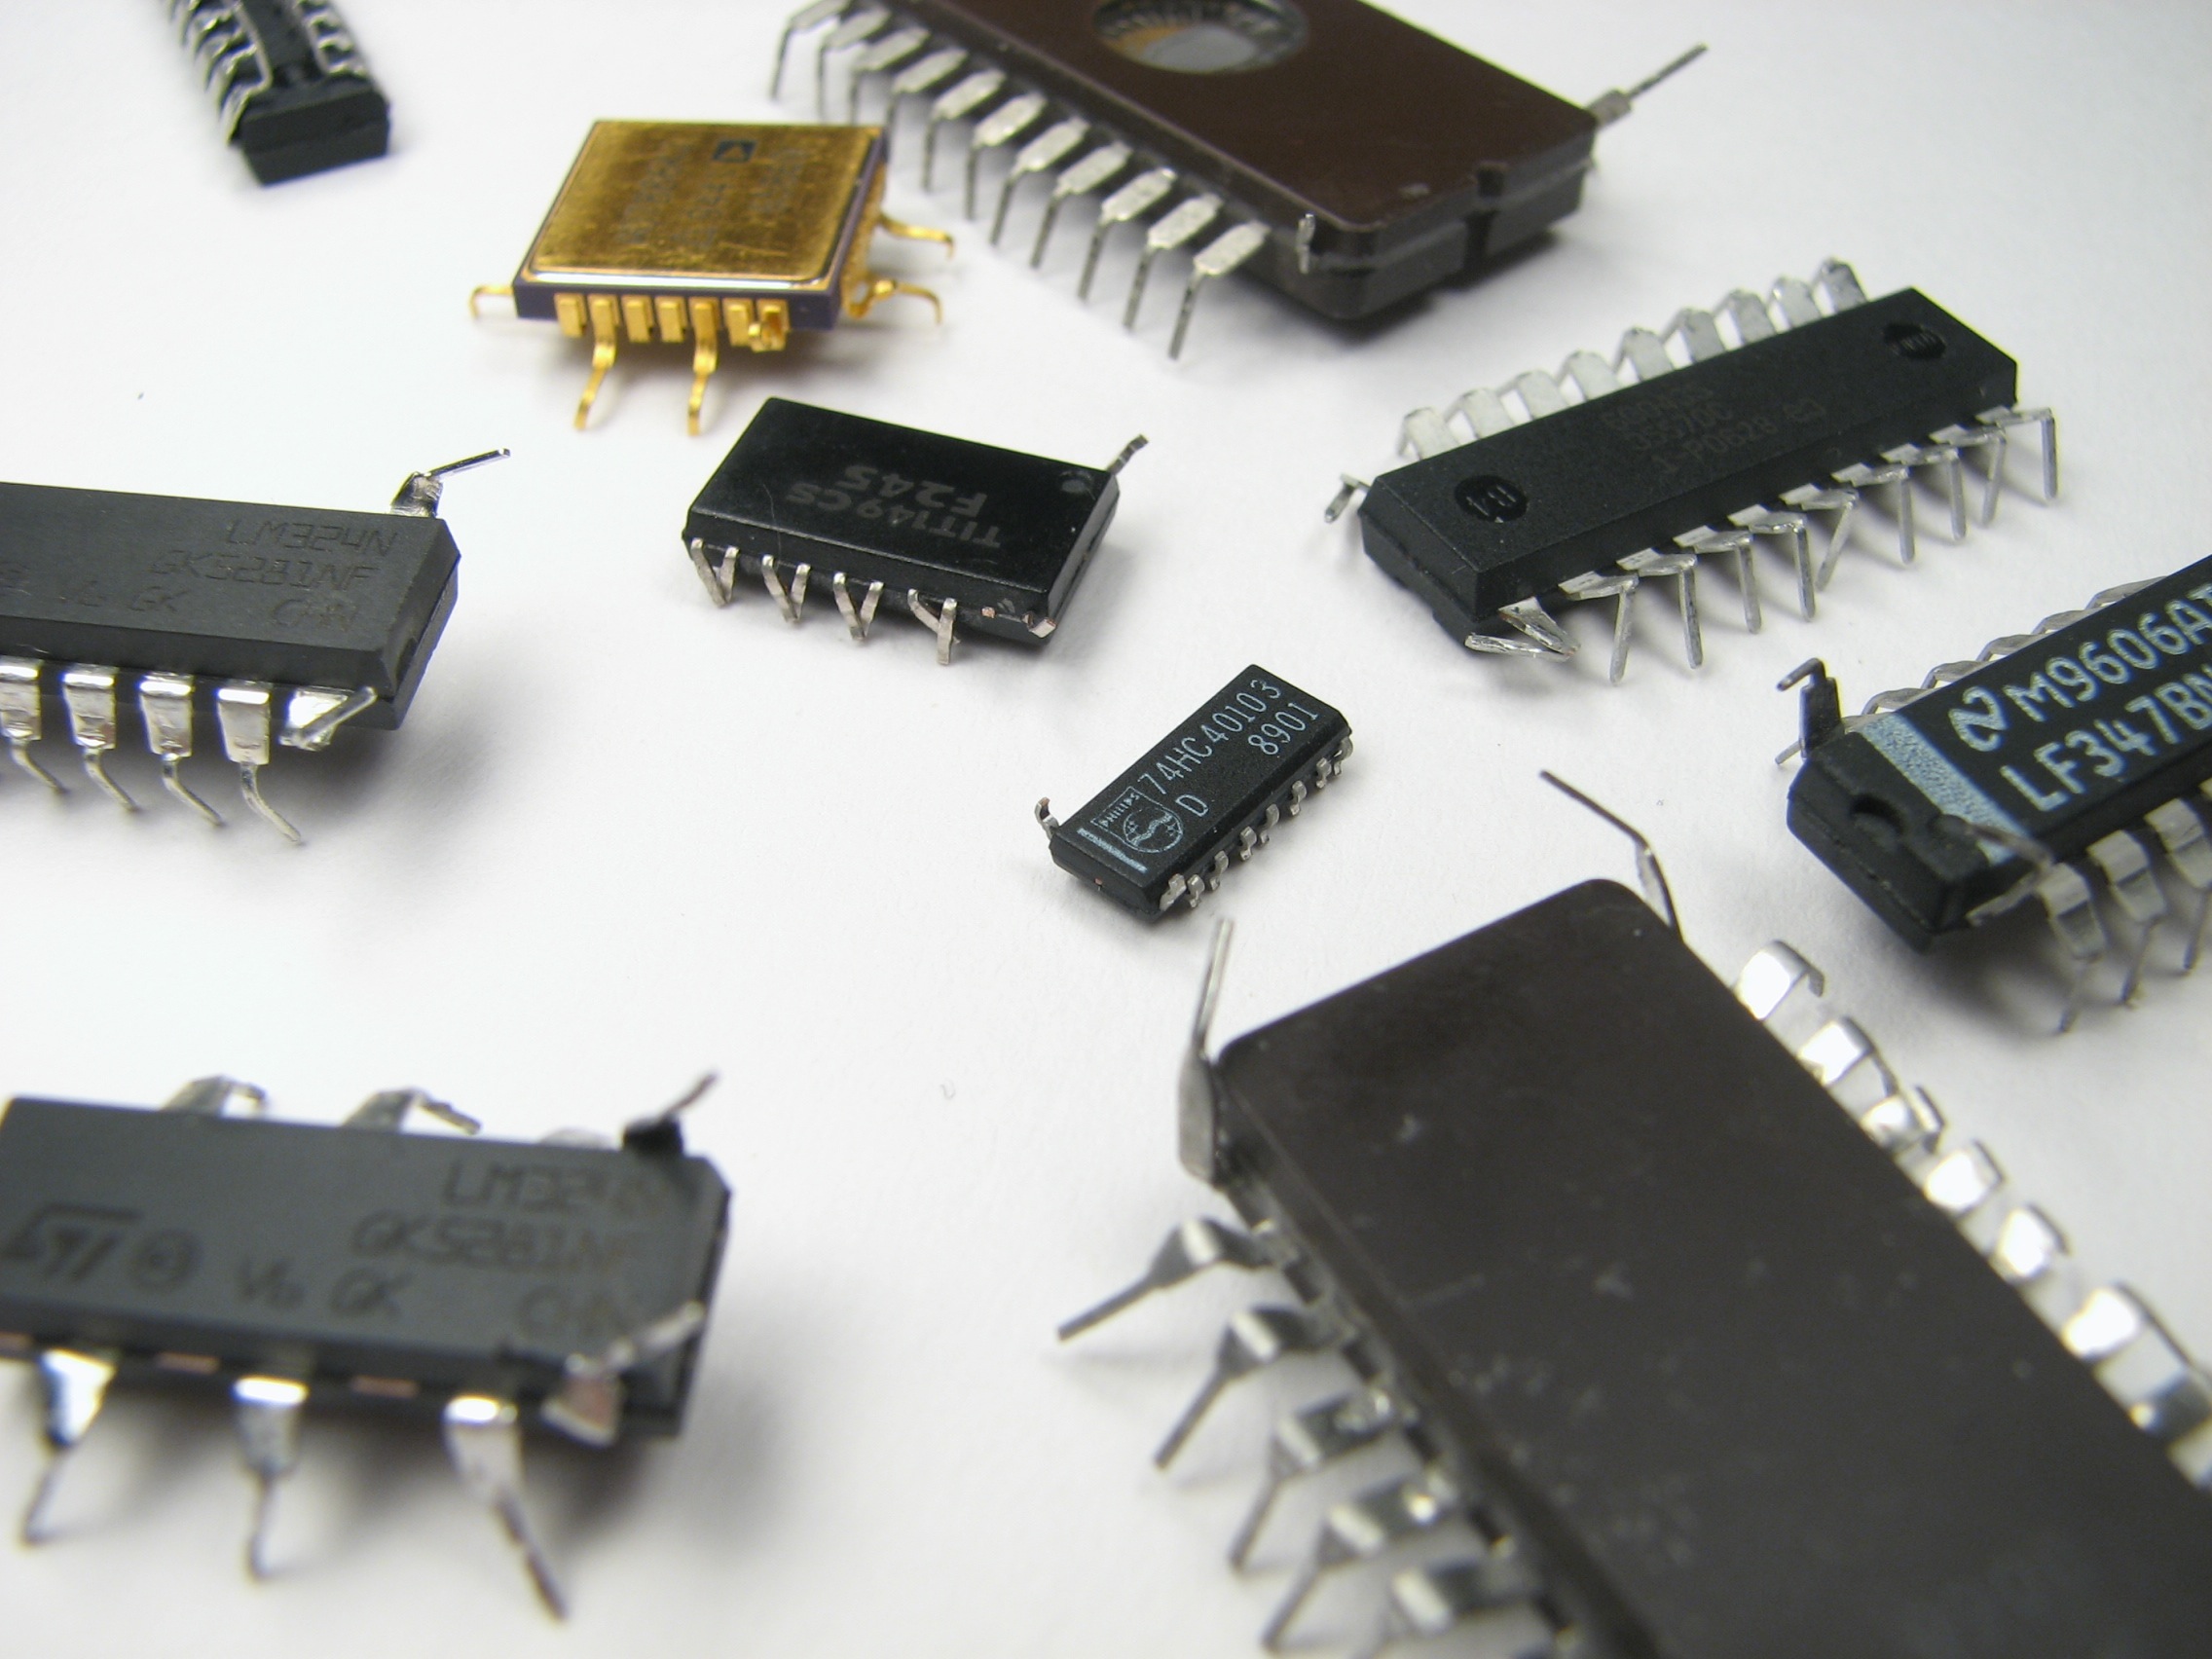
So, you too can start your own collection of chip bugs. It’s cheap and easy– collect them all!
All you need now is some tiny googly eyes!
Very good point. Very good point….. Now where did I put those? =)
—
Windell H. Oskay
drwho(at)evilmadscientist.com
http://www.evilmadscientist.com/
Interesting approach. I’ll confess that I’ve made some chips like this, usually by dropping them on the floor and either rolling over them with my chair or stepping on them. Ouchie!
One thing that I’ve experimented with over the years is opening up the chips. Since most of them are encapsulated in epoxy, that’s not always an easy thing to do. The one approach that I’ve taken is to chill them (to make the epoxy more brittle), and then either hitting them on edge with a hammer and punch, or squeezing them in a vice (Beware, because, when they pop, pieces can shoot quite a distance at quite a high speed, so wear safety glasses). It often doesn’t work, but it does sometimes, and exposes the Silicon.
Dave
Lots of Halloween decor potential!
I used to make chip bugs with the spare parts my ex-boyfriend had lying around his work area. I used resisters to make the antennaes. Sometimes I’d tie a bunch of resisters on a chip to make long wiry legs. Looks a bit like something that would come from a Tim Burton movie.
I do hope the golden Analog Devices chip was already dead—-
Why, ya want it? I can bend the pins back! =D
—
Windell H. Oskay
drwho(at)evilmadscientist.com
http://www.evilmadscientist.com/
did the same thing about ten years ago, but got more creative. point the connectors up to create a porcupine like creature, or bend them over the top so they touch like a turtle shell. bend the first two connectors to make ears of different shapes, or bend the last two up to make tails.
-Dubba
I made this one inspired on your idea.
http://www.flickr.com/gp/24355279@N02/2wP11x
Israel Alejandro Gonzalez Gonzalez