


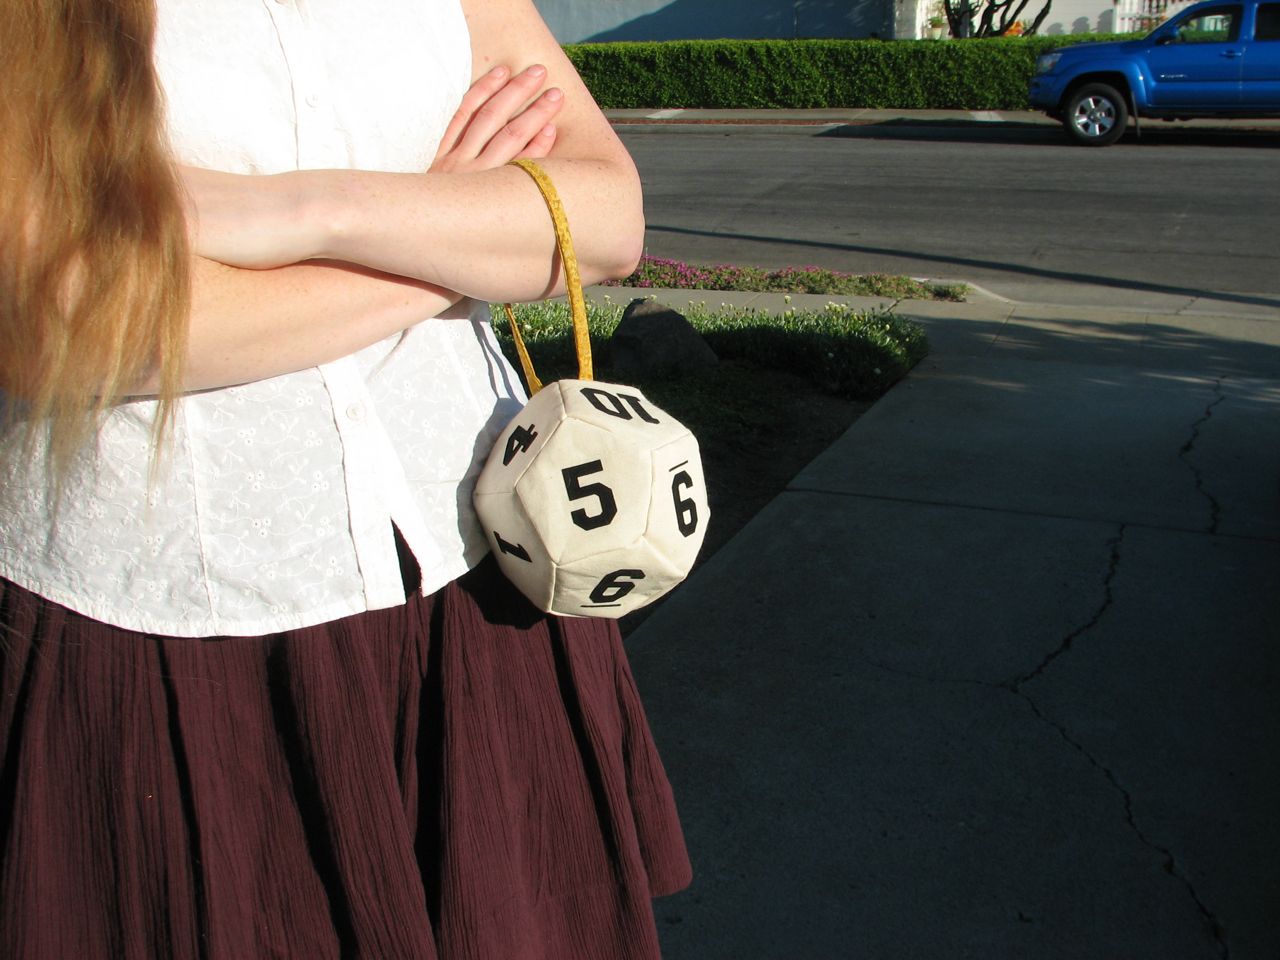
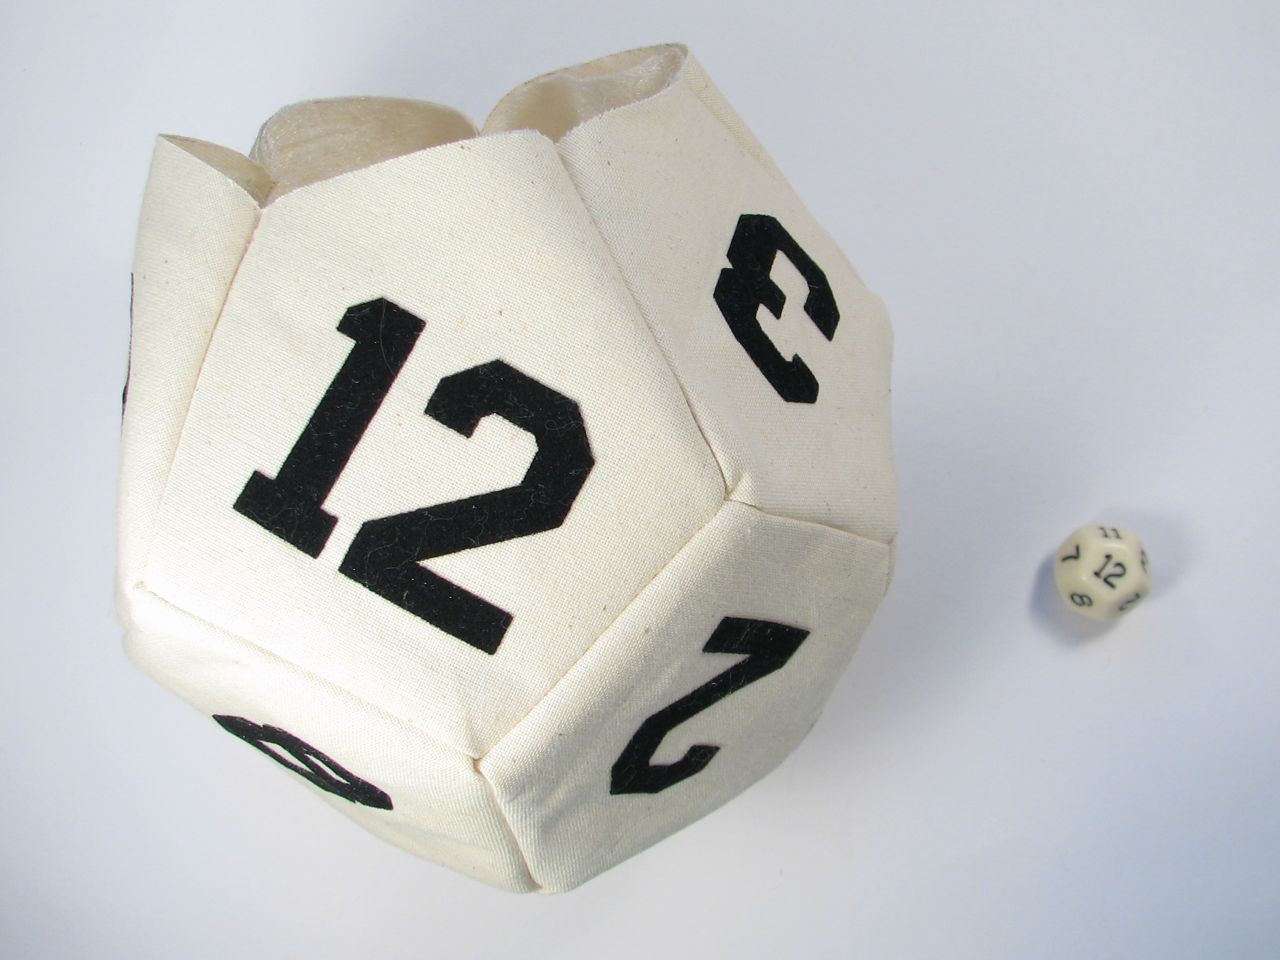
Retro-dork-chic-DIY-d12 handbag.
Drawstring dice bags are nearly ubiquitous amongst people who play with non-cubical dice. They can even be used as hand bags. But what about the inverse– a bag that looks like one of the dice? Here’s how to make a dodecahedral handbag using fabric, iron-on numbers, a couple of washers and a magnet.
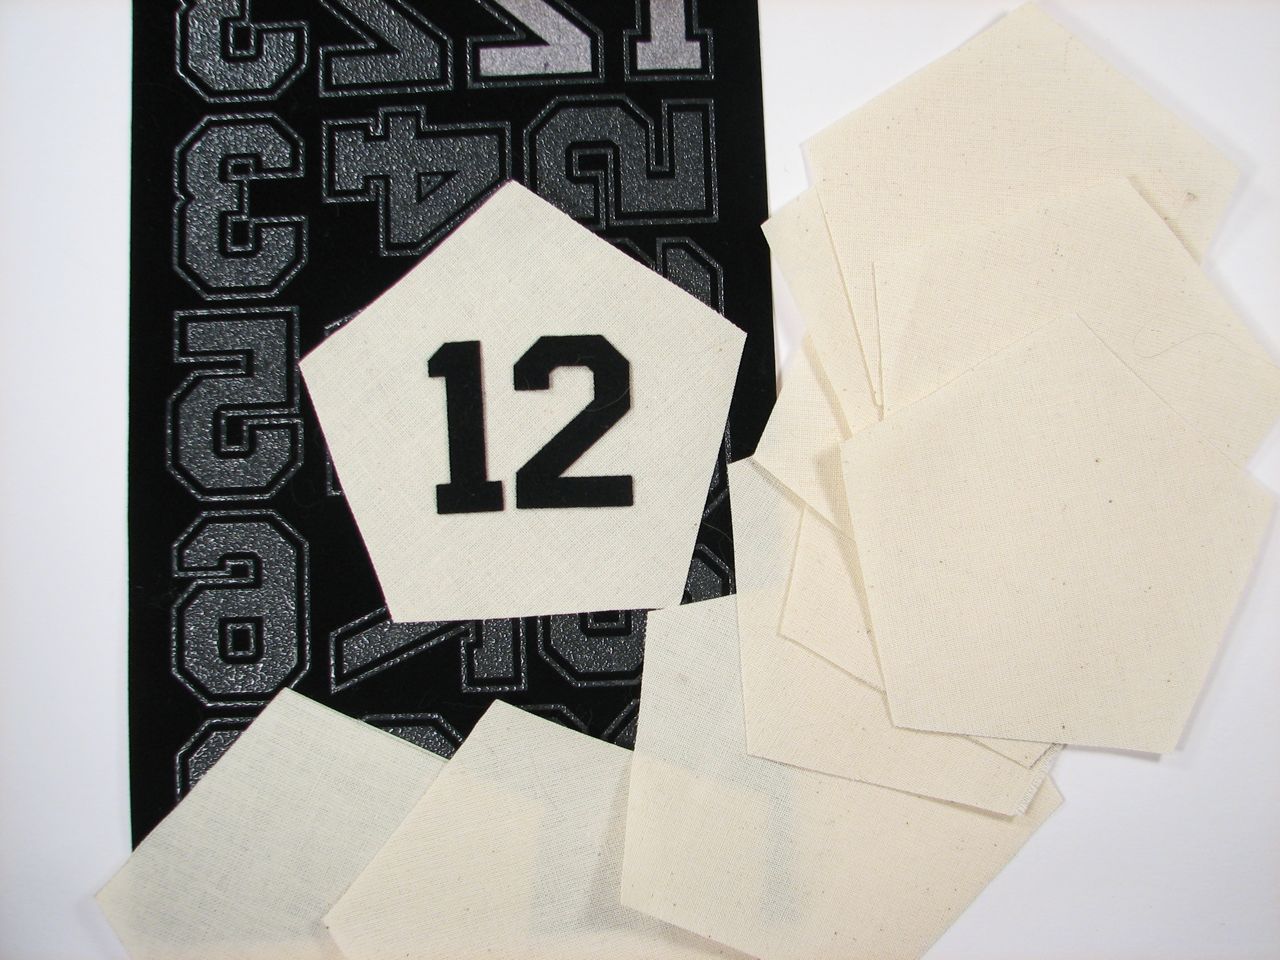
The numbers are iron-on numbers from a craft store. You’ll need one each of 3, 4, 5, 6, 7, 8, 9, and 0, two 2’s, and five 1’s. If you can find individual numbers rather than ones in sets you may be better off. Canvas is a nice match for a bone colored die; I had some scrap around from a previous canvas bag project which was ideal. I used some interfacing for a little extra stiffness, and cotton quilting fabric for the liner and handle. Cut out twelve pentagons (yep, it’s a dodecahedron we’re making) of each type of fabric. You’ll also need to cut out some extra pieces for the lip of the lid.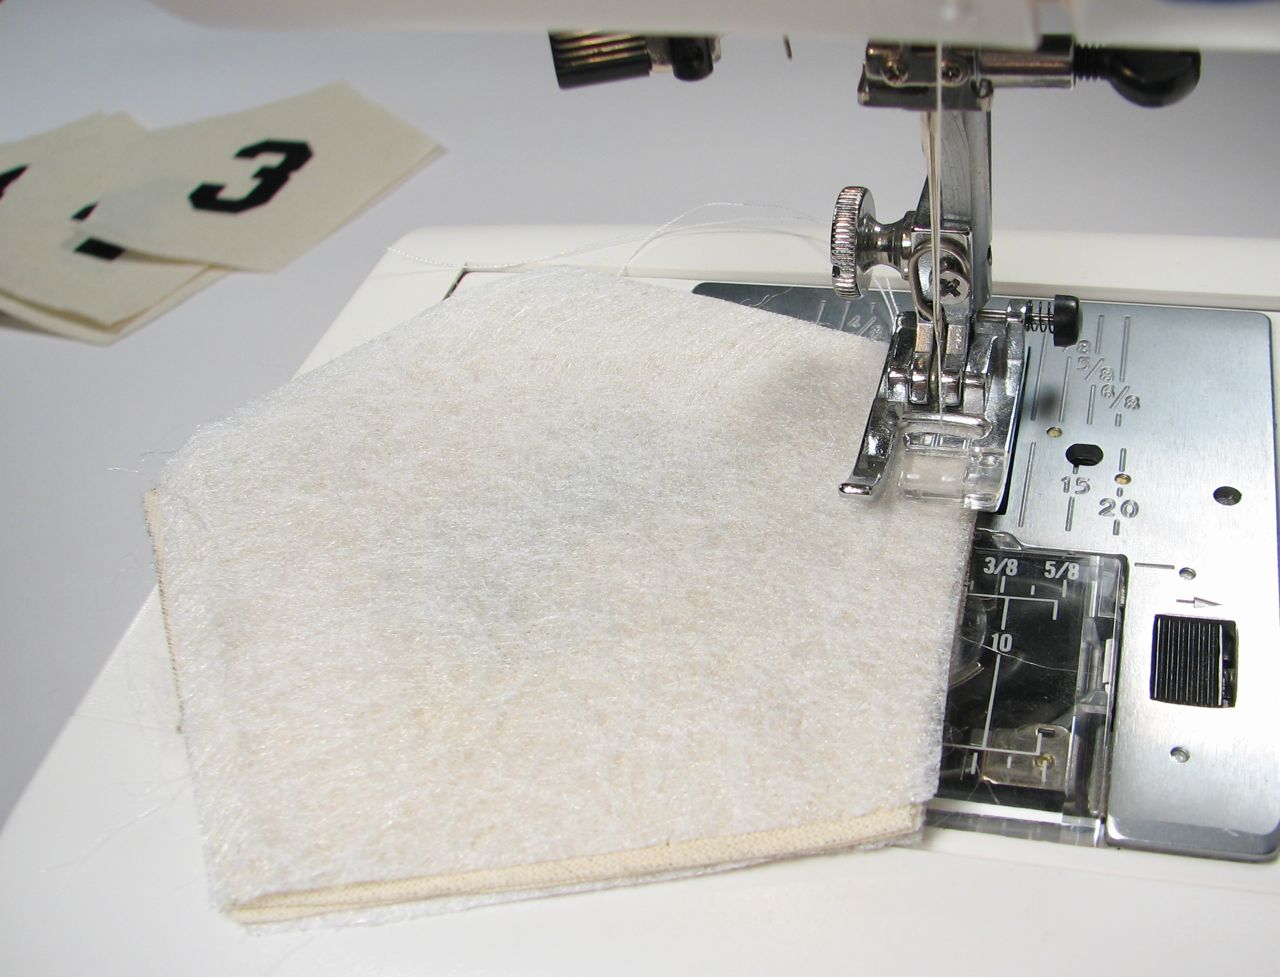
Iron on all of your numbers first. The sewing starts easily enough, stitching two of the pentagons together. Use a 1/4″ seam allowance. I obsessively followed the pattern of a die I had, but you can pretty much grab any two pieces to get started.
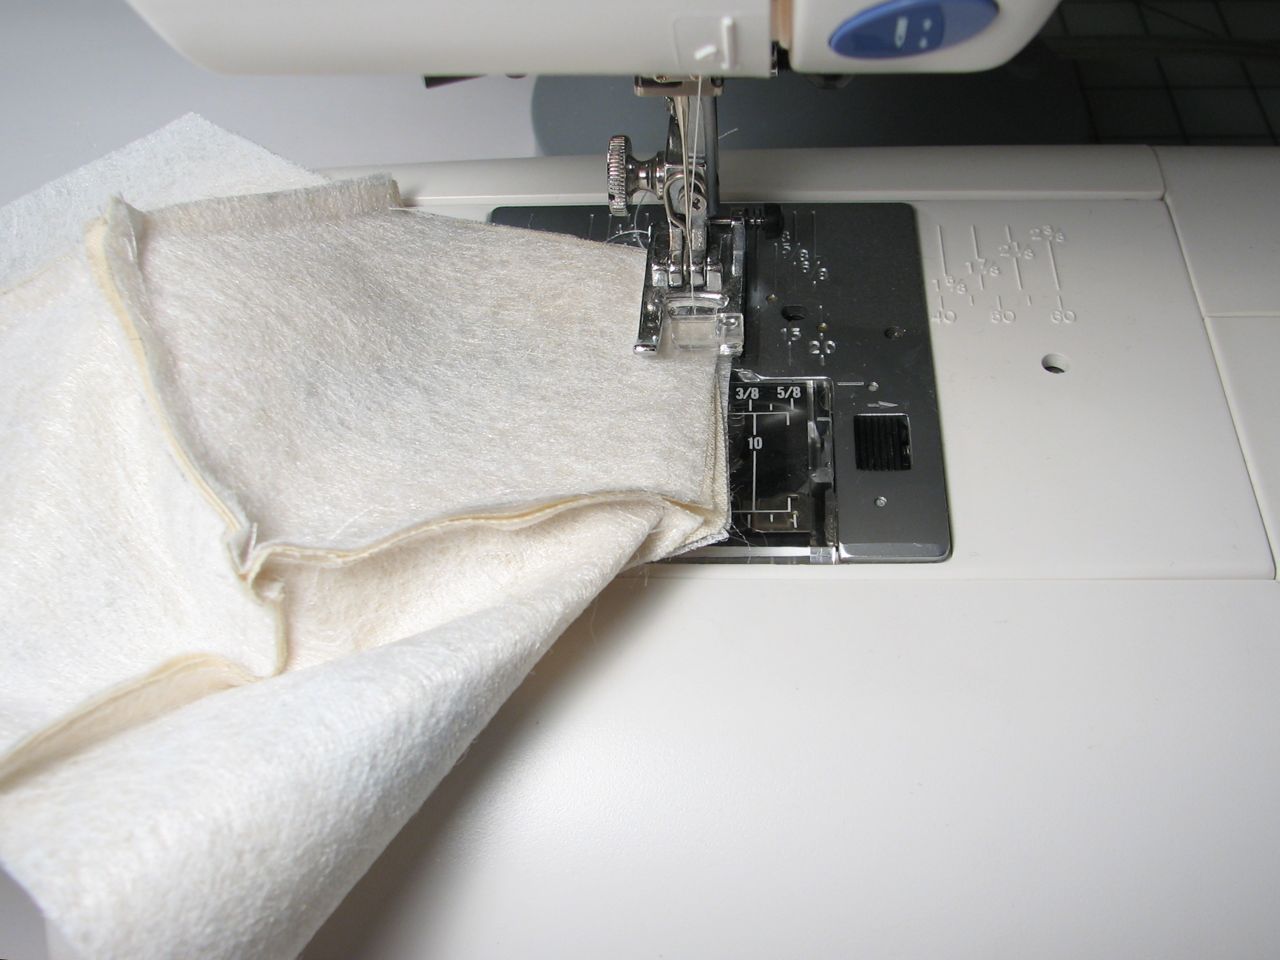
As you move on to connecting more polygons, you’ll need to fold them a bit to align the edges.
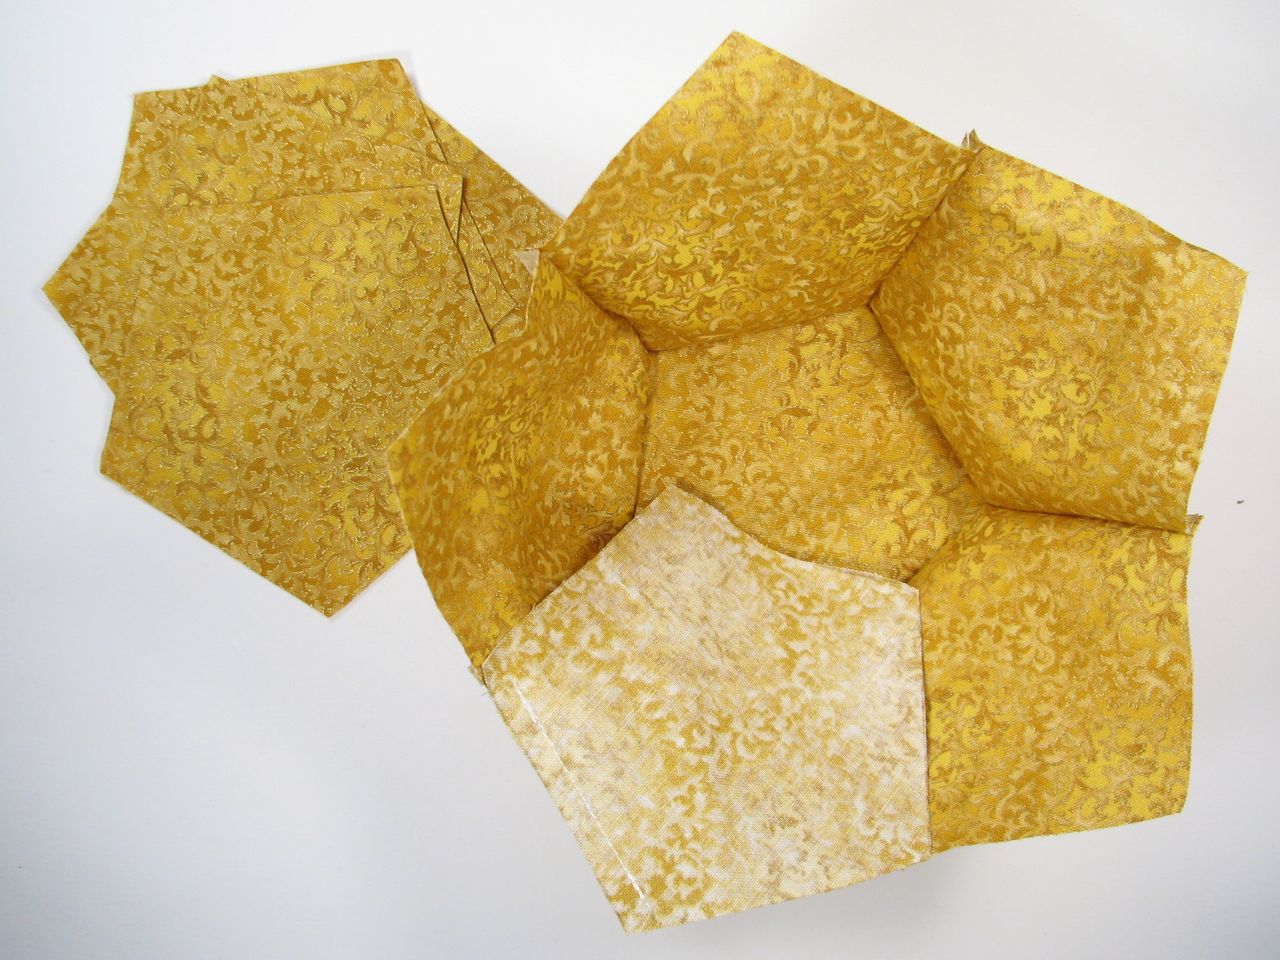
The liner goes together the same way. Continue until eleven sides have been attached. The twelfth is special; it forms the lid.
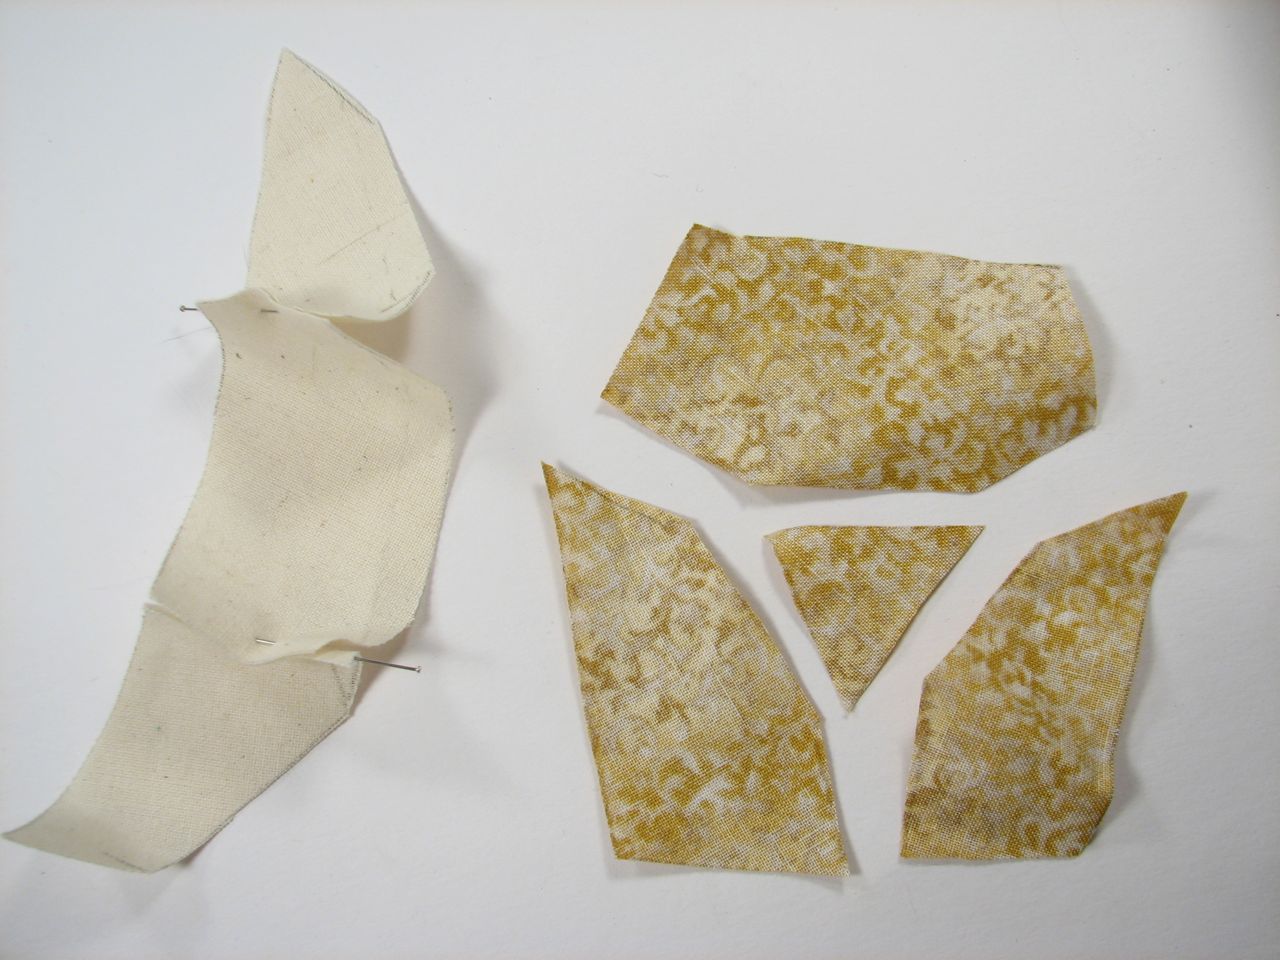
The lip of the lid is formed of two triangles and a trapezoid. You can cut them out of an extra pentagon, leaving an extra little triangle of material in the middle, but we’ve broken them out of the pattern so that they’re easier to cut and sew.
You can download the pattern here (25 kB PDF).
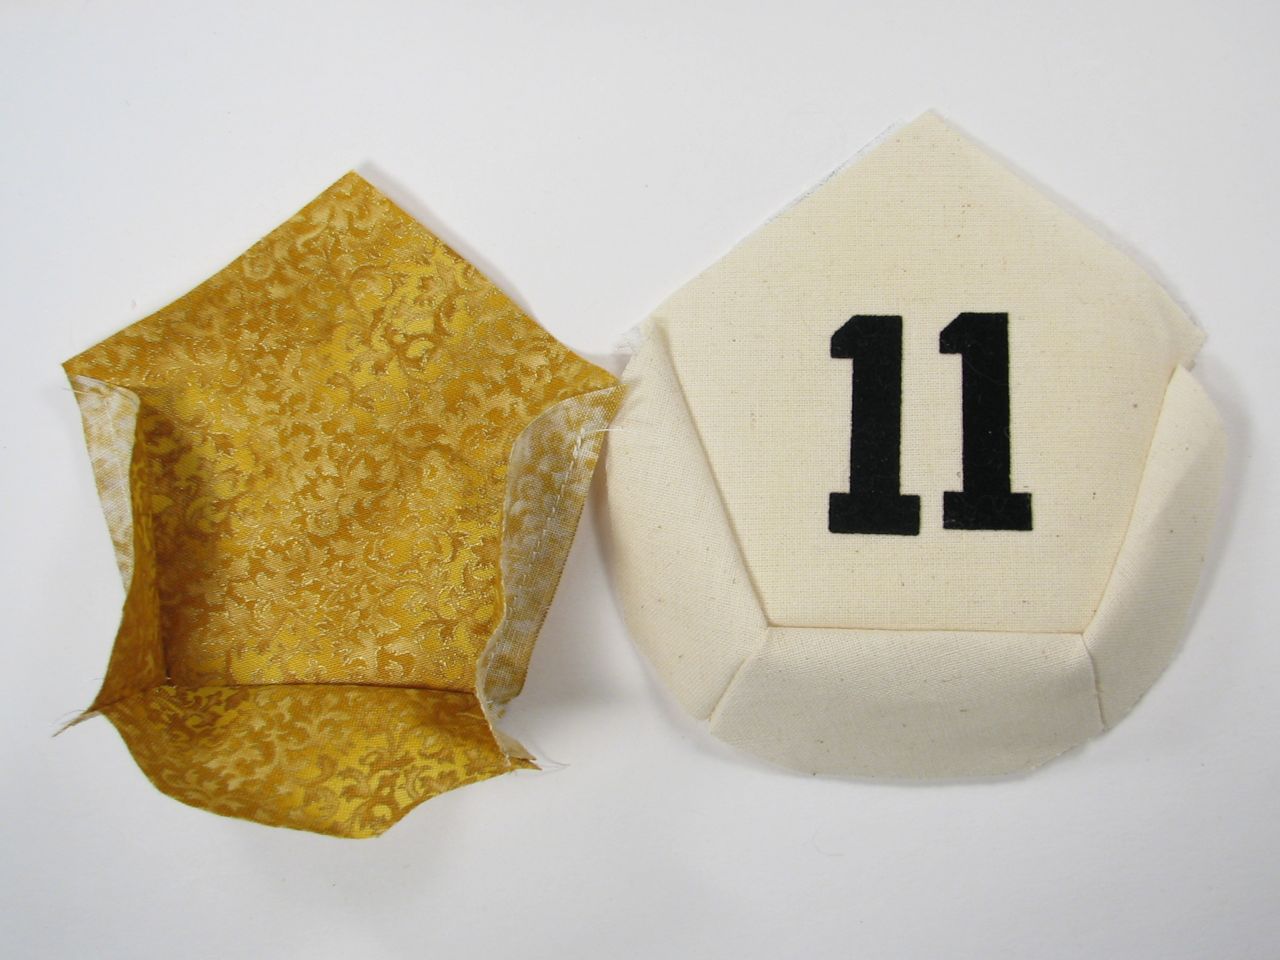
Sew each of the pieces of the outer lid together, and sew each of the pieces of the lid liner together.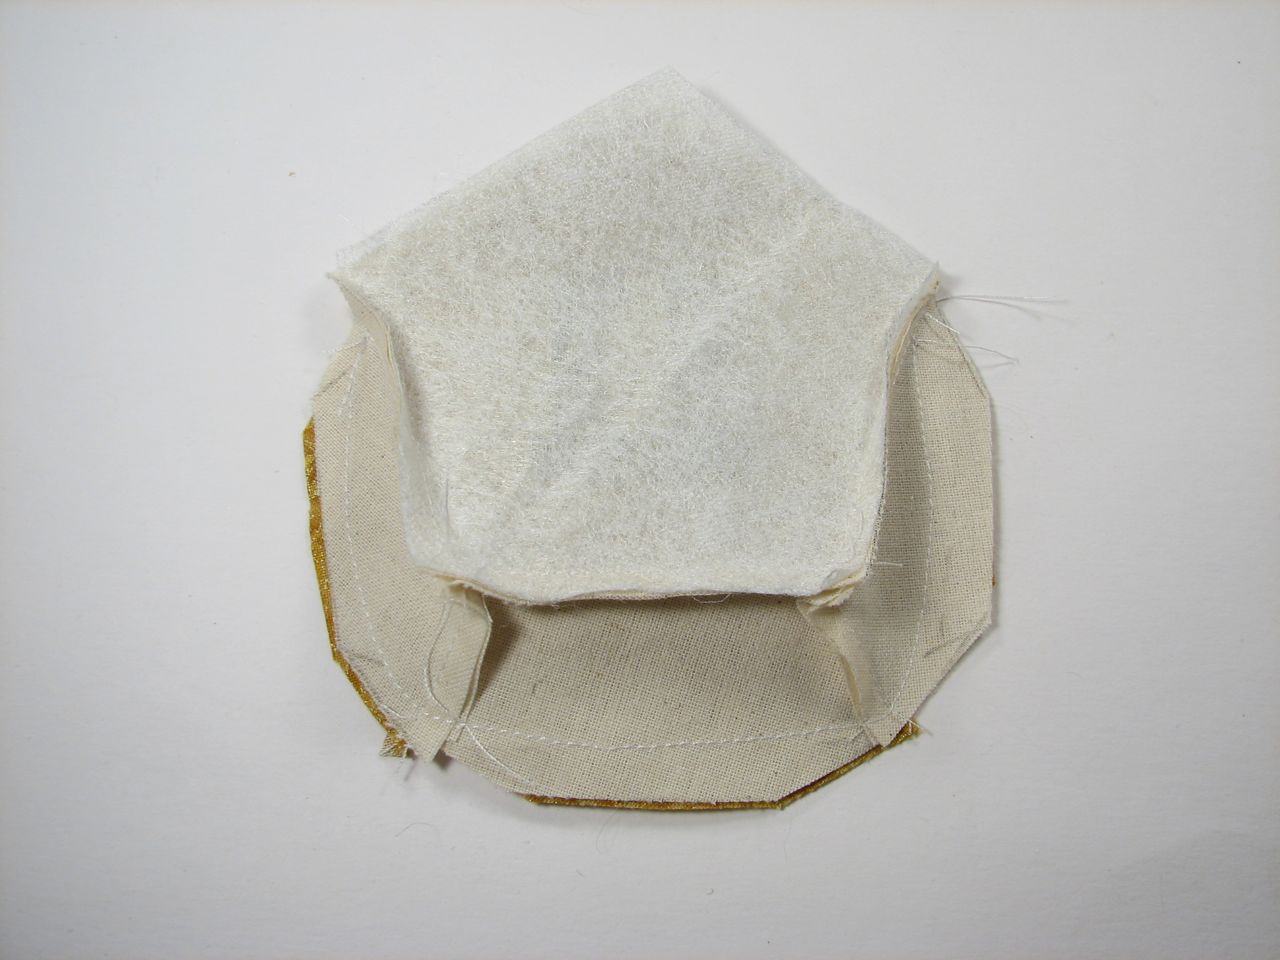
Then sew the lid liner to the outer lid, just around the three outer edges, good sides together.
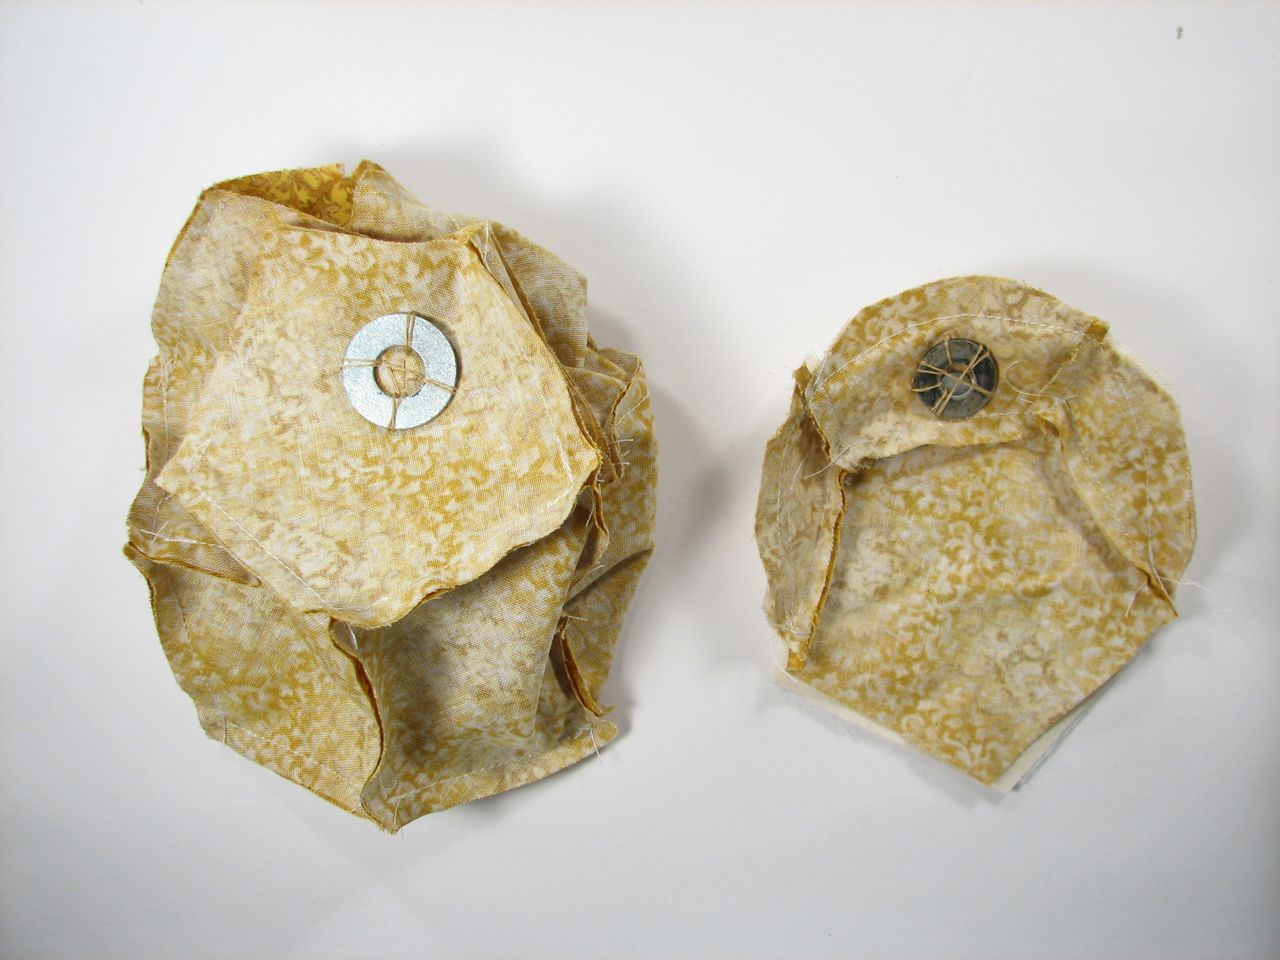
Now for the ghetto magnetic clasp! Most washers are magnetic, and the hole in the middle gives you something to sew to. Sewing the pieces to the lining keeps the stitching invisible. Stitch one washer onto the lining of the body of the bag, on one of the pentagons next to the opening. Sew the other washer, with the magnet attached, to the lip of the lid on the inside of the lining. Or, if you’d rather not magnetize your needle, sew the washer on first, leaving room for the magnet to slip in later.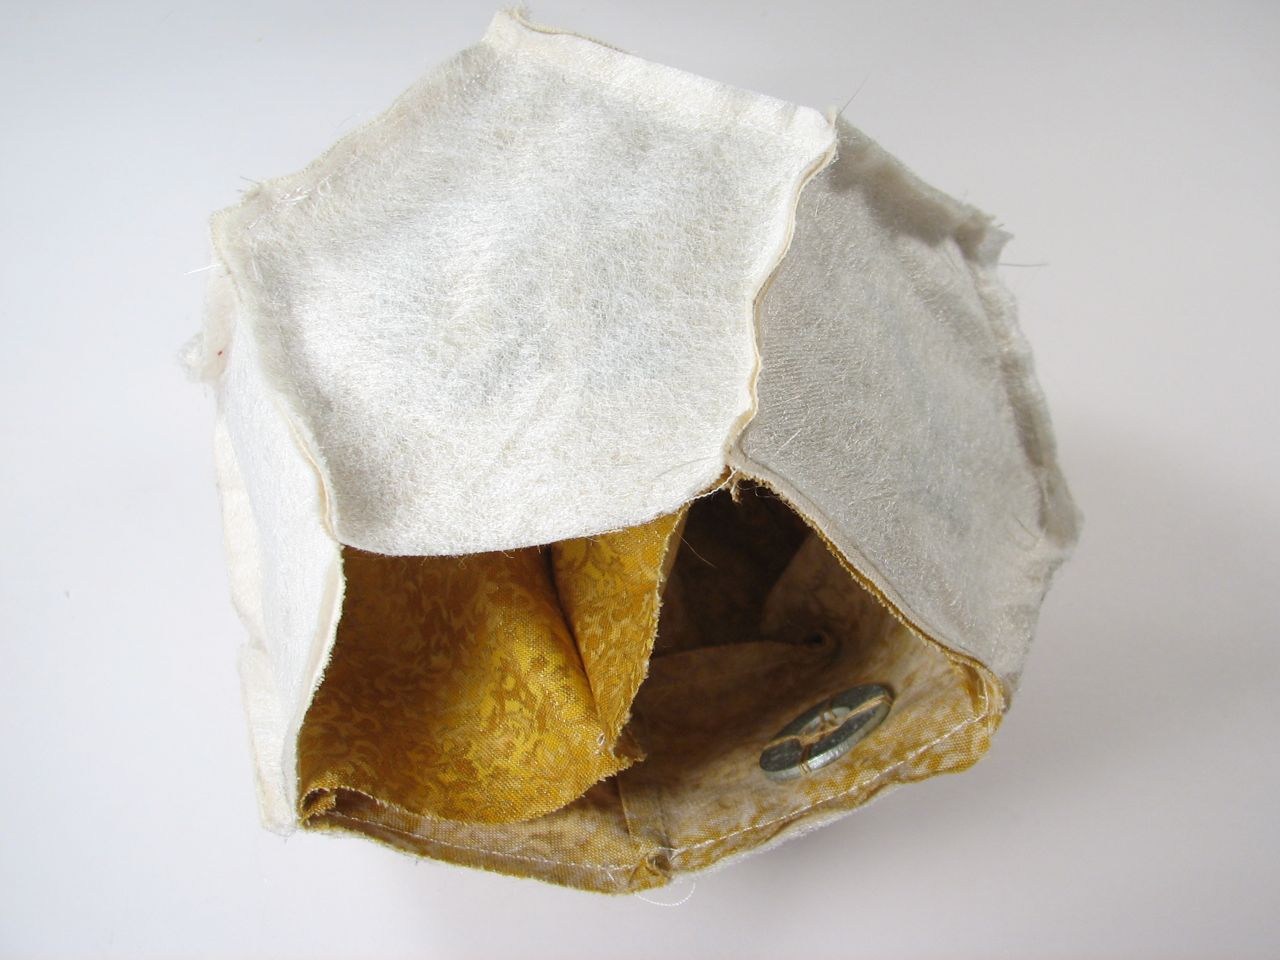
Put the two layers of the bag with their good sides facing each other, and stitch around three segments, leaving two open. Be sure that the washer is in the middle section that was stitched down.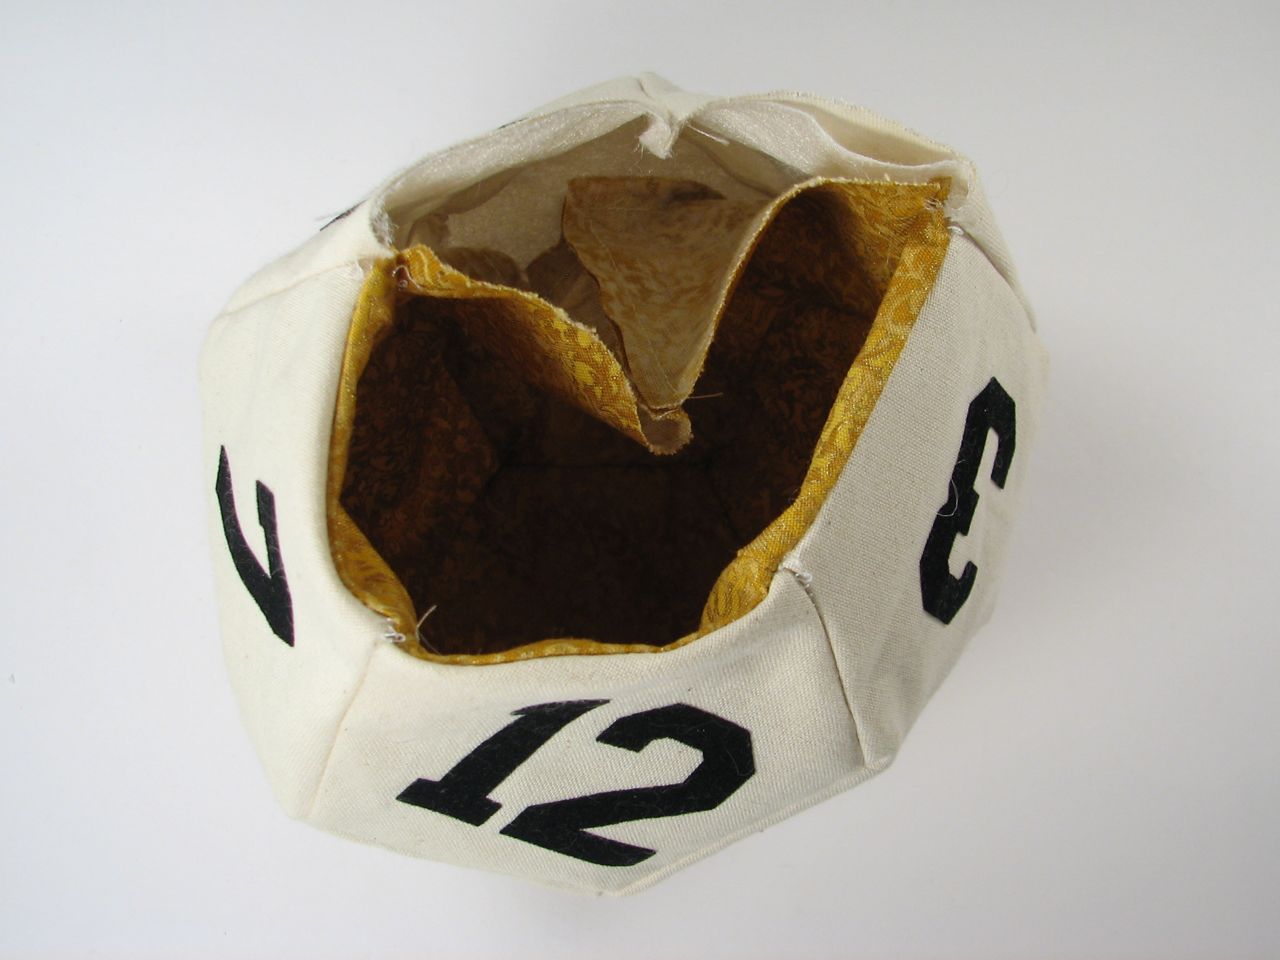
The two open segments should leave enough room to turn it right-side-out.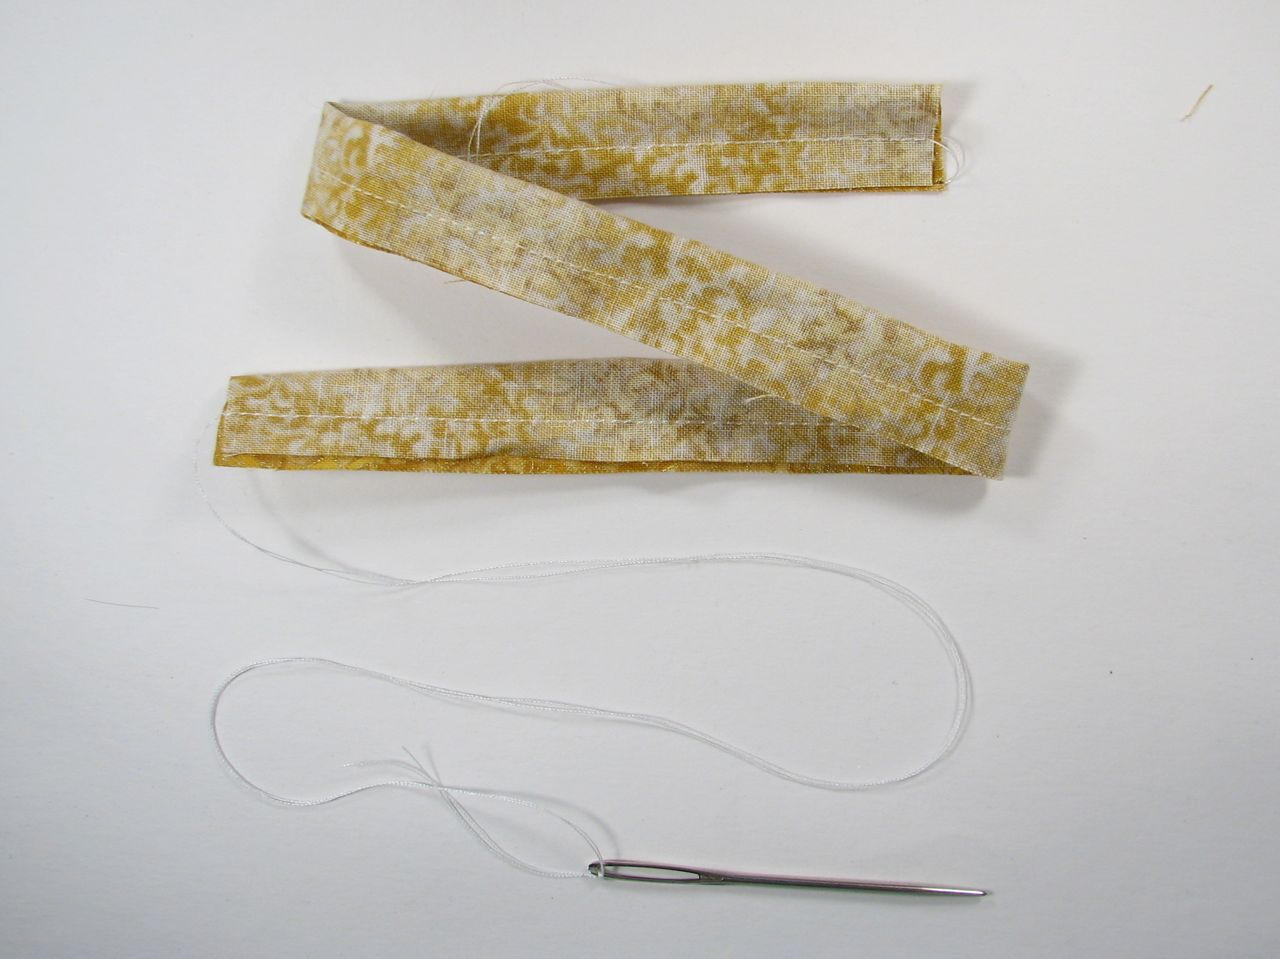
For the next part, you’ll need something to use as a handle. I sewed a 14″ x 2″ strip of fabric with a 1/4″ seam allowance and turned it inside-out to form a cord. The simplest way to turn it inside out is to leave a long thread and tie it onto a yarn needle you can drop and then pull through. Alternately, you could use a ribbon, a string, or even the cord from a worn-out drawstring bag for the handle.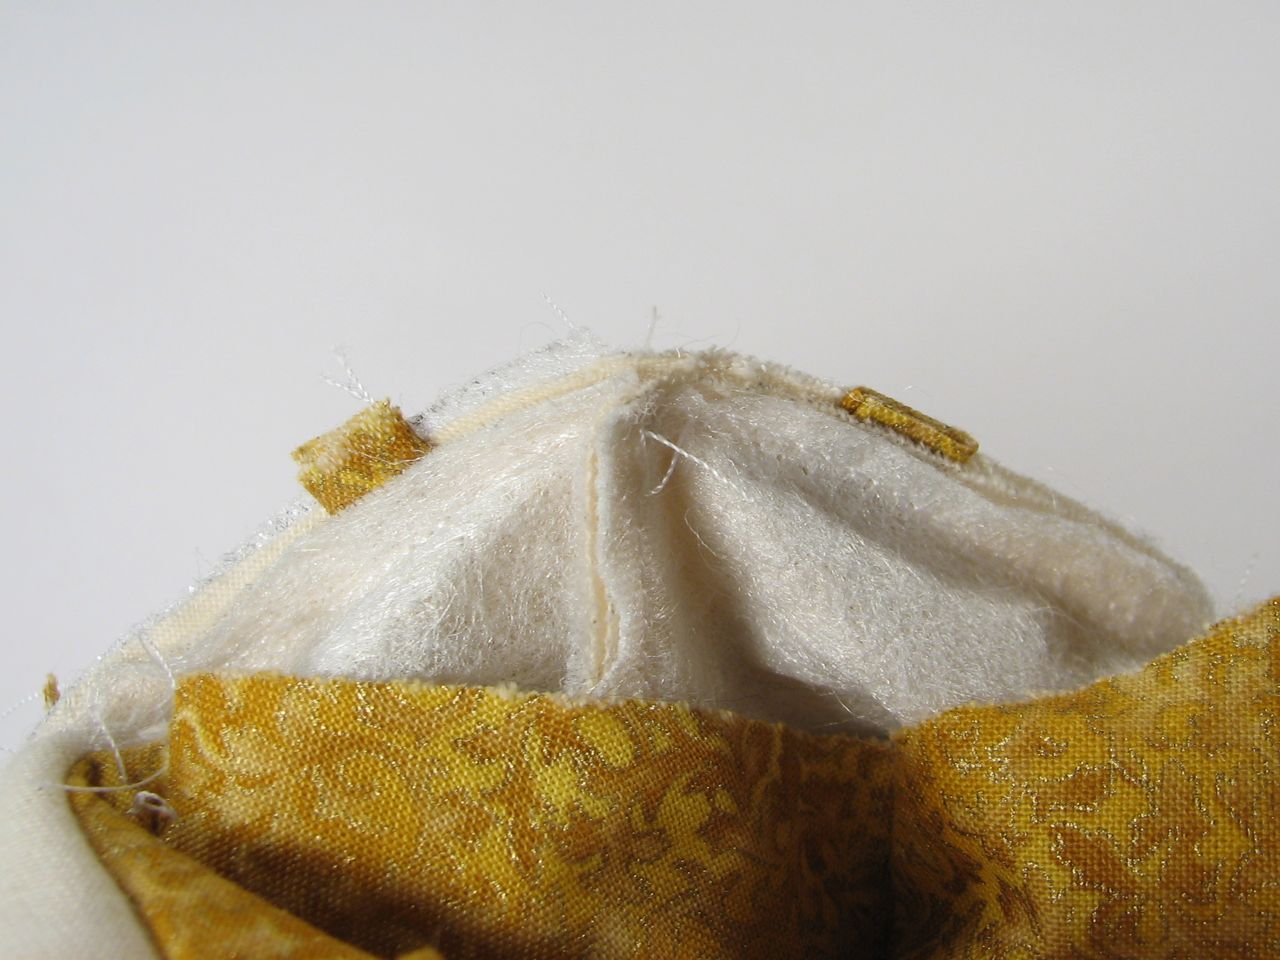
With the two remaining sides, pin the handles in place before sewing the right-sides of the canvas together. Leave the lining open for now.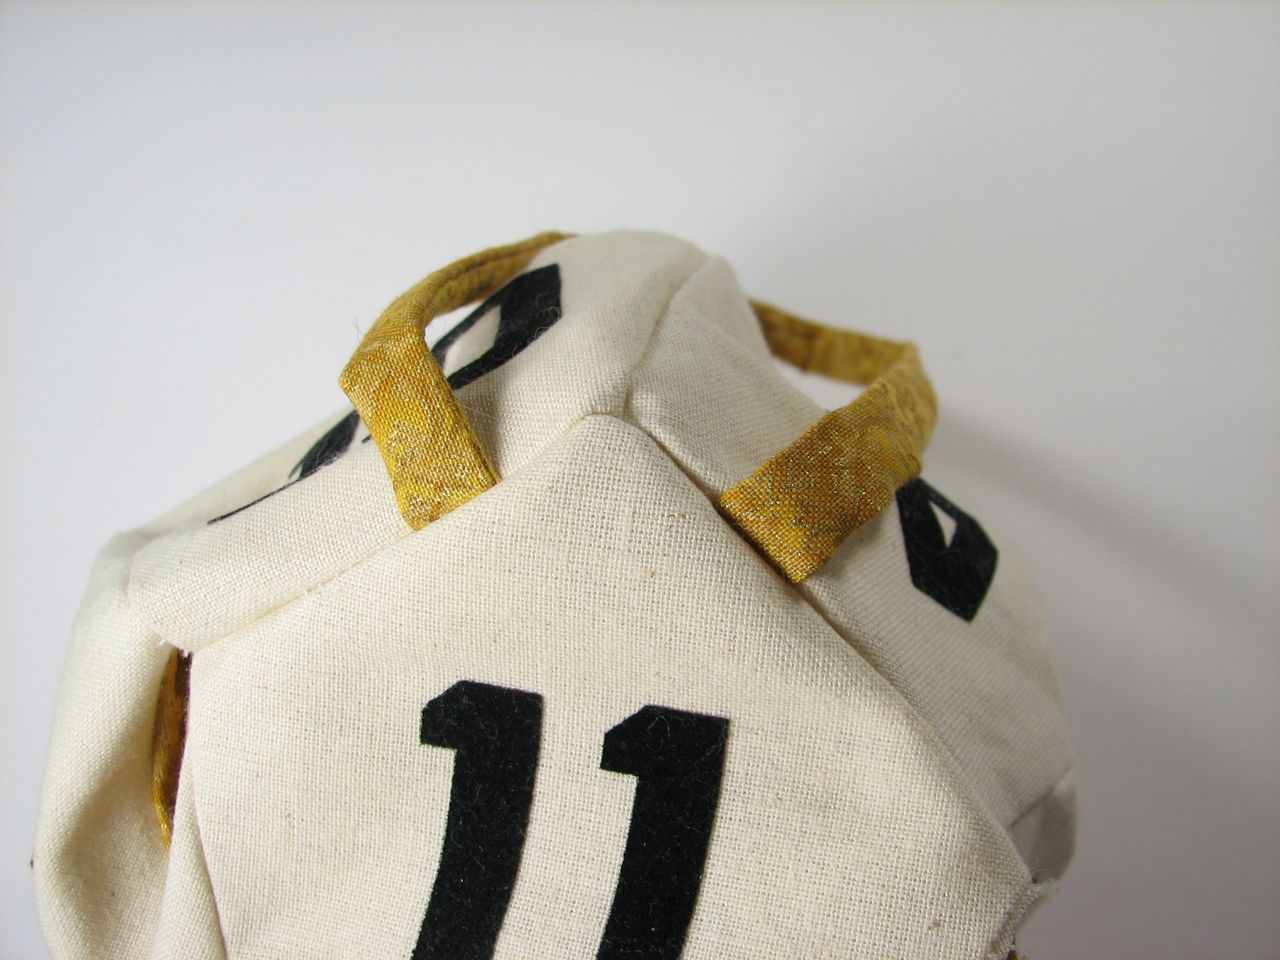
When you flip the lid over and turn it right-side out, the handle should be happily in place.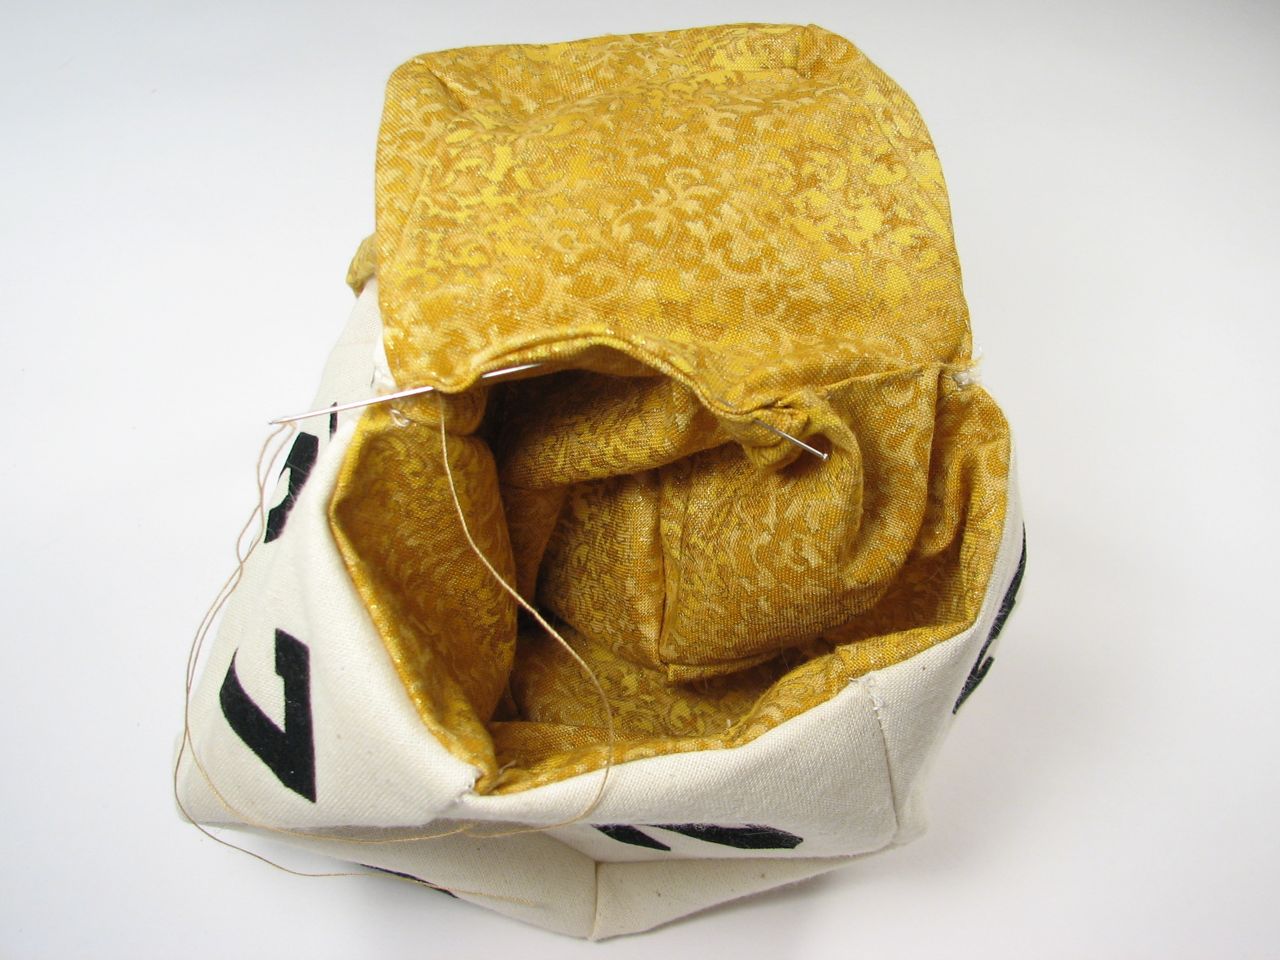
The last step is to hand-sew the lining shut on the inside.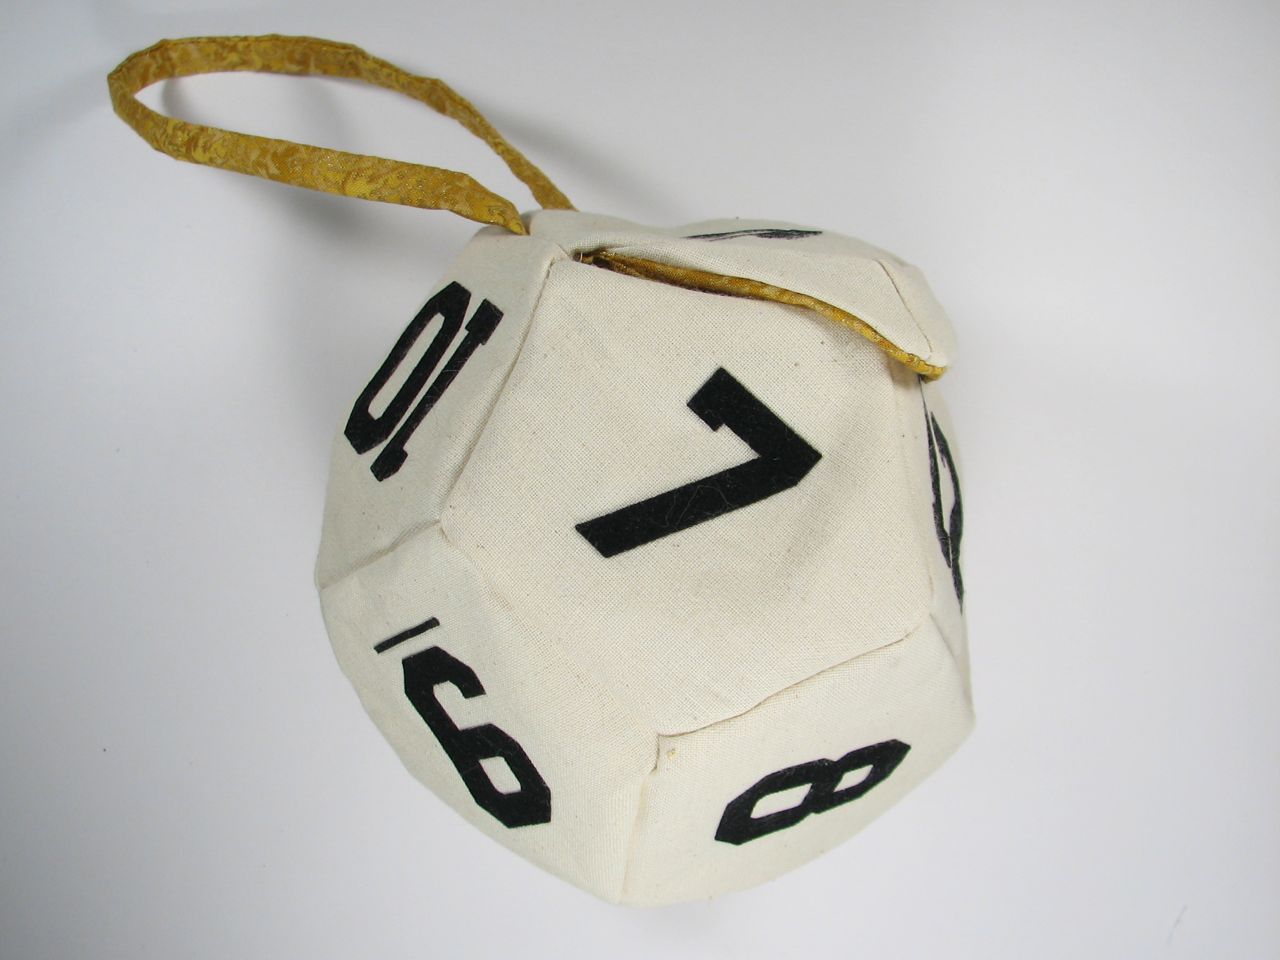
The result is not quite balanced enough for rolling fairly (I’m going to bet that the 12 ends down most often), but it does play its role well.
Update: We’ve posted a revised version of the d12 bag project along with a d20 bag project here, and are now making kits available here.
hey it rolls a twelve with me…
Made of win! I may be making one of these for my gamer husband, if I can think of a good way to make the handle manly enough. Awesome tutorial. Thanks!
– Plum Texan
Since I was using scrap canvas from a promotional bag, I considered putting the canvas strap from the bag on as the handle. I also like the idea of using a cotton cord for the handle.
I’m in love. ::swoon::
Can we get a D20? My GF carries too much stuff to fit into a D12, and when’s the last time you rolled a D12 except for a damage roll?:)
Adjust accordingly to 20 equilateral triangles and you’re set.
Awesome tutorial! Thanks for linking to my Chain Maille Dice Bag on my blog. ;)
-Janine
Athena’s Armoury Shop
Athena’s Armoury Blog
I printed out the pdf, and I’m a little confused. When cutting out the twelve pentagons, do you just cut them out the way it’s shown, or do you need to add on a quarter-inch margin? Because the lid segments have dotted lines showing a seam allowance, but the pentagon does not.
Hmmm. When I look at the pdf I see the seam allowance lines for the pentagon. Everything should have a 1/4" seam allowance and to doublecheck you can make sure your edges are the same length as well.
This is amazing & wonderful– can’t wait to make one (sigh) as soon as I finish the stuffed muloc …
Love love love! I’ve been thinking of buying a sewing machine for some time now, and this is just the project to push me to splash that cash!
That and the missile command circle skirt – but I think I’d use this one more! Tempted to make one of each kind of D&D die, for every occasion and damage throw ;)
Or 30 rhombuses for a D30…
I think I just found my new dice bag! I will have to make three – a purple one for me, a blue one for my husband and a pink one for my daughter. AWESOME!
What about percent dice for my car rear view mirror, what shape to use for a d10 shape?
So when I first saw this (pretty much when it was originally posted), I immediately set out to make a box in this shape. It’s been a challenge, but I finally have one that…works. And this was my inspiration. I’ll share pics of it when I finally get it to a presentable state.