


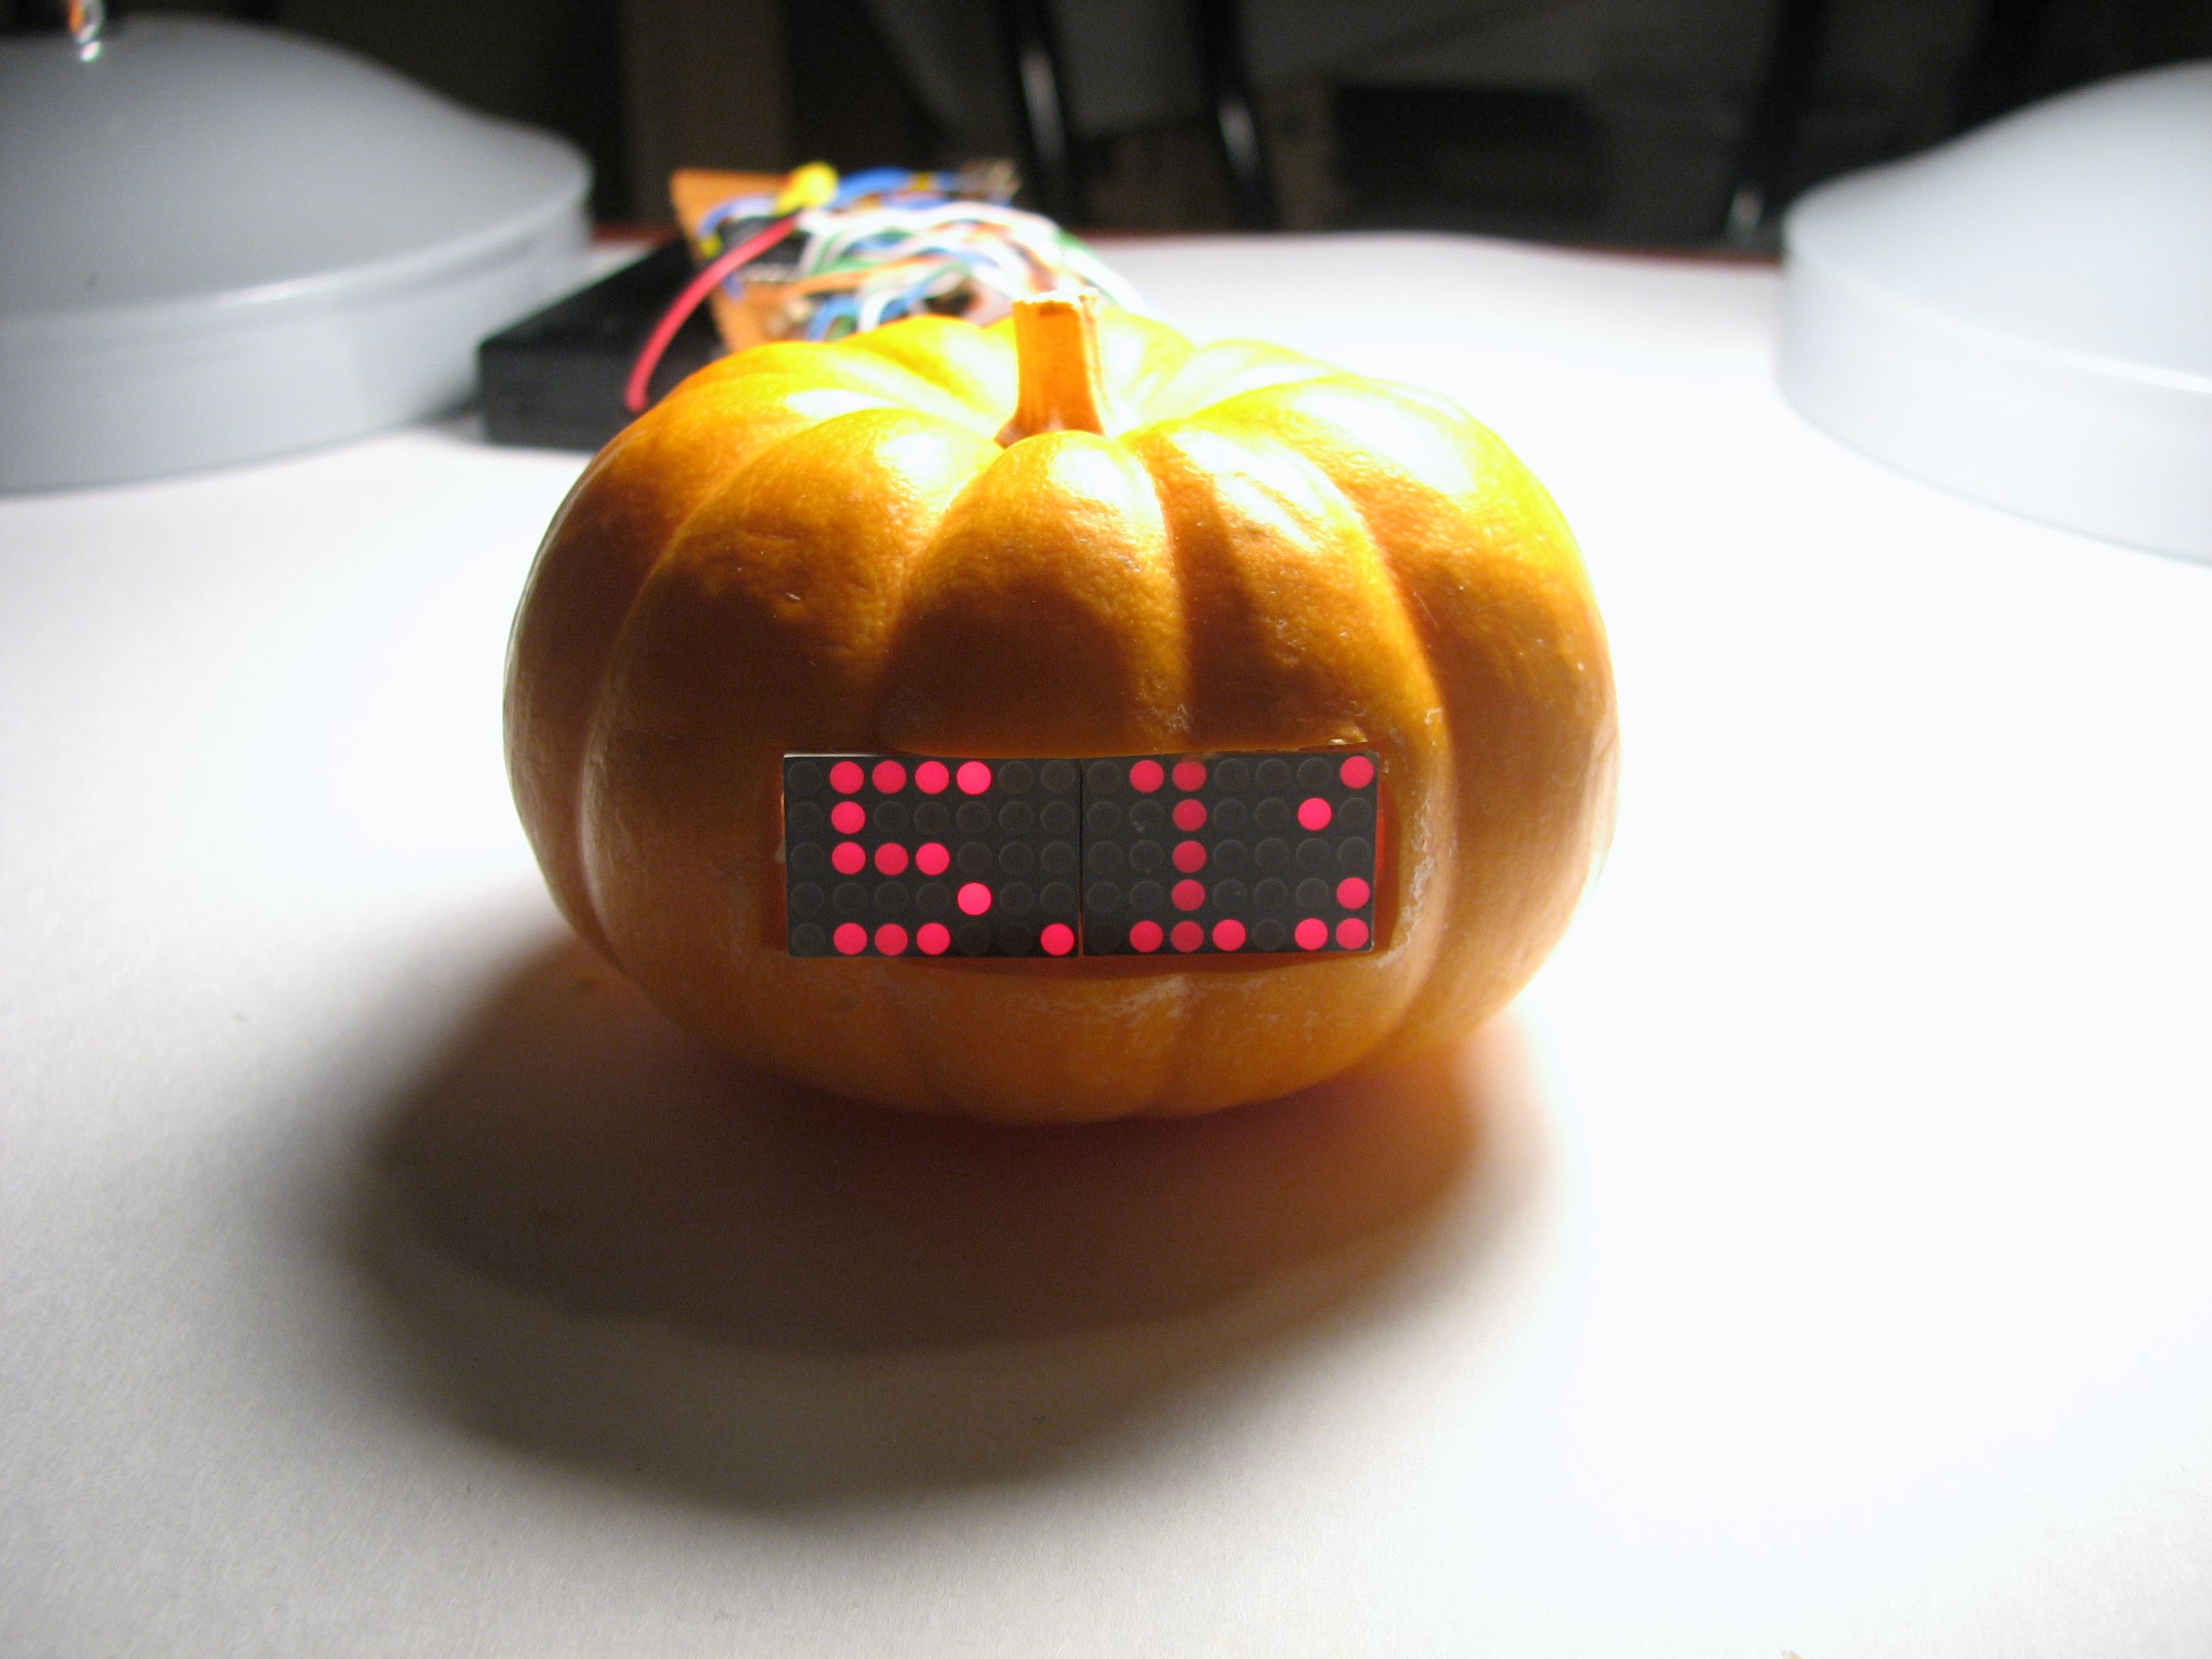
Jack-o’-Lanterns are supposed to be scary, right? So here is our new one: it’s a mini pumpkin with a (tiny) scrolling LED stock ticker. Reprogrammable so you can update it every day with gloomy news from Wall Street.
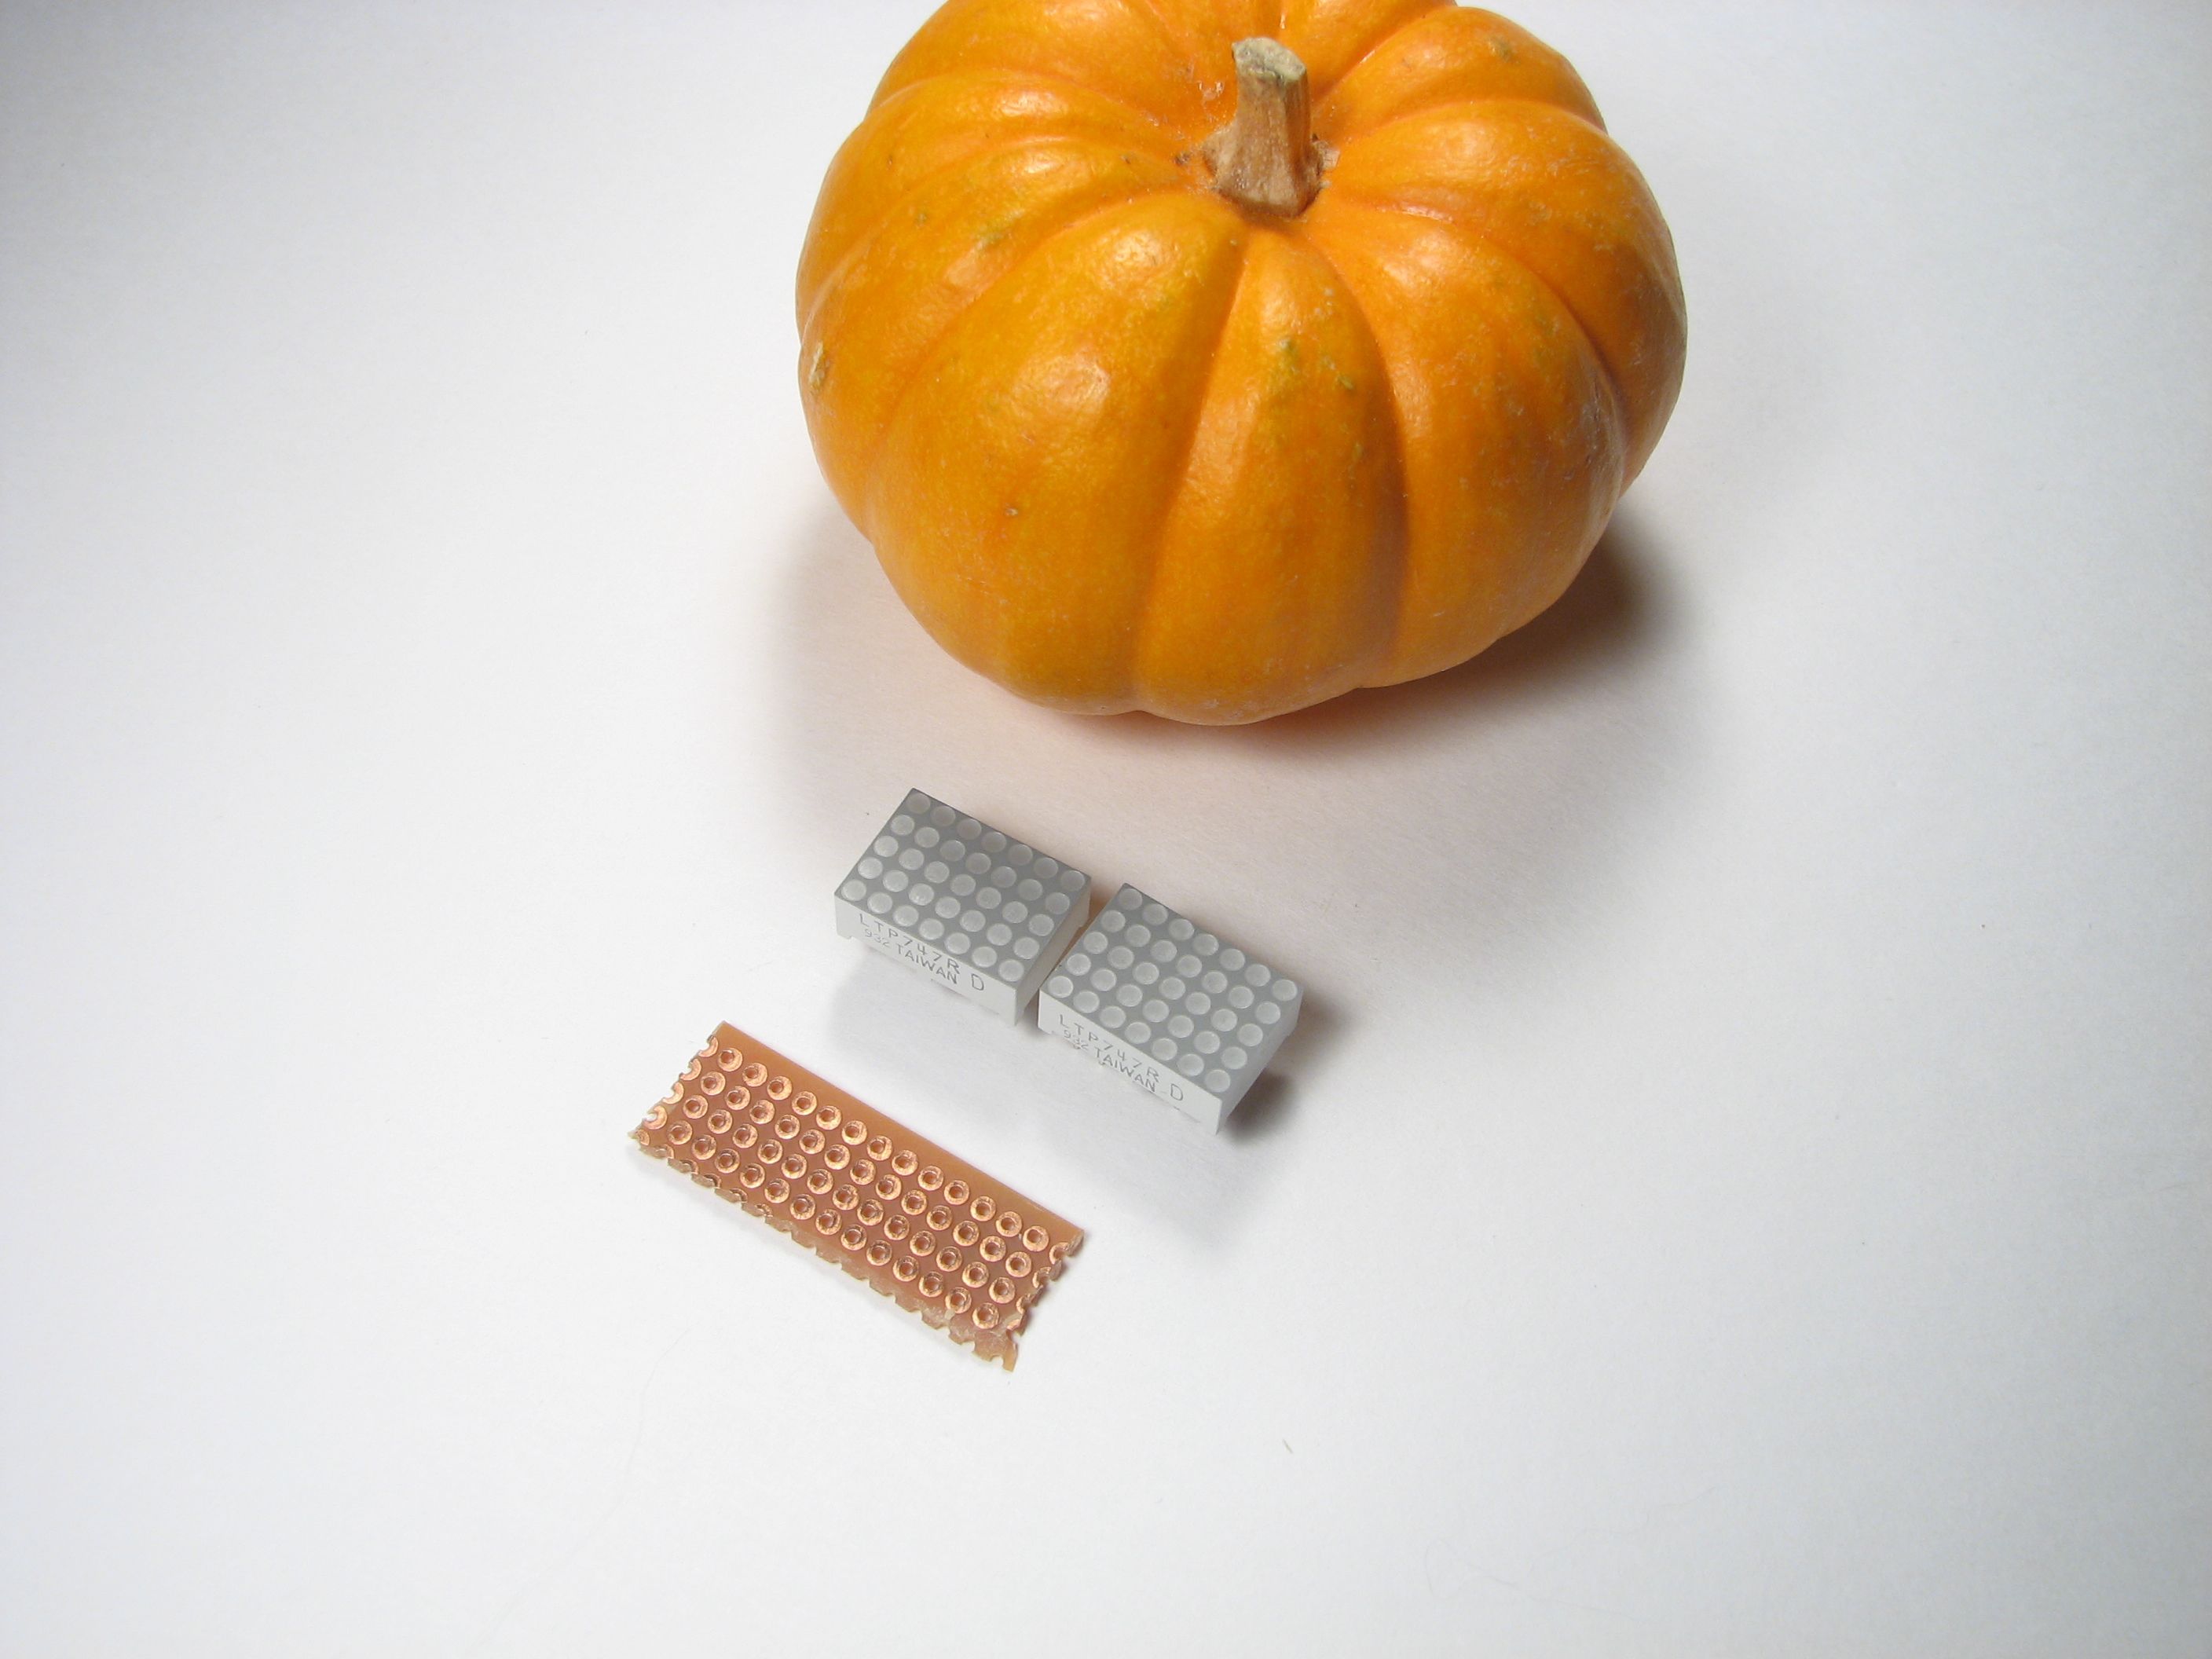

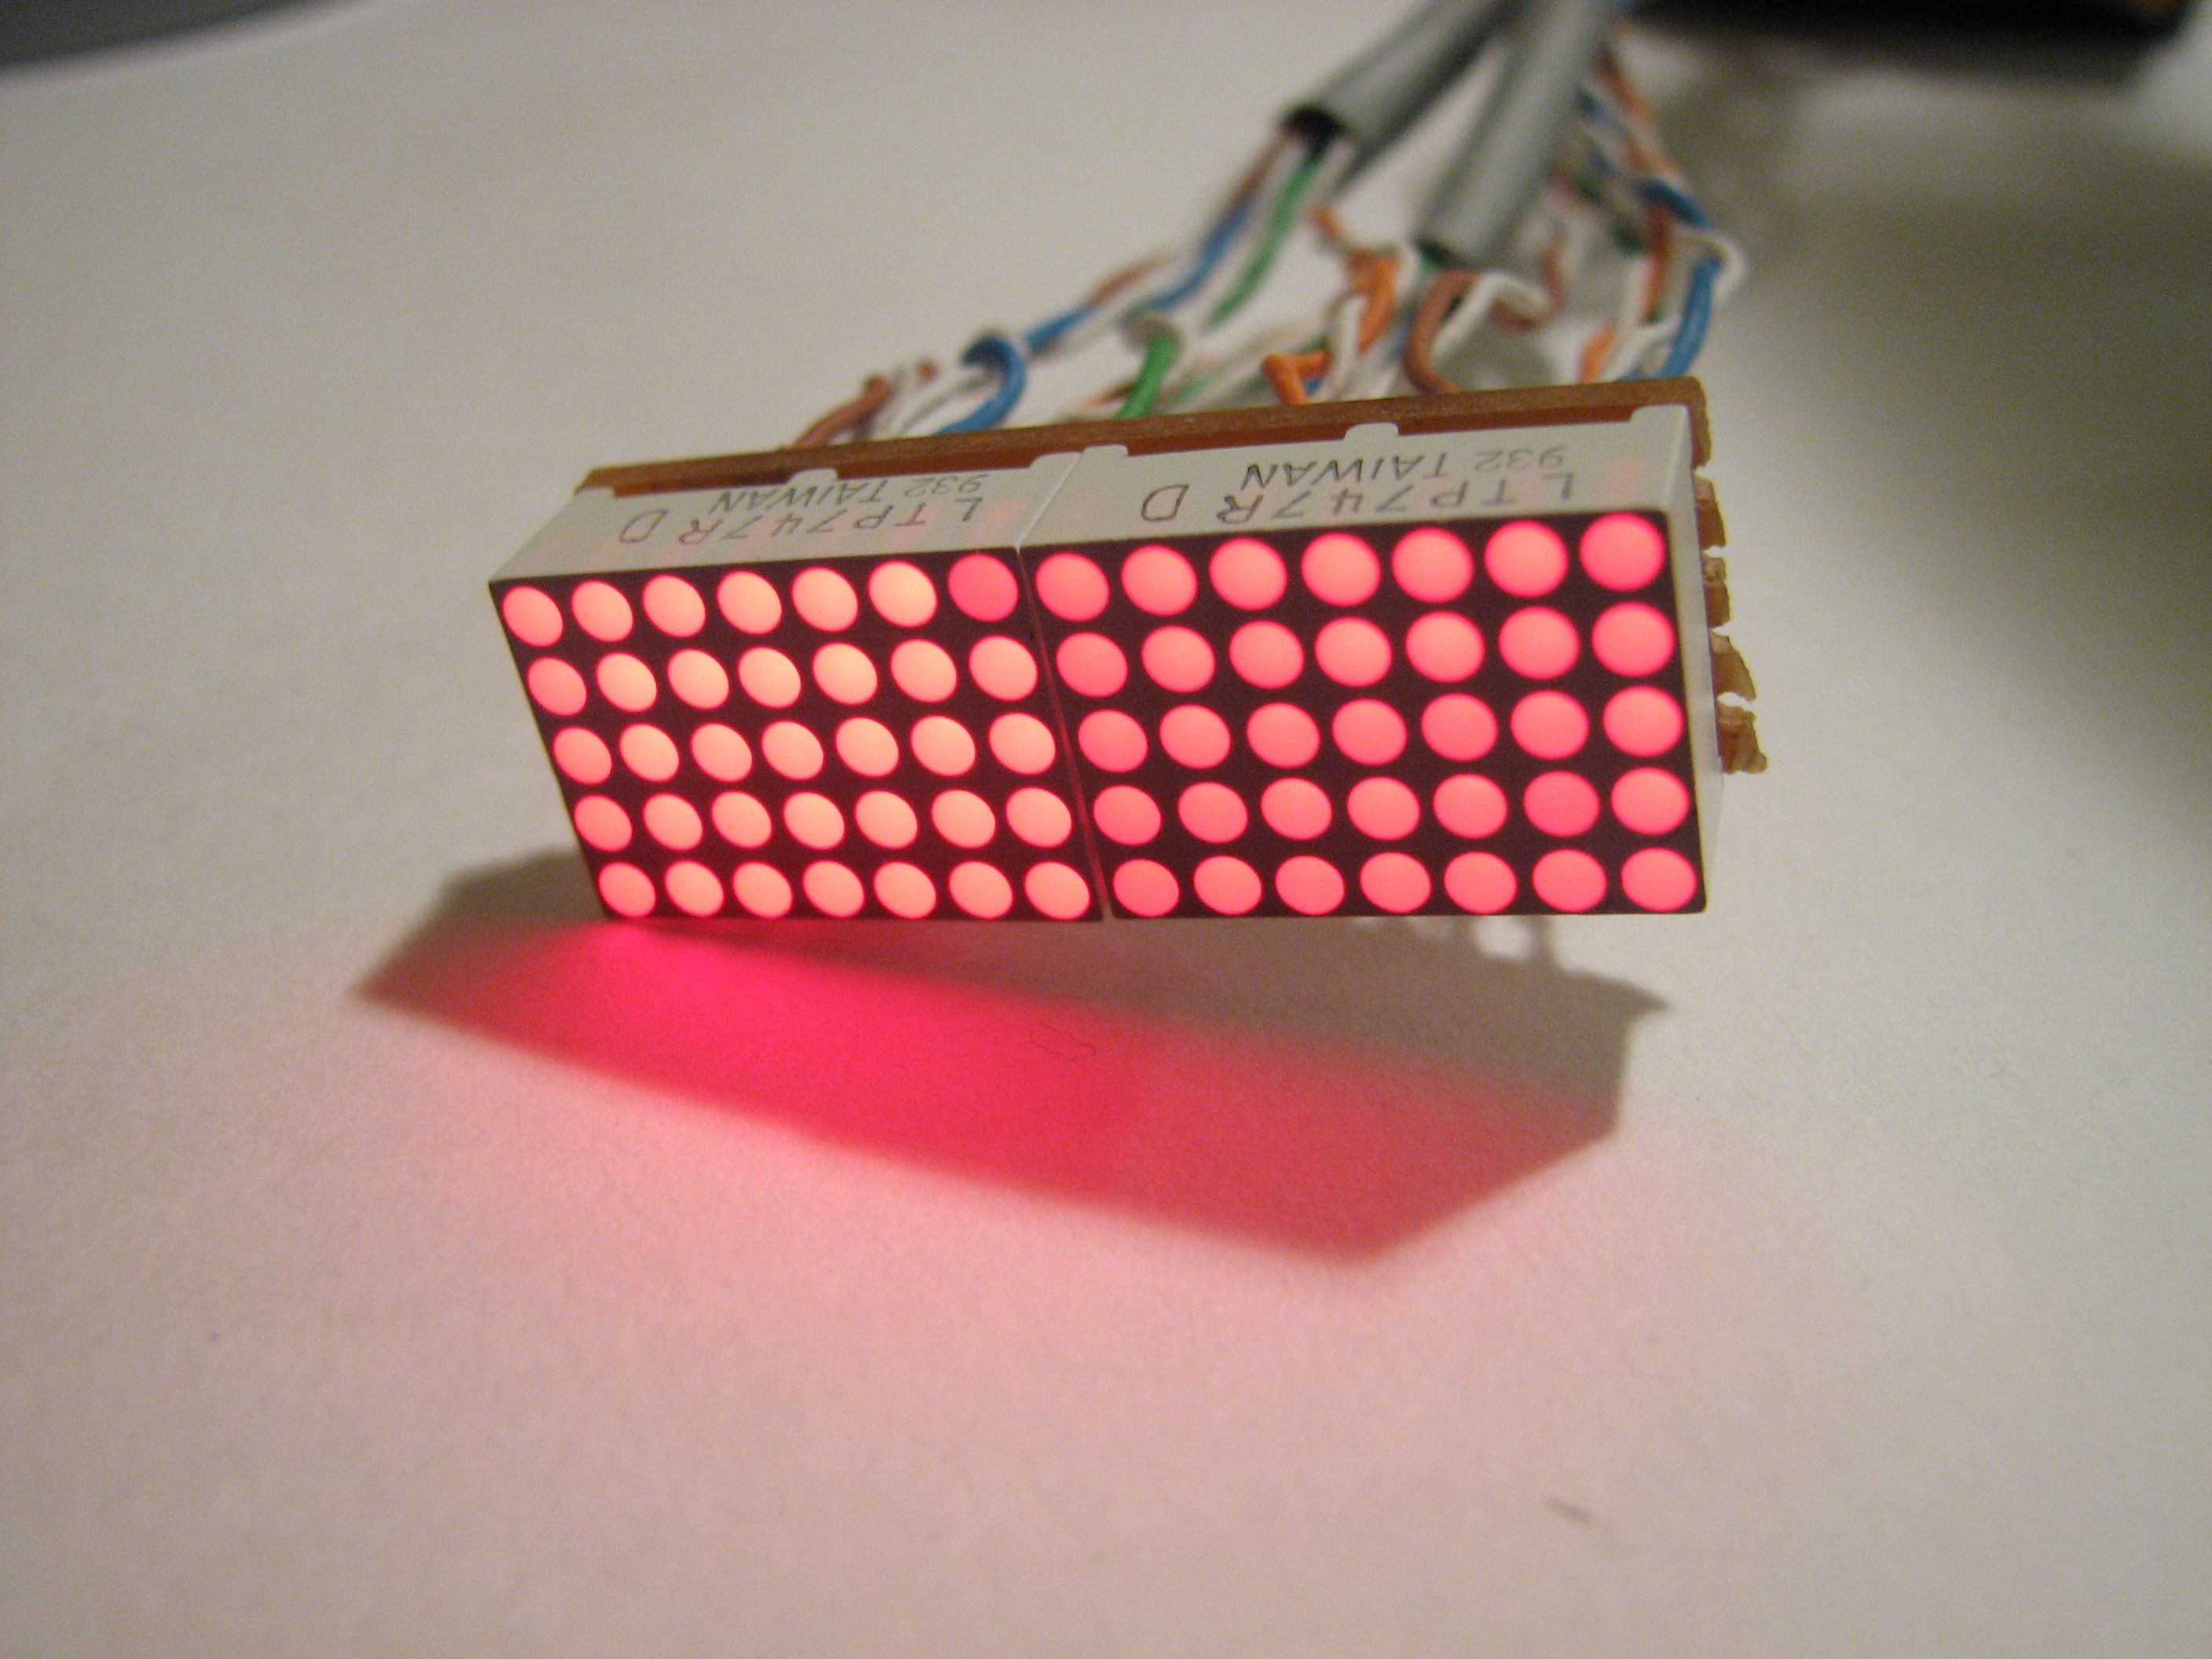
Our LED display is type LTP747R, available from Jameco as part number 118906, $2.50 each. This is an itty bitty 5×7 LED matrix array in red, 0.5 x 0.7″ (about 13×18 mm) in size. We’re using two to make a 14×5 scrolling LED display. The two are mounted to a piece of tiny perfboard (cut to size) so that they stay coplanar– essential for making the display look continous. Shown for scale also is the mini-pumpkin that we’ll be installing the LEDs in.
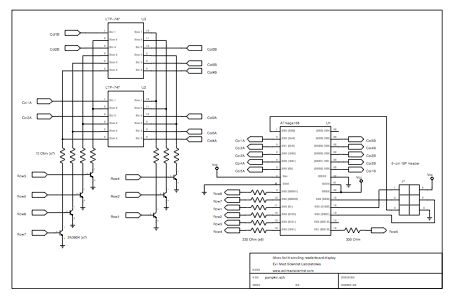
To get started, download the schematic diagram. You will probably also want to pick up the datasheet for the LED display. This particular implementation is based on an AVR microcontroller (the ATmega168) but you can certainly use other types for this as well. We’re using 10 outputs to drive the columns, and 7 NPN transistors to sink the current on the rows. Each transistor sinks the current from up to 10 LEDs at a time. The LEDs are driven in a low-duty cycle multiplexed mode, for which they have a relatively high peak current rating of 100 mA– the resistor values are chosen to work with a 4.5 V source; we’re using 3 AAA batteries. One thing to watch out for: Pin 1 on the LED displays was *not* where I would have expected it to be; test your display to make sure that you understand it before you start soldering.
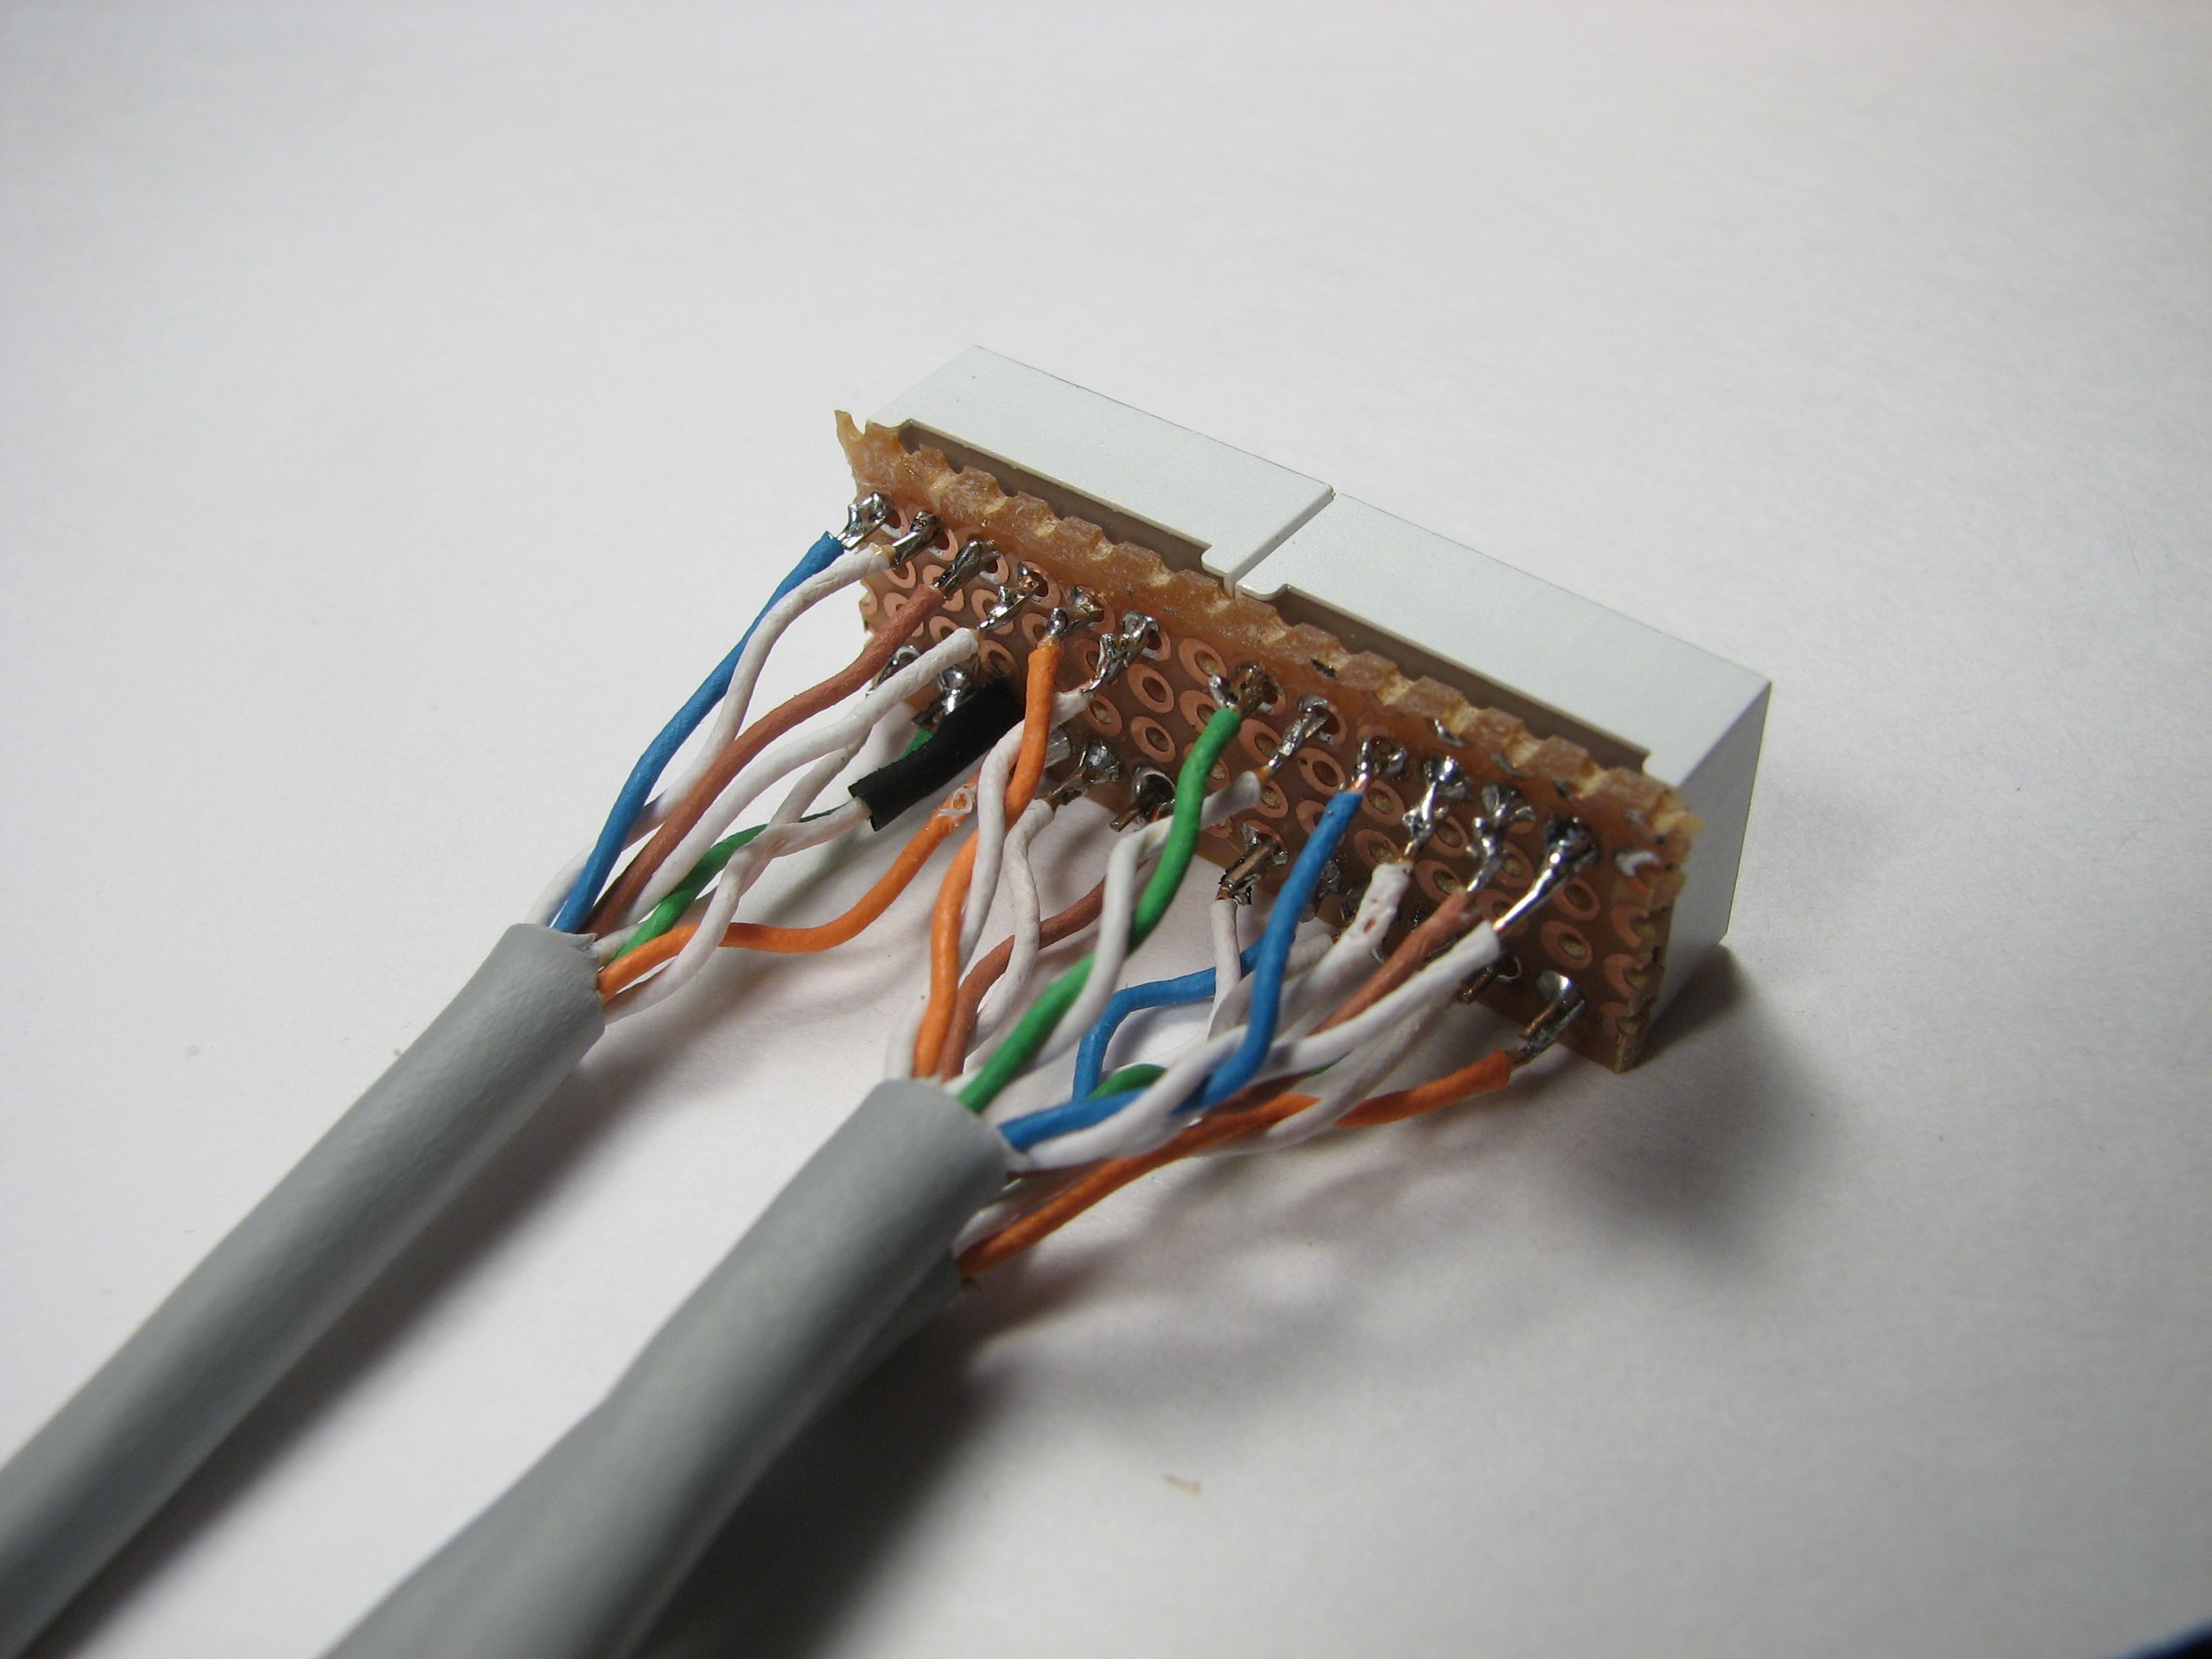
And, when you do start soldering, it might look something like this. We’re using network cable to provide color-coded leads back to our microcontroller.

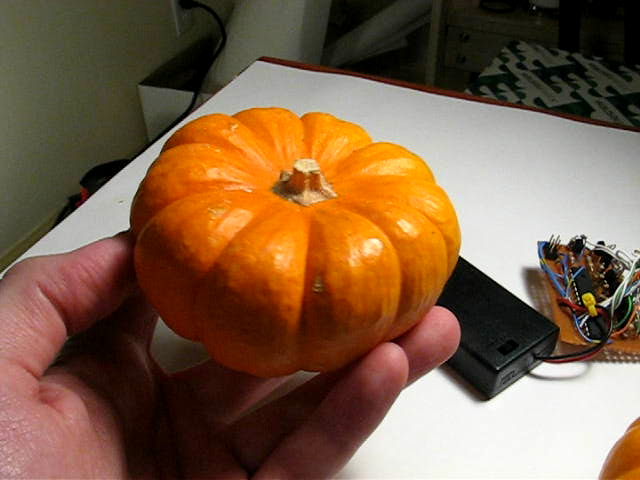
We built up the circuit described above on a piece of plain perfboard. It’s a little tricky to make it this small, but yet it’s nowhere near being able to fit in the tiny pumpkin, so we tethered it on a few inches of wire instead.
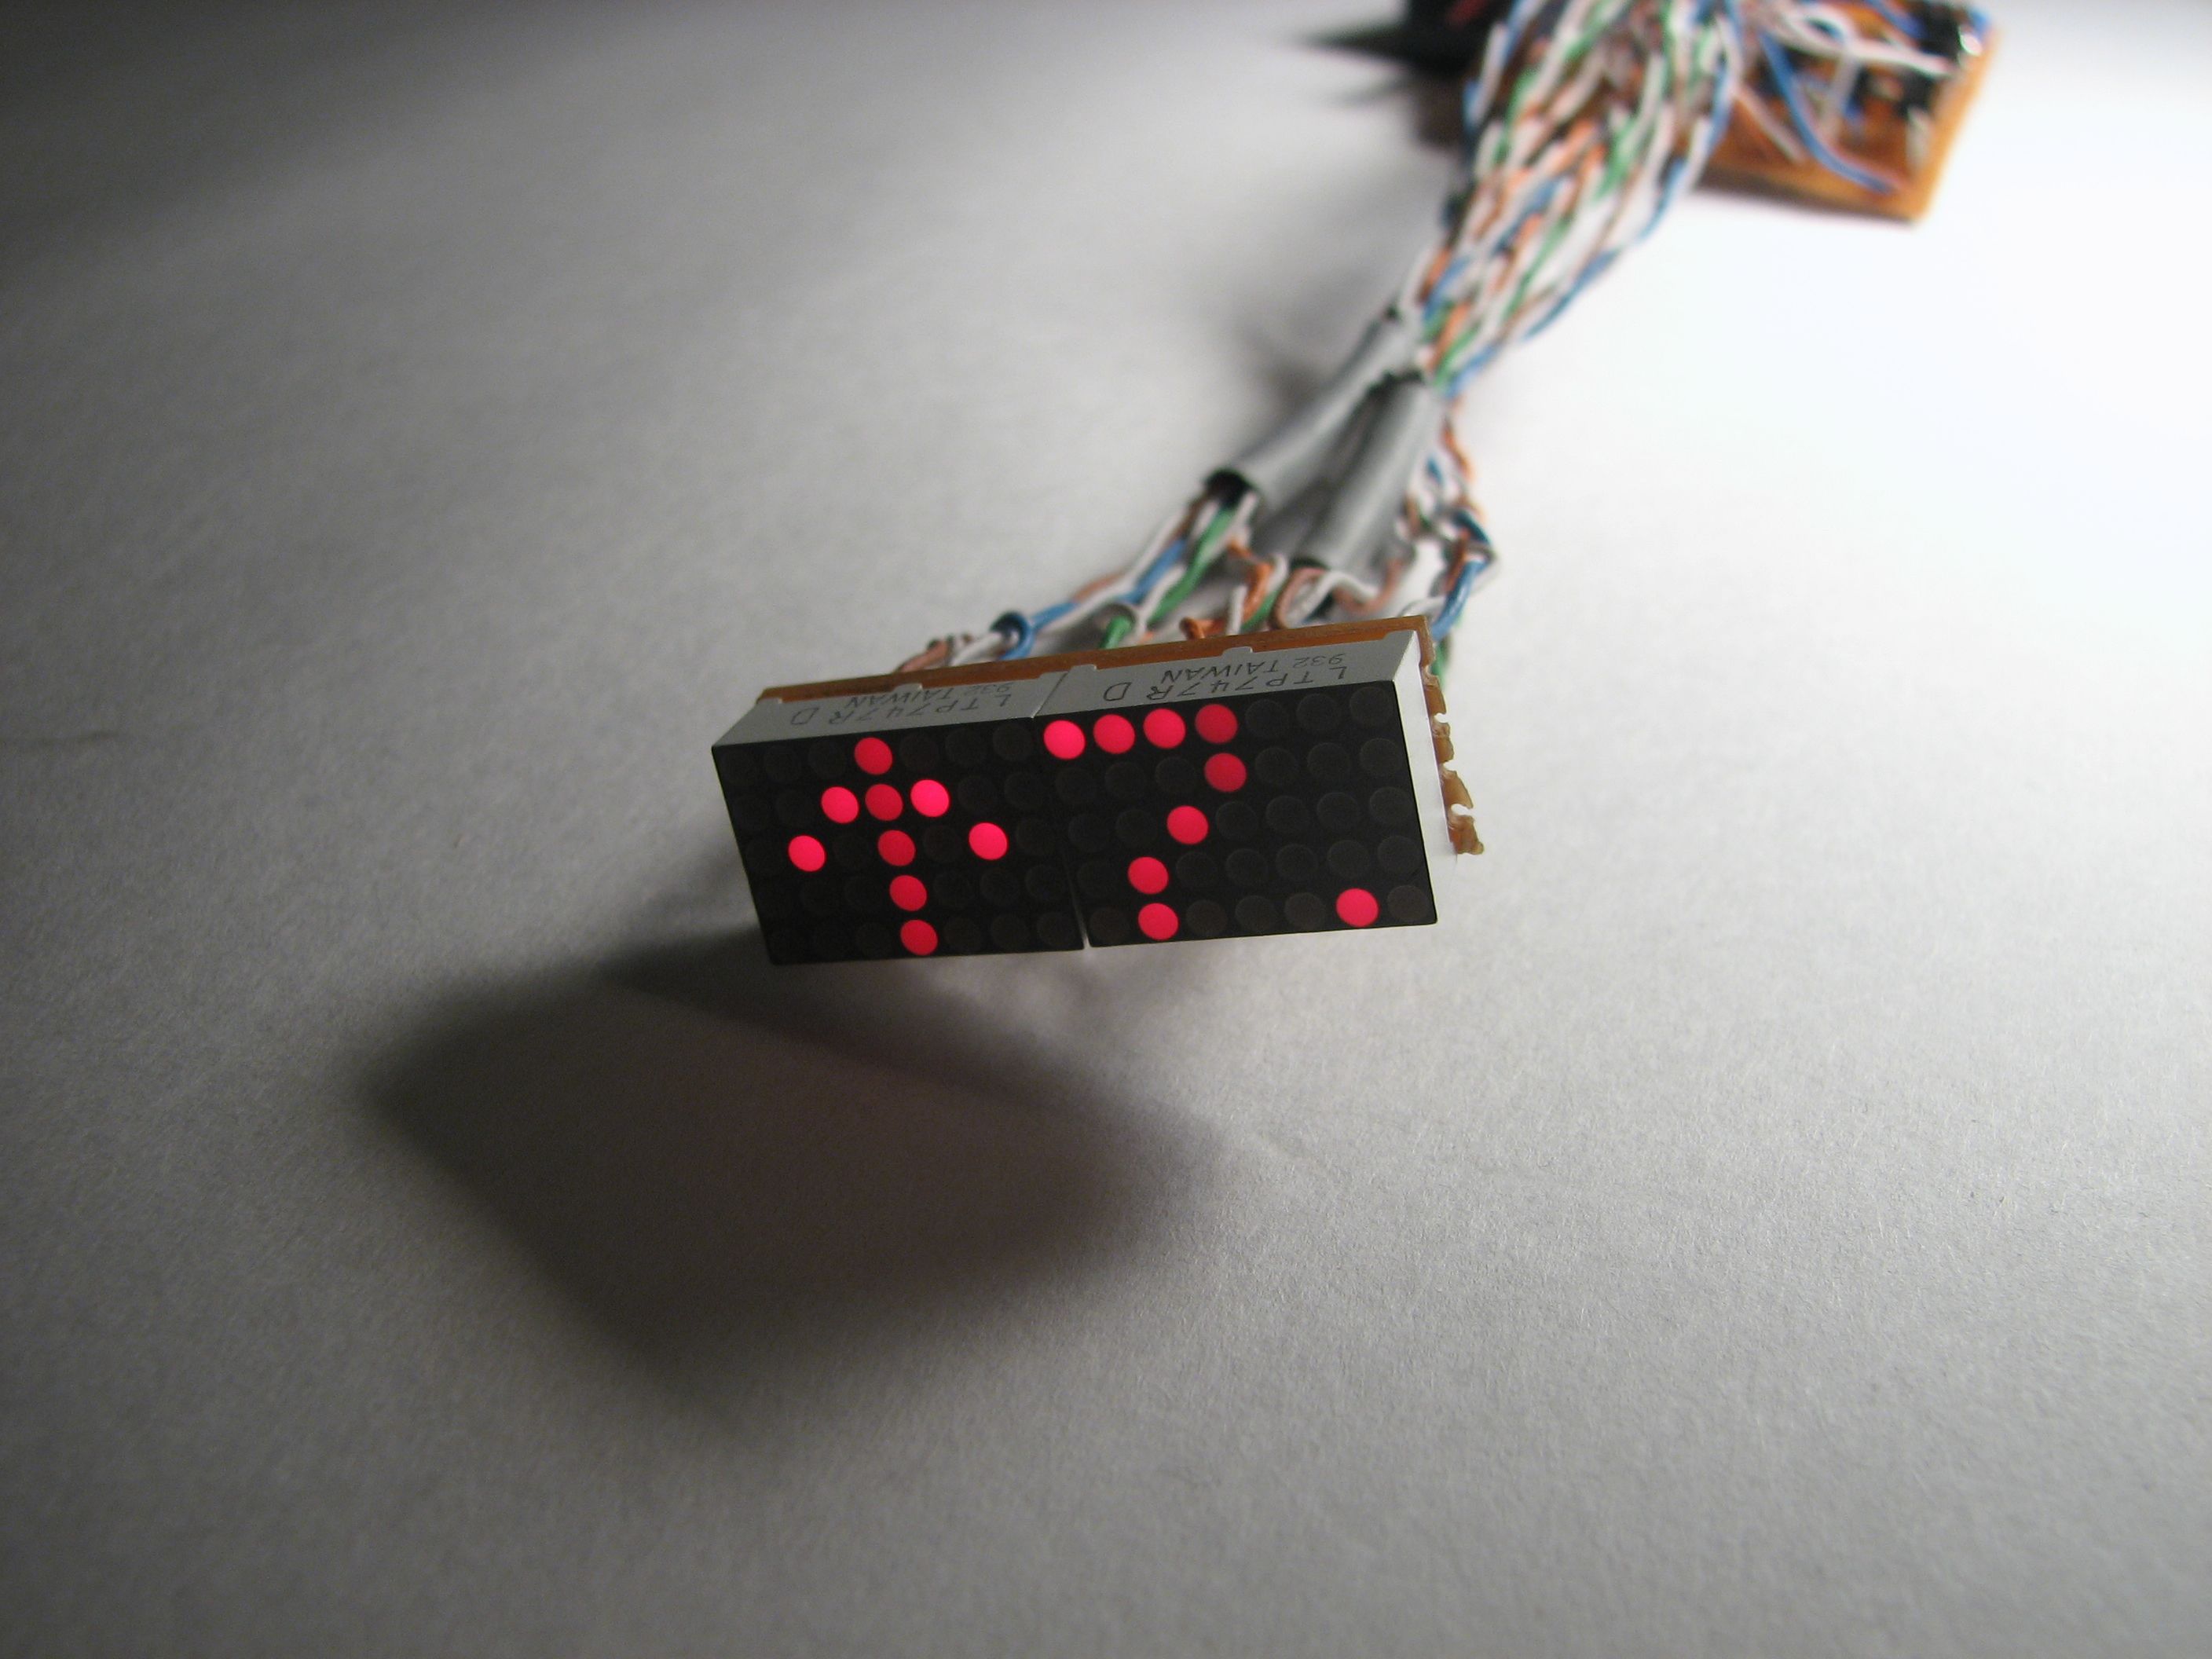
The next step is to program and test microcontroller, make sure that all the LEDs are working, and start to update the stocks with the day’s values. The firmware for the AVR is released under the GPL. You can download it here (12 kB .ZIP file) and install it through your favorite interface. (If you’re brand new to AVR microcontrollers, back up a step and start here.)
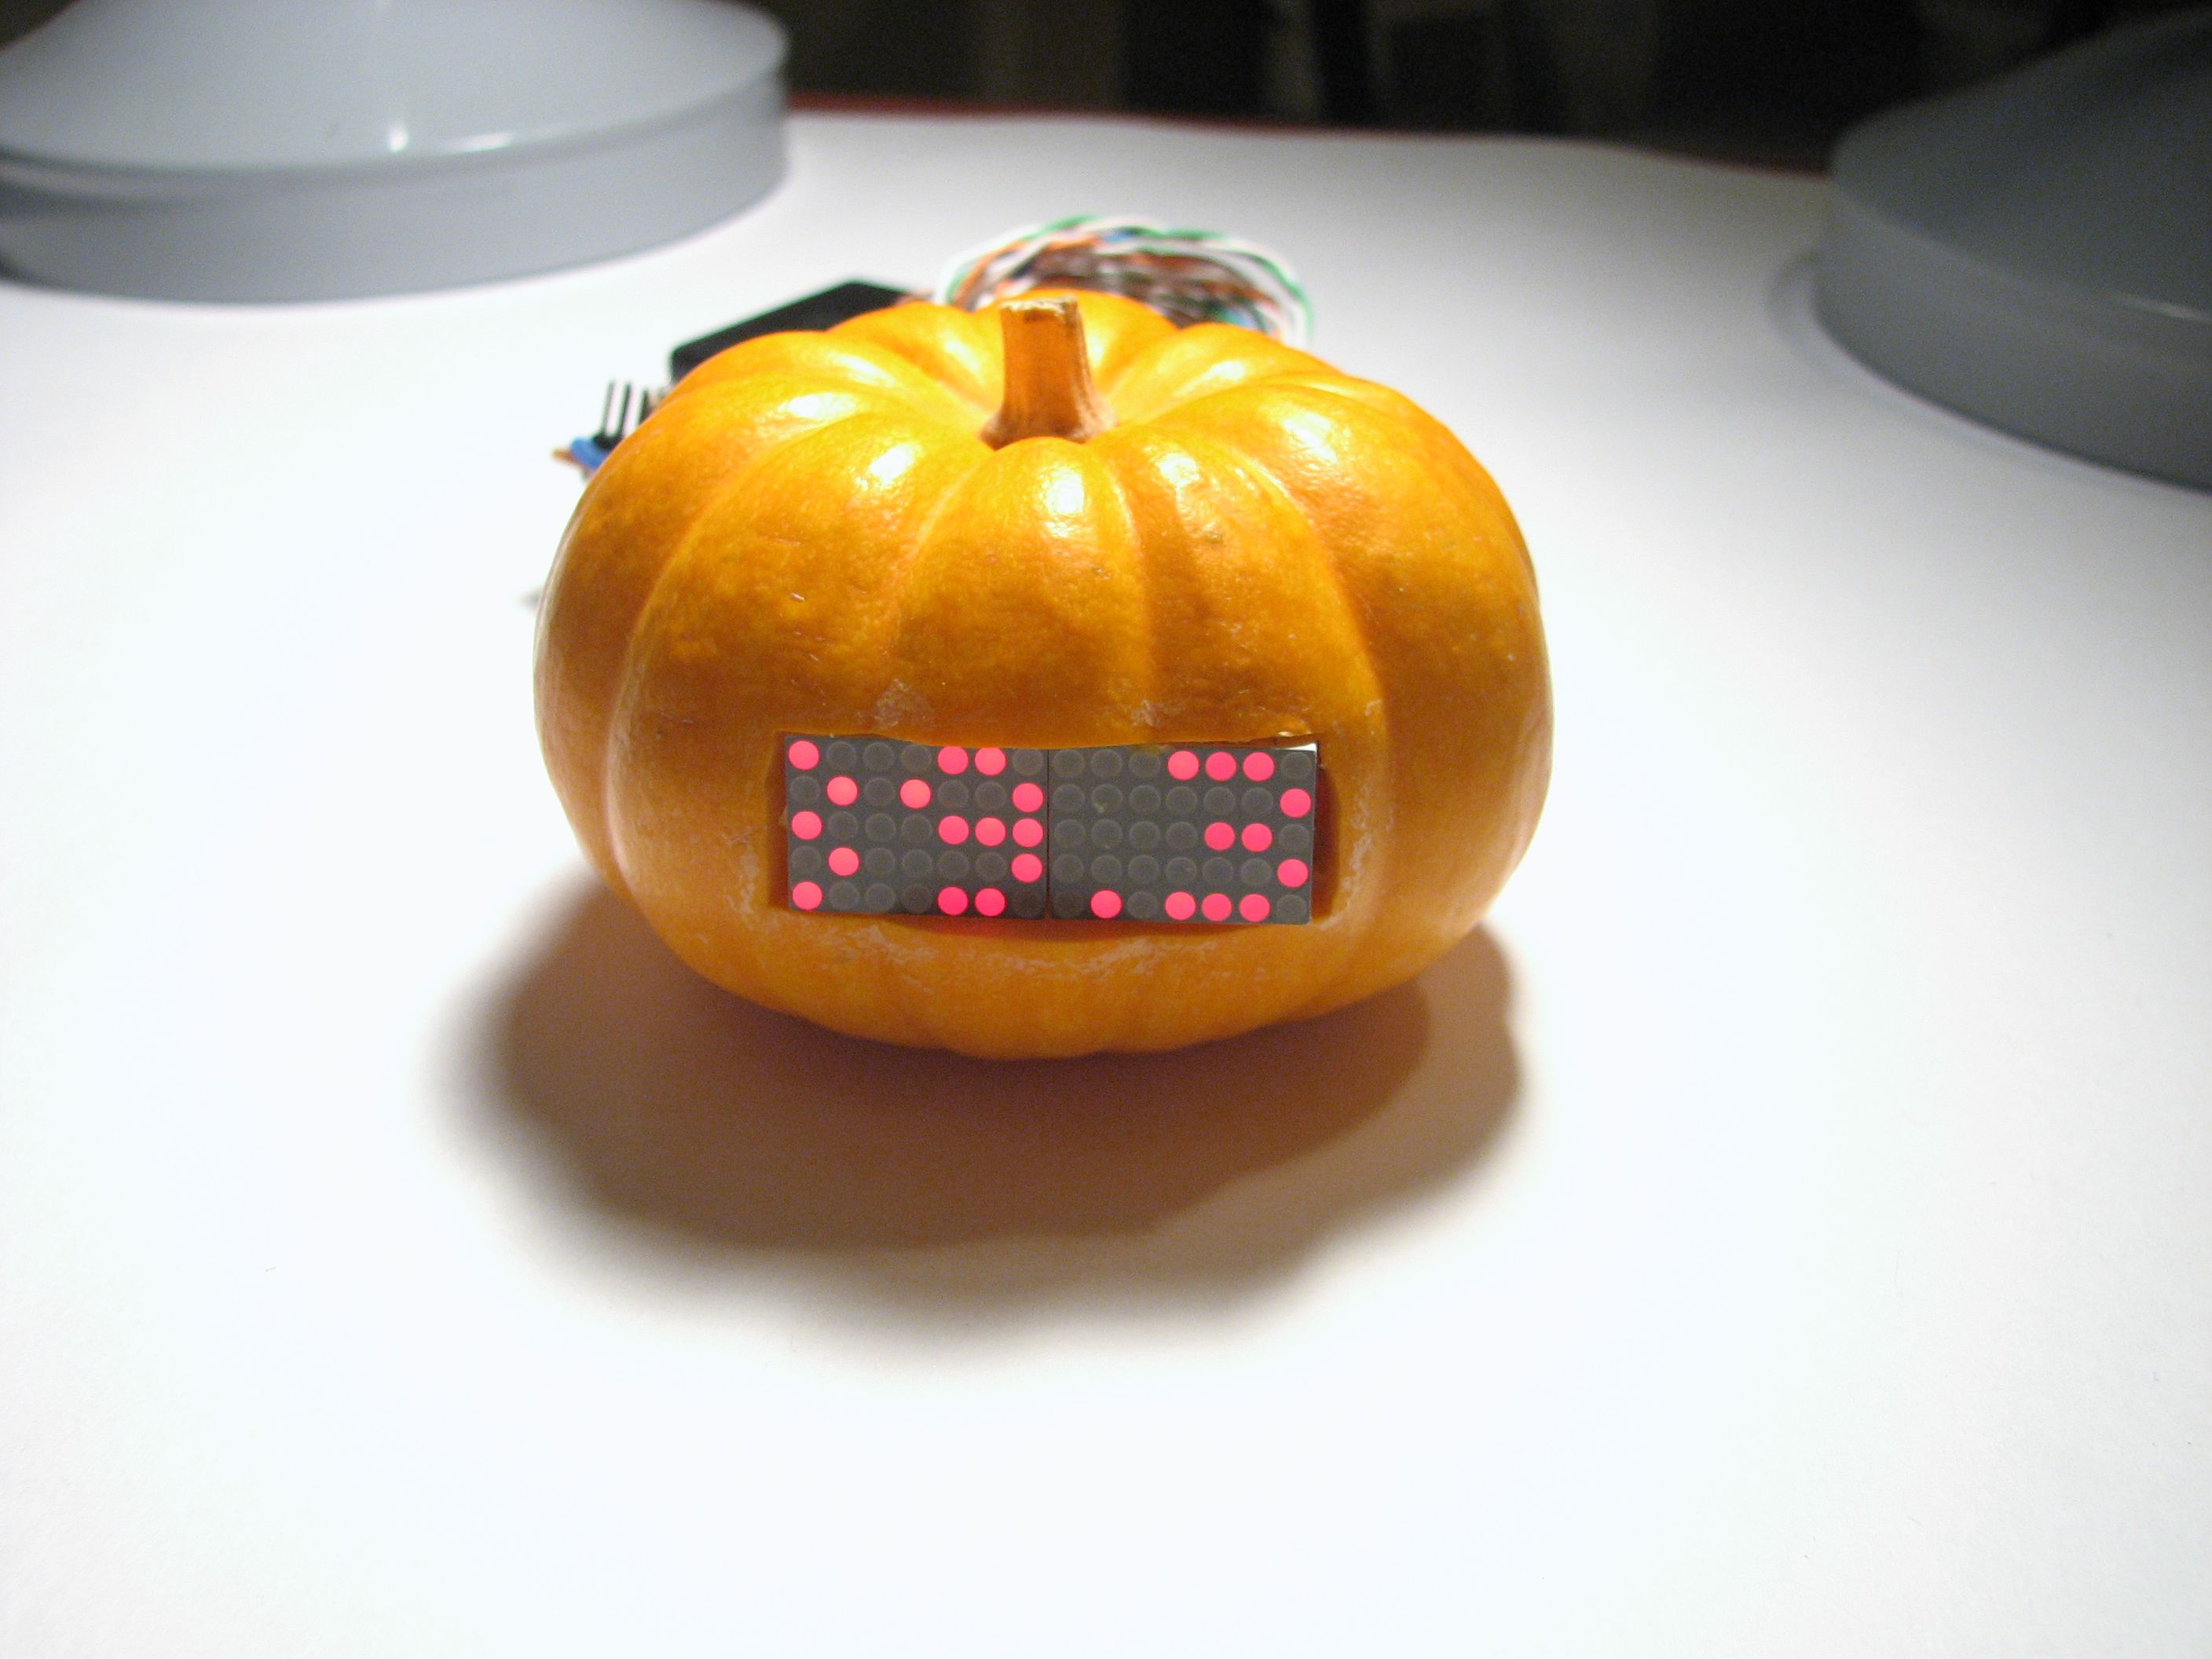
Finally, install the sucker in the pumpkin itself. Cut a neat outline for the LED display and a slightly larger hole in the lower back side to fit the display and its cables through. Interestingly enough, this is one of the few pumpkins that frightens the parents more than the kids on halloween. :)
Finally, a short video showing the pumpkin in action:
(If you can’t see the video, please click through here to see it on Flickr.)
You can find more pumpkin projects in our Halloween Project Archive.
Awesome! I imagine that has other uses apart from stocks. :)
Awesome…
I’ve got a large arduino-driven 8×8 LED matrix under glass as my coffee table. The scrolling text code is really bad – I have to update an array of binary numbers to change the string. Your code is signifcantly more awesome – it’s excellent you can just update the string of ASCII characters. I can’t say I can understand your code yet, but I’m working on it.
Nice work again.
Beautifully done & thanks for sharing this. The next time you build one, you can buy the same displays from BG Micro in Dallas TX for $0.69 each. Their part number is LED1112.
That may be where we actually got them!
—
Windell H. Oskay
drwho(at)evilmadscientist.com
http://www.evilmadscientist.com/