


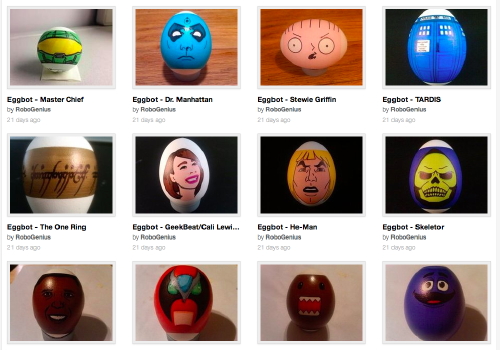
We’ve been watching the work of RoboGenius for quite some time. He has created some of the neatest non-geometric work anybody has done on the Egg-Bot. Recently, he uploaded a number of his designs to thingiverse, which means you can try them out, too. He has also been posting great pictures of them to flickr. When asked in the Egg-Bot user list how he created them, he posted:
The short answer is that it’s all done line by line in Inkscape.
The slightly more tedious answer is that it starts with an image (generally something off the web, or that has some significance to me), then I import that image onto my 3200px X 850px template in Inkscape and position it where I want it on the egg/ball. I then take a look at the image and decide how many color layers I’ll be needing for the plot and add those to the project, naming them sequentially followed by the color I use for the layer (for example: 1 – Yellow, or 5 – Black). I always begin with the lightest colors first, and generally end in black. Then it’s simply a matter of tracing over the picture on the correct layer using the bezier line tool (Shift + F6), and bending those lines with the path editing tool (F2). Once I get the basic lines created, I’ll create and fill any solid shapes using the EggBot Contributed Hatch fill extension (spacing should be set to 6 for eggs). To add shading, you simply go over the same places a couple of times with the same color, which can be achieved with Copy and Paste, and occasionally the shading can be enhanced by altering the angle of the line to match the angle of the shape or intended shadow (the Master Chief design is a good example of this technique).
That’s pretty much it. To finish off the project, I like to color all of the lines in a layer to match the marker used in that layer, then delete the layer with the picture in it.
these eggs looks very funny. i like teh stewie griffin egg! :D