Category Archives: Engineering

Surface Mount LEDs on a Through-hole PCB

Peggy 2le Surface Mount

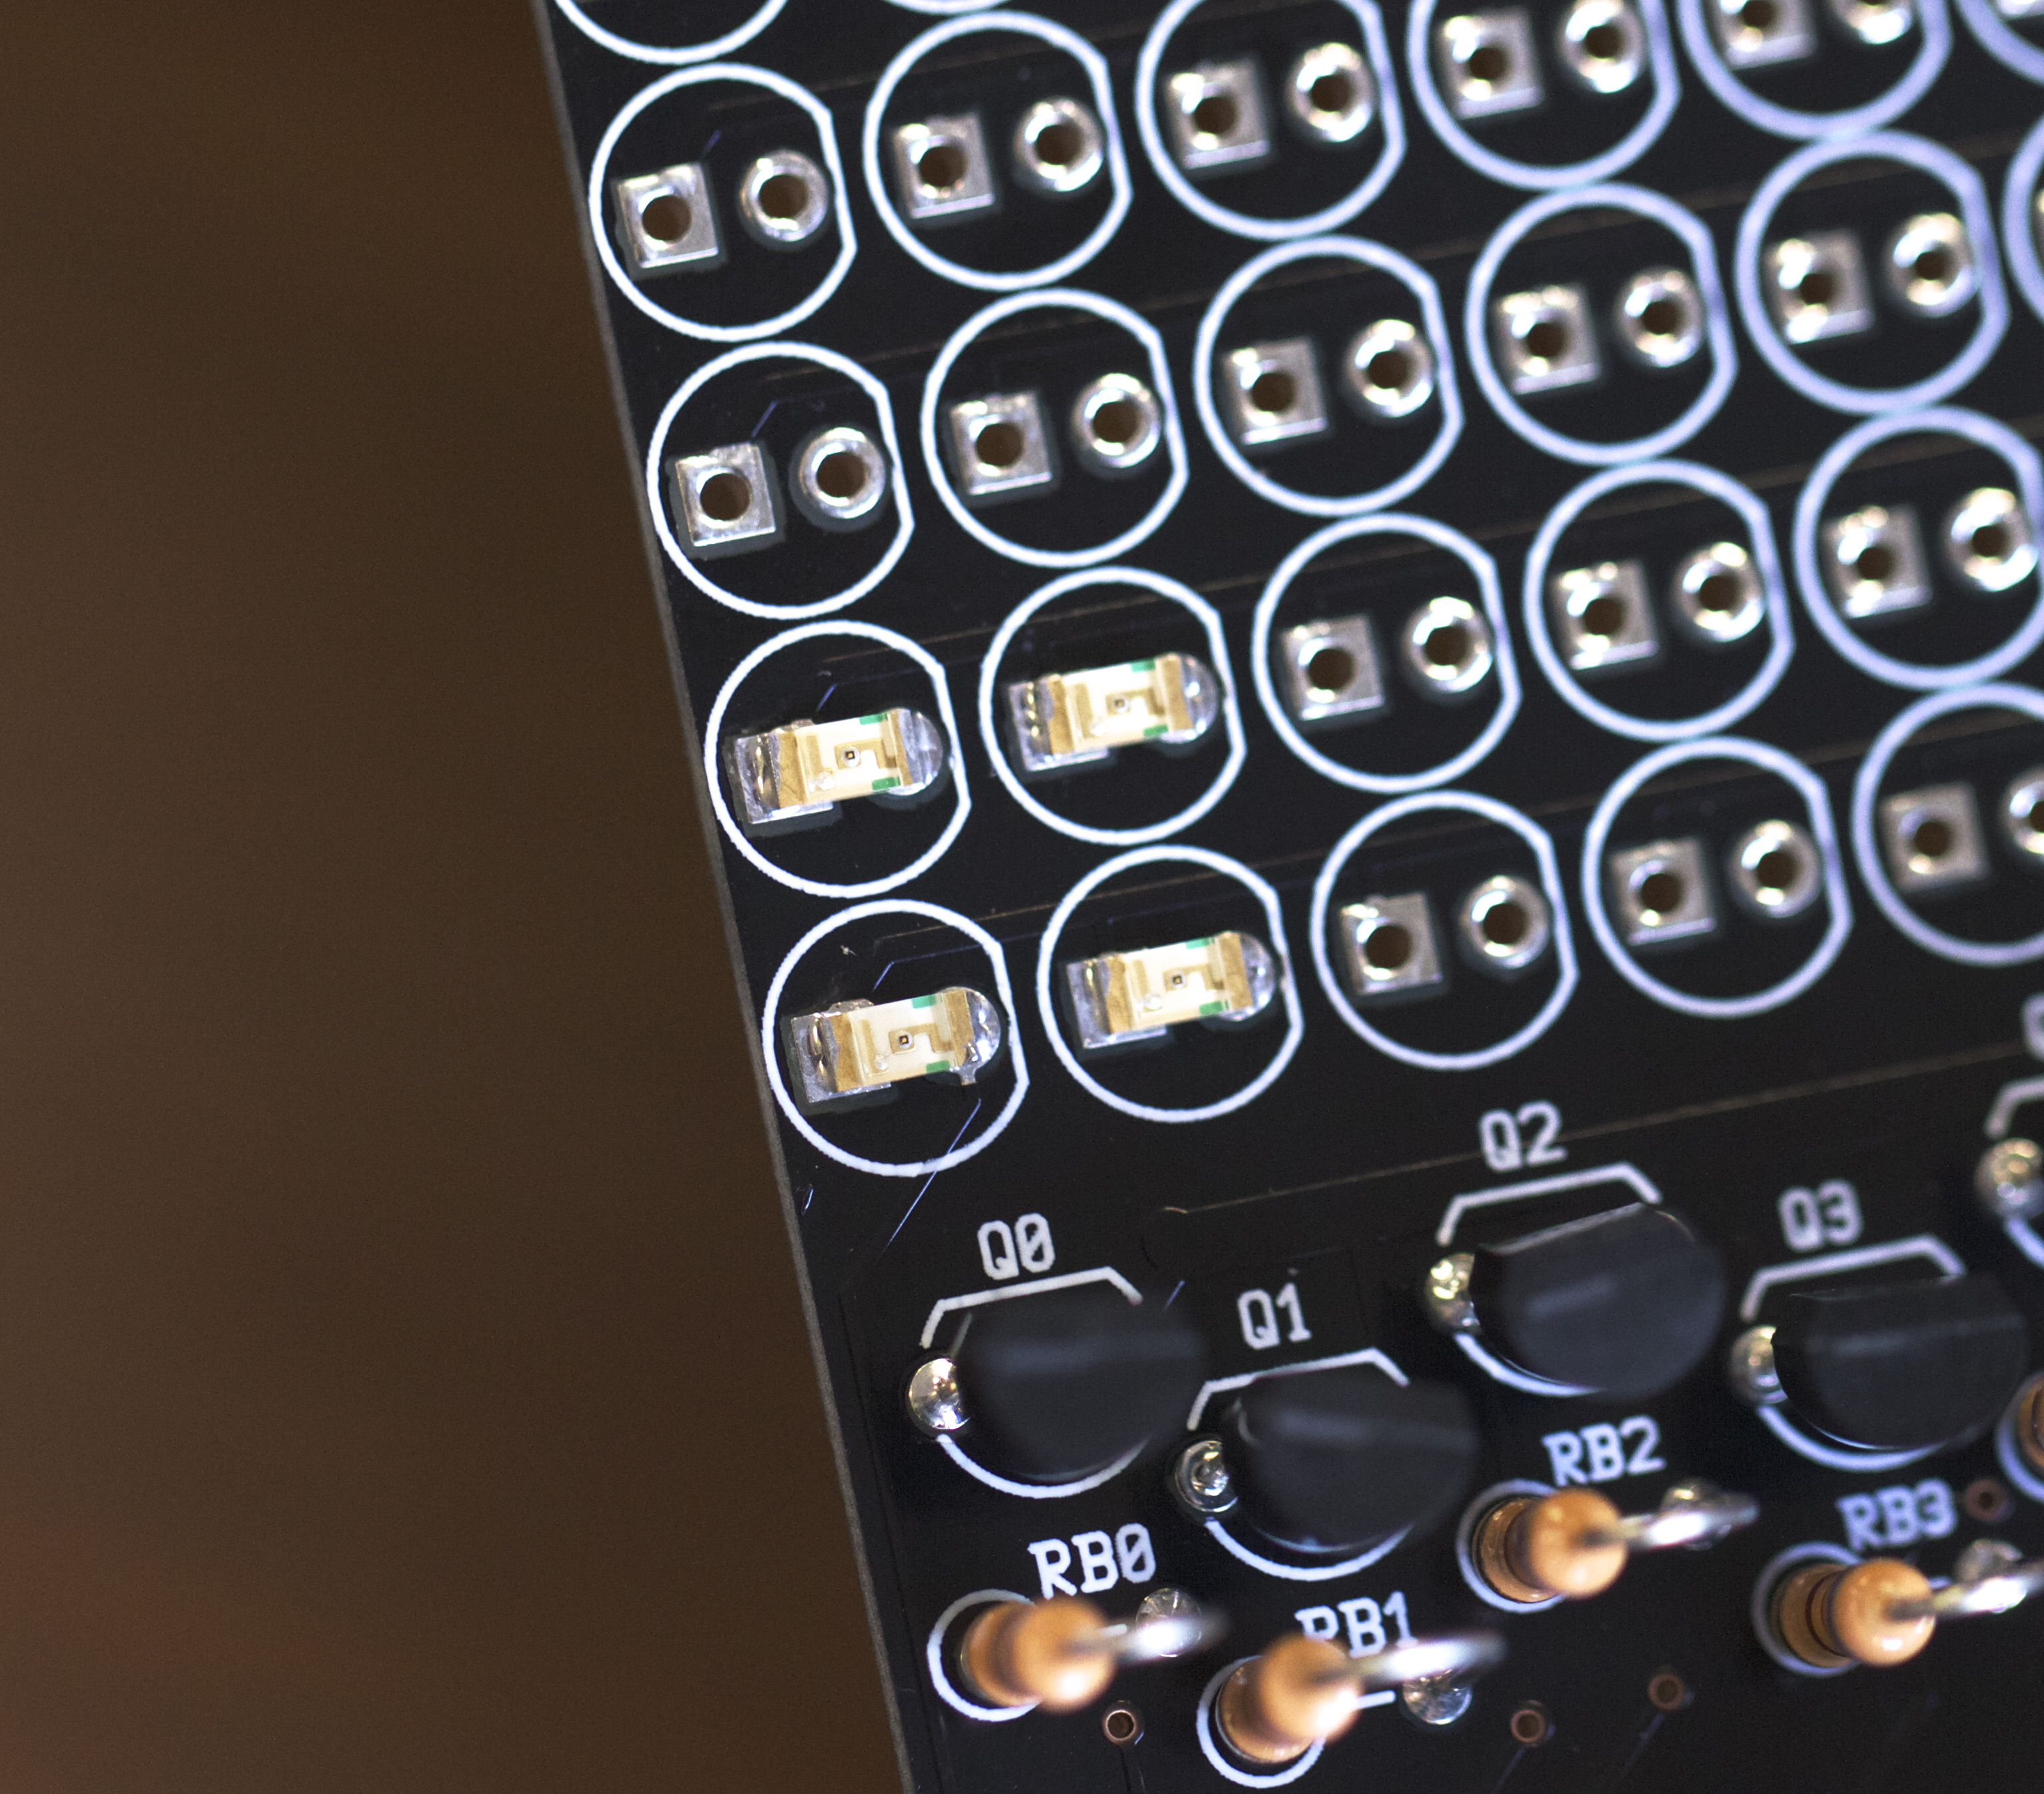
Peter T. recently stopped by our shop with his Peggy 2LE and showed us his incredibly cool hack. He had noticed that the 0.1″ pin spacing for a standard through-hole LED is just about perfect to accommodate LEDs in a 1206 surface mount package.

Peggy 2le Surface Mount

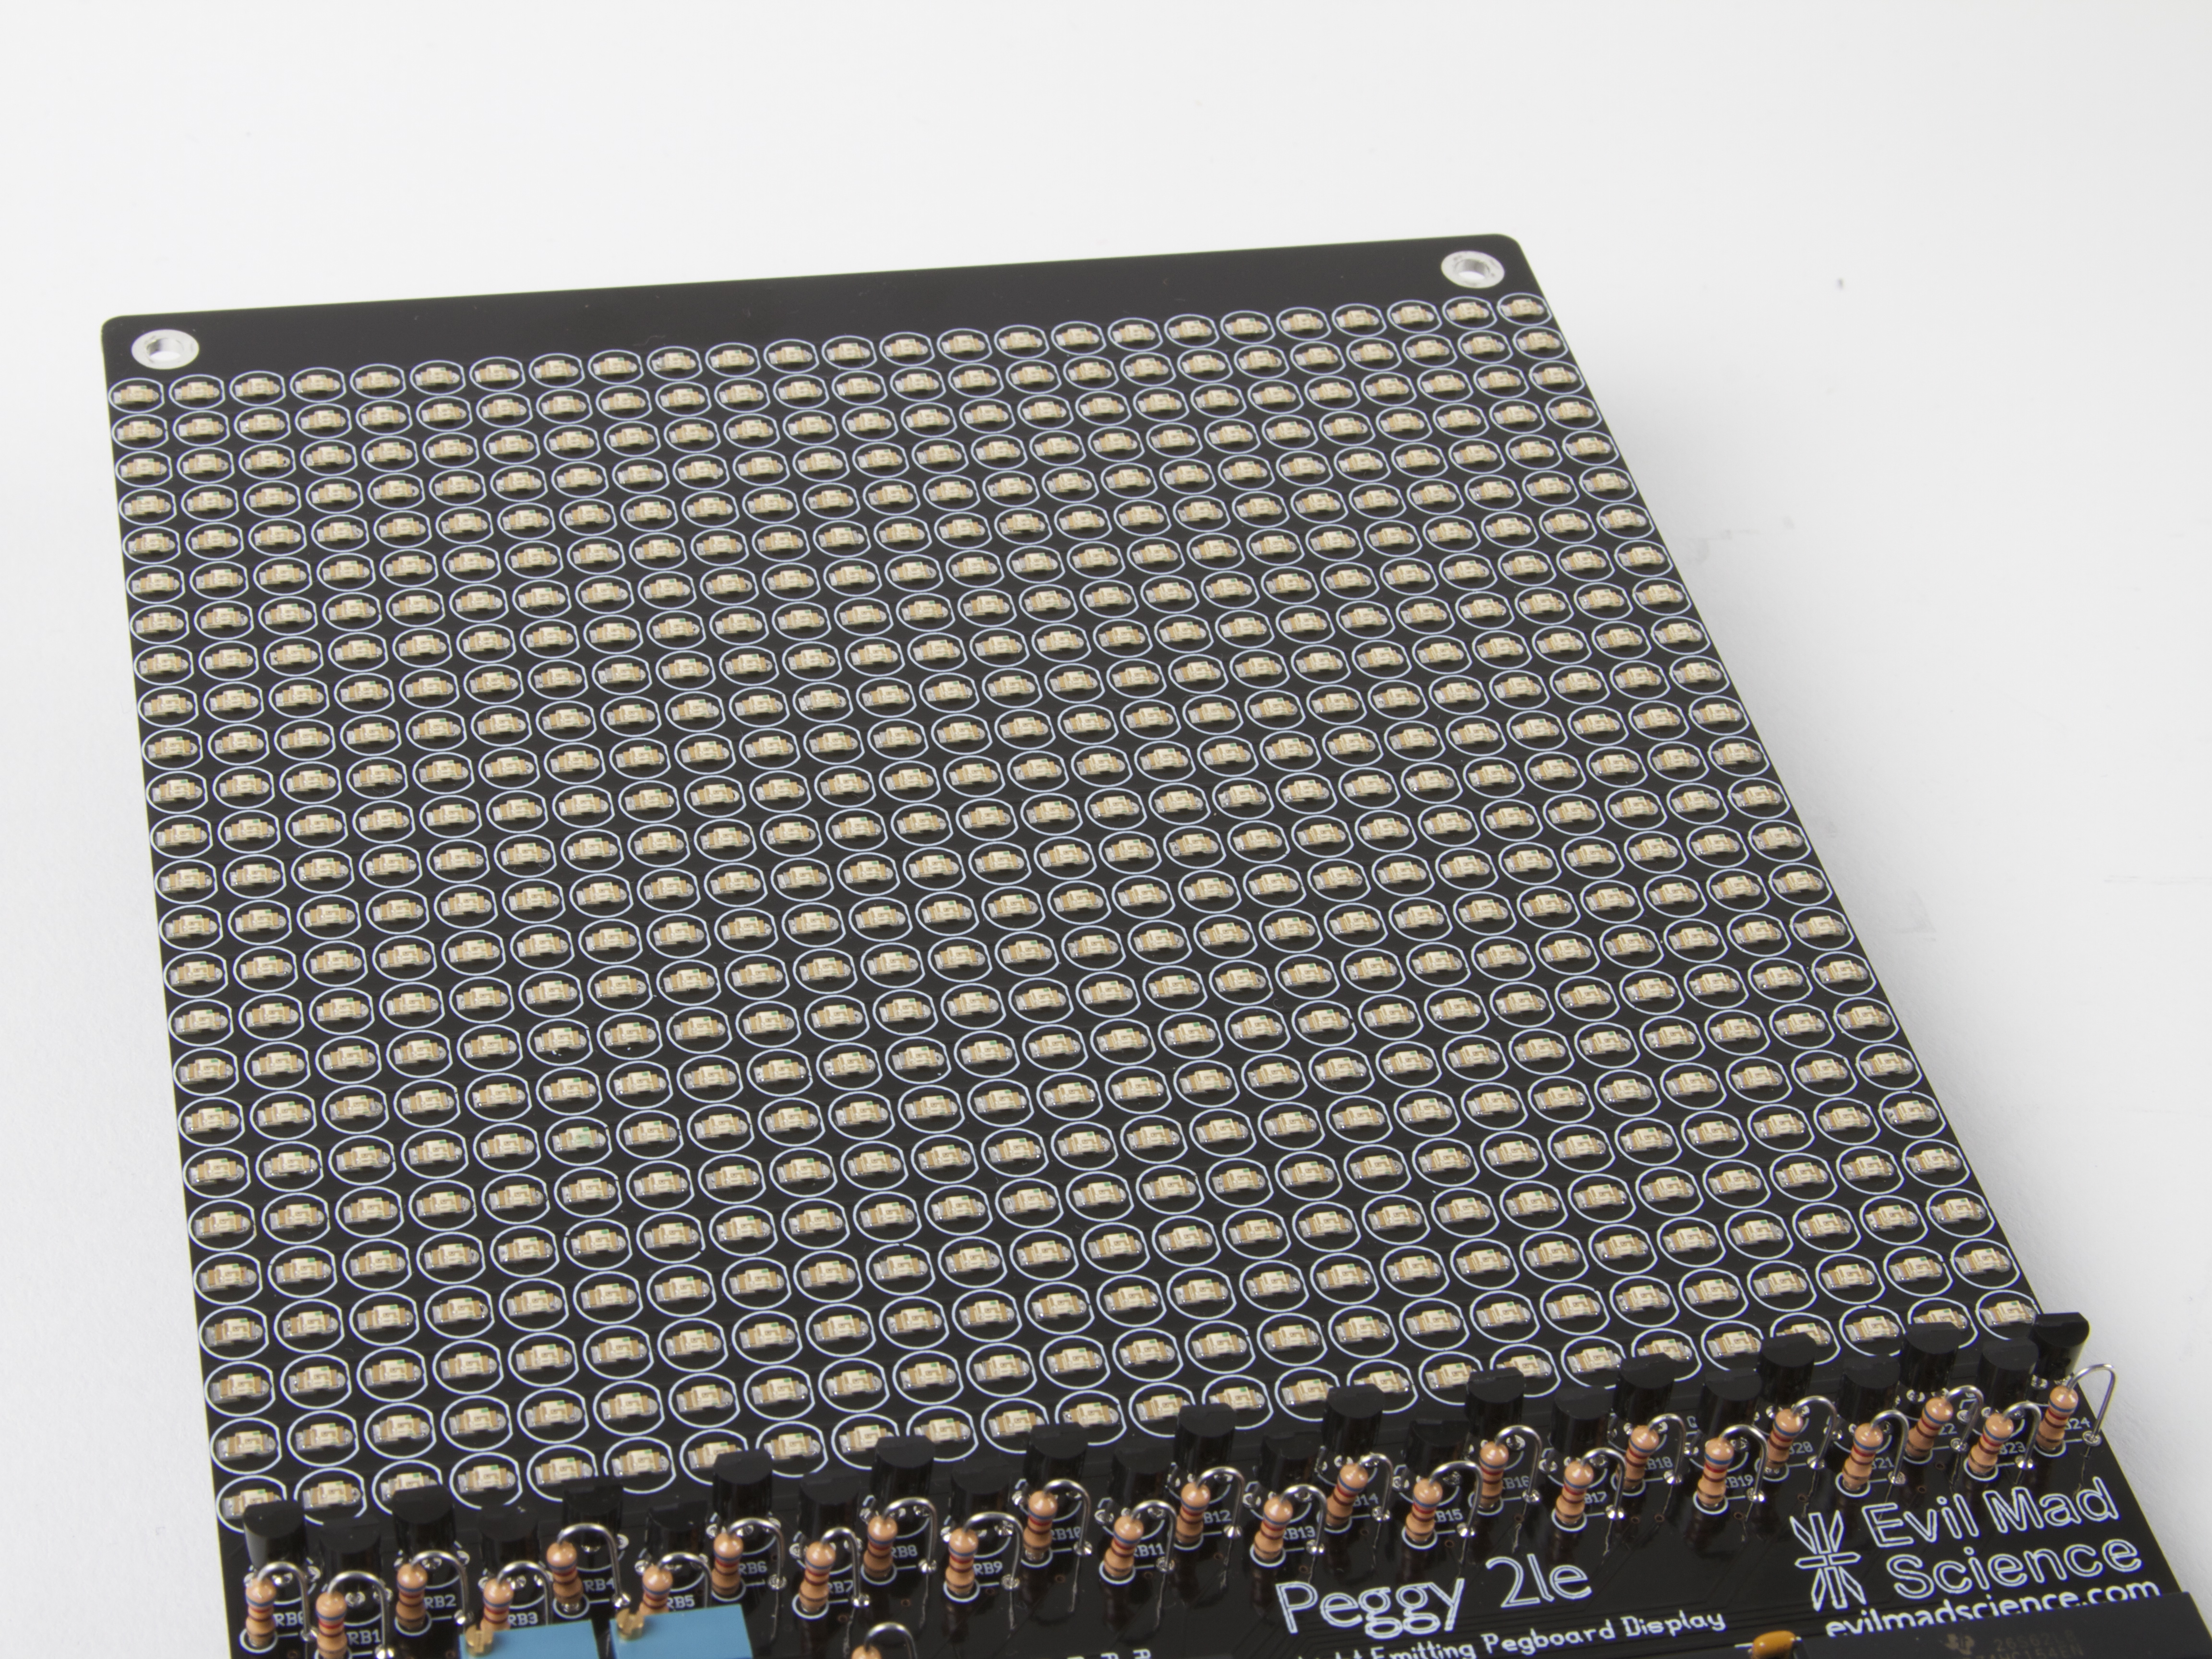
Once he had finished populating all the LED locations, he brought it by again. He used an alignment jig he had made to keep everything in straight rows while soldering.

Peggy 2le Surface Mount

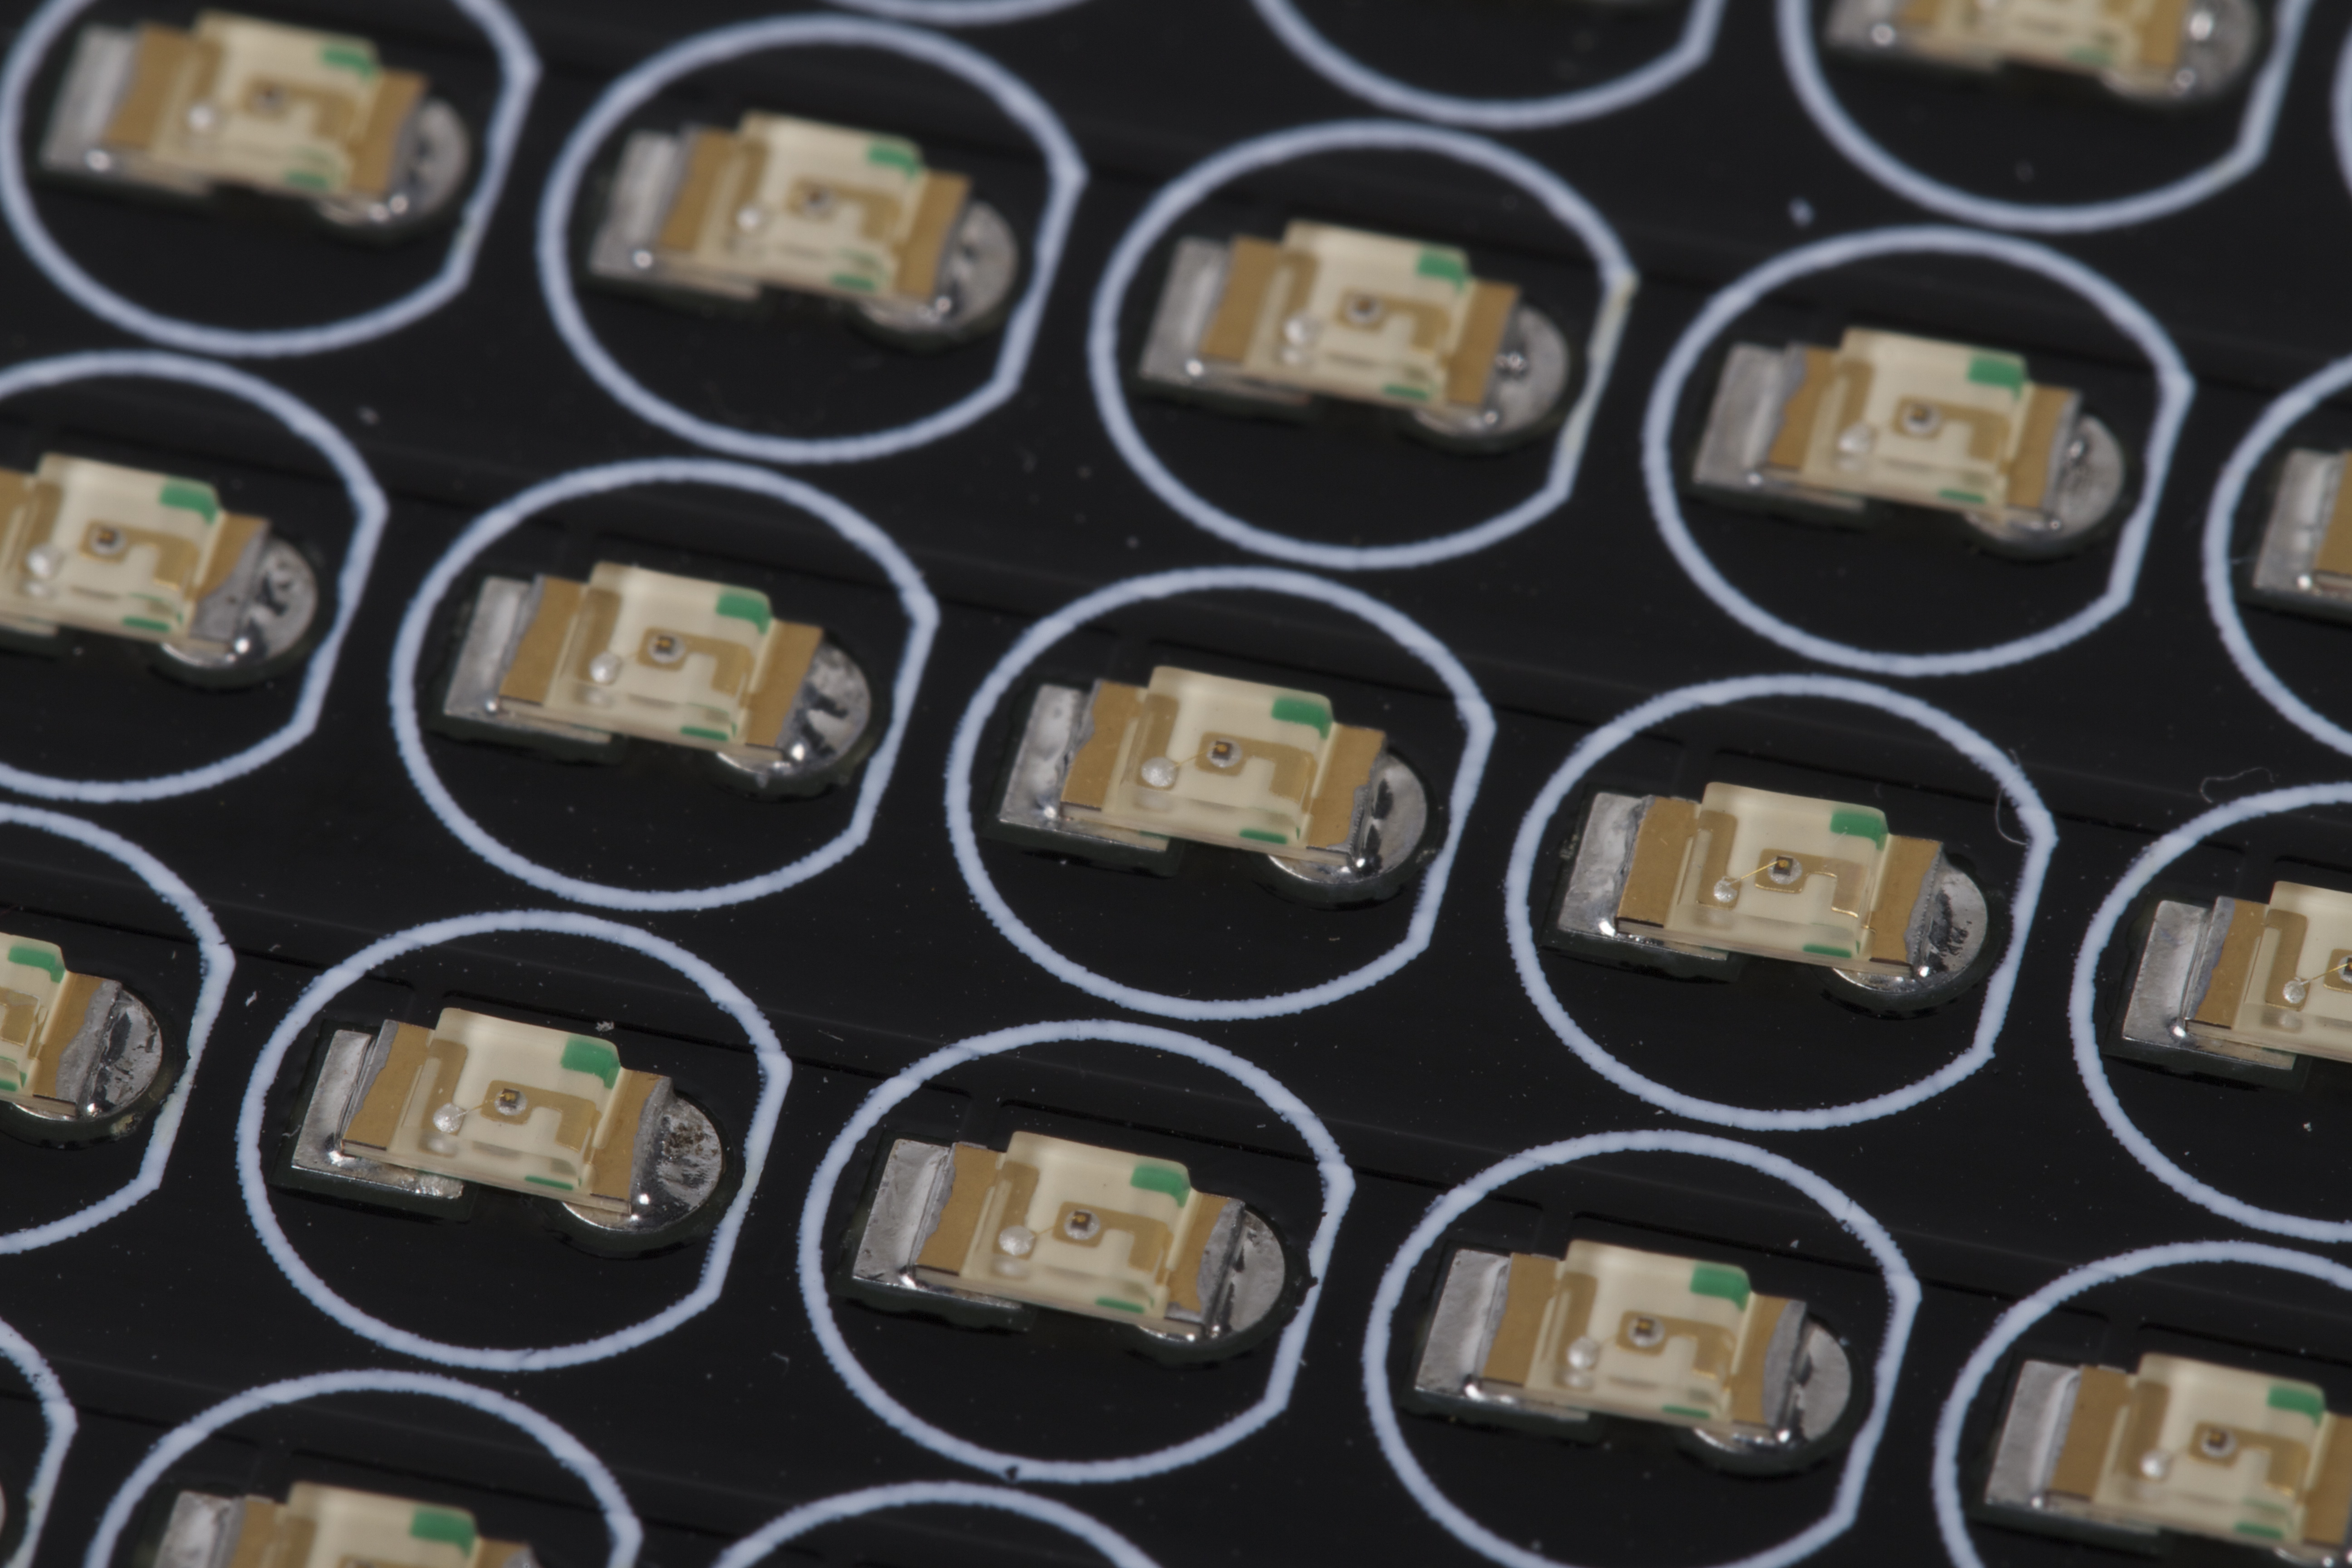
The surface mount LEDs look great on the grid designed for T-1 3/4!

Peggy 2le Surface Mount

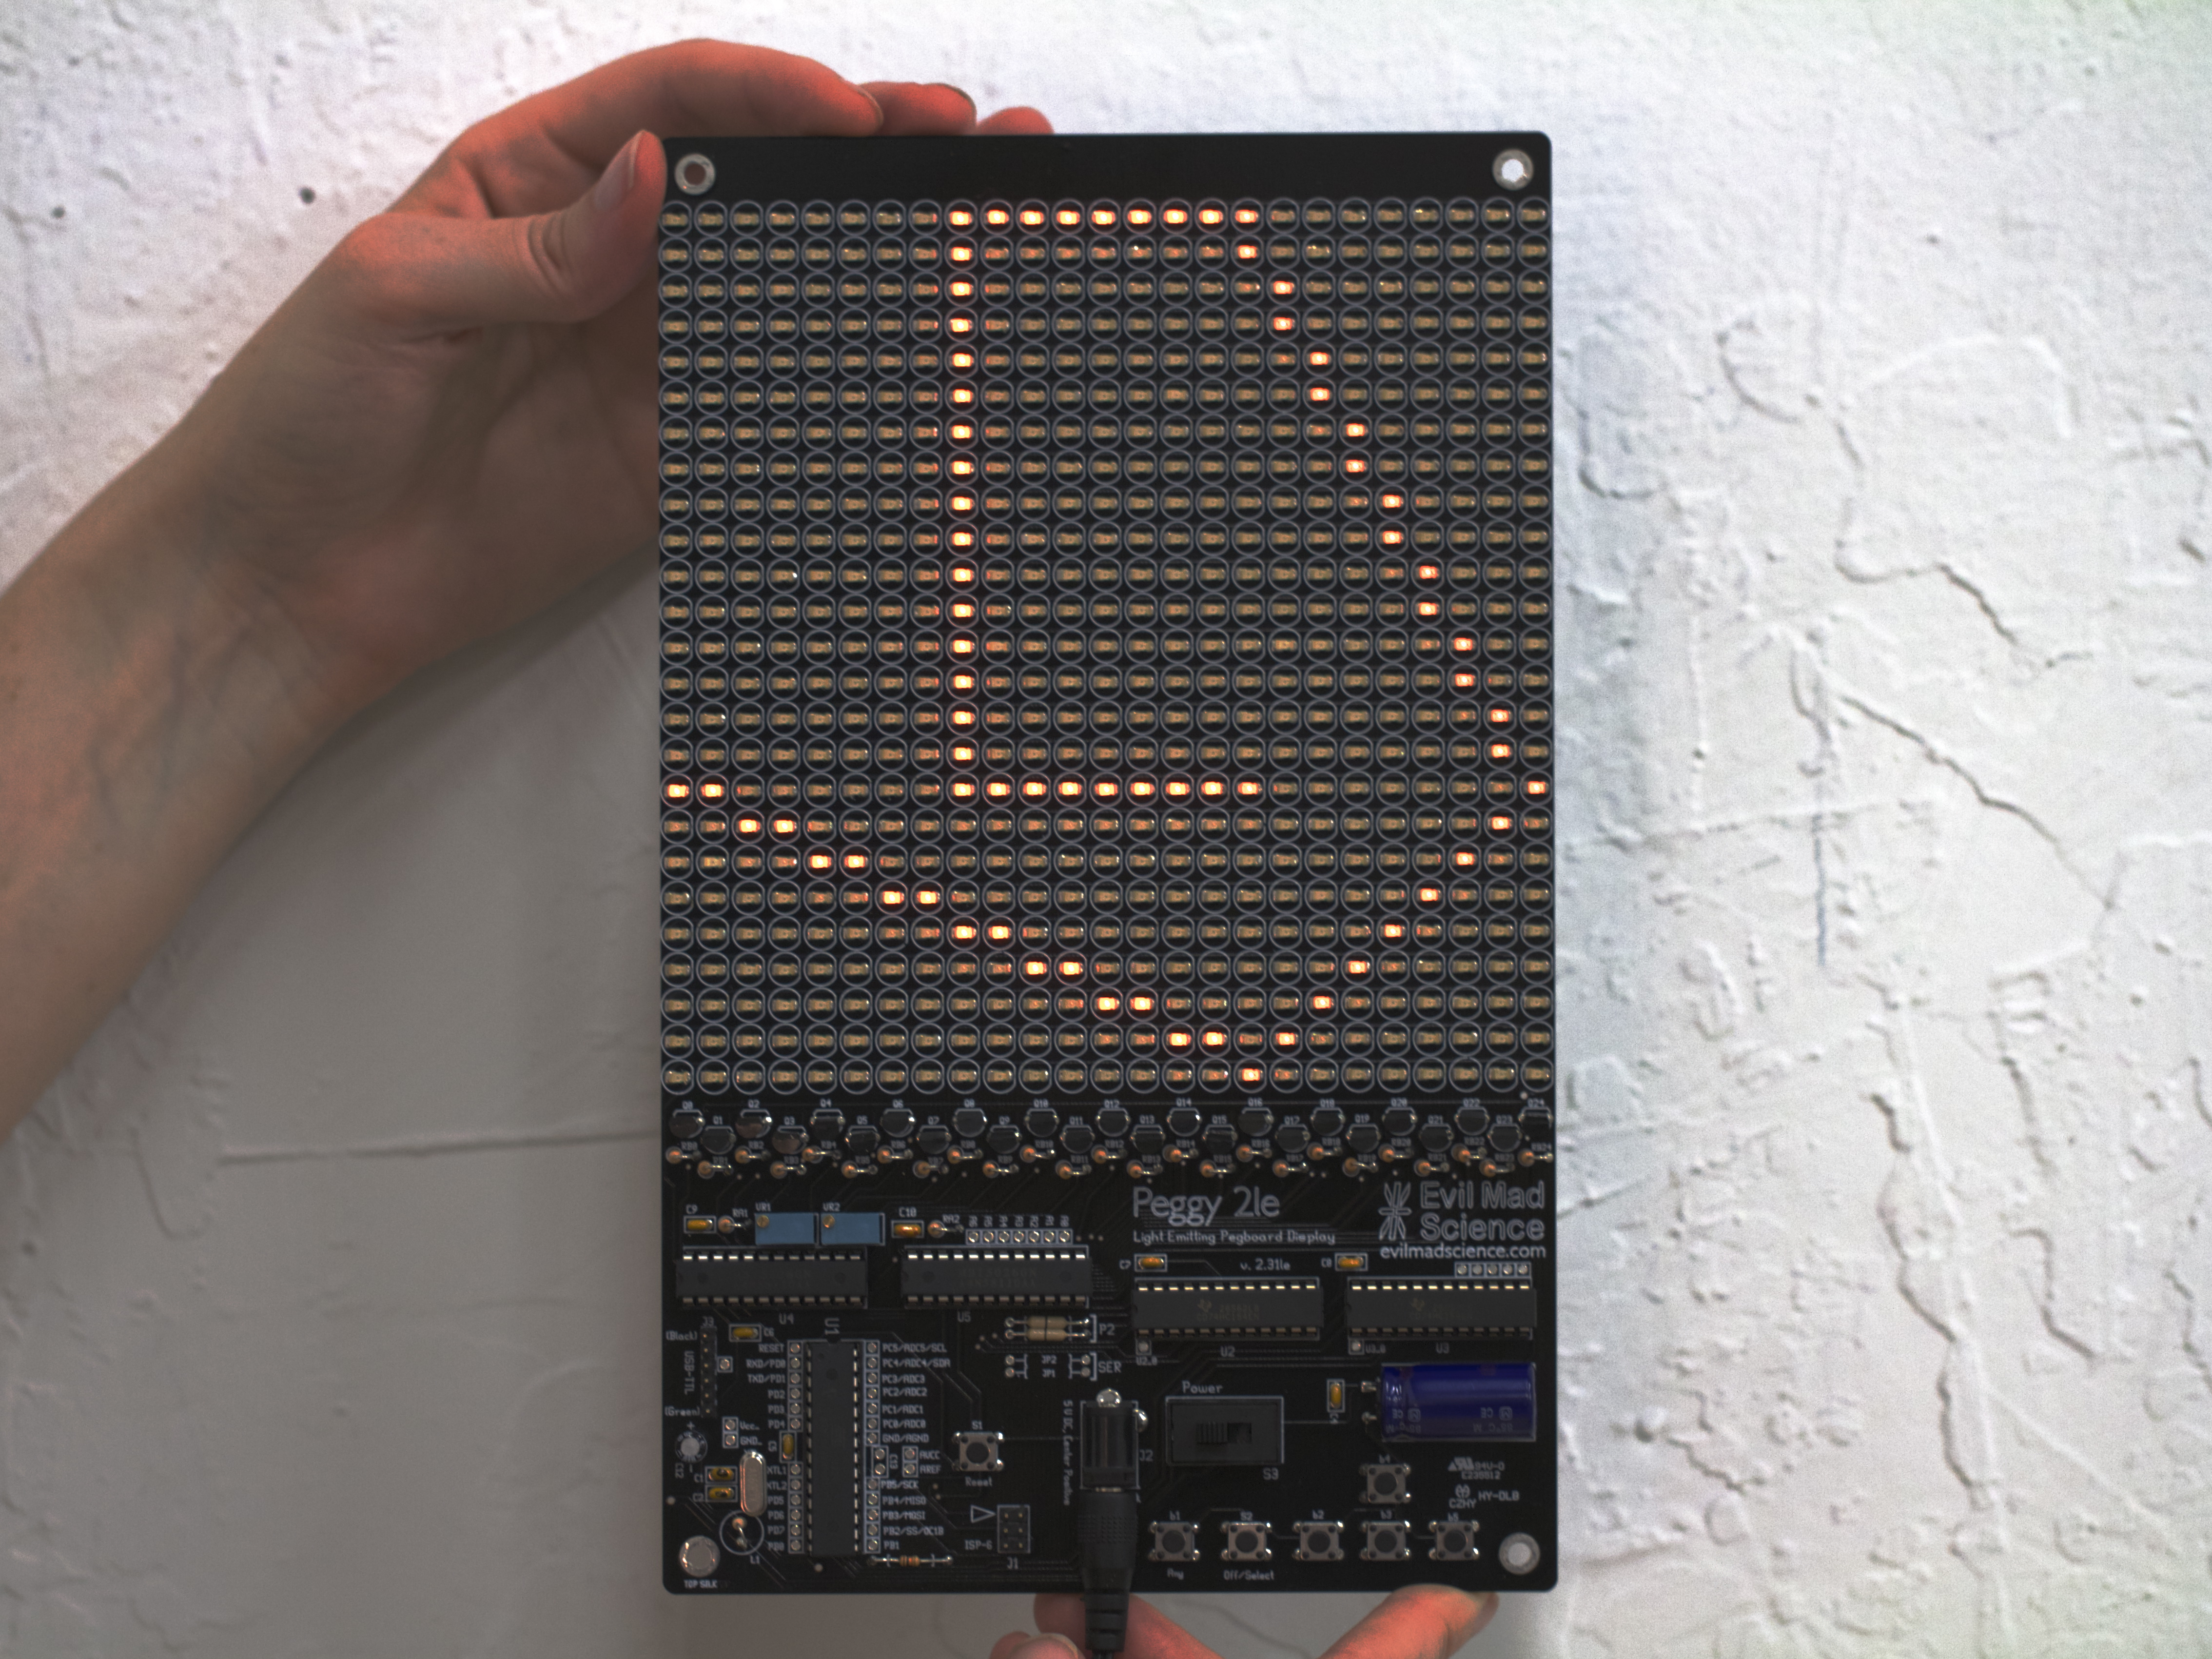
We plugged it in so we could see his pretty orange LEDs in action. Thanks to Peter for bringing it by and letting us take pictures!

Introduction to Analog Mechanical Computers

Courtesy of the United States Navy comes this incredible introduction to analog mechanical computers.

The context for this is that massive, mechanical computers were used aboard US Navy ships ranging from destroyers to battleships, from about 1944-1969, as part of the “Fire Control” system.  This type of computer would take up to 25 continuously changing input variables in order to calculate the proper bearing and elevation for heavy caliber guns aboard the ship.  This calculation— to ensure that a projectile will land at the place where the target is going to be —is marvelously complex, taking into account variables such as wind speed and direction, relative velocity of the ship and target, and parallax between the different guns on the ship.  What’s truly remarkable is that it was all done with mechanical  mechanisms such as gear differentials, cams, and mechanical integrators.

This two-part training film, from 1953, introduces the basic mechanisms that made these computers work:

The video embedded above (41:53 total length) contains both films, one after the other.  (And, the YouTube link is here.)

Basic Mechanisms in Fire Control Computers, Part 1 discusses shafts, gears, cams, and differentials. Note that the first couple of minutes are not so much about the mechanisms, but more of an explanation— to the servicemen —of why they needed to learn about them.

Basic Mechanisms in Fire Control Computers, Part 2 discusses component solvers, integrators, and multipliers


If you enjoy these training films, you may also want to read through the little book entitled Ordnance Pamphlet 1140: Basic Fire Control Mechanisms, available here in PDF format, which covers much of the same ground.


The Evil Mad Scientist STEAM T-shirt

Evil Mad Scientist STEAM T-shirtEvil Mad Scientist STEAM T-shirt

Introducing the Evil Mad Scientist Laboratories STEAM T-shirt. Featuring high quality screen printing on 100% cotton tees from American Apparel.

Front side: Science & Technology & Engineering & Art & Mathematics. (Black ink)
Back side: The Evil Mad Scientist logo. (Red, brown, and black inks)
Shirt color: “New Silver,” a uniform light gray.

Evil Mad Scientist STEAM T-shirtEvil Mad Scientist STEAM T-shirt

These are Great Shirts

Beautiful quality screen printing by Social Imprints of San Francisco (“Printing with Purpose”).

The shirts themselves are comfortable 100% cotton tees, made in the USA by American Apparel. (Mens Fine Jersey Short Sleeve T-Shirt and Womens Fine Jersey Short Sleeve Women’s T.)


Inspiration

The design of the front is an homage (like so many others) to the John Paul Ringo George shirt by Experimental Jetset.

Why Science & Technology & Engineering & Art & Mathematics?
It’s who we are, and it’s what we stand for.

Why not just STEM?
We, like many, many others believe that art is a critical component of good design, of good engineering, and of beneficial technology.


Get yours

The Evil Mad Scientist STEAM T-shirt is in stock and shipping now!

Using the Eggbot for Pottery

Eggbot Cups
We recently got the question,

Would the Ostrich Egg-bot allow me to “decorate” on a greenware pottery mug or bowl or similar shape?

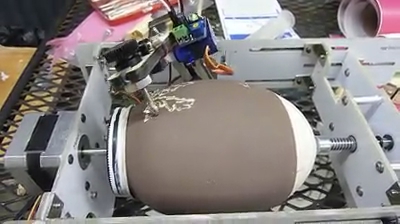
The answer turns out to be yes. Garth, of Extreme Craft posted video of using his Original Eggbot for this. He first used a simple wood screw as a stylus.

Eggbot

He later used our diamond engraving tool, with great results. It is a use we hadn’t anticipated!

gEDA footprints for the OSHW Logo

Open Source advocate Russ Nelson wrote in to tell us about gEDA footprints (circuit board elements) for the Open Source Hardware Logo, available to browse and download at gedasymbols.org. Russ created these footprints to make a version of our earlier examples that would be easier to use.

gEDA is the open source (GPL licensed) Electronic Design Automation suite, which we use to design all of our circuit boards. gEDA now runs well on Mac, Windows, and Linux.  If you’d like to try it out, you may want to begin with our own list of resources for getting started with gEDA, available here.  And, if you produce open source hardware, you might find these footprints handy.

Lightning Necklace

lightning_lolnecklace_11

Erin “RobotGrrl” recently posted about a wearables project:

Here was a quick project that I created in time for C2MTL. It’s a simple, blinky, 3D printed, wearable electronic. We wanted to wear something that would be interesting and a conversation starter.

lightning_lolnecklace_3


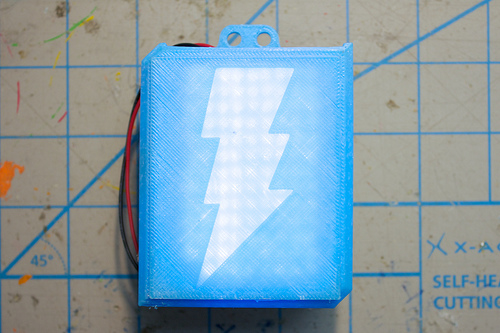
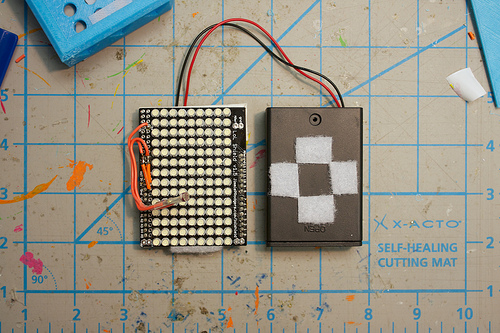
She used a LOL Shield on top of a Diavolino in a 3D printed case with a translucent lightning bolt. It was a success:

I wonder if all wearable electronic projects are like this- if people come up to you just because it’s something different and want to know more. Perhaps more world-wide friendliness & curiosity could be an unexpected result from wearable electronics! So, it worked and we were able to get people to talk to us. I extremely recommend this to other shy/not-exactly-social people.

Eggbot, iPad and Raspberry Pi

After seeing the Eggbot at Maker Faire, and seeing that it could be used with a Raspberry Pi, John Biehler got one. He hooked it up to his Raspberry Pi, went on to control his Raspberry Pi with his iPad, and took it to Maker Faire. Full circle! He has lovingly documented the process on his site.

Client Bot by Nerd Industries

Mathias from Nerd Industries wrote in to tell us about their “Client Service Director Prototype” project. The Client Bot moves on a rail from one client logo the next, dusting each logo in sequence with a little brush. Mathias says:

We came up with the idea that it might be funny to build a robot holding a feather duster and constantly dusting the logos. We named the guy “our client service director” and started developing it.

The robot consists of an aluminum carriage. We put a multiphase motor inside and connected it to a robot arm. Also we attached an Arduino board to it as a controller and equipped it with a rechargeable battery pack. Everything has been mounted together with plastic screws to avoid conduction. The robot is powered through the rails.

The “feather duster” is actually a make up brush stolen from Christoph’s wife. You can see the general motion of the robot in the short clip below.

Client Service Director Prototype from Nerdindustries on Vimeo.

They’ve used a video of this charming robot to feature their client portfolio, and that’s where you can see it in its full glory.