Category Archives: Robotics

From the mailbag: Bristlebots and Scribblebots

Kate K.'s Bristlebot bug (Courtesy of Jessica K.)

Jessica K. wrote in:

A few years ago I used your bristlebot design for one of my kid’s classes as a project and it was such a success I’ve done it for each kid (I have 4).

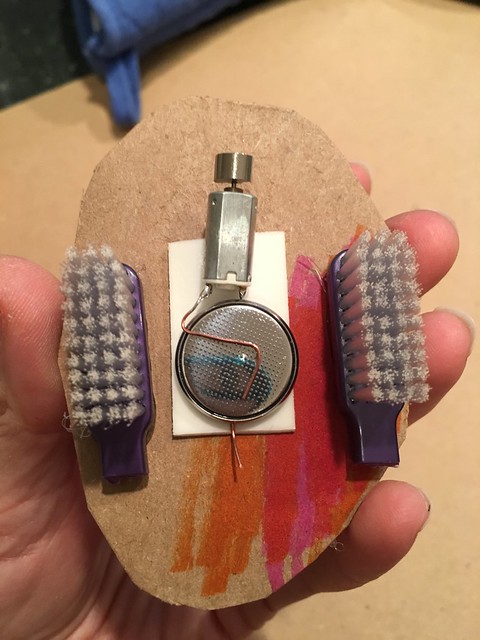
Kate K's Bristlebot Ladybug bottom (Courtesy of Jessica K.)

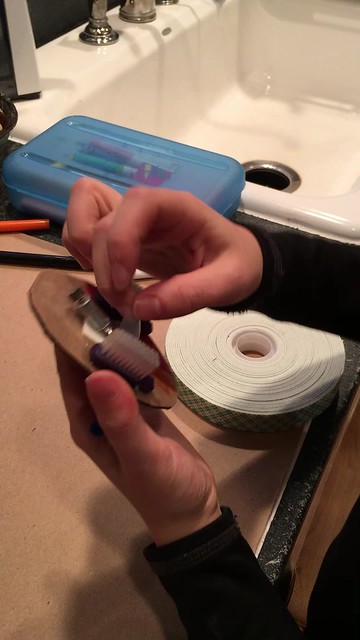
We also made made “pontoon” versions of your bristlebots with 2 toothbrush ends underneath a cardboard oval so it looked like a beetle and gave the kids more decorating space.

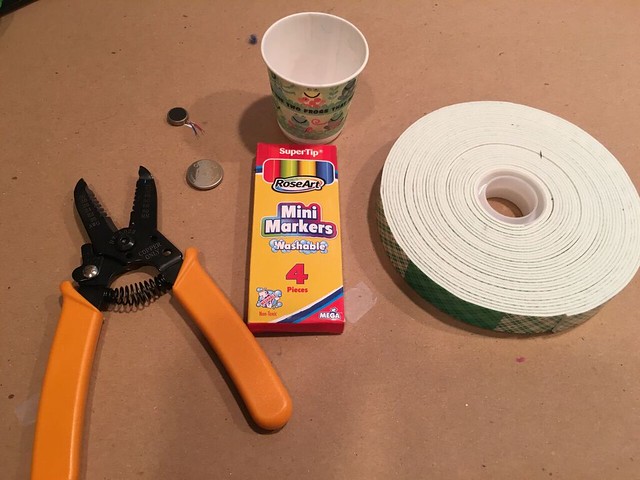
Scribblebot parts (Courtesy of Jessica K.)

Well, now I needed a new project and I came up with the easiest, cheapest Scribblebot I’ve come across, using mostly your bristlebot construction.

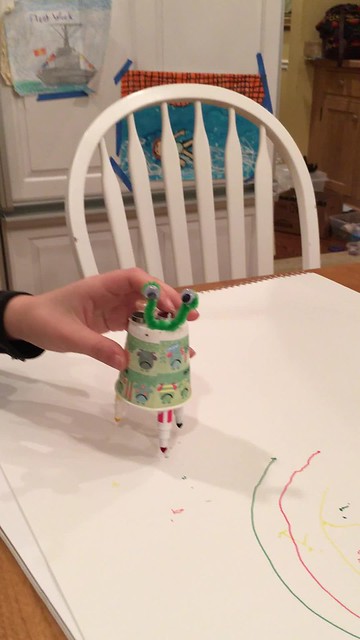
Kate K.'s Dixie Scribblebot (Courtesy of Jessica K.)

The big discovery is that a Dixie cup plus mini markers keeps the whole thing so lightweight. Then put your foam taped pager motor and battery combo on top. It was also way cuter with some antennae and googley eyes. Thank you again for your great bristlebot – it’s made me the most popular mom in each of my kids’ classes.

The bots shown were made by her daughter Kate who also demonstrates them in the video clips. Thank you Kate & Jessica!

Super Awesome Reporting on RoboGames

Super Awesome Sylvia has posted a video report from this year’s RoboGames. Highlights include a couple of combat matches, one of Sylvia’s LEGO competitions, WaterColorBot receiving a medal, and Sylvia completely geeking out after Grant Imahara interviewed her in the audience. (For extra fun, watch the raw footage of the interview from RoboGames.) Our STEAM shirt makes a cameo, too.

A Lego Mosaic Printer

JK Brickworks made this amazing “pick and place” style Lego Mosaic Printer:

It is built entirely using LEGO parts. It first uses the EV3 colour sensor to scan the source image and save the data on the Mindstorms unit. It can then print multiple copies from the saved image data. The 1×1 plates used for ‘printing’ the mosaic are supplied using a gravity feed system and the printing head is simply a 1×1 round plate that can pick up and place the 1×1 plates.

More information about this project can be found at JK Brickworks.

MakerCon 2015

MakerCon is a short conference put on by Maker Media in the week leading up to Maker Faire about the business of making.

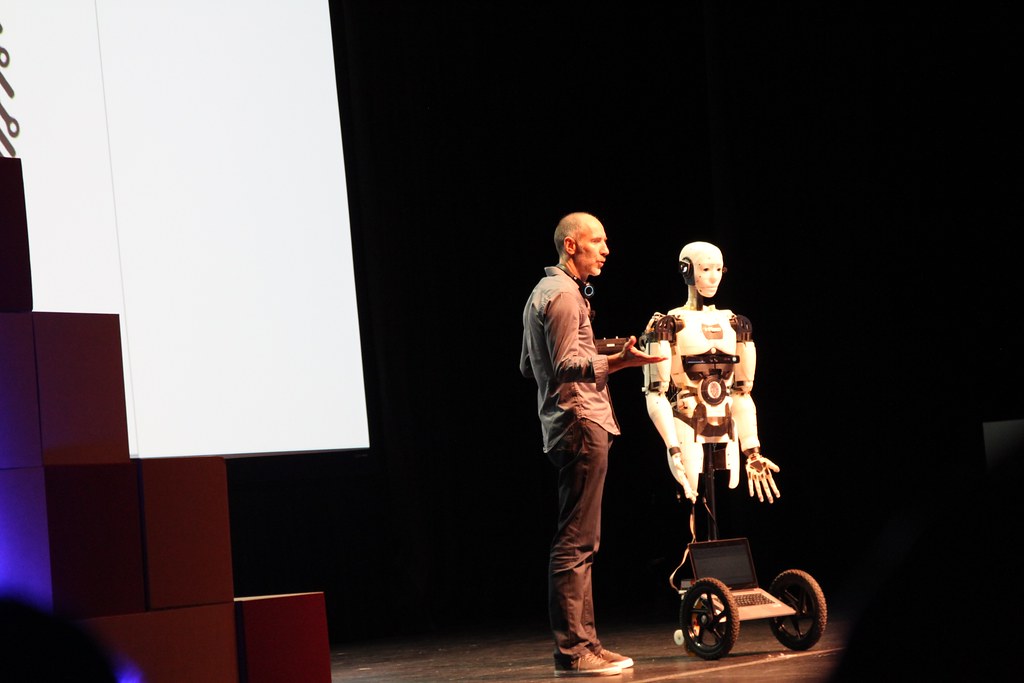
Gael with InMoov

3D printing is a common maker topic, and MakerCon brought a few different twists to it. Above is Gael demonstrating InMoov, an open source 3D printed humanoid robot. There was also an incredibly inspiring talk about applications for medical 3D printing by Dr. Glenn Green.

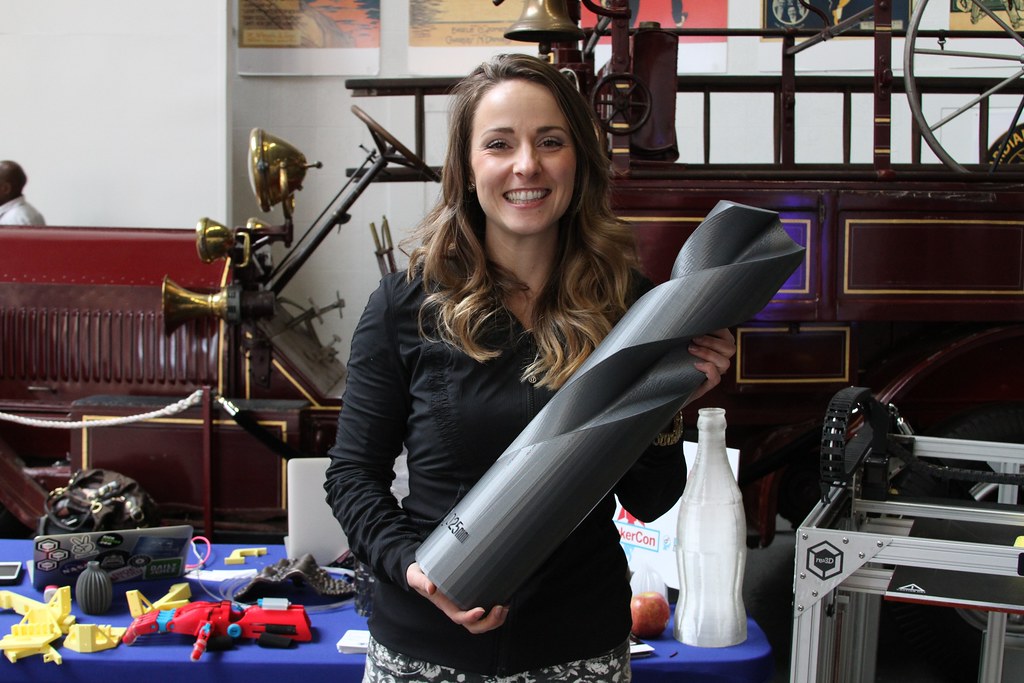
Gigabot print

3D printing can be whimsical as well, as demonstrated by this “25 mm” drill bit by Gigabot.

Strawbees

The folks from Strawbees had built a quadcopter rotor cage with a clever servo actuator for flapping sculptural wings.

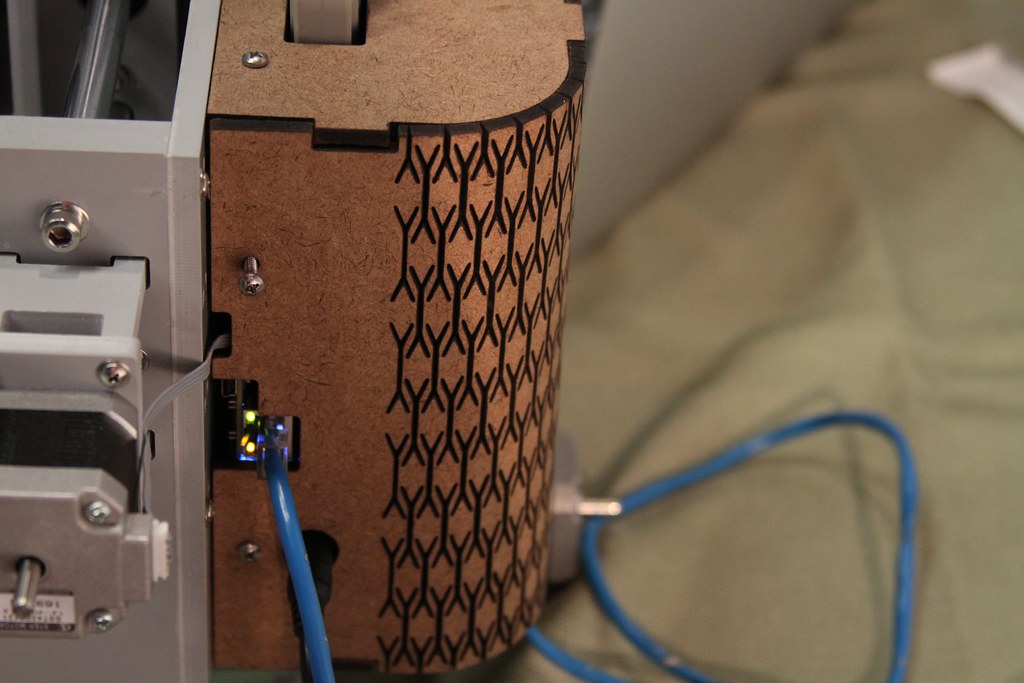
Clever flex design

I enjoyed seeing this attractive laser cut living hinge at the BotFactory demo.

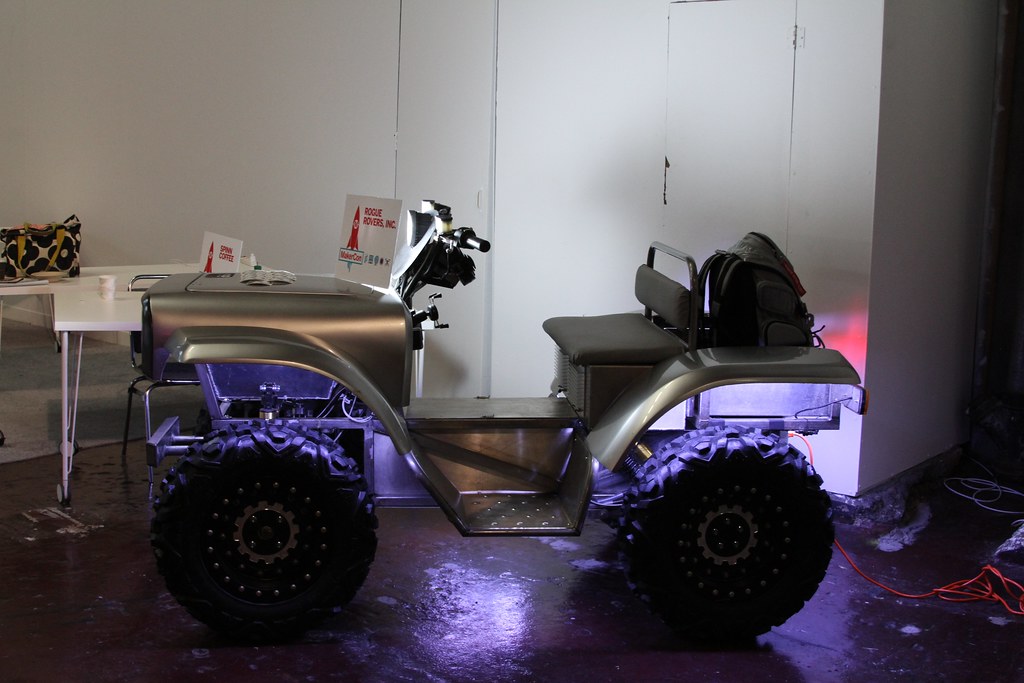
Rogue Rover

Rogue Rovers are electric semi-autonomous ATVs designed for agricultural use to reduce farm injuries and pollution.

More pictures from the event are in my flickr album.

RoboGames Wrap-up

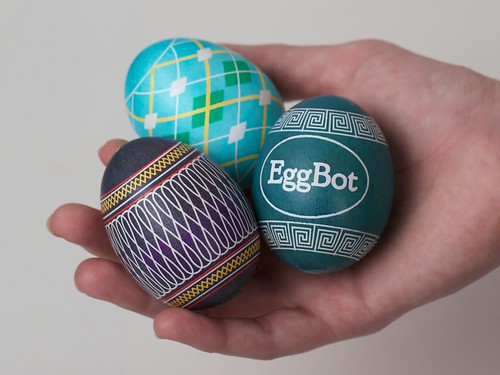
Eggs decorated by the EggBot at RoboGames
Photo by Jim St. Leger

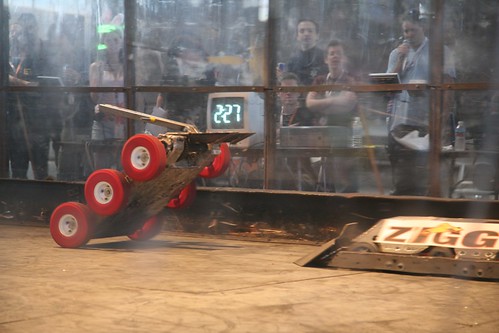
We had a great time at RoboGames demonstrating the EggBot over Easter weekend. Thanks to the contestants in both Combat and Bartending Art Bots categories that we were privileged to judge.

Erin
Photo by Jim St. Leger

Congratulations to our friend RobotGrrl, who took home a gold medal in the Best of Show category.

Schuyler and Roger show off the RoboGames logo as drawn by the WaterColorBot
Photo by Jim St. Leger

Congratulations also to our collaborators on the WaterColorBot project, Schuyler and Roger who won gold in Art Bots in the Painting category.

STEM at the White House Easter Egg Roll

Families gather around to learn more about how the EggBot works

From the White House Office of Science and Technology Policy blog post, An Egg-straordinary Day of Science and Technology:

Interacting with EggBot, an art robot that can paint very intricate and precise designs on eggs. EggBot taught students about digital design, computer numerically controlled machines and robotics. This was also a fun way to celebrate National Robotics Week!

A Wax Coupler for EggBot

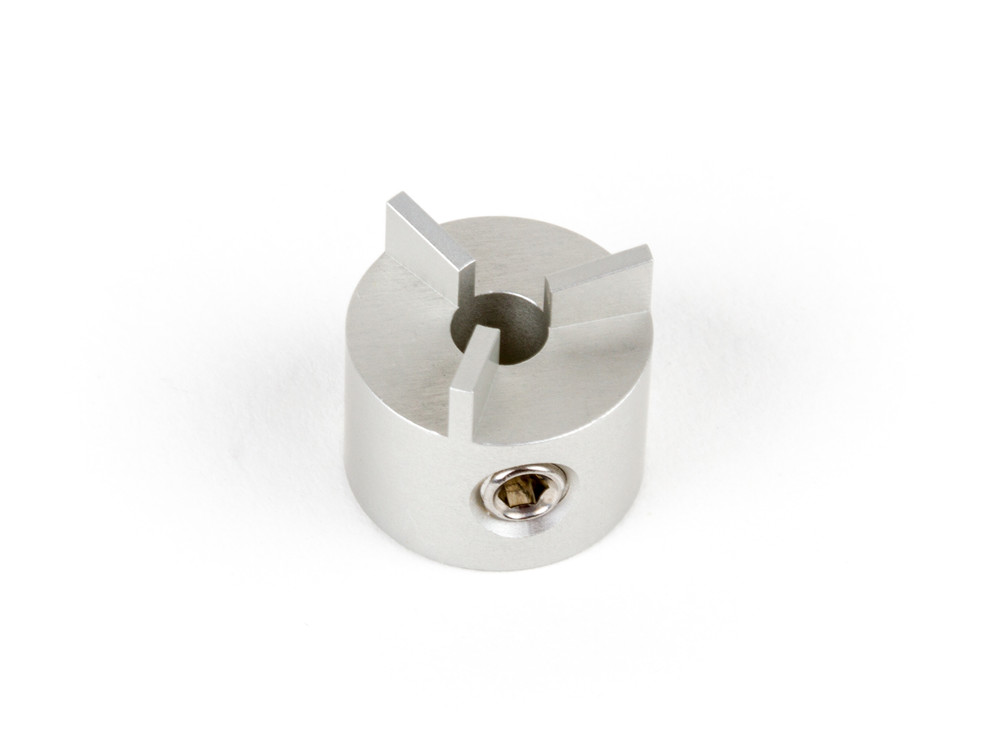
This tiny little thing is a new EggBot accessory that we call the Wax Coupler. Not because it’s made of wax (it’s CNC machined aluminum) but because you can use it to attach an egg to the motor that turns it, using wax, like so:


Aside: why is the base of the egg black? We’ll get to that below.

Once the egg is attached to the Wax Coupler, it provides a rigid attachment point that provides secure coupling between the egg and the motor. More importantly, the coupler+egg assembly can be removed from the motor and put back in place, without losing registration.  In machine tool terms, you might describe this as the process of attaching an egg to a rigid mandrel.


Wait– why would you want to do that?
Hardware 1 Pysanky eggs

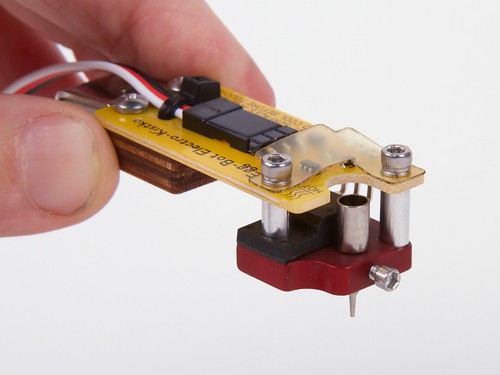
Let’s go back a few steps. Last spring we introduced our Electro-Kistka for EggBot. A kistka is a hot-wax pen used in the traditional wax-resist and dye (batik) method to produce colorful eggs in the fashion of Ukranian pysanky, and this one is designed to work with a computer-controlled EggBot.

At the time, we noted that this process introduces a new problem, that of re-indexing the egg within the EggBot, after taking it out for dyeing:

It is harder than it looks.  While two-tone eggs are straightforward, we have found it to be challenging to precisely reposition an egg after removing it for dyeing. Thus, it takes considerable patience and experience to produce multicolor eggs with good registration between subsequent color layers.  We’d be interested in exploring better ways to do this.
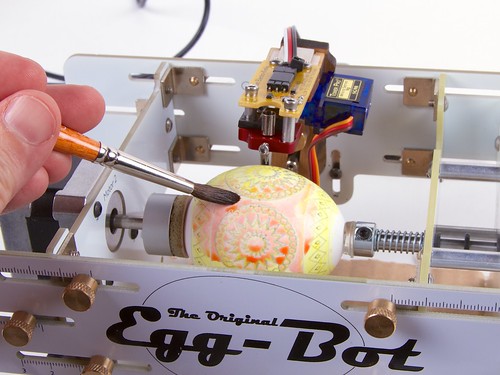
Kistka-brush 7

One method that we tried (shown above) was to dye the egg in place, by brushing it without removing it. The results were mediocre: it worked, but the dye layers were subdued and blotchy. We also looked into a somewhat wackier method of dying the egg in place, by standing the EggBot on end, and using a collapsable bag of dye.

Which brings us to the proper solution: To attach the egg rigidly to a repositionable coupler with beeswax. Doing so allows us to take out the egg and dye it (coupler and all) and then easily index it back into the EggBot.

Continue reading A Wax Coupler for EggBot