


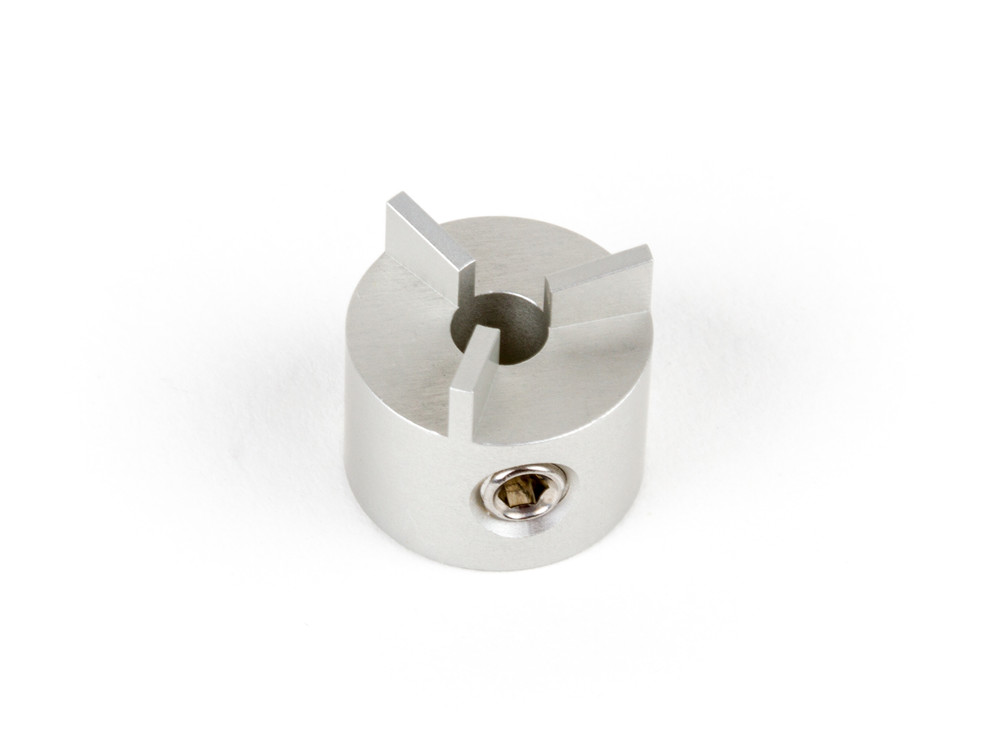
This tiny little thing is a new EggBot accessory that we call the Wax Coupler. Not because it’s made of wax (it’s CNC machined aluminum) but because you can use it to attach an egg to the motor that turns it, using wax, like so:


Aside: why is the base of the egg black? We’ll get to that below.
Once the egg is attached to the Wax Coupler, it provides a rigid attachment point that provides secure coupling between the egg and the motor. More importantly, the coupler+egg assembly can be removed from the motor and put back in place, without losing registration. In machine tool terms, you might describe this as the process of attaching an egg to a rigid mandrel.
Wait– why would you want to do that?
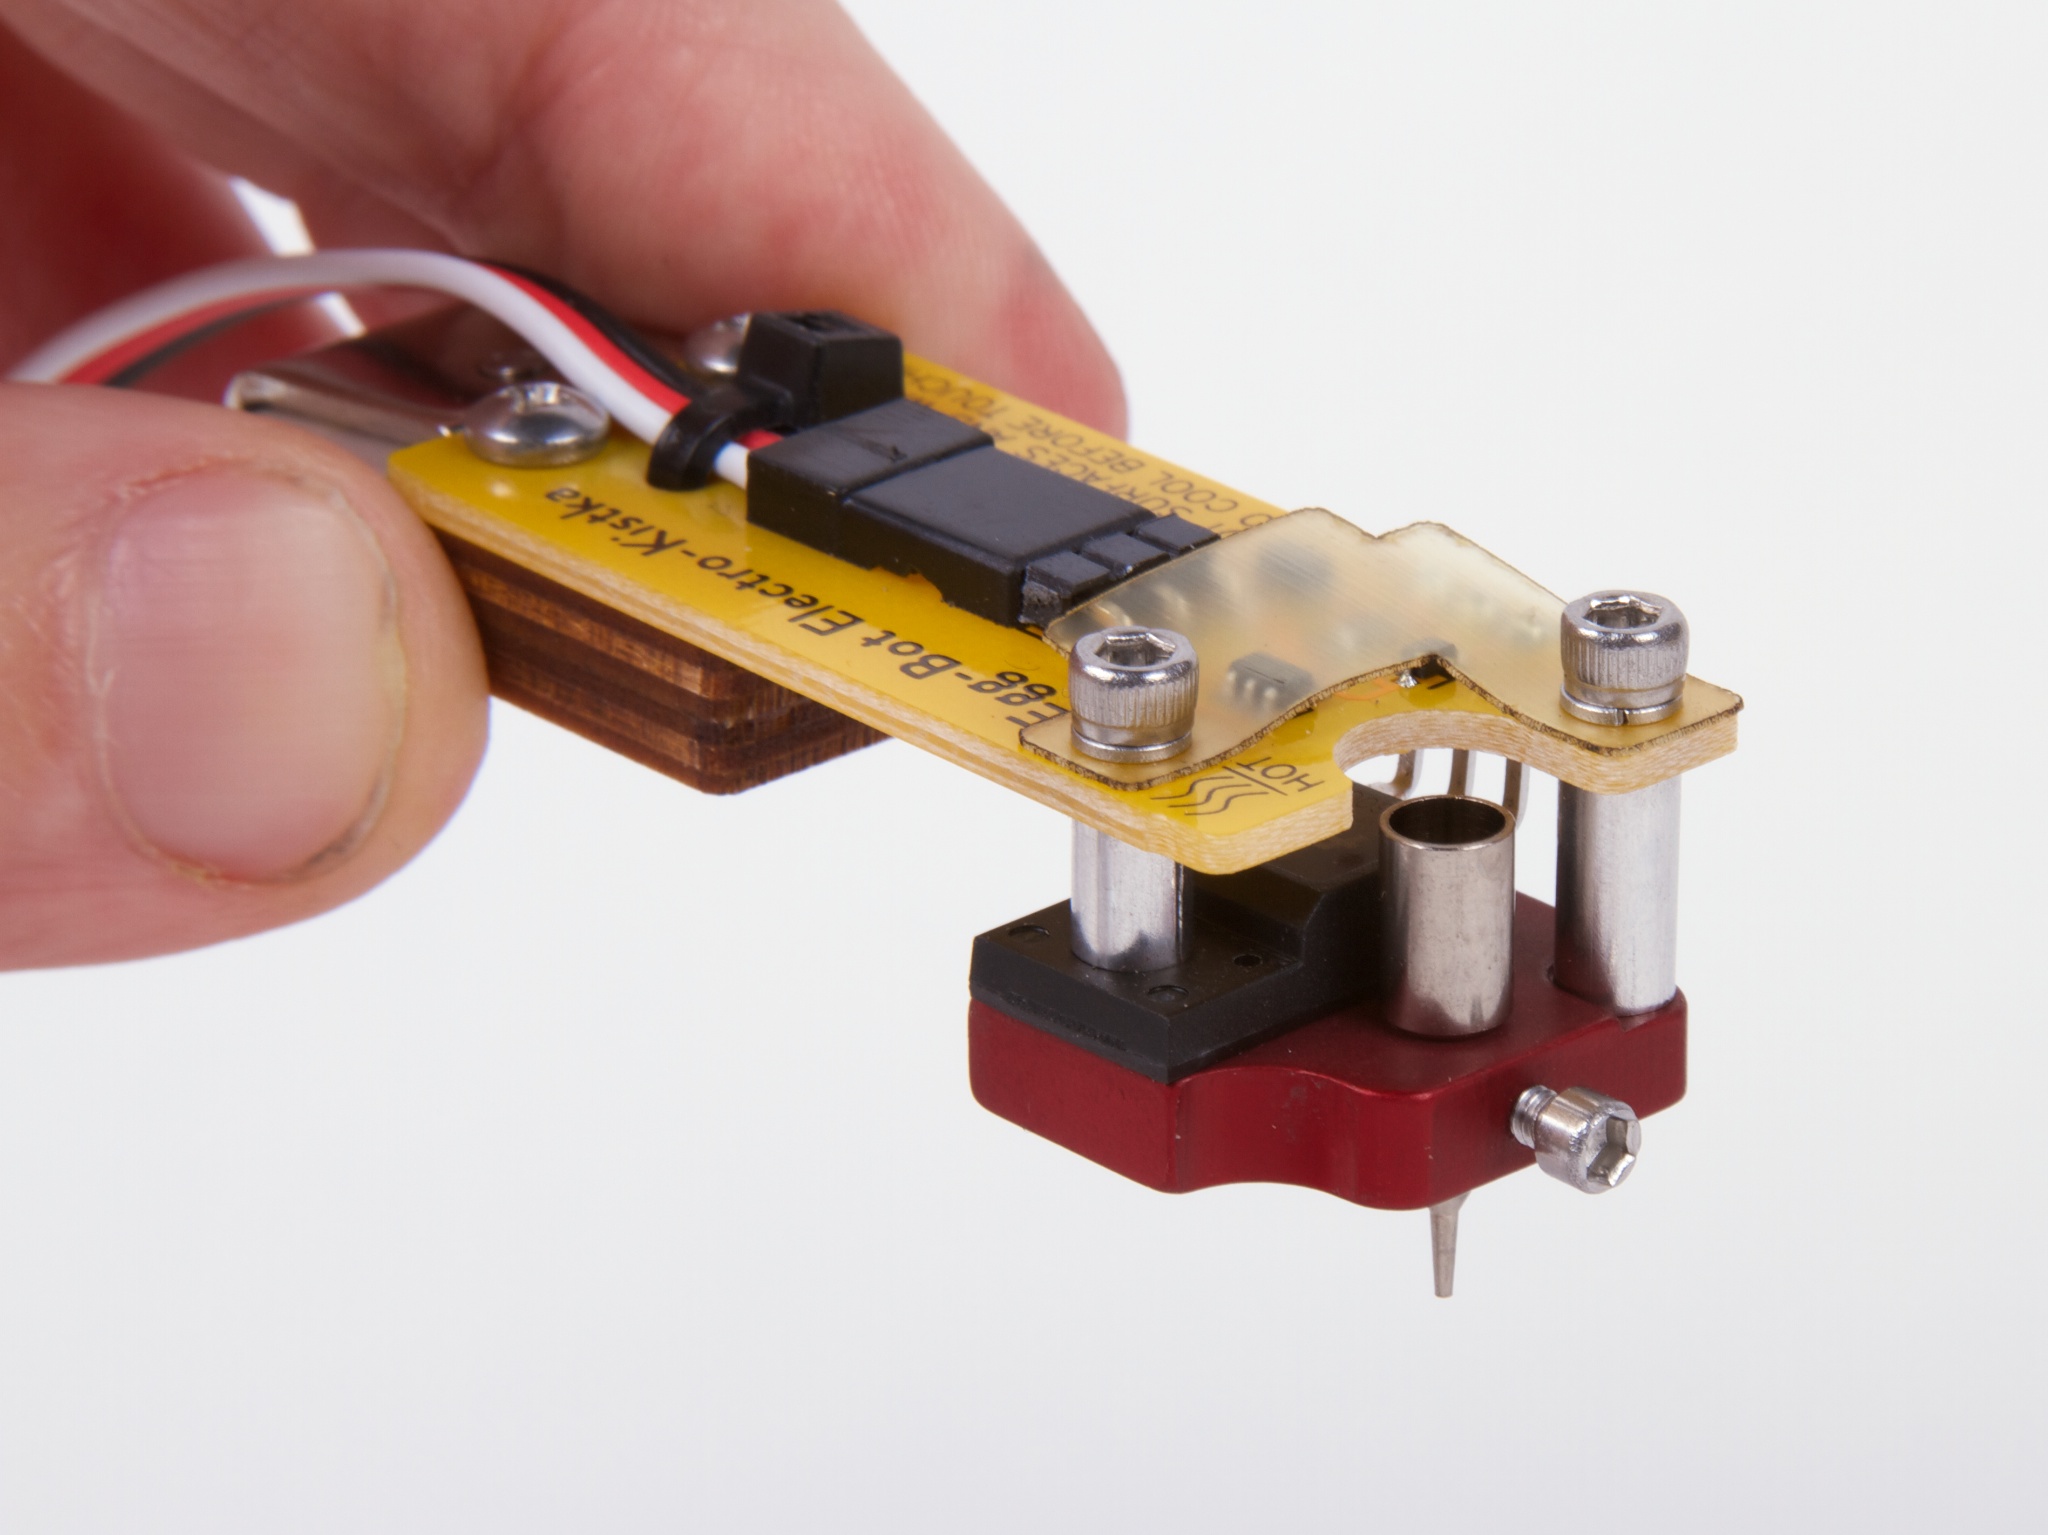
Let’s go back a few steps. Last spring we introduced our Electro-Kistka for EggBot. A kistka is a hot-wax pen used in the traditional wax-resist and dye (batik) method to produce colorful eggs in the fashion of Ukranian pysanky, and this one is designed to work with a computer-controlled EggBot.
At the time, we noted that this process introduces a new problem, that of re-indexing the egg within the EggBot, after taking it out for dyeing:
It is harder than it looks. While two-tone eggs are straightforward, we have found it to be challenging to precisely reposition an egg after removing it for dyeing. Thus, it takes considerable patience and experience to produce multicolor eggs with good registration between subsequent color layers. We’d be interested in exploring better ways to do this.
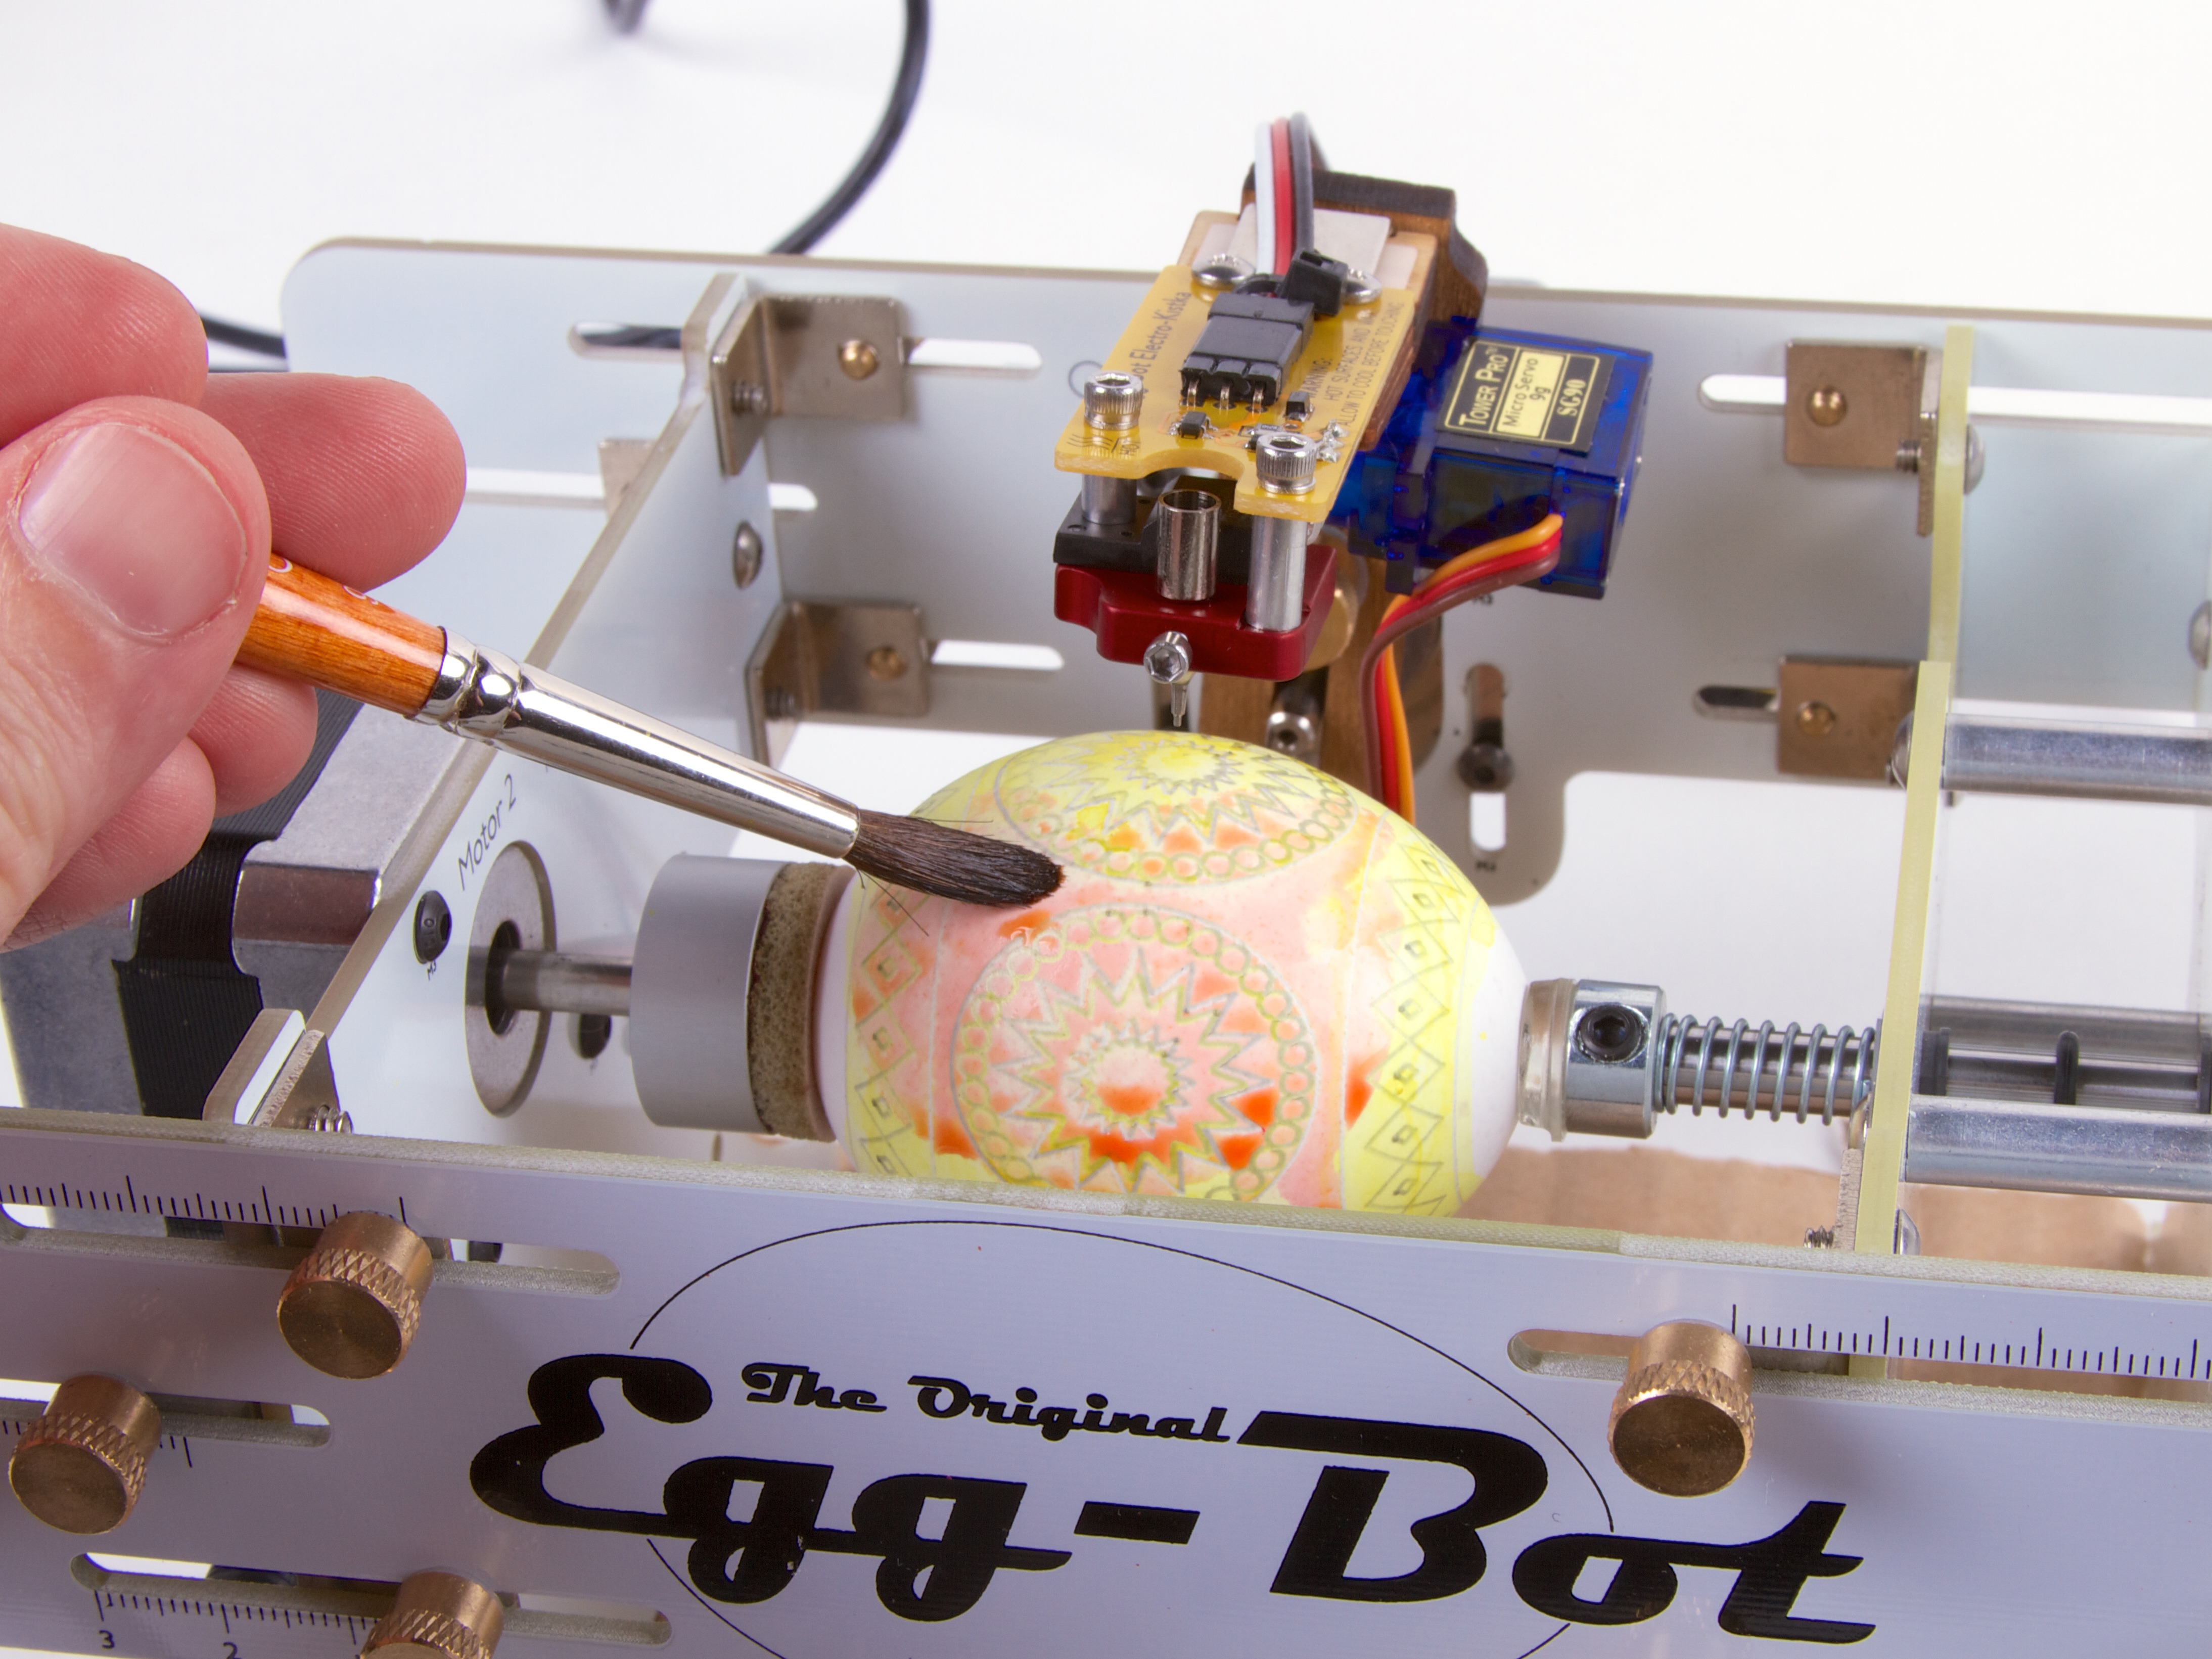
One method that we tried (shown above) was to dye the egg in place, by brushing it without removing it. The results were mediocre: it worked, but the dye layers were subdued and blotchy. We also looked into a somewhat wackier method of dying the egg in place, by standing the EggBot on end, and using a collapsable bag of dye.
Which brings us to the proper solution: To attach the egg rigidly to a repositionable coupler with beeswax. Doing so allows us to take out the egg and dye it (coupler and all) and then easily index it back into the EggBot.
Using the Wax Coupler


The process starts by attaching the Wax Coupler to the EggBot’s motor. There are actually two parts: The coupler itself, and a backing shaft collar. The set screw in the Wax Coupler indexes it against the flat side of the motor’s shaft (giving a consistent angle of alignment) and the shaft collar (which remains on the motor) provides a rigid stop when you remove and replace the coupler.


Optional step: Dye the bottom of the egg.
In the wax-resist and dye process, you typically go progressively from the lightest color of dye to the darkest color. Areas that are covered with wax do not accept additional dye. That’s good: you can create multicolor eggs by using multiple layers of wax and dye. However, it also means that if you use wax to mount a clean white egg, all the area under the wax will stay white. A way to work around this is to dye the very bottom of the egg with your final dye color and let it dry. Since we’ll be finishing with black dye, we start by dipping the very bottom of the egg in black dye. Above left: a little trick, the egg can sit vertically on a washer in the black dye. Above right: Drying the egg on a pin board.

Next, add the wax. Center the egg in the EggBot, and drip wax between the egg and coupler, until they’re securely attached. You can use wax from a candle, but we’re using the black beeswax that comes with the kistka. A helpful trick for getting things aligned is to line the ridges with a little wax from the kistka tip before inserting the egg.


With the egg attached, it can (in most cases) be held securely by just one end.


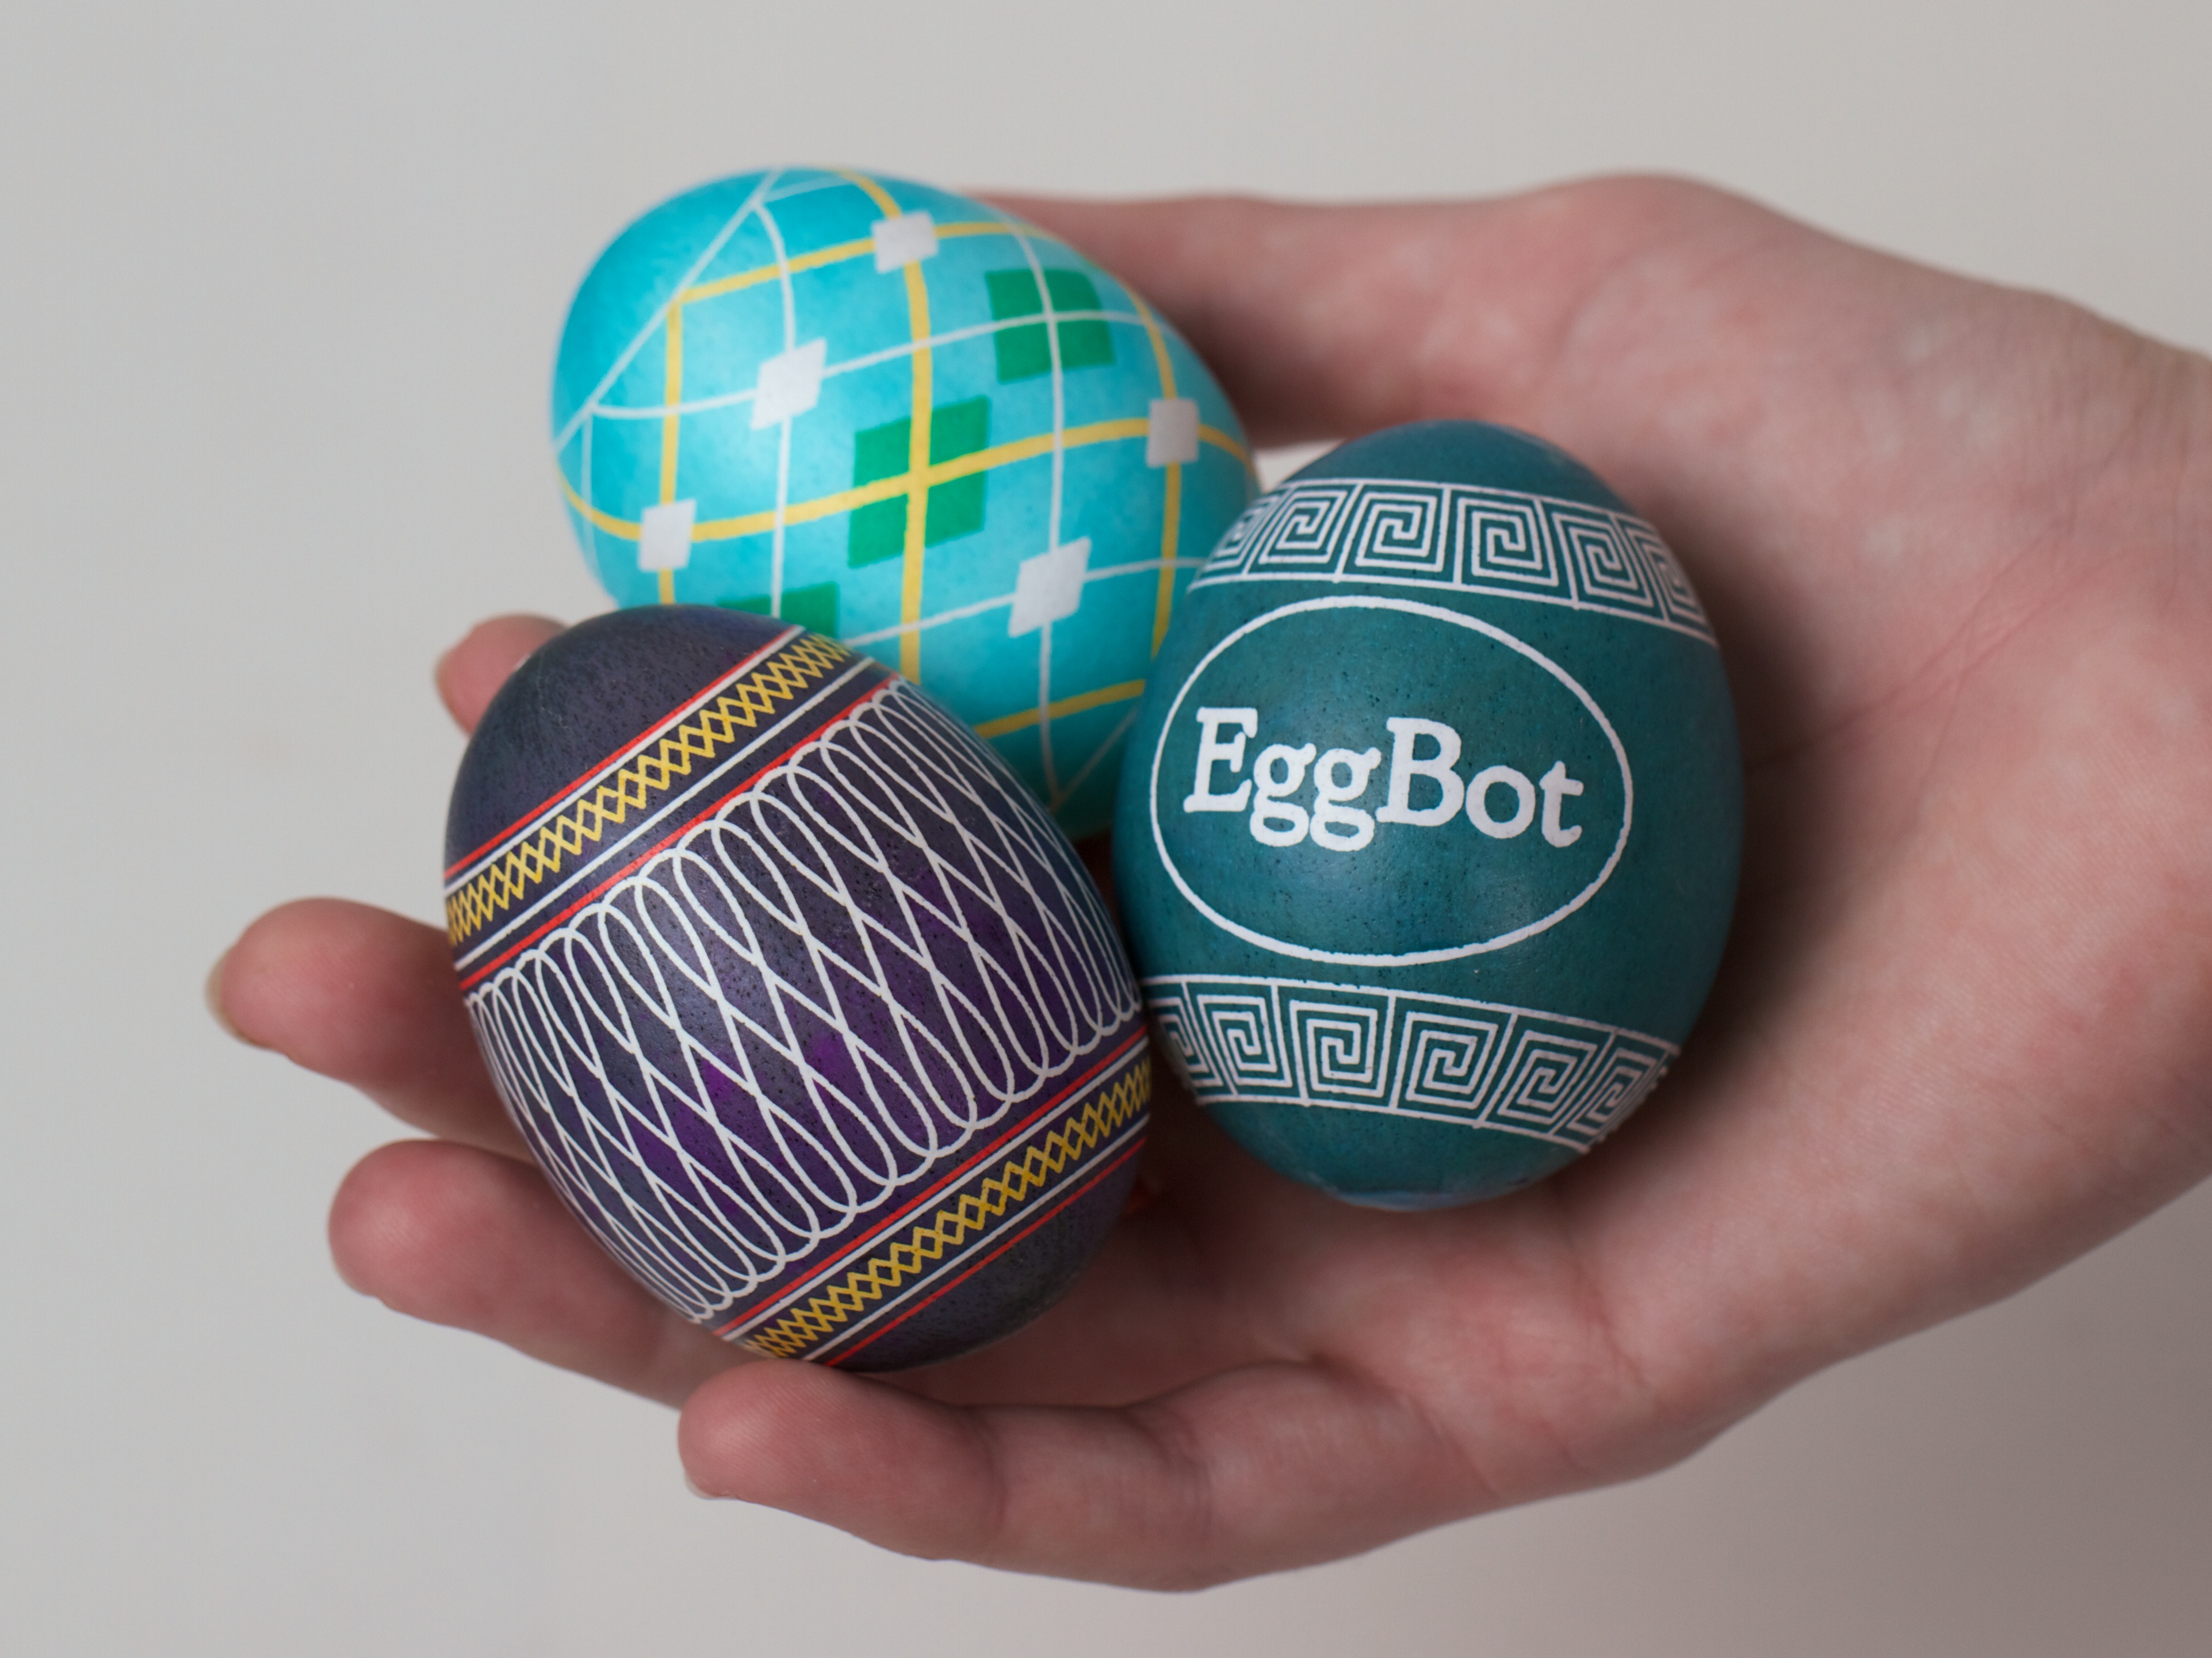
And then, you’re good to go with the main process: Wax, dye, repeat. This egg is getting features in white, yellow, red, green, and black– 4 layers of wax.
Removing the Wax Coupler


To remove the wax coupler, hold the egg above a dish of hot water, and touch the aluminum of the coupler to the water. After a few seconds (depending on exactly how hot the water is), the aluminum warms up enough to melt itself free of the wax, and falls into the water.

Finally, it’s time to remove the wax. The technique that we normally use is to first blow the egg, and then use a heat gun on the low setting (a glorified hair dryer…) and a tissue or paper towel to wipe away the warm wax.
Wow! Pretty neat! When I saw the reference in Twitter, I was thinking like a tiny version of those toilet rings, but this is much better.
Fairly similar to using a lapidary dopping stick (http://thegemshop.com/pages/dopping). Indeed, I actually used a dopping stick once or twice this way.
Yes!