


Like cardboard, cats love quilts.
My grandmother made my mother a lap quilt to keep handy in the living room, but whenever my mother wanted to use it, there would be a cat sitting on it. So my grandmother made a simple cat quilt out of four squares of leftover fabric. The cat always had a quilt to sit on, so the lap quilt was free for my mom.
In that spirit, here’s a simple fishbowl quilt you can make for your feline companion.
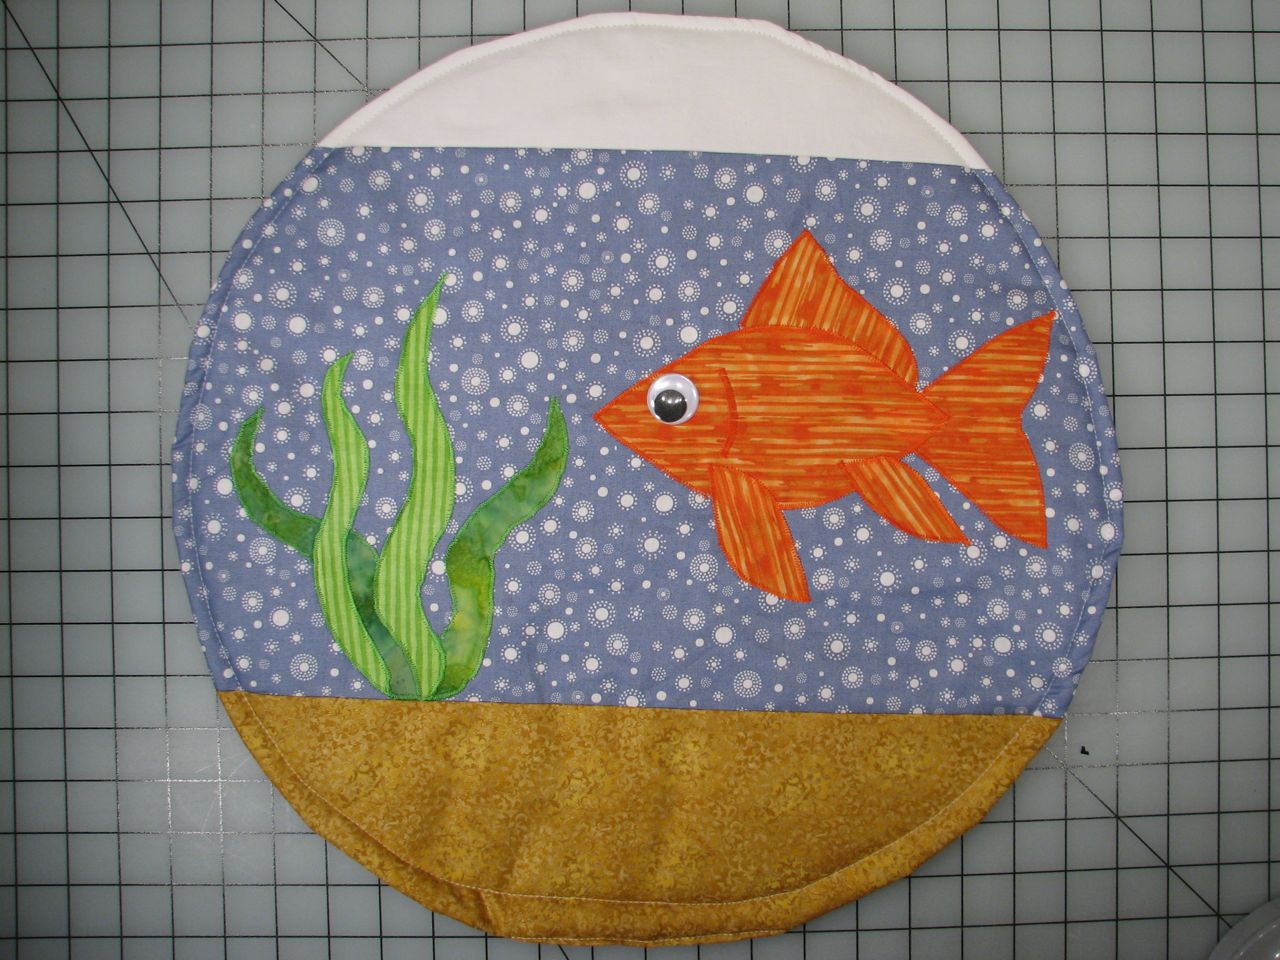
The fishbowl has a few parts: the water, the gravel and the air at the top. A light neutral color works well for the top, a blue is ideal for the water (this bubbly material came from Ikea), and something with a textured print for the gravelly bottom.
Fishbowls are generally round, so you’ll need a round template for your material. My cats are large, so I used an Ikea tabletop with an 18 inch diameter. A five gallon bucket would probably be a good template for most normal sized cats.
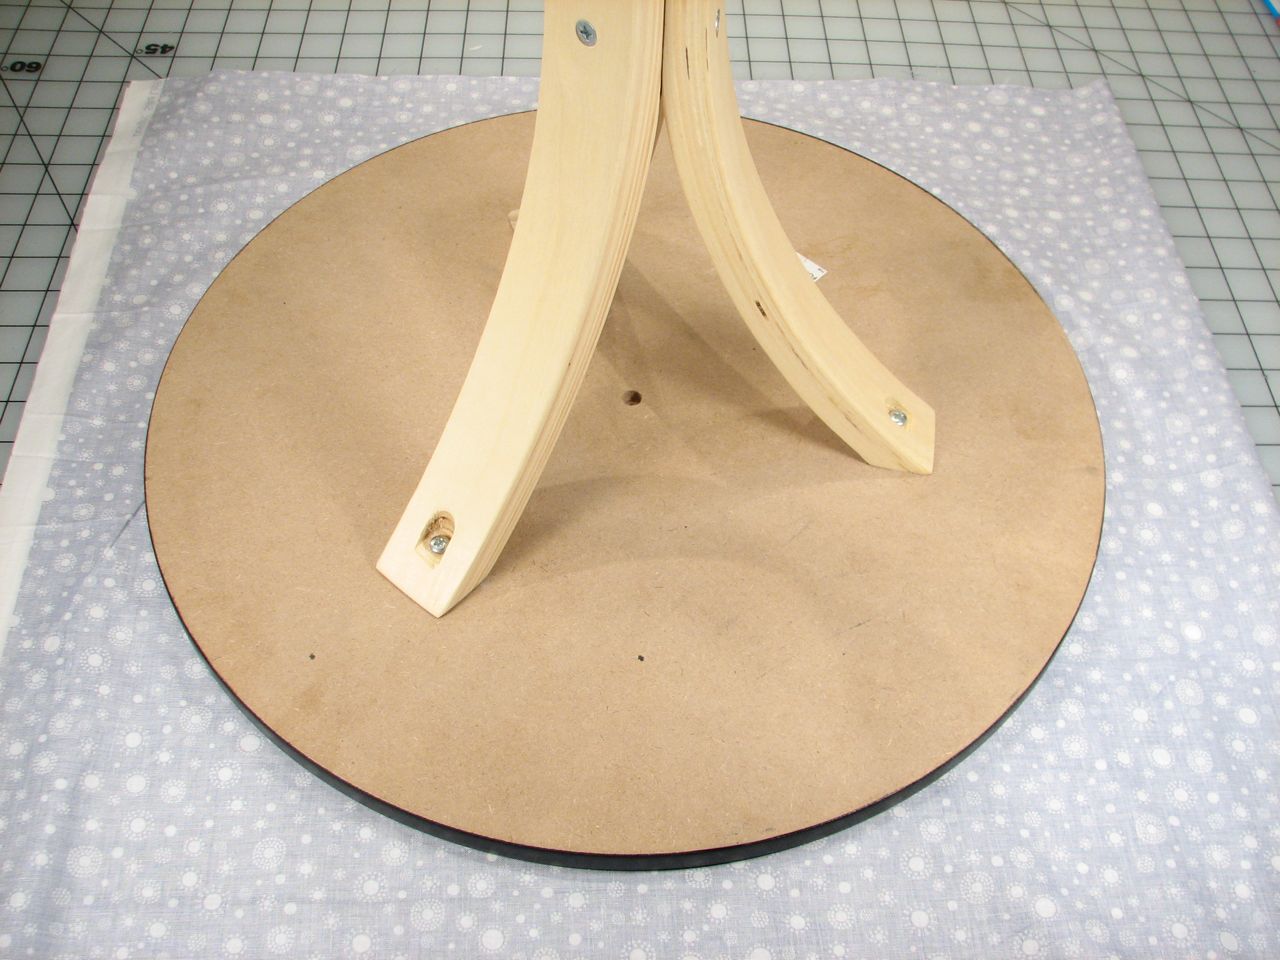
Double up your material and trace around your template.
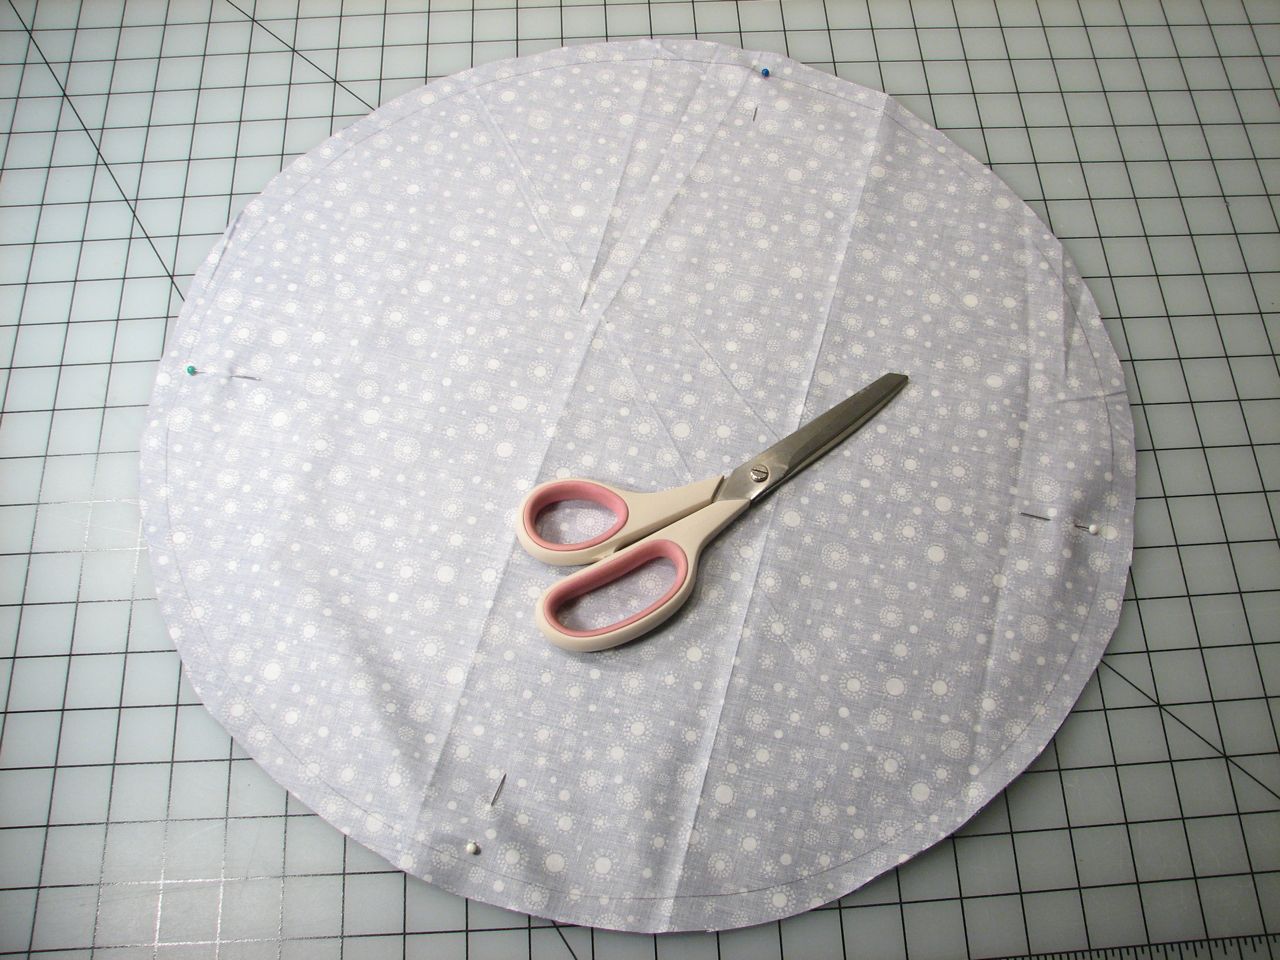
Pin your layers together and cut them out. One will be the top, and the other will be the backing.
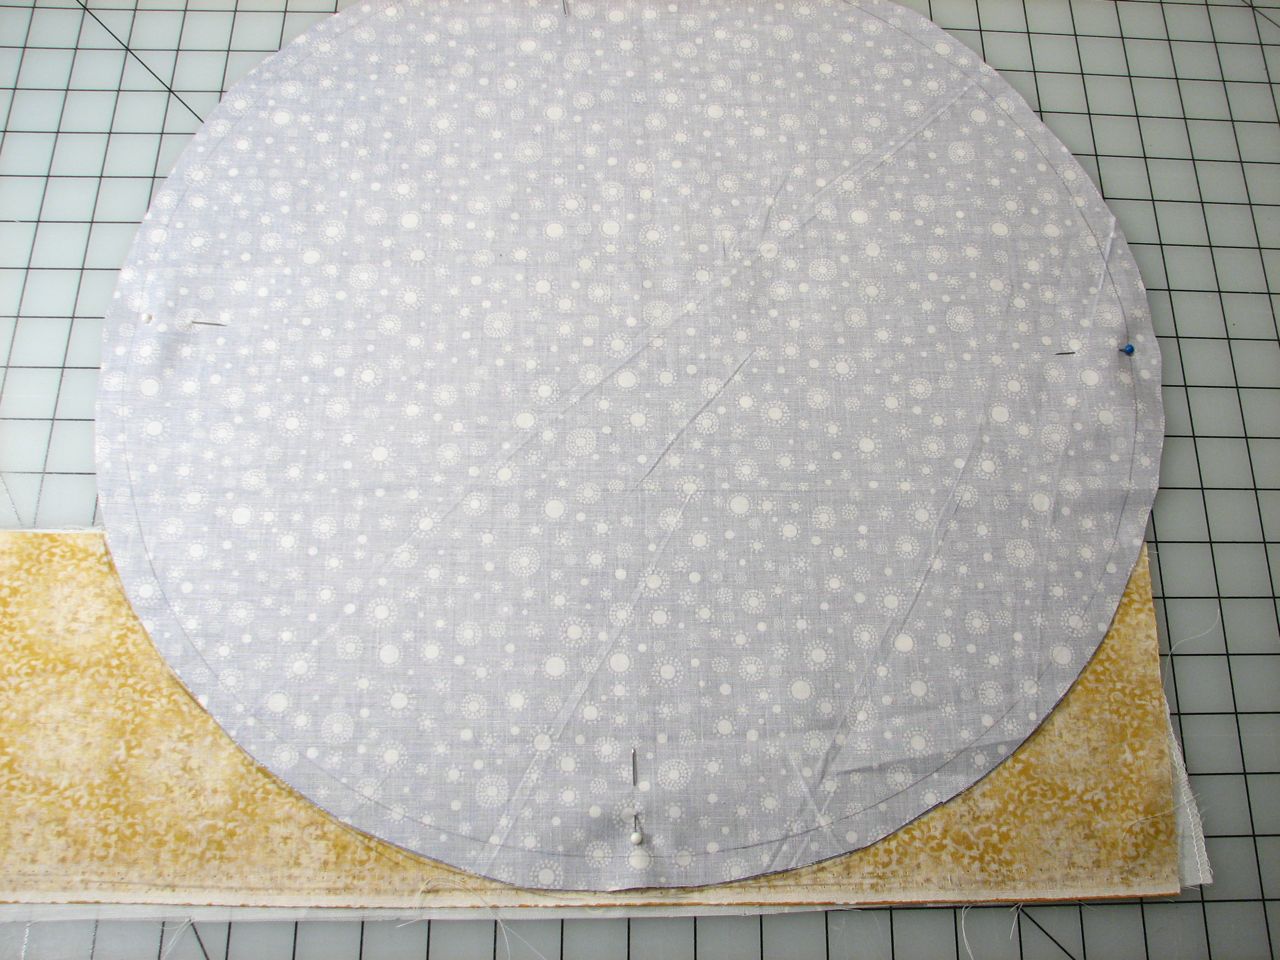
Trace out the circle outline on your strips for the top and bottom.
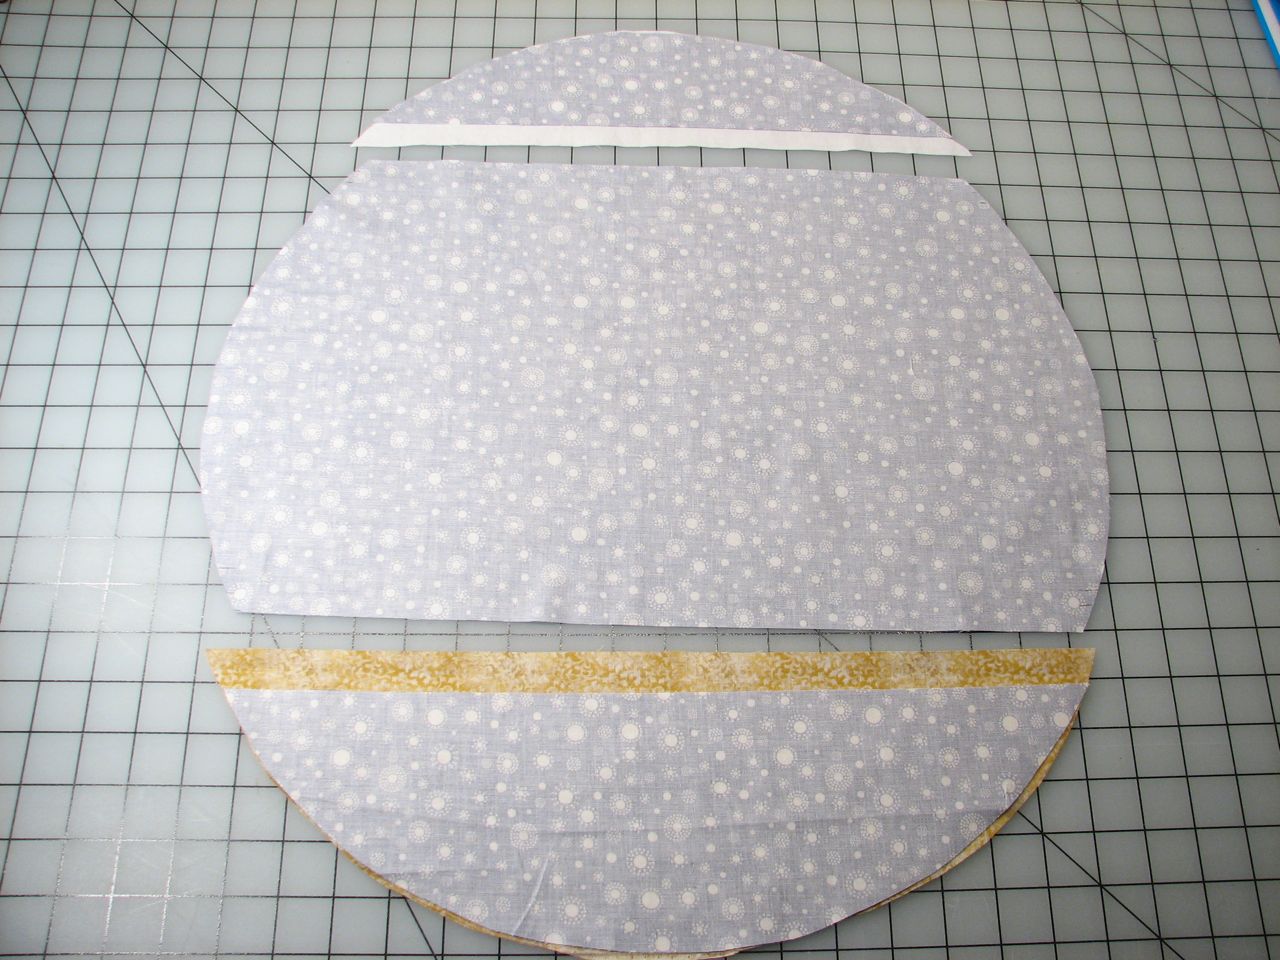
Cut them out and use them as guides for how much of the front circle to cut off: make part you are cutting half an inch smaller than the piece you’ll be sewing on to allow for a quarter inch seam allowance on both pieces.
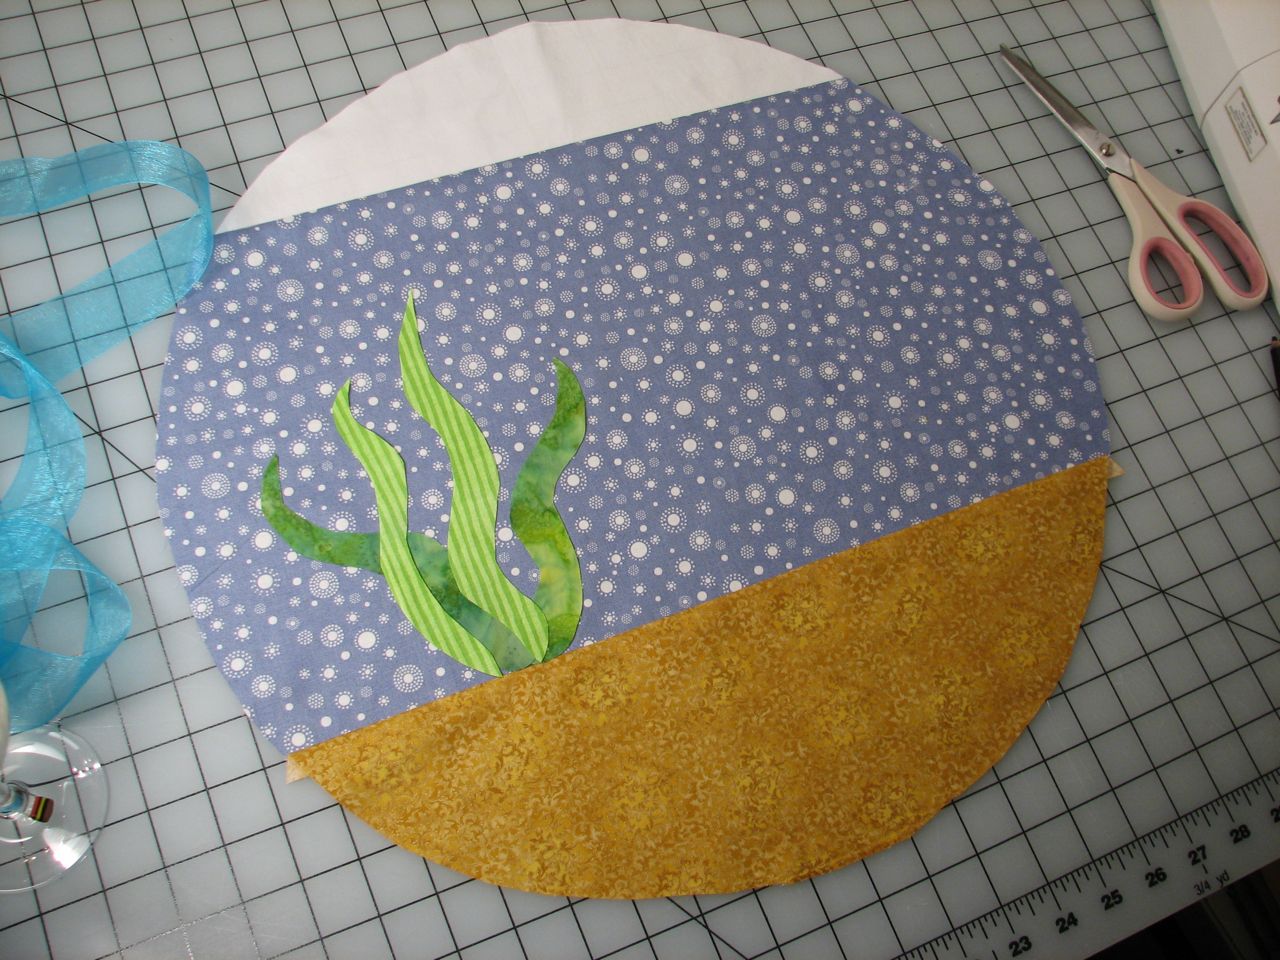
After you’ve sewn the top and bottom on, it’s time to add decoration. Cut out some seaweed, or perhaps a little castle to applique.
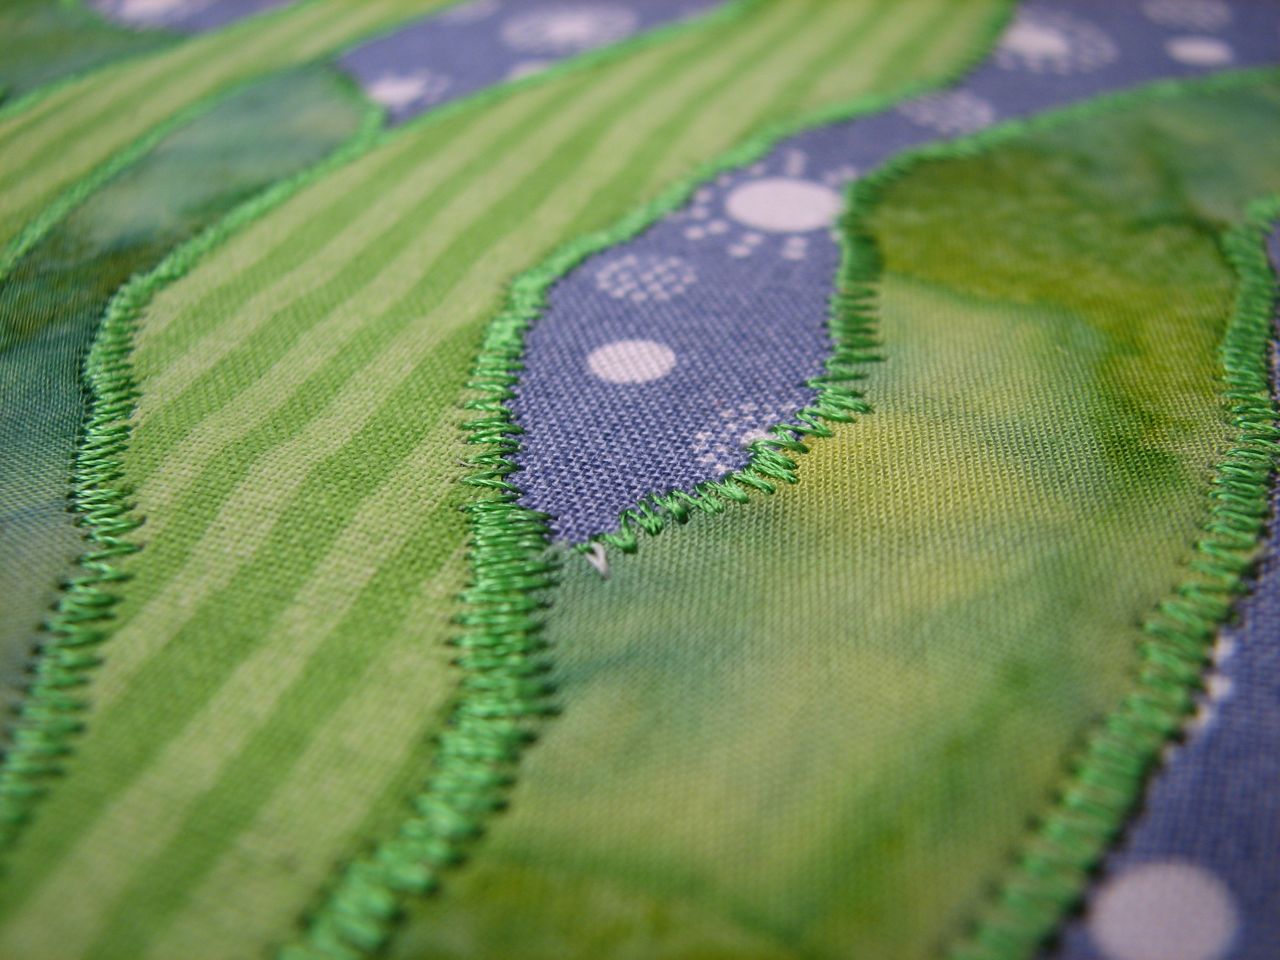
Machine applique is straightforward and simple, especially with a piece of stabilizer underneath. Wiggling the fabric a little extra as you go around the curves gives the seaweed a more organic shape.
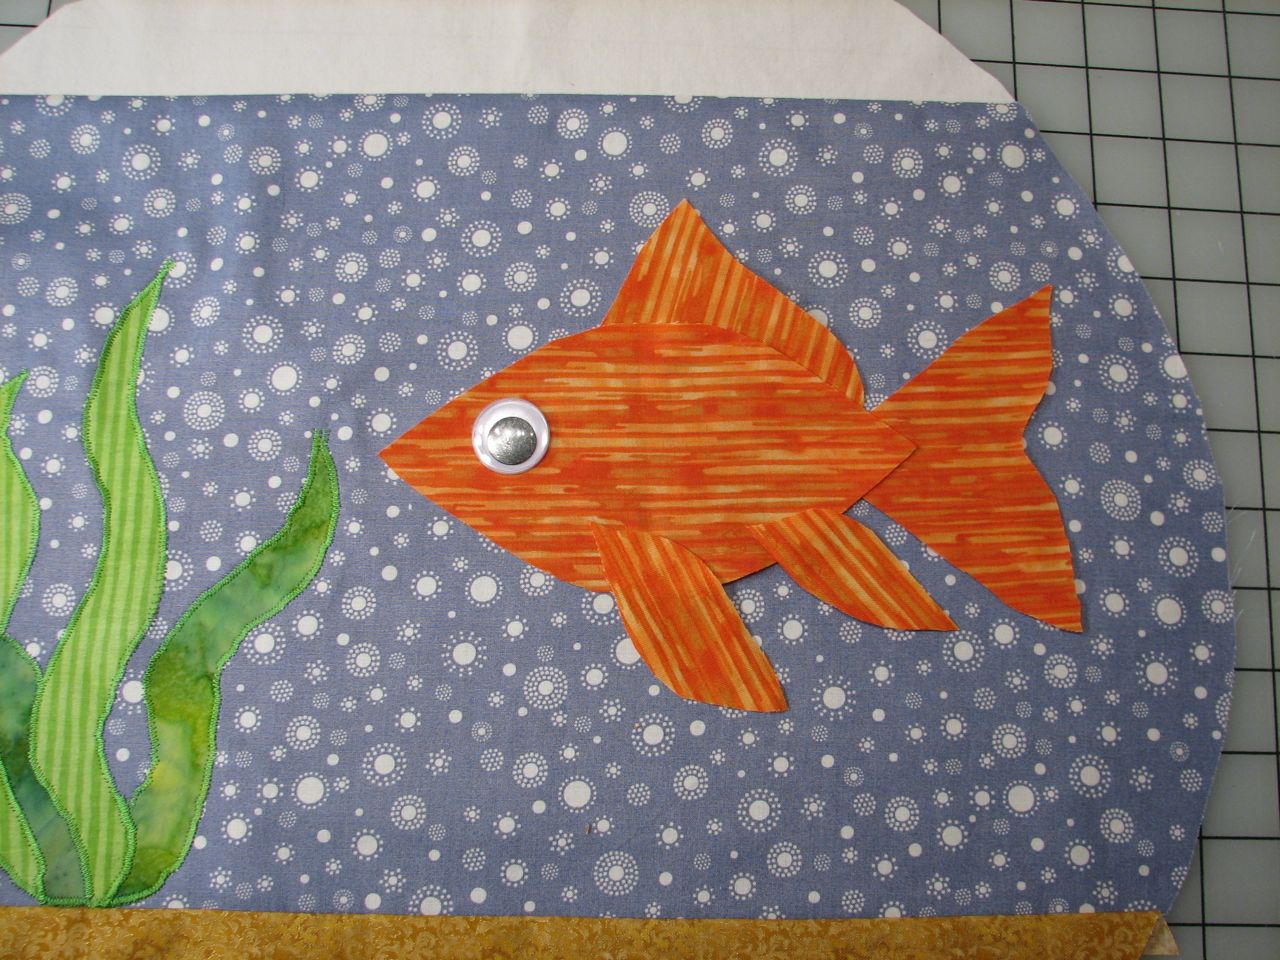
Lay out your goldfish. The pieces shown here are the body, tail, pectoral fin, dorsal fin, caudal fin, and googly eye. The stripes on this fabric leant themselves well to showing fin structure.
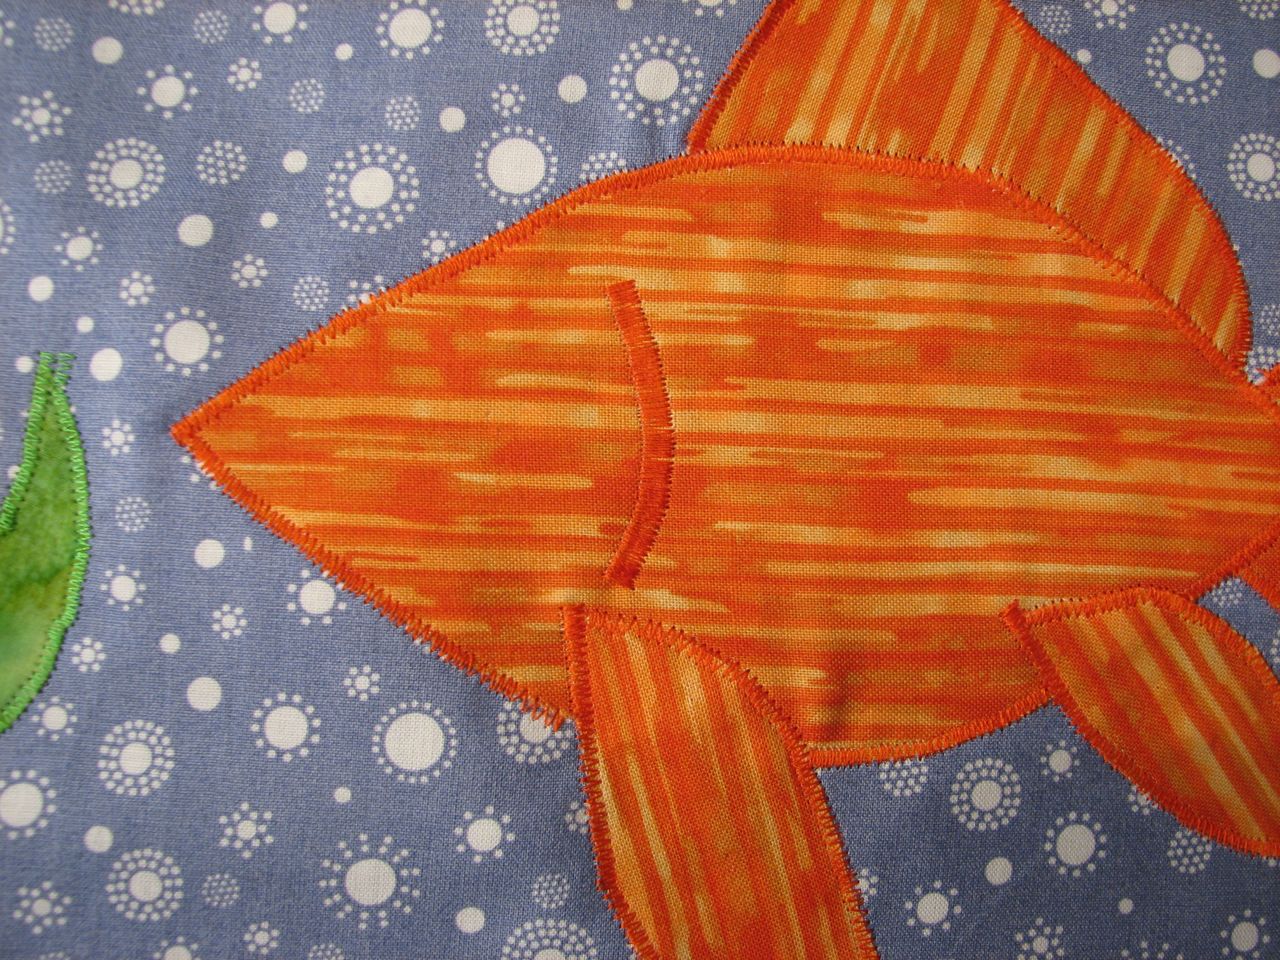
After sewing down the goldfish parts, don’t forget to embroider a gill!

Lay your backing piece (right sides together) on your beautiful fishy and put both on top of a piece of batting cut to the same size. Pin them together, marking with pins where you will leave an opening for turning it right side out.
Sew around the edge, leaving your opening in the bottom. Turn it right side out.

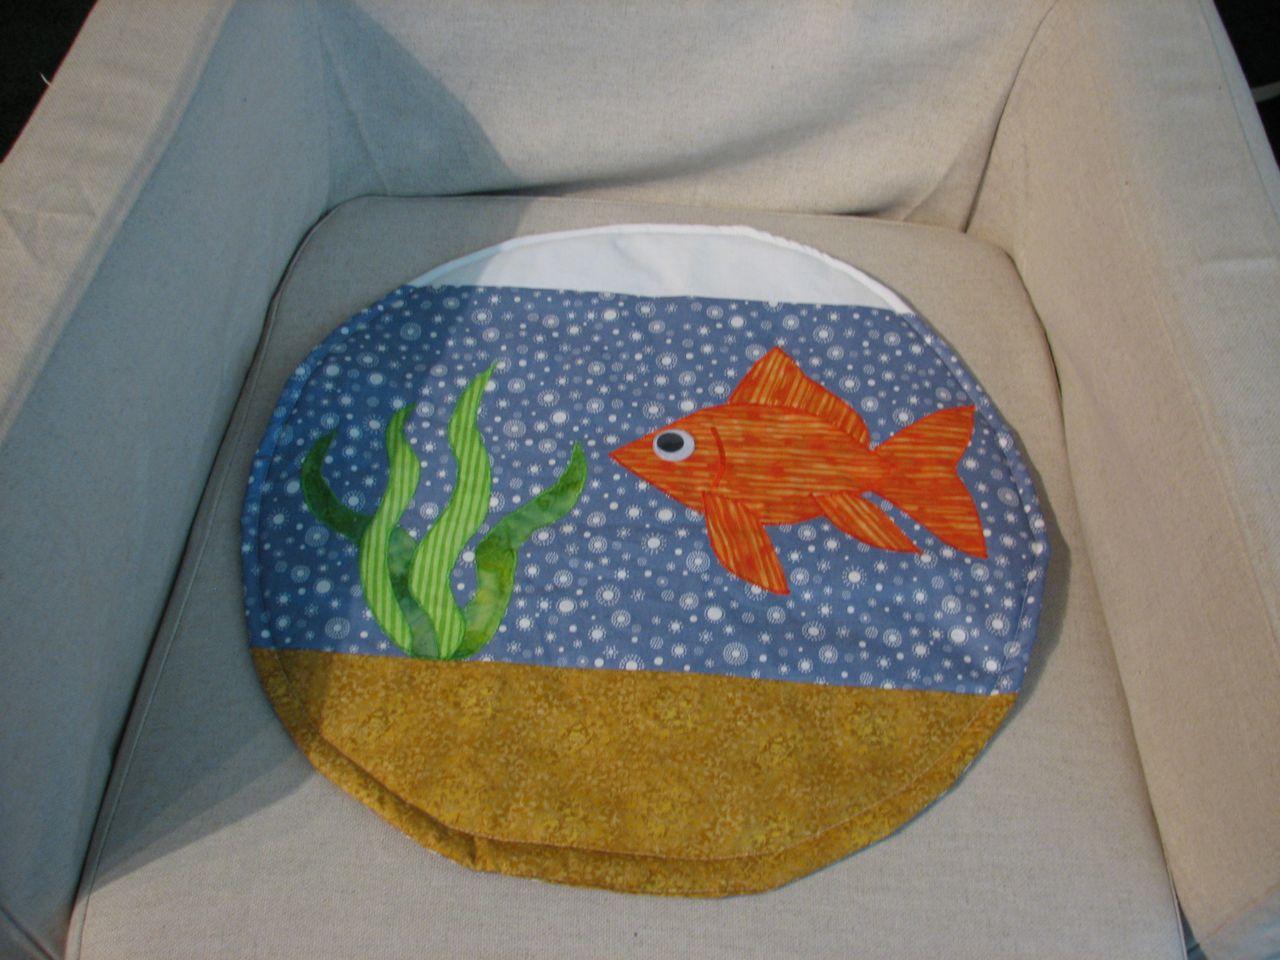
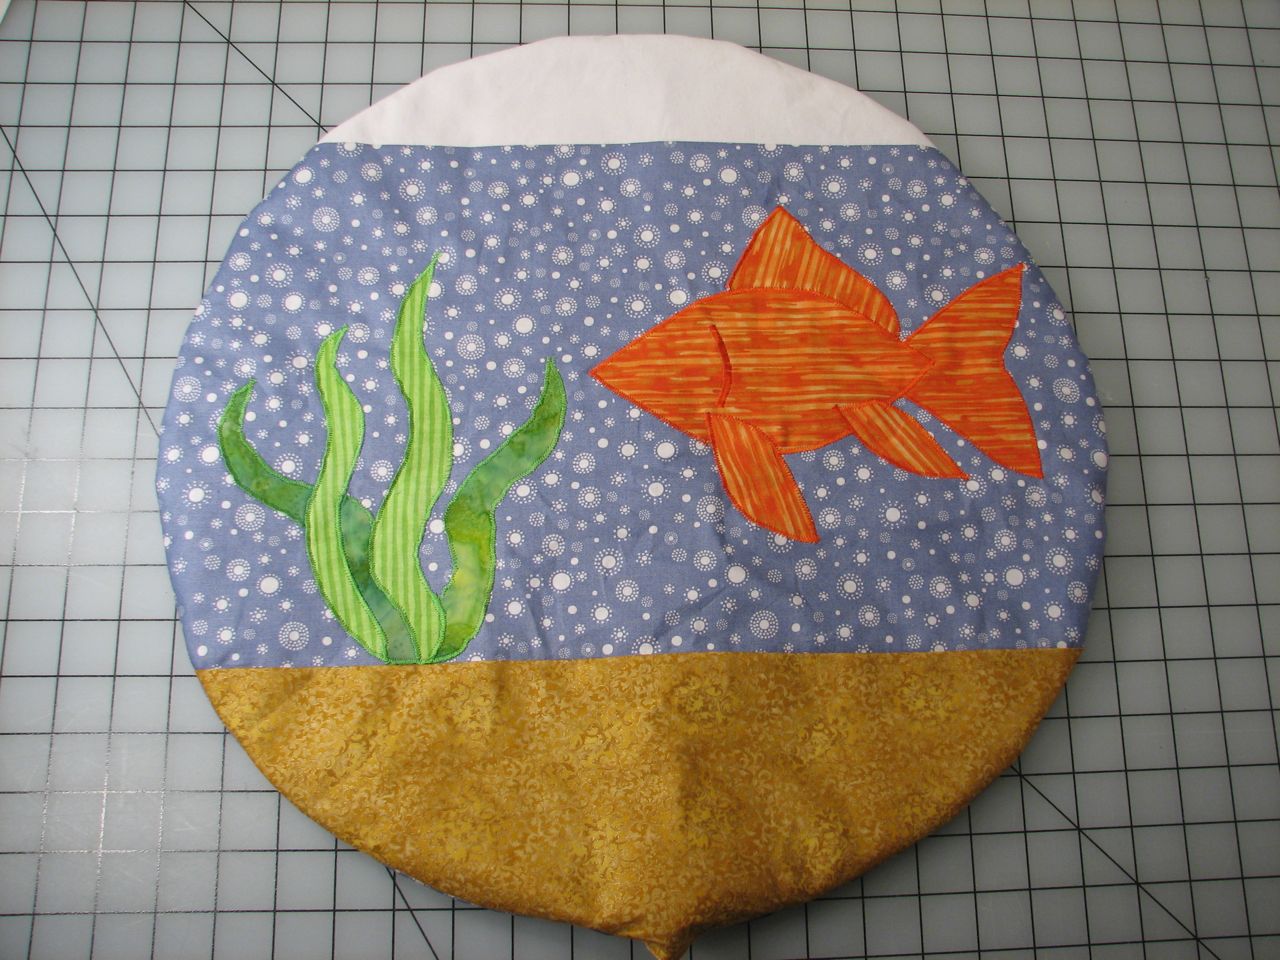
Stitch the bottom of the fishbowl shut, and then stitch the outline of the fishbowl, leaving it thicker at the bottom where the glass would be thicker. All that remains is the googly eye. Gel super glue is good for this as it doesn’t dry too quickly, which gives you time to line your eye up just right.
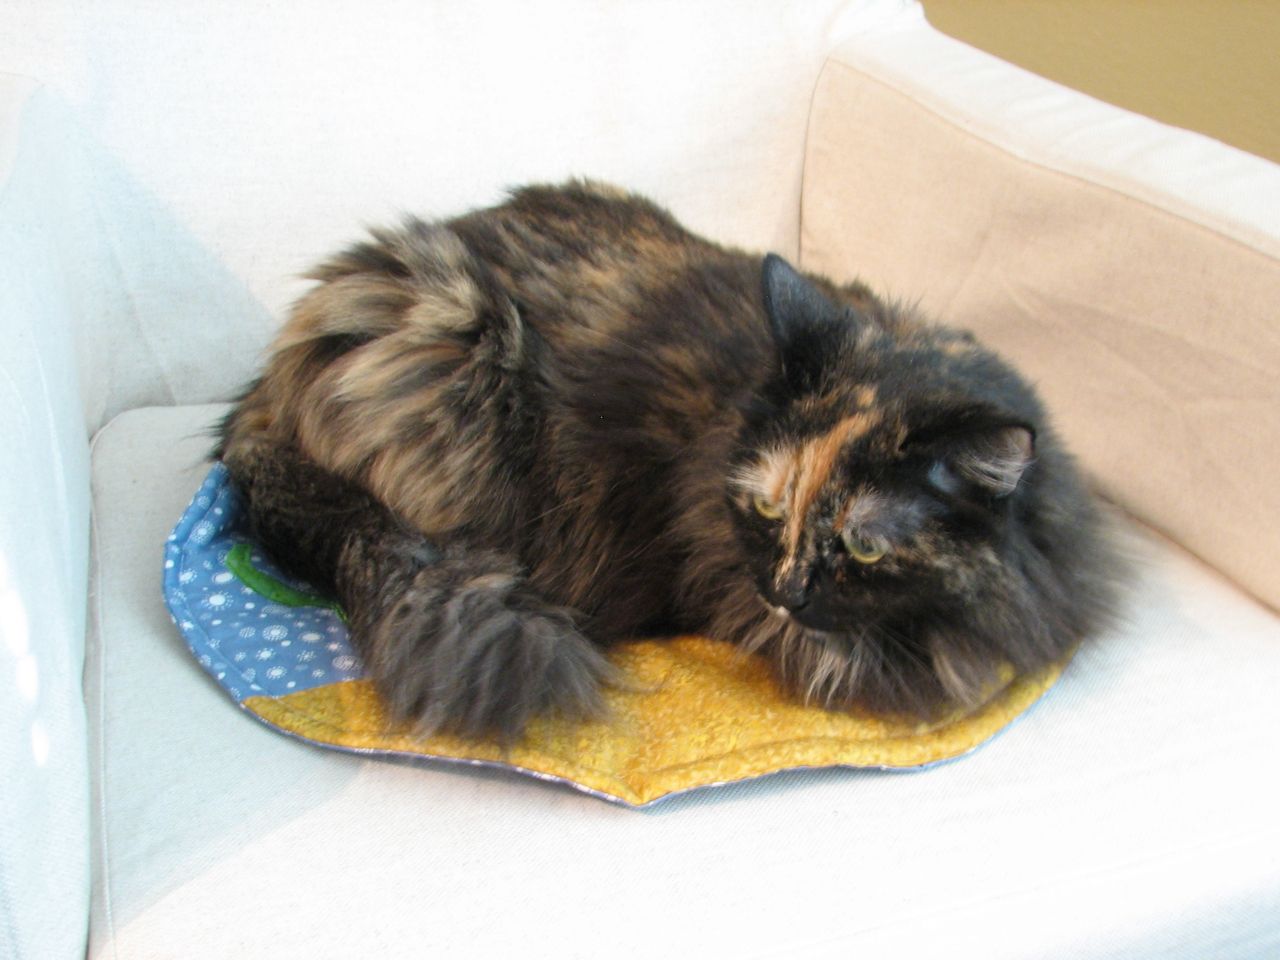
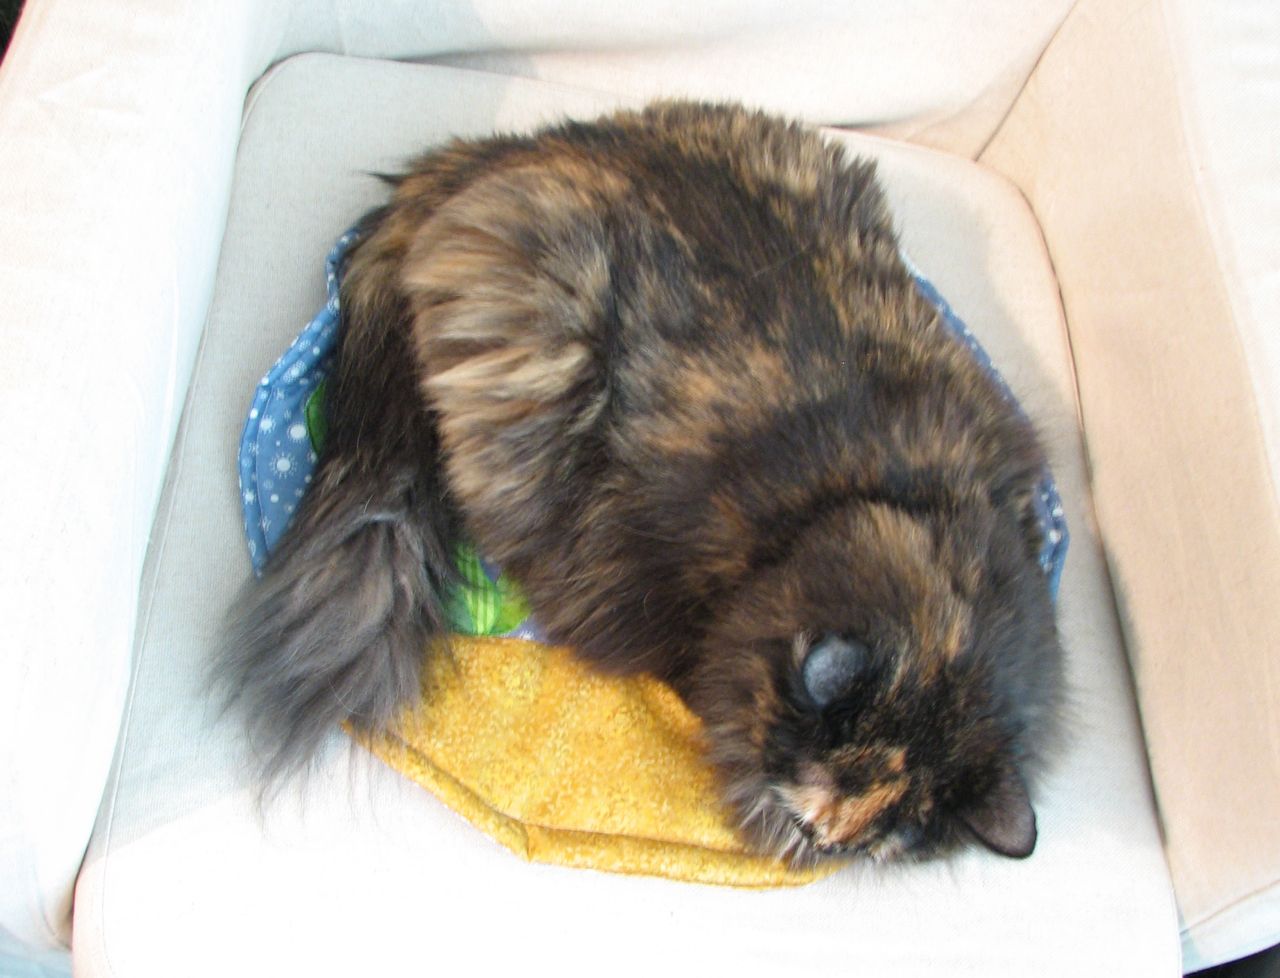
Place it on a chair and wait until it acquires a cat!

Dogs like lap quilts too:
not bagging on the quilt or anything, but thats hardly evil :P
Cats are evil!
Cats are evil!
I made one of these during my Thing-a-day month, too, but after the cat chaise, it had a hard time acquiring a cat! Mr Bun has finally adopted it, though, and I caught him enjoying it this past weekend:
http://flickr.com/photos/caitlinburke/3332741186/
(You can see the front and back of the quilt here: http://www.caitlinburke.com/2009/02/15/thing-15-frederick-quilt/ )
Thanks again for your fun tutorials!