


This is the set of build instructions for the updated version of our original retro-dork-chic-DIY D12 handbag.
This accompanies an article about the new version, and the d20 bag that we designed as well.

Our kit includes iron-on numbers, iron-on panel stiffeners, canvas outer pieces, soft cotton liner pieces, a zipper and a cord. Assembly takes a few hours and requires thread, needle, scissors, pins and an iron (for fabric, not solder). A sewing machine will make some parts go faster.
If you’re using your own materials, the pattern is available here (24 kB PDF). The zipper length is 9″ and you’ll need about two square feet of each kind of material.
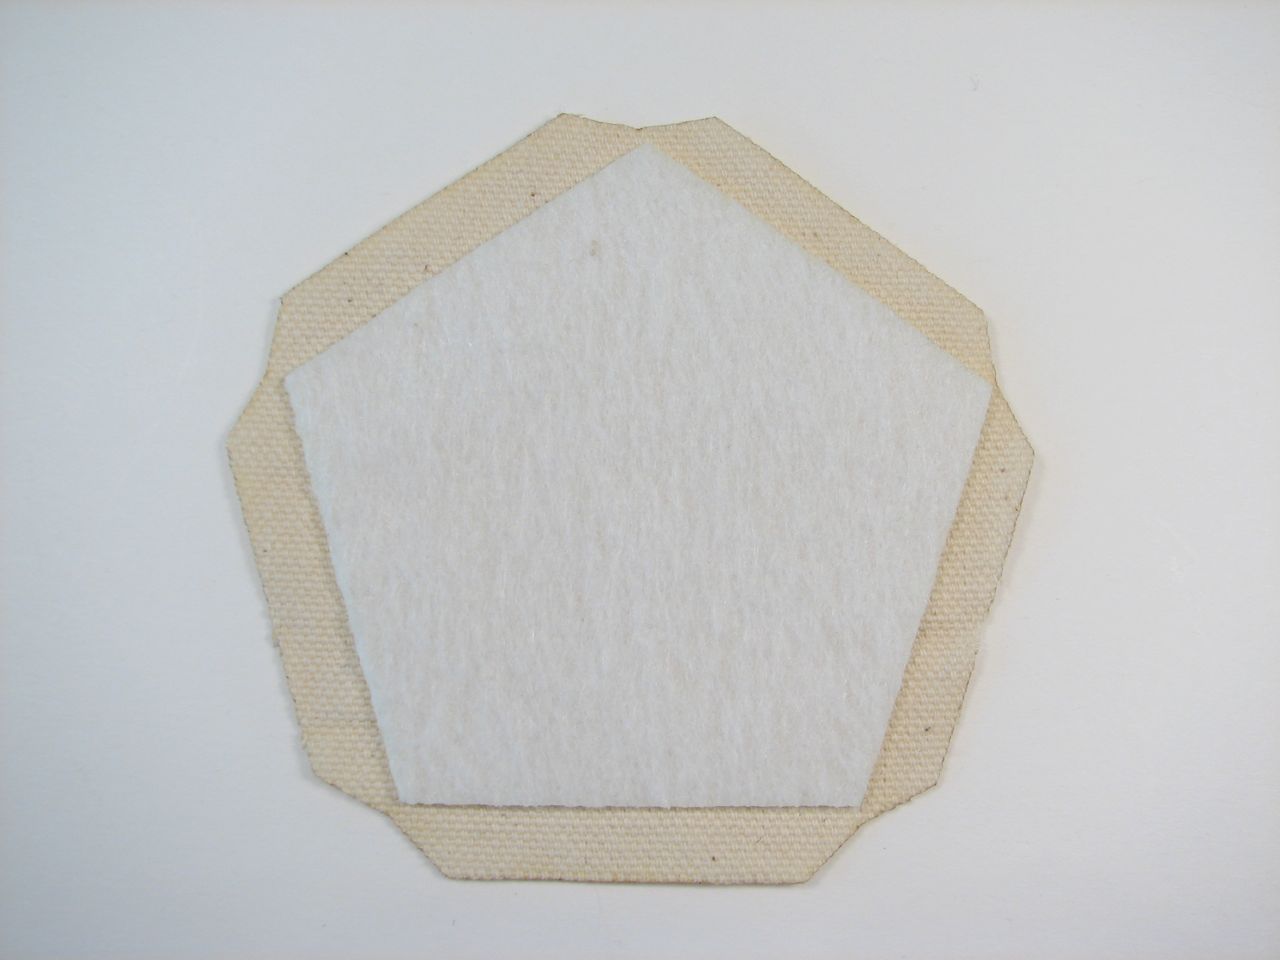
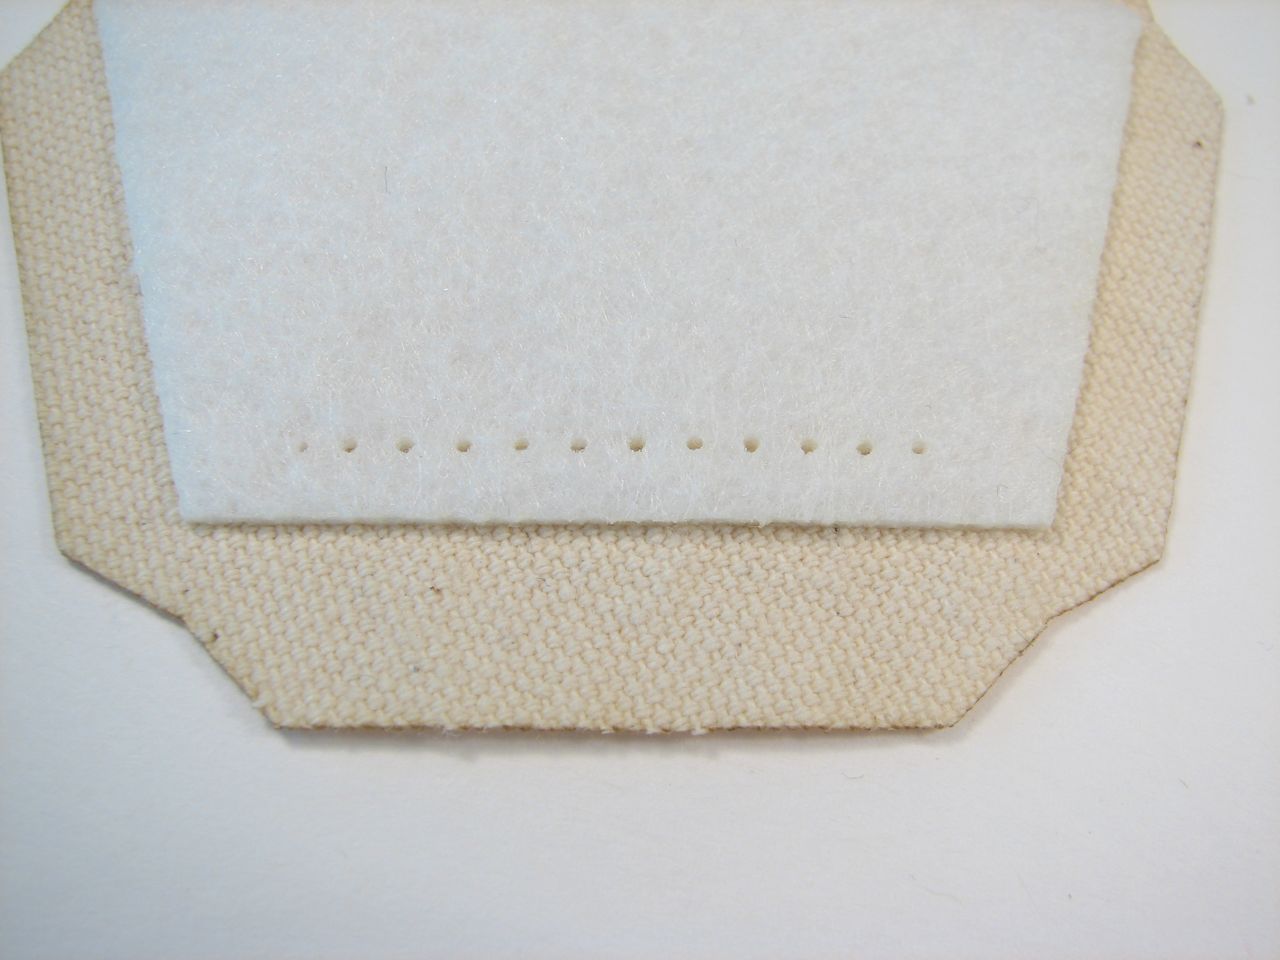
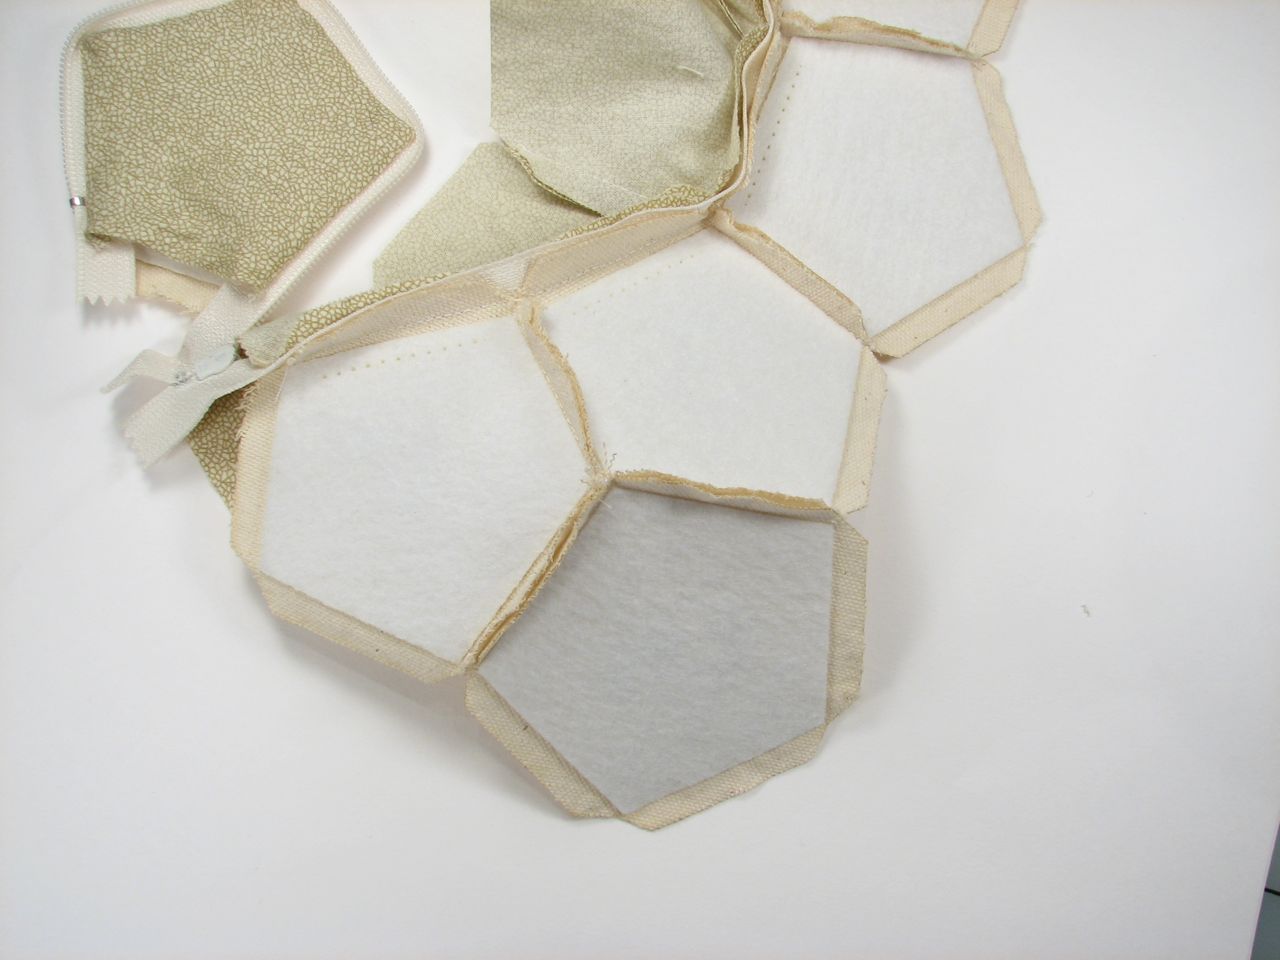
The first step is to iron the stiffeners onto the canvas pieces. A couple of the stiffeners are a little shorter on some of the edges; those edges are marked with a dotted line and indicate that they’ll go next to the zipper. One side of the stiffener is iron-on (may be very smooth like the back of the numbers or may be rough but have a distinctly plastic texture). The iron-on side goes against the canvas.
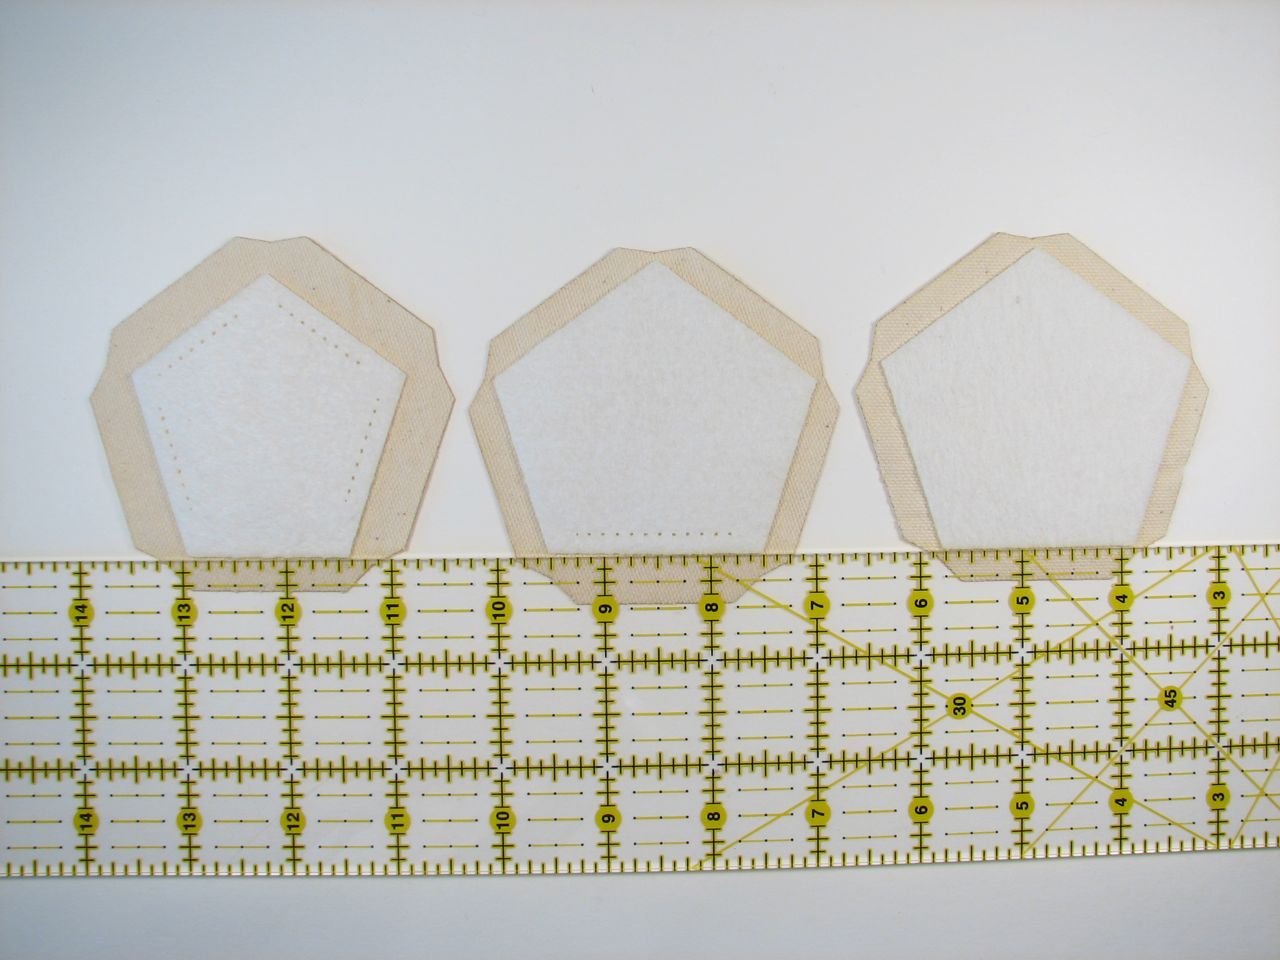
The stiffeners that aren’t perforated can just be centered on the canvas to be ironed on. There is a little more than a quarter-inch allowance around the stiffener. For the edges that go next to the zipper, the allowance will be about a half-inch.
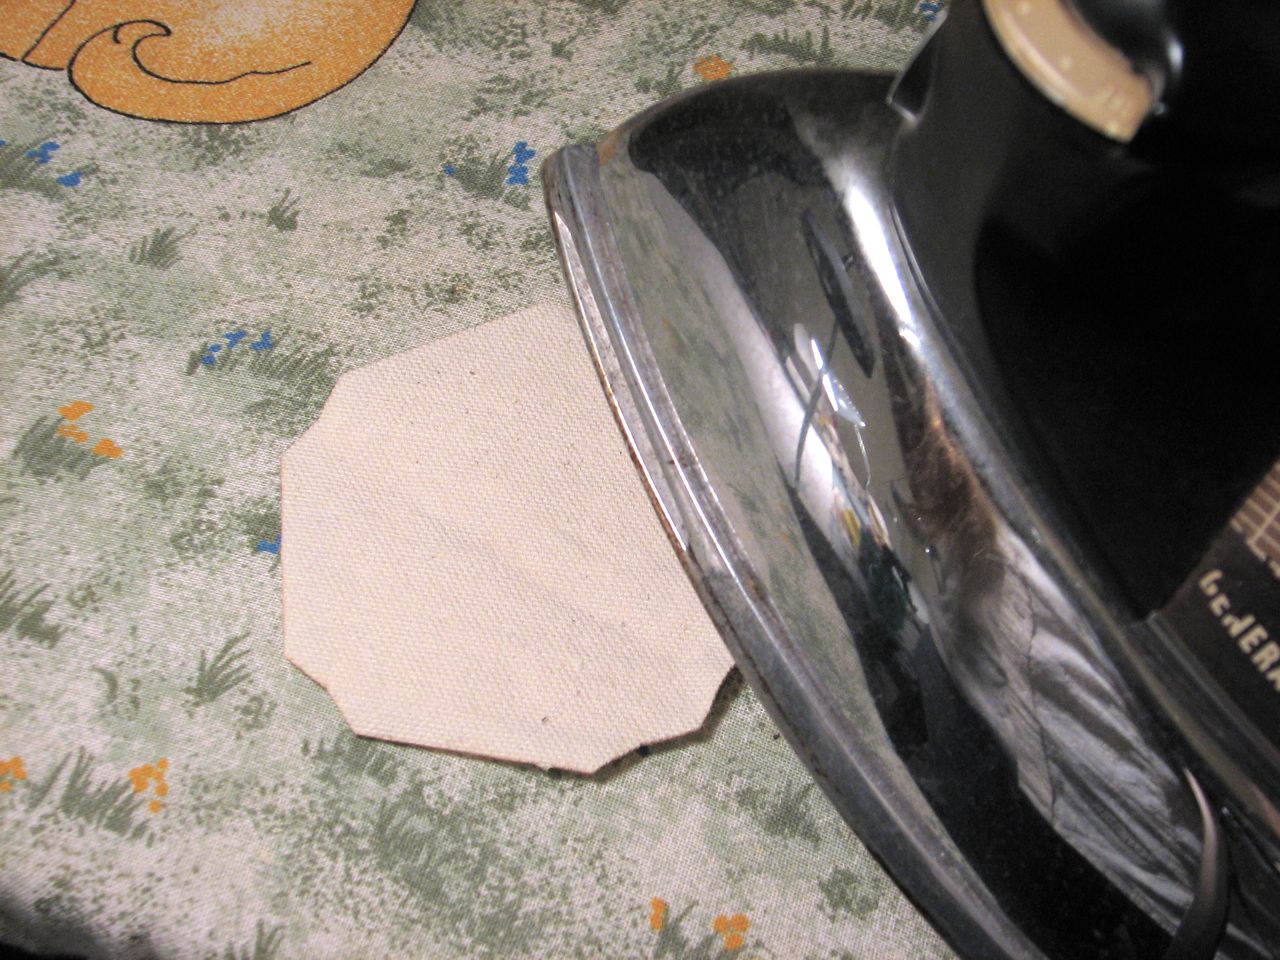
Position the stiffener, then place canvas-side up on your ironing board and place a hot dry iron over the top and press without moving the iron for 5-8 seconds.
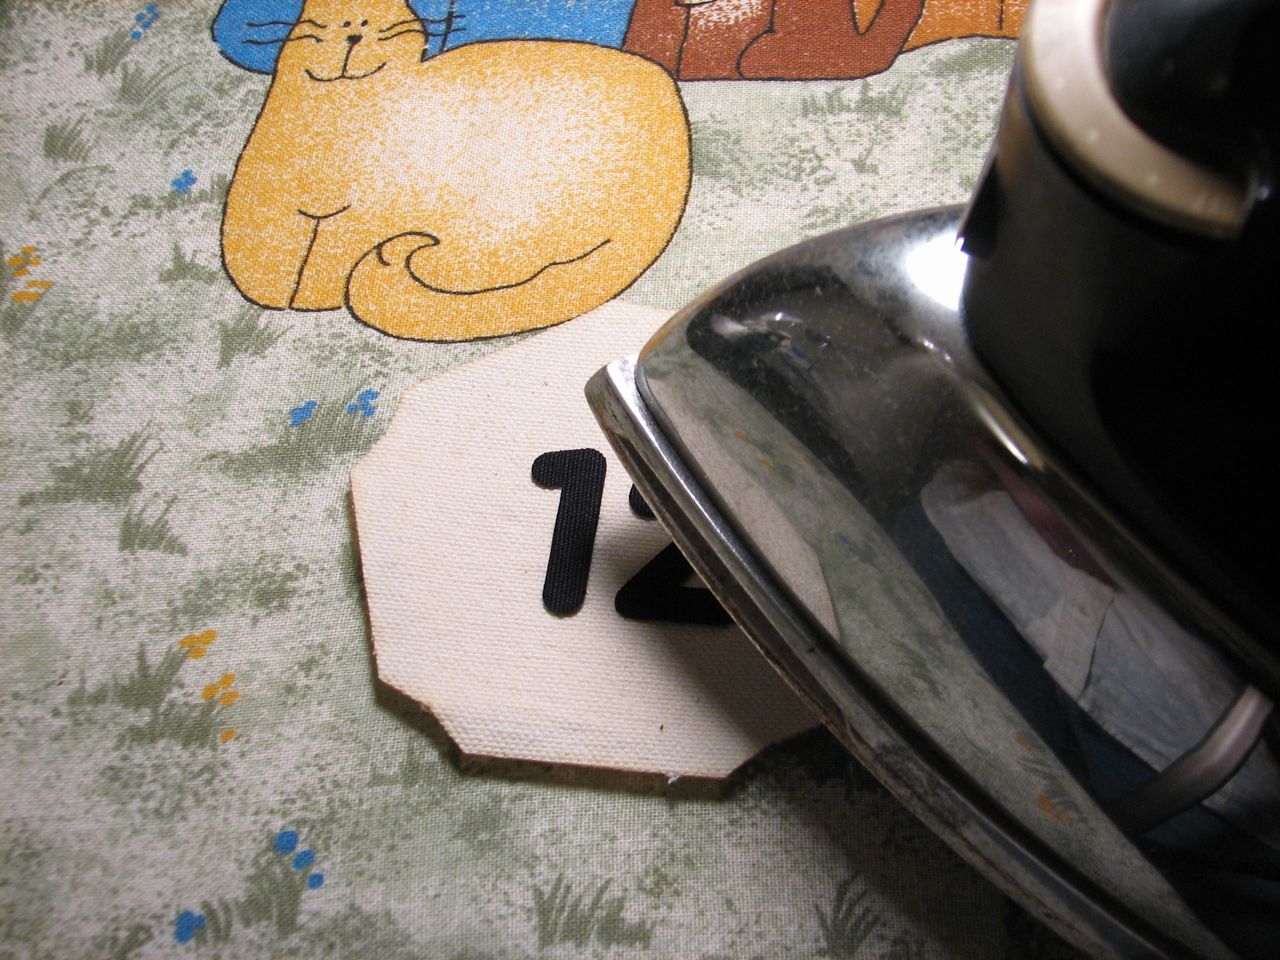
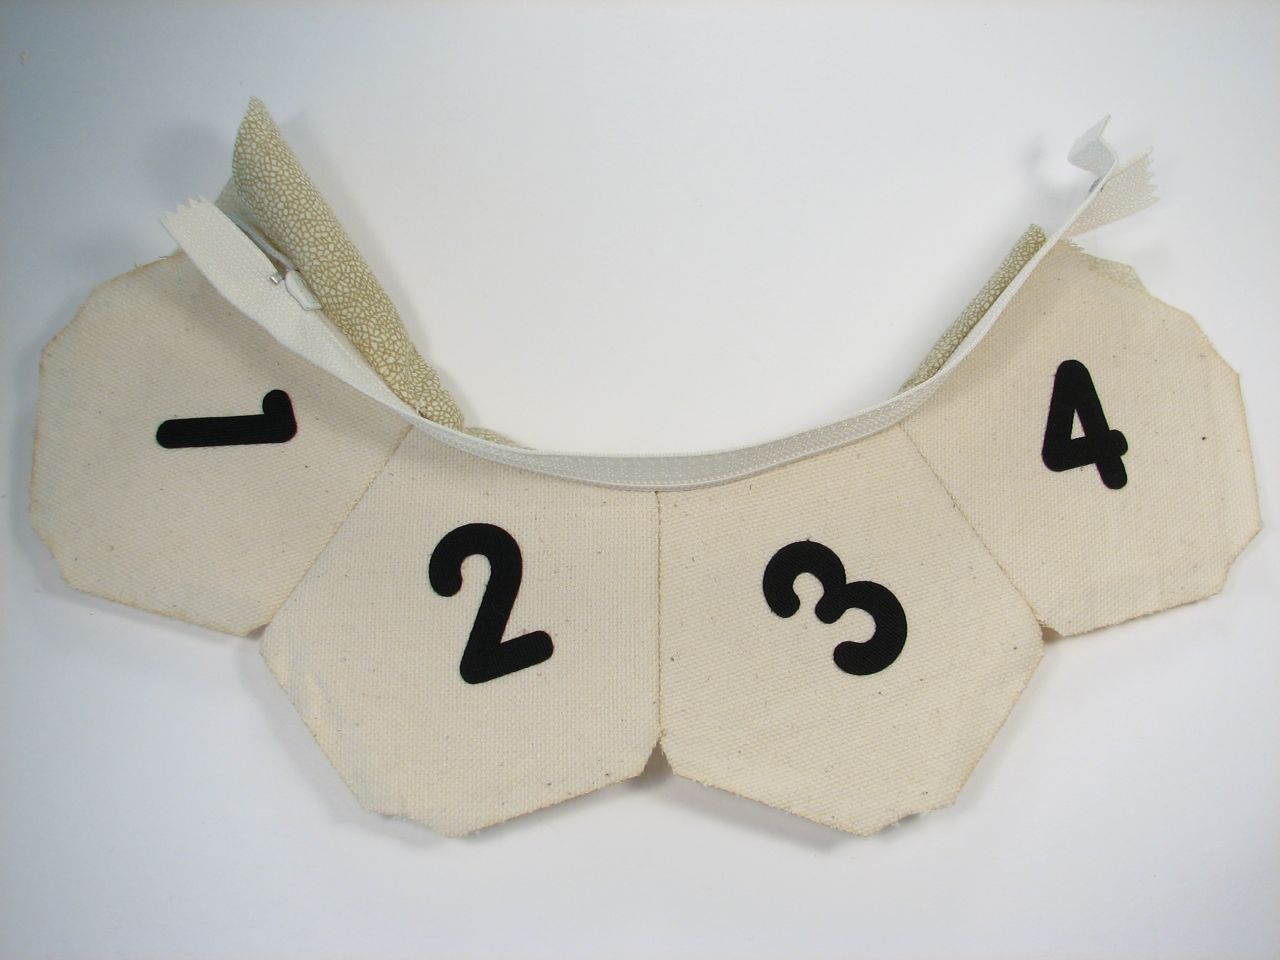
Place your numbers and iron them on as well.

The pieces that go around the zipper get sewn together first.
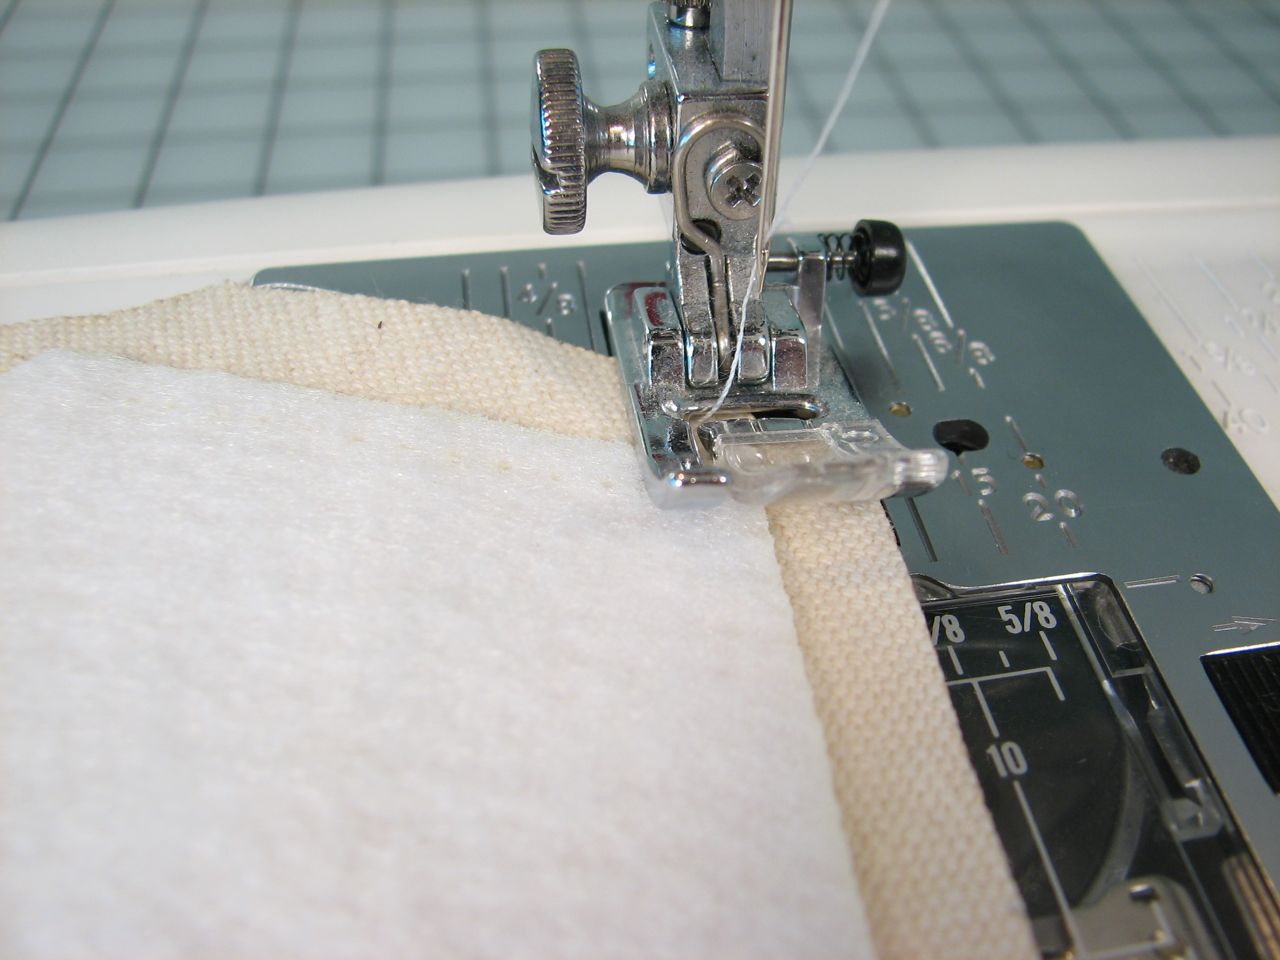
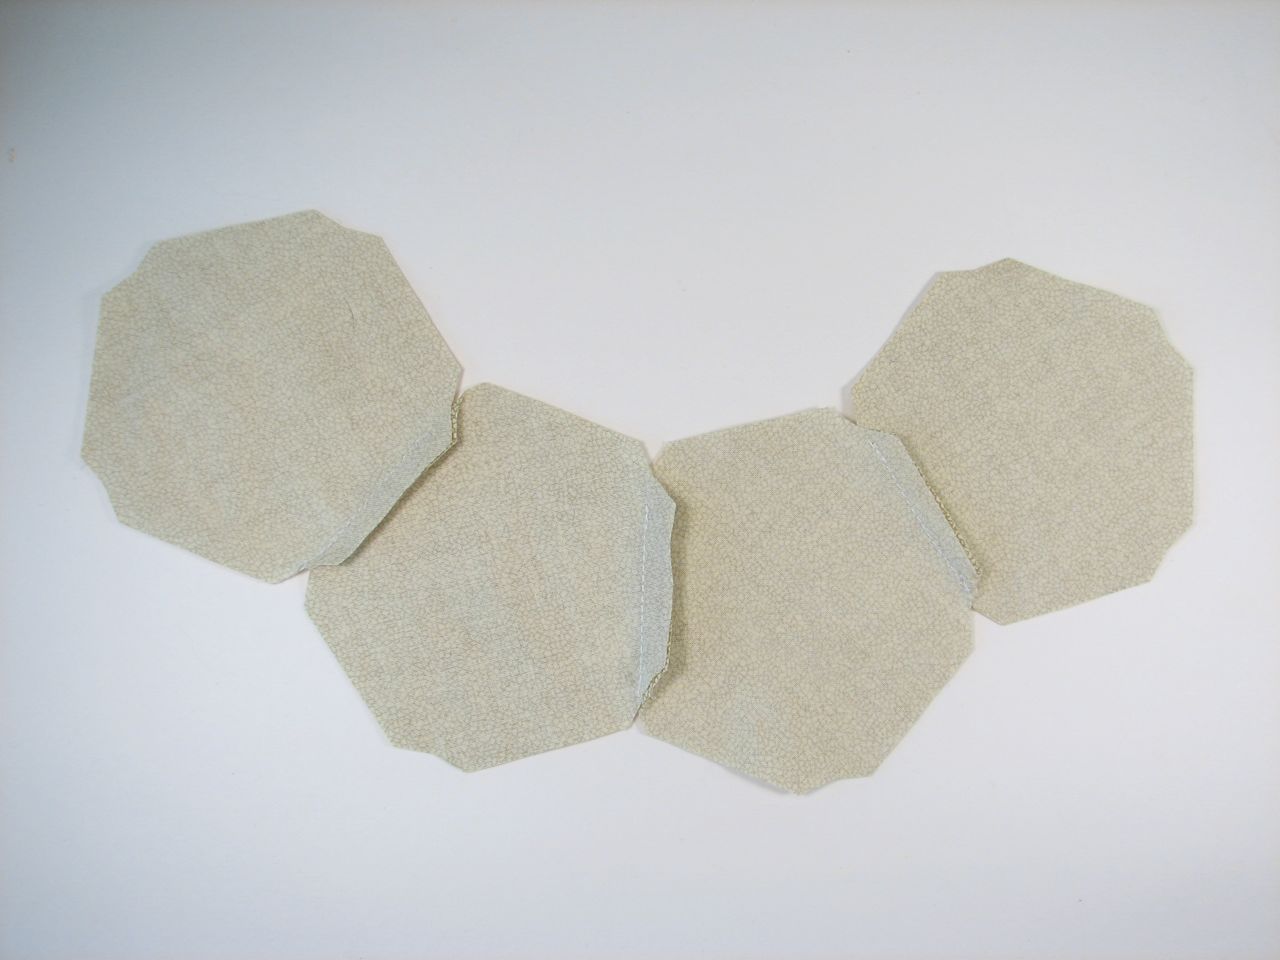
Place two of the pieces together with the dotted lines aligned and sew along an adjacent edge. You can sew the edges together by hand or by machine. By machine, you can use a regular foot, but a zipper foot works great for guiding the edge along. Repeat with the third and fourth zipper edge pieces.
Sew four of the liner pieces together in the same pattern using a quarter-inch seam allowance.
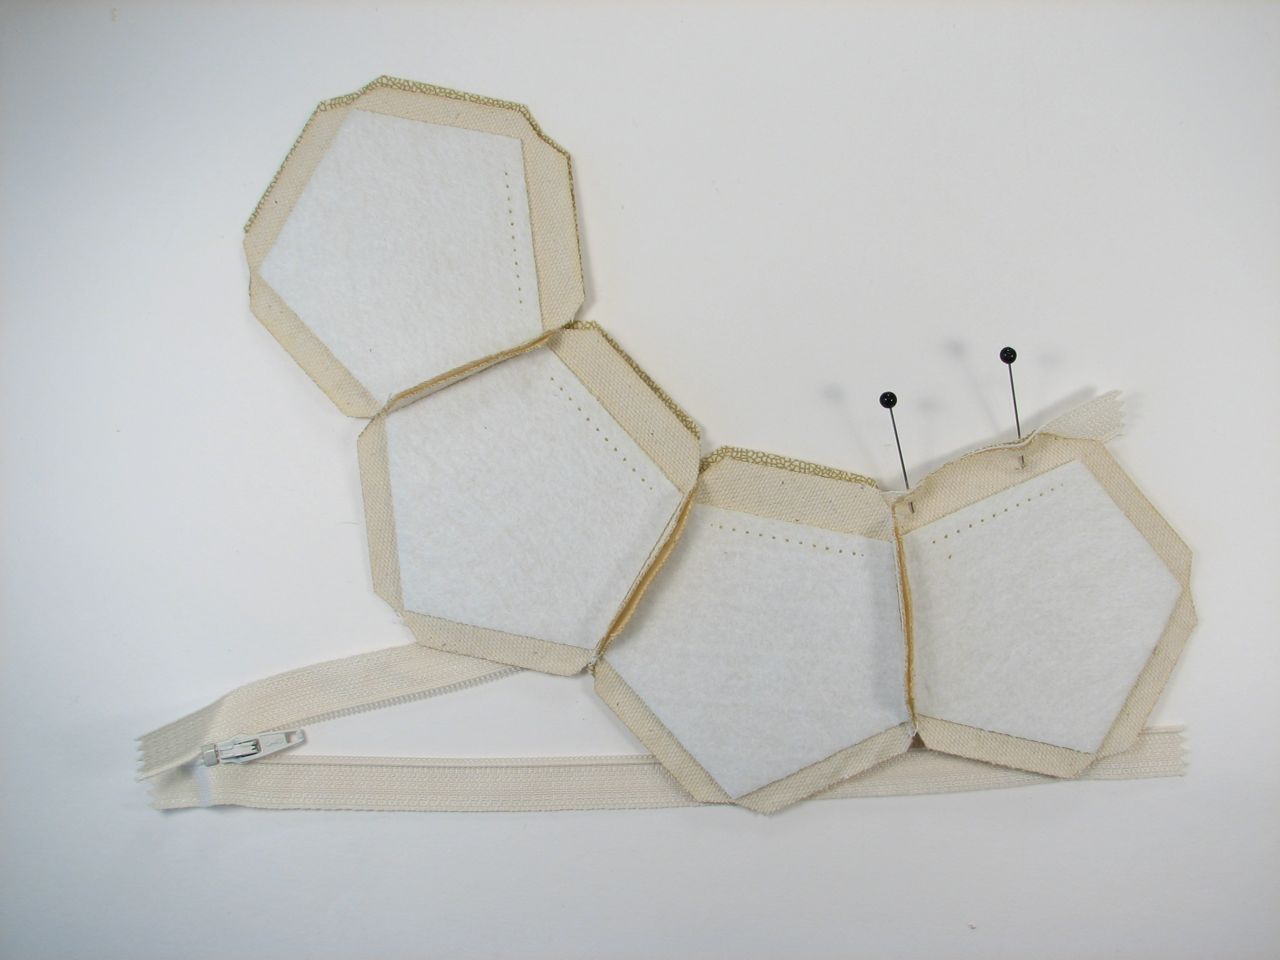
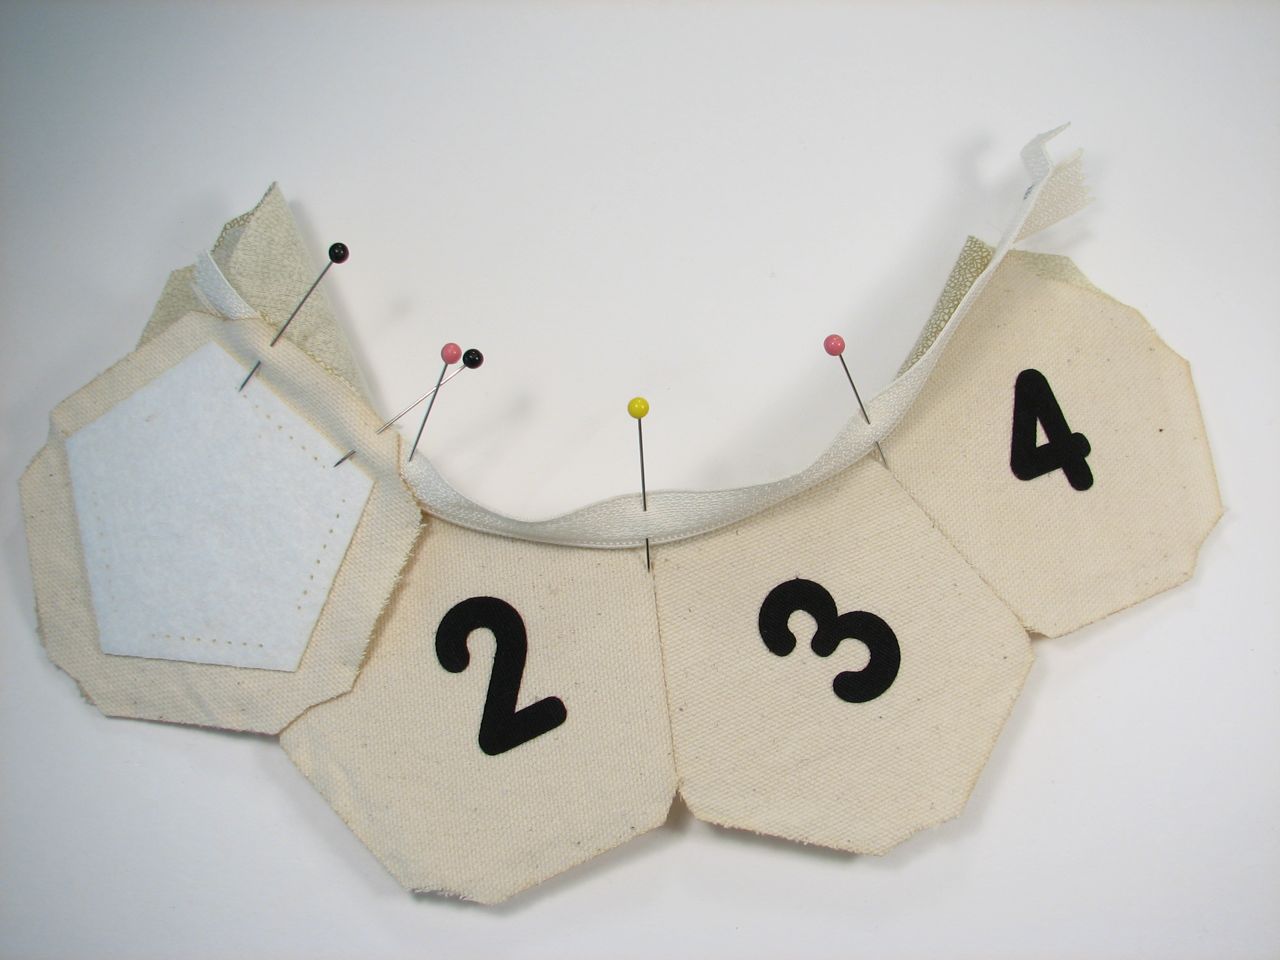
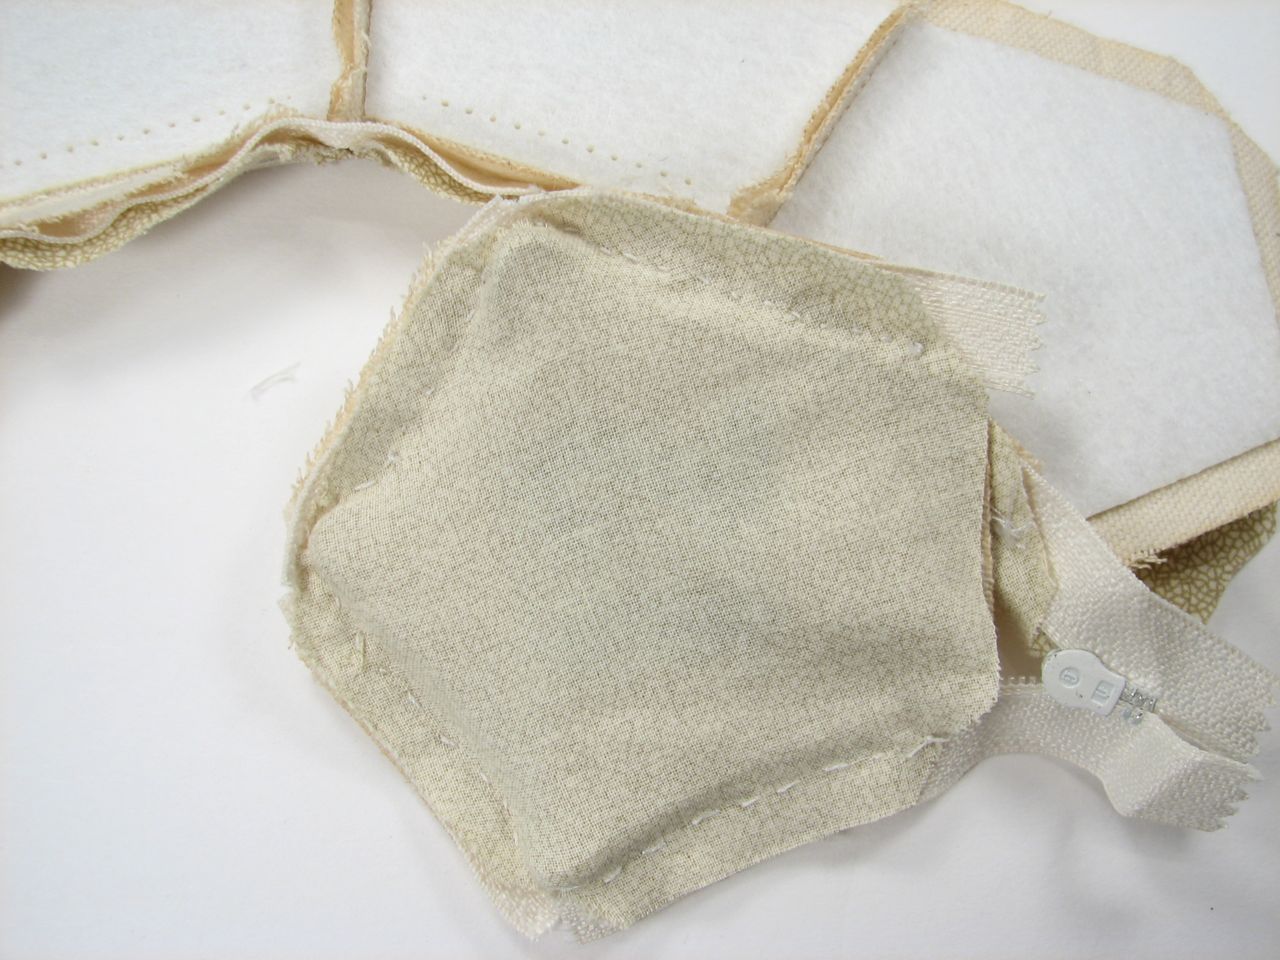
Pin the zipper between the outer canvas and the cotton liner. Start with one pentagon edge and then bend slightly for the adjacent one.

Once it is all pinned together, sew the zipper on. You can do this either on a machine or by hand, but hand-stitching may be preferable because the bends in the zipper make it hard to keep an even distance from the teeth when sewing by machine.
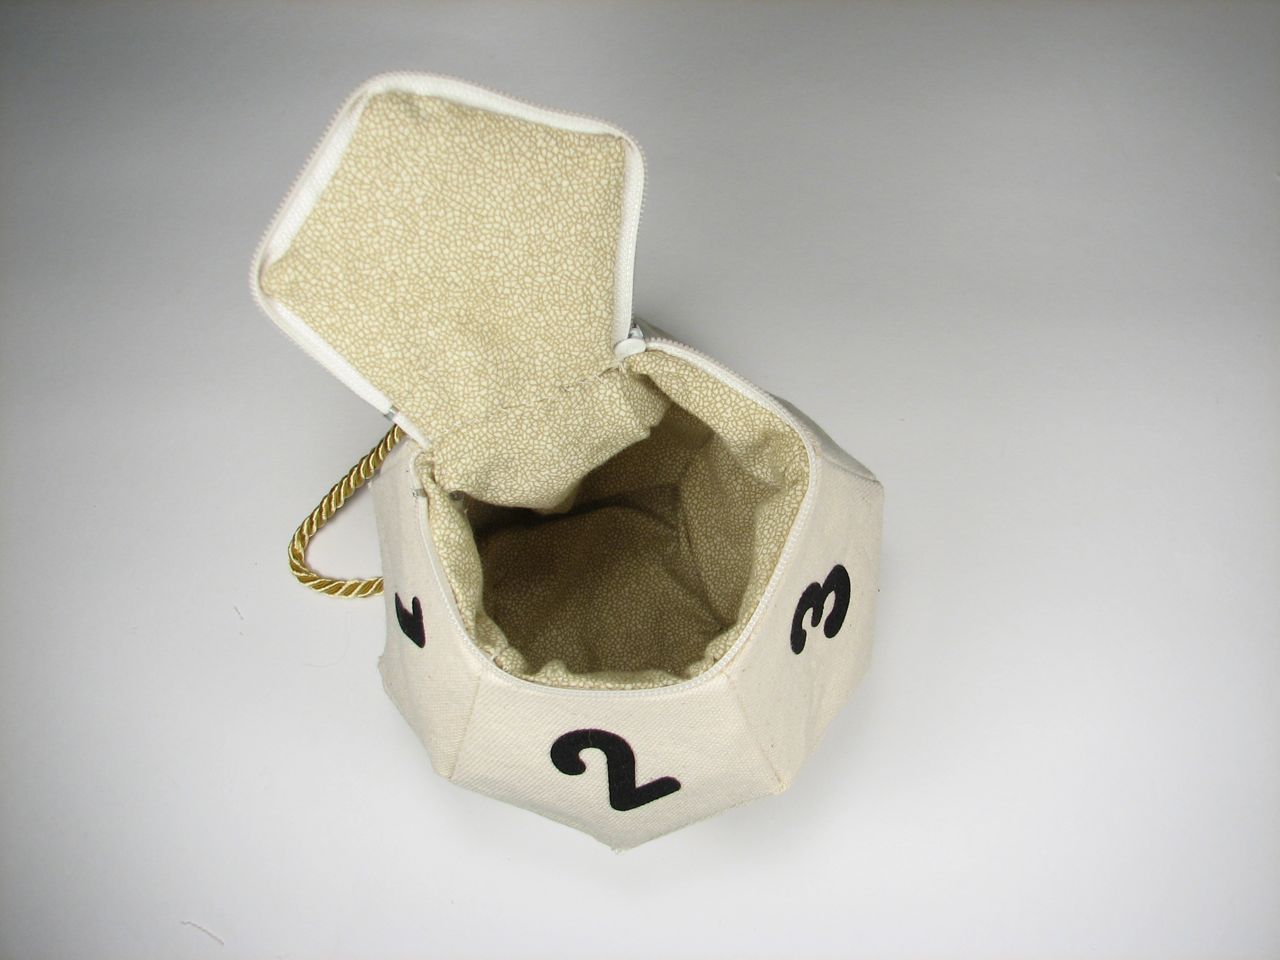
Close the zipper and admire. Make sure that the zipper moves freely before moving on to the next step.
Use a pin to mark each of the intersection locations between the pentagons. Also pin the first edge of the lid piece and its cotton liner to the zipper.
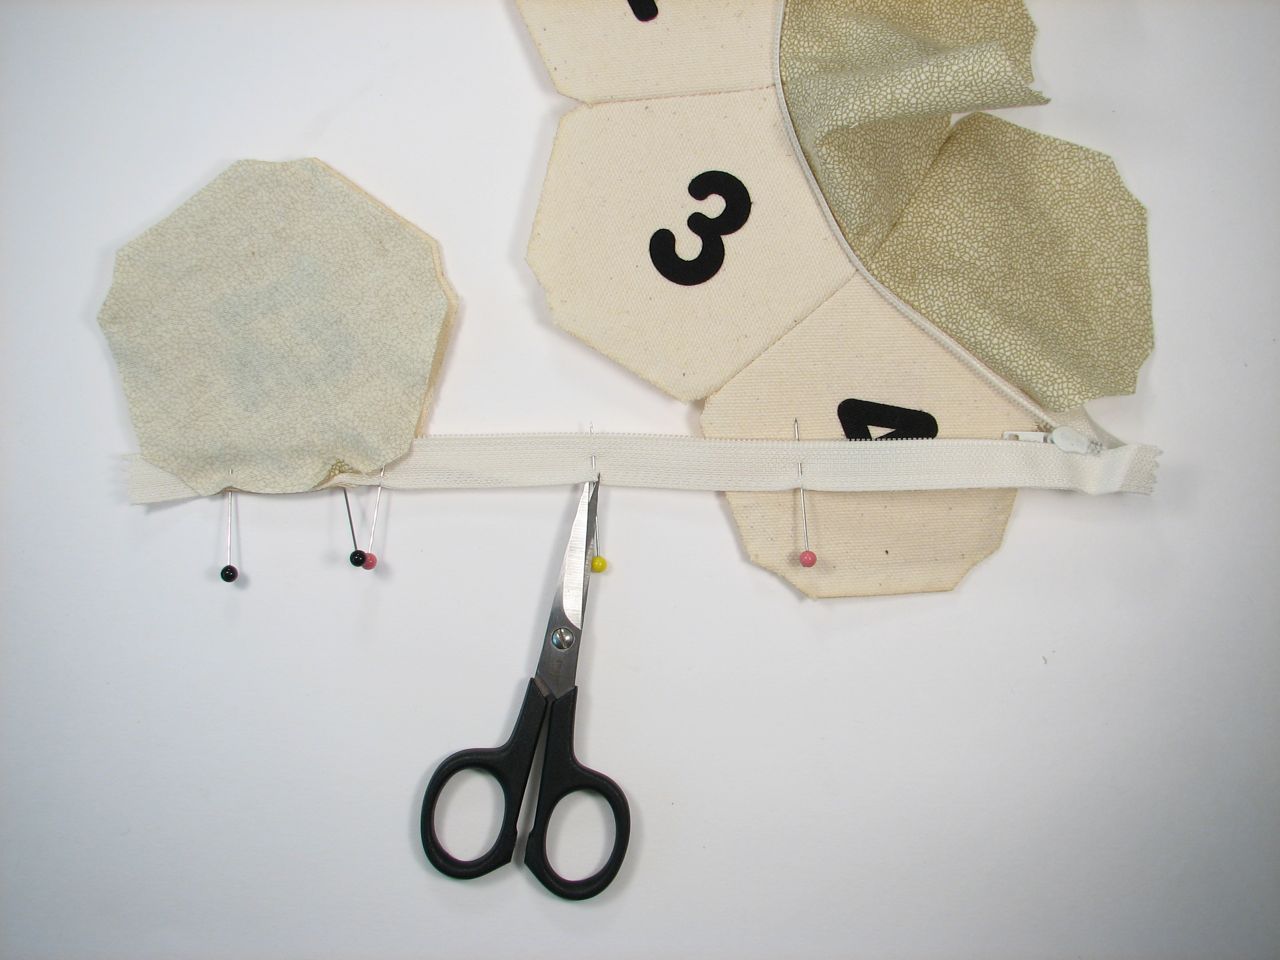
Unzip the zipper and clip the edge by each of the intersection marking pins. This will make it easier for the zipper to bend around the edge of the lid piece.
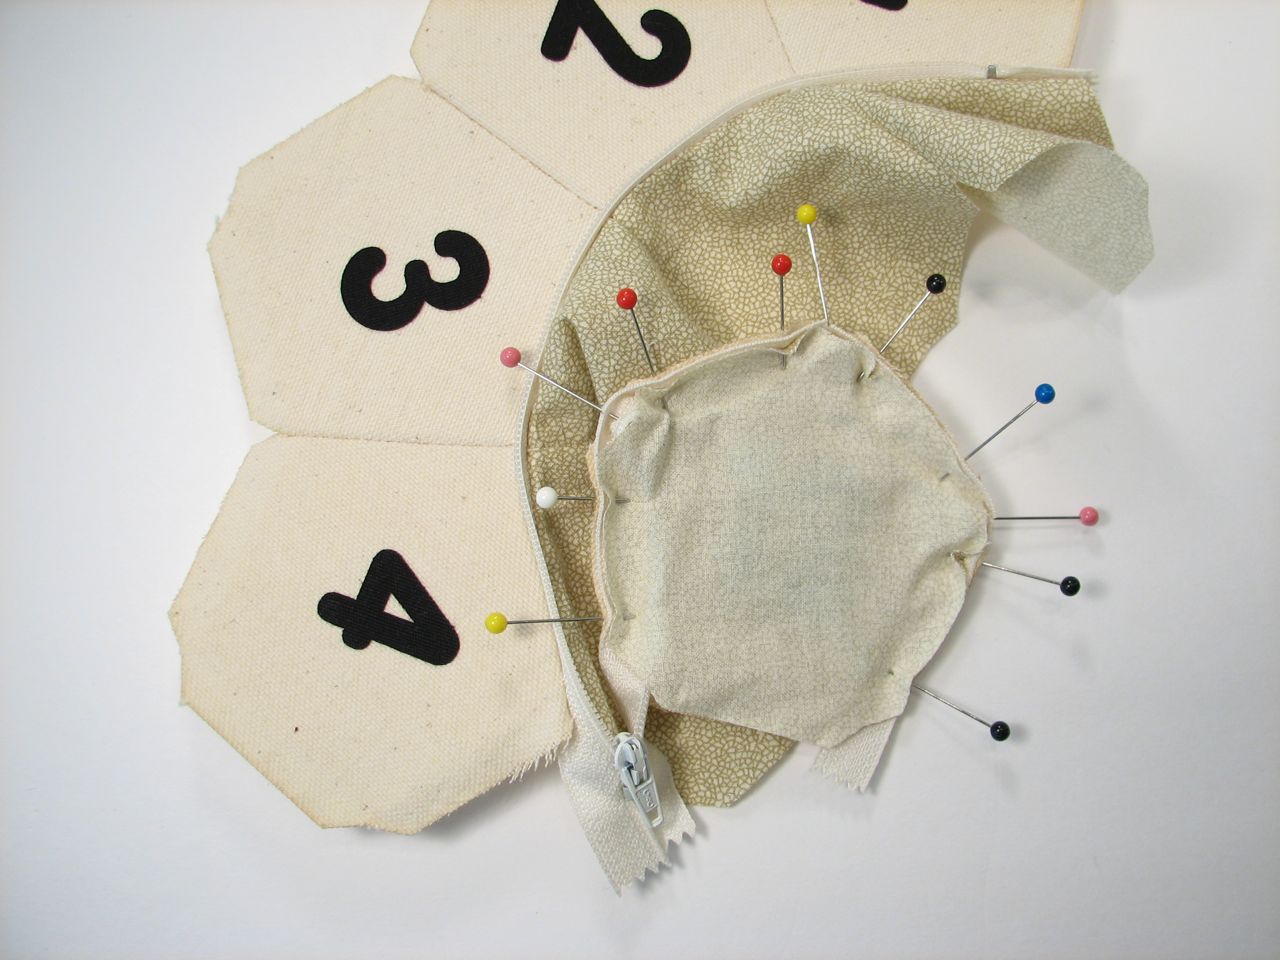
Pin the zipper around the edge of the lid, aligning the marking pins with the corners. The liner will stretch over the zipper.
Handstitch around the zipper.
Turn the lid right-side-out. Check the fusion of the iron-on numbers and retouch with the iron if necessary.
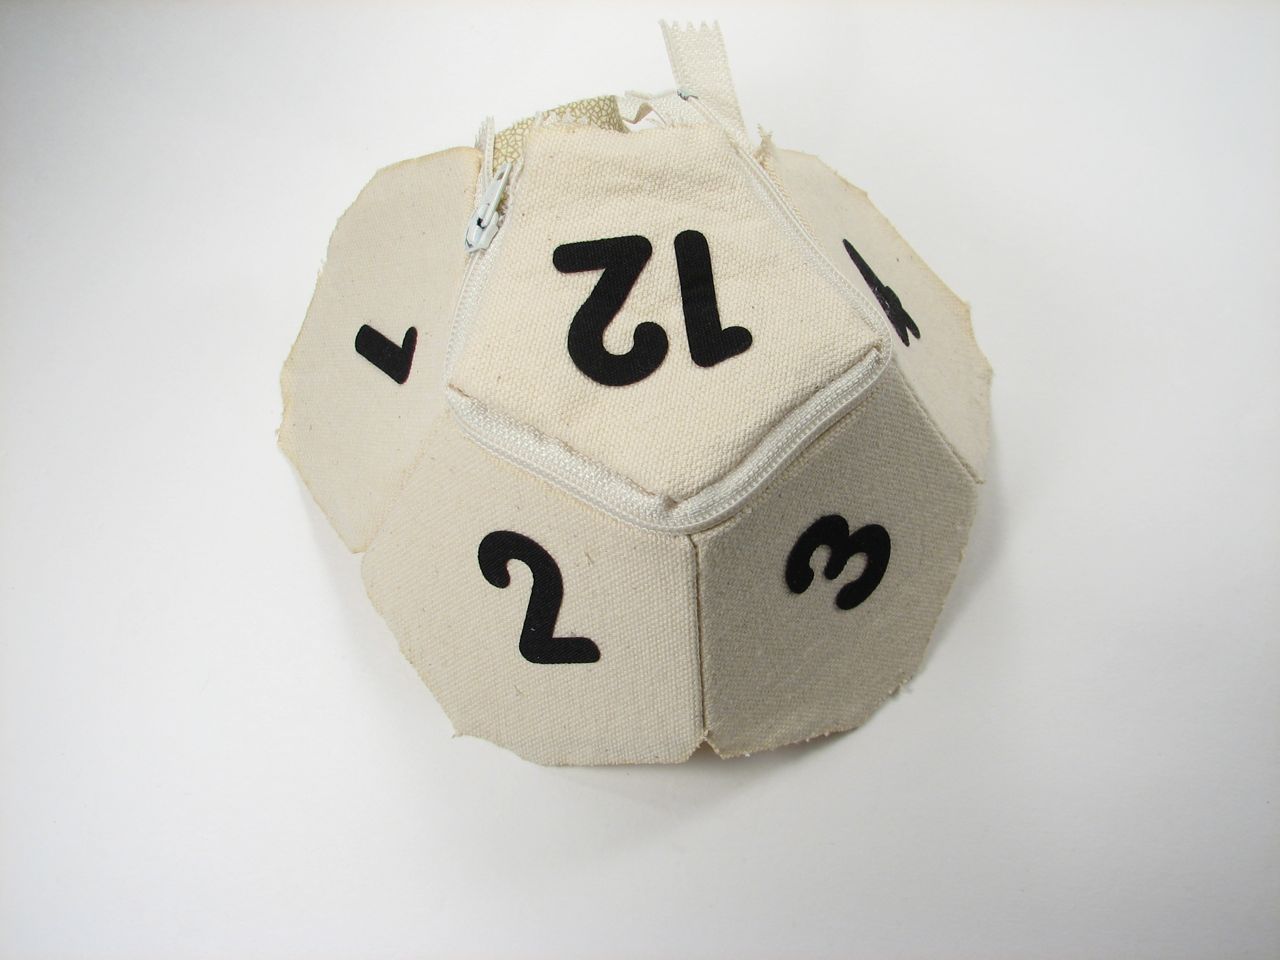
If you close the zipper, you can see that it is almost half done.
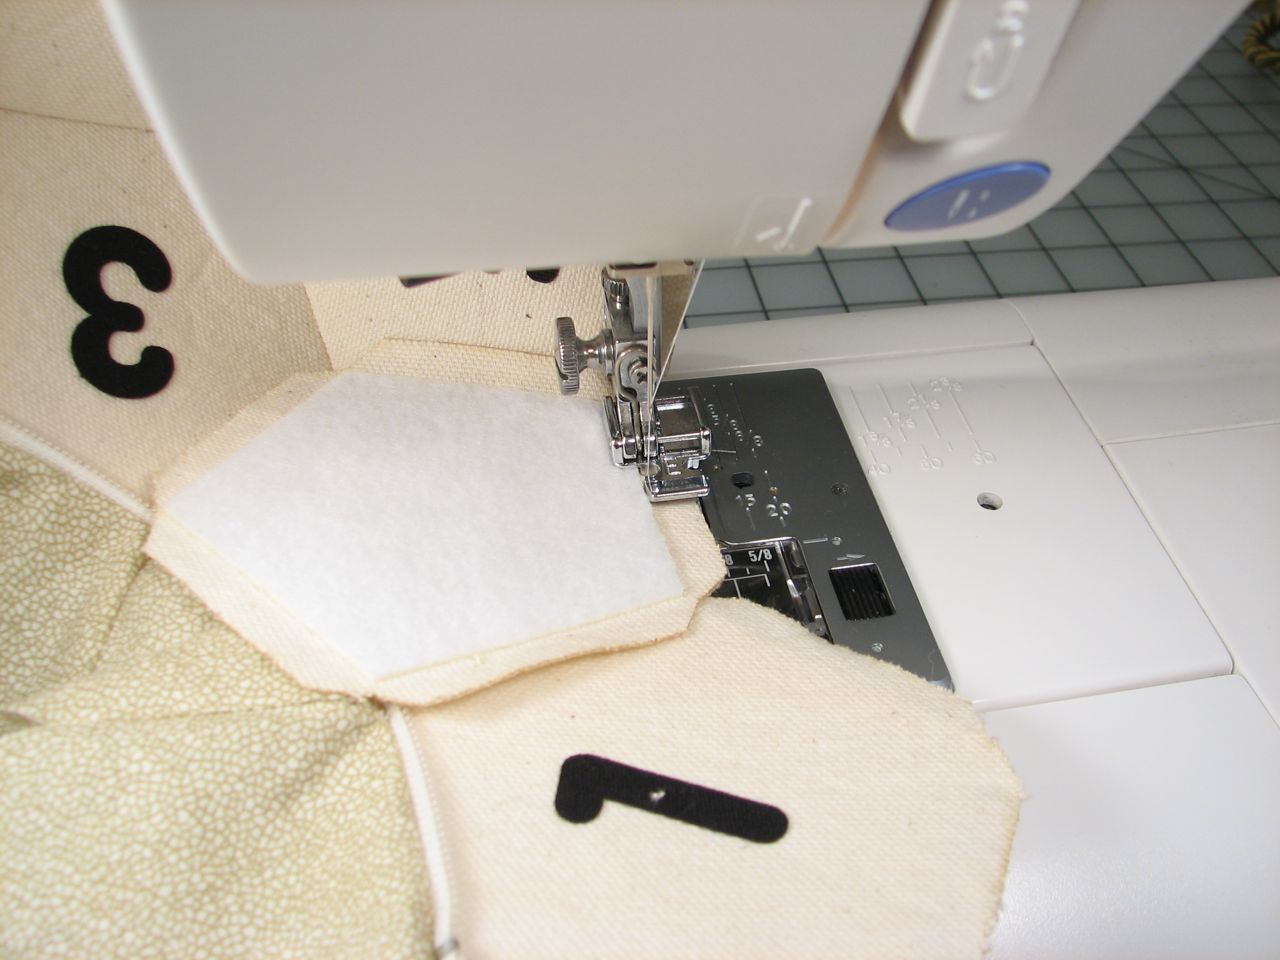
Unzip and sew on the rest of the pentagons.

If using a sewing machine, when joining the third segment at a corner, start the seam at the open end and sew toward the corner, bending the third pentagon in half as you approach it.
It will gradually gain shape. If the intersections of three pieces at the corners are loose, hand stitch to tighten them.
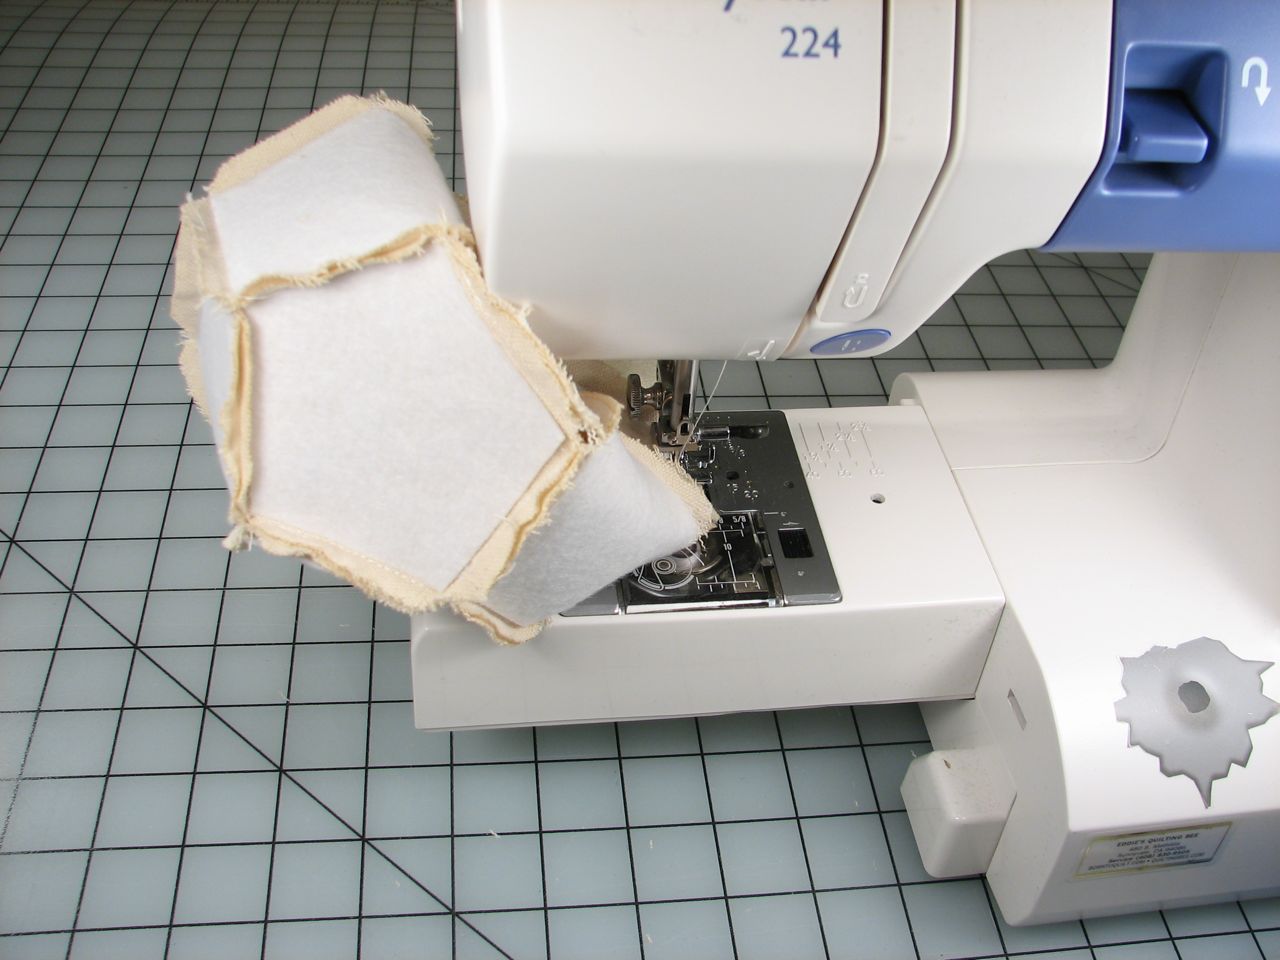
At some point, you may need to squish the pieces down to continue to use a sewing machine. Otherwise, continue by hand.
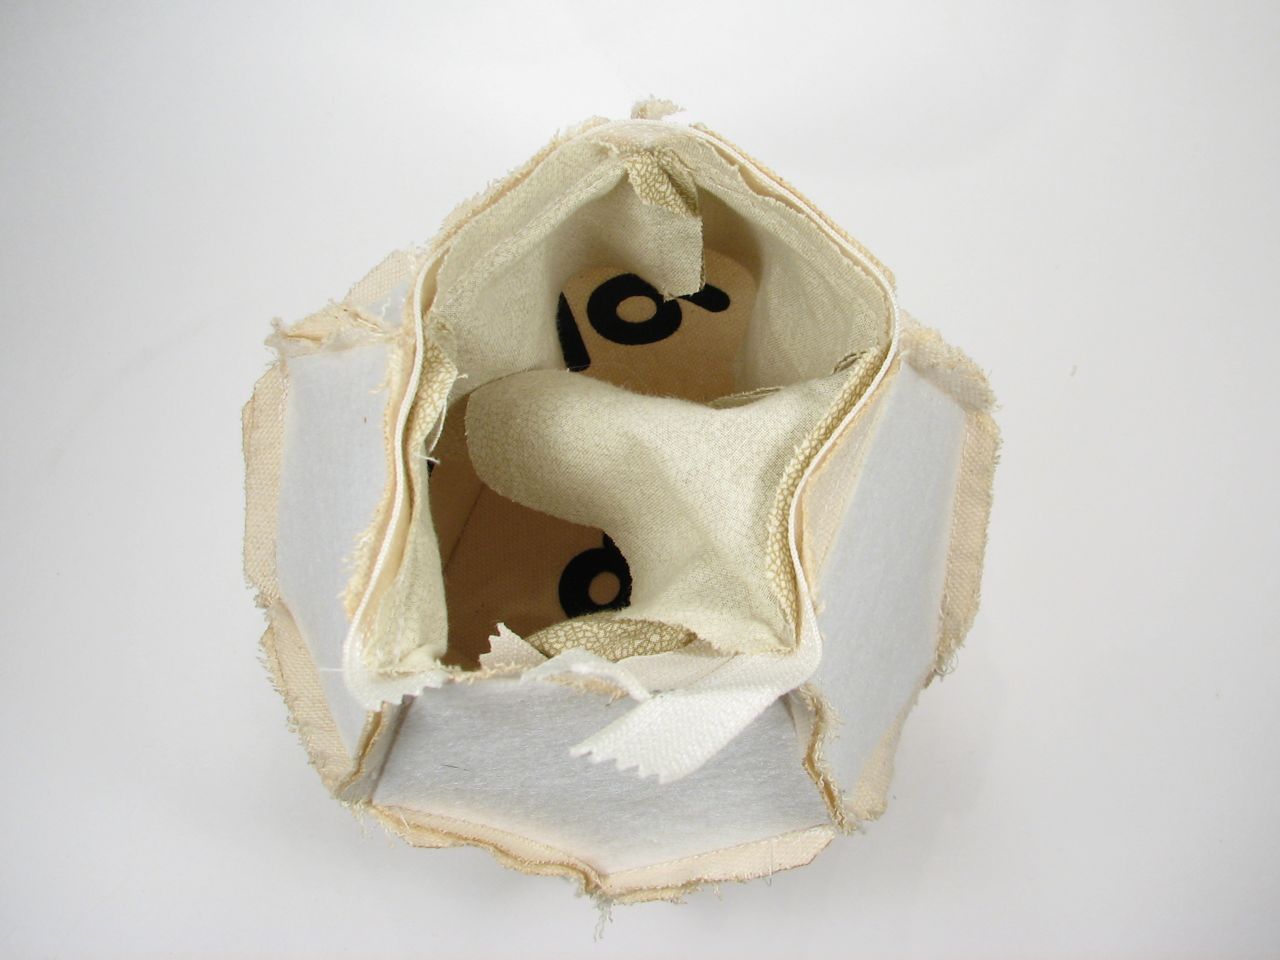
Once the canvas dodecahedron is complete, repeat with the cotton liner.
Leave one seam of the last piece of the cotton liner unsewn right next to the lid so that you’ll be able to turn it right-side out eventually.
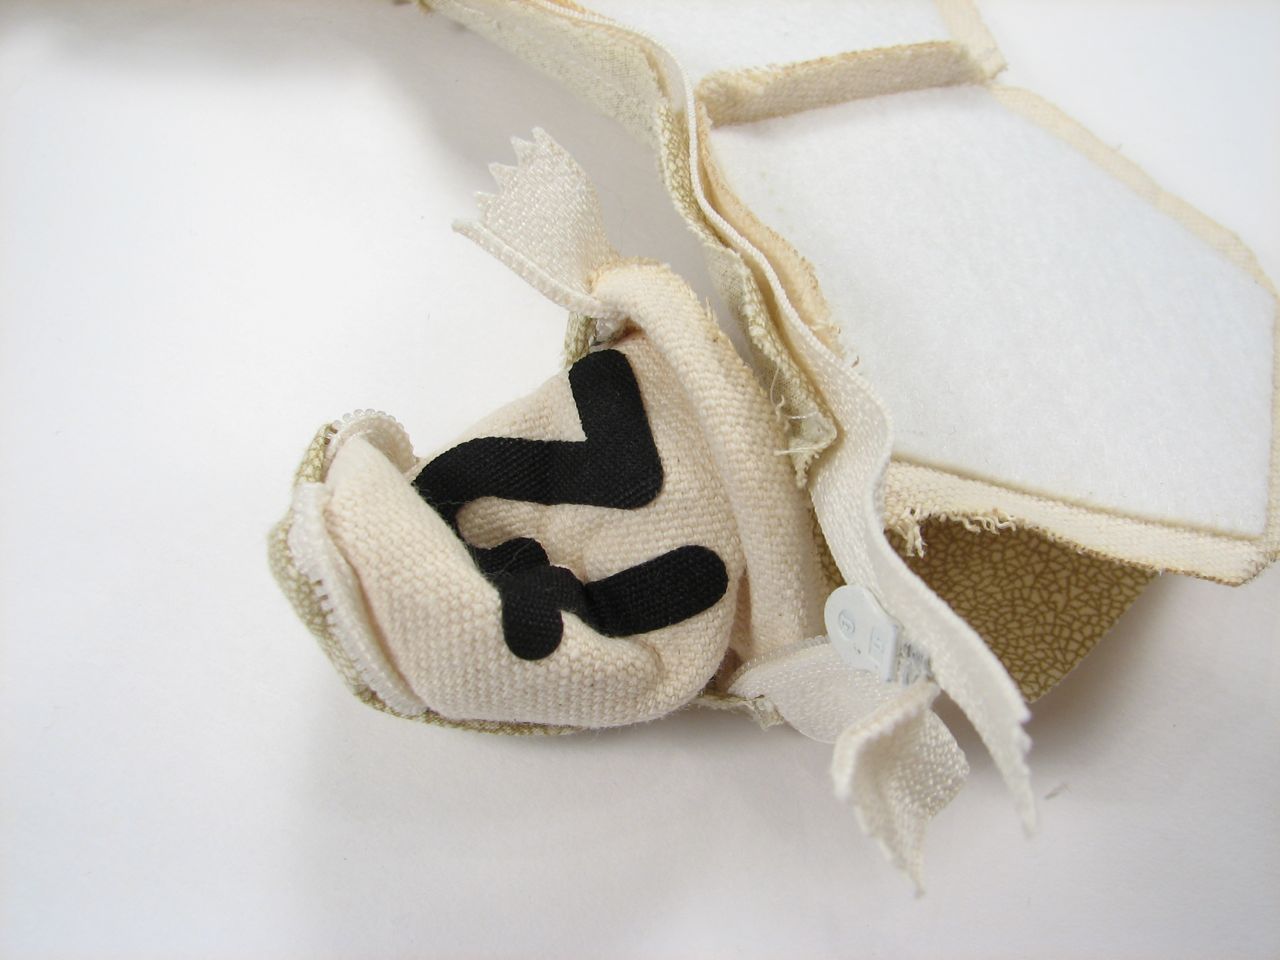
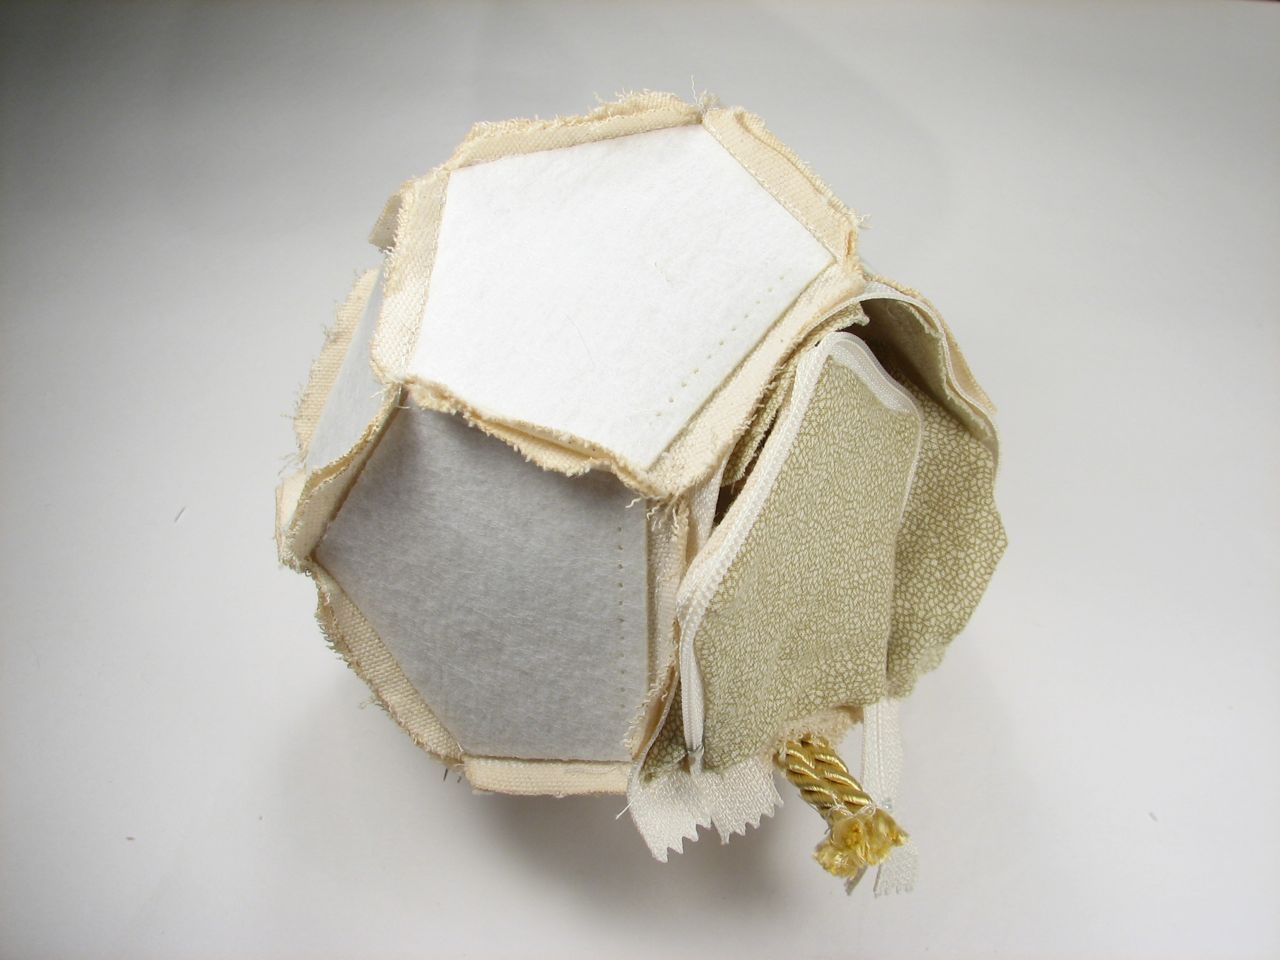
Position the cord between the canvas pieces of the lid and the main body of the bag and hand sew it in place.
Turn the bag right-side-out through the opening in the liner and hand stitch the liner shut, tucking in the zipper and cord ends as you go.
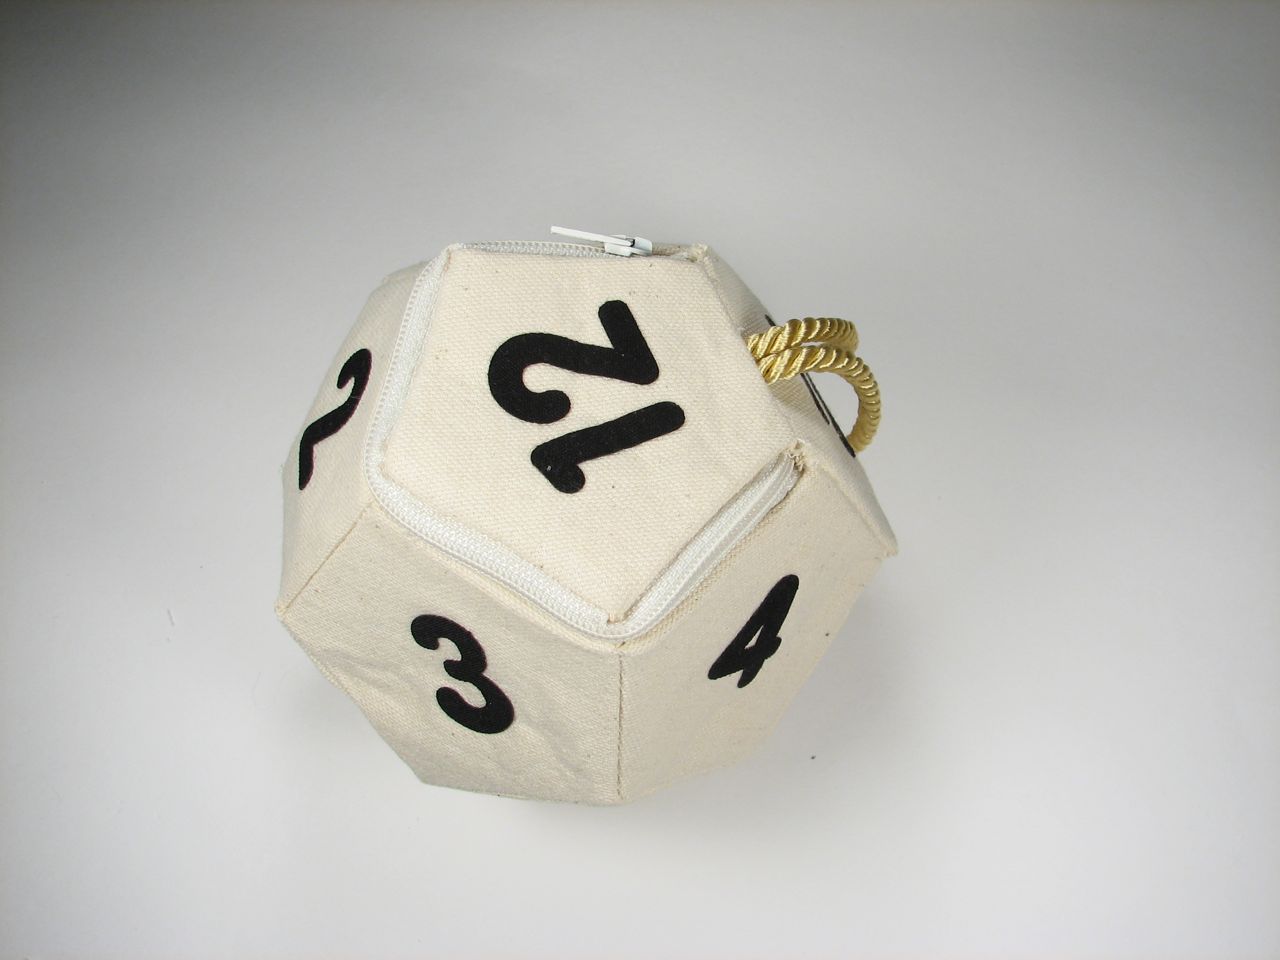
And that’s it!
As always, if you are inspired by our projects, we’d love to see the results in the Evil Mad Scientist flickr Auxiliary.
Updated August 3, 2009 to add zipper length, yardage and variations in stiffener adhesive texture.