


The MiniPOVs were created by AdaFruit Industries. They Rebelled. They Evolved.
And now, they may be invading your front porch.
It’s an open secret that here at evilmadscientist we go both ways: analog and digital.
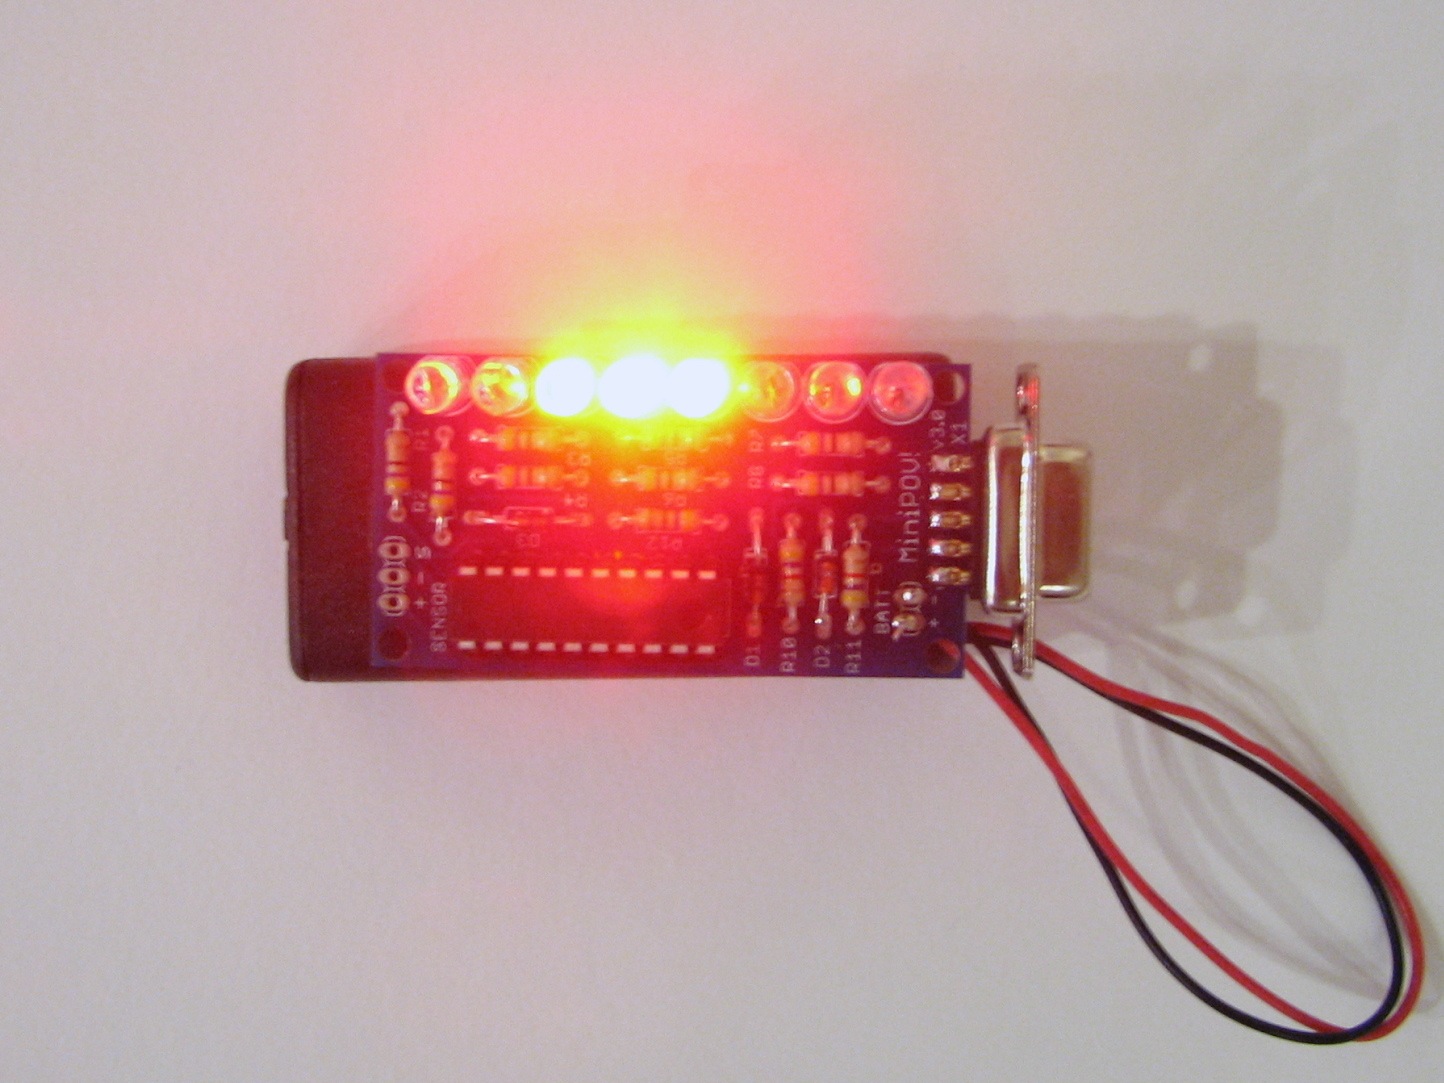
So, here is yet another way to get a Cylon pumpkin circuit– a useful component for halloween. (Yes, you can do KITT too, we won’t stop you.) We’ll spare you the carved pumpkins and dive right into the details.
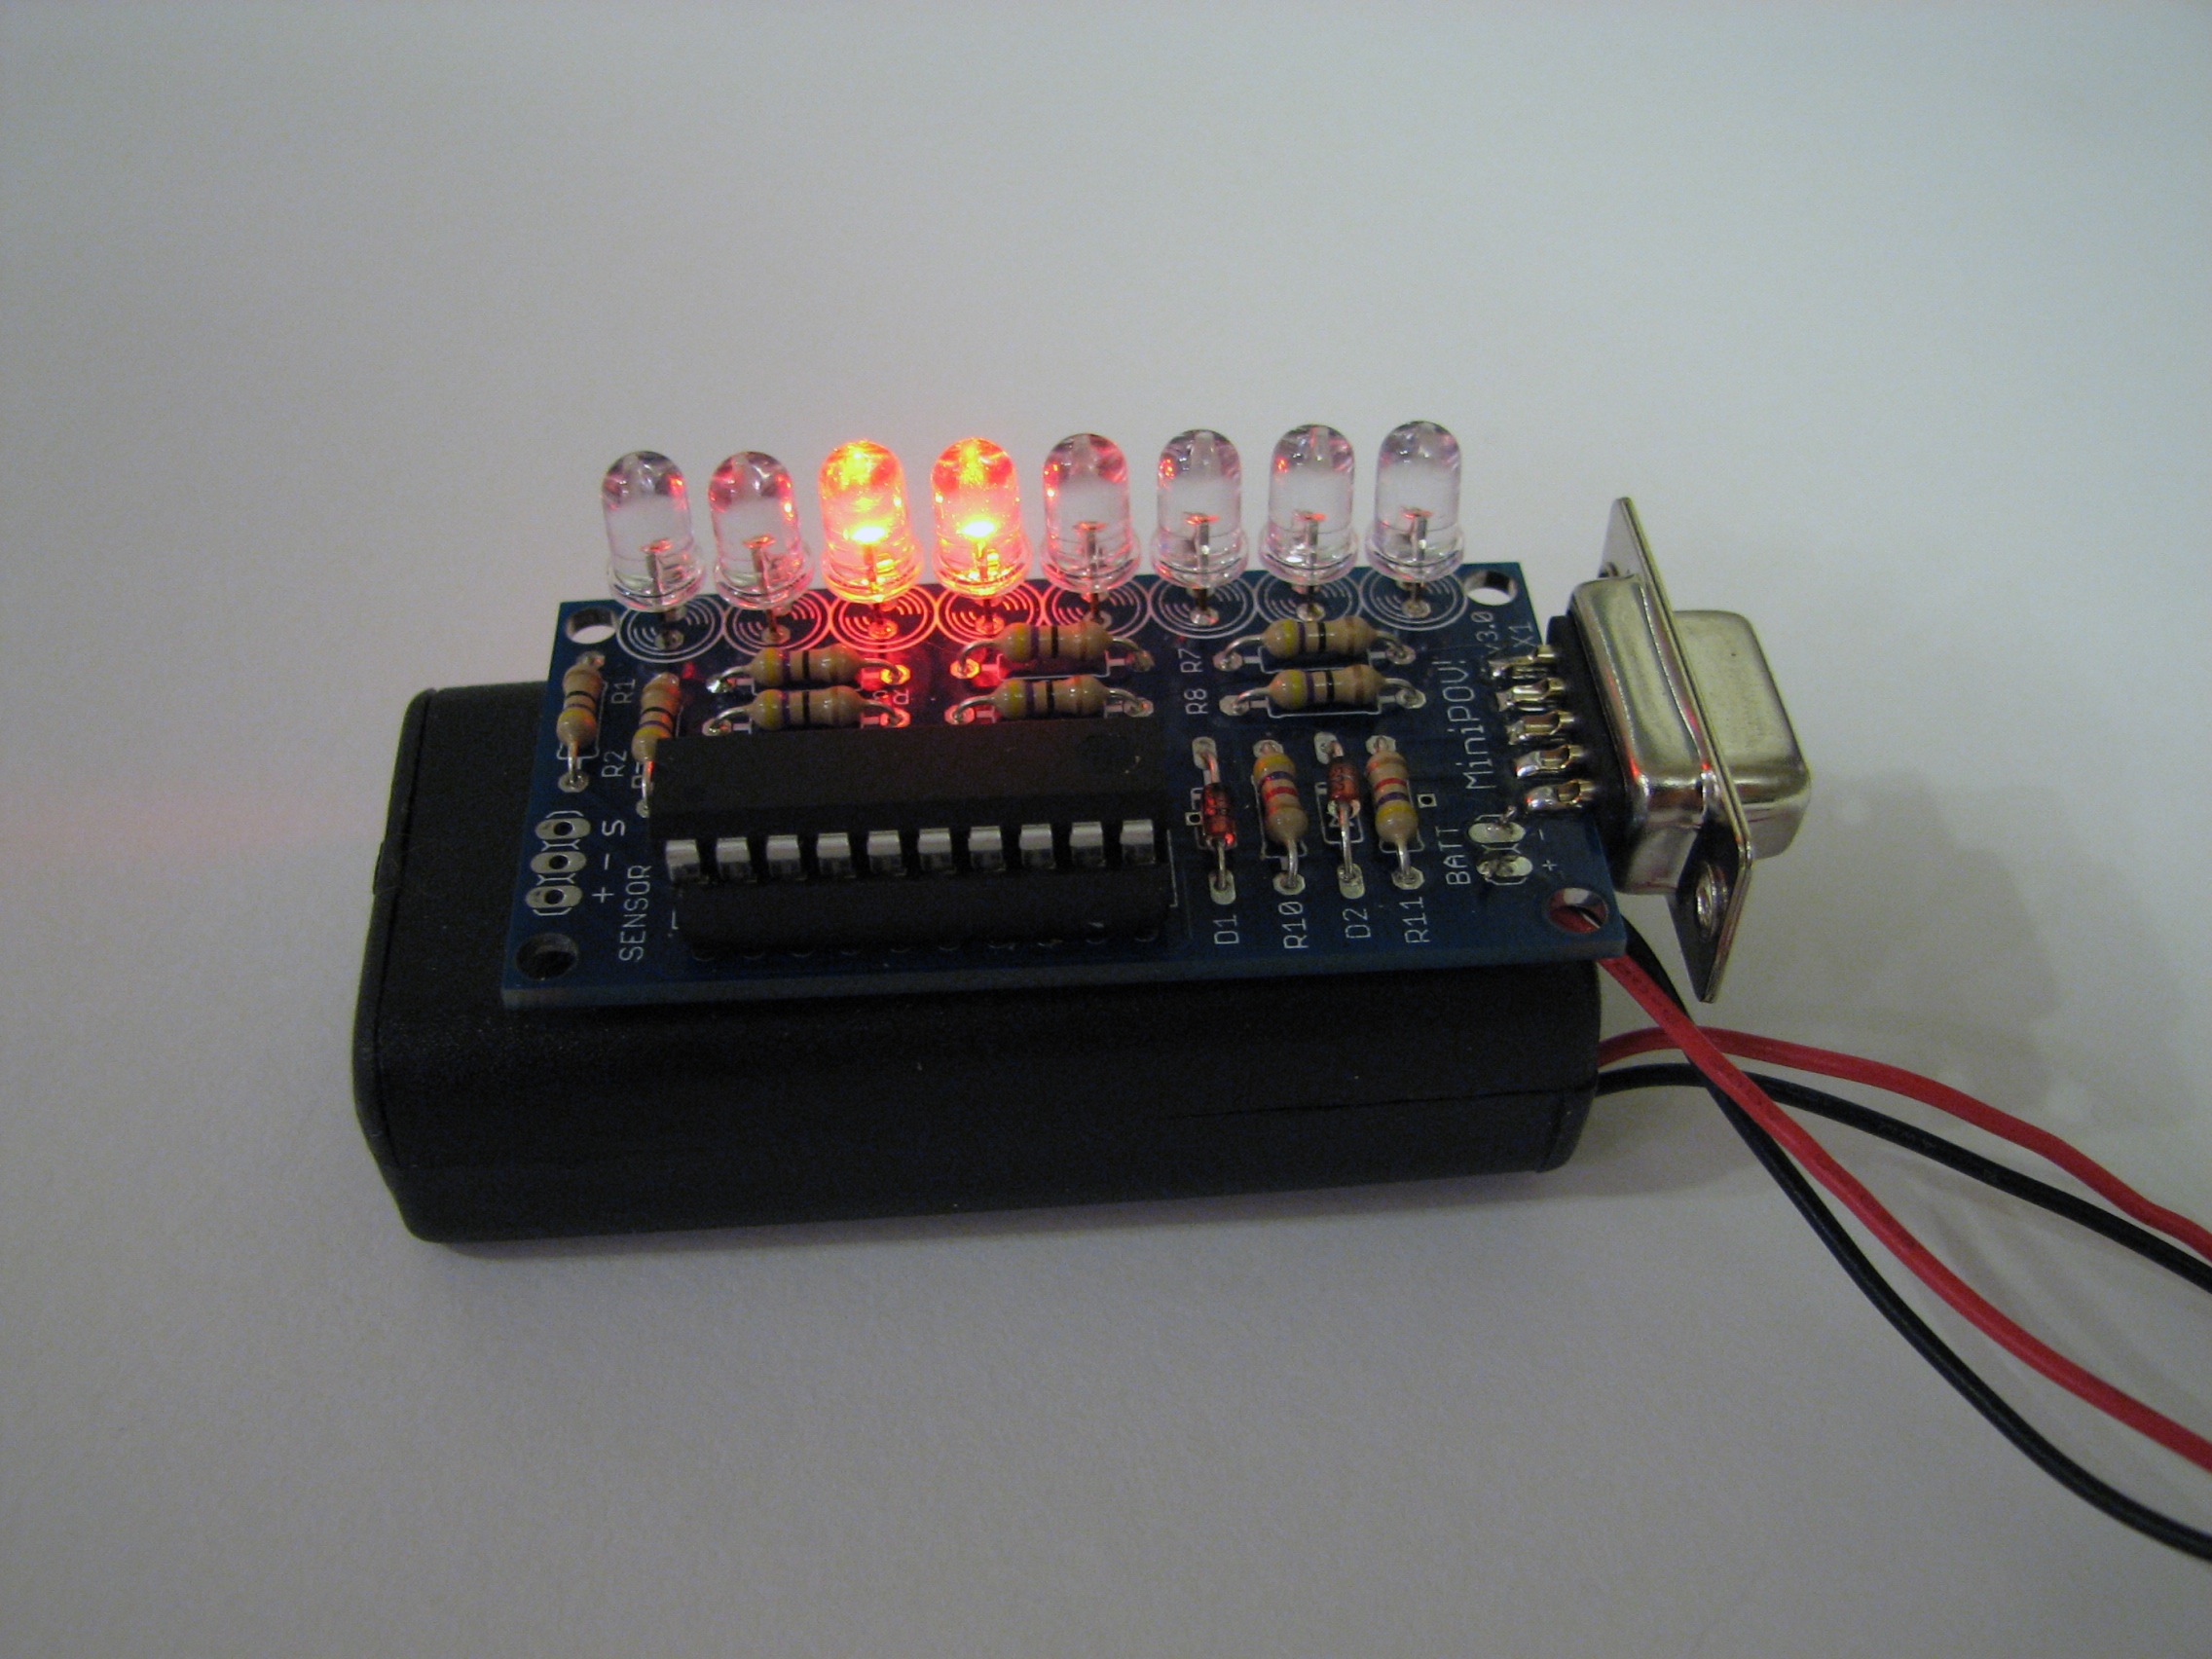
There seem to be a lot of MiniPOV kits out there. If you’ve got one, this is a fast way to make a passable slowly-scanning eye.
Note that we are not using the “POV” part of the MiniPOV– you don’t need to wave your pumpkin back and forth; it really is just a slowly-moving image.
(You can get a MiniPOV direct from Adafruit or from the Make store, probably in time for the big day.)
This is a one minute project for some of you (you know who you are), but if you are really starting from scratch there isn’t any giant time advantage to going doing it this way instead of analog.
Once you have a working minipov, the first step is to download the firmware (4 kB .ZIP file) and unzip it. If you are programming the MiniPOV3 directly through its serial port,
pop open a terminal and move to the directory. Type (with a return after each line):
make all
make program
And… that’s it.
(If you have a GUI for programming AVRs and know how to use it, you can of course use that instead of programming through the terminal.)
If you are using some other AVR programmer or are programming a bare ATtiny2313 without a MiniPOV at all, you will need to edit the header of the included makefile to reflect the type of AVR programmer and the port where it is located. (And then, proceed with the instructions above.)
While this makes a pretty good looking pumpkin, there is still room for improvement in the firmware– the motion is reasonably smooth but doesn’t yet capture the incandescent fade that the analog versions do. I’ll leave it to the community to improve this firmware; if you have some better code, let me know and I’ll help roll it in.
Update:
Tim Charron sent in a greatly improved version of this program– please give it a try.
You can find more pumpkin related projects in our Halloween Project Archive.
