


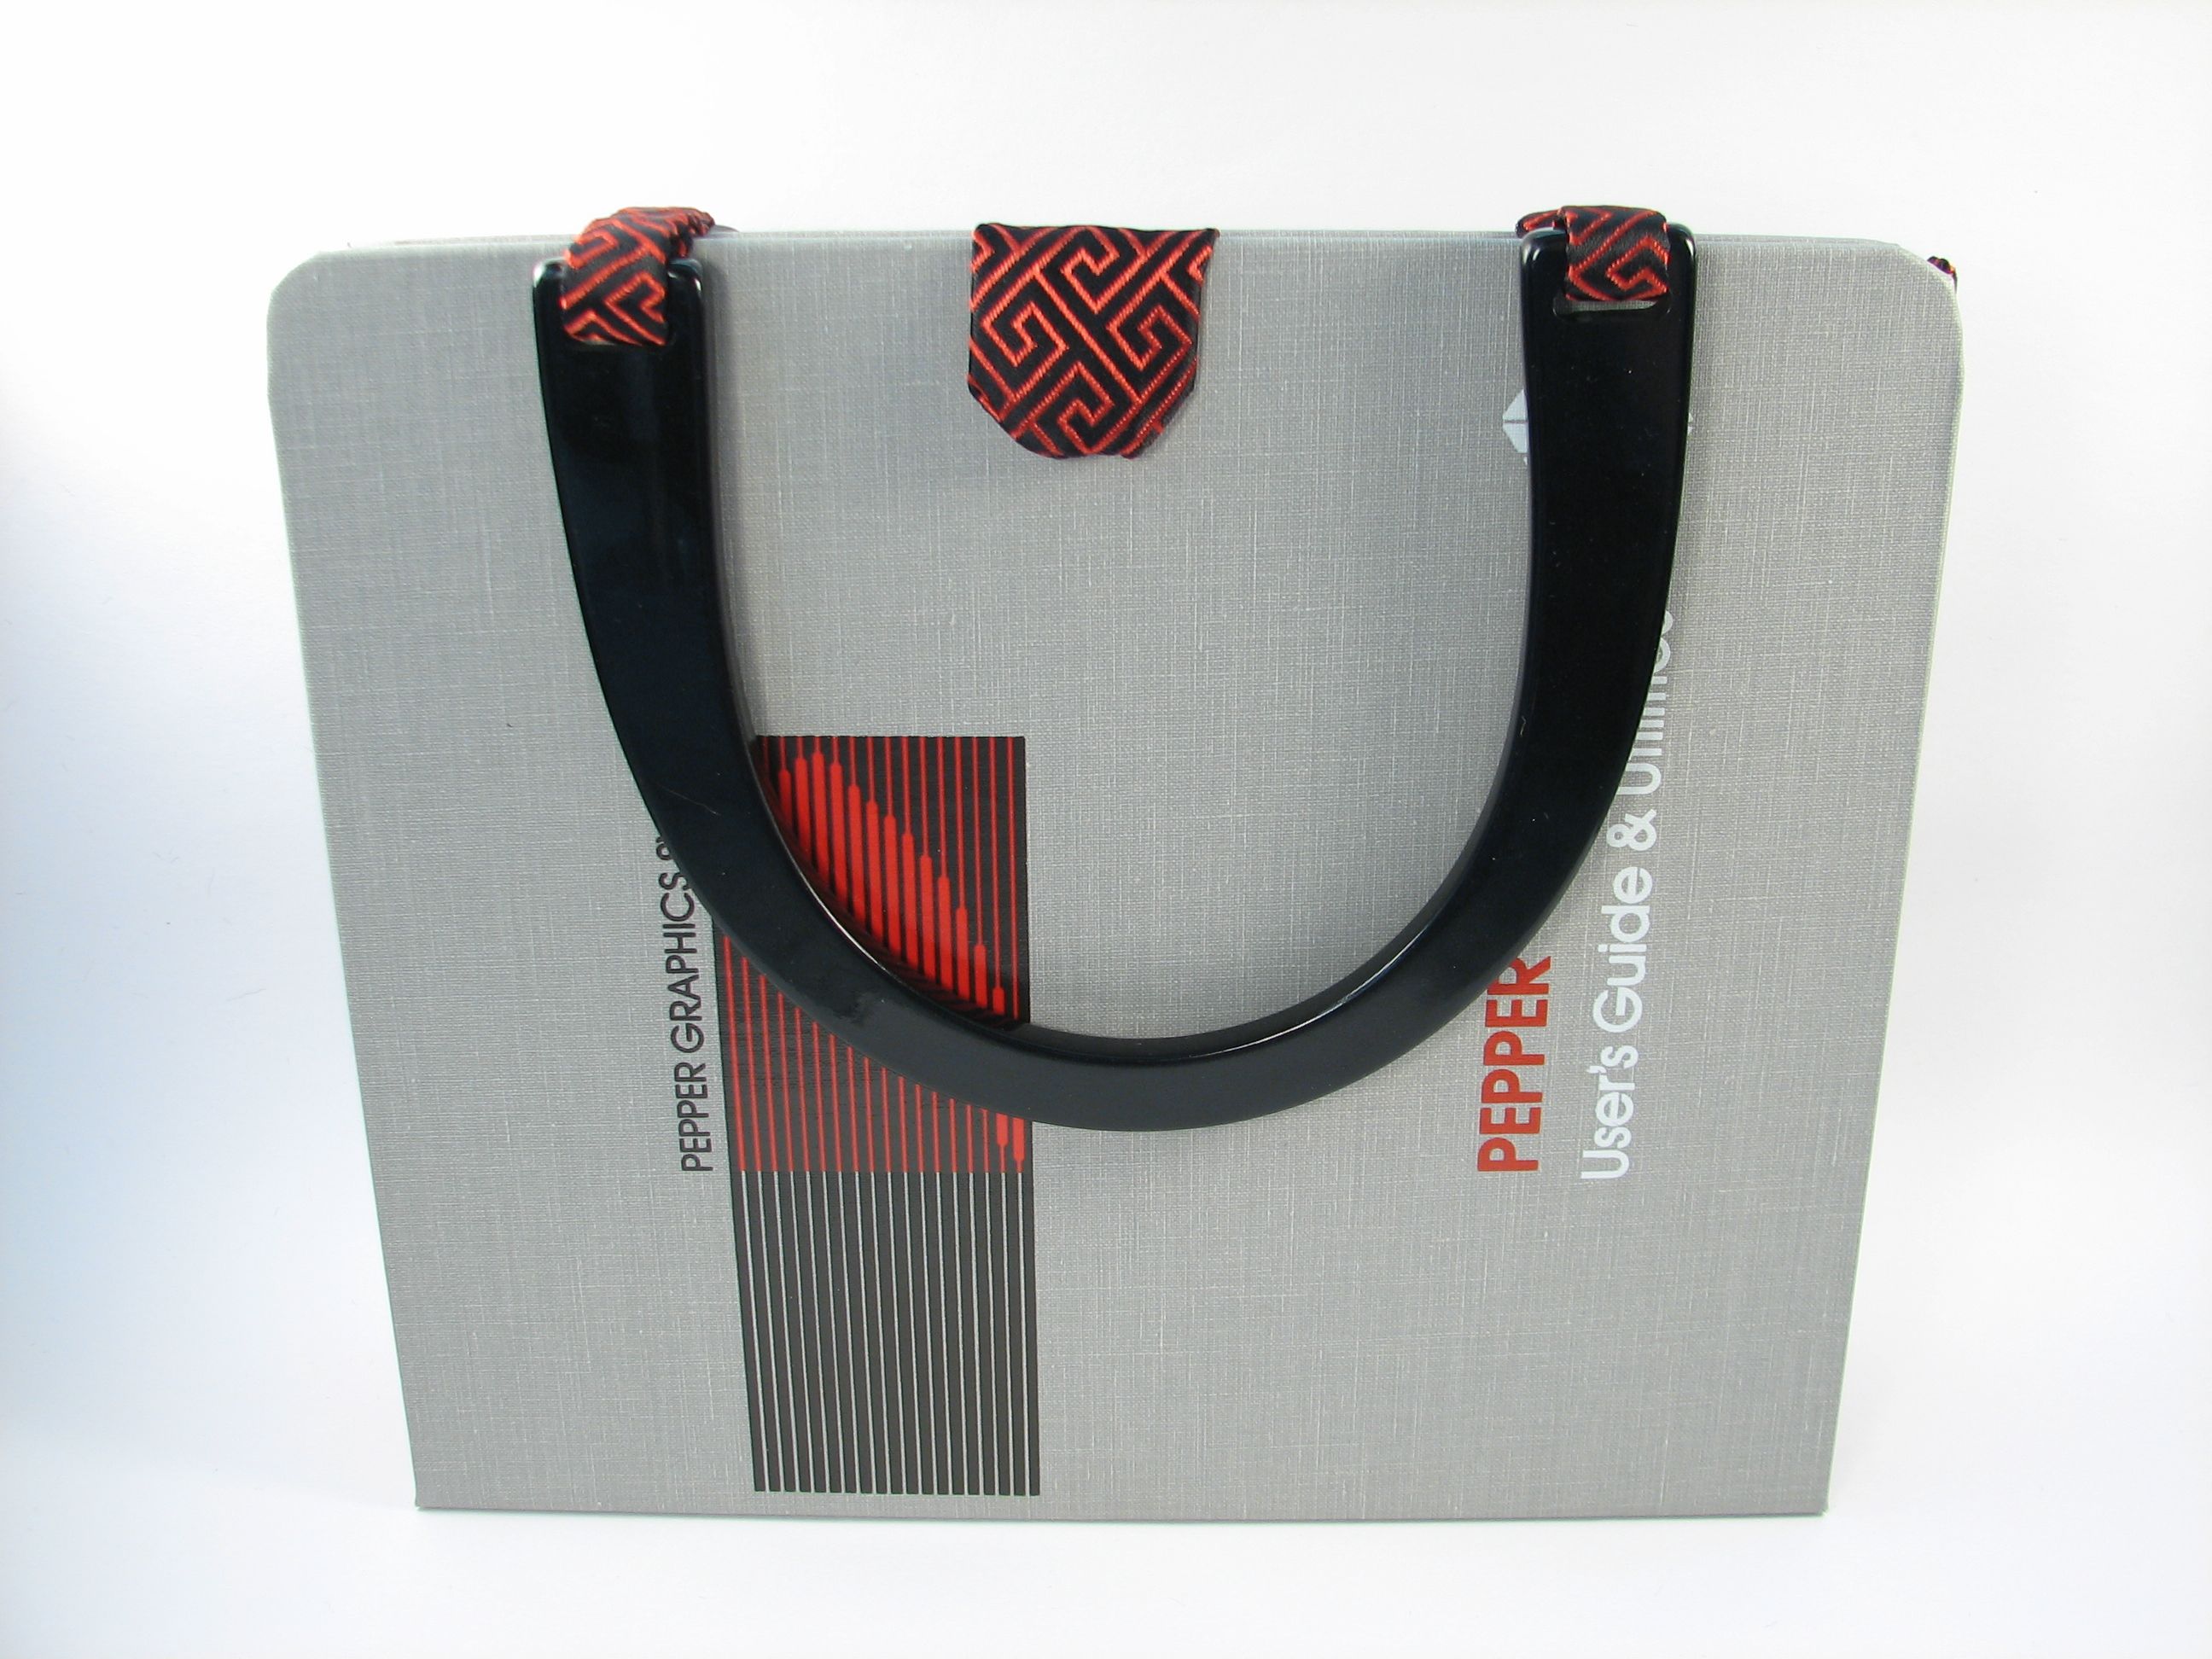
Vintage software documentation often comes in 6″ x 9″ three ring binders which are just the right size for a small handbag. Many of them are cloth bound, making them ideal for reuse. Tech surplus stores such as Weird Stuff are good places to look for interesting covers, like this Pepper Graphics user’s guide from Number Nine. With the addition of a fabric liner and handles it has become an excellent geek purse.
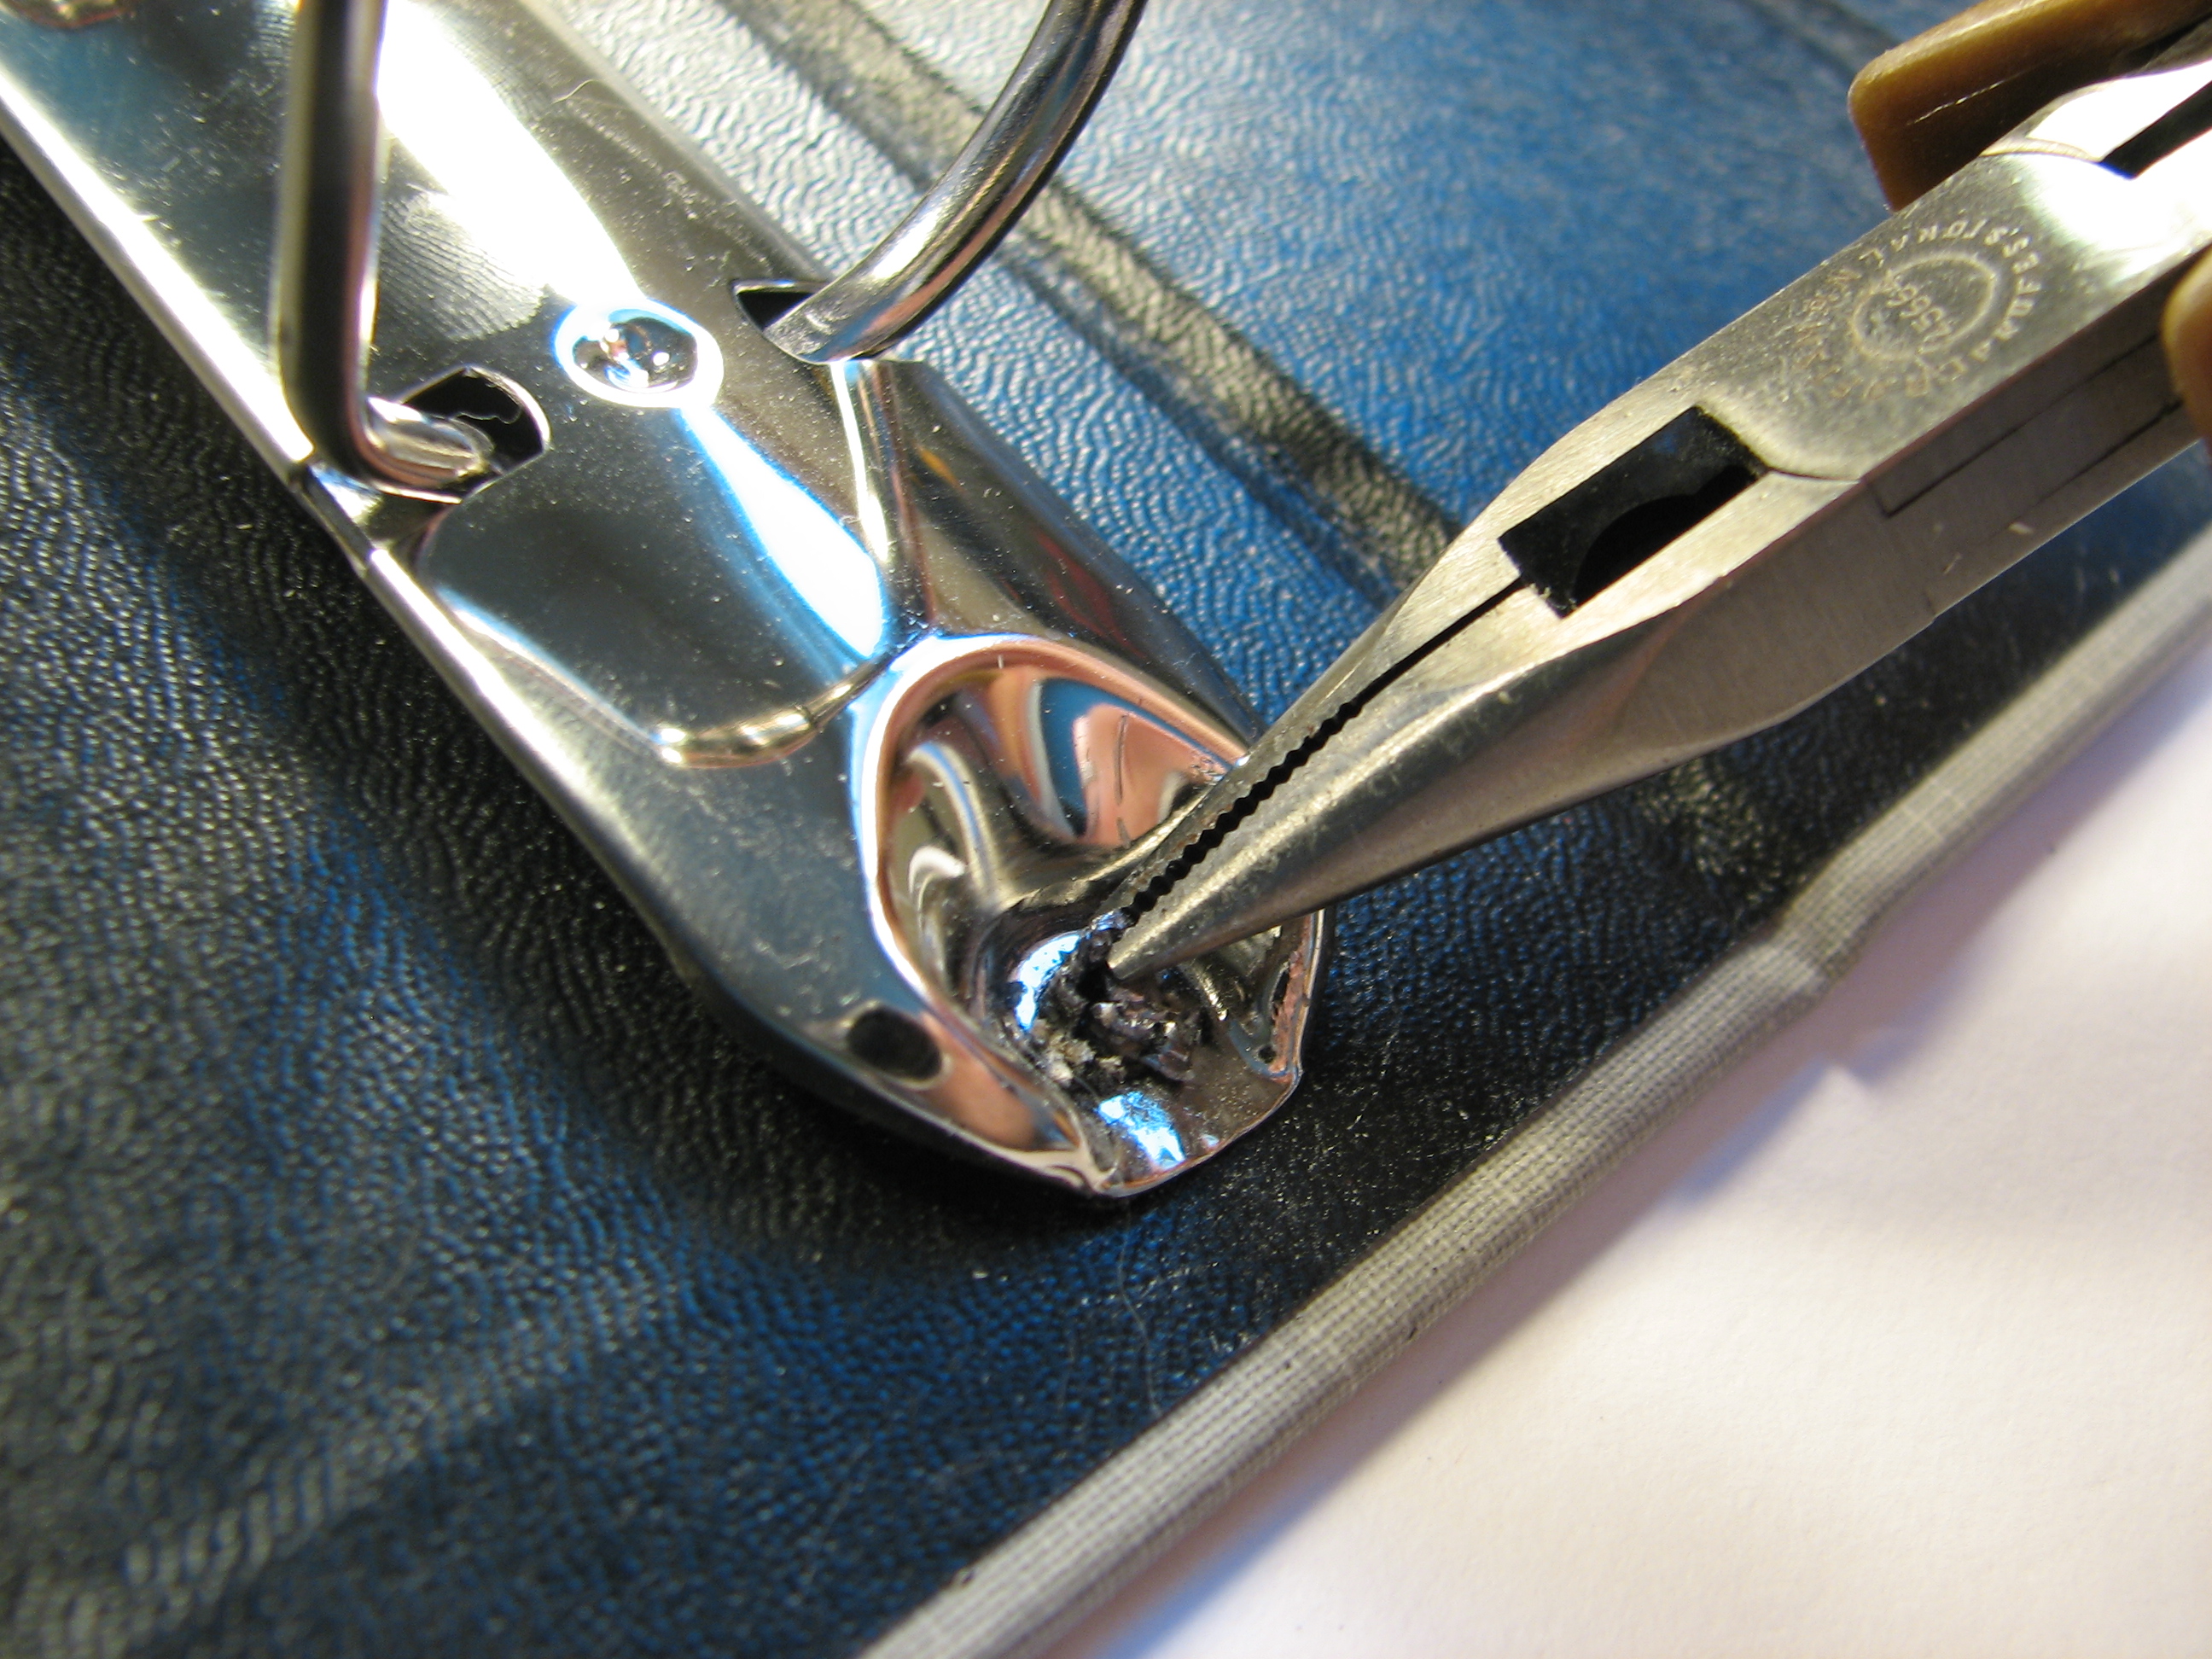
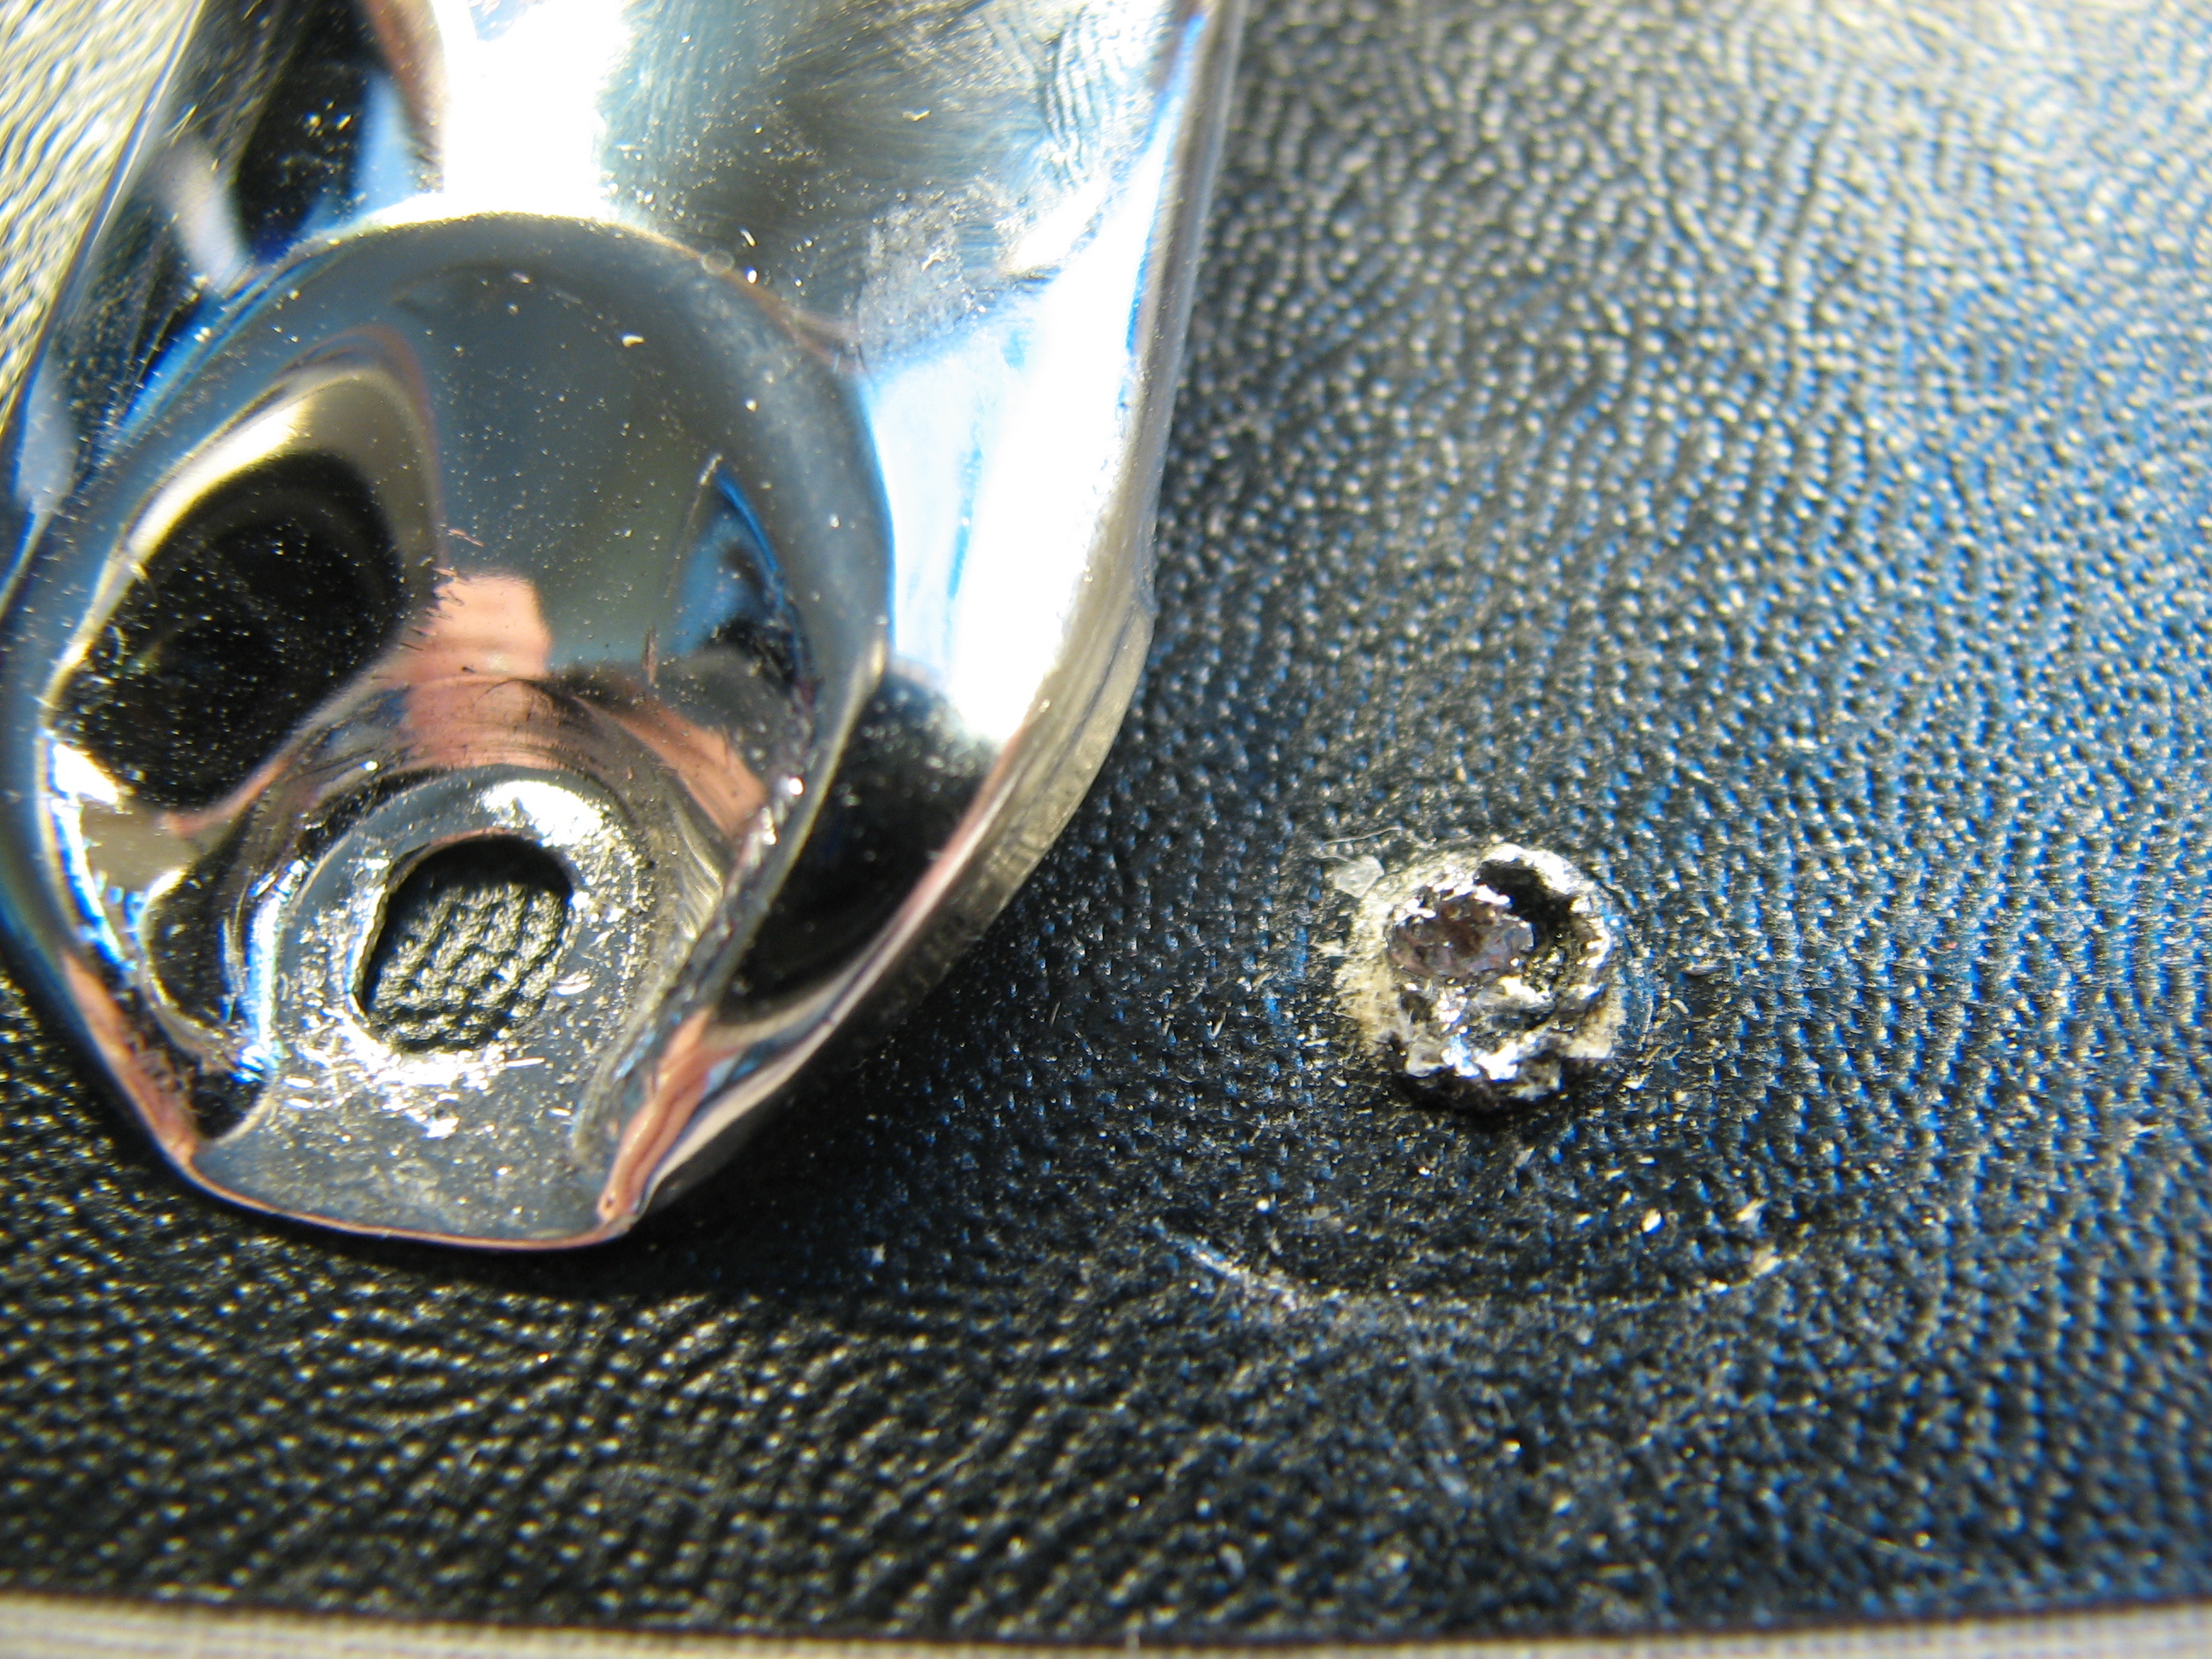
There are many sets of instructions (here’s one from HGTV) for bags based on books. You can also look to Etsy for inspiration (e.g. Tarzan, Typing, and Astronomy book purses). Most techniques for book purses apply to binder purses as well, but without the need to reinforce the spine. The primary difference is that you’ll have to remove ring binder mechanism. Since it is riveted on, a brute force approach is merited. I pried up the bent edges of the rivet and bent them until they broke off. A better approach might be to dremel off the top surface of the rivet, or even drill it out entirely and replace with buttons or other decorative accents.
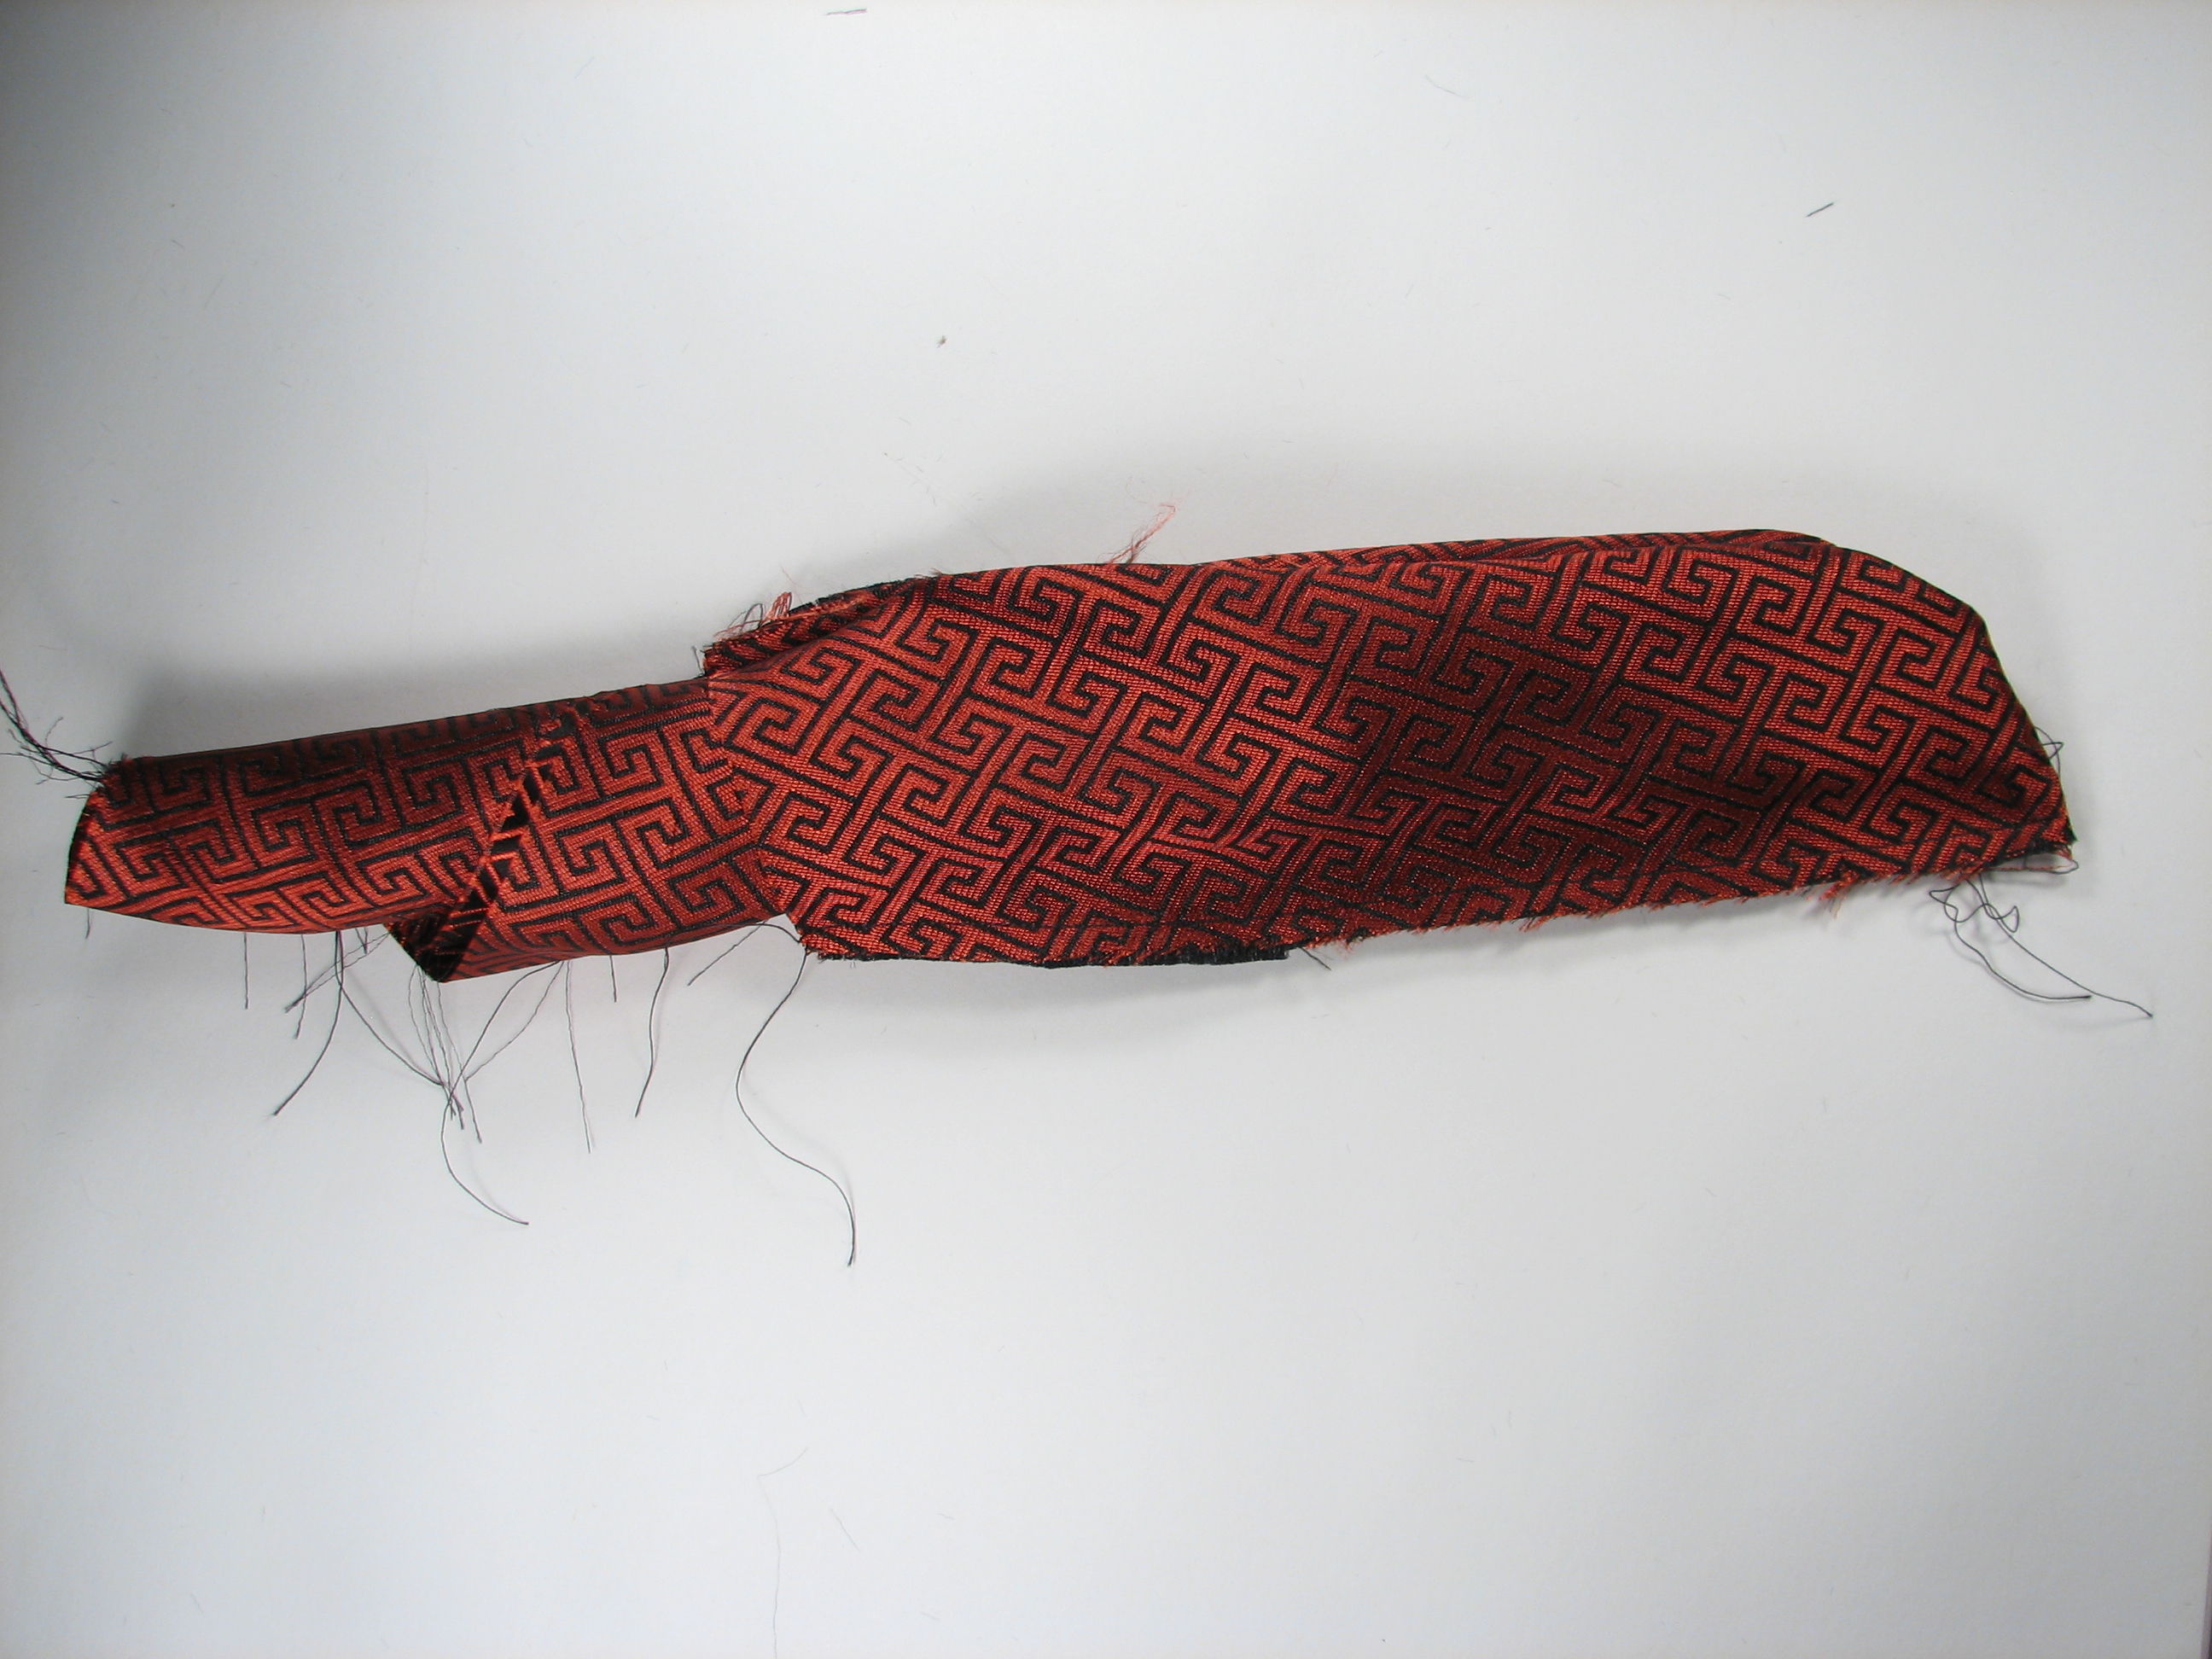
Once the binder is free of its rings, the fabric part begins. I found a red and black geometric brocade that complemented the design of the notebook. A complete liner will be sewn together and then glued into the cover.
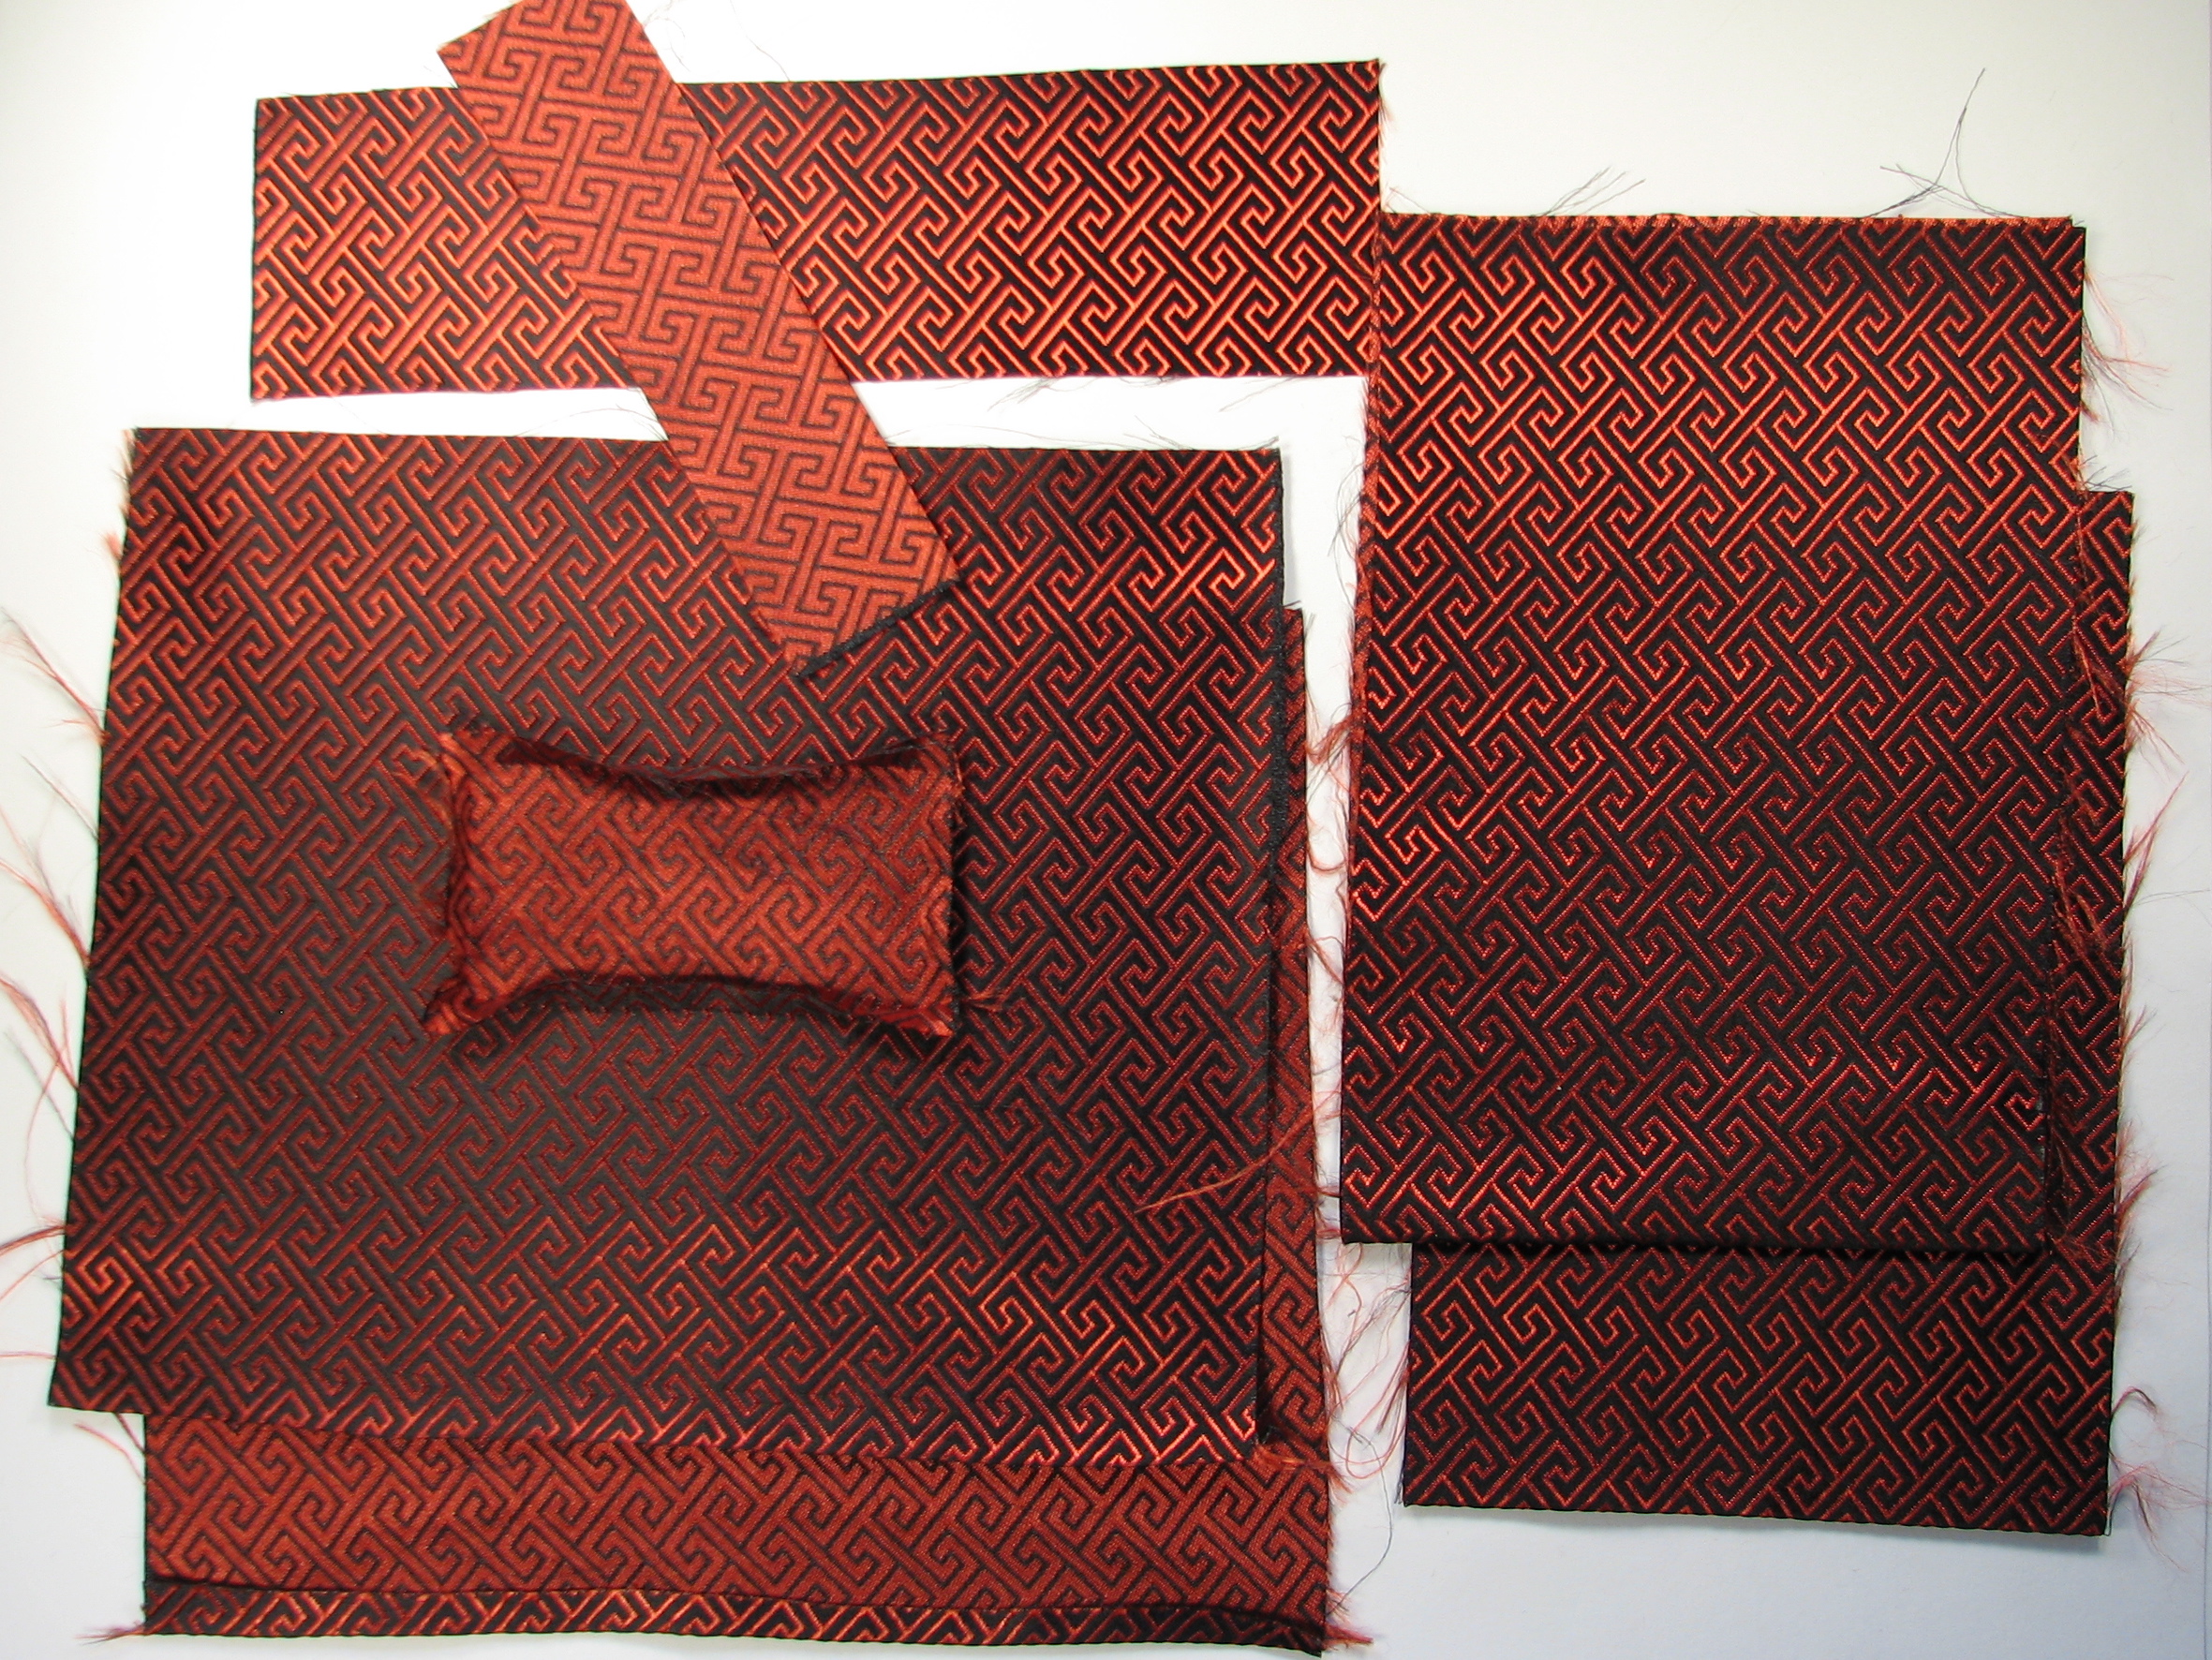
All pieces are cut to include a 1/4″ seam allowance. The pieces include:
- x2 strips for the ends, folded over (5.5″ x 15.75″)
- x2 sides, 1/4″ ironed down for top edge (9.25″ x 8.25″)
- x1 strip for handle straps (1.5″ x 12″)
- x1 bottom (2.5″ x 9.25″
- x1 pocket for business cards and pen, 1/4″ ironed down on all four sides (4.24″ x 2.5″)
- x1 clasp strap (3″ x 4″)
Additional materials include a magnet, a metal plate, handles and heavy duty craft glue (I used E6000, an excellent toxic goo). The magnet should be strong enough to stick to the metal plate through the thickness of the binder cover and a layer of fabric. On the other hand, you might not want to erase your credit cards, so feel free to go with a button and loop closure if your magnets are too strong.
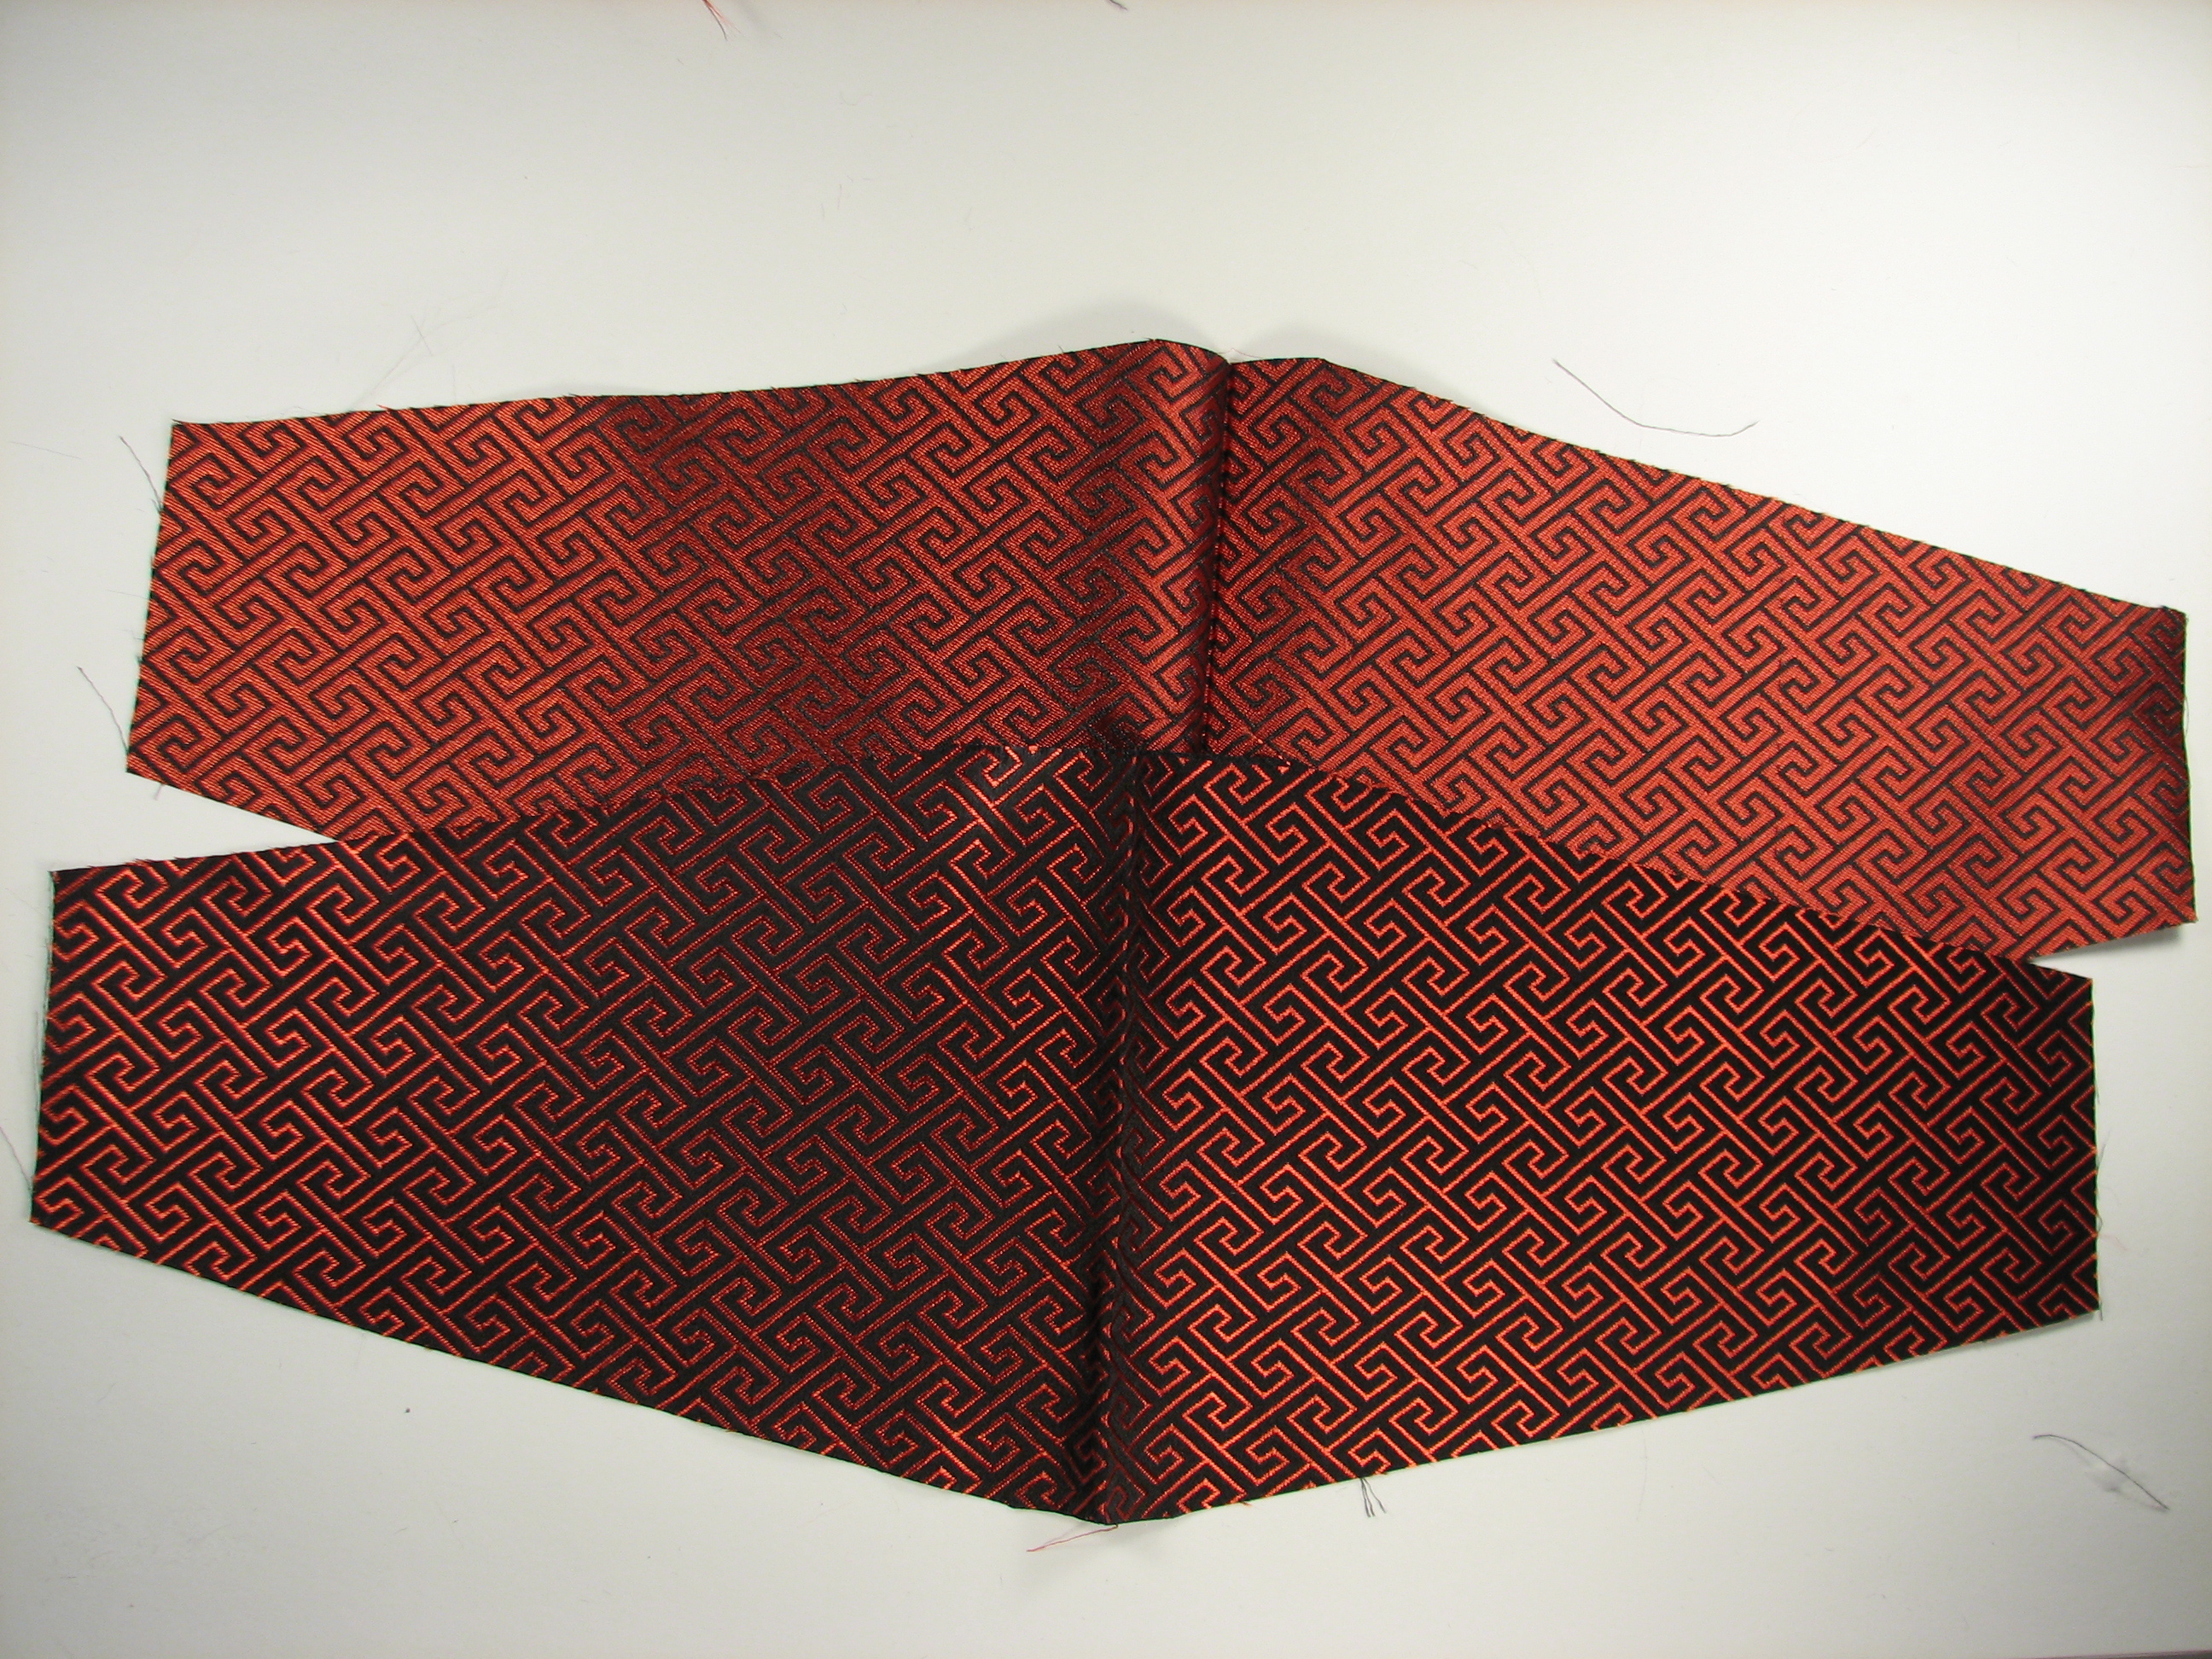
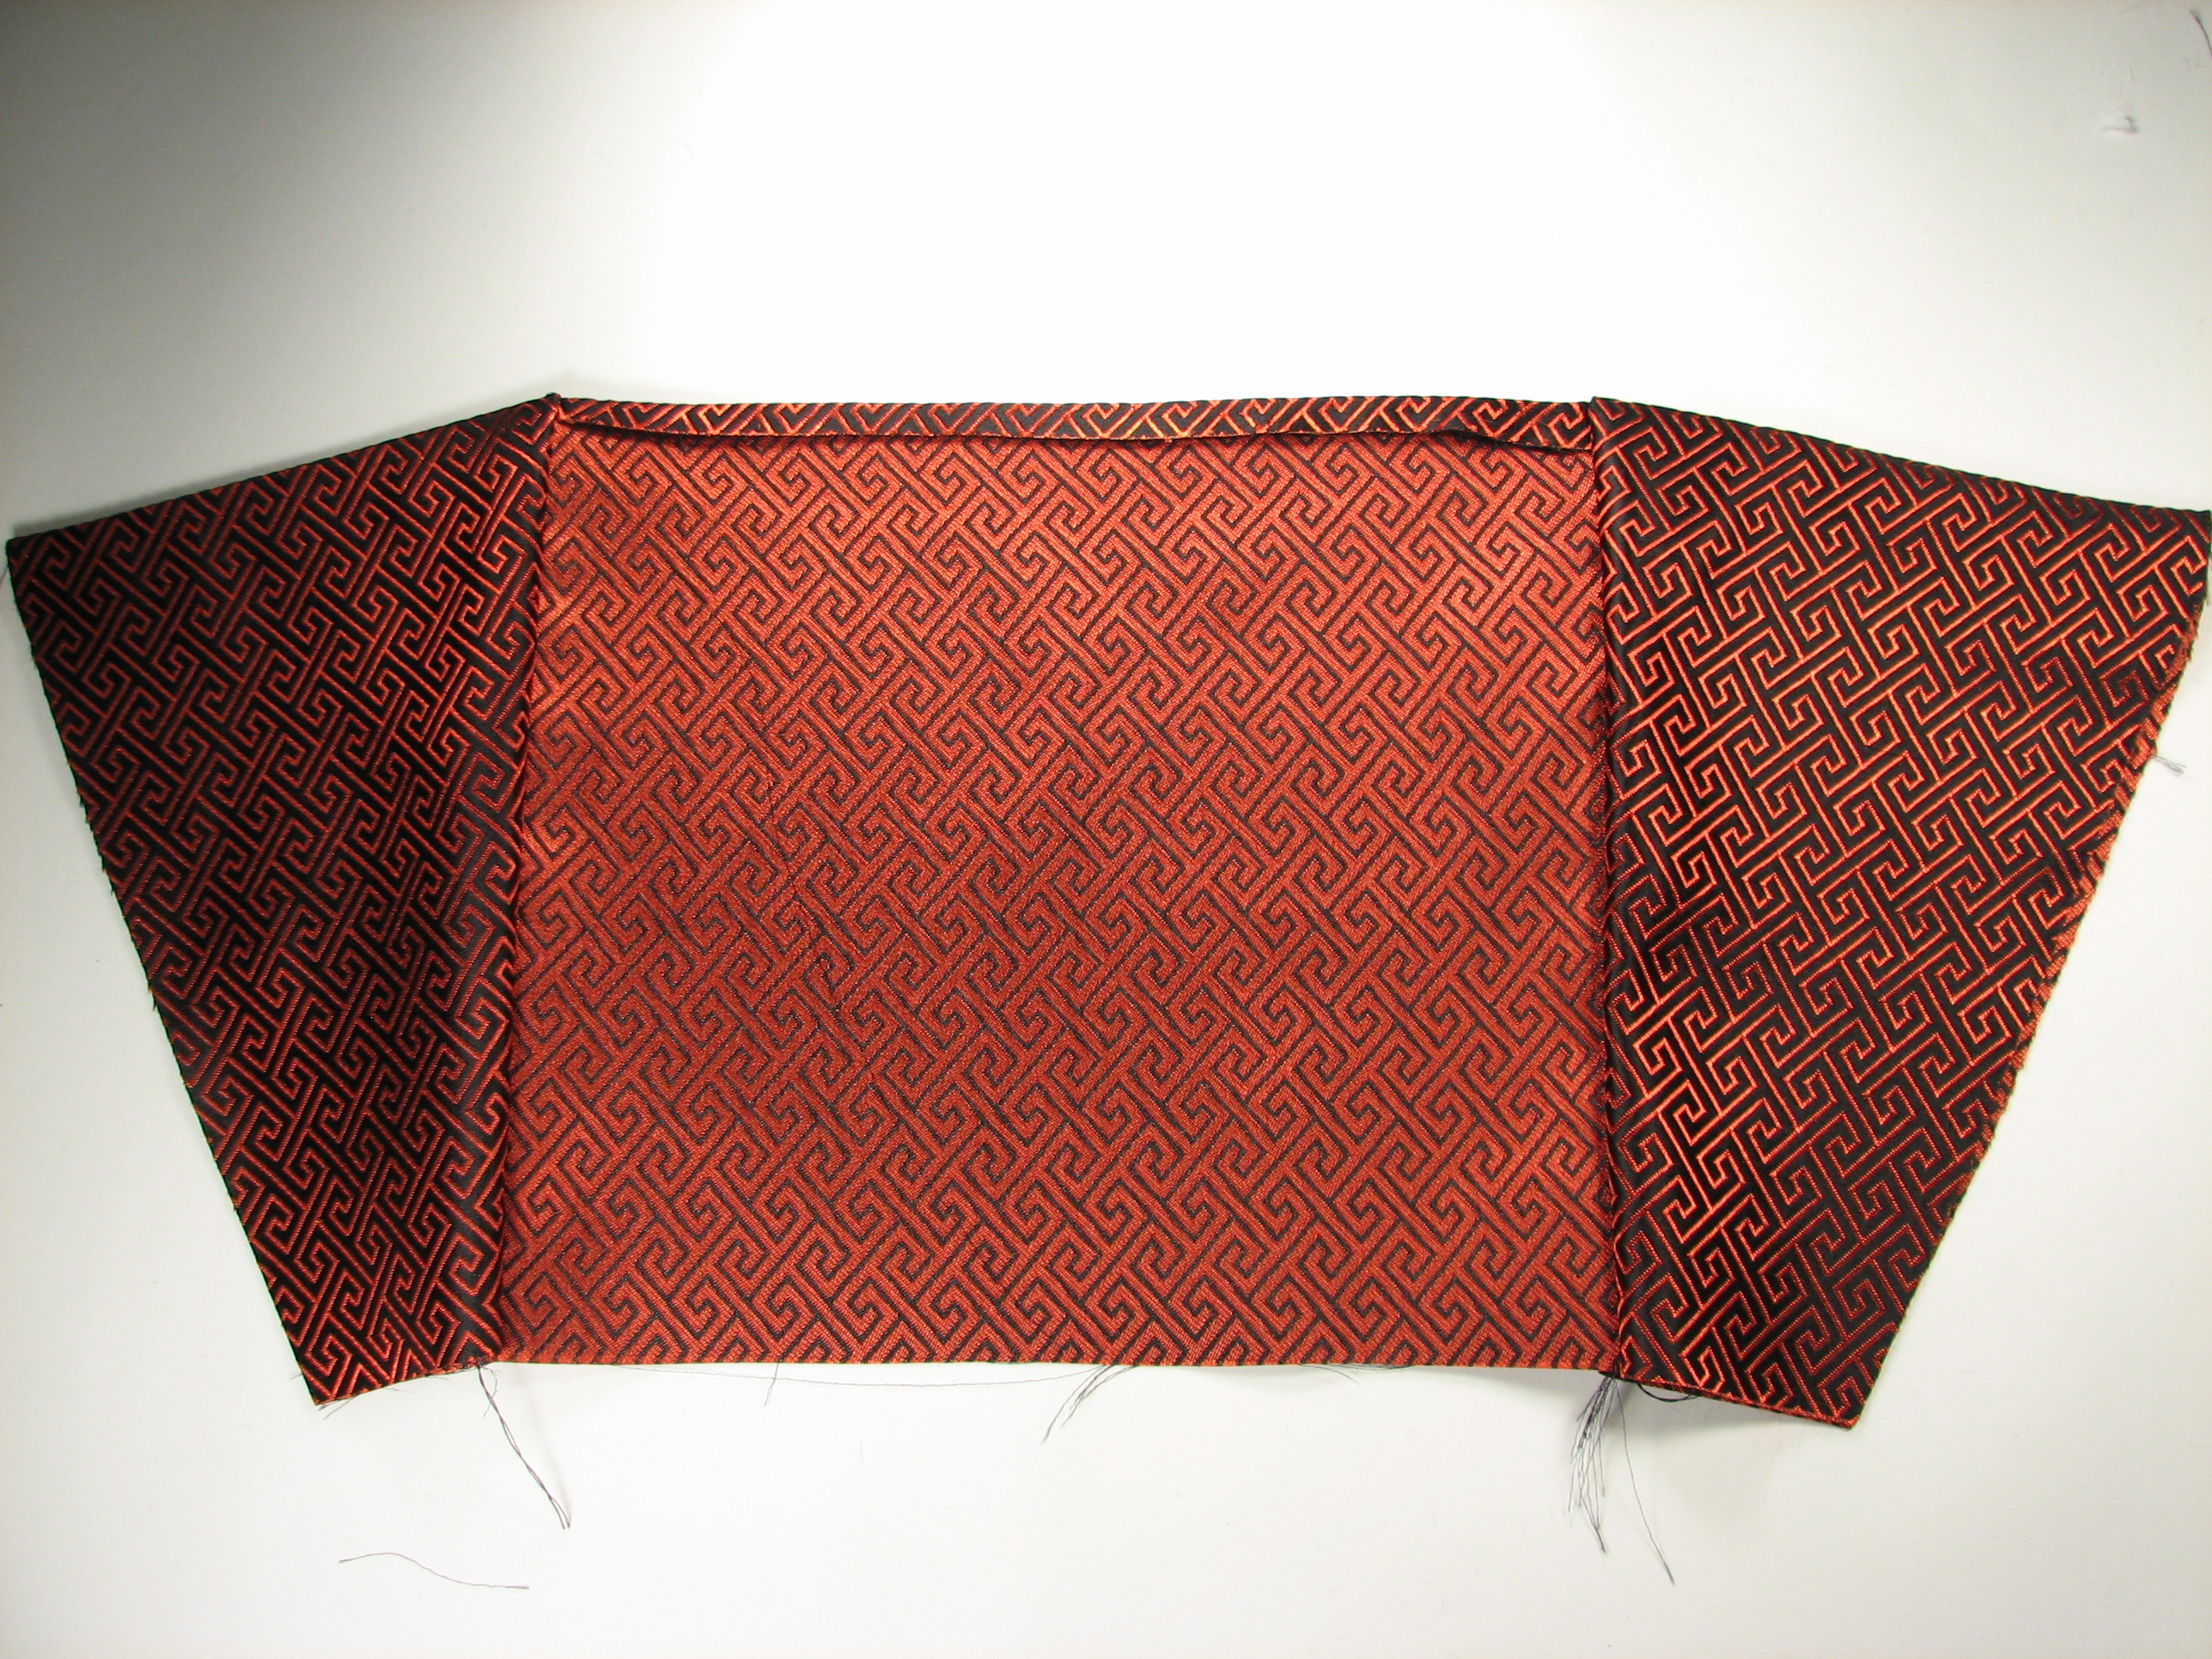
After folding in half and ironing the rectangles for the sides, the corners can be cut off to make long skinny hexagons. The short sides are 2.5″, the width at the center along the fold is 5.5″, and the height is 15.75″.
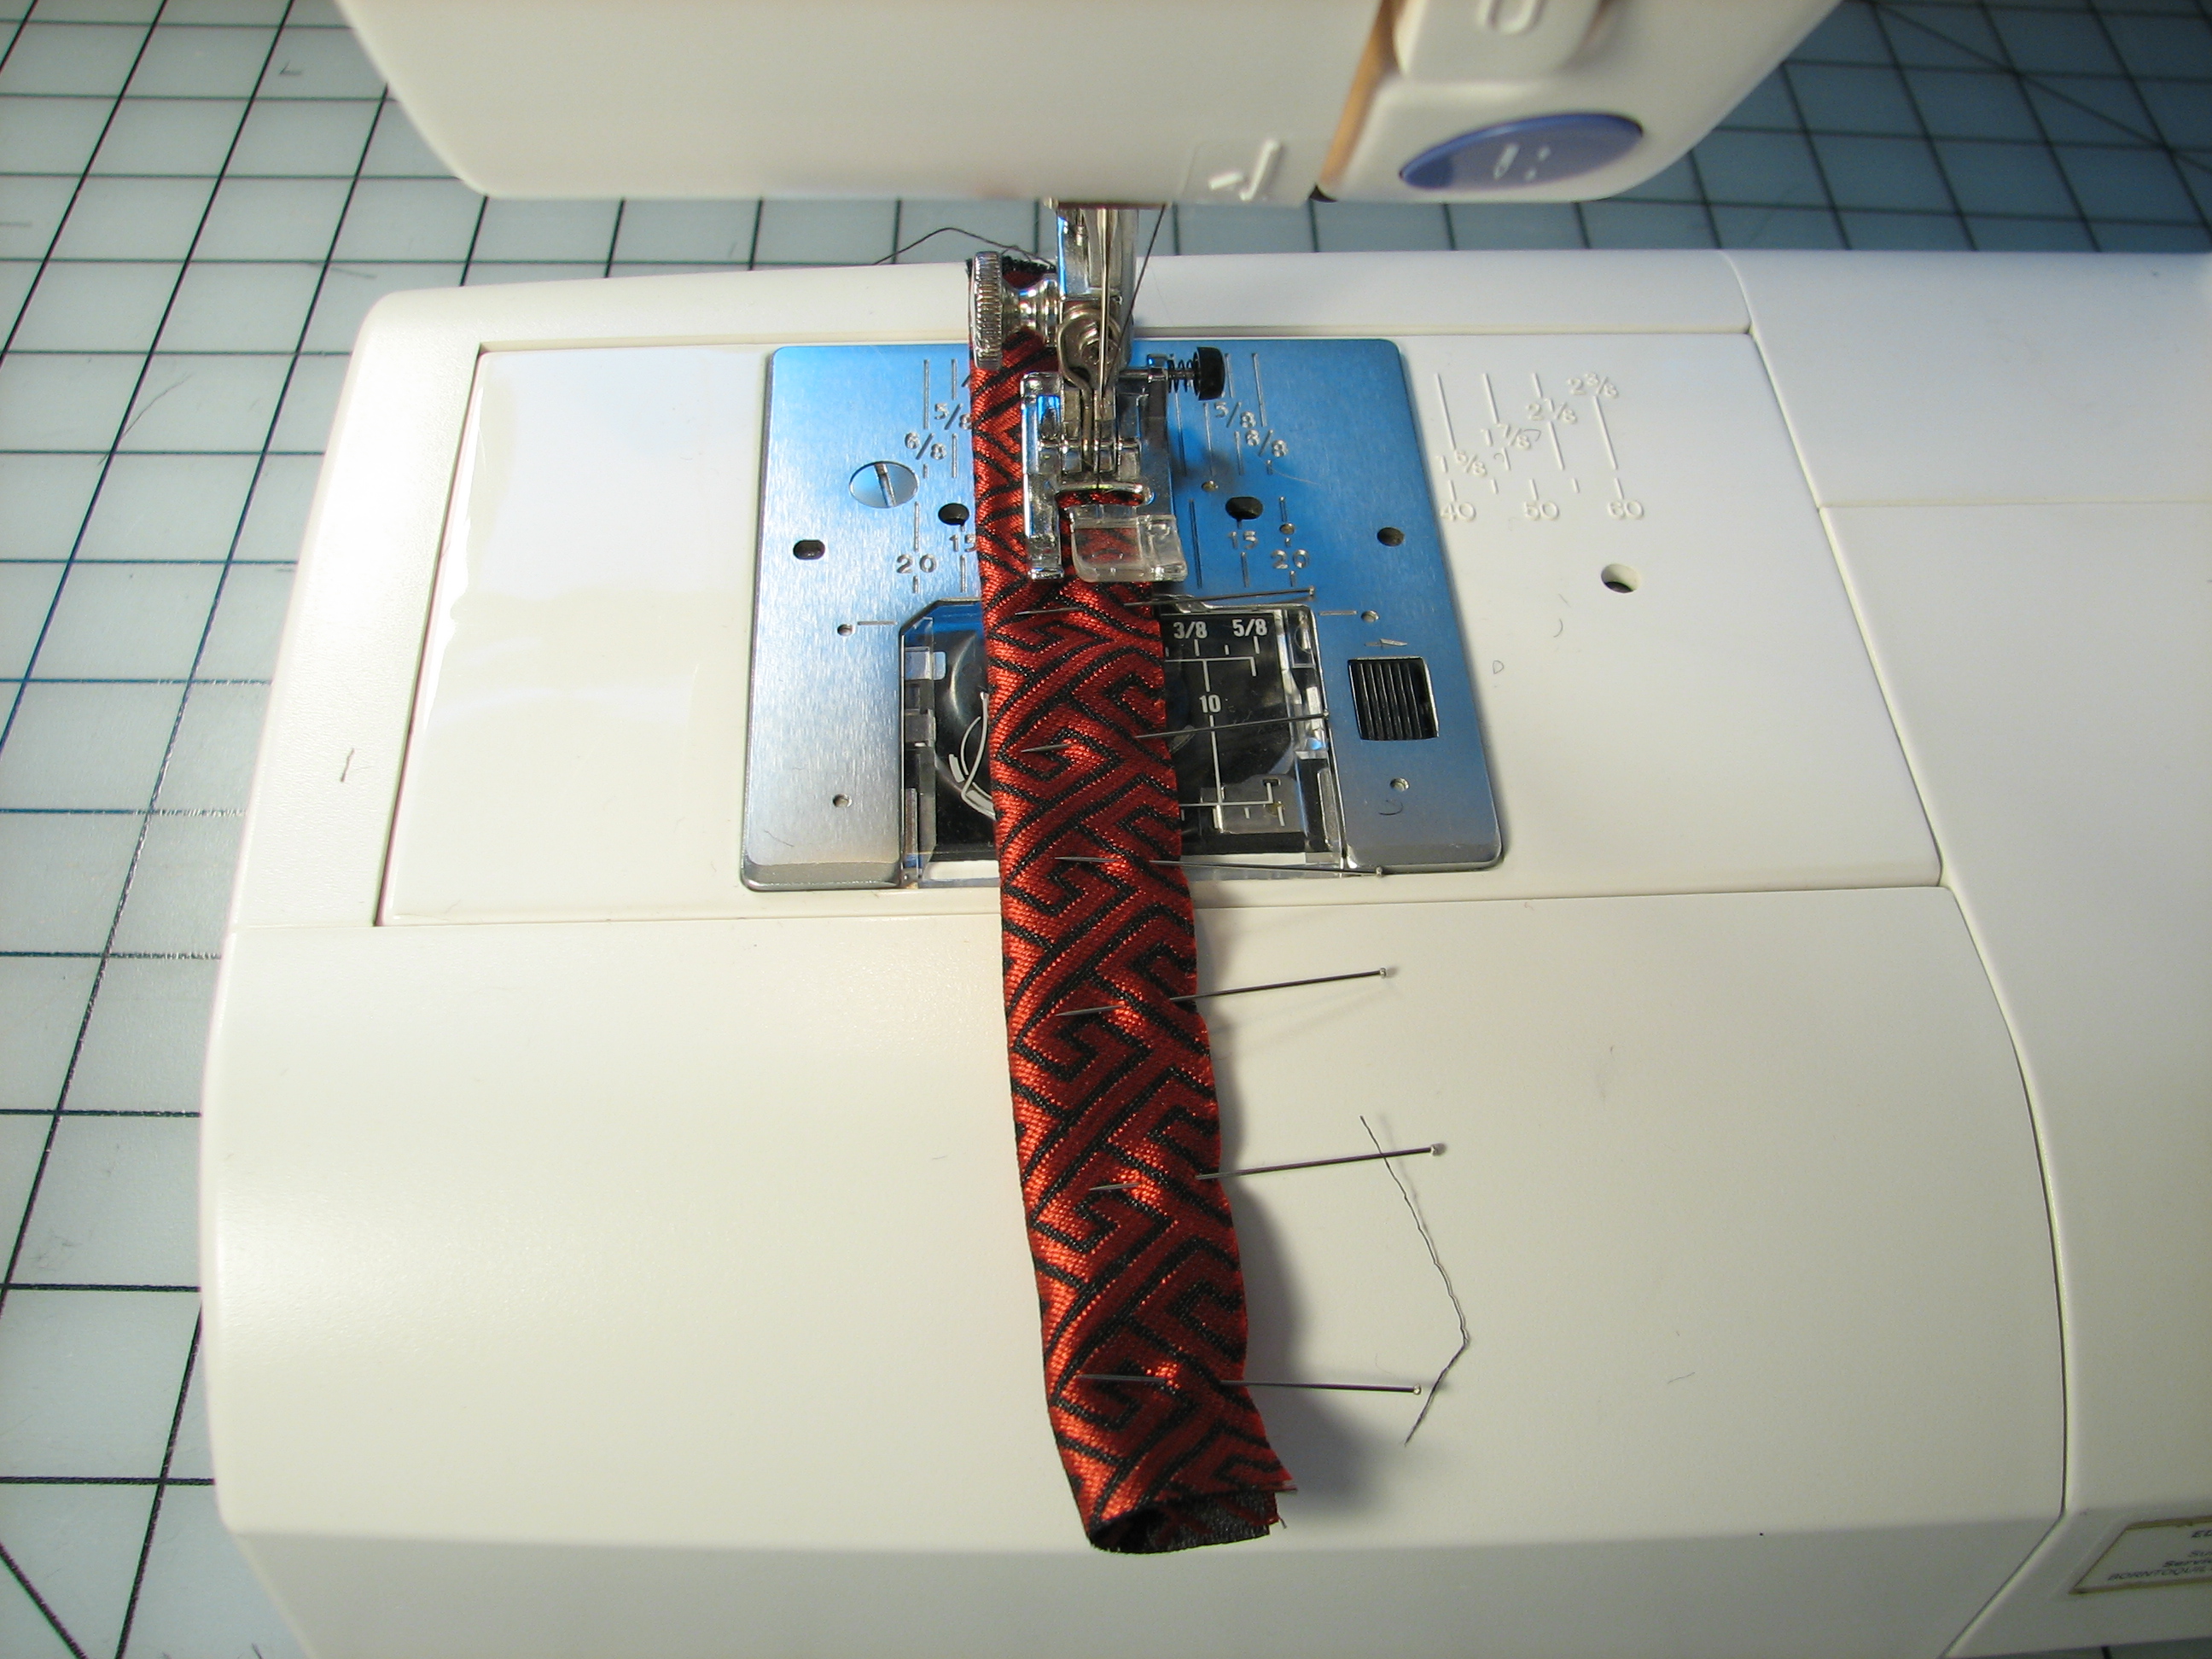
The straps for the handles are pretty straightforward. Fold in half, pin, and stitch.
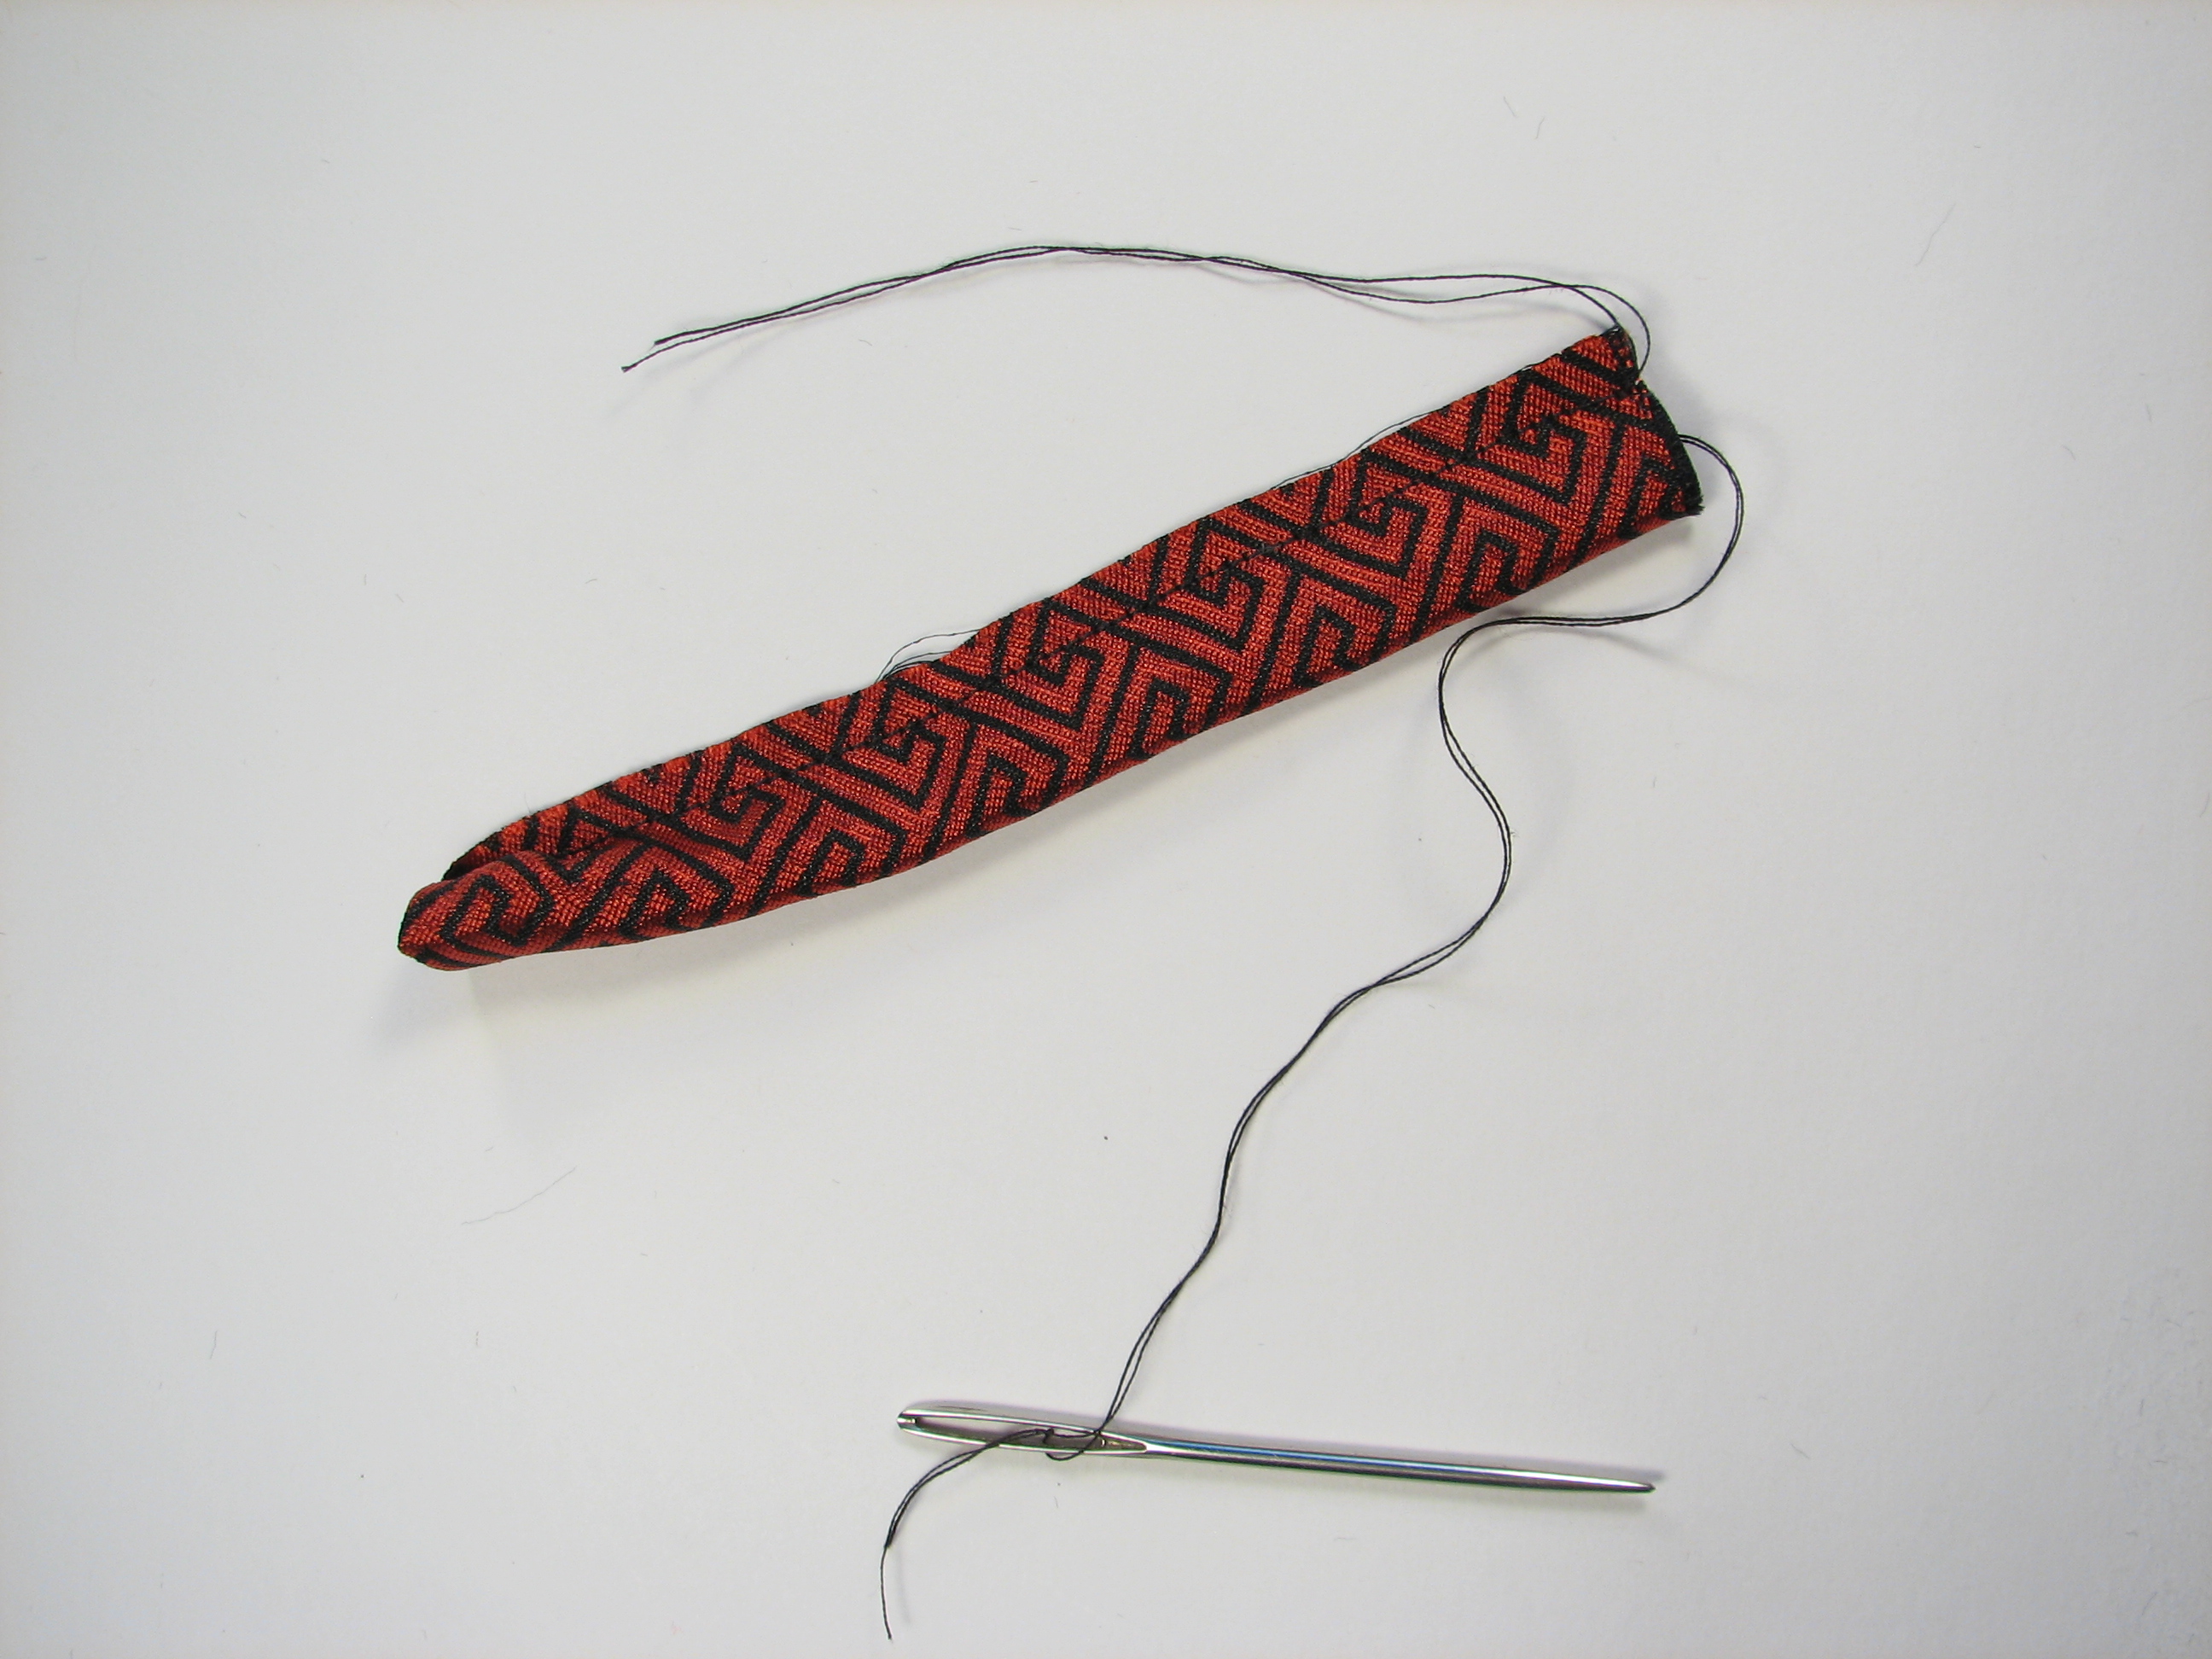
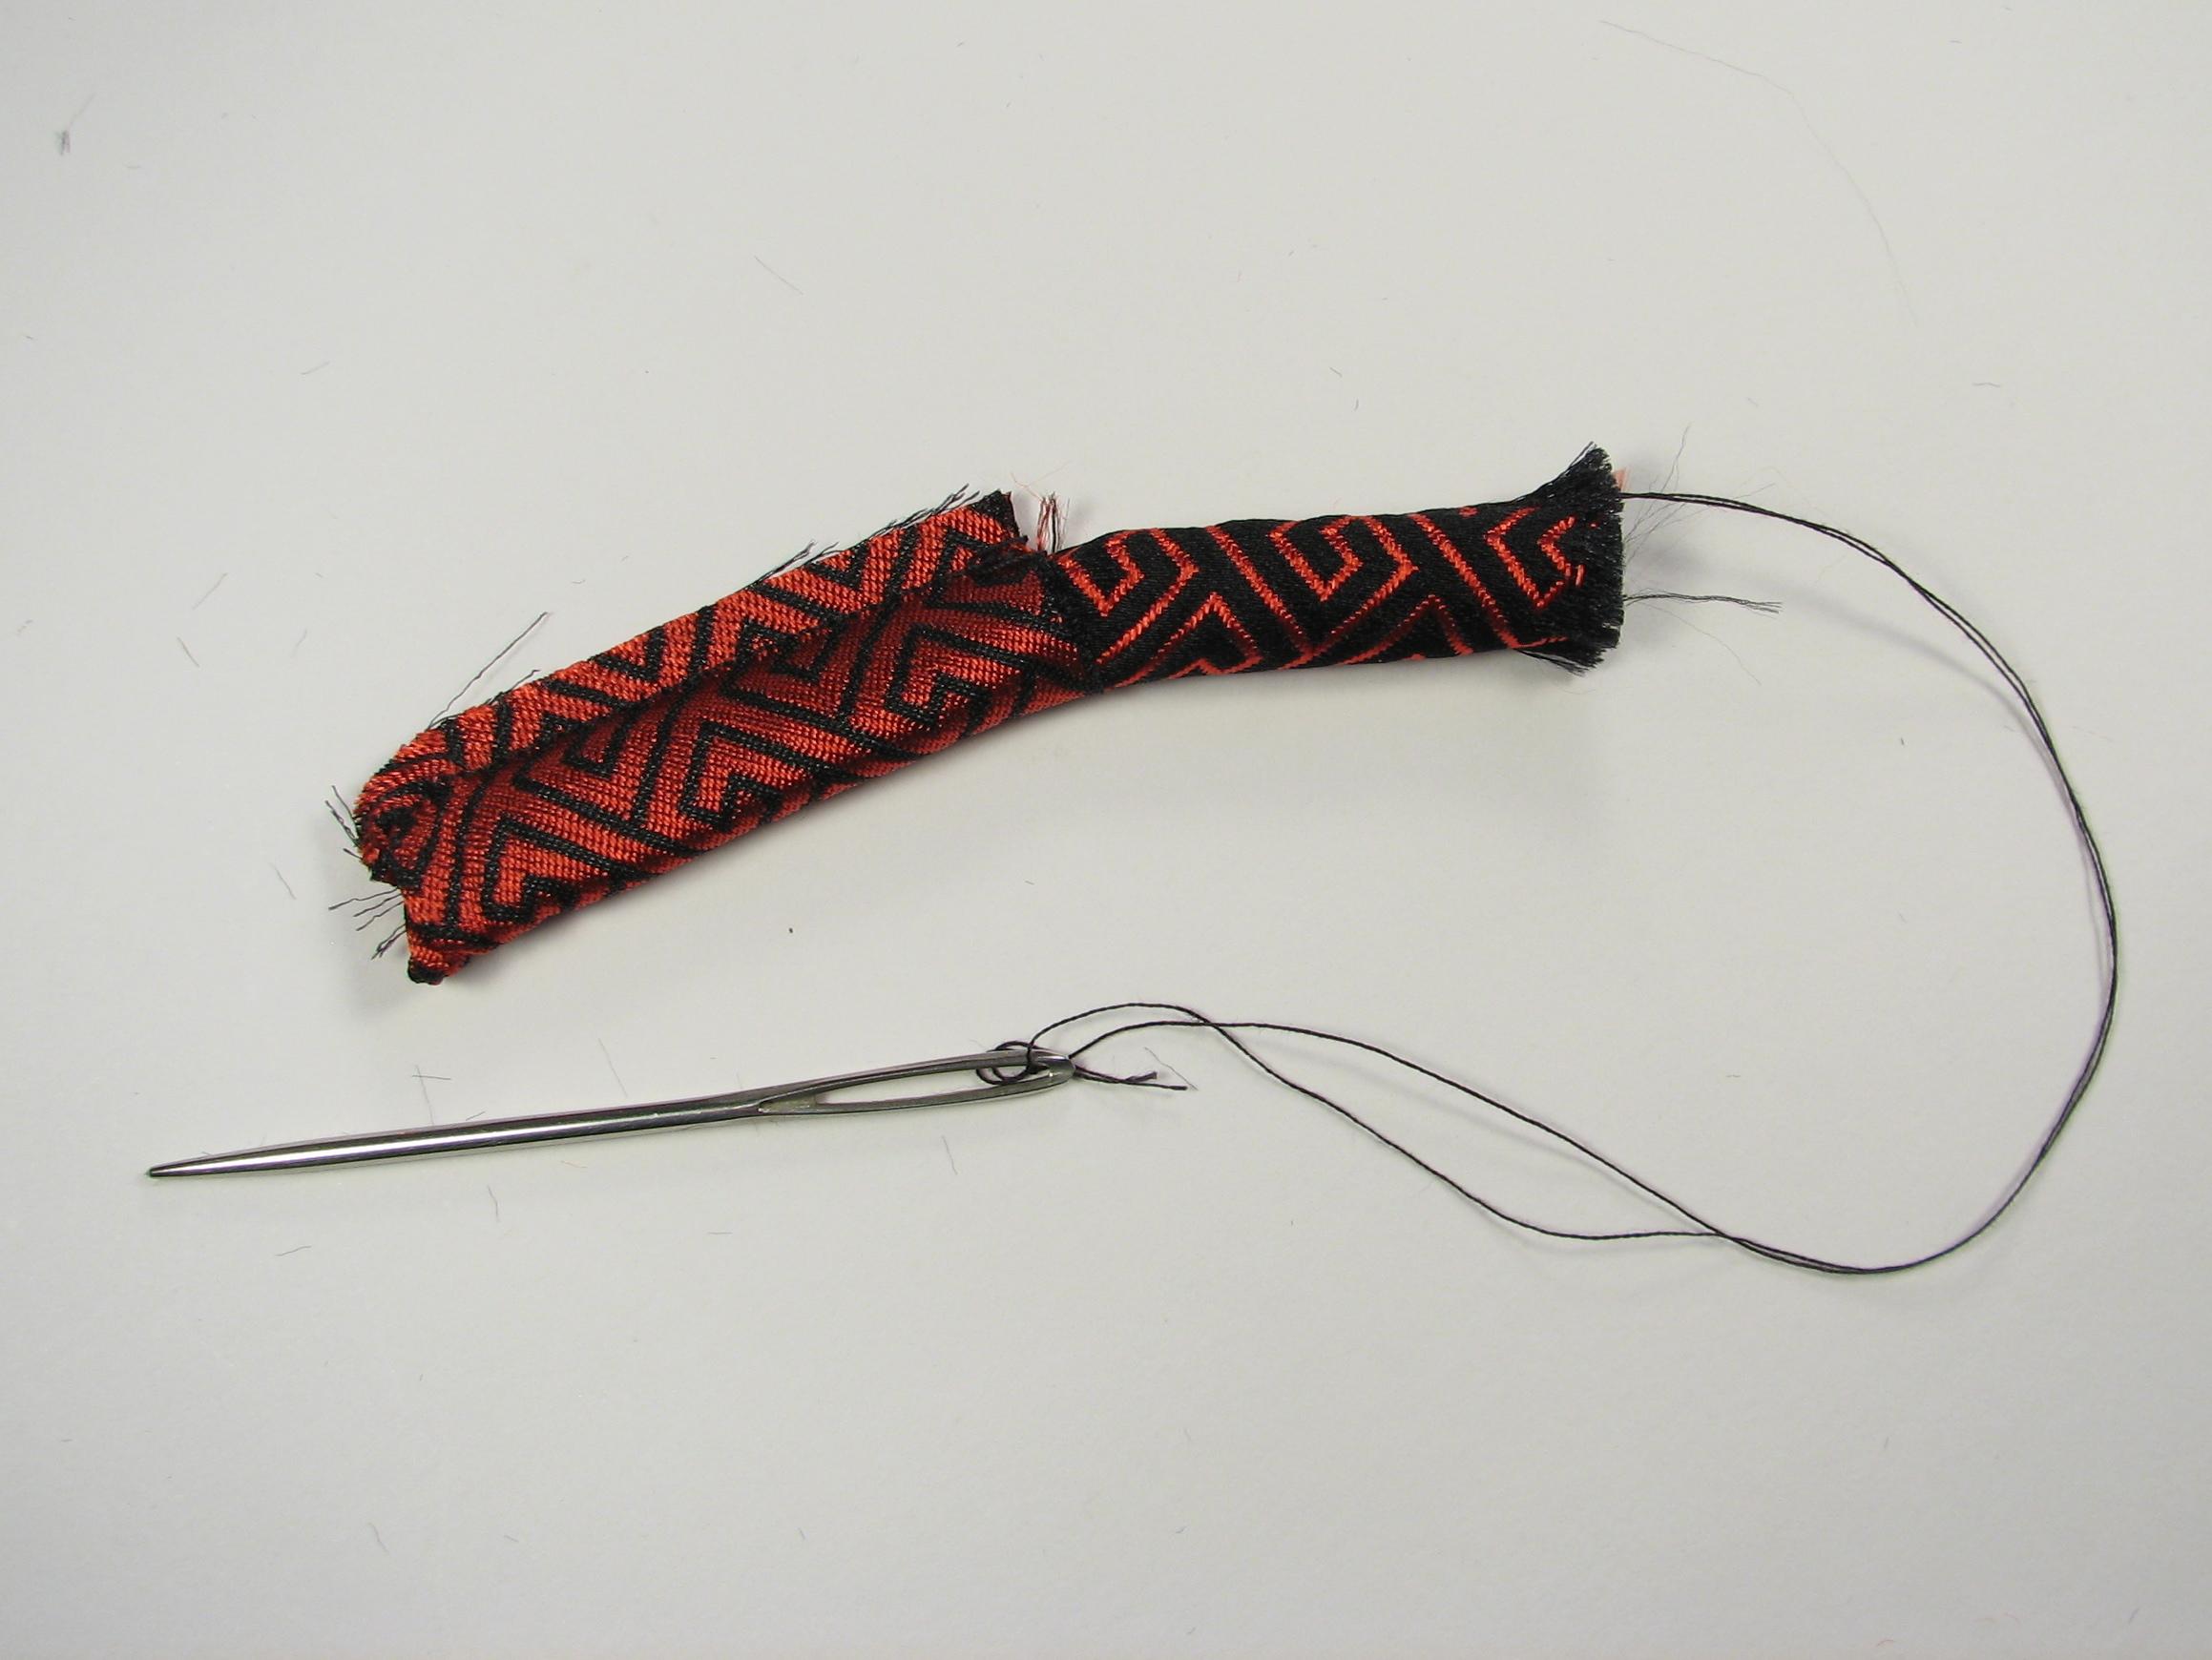
The hard part is, of course, turning it right side out. Leave a long thread on the end, and tie on a yarn needle. Drop it through the tube, and pull it down inside to bring it right side out. Then clip the threads and iron flat.
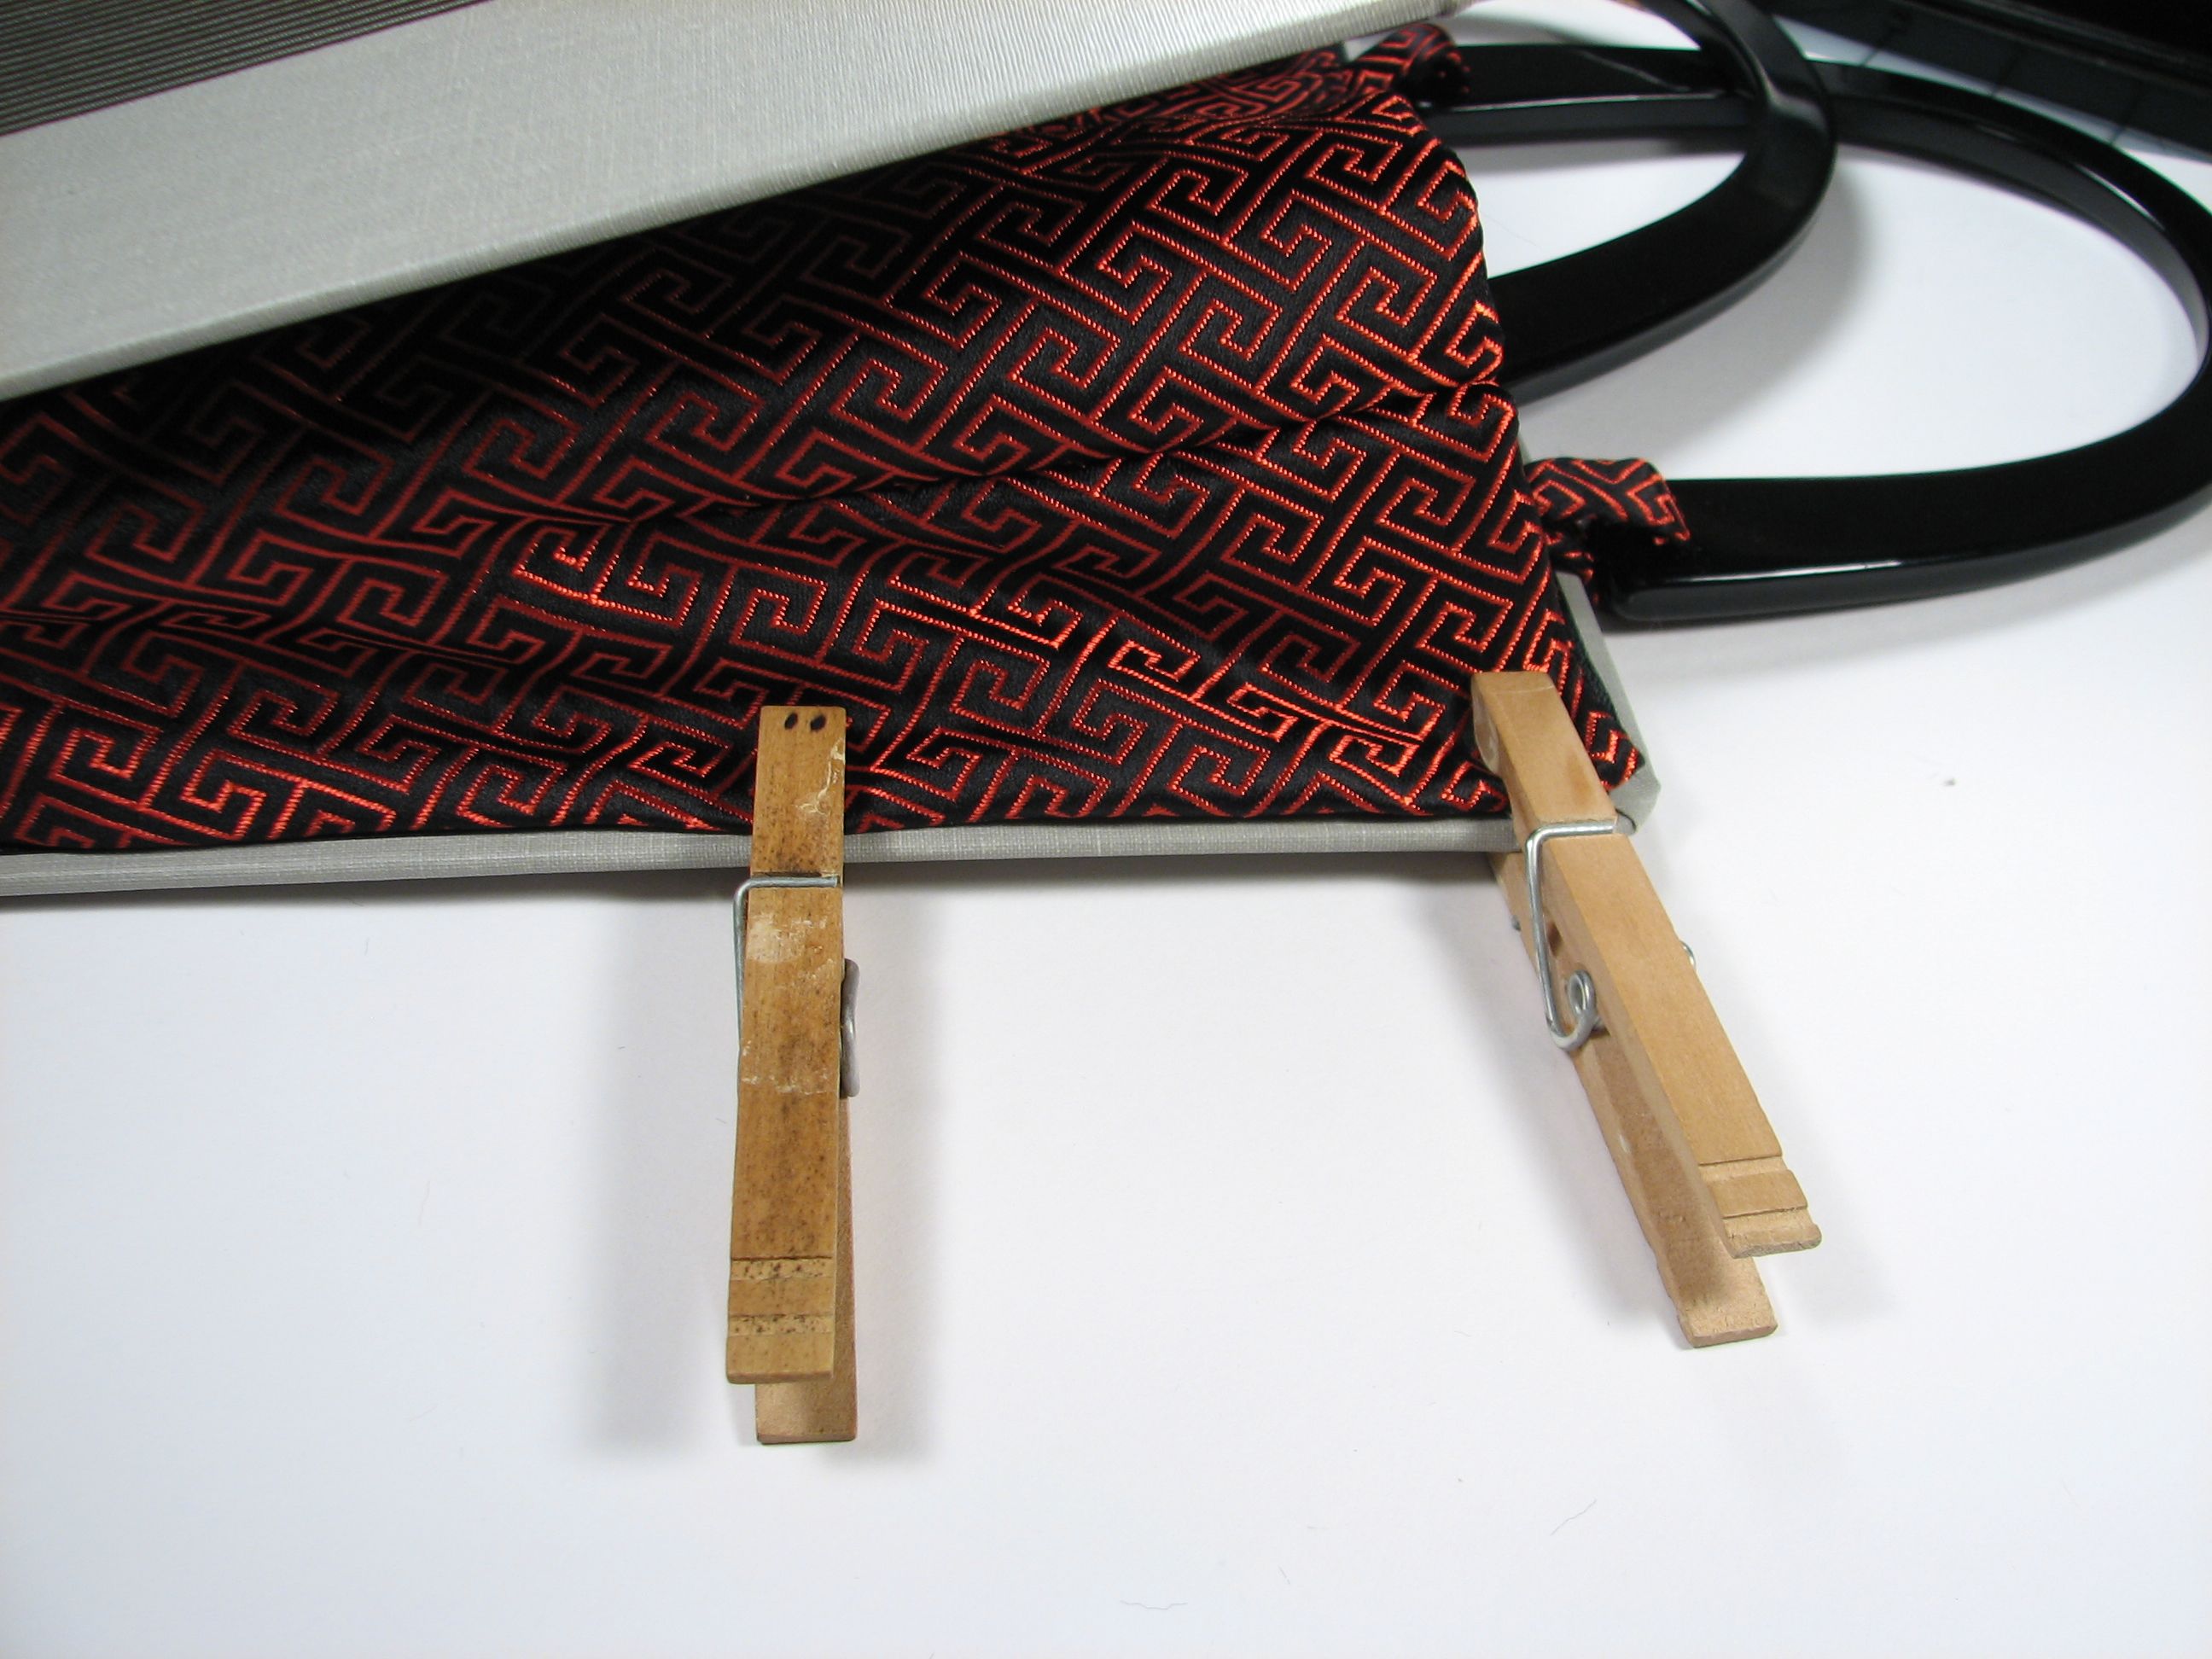
At this stage I couldn’t resist clipping the straps to length (3″ each) and trying them out on the handles.

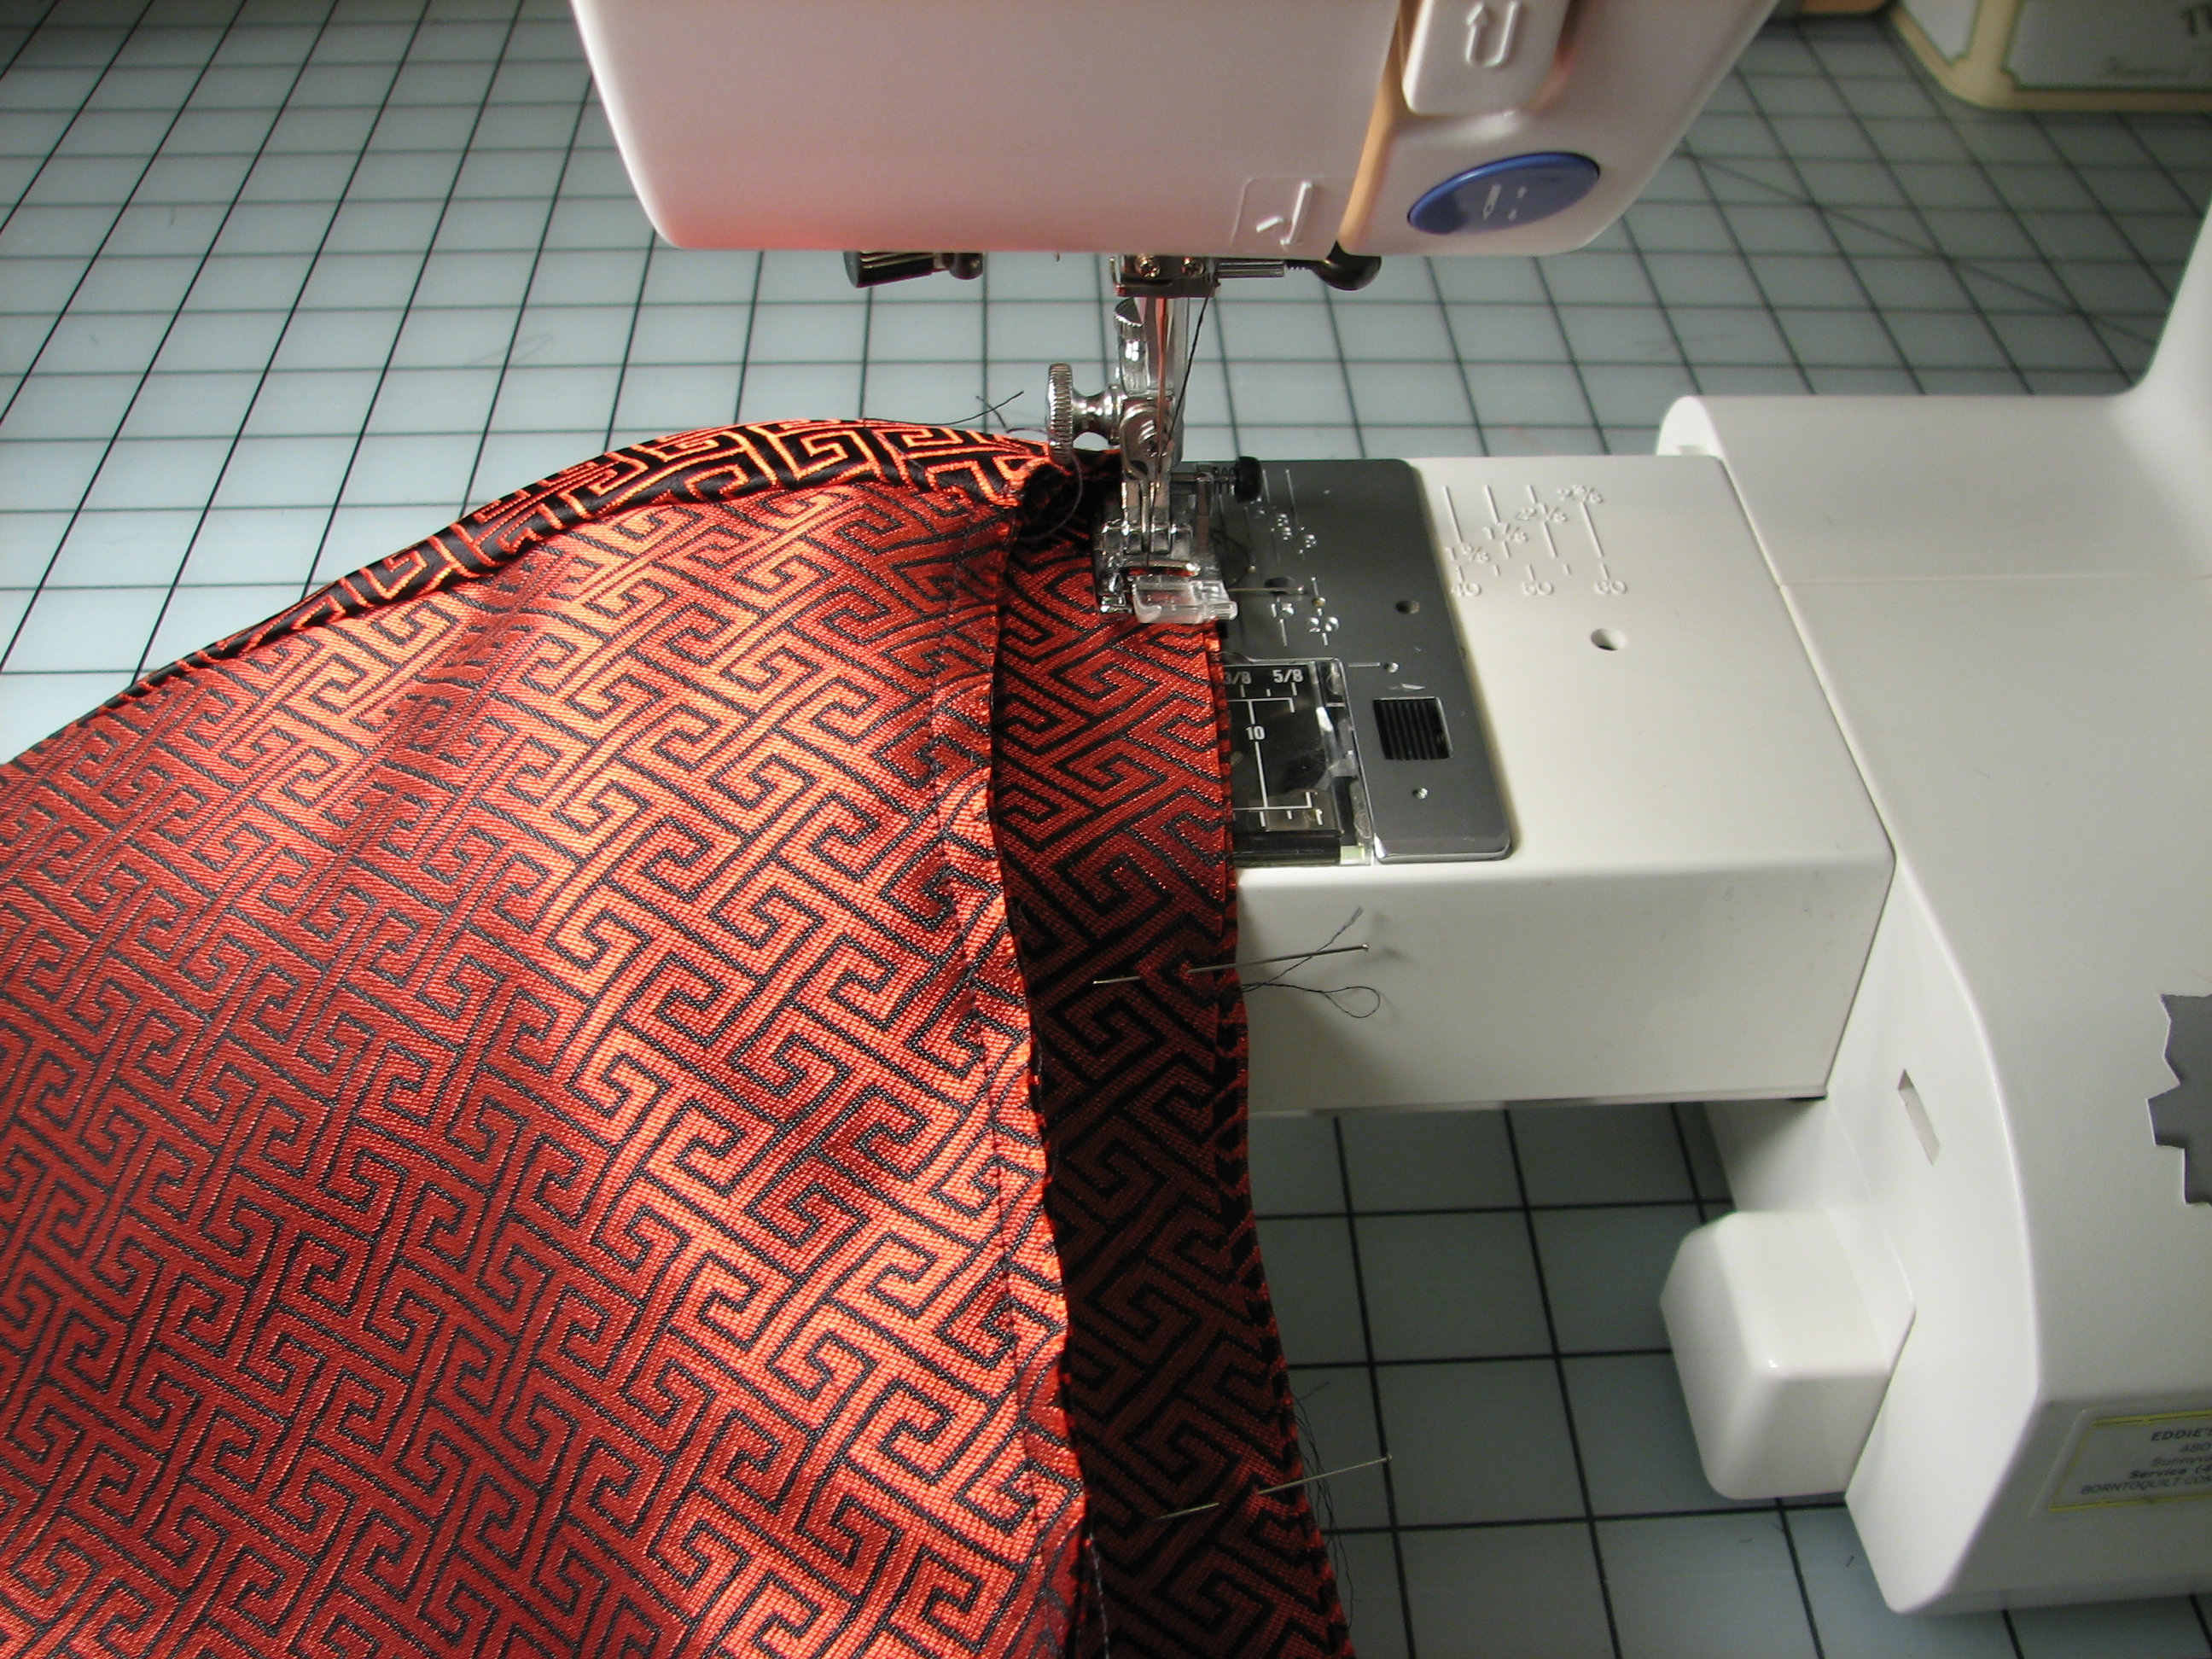
The first real seam is to affix an end to a side. Wrap an end around a side with two right sides facing each other, pin and sew. Do the same with the other end.
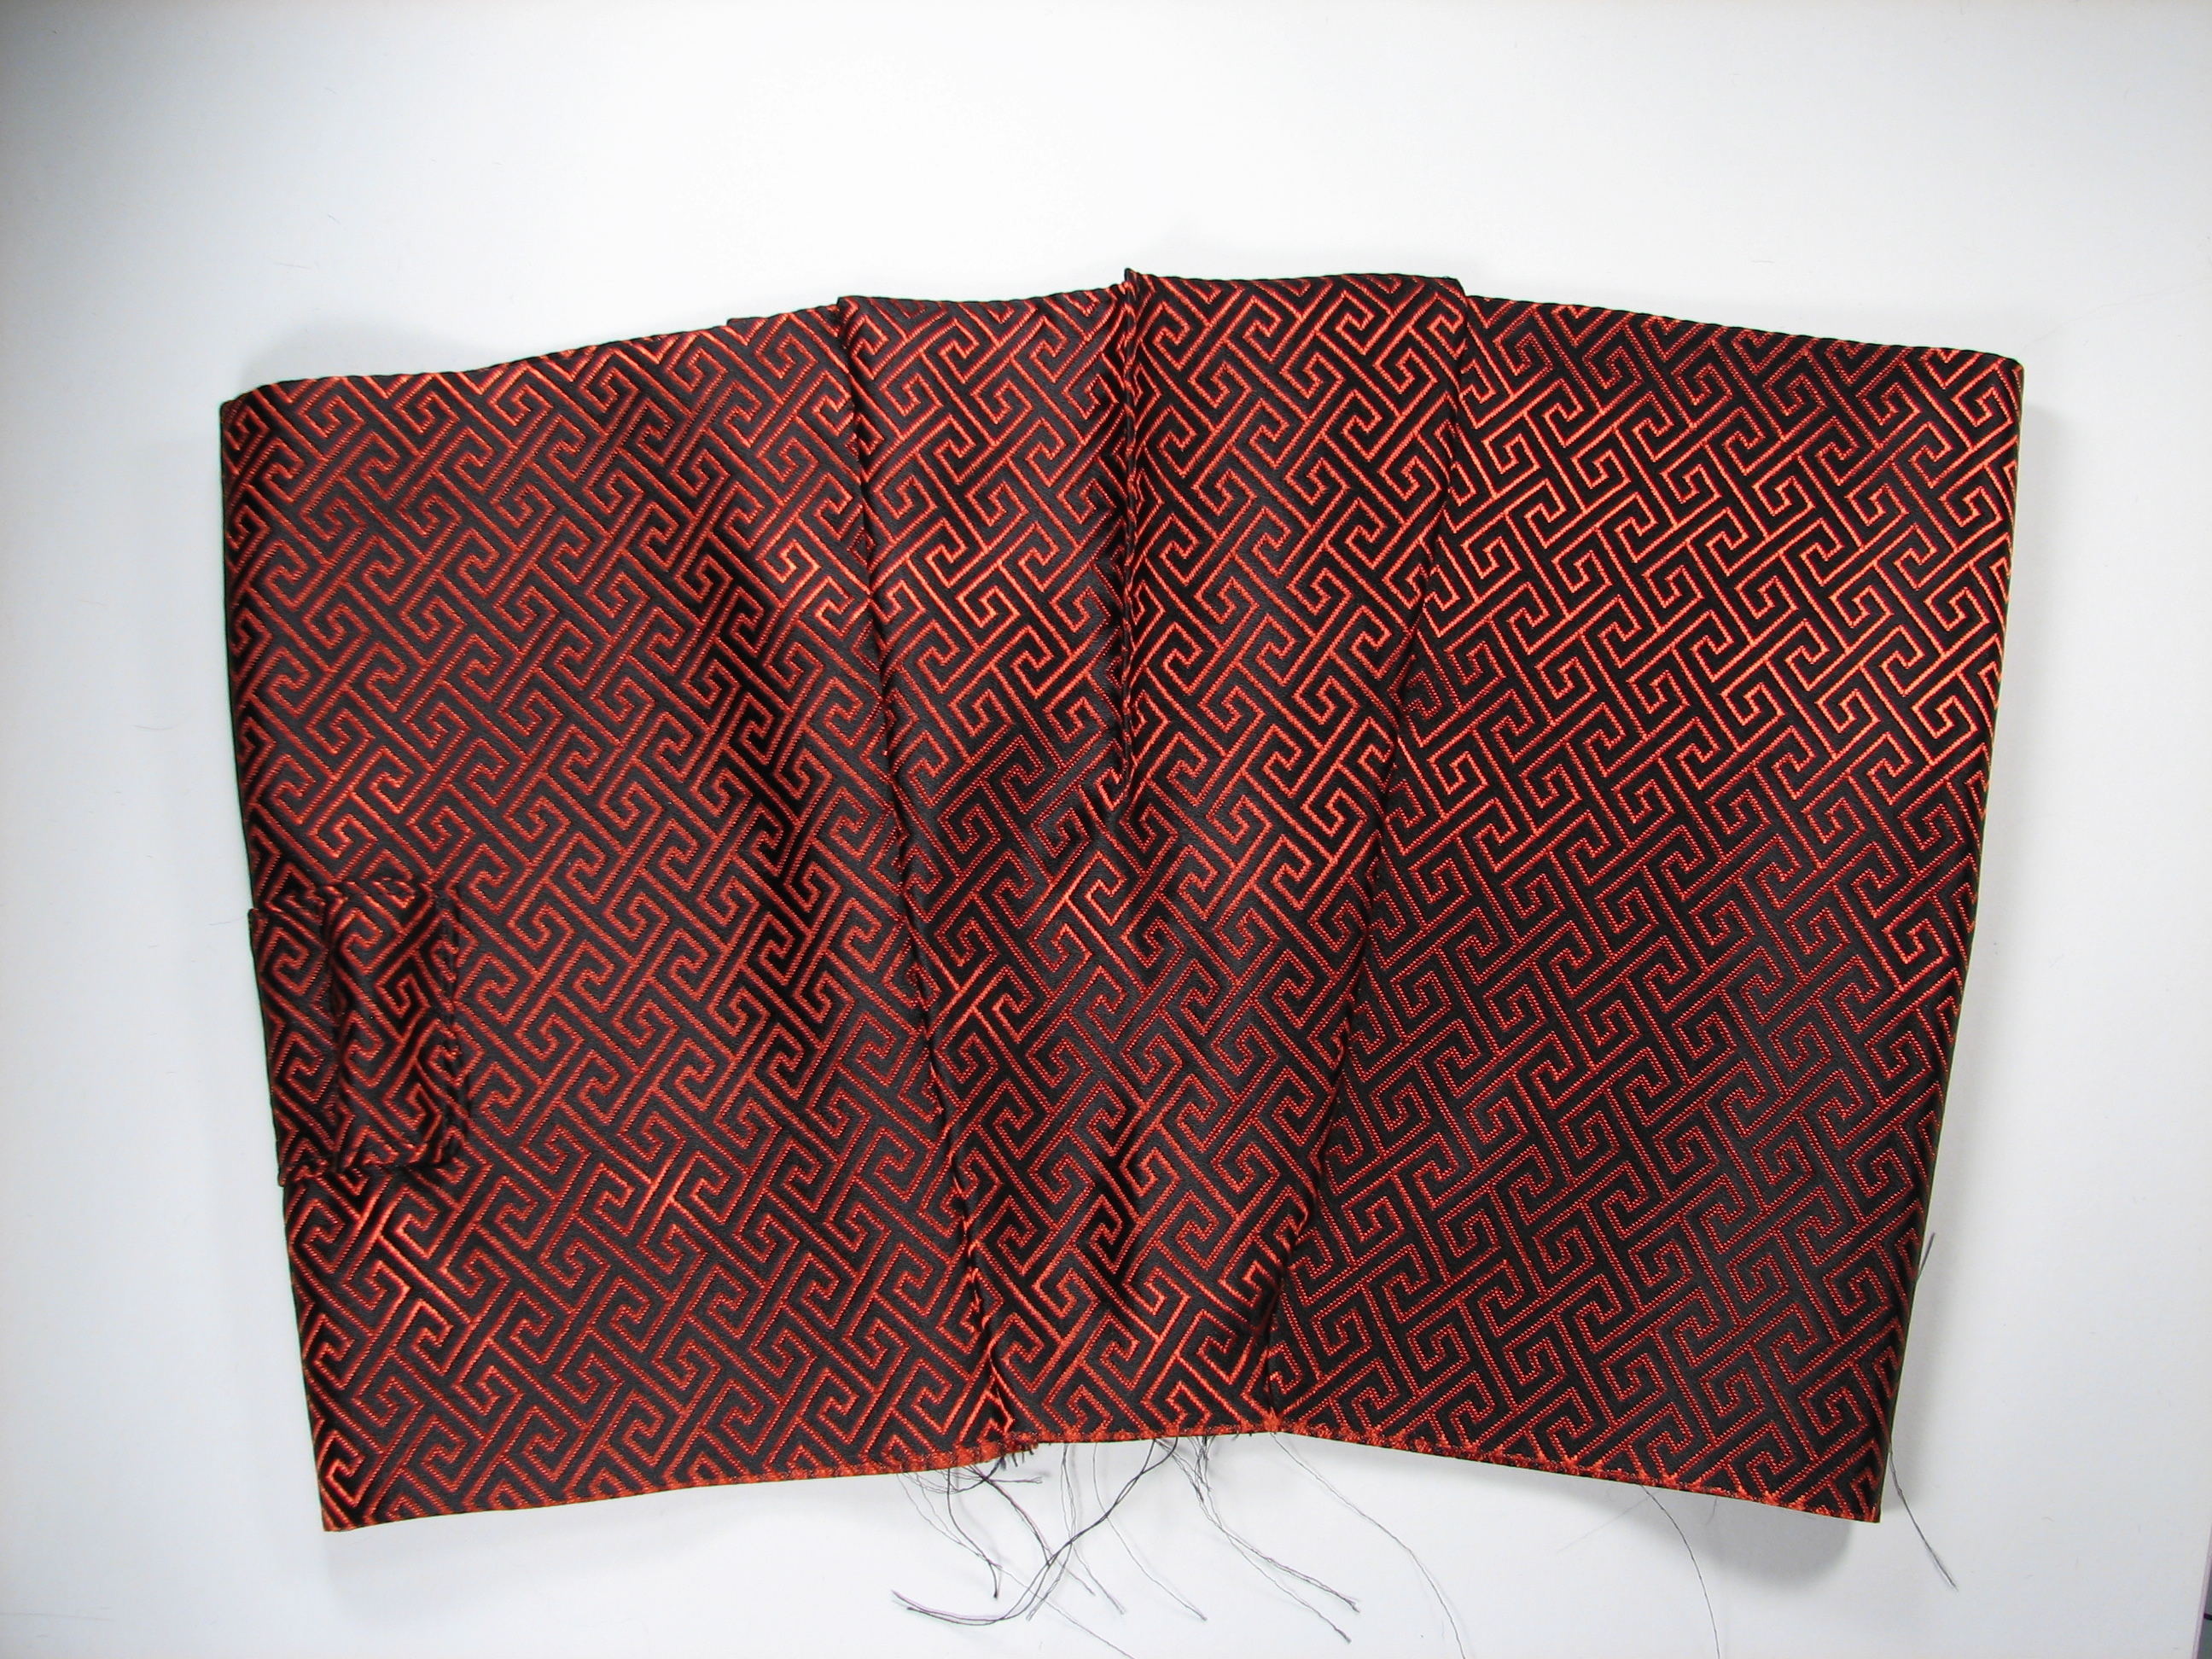
The picture above shows the ends right side out, looking at the side where it will be glued into the binder cover.
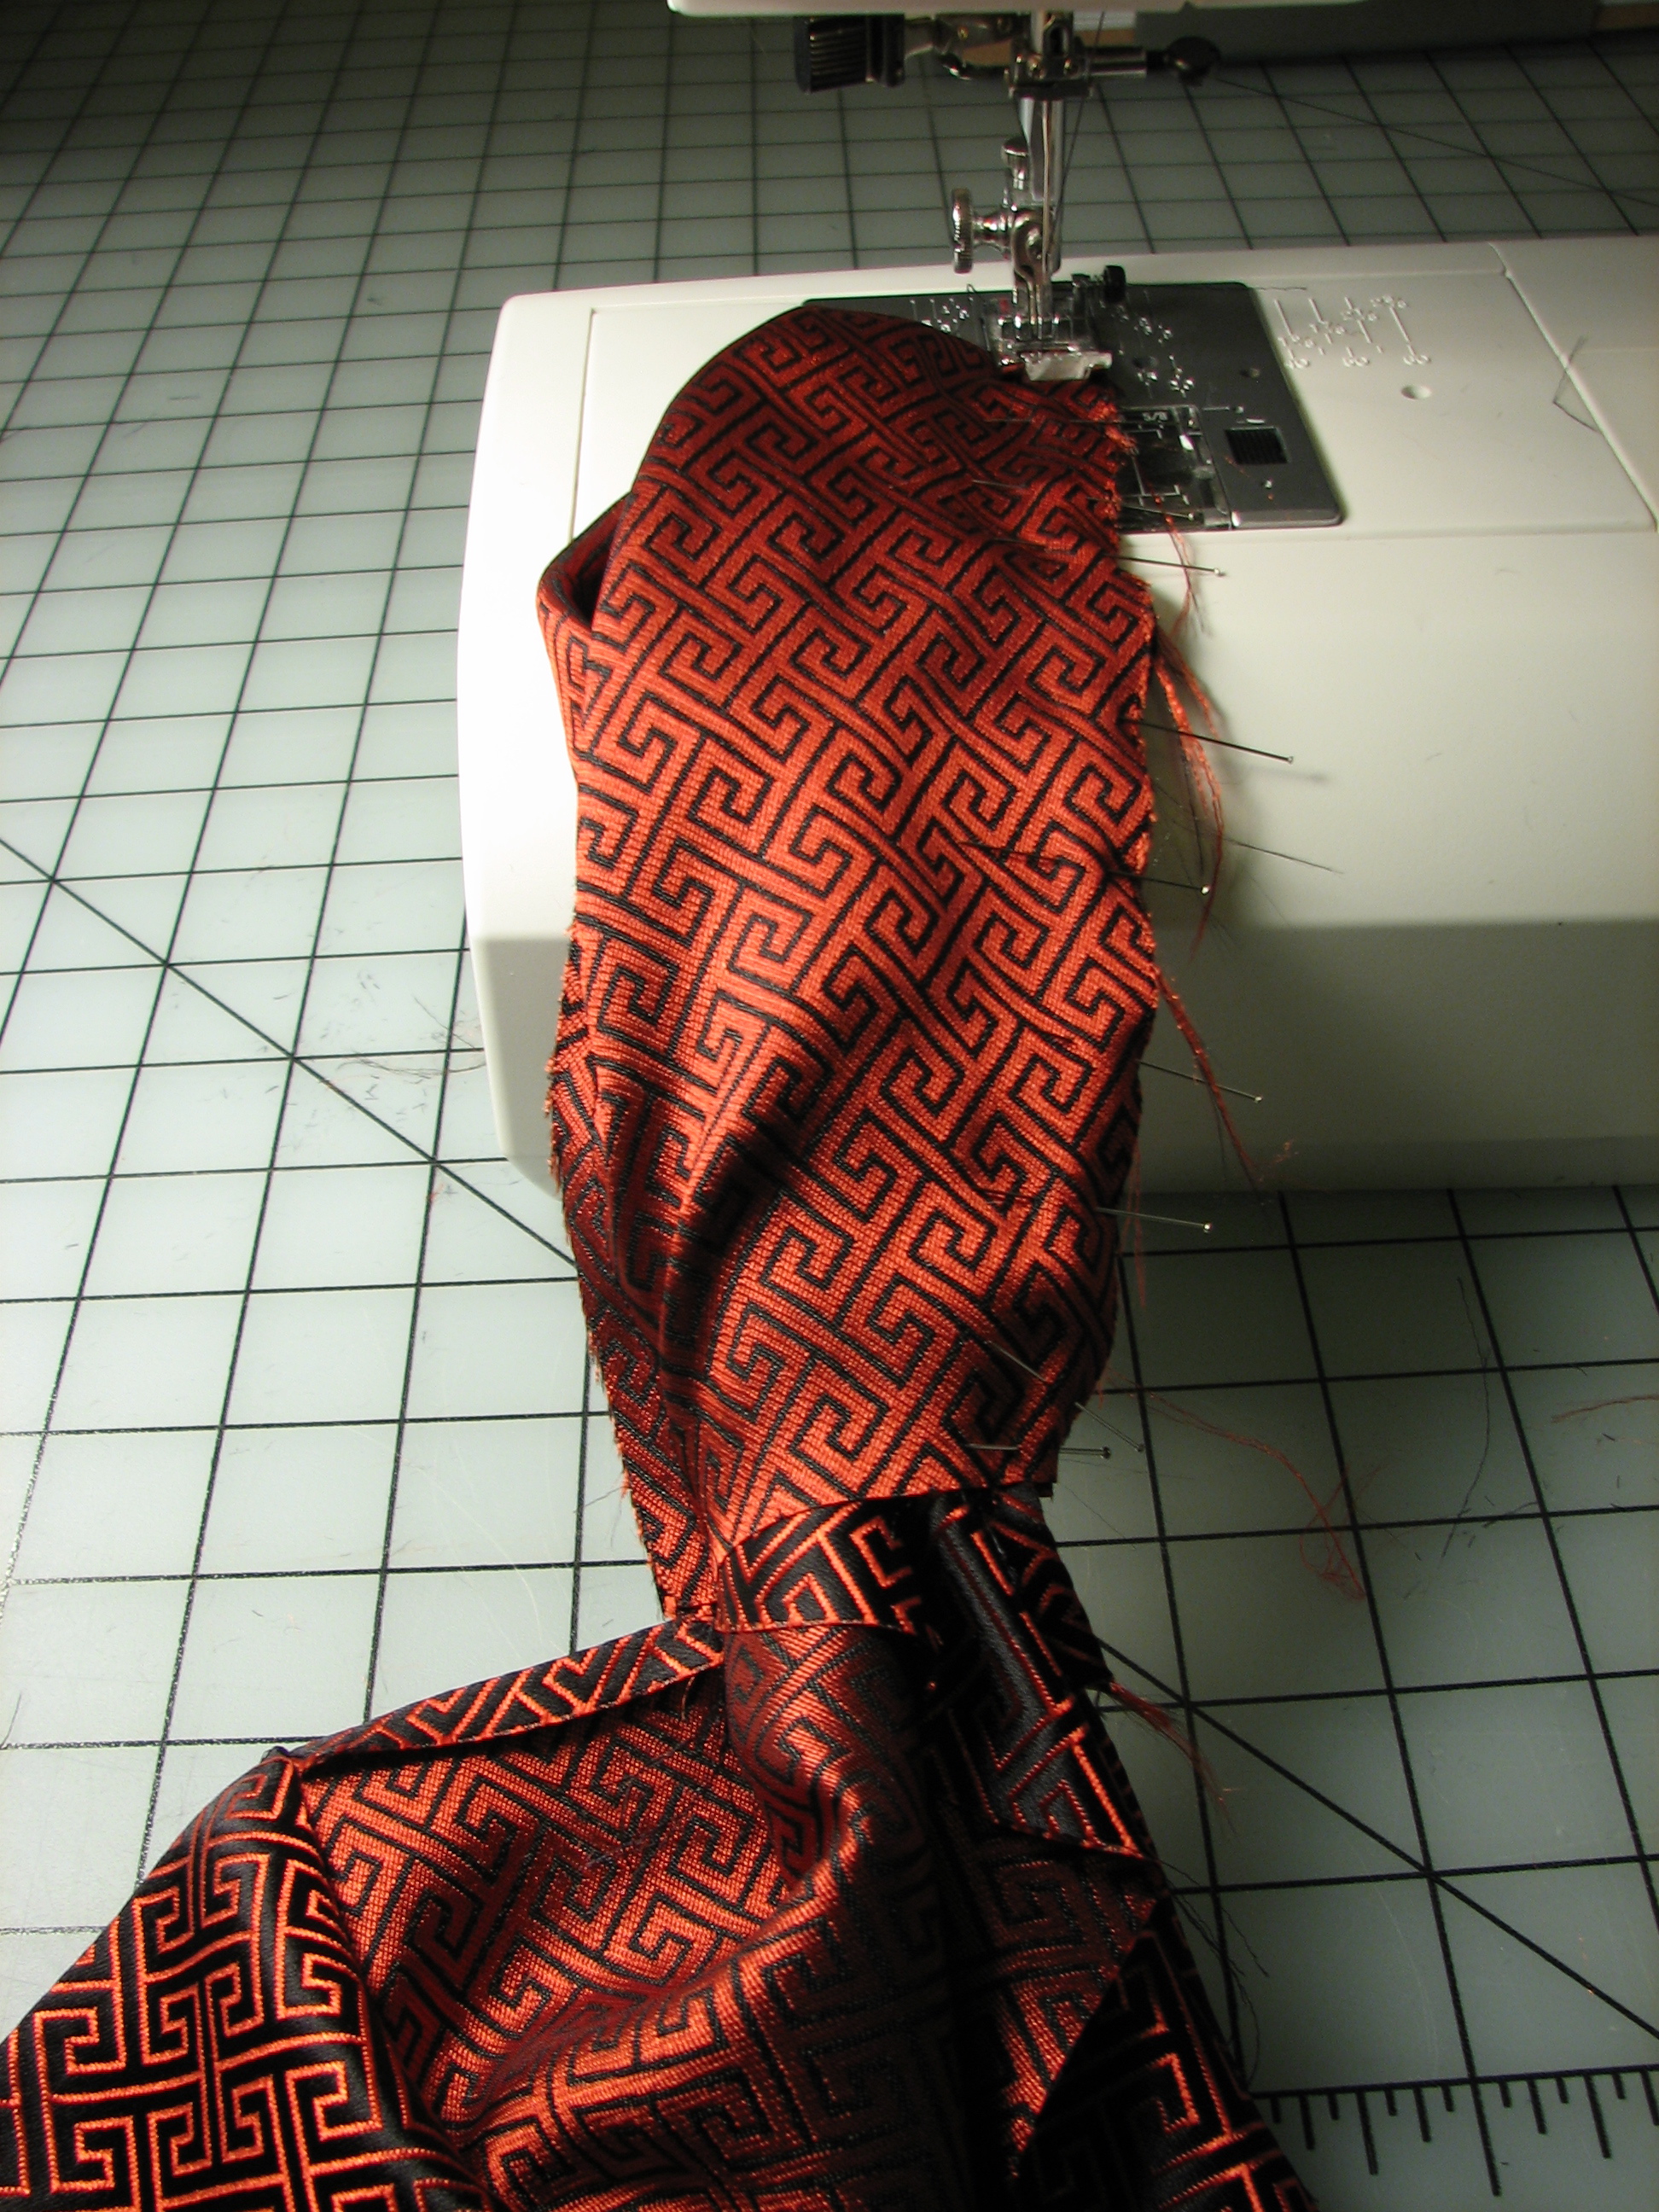
For the third seam, match the side to the correct end piece first, and begin pinning the first two layers before folding over the rest of the side. You will have to roll up the other parts inside when you fold over the side to finish pinning.
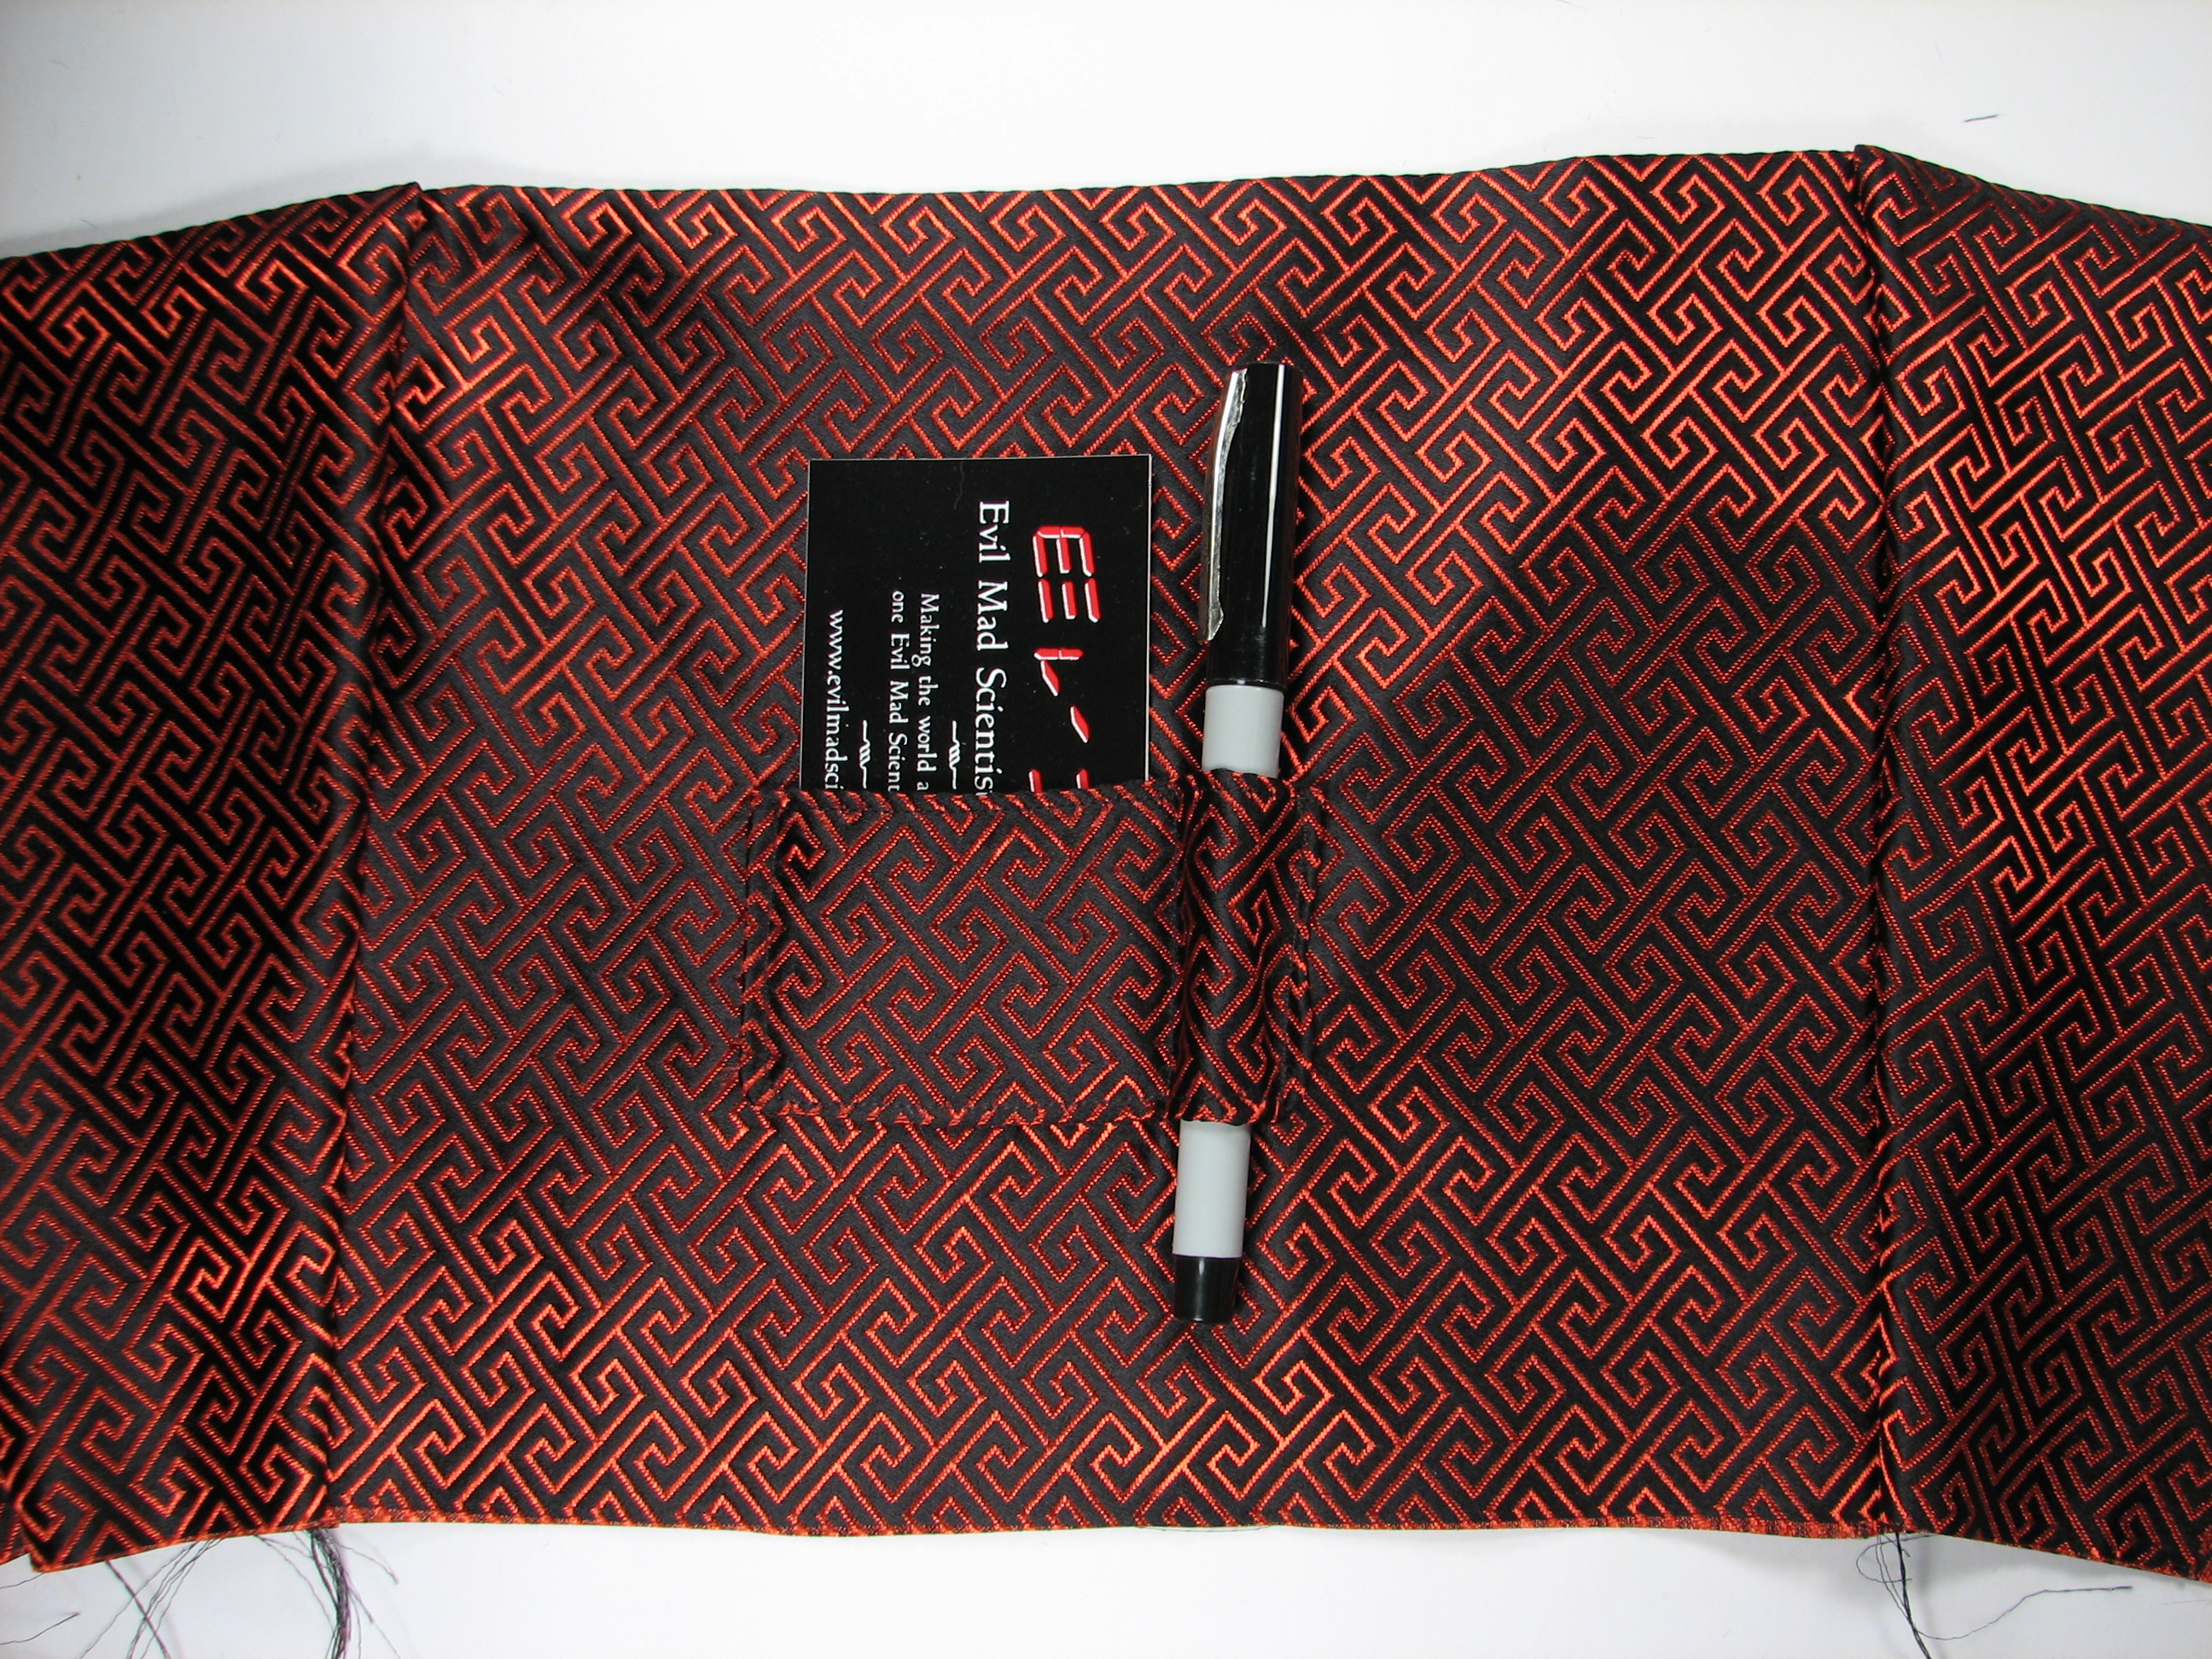
While the liner is still flat is a good time to sew on the pocket. The pocket shown holds business cards and has a pen loop. Sew down the top edge of the pocket, and the bottom edge where the pen loop will be. Then pin the pocket on and sew around the business card pocket. Wrap the remaining fabric over a pen to pin at the correct place and sew down the remaining edge.
Sewing up the fourth corner involves rolling up the rest of the liner to pin and stitch, much like the third corner, only more so. Turn right side out gently after sewing.
Sewing a small dart on the inside edge of the sides will help keep them tucked inwards.
Attach the bottom, starting with the long edges.

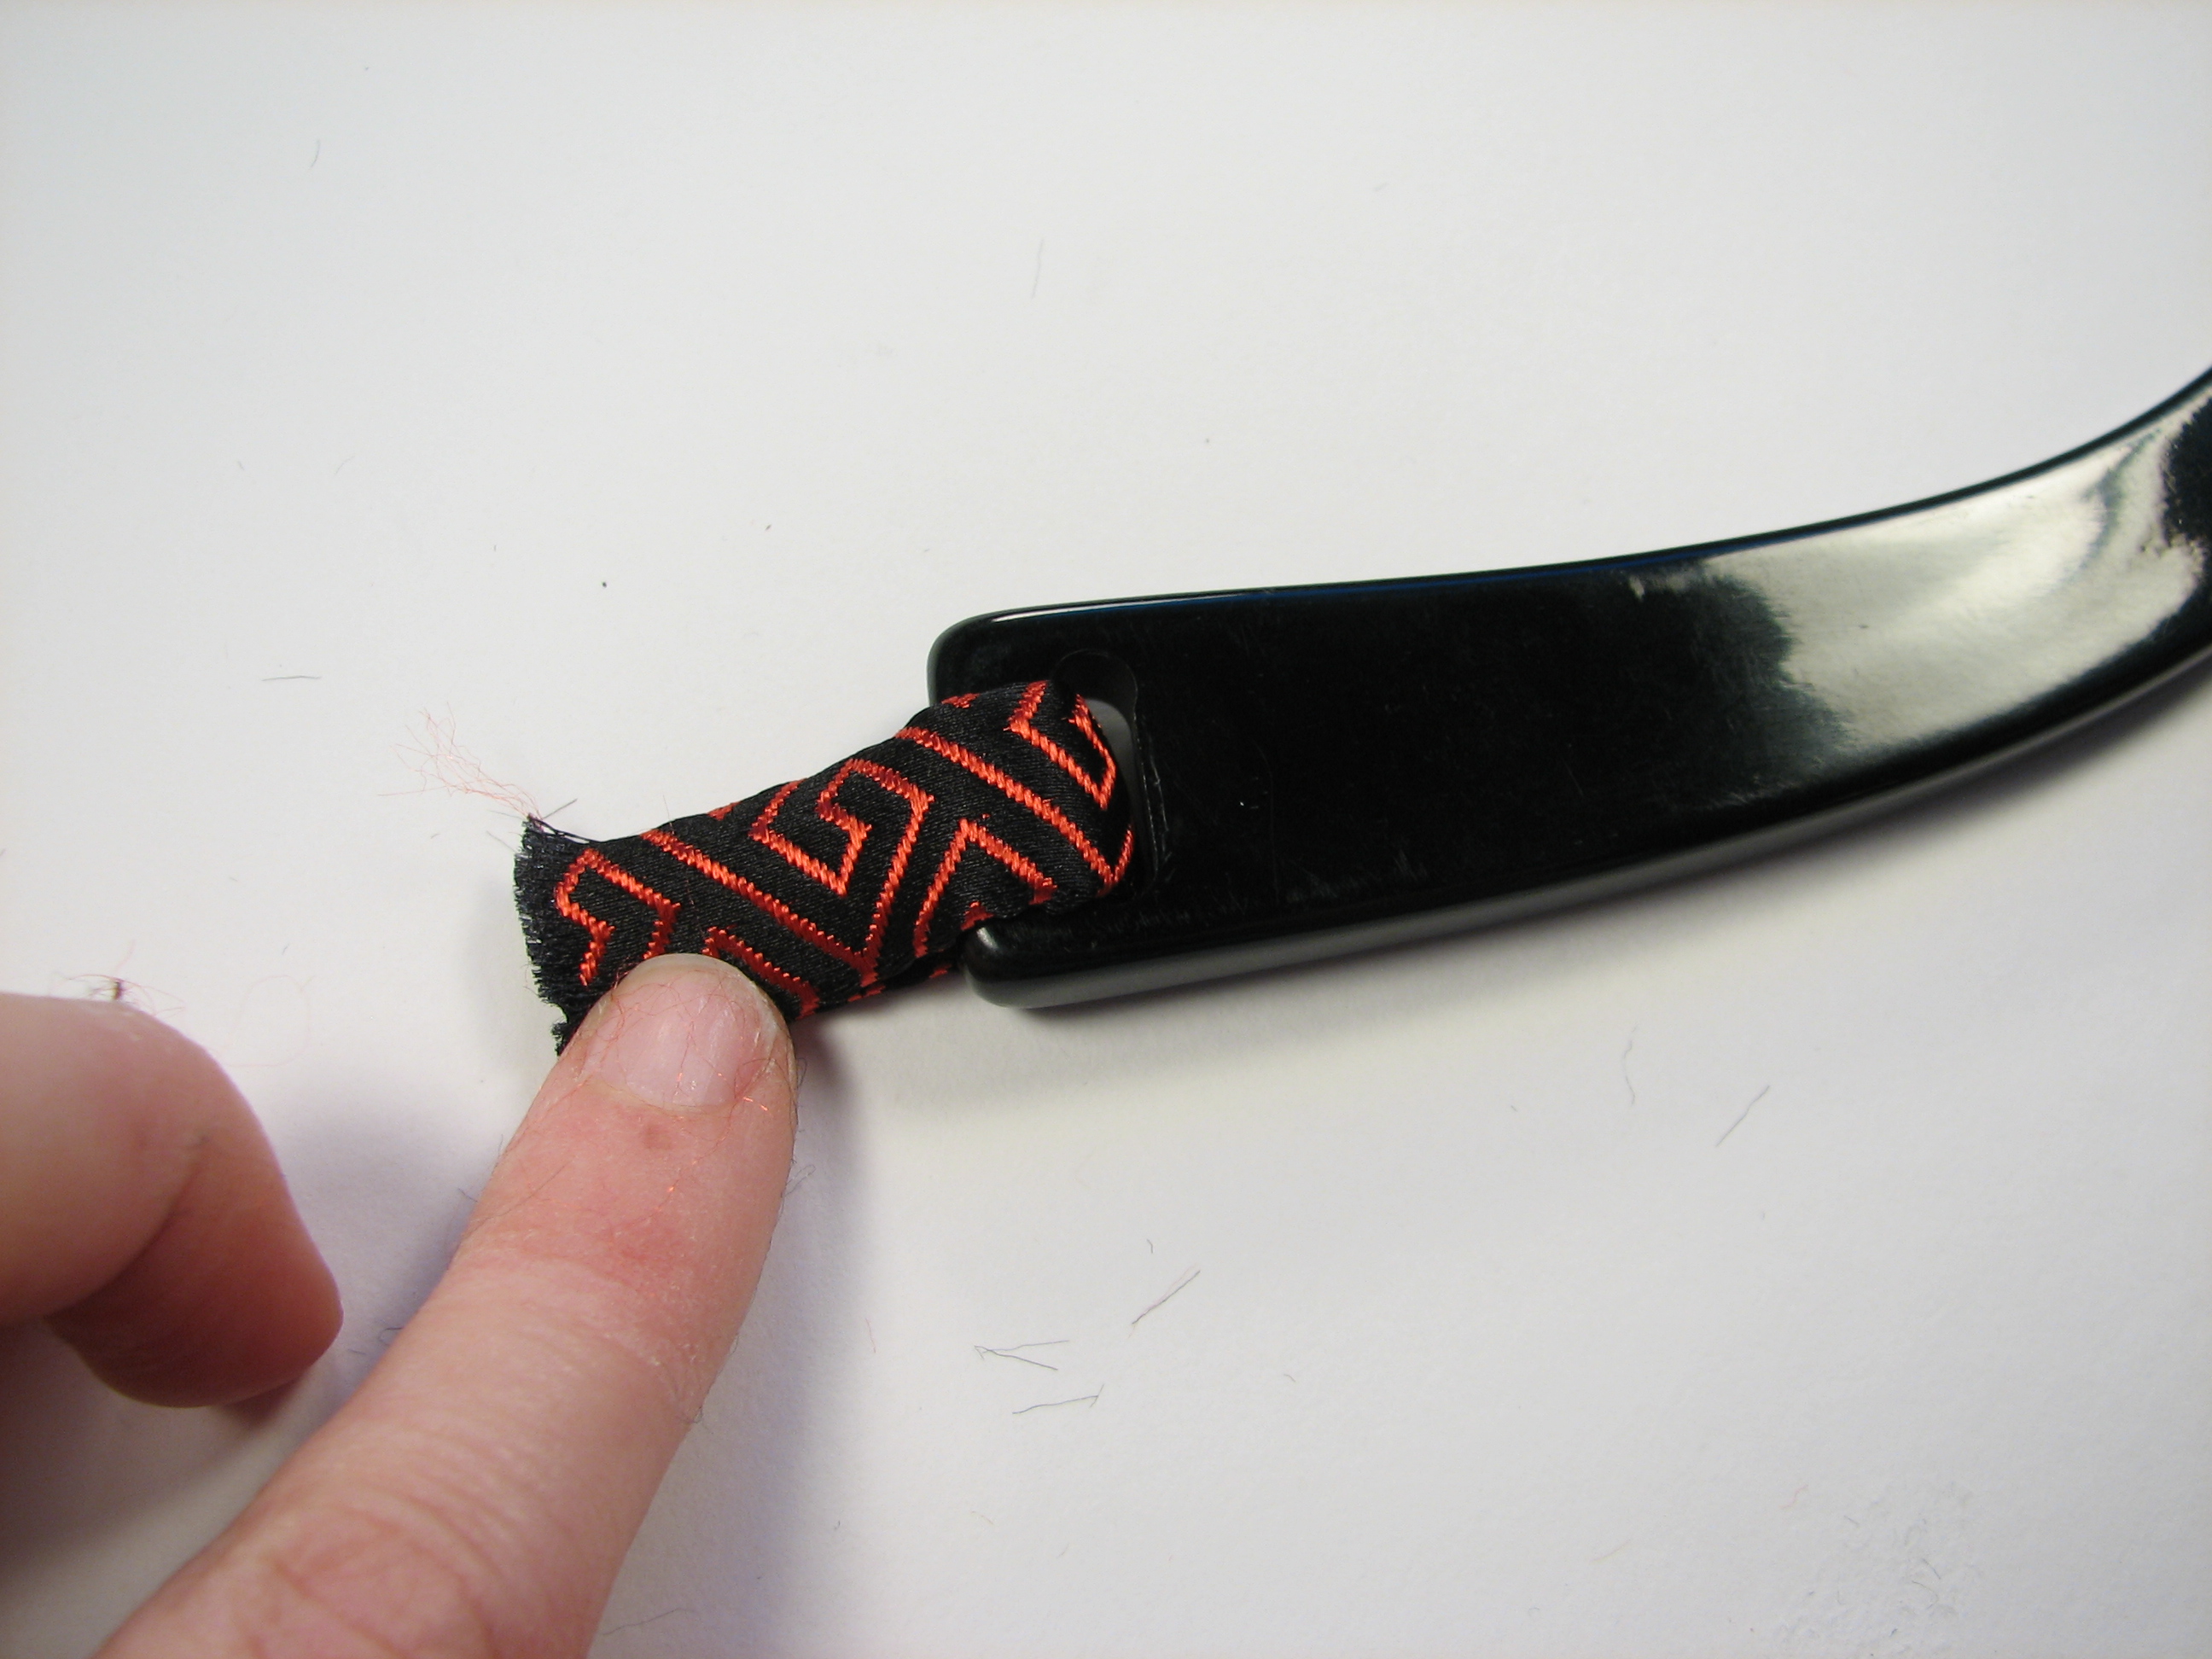
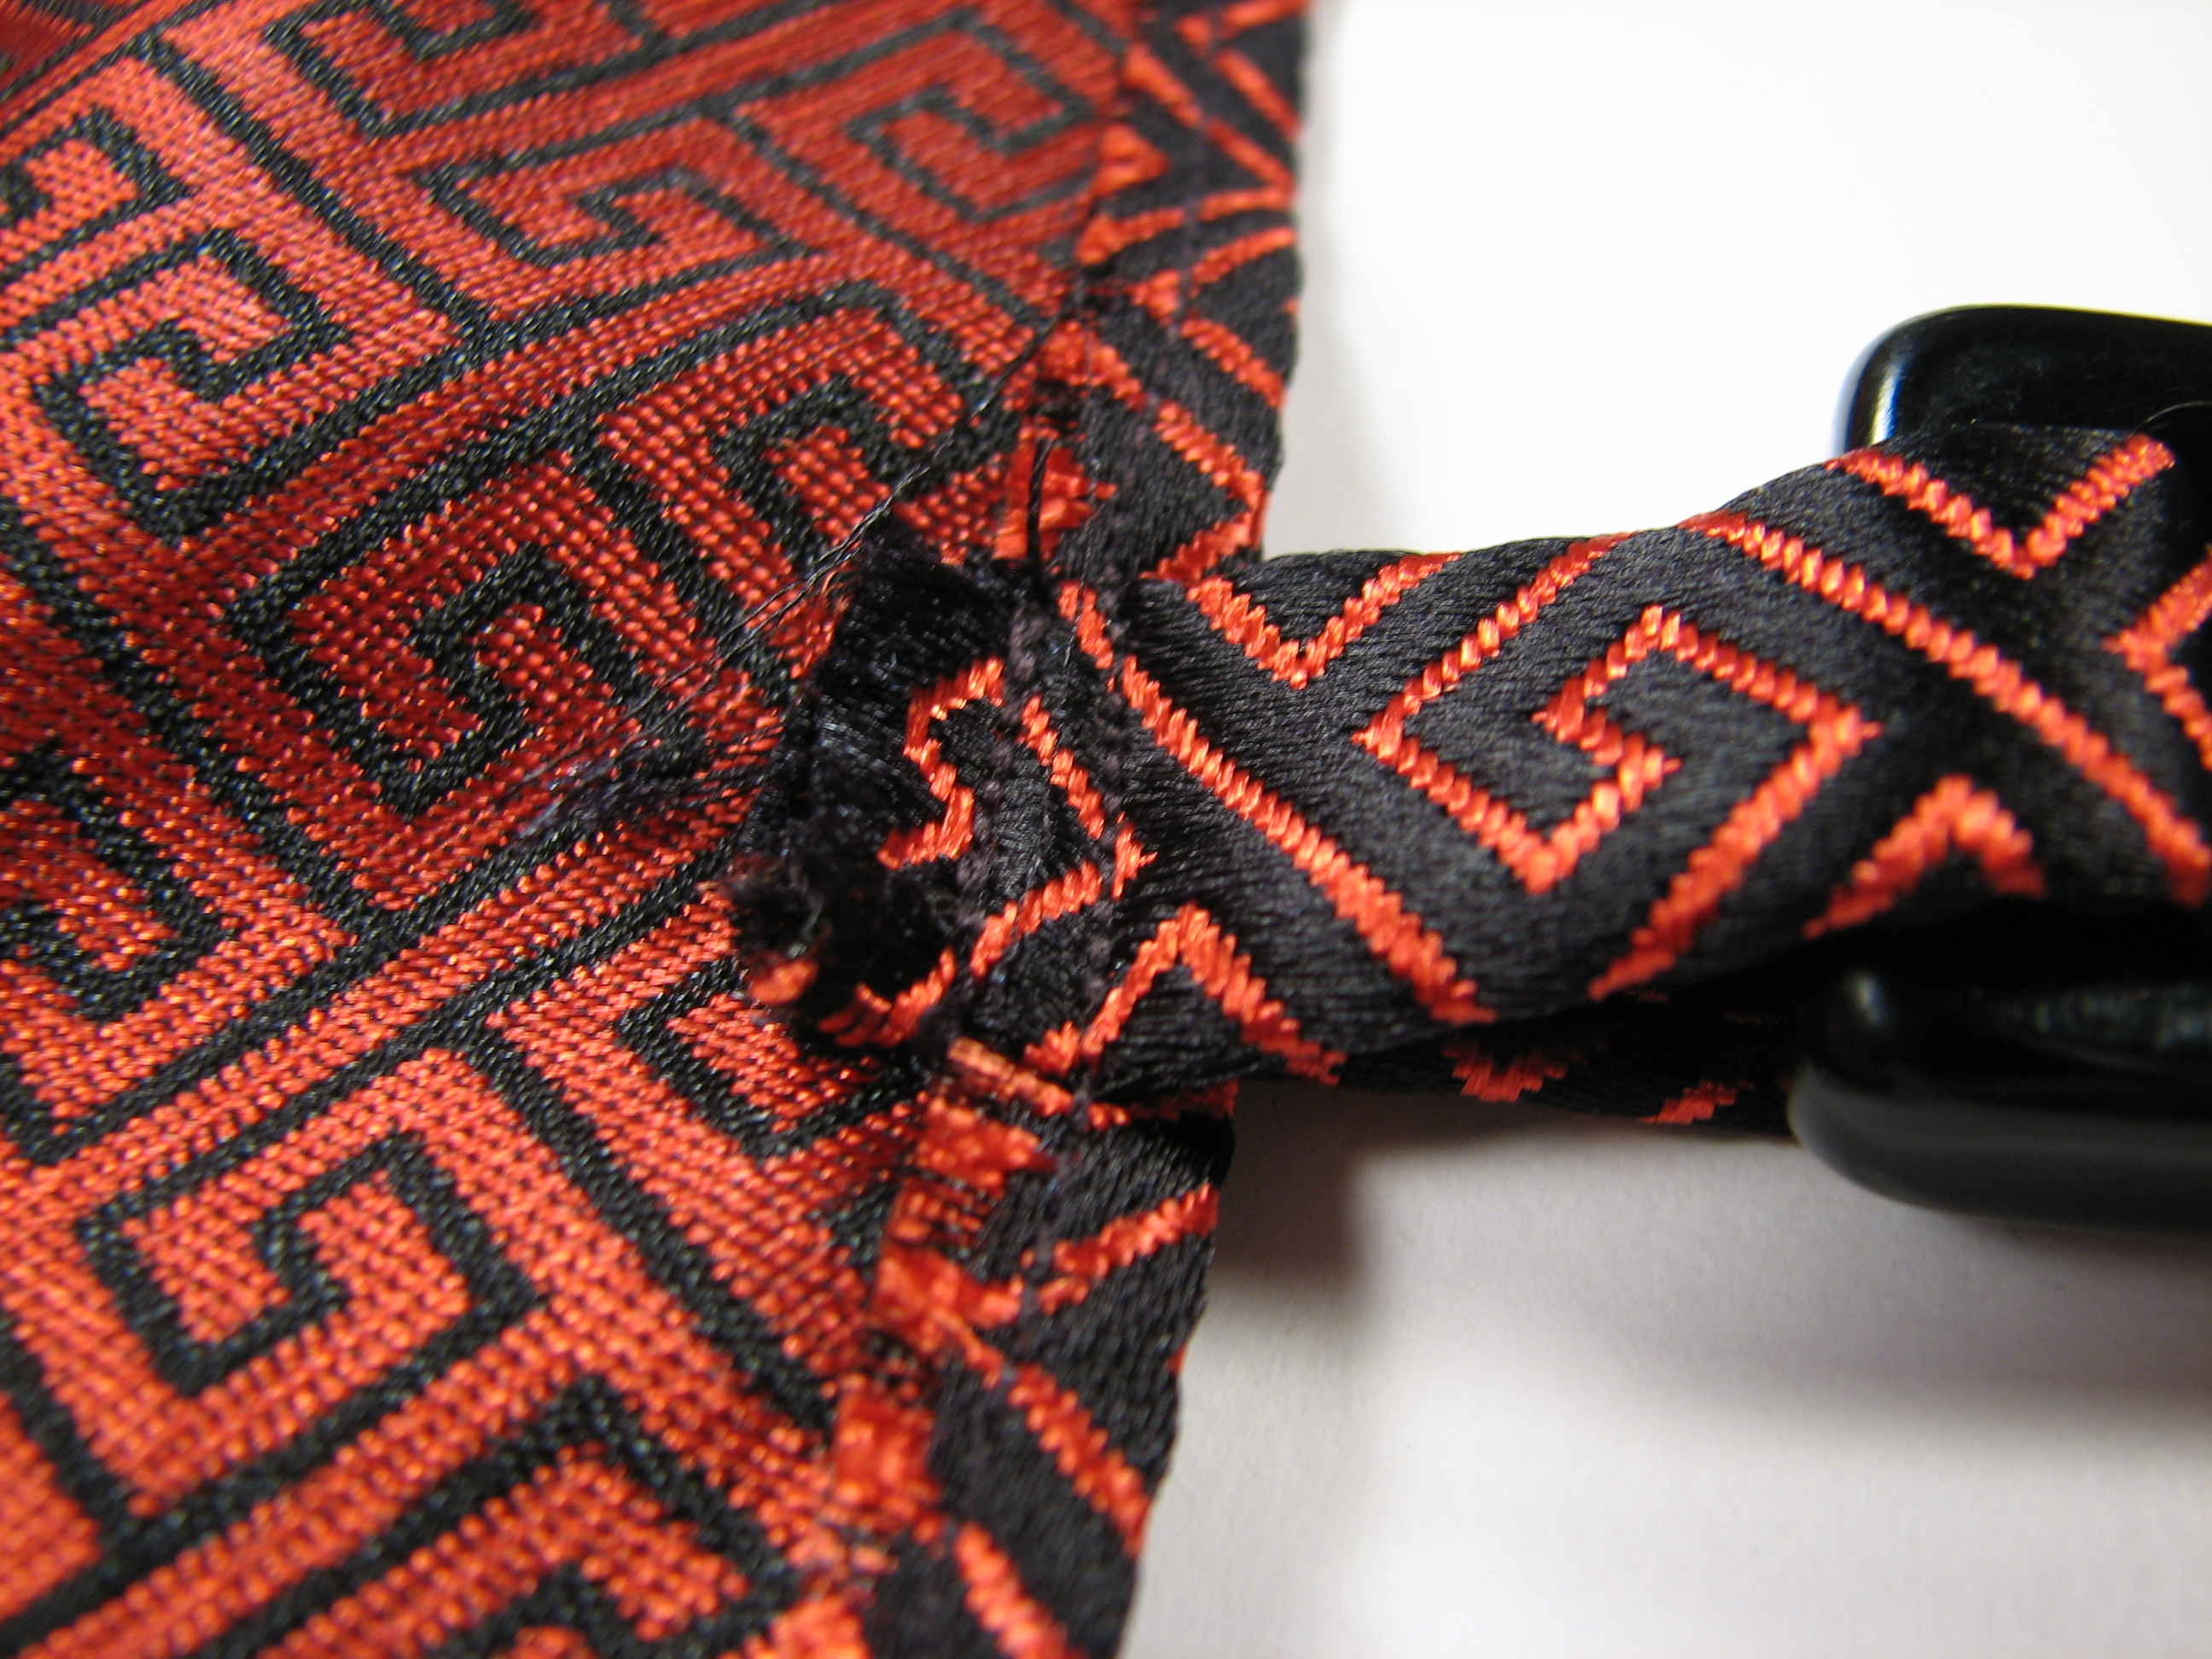
The strap for the magnetic clasp is made the same way as those for the handles, except that the end is stitched shut. Trim away excess material before turning right side out.
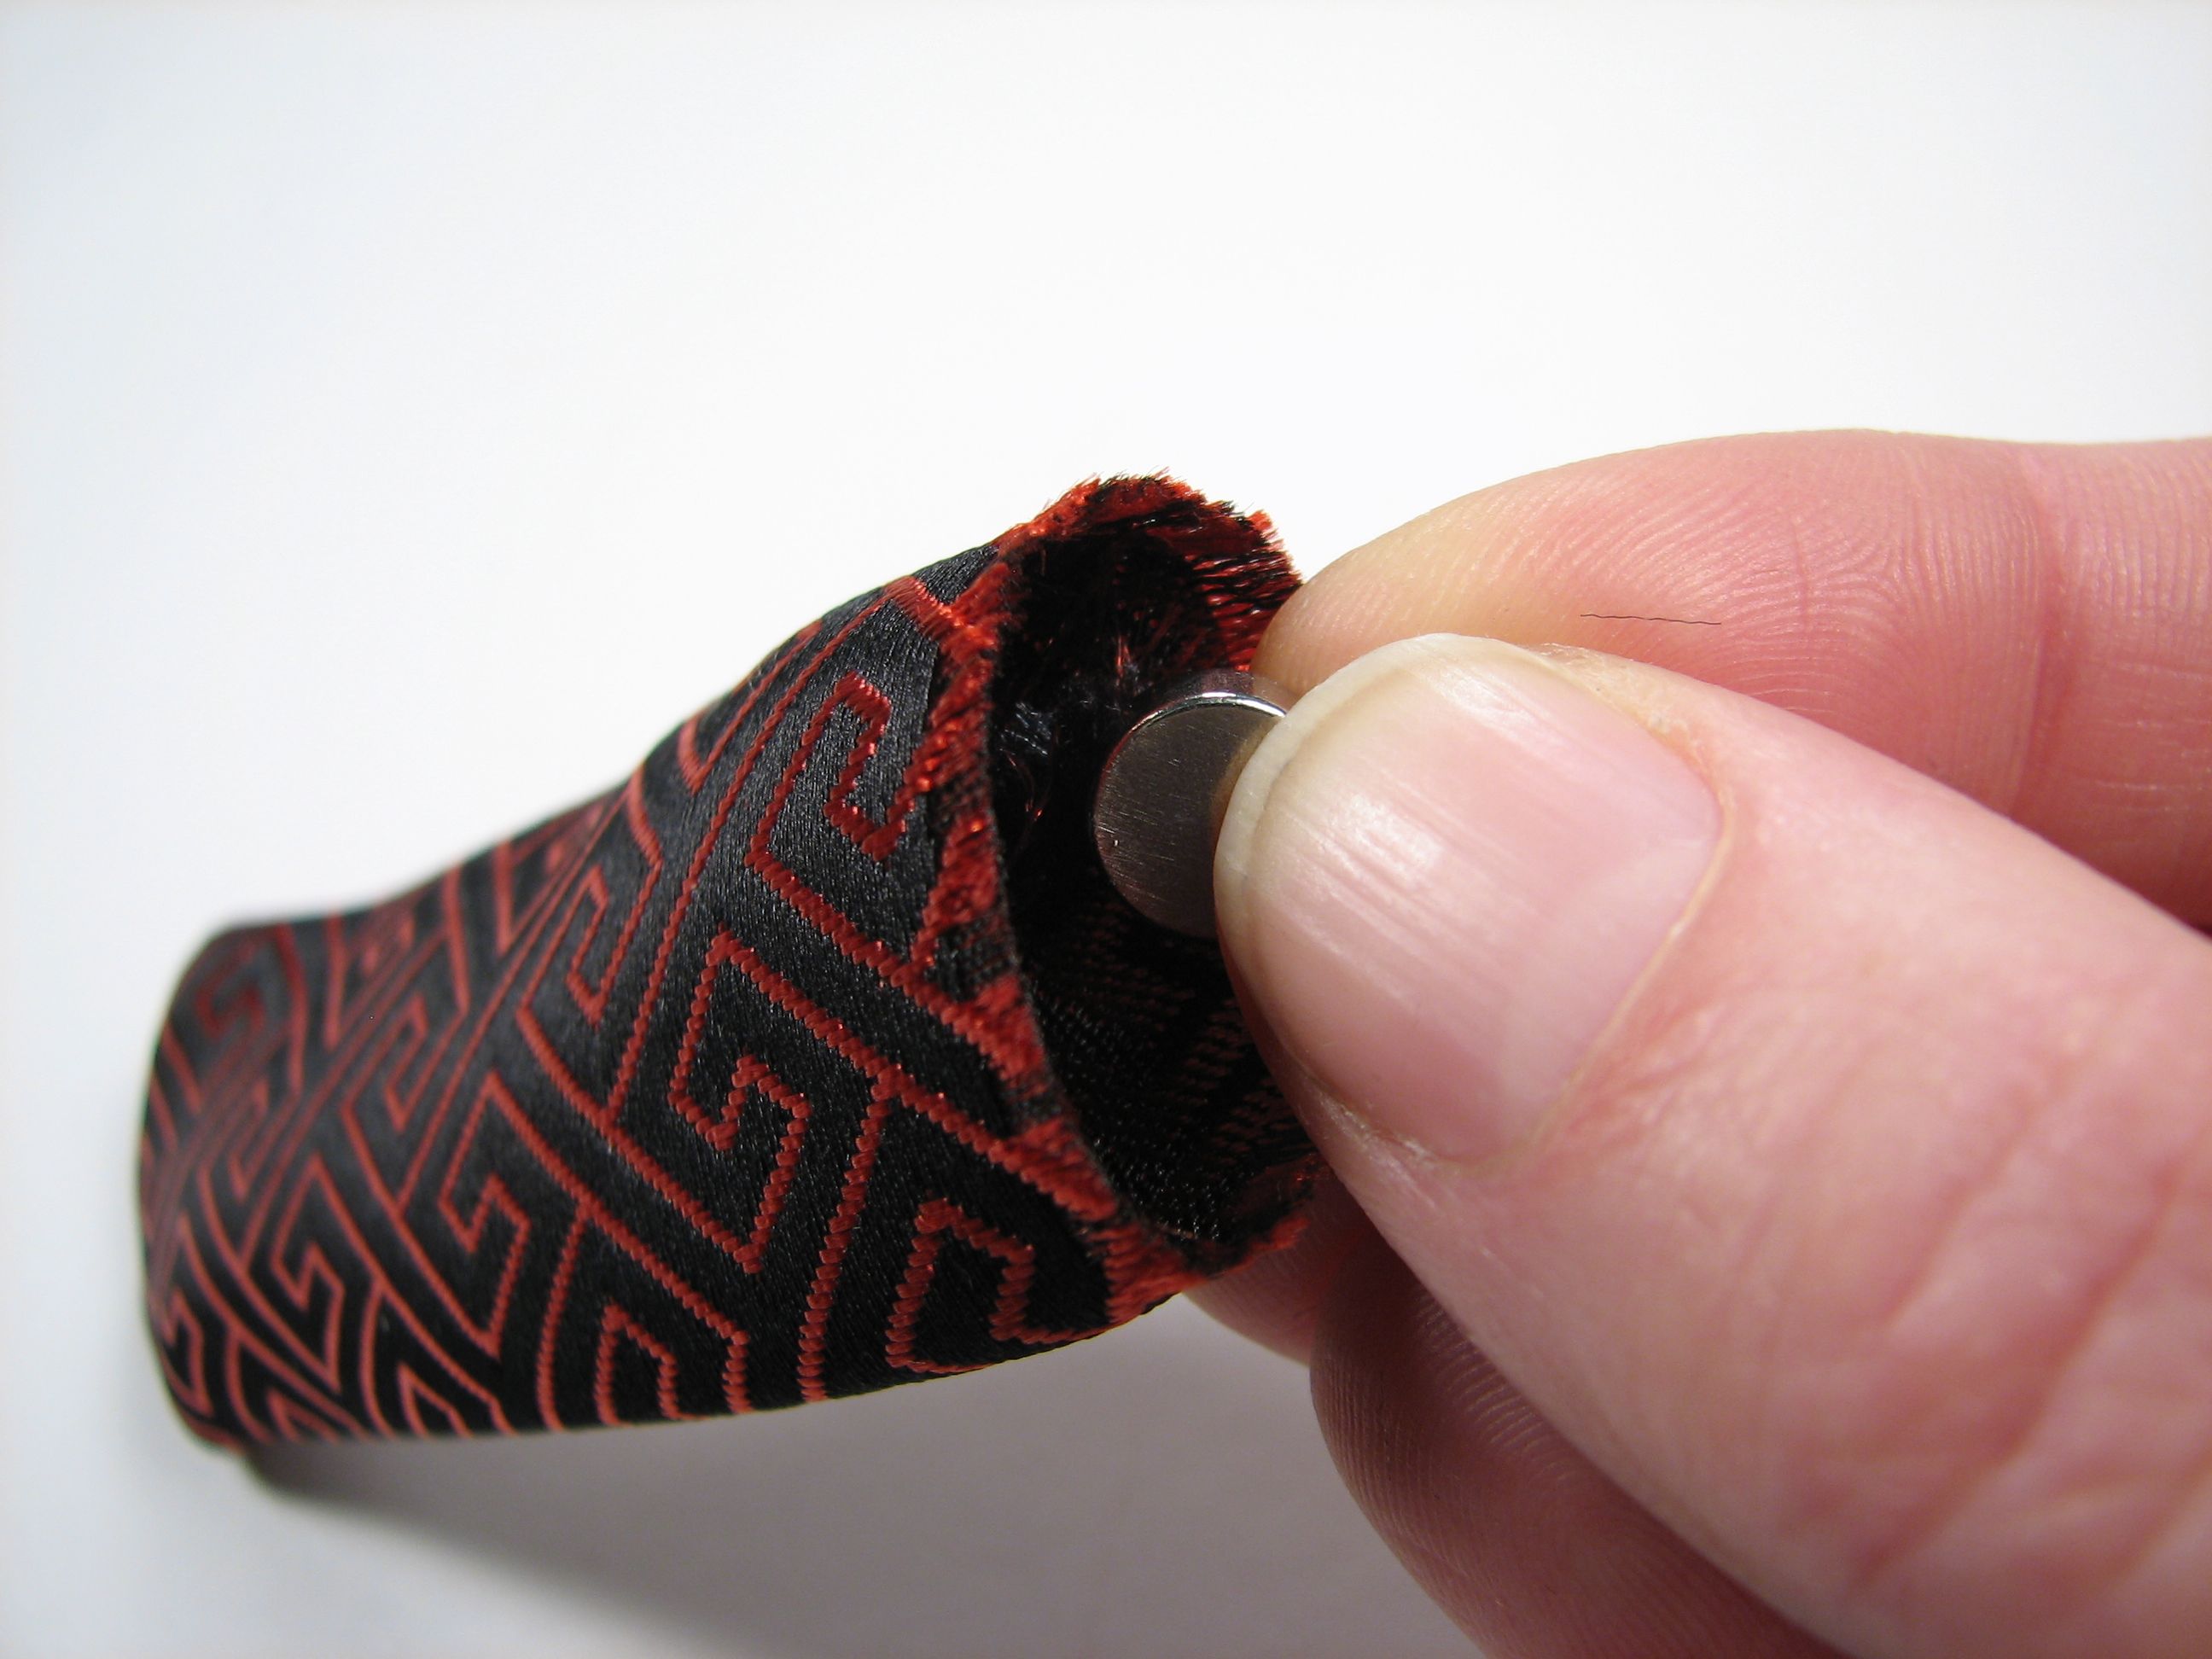
Insert the magnet into the strap. Hand sew a few small stitches to keep the magnet in the tip of the strap.
Position the clasp and handle straps and pin them on before running a row of stitches all the way along the top of each side. Reinforce the straps with an extra row of stitches. You may need to put the metal plate under the magnet while sewing to keep it from sticking to your bobbin plate.
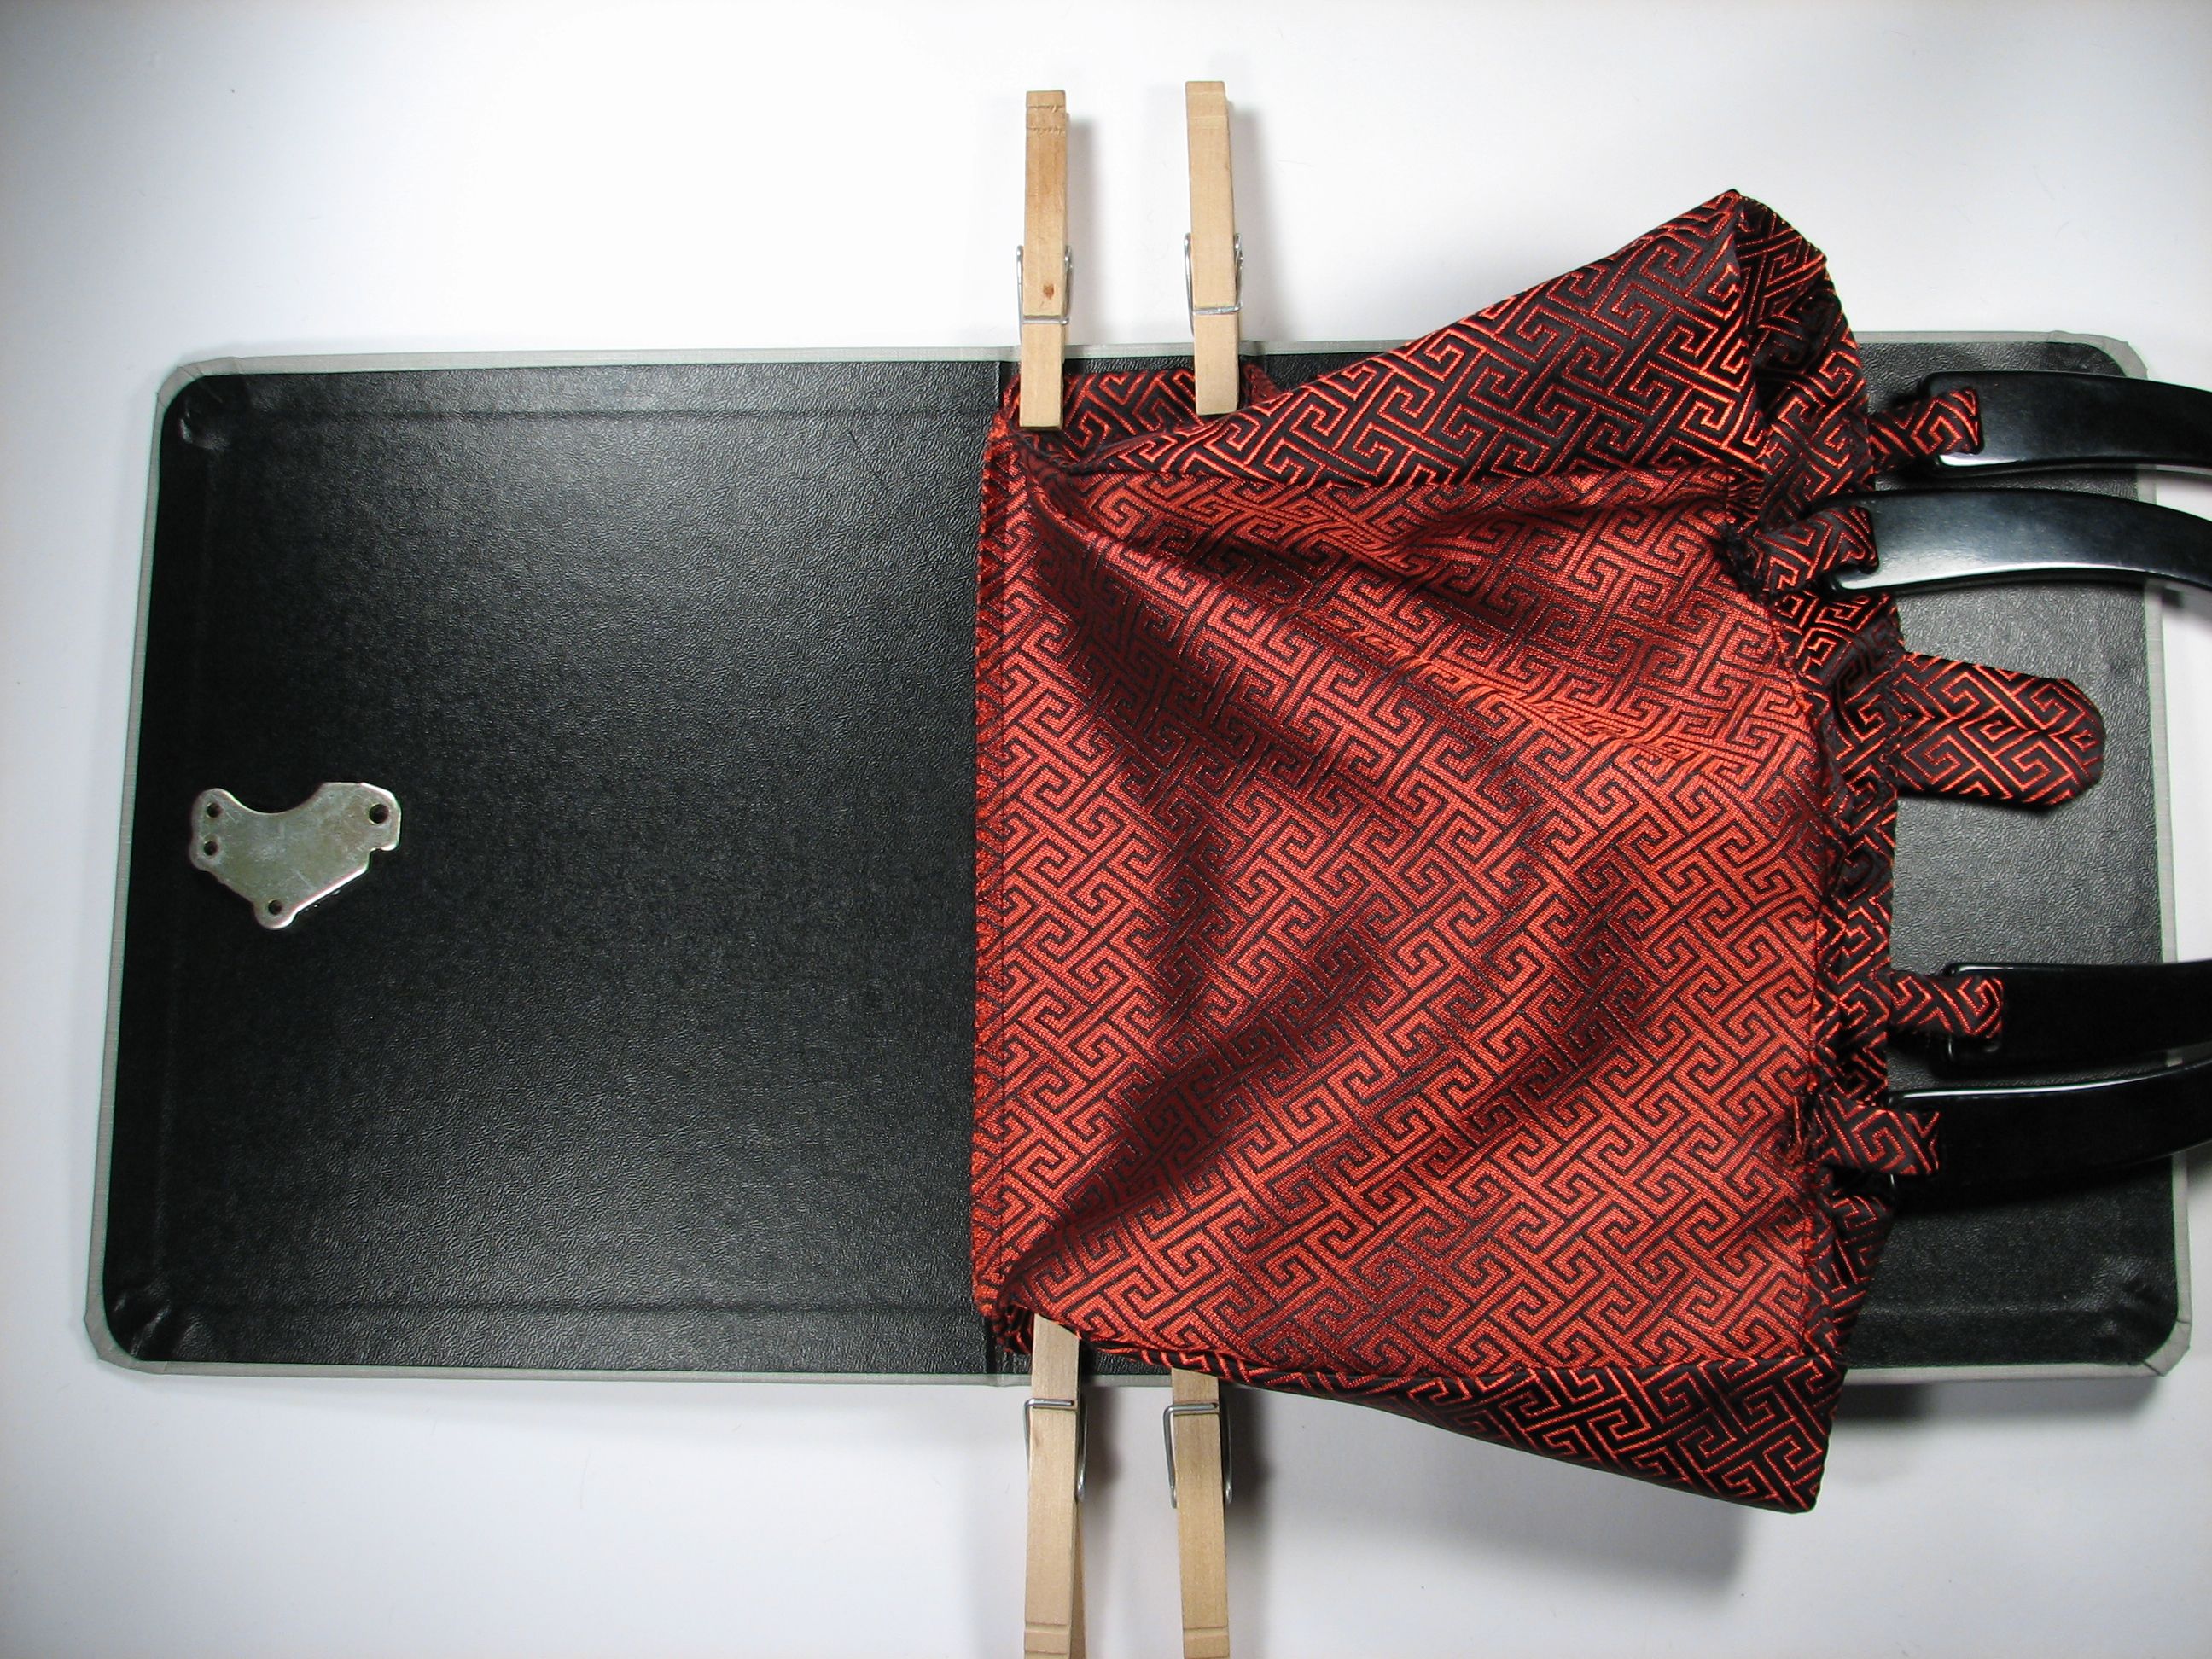
Gluing the liner into the binder cover is the final step. Start with the metal plate for the magnetic clasp and the bottom of the bag. Move on to the sides once the glue has dried sufficiently.
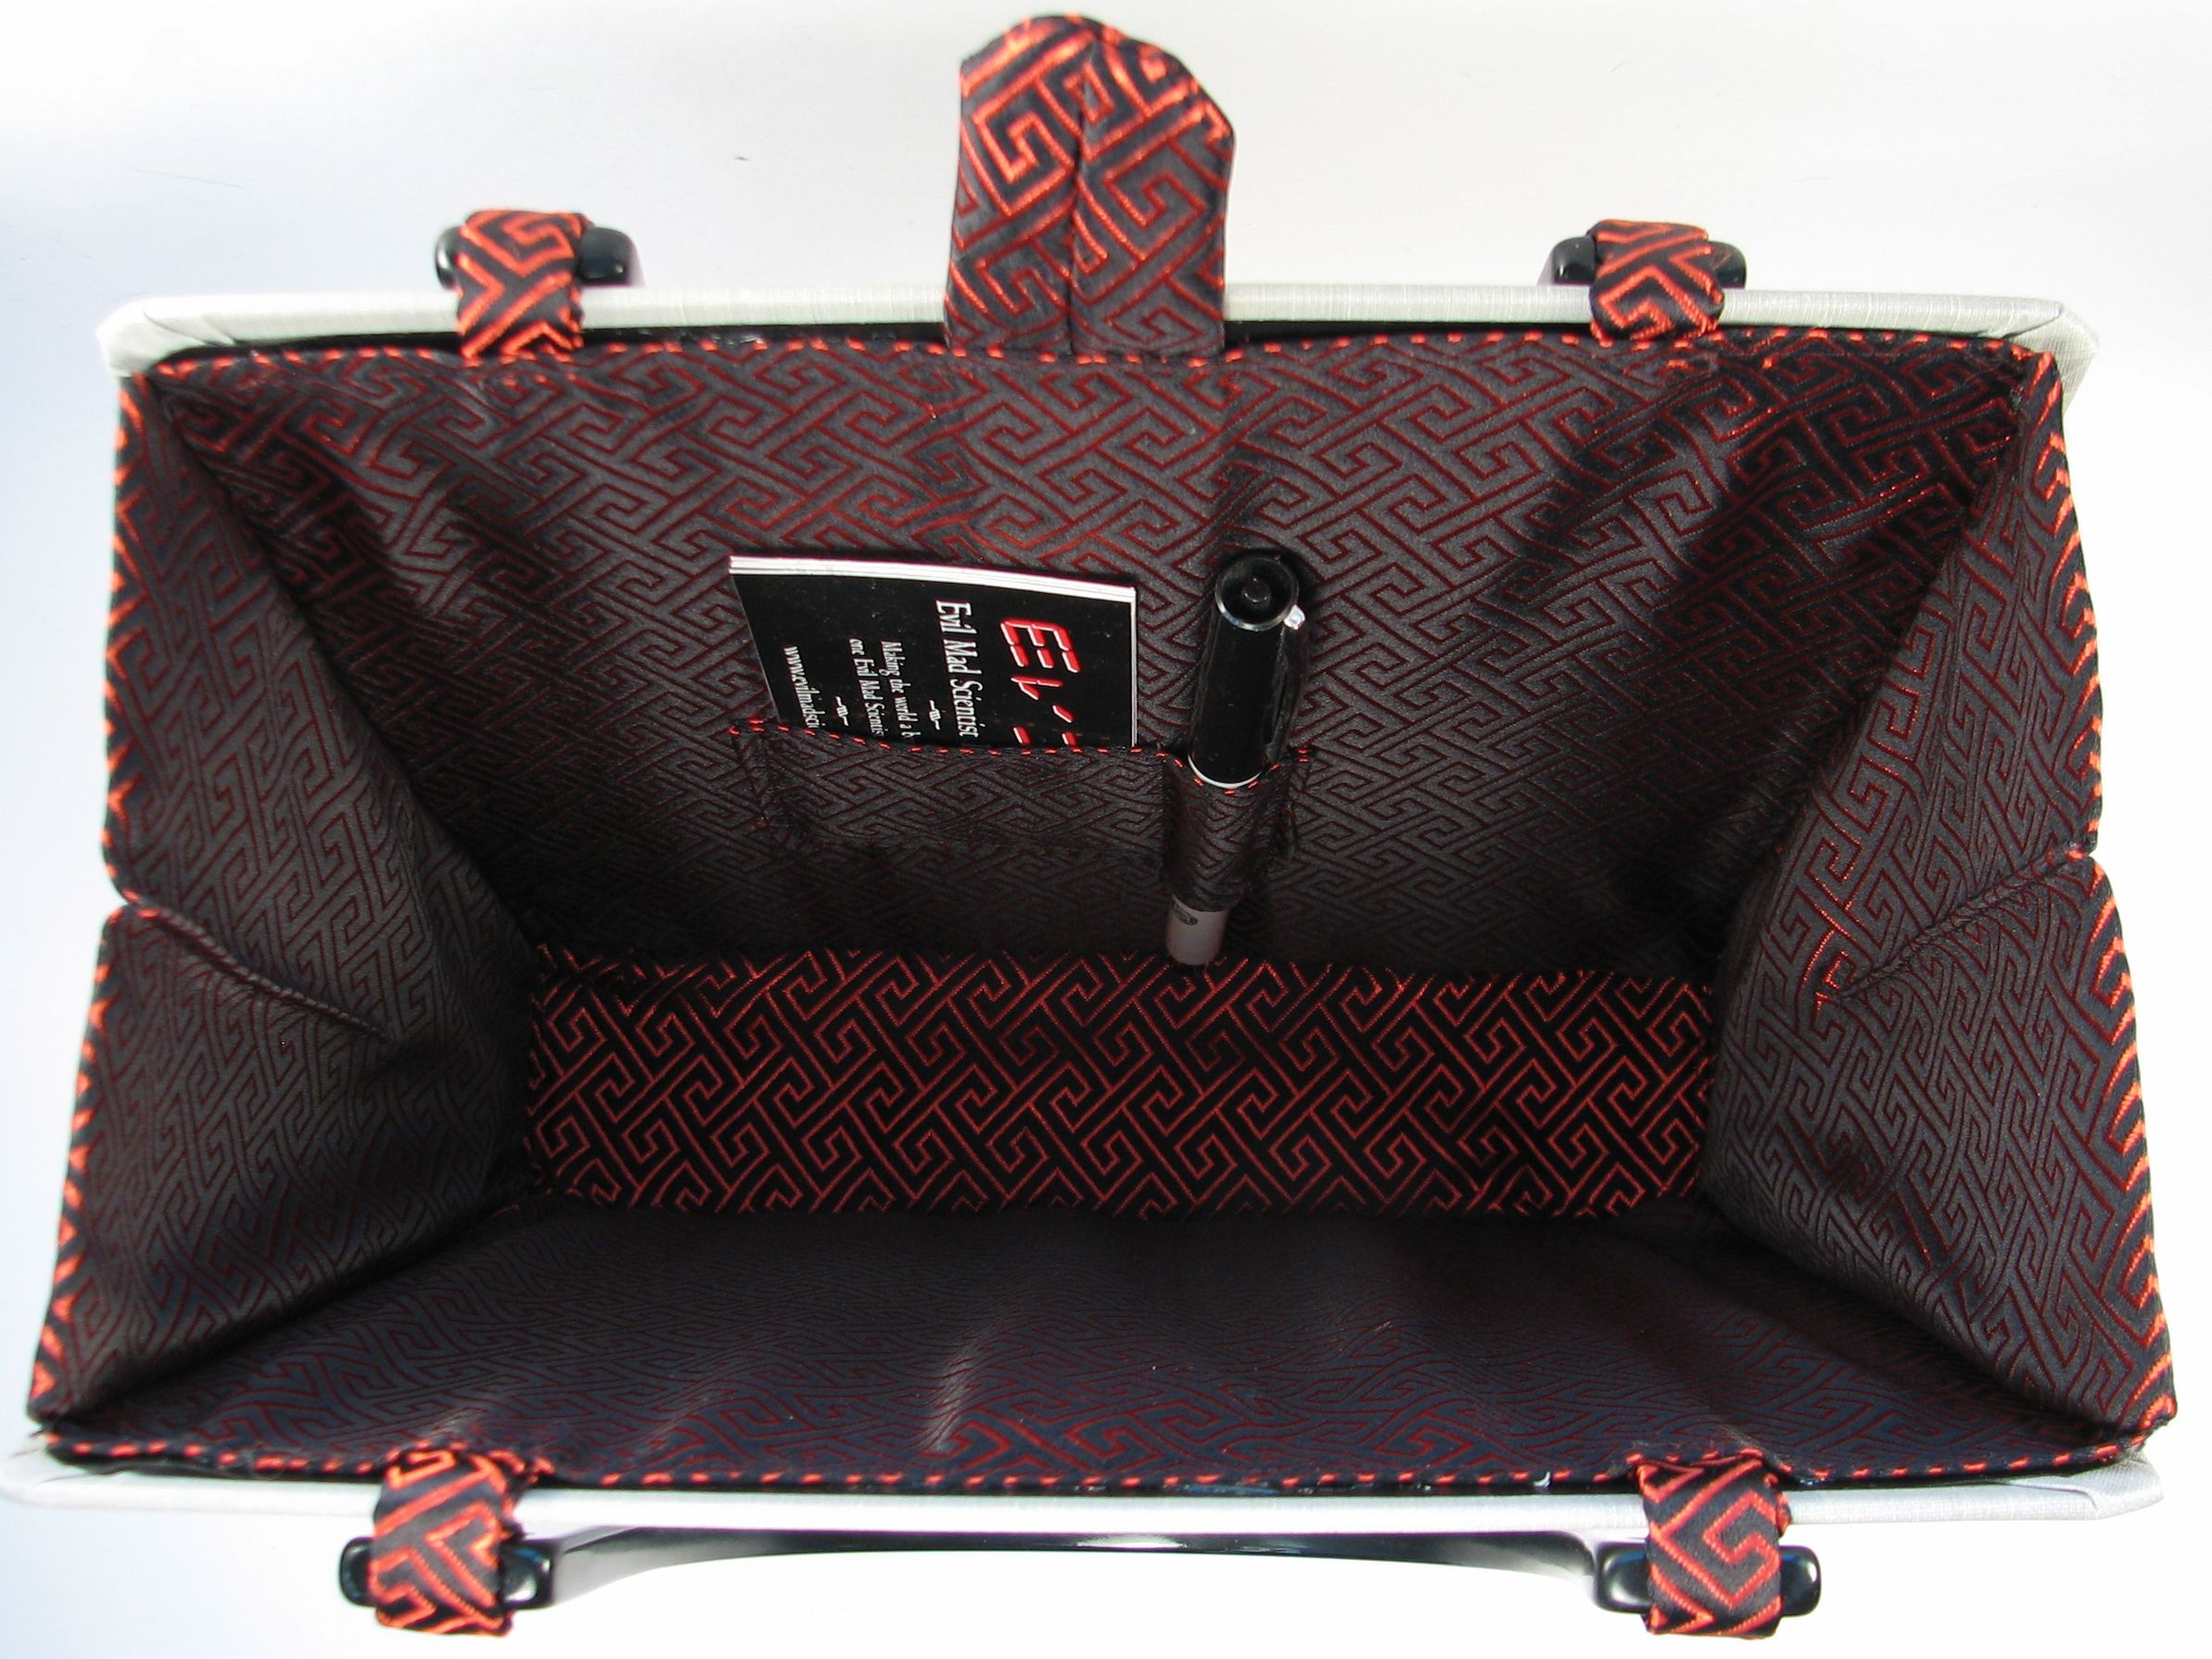
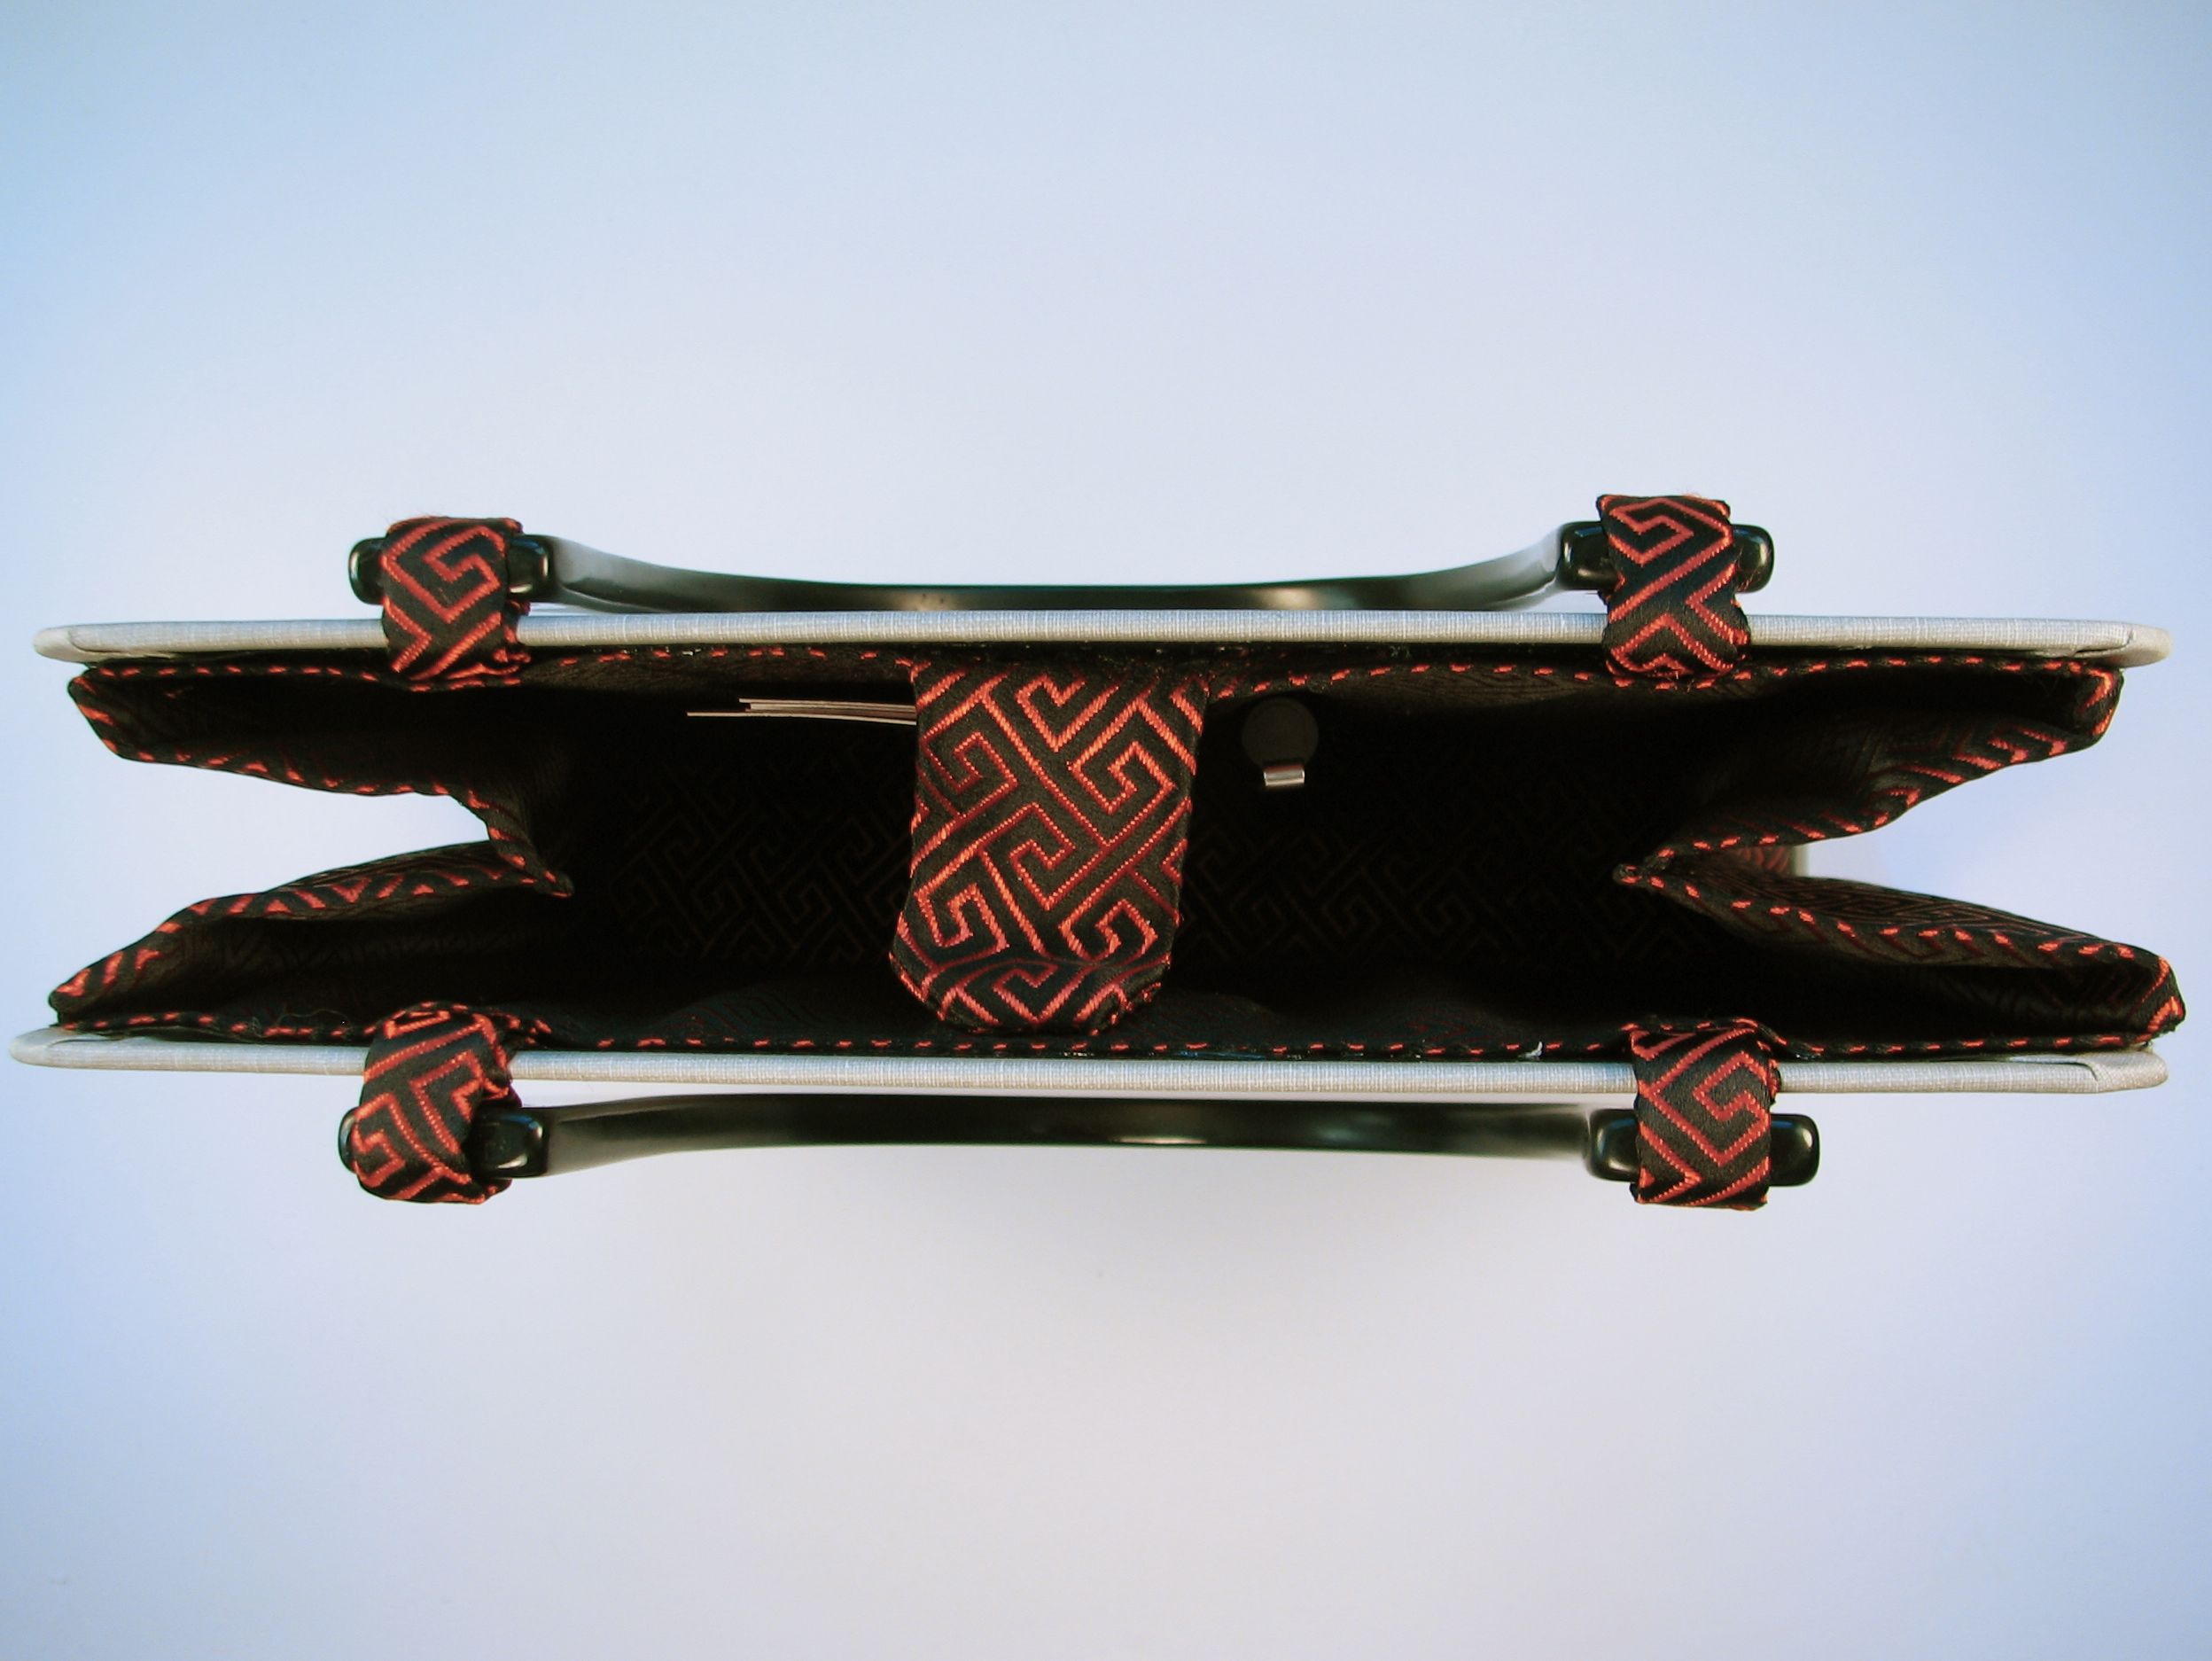
It’s actually quite roomy, but even if you overstuff it, the magnet will hold it closed by sticking to the metal plate on the inside rather than folding over the outside.
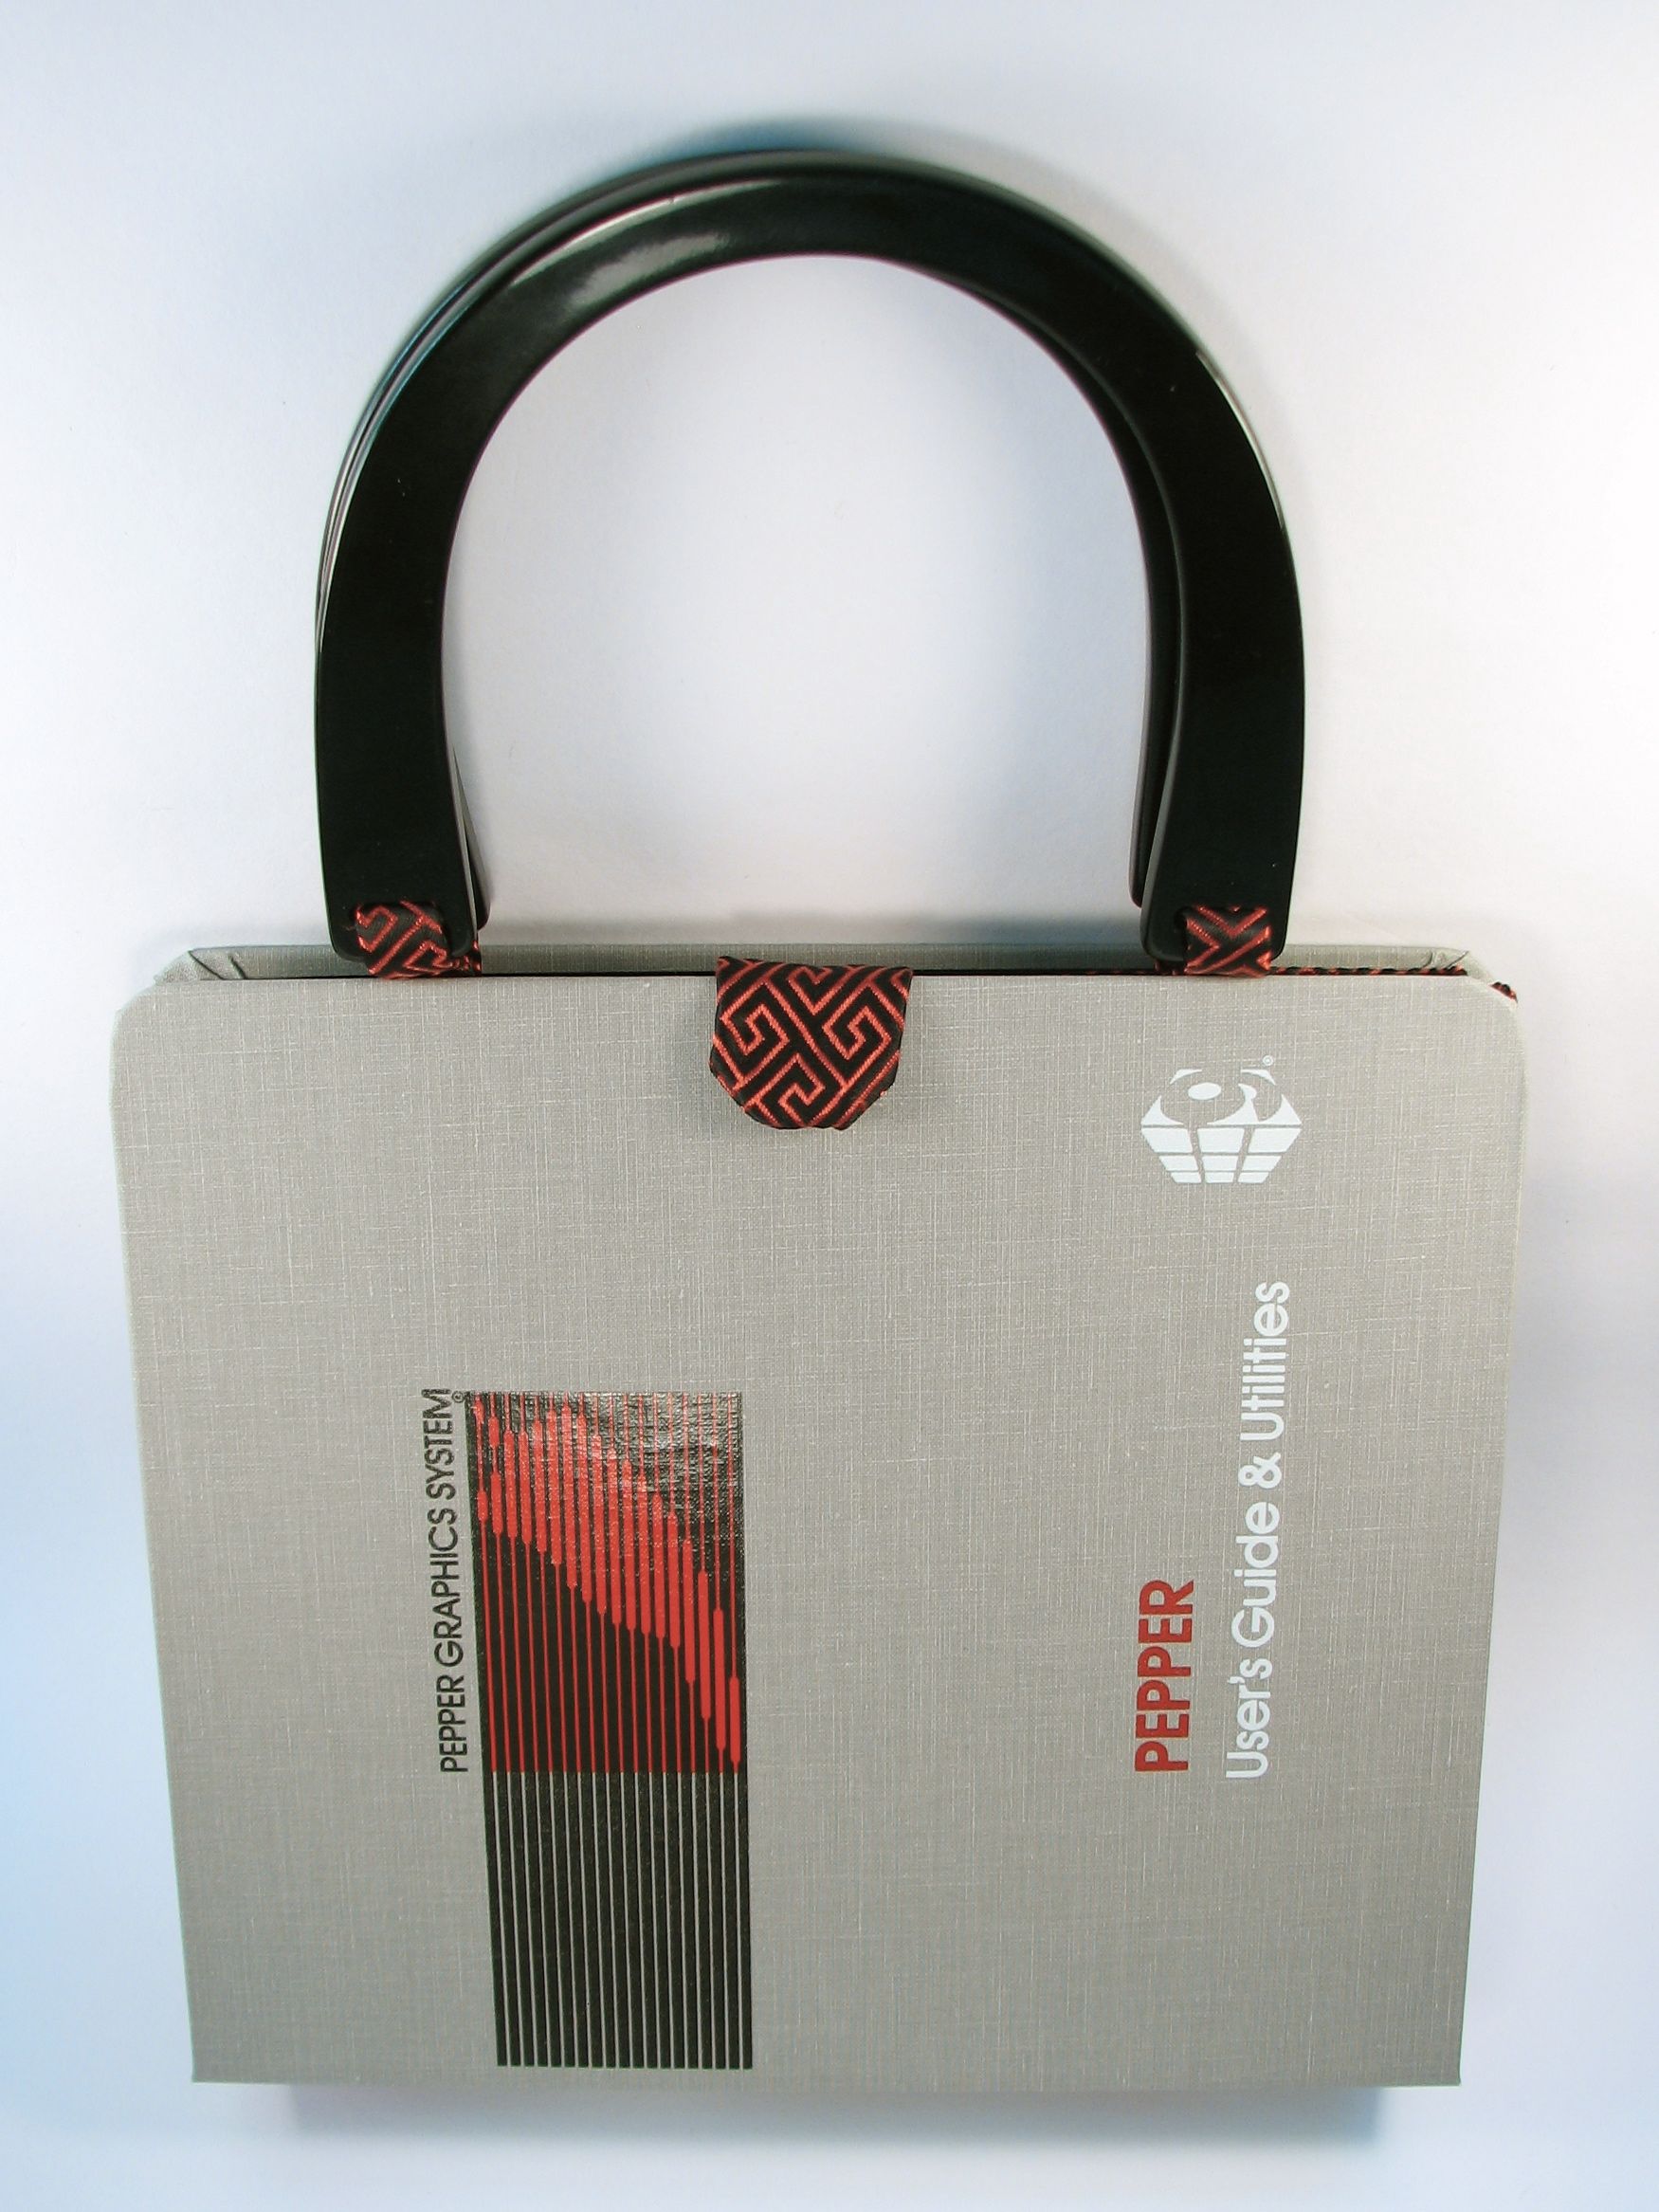
Some notes on Pepper Graphics: the book came with a great looking floppy for which I don’t have any appropriately sized drives. Further research shows that Number Nine has been reincarnated as Silicon Spectrum, whose logo isn’t nearly as nice as the ones on my bag.

that is seriously fantastic! thanks for excellent tutorial
kim
http://www.littlesomethings.blogspot.com