


Take a shapeless t-shirt, sew four seams and end up with a fitted top.
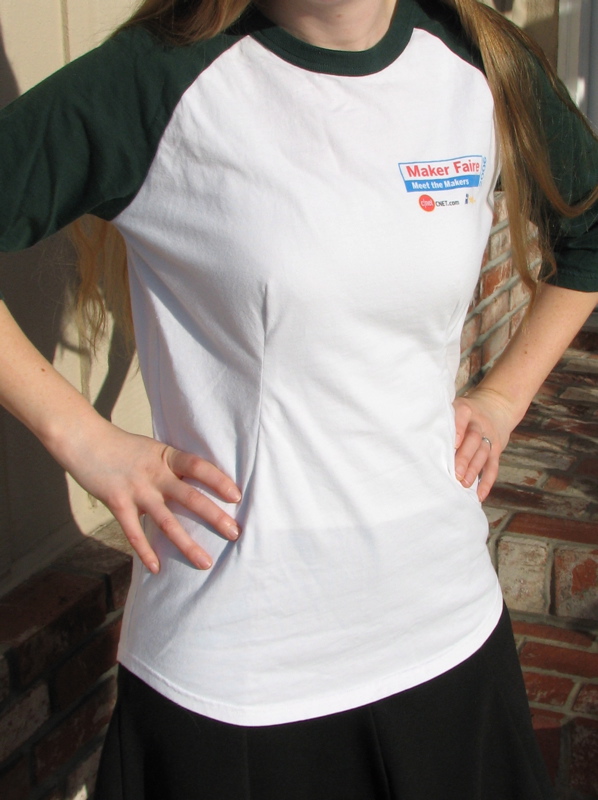
Free t-shirts are almost never girl shaped. Here is one technique for making your freebie wearable. Darts in the front and back contour the shirt to fit your curves.
Some basic parameters: I used a size 11 regular point needle and a lightning seam for stretch fabric. I did not use a ball-point needle for knits and I did not have any problems. As far as stitch length and width, I followed the guidelines for lightning stitch in the manual that came with my machine: medium length and medium width. Your machine may vary.
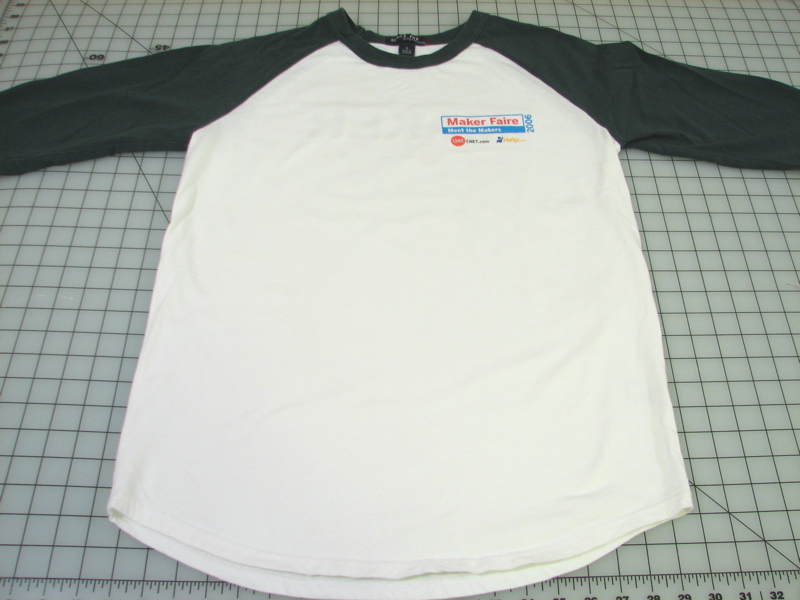
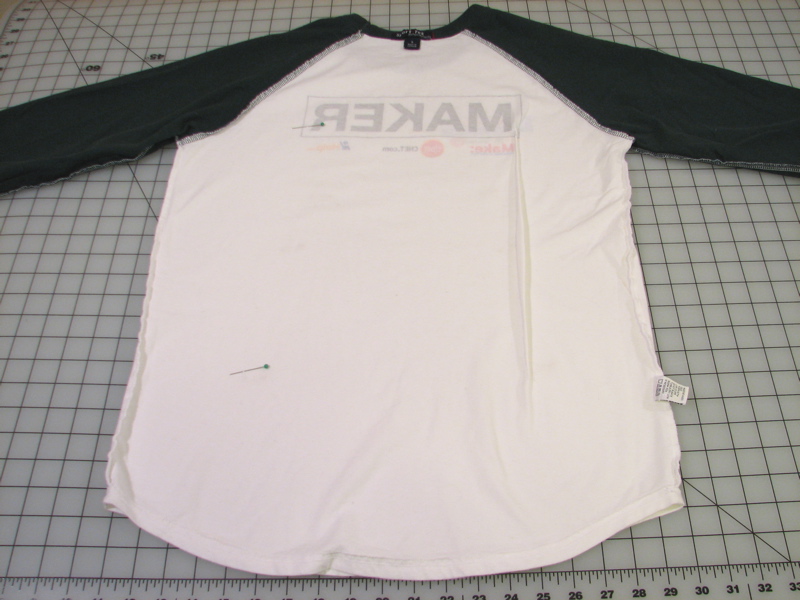
We’ll start with a basic t-shirt from Maker Faire.
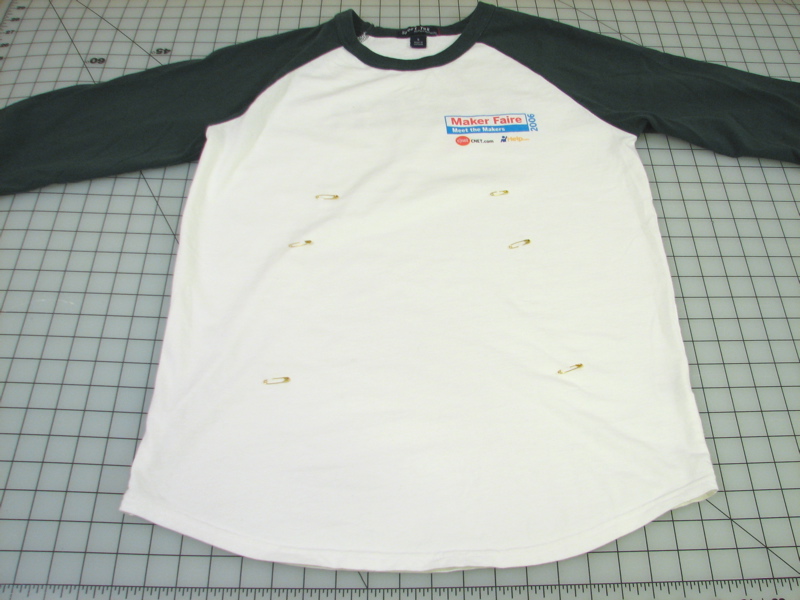
Put the shirt on and pin a safety pin just under the center of each breast. Also pin at the part of your hip bone that juts forward, and just under your bra line. This should give you a line of three pins on each side at the high points and the low points.
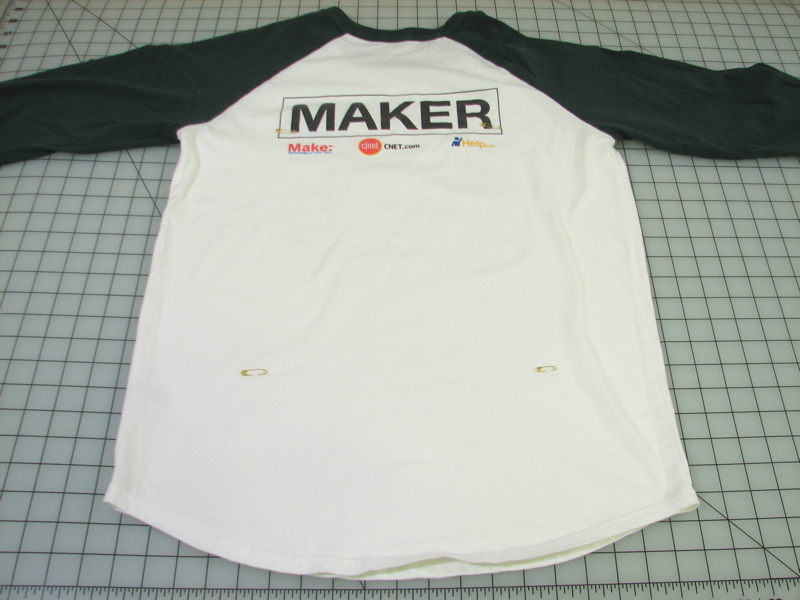
On the back, pin at your shoulder blade, and at your hip on each side. The shoulder blade pins are a little hard to see in this picture – they are at the foot of the ‘M’ and the ‘R’ in the graphic.
Turn the shirt inside out and pick one of the seams to start with. For that seam, replace the safety pins with straight pins.
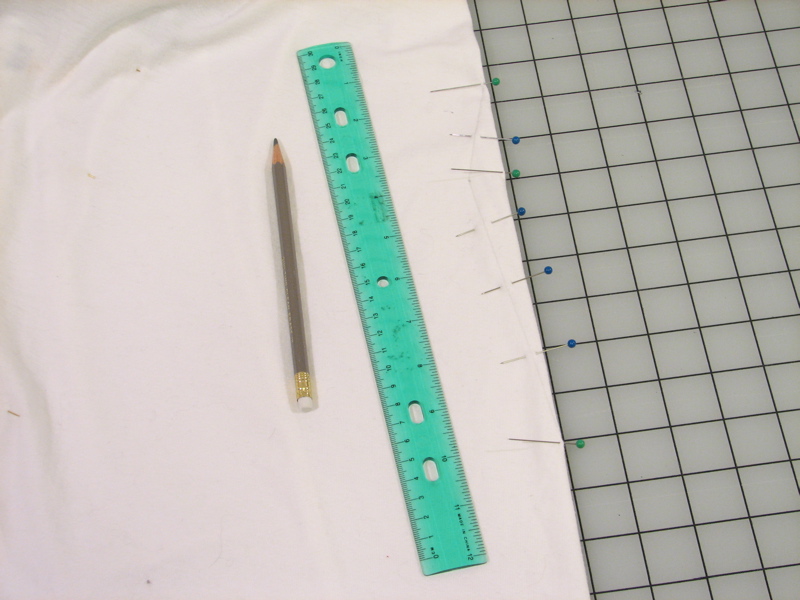
Fold along the line marked by the pins. Depending on how curvy you are, you may need to adjust how much you take in. Start with a conservative guess, since you can always take more. On the front I used about three-quarters of an inch at the deepest point. Mark that point and then draw a line from the maximum to the end points.
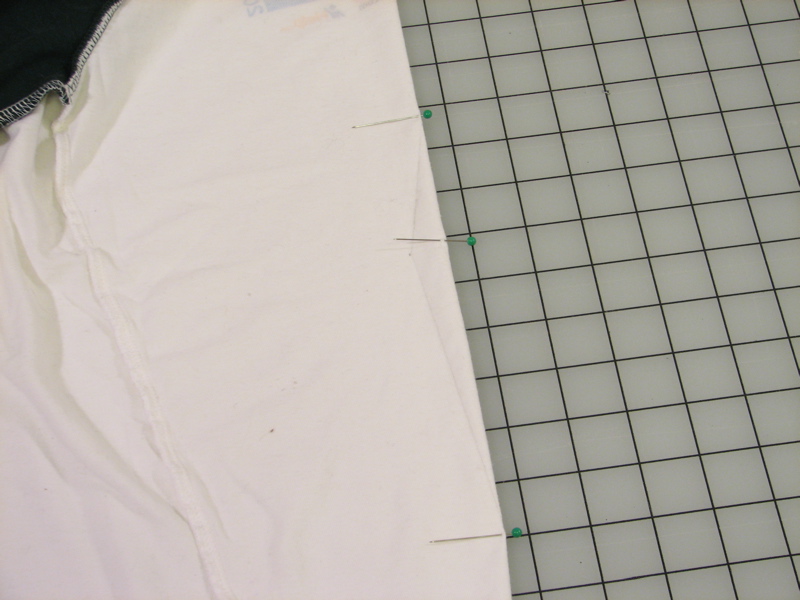
Pin along the drawn line.

For the back, measure and mark the center point. I marked at about one-half of an inch at the center. This is a longer, more gradual seam, and it doesn’t need to be as deep.
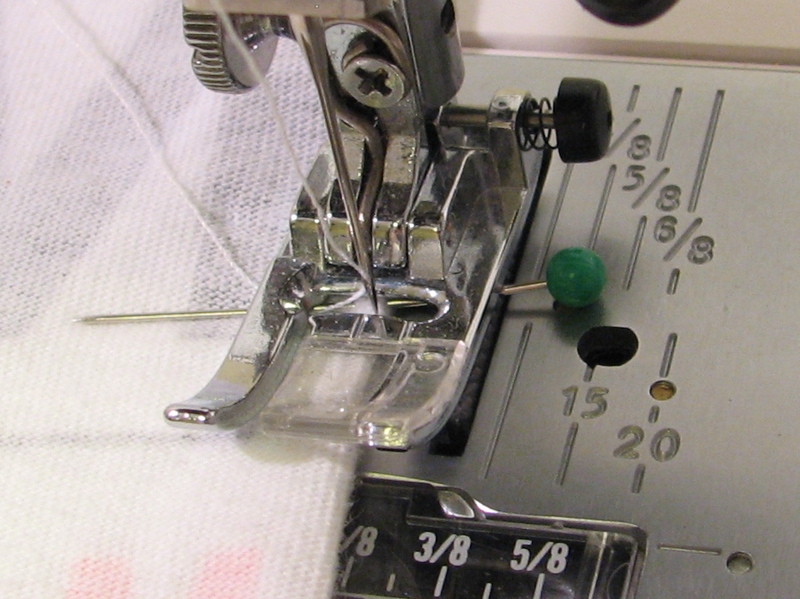
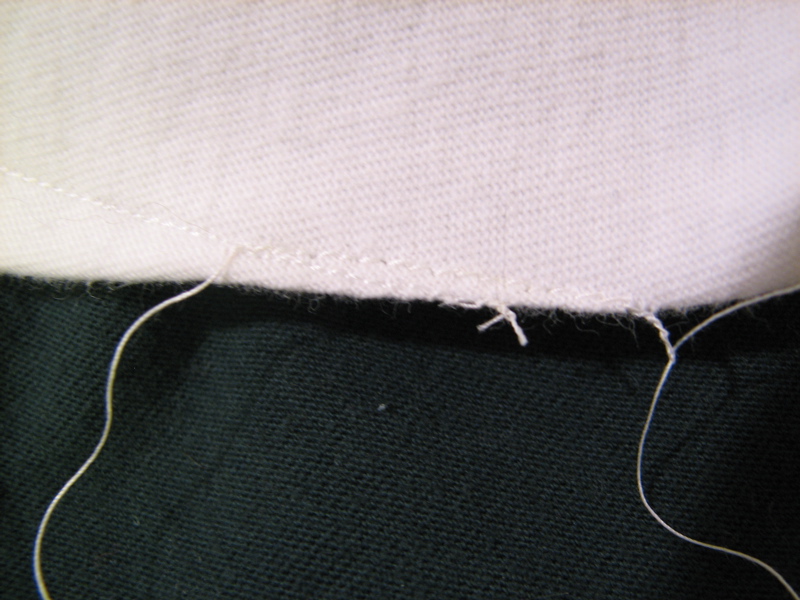
When you start to sew the seam, you’ll want to start the needle right on the edge of the fold. Bring the needle down to just above the fabric so you can adjust the position of the fabric. Sew along the line to a bit before the deepest point. Gradually turn the fabric to form a curve to head back along the line toward the fold again.
Here’s the first seam done, and the second seam pinned and ready to fold.
The front seam needs to be more gradual at the top or it will be a bit pointy on the breast. My first try was not quite gradual enough, so I started a new seam slightly back from the end to make a more gradual curve.
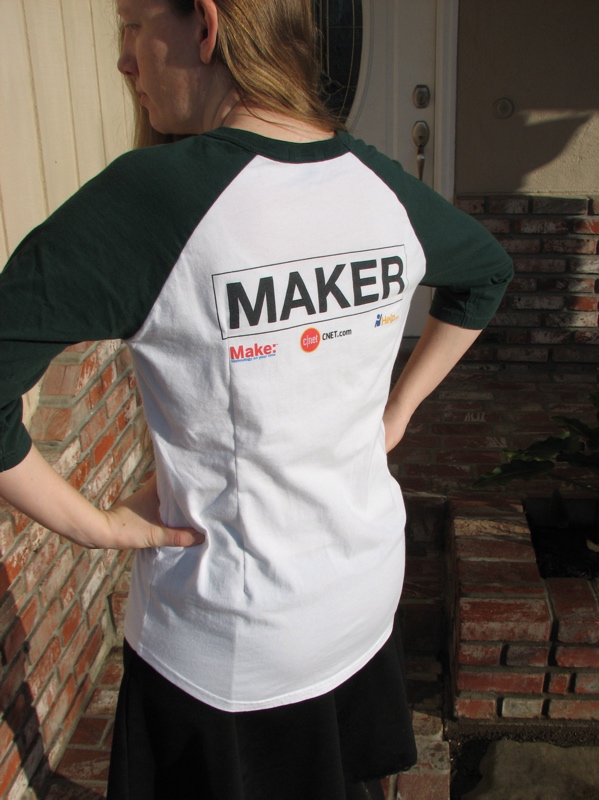
That’s it, we’re all curvy now! And the now shirt matches the recently modified Maker Faire bag. Well, it would if I added a pocket protector!
Clip the darts in a couple of places to get rid of the drag lines (wrinkles).
That is good advice – I thought of that at some point and then it slipped my mind.
Thanks!
Do you suppose this advice could also work for a button-down shirt? I have one that is built for a man but i really like it and would like it to fit better. Just haven’t taken it to get the alterations done because I paid alot for the shirt and hesitate to pay more.
Yes, this will work for mens button downs as well. If you take a look at ladies button down shirts, you will see that many of them are designed this way.
Note that clipping the dart (as mentioned by a previous commenter) is more important with a material that isn’t stretchy. Iron the dart down to one side first to see how flat it lies. If it lies flat easily, don’t worry about clipping it.
Also, depending on the length of the shirt, you may want to take the darts all the way to the bottom edge, which could require a little fudging with the bottom seam. If the shirt is too long, you could hem it up a bit to solve that problem.
No disrespect but it looks rubbish.
Better to turn it inside out and sew a ) ( shape down opposite sides.
You can copy your own body shape to get a perfect fitted shape.
Once you have the shape, you just trim off what’s left and turn iround the right way.
Perhaps I should have taken a before shot, so you could see how much worse it looked then! But seriously, I would love to see pictures of your design if you implement it.
Would it be possible to do this down the sides, underarms to hips? Or would that not work as well?
I think you get bonus points for modding a maker faire shirt. It’s like irony, only a good thing. :p
It might help generally pull the material tighter below the breast, but I’m not sure if it would snug things up as neatly. It could also help in the case of a too-large shirt, but you’d have to do it carefully or the sleeves could end up fitting funny. Pin it up and see how it looks! Let me know if it works.
What you have sewn are called "darts". "Seams" join two separate pieces of fabric together.
Thanks for the jargon tip! While I’m sure I’ll still use ‘seam’ in its generic sense (two things joined together along a line, in this case the two sides of the fold) I’ll try and remember to use the narrower sense when writing about sewing! Now, can someone explain the difference between a dart and a tuck? The dictionary definitions I have found are remarkably similar, and I don’t have a technical vocabulary book for sewing.
You gotta be kidding – right?
think the darts are a good idea, but they’d look better on a darker colored tshirt (black, dark blue, etc.) you won’t see the lines or wrinkles so easily that way.
The wrinkles and lines are less visible after it has been washed a couple of times as the fabric lies flatter. Starting out with a darker color would help, too.
A dart is what you illustrated in your tutorial.
A tuck is more like a pleat, which may be what you mean when you said fold.