Category Archives: Basics

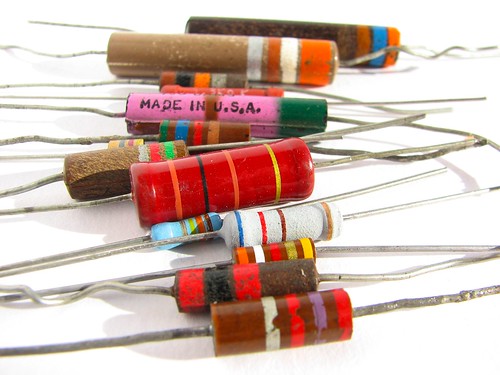
Basics: Power dissipation and electronic components

Lovely Resistors


An ever-present challenge in electronic circuit design is selecting suitable components that not only perform their intended task but also will survive under foreseeable operating conditions. A big part of that process is making sure that your components will stay within their safe operating limits in terms of current, voltage, and power. Of those three, the “power” portion is often the most difficult (for both newcomers and experts) because the safe operating area can depend so strongly on the particulars of the situation.

In what follows, we’ll introduce some of the basic concepts of power dissipation in electronic components, with an eye towards understanding how to select components for simple circuits with power limitations in mind. Continue reading Basics: Power dissipation and electronic components

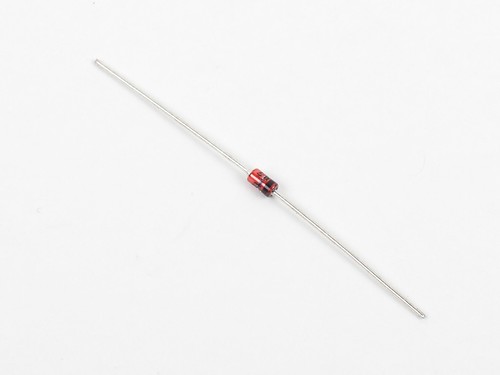
Basics: Introduction to Zener Diodes

zener2

Zener diodes are a special type of semiconductor diode– devices that allow current to flow in one direction only –that also allow current to flow in the opposite direction, but only when exposed to enough voltage. And while that sounds a bit esoteric, they’re actually among the handiest components ever to cross an engineer’s bench, providing great solutions to a number of common needs in circuit design.

In what follows, we’ll show you how (and when) to use a Zener, for applications including simple reference voltages, clamping signals to specific voltage ranges, and easing the load on a voltage regulator. Continue reading Basics: Introduction to Zener Diodes

Basic kludges: 5 minute SOIC-DIP adapter

Socket Adapter - 5

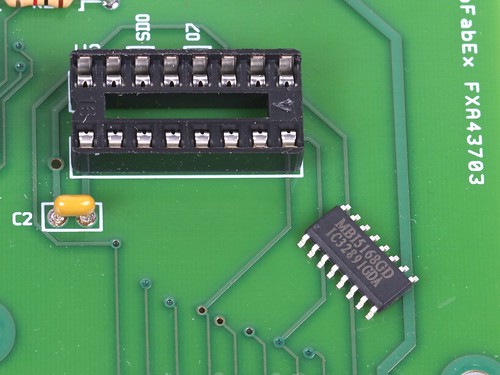
So, you’re almost done building the new circuit board when suddenly…

Socket Adapter - 7

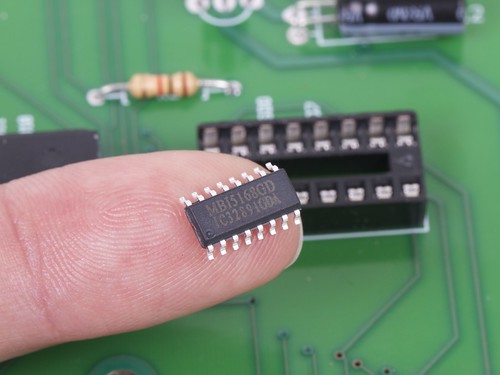
Doh! We’ve got the right chip handy, but only in the wrong package!

Socket Adapter - 6

No siree, that chip will not fit in our socket. :(

Socket Adapter - 2

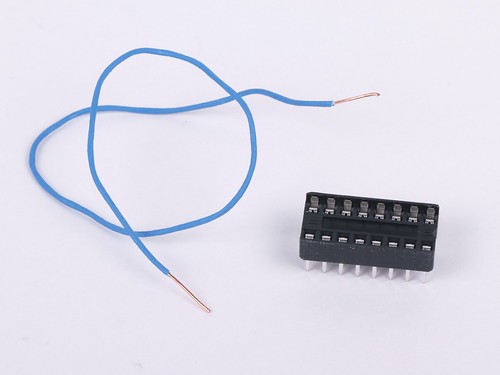
Fortunately, we’ve got tools: some thin copper wire, a spare DIP socket, and a few minutes of time. So, even without a readymade SOIC-to-DIP adapter, we’re still good to go.

Socket Adapter - 4

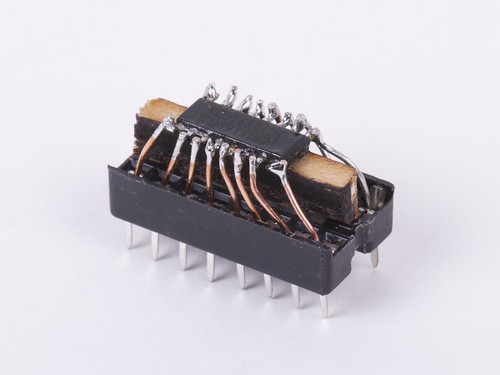
It’s helpful to raise the little chip up a bit with a wood or plastic shim, and then to fix it in place with hot or super glue. Strip the insulation off of the wire, and cut into small sections. Starting at the center of the chip, insert one end of each little wire into the socket and solder the other end to the matching pin of the IC. Trim the leads just above the chip.

Socket Adapter - 8

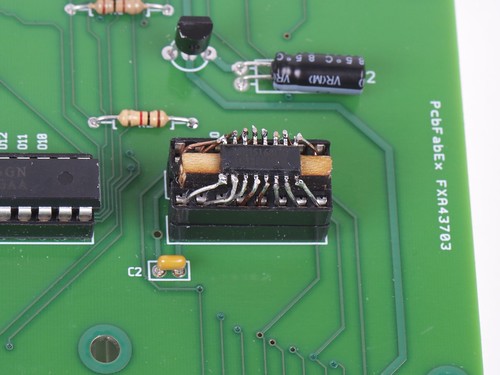
And (poof!) it fits in the circuit board after all.

Beautiful? Heck no. (More like slimy but satisfying.) But finding a way to get your circuit board to light up without a few more days for the “right” chip to show up can be a wonderful thing indeed.

AVR Basics: Reading (and writing) flash contents

Programming on a target board

From our forums comes this interesting question:

   “Is it possible to download the contents of an ATmega168/328, essentially backing it up so that it can somehow be restored later?

For example: Let’s say I have lost the source code to a very useful program currently residing on a 328, but I need to flash it with a different sketch temporarily, then restore that original sketch. This would be useful in the case that the chip was soldered directly onto a board – a big mess to try to replace.
Is this possible in some way, perhaps by altering an ISP programmer?”

The answer is that yes indeed, it is possible– with a couple of exceptions that are worth mentioning. And on occasion, it’s even very useful. Continue reading AVR Basics: Reading (and writing) flash contents

More cool electronics tools

Cable tie tool 1

What is it? Hint: your life depends on tools like these.

Some time ago we wrote about five relatively obscuretools for doing electronics. But, five tools barely scratches the surface of the stuff out there, and here are a few more of our favorites. In this roundup we’ve collected some handy–and even important –tools along that you might not have seen before, along with some best-of-breed versions of everyday electronics tools.

Continue reading More cool electronics tools

Tricks of the trade: Twisting wire bundles

Wire Twisting - 23

A common problem that you may come across when building “a box” to do something– whether a one-off gizmo or bona fide scientific instrument –is the rats nest of wires. A similar problem occurs when you need to run a bunch of basic wires out from your box to other devices. Unless there’s a standard cable lying around that does exactly what you need, you can end up with messy tangles of wires outside of your box as well.

There are many well-known solutions of course, as varied as elegantly laced wiring harnesses, cable tiesand teflon spaghetti sleeving, heat shrink tubing and cold shrink tape, and (possibly for the brave and/or insane) duct tape and paperclips.

Wire Twisting - 25

One of the other basic methods– well known to many people who build electronics –is to twist wire bundles with a hand drill and a friend. This is a quick and awesome trick that makes durable cables, short or long, exactly to your specifications, and shockingly fast.
Continue reading Tricks of the trade: Twisting wire bundles

Basics: Finding pin 1

pin numbers - 03

You’ve got your components, and your datasheet, and you’re read to start hacking. But which way does the chip go? Pin 23 is where? If you’re lucky, the orientation is clearly marked, or perhaps diagrammed in the datasheet. But if it isn’t, or if you’re simply new at this, it’s helpful to know what to look for. Continue reading Basics: Finding pin 1

Basics (updated): Using an accelerometer with an AVR microcontroller

ADXL335 - 10

Some time ago, we wrote up a tutorial about using an ADXL330 accelerometer with an AVR microcontroller. A couple of years have passed, and so we’ve returned to update and clean up some loose ends on this project.
Continue reading Basics (updated): Using an accelerometer with an AVR microcontroller

Basics: Serial communication with AVR microcontrollers

Serial Port Added

One of the distinguishing characteristics of beginner-friendly microcontroller platforms– Arduino, PICAXE, and a few dozen others– is that they neatly wrap up and hide the nuts-and-bolts details of interfacing with the hardware.

Like everything else, it’s a blessing and a curse. The benefits are clear: A new user who has just acquired an Arduino can plug it in, blink an LED, and have a working demonstration of two-way serial communication in just a few minutes.

The drawbacks are a little harder to see. When you just use one line of initialization that calls a “library,” it’s easy to overlook exactly what’s involved: how many lines of code have invisibly been added to your program? What memory structures have been allocated? What interrupts are now going to disrupt program flow and timing? There’s also a portability issue. We often hear from people who got started with Arduino but now want to explore other AVR microcontroller systems, and don’t know how or where to start the migration process.

In what follows we discuss a minimal setup for serial communication with AVR microcontrollers, and give two example implementations, on an ATmega168 and on an ATtiny2313. While this fundamental “AVR 101” stuff, we’re approaching the problem (this time) from the migration standpoint. Suppose that you had an Arduino based project, where you relied on serial communication– using the library functions–between that hardware and your computer. From there, how would you migrate to a stand-alone AVR microcontroller with similar functionality, or even to a different microcontroller?
Continue reading Basics: Serial communication with AVR microcontrollers