
This Henna Egg recipe from ChefSteps uses the EggBot to create the perfect presentation. They posted a nice video of the EggBot in action, too.


David Bliss posted about using a genetic algorithm to create designs for the EggBot using Processing. He says, “Each design is a sine wave with eight different parameters.”

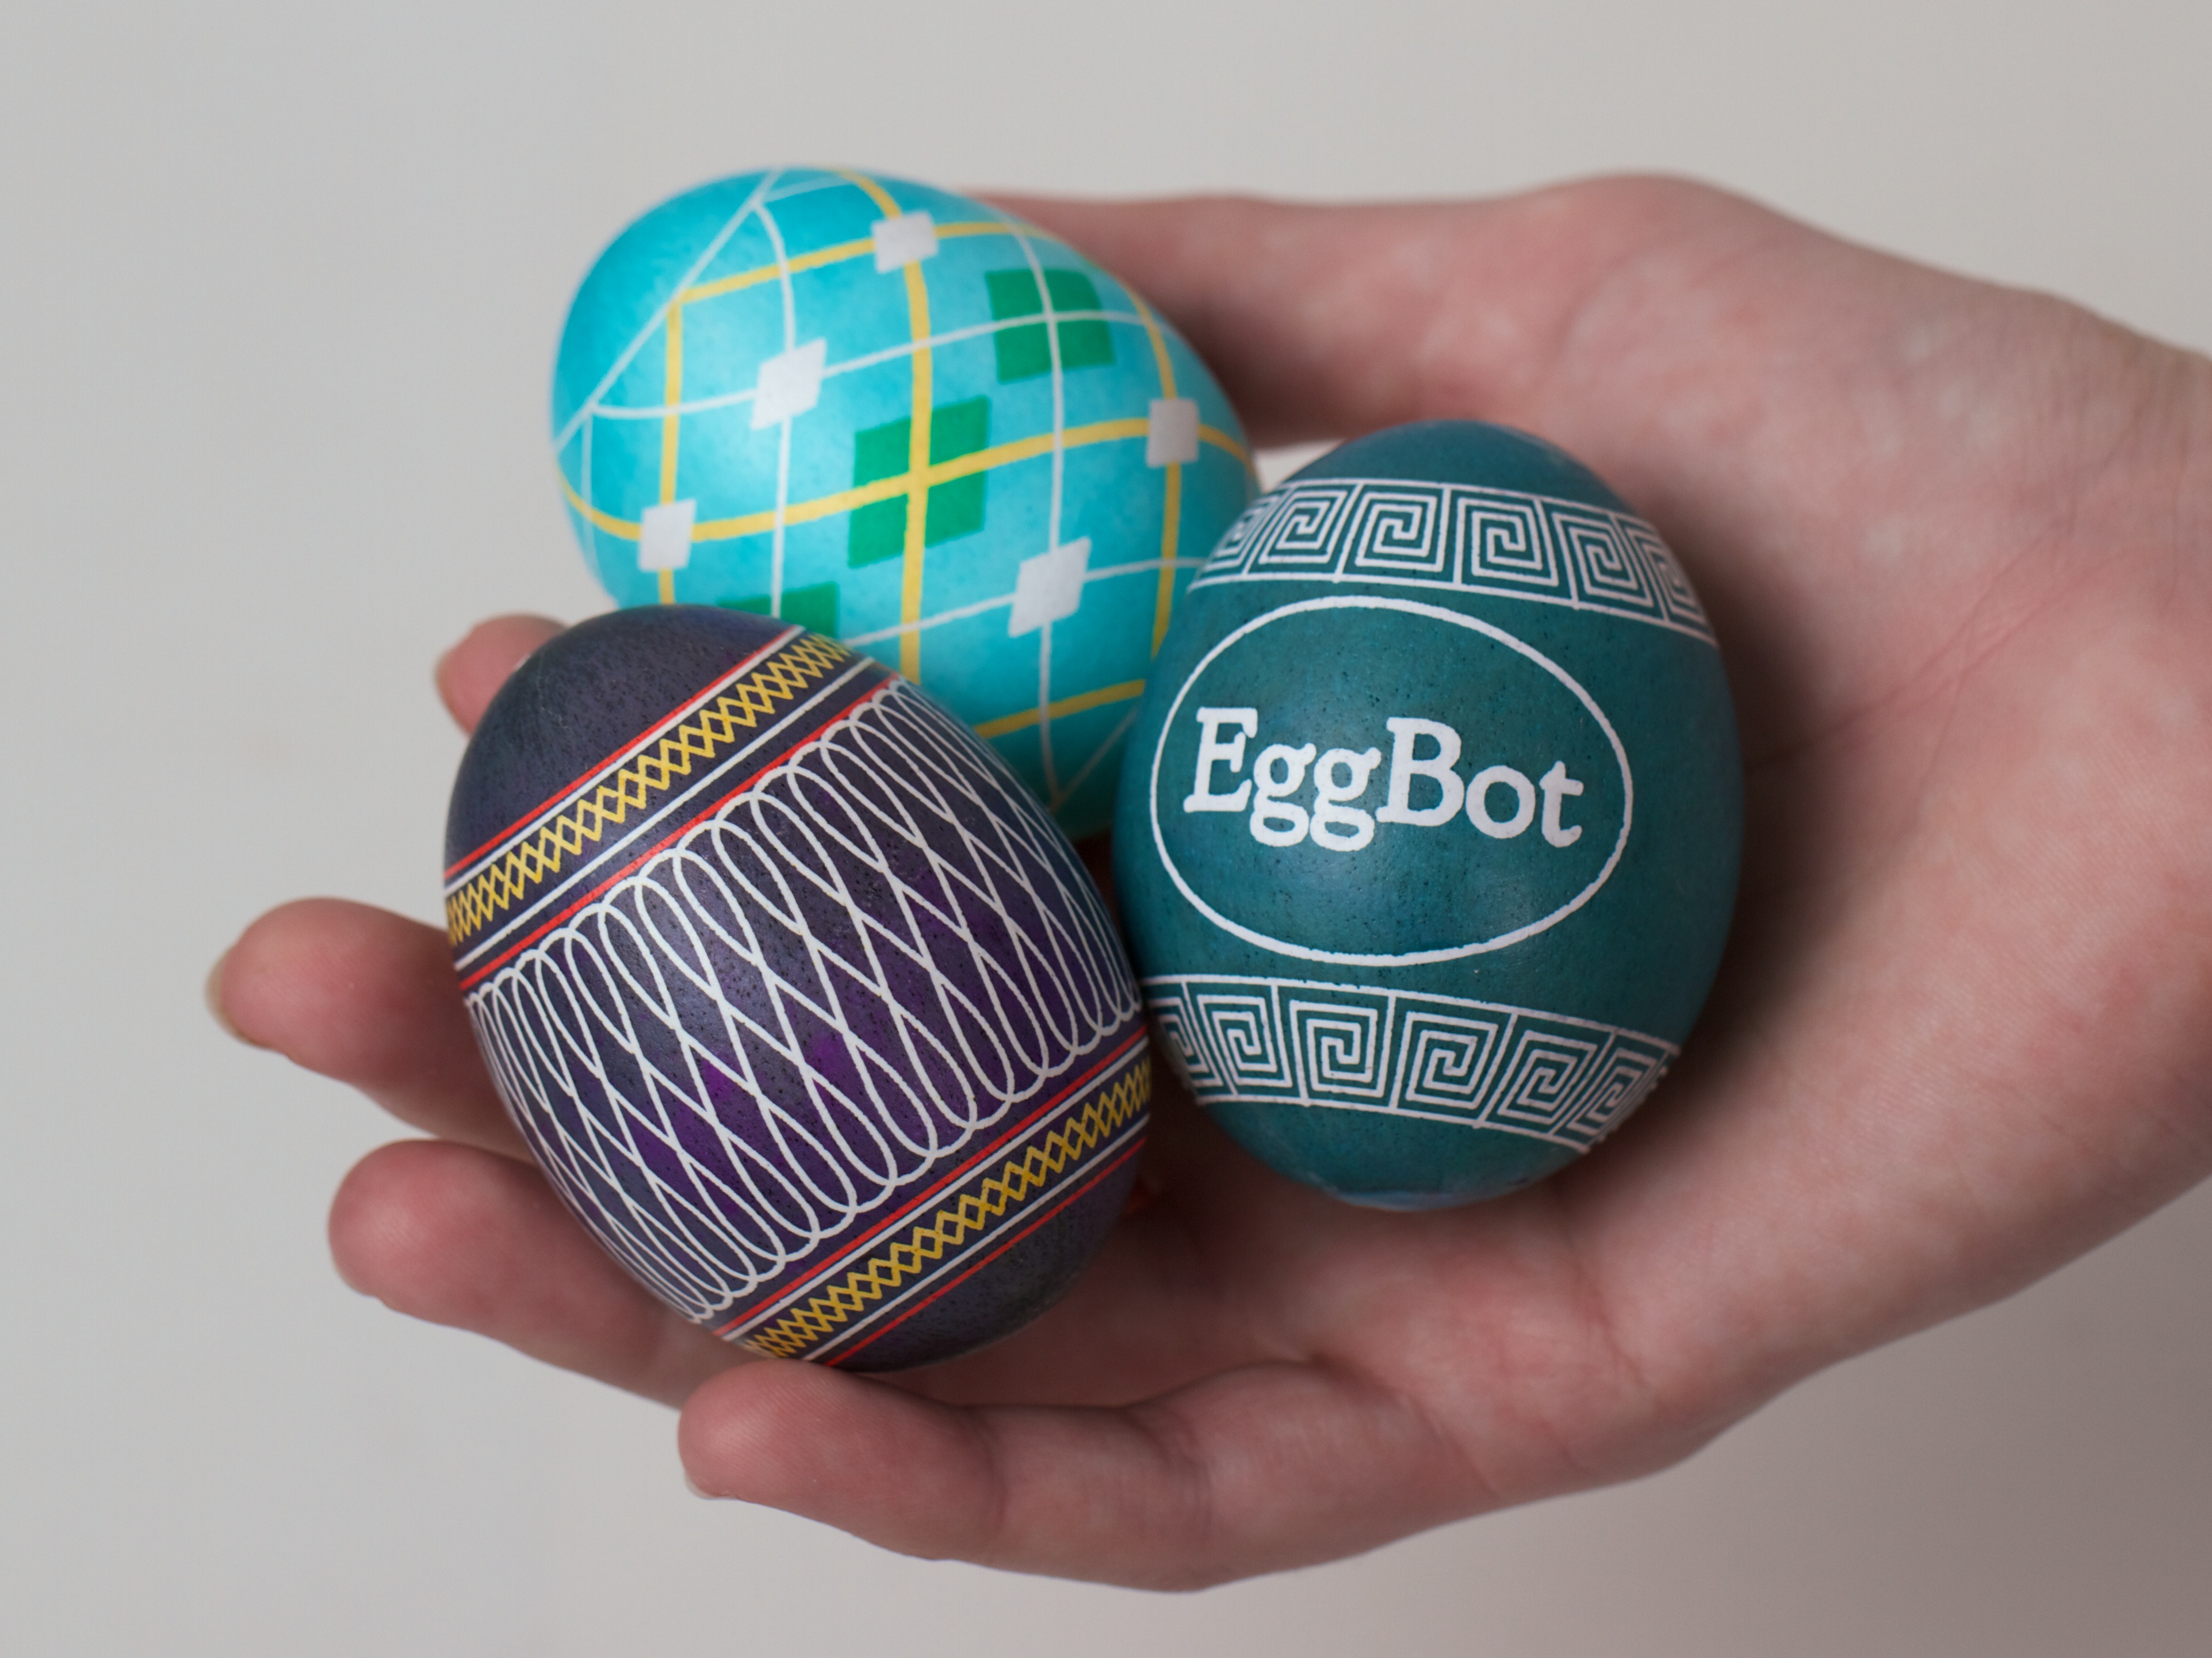
Each time the program is run, an initial population is created with 50 individual designs — each with random values assigned to the eight parameters. You then rate each individual design before evolving the next generation. The algorithm chooses individuals to carry on to the next generations (highly rated designs are more likely to be carried forward, but low rated designs may still be used).

Each of the eggs in the photo above was printed from the same program with waves evolved from random seeds.
He has shared his code on Github for this project, as well as earlier ones.

We had a great time at RoboGames demonstrating the EggBot over Easter weekend. Thanks to the contestants in both Combat and Bartending Art Bots categories that we were privileged to judge.

Congratulations to our friend RobotGrrl, who took home a gold medal in the Best of Show category.

Congratulations also to our collaborators on the WaterColorBot project, Schuyler and Roger who won gold in Art Bots in the Painting category.

From the White House Office of Science and Technology Policy blog post, An Egg-straordinary Day of Science and Technology:
Interacting with EggBot, an art robot that can paint very intricate and precise designs on eggs. EggBot taught students about digital design, computer numerically controlled machines and robotics. This was also a fun way to celebrate National Robotics Week!

Kitti wrote:
My husband made something amazing for the eggers again! He programmed a pattern generator that enables you to create triangle or square-based patterns. The output is an svg file that can be plotted on an egg.
What a great way to play with the EggBot!


We are excited to join with the National Park Foundation to support the 2015 White House Easter Egg Roll! Read the press release for more information.
-500.jpg)
Vera wrote to us:
Having loads of fun with the wonderful EggBot! Some photos for you to enjoy.
-500.jpg)
She’s posted some beautiful eggs, drawn on with a variety of pens.

There’s a fun series of ping pong ball gifs.

She also has used clear glass ornaments with an almost stained-glass effect. There are many more photos on her site, so check them out!
Kellbot posted this video of the EggBot drawing the lovely Paisley Flower Egg design she has up on Thingiverse.

It turned out great!

Happy St. Patrick’s Day! Thanks to A.Z. for sharing these photos of ornaments decorated with shamrocks using the EggBot.

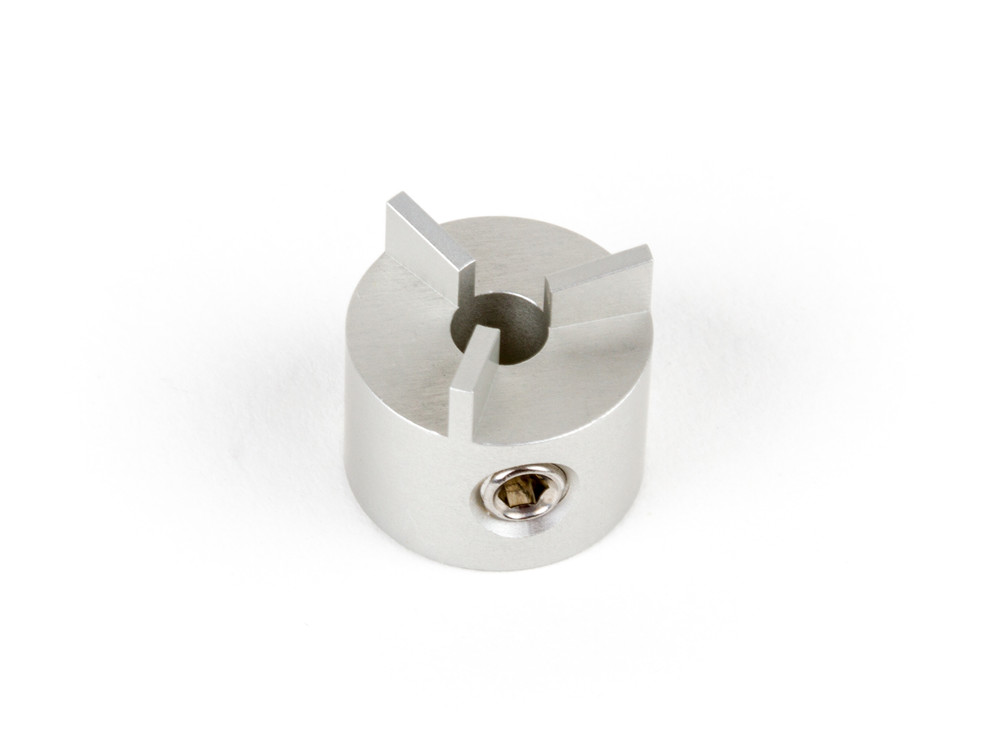
This tiny little thing is a new EggBot accessory that we call the Wax Coupler. Not because it’s made of wax (it’s CNC machined aluminum) but because you can use it to attach an egg to the motor that turns it, using wax, like so:


Aside: why is the base of the egg black? We’ll get to that below.
Once the egg is attached to the Wax Coupler, it provides a rigid attachment point that provides secure coupling between the egg and the motor. More importantly, the coupler+egg assembly can be removed from the motor and put back in place, without losing registration. In machine tool terms, you might describe this as the process of attaching an egg to a rigid mandrel.
Wait– why would you want to do that?
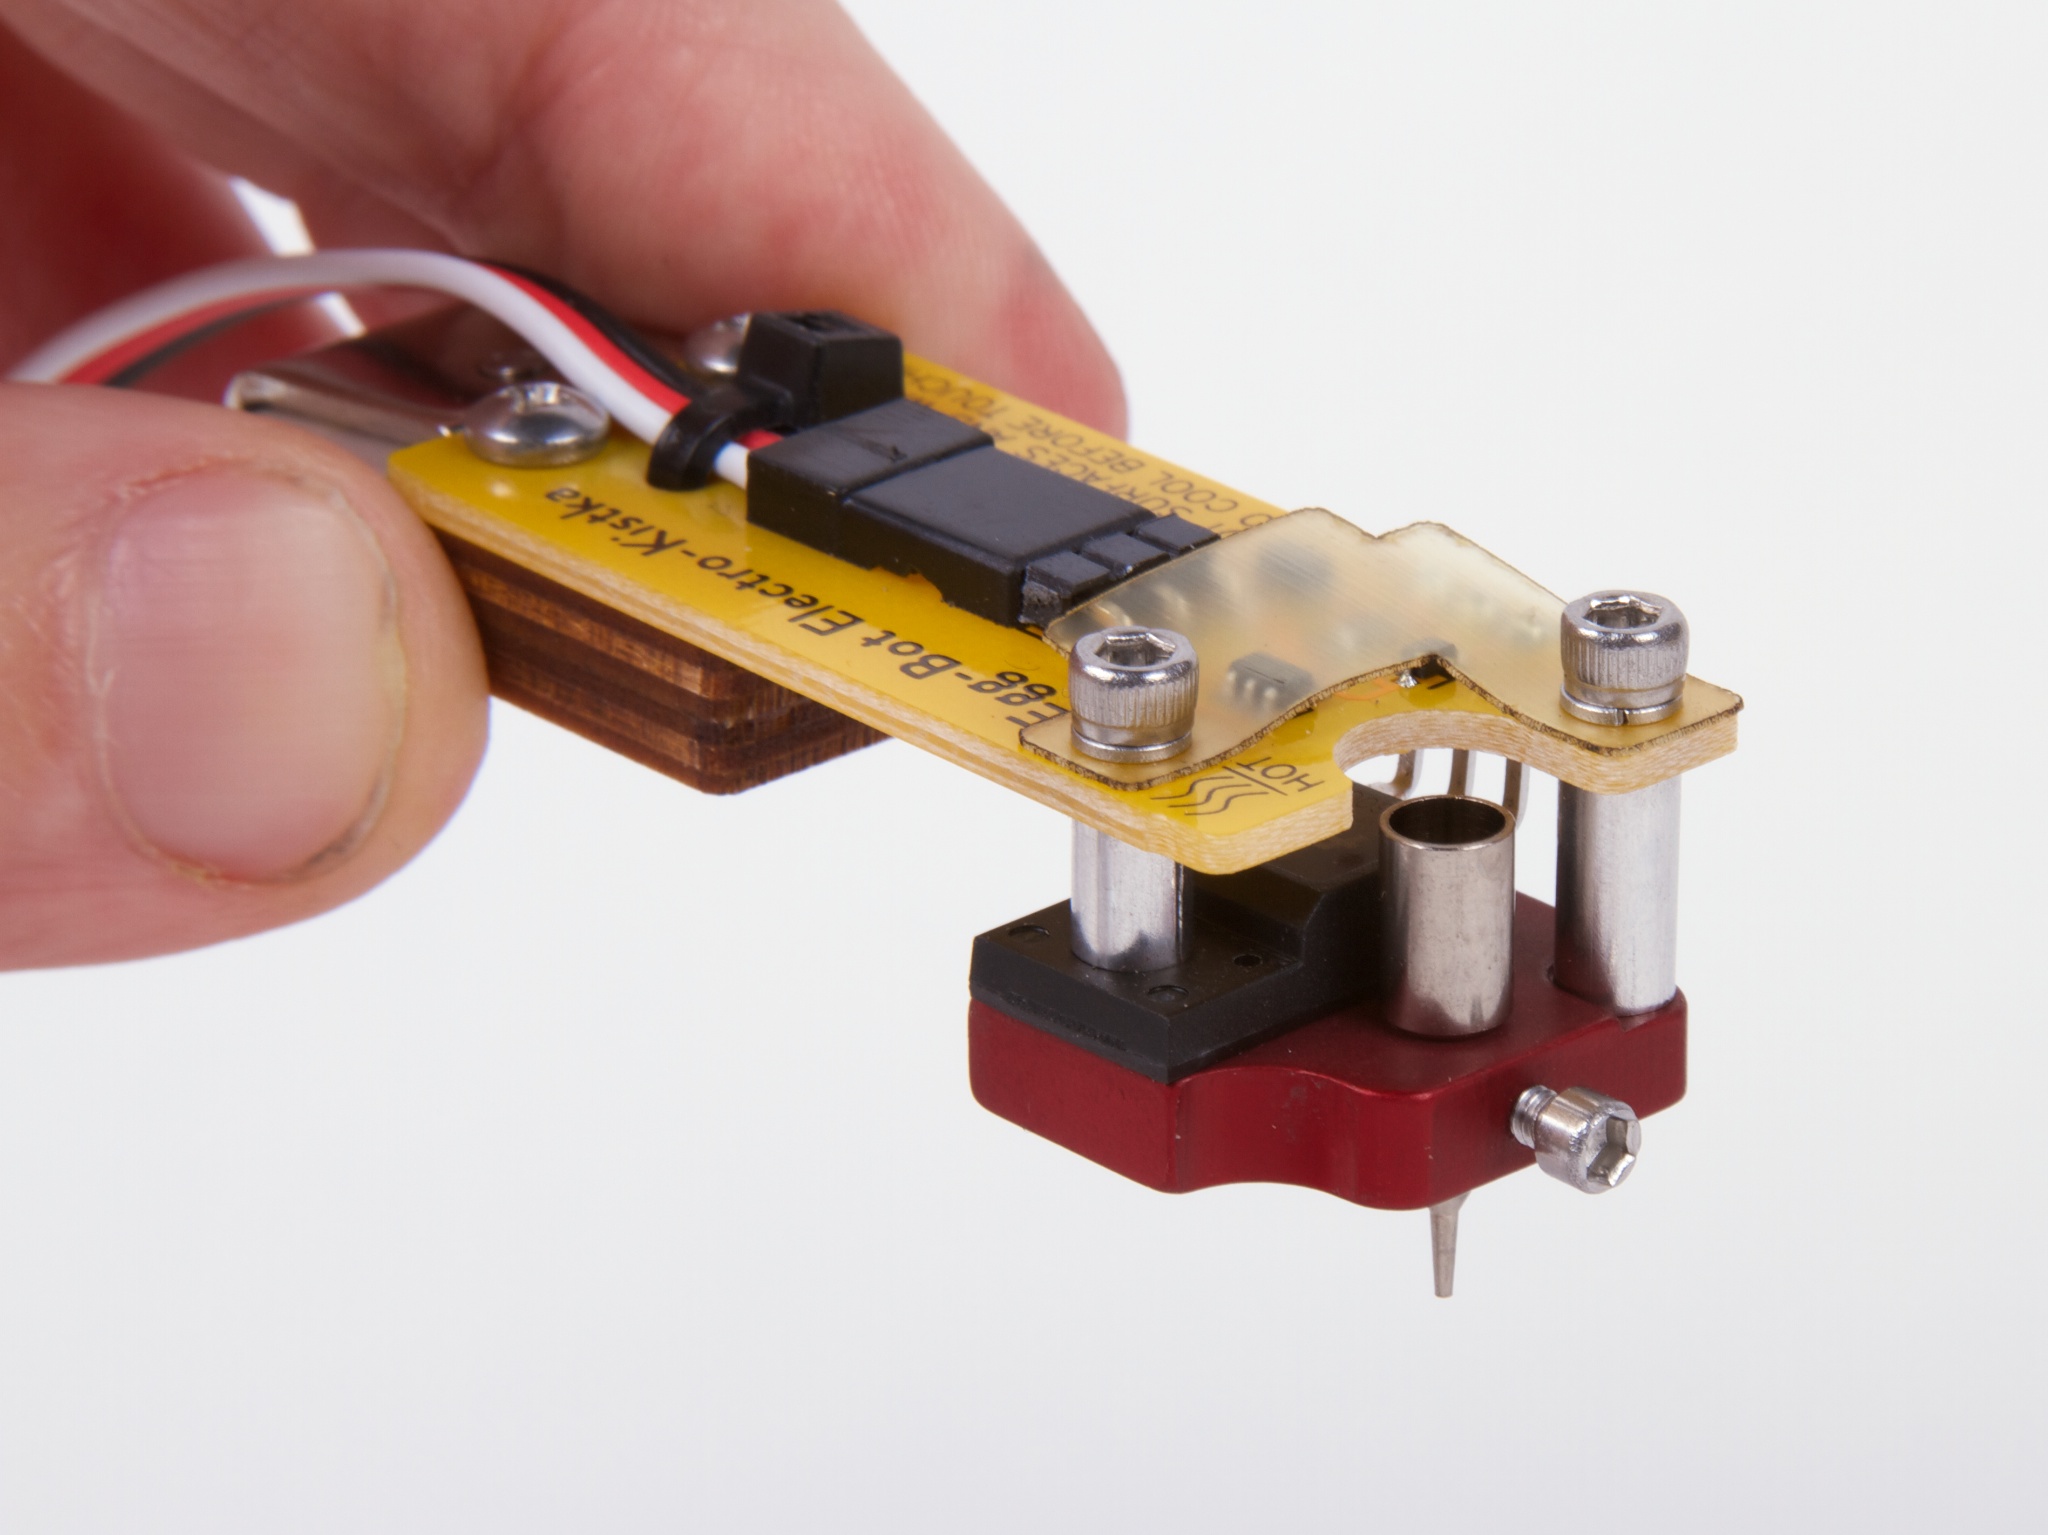
Let’s go back a few steps. Last spring we introduced our Electro-Kistka for EggBot. A kistka is a hot-wax pen used in the traditional wax-resist and dye (batik) method to produce colorful eggs in the fashion of Ukranian pysanky, and this one is designed to work with a computer-controlled EggBot.
At the time, we noted that this process introduces a new problem, that of re-indexing the egg within the EggBot, after taking it out for dyeing:
It is harder than it looks. While two-tone eggs are straightforward, we have found it to be challenging to precisely reposition an egg after removing it for dyeing. Thus, it takes considerable patience and experience to produce multicolor eggs with good registration between subsequent color layers. We’d be interested in exploring better ways to do this.
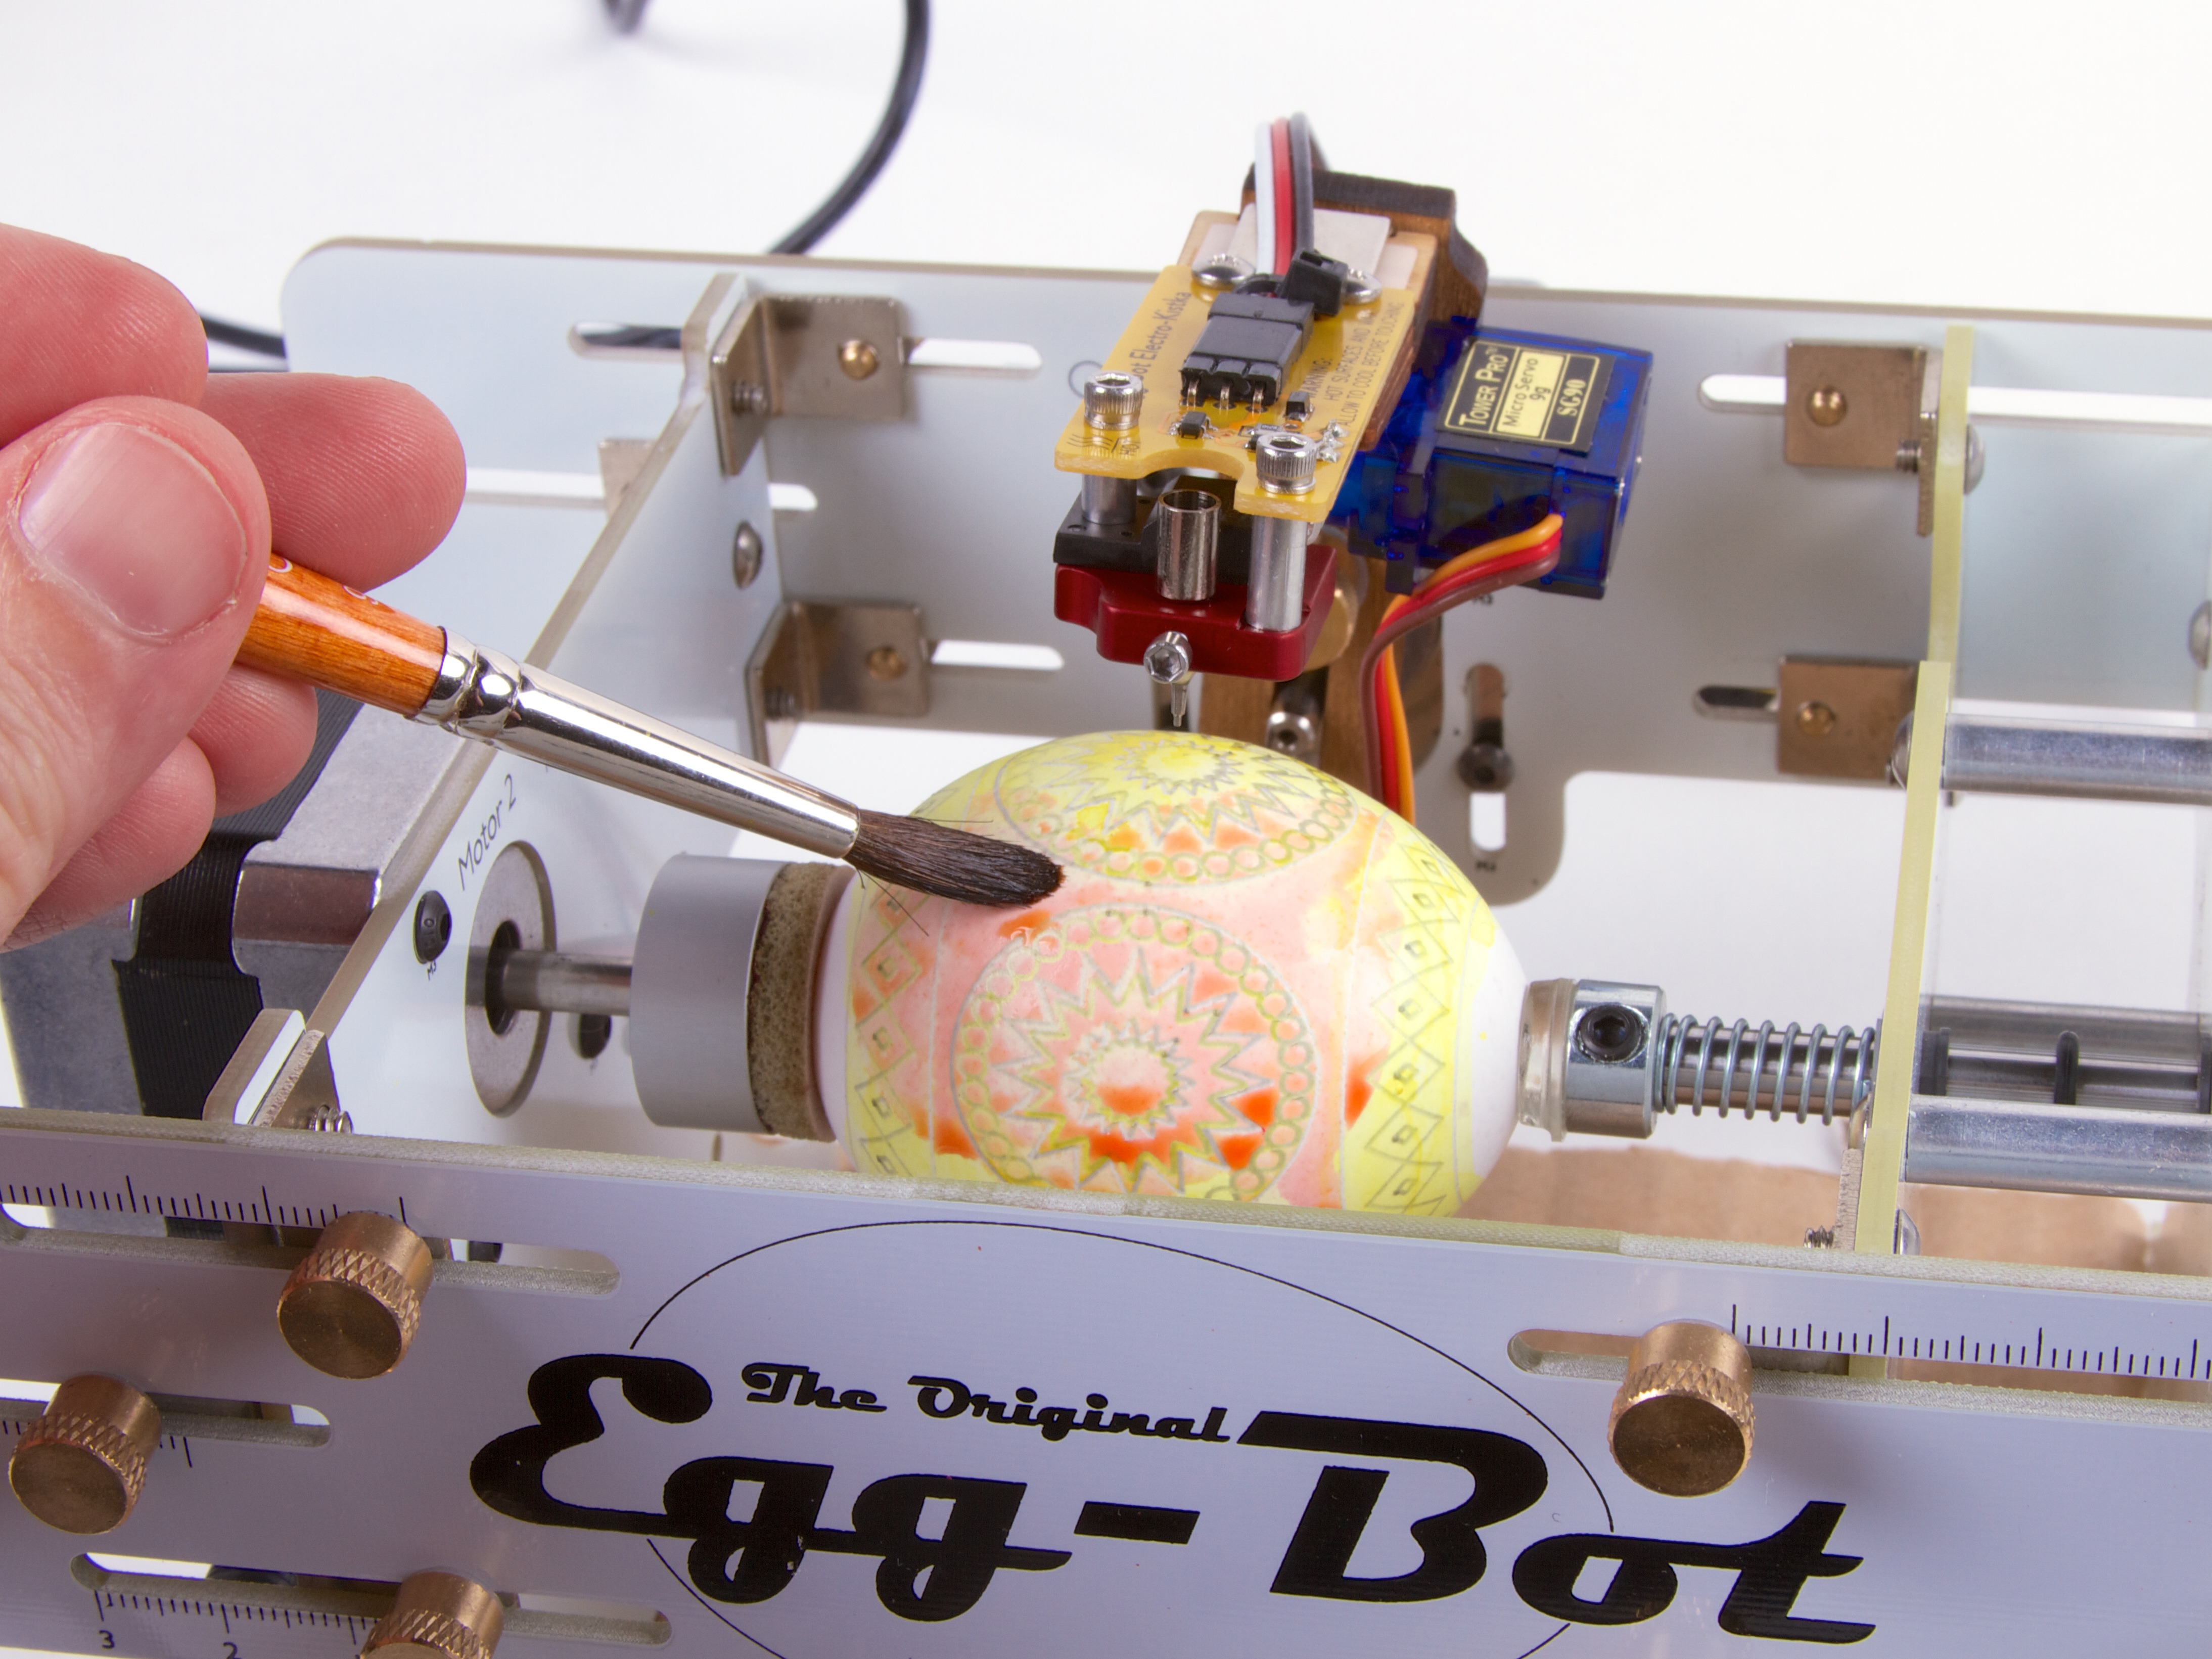
One method that we tried (shown above) was to dye the egg in place, by brushing it without removing it. The results were mediocre: it worked, but the dye layers were subdued and blotchy. We also looked into a somewhat wackier method of dying the egg in place, by standing the EggBot on end, and using a collapsable bag of dye.
Which brings us to the proper solution: To attach the egg rigidly to a repositionable coupler with beeswax. Doing so allows us to take out the egg and dye it (coupler and all) and then easily index it back into the EggBot.
