


Did you enjoy making sugar cube sculptures as a kid? Boy have we got a project for you.
Besides the projects that we post here each week, we’ve been working on some larger scale projects in the past year. One of these is almost done, and we’re ready to give you a sneak preview: It’s a home-built, DIY, CNC, 3D printer, that uses granulated sugar as the printing medium. This is still a work in progress, but we’re making rapid progress and we hope to show off the completed printer at the Bay Area Maker Faire in May.
(Update added 5/9/2007: we’ve got it working now.)
The printable volume is 24 x 13.5 x 9 inches, with programmed resolution of 1000 steps per axis. We expect effective pixel size to be in the range of 2-5 mm. In other words, it makes fairly large, but fairly low resolution, models out of sugar. Think of it as a way to make giant and amazing sugar cube sculptures!
There are other DIY-oriented 3D printing and fabbing projects around, notably Fab@Home and RepRap. So what’s the point? Well, we’re doing a few things differently. We’re not making a small precise machine that extrudes plastic.
We’ve taken a very different approach in that we have a particularly large printable volume, but low resolution, and so we do not need precision as high as the other projects.
While that makes our printer unsuitable for prototyping machine parts, it should be great for sculpting or other uses. Our machine has a low-cost design, utilizing recycled materials, low-cost media, and simple construction. A resourceful person could build a similar machine for around $500, possibly less. Finally, we’re using granulated sugar as the printing medium.
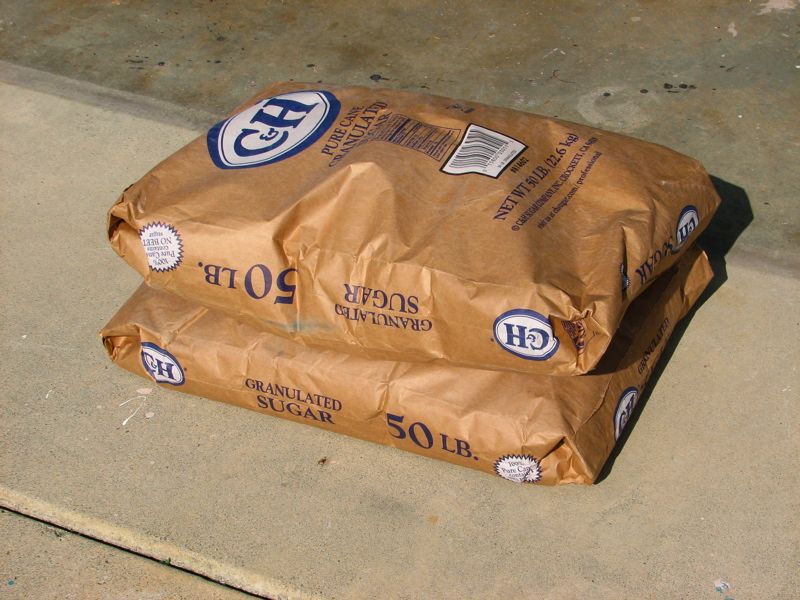
Sugar is a particularly good medium because it’s easy to obtain, low in cost, kid friendly, water soluble, non-hazardous, non-toxic, non-intimidating, rigid despite having a low melting point, and may be suitable for making objects for lost sugar (like lost wax) investment casting.
We also think that it may also be possible to make interesting food with this technology.
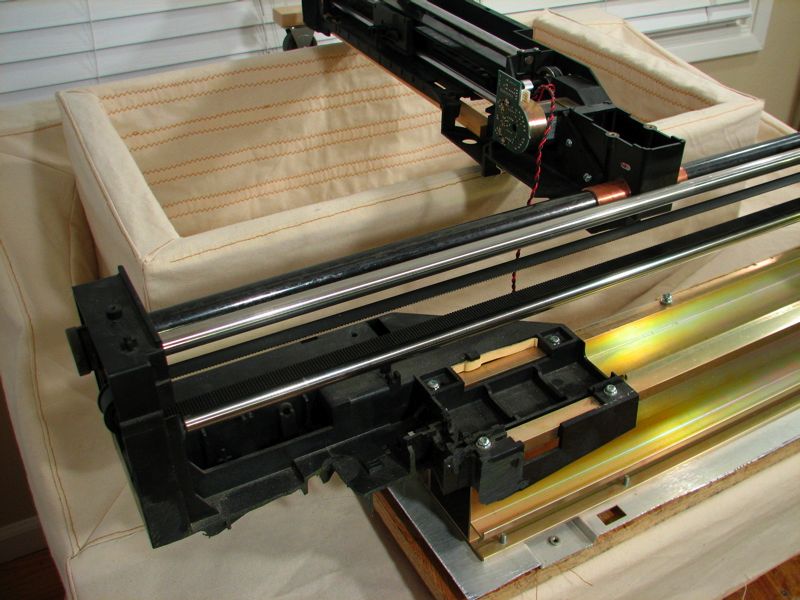
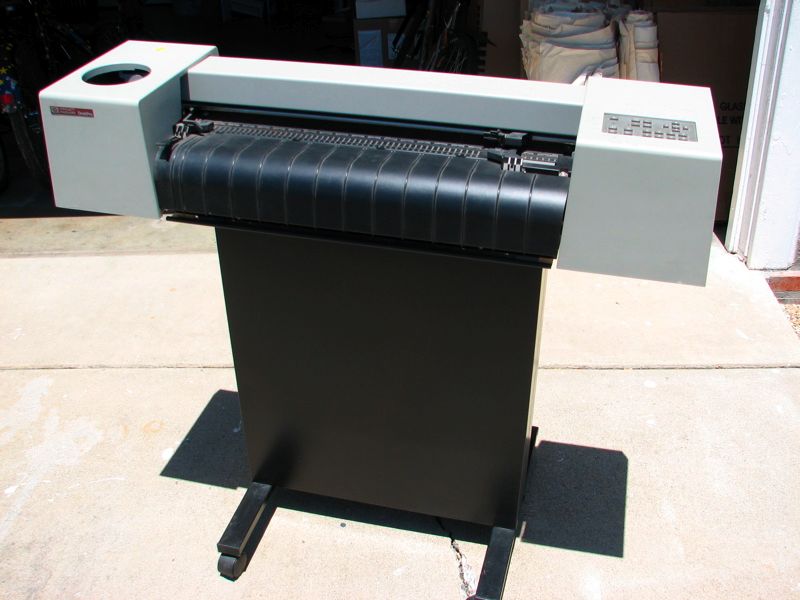
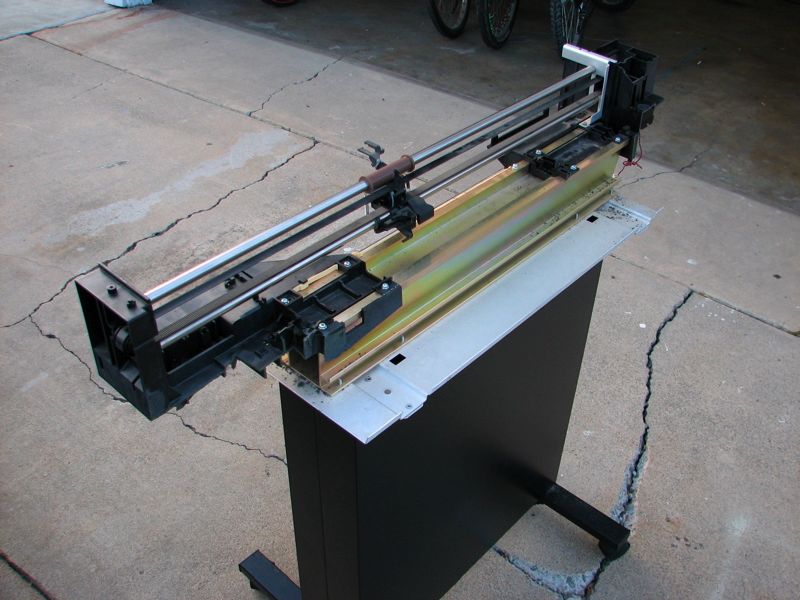
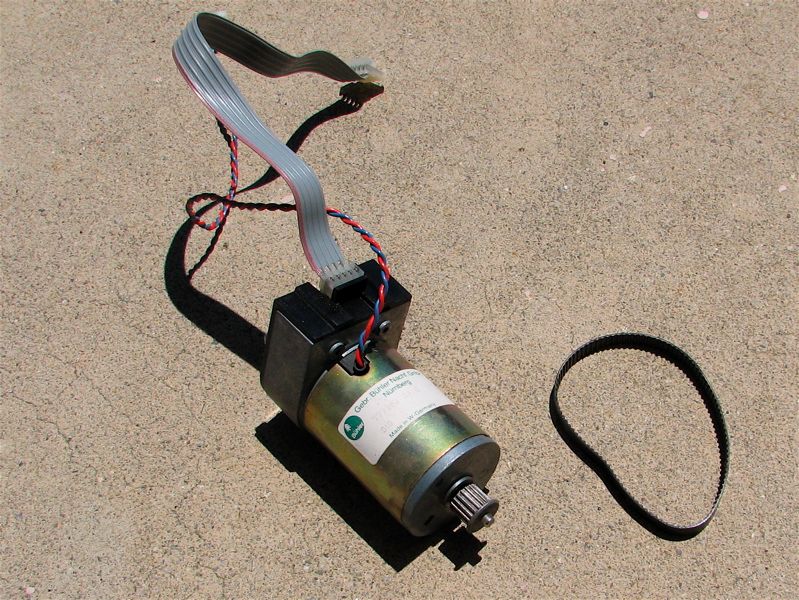
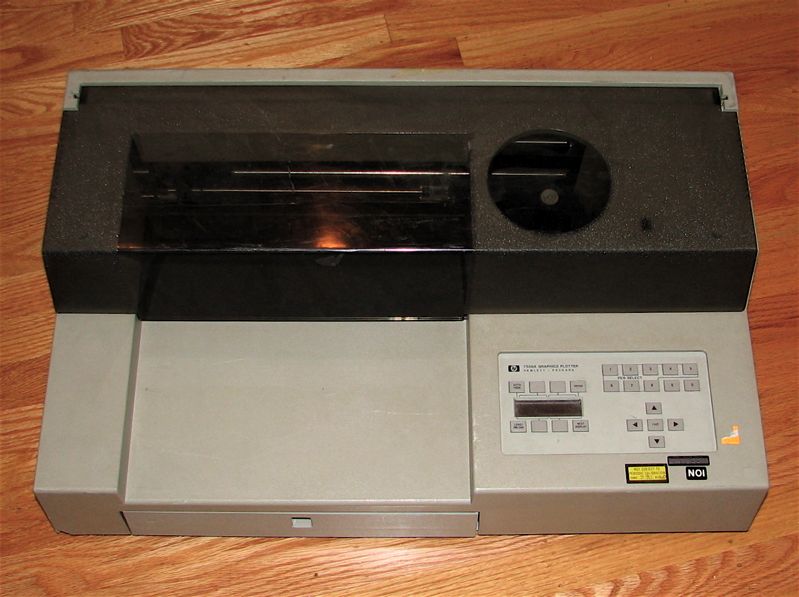
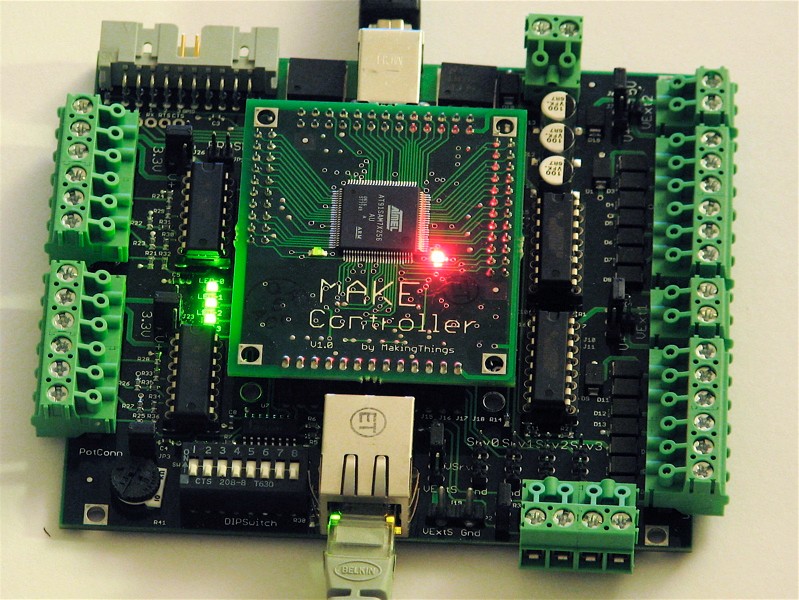
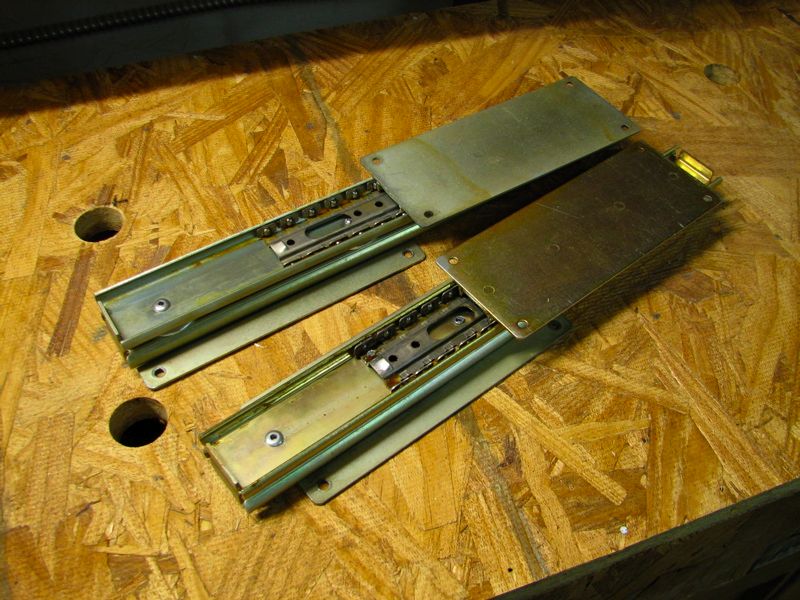
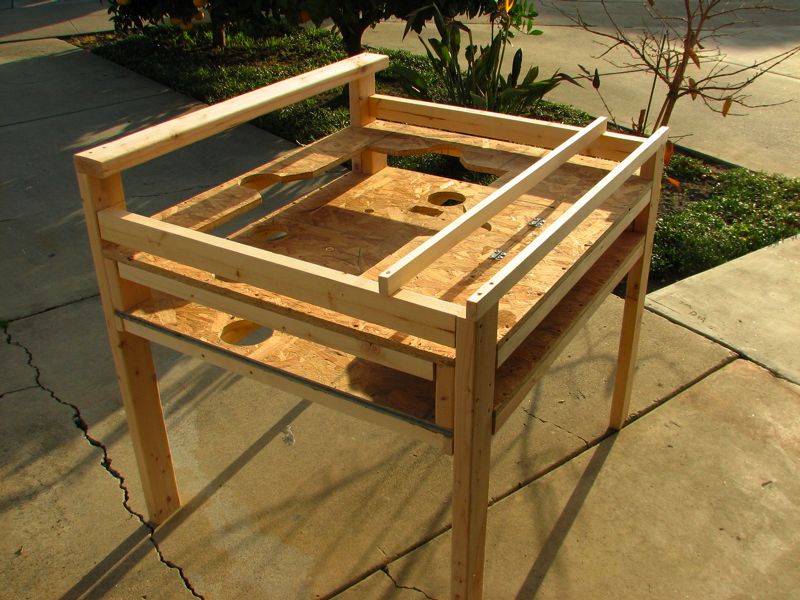
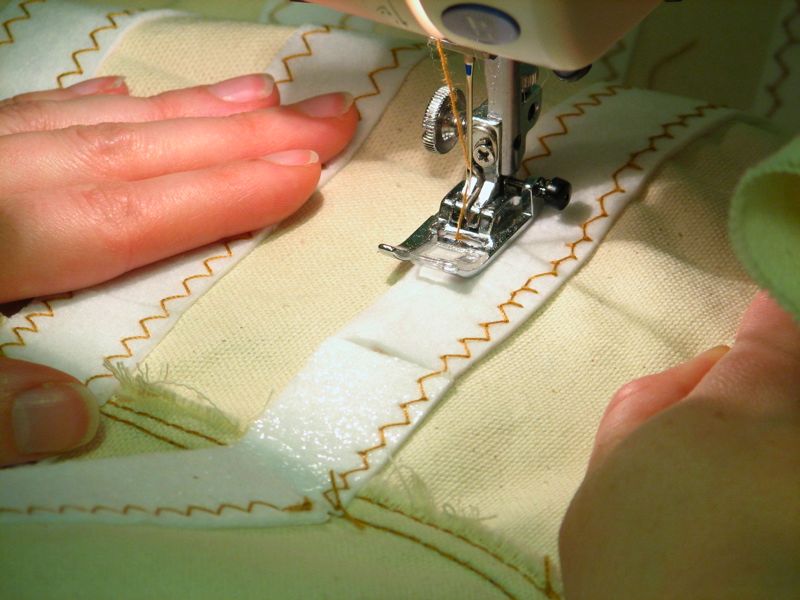
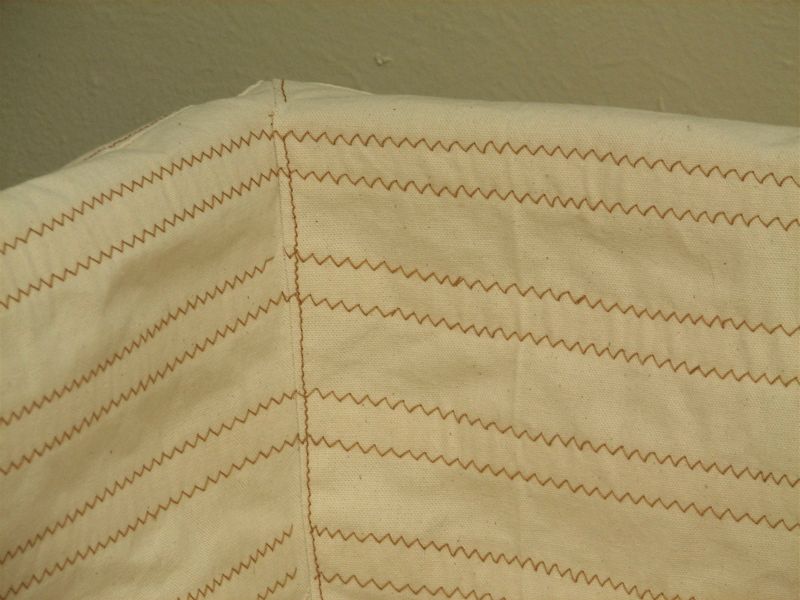
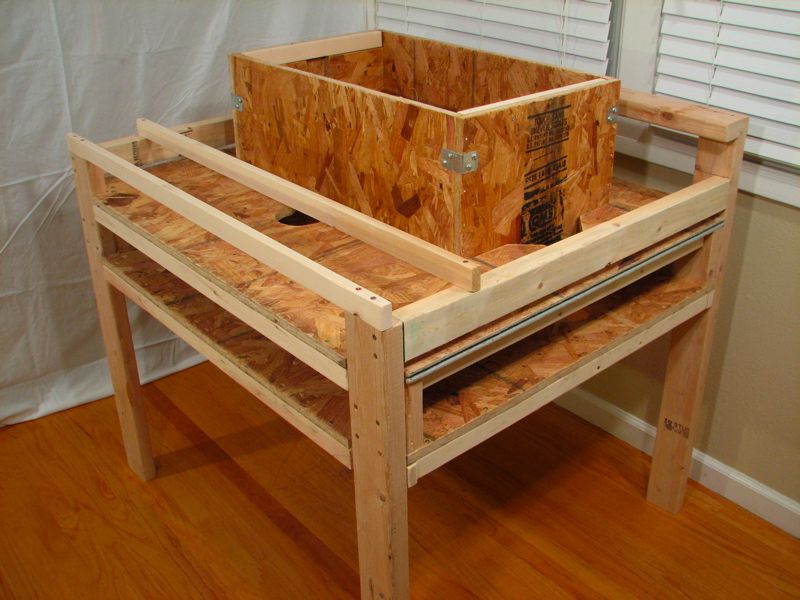
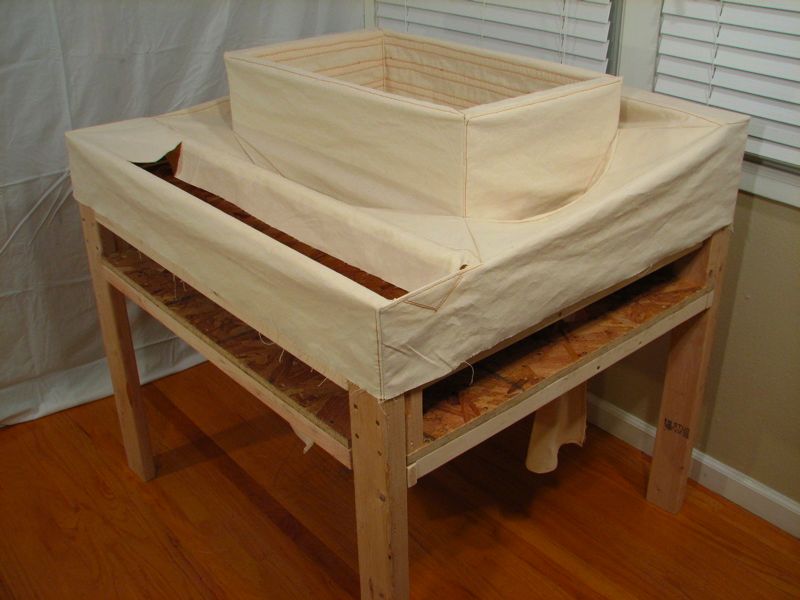
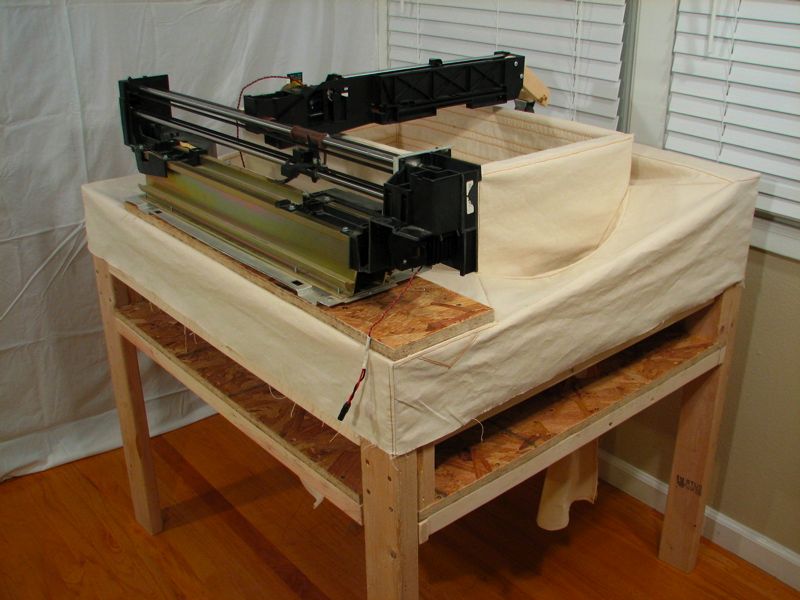
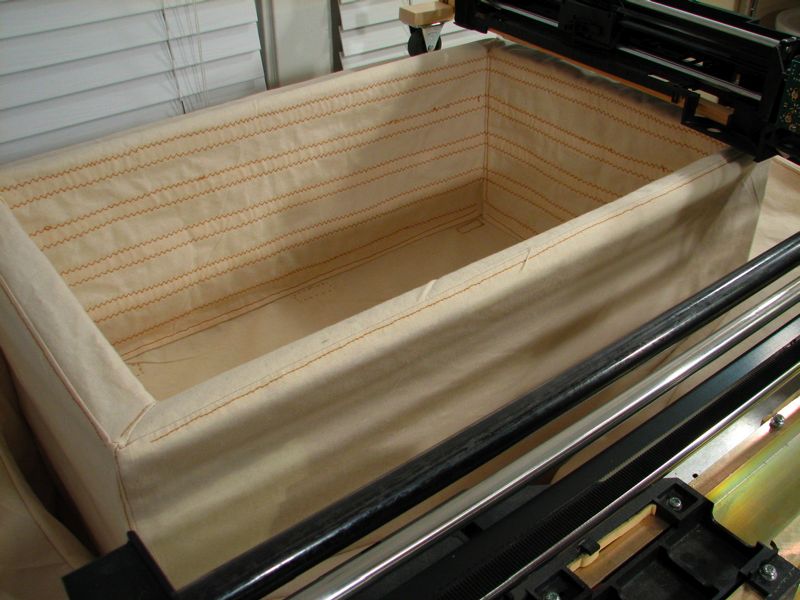
Like other 3D printers, ours works by stacking layers of 2D images. We begin with a flat bed of sugar and “print” a 2D design into it by selectively fusing the sugar. The bed is then lowered slightly, a new layer of sugar is added, and the next 2D image is printed, fusing with the layer below. This process is repeated to build up the three-dimensional image. Our machine makes the vertical translation possible by providing a large, five-sided wooden box with a floor that can move up and down. A flexible canvas liner around the box prevents sugar from leaking out in strange places and assists in recovering unused media. The X and Y axis motion control systems are based on belt drives and quadrature-encoded motors recycled from old HP plotters, while the Z axis is based on a modified automotive jack. Custom closed-loop, high-power drive electronics were designed to power each of the three axes and accept position commands, using standard hobby servo PWM control code. Computer control and interface are provide through a MAKE Controller.

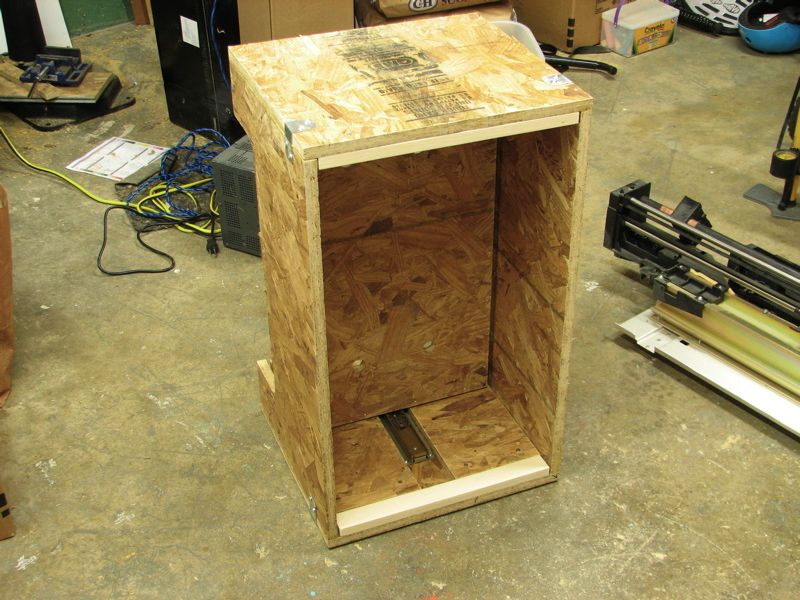
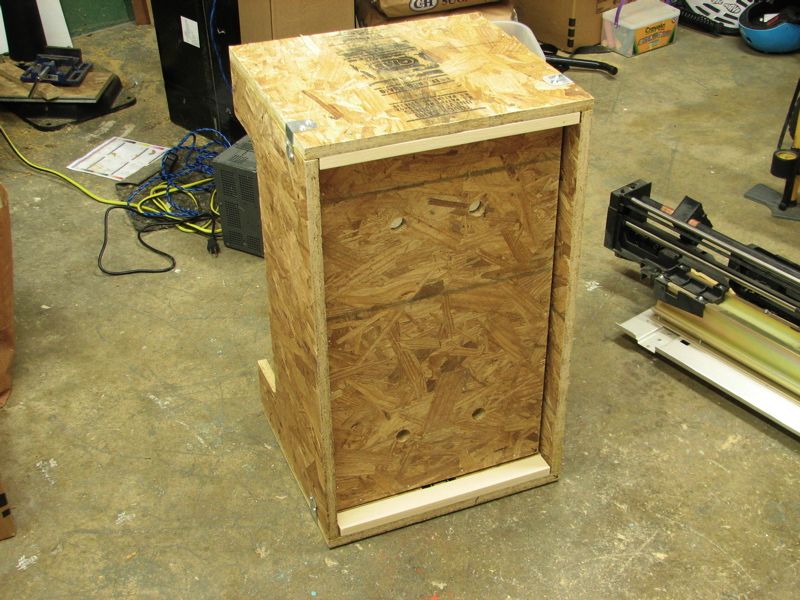
Project status: We’re almost to “hello world.” The base and canvas liner are complete. The three single-axis control systems are fully constructed, operational, and are under computer control. Different designs of sugar fusing heater element (stylus) are being tested. Some software remains to be written. Documentation is far from complete, but we will be releasing designs and models from this project as time permits. Among other spin-offs from this project, we plan to release the source code (AVR GCC) and circuit designs for the quadrature servo motor control circuits under the GPL.
We think that this project is particularly interesting because it ties together so many disciplines: motion control, woodworking, microcontroller programming, sewing, reverse engineering and circuit hacking, high-power analog electronics, 3D modelling, and computer programming. We’ve already written up notes on several small projects that came out of this, like Quick and Dirty D to A and LabVIEW routines for the MAKE Controller, not to mention that this project was our excuse to get the set of stacking dolls.
Finally, we’d like to note that we’ve been inspired in this project by sugar cube sculptures like the ones by Brendan Jamison, impressed by the giant scale versions by Rachel Whiteread, and simply floored by the beautiful and detailed 3D models by Bathsheba Grossman.
i have one question, this thing is suppose to print with sugar, could it print with substances OTHER than sugar, and if yes, what substances would be good for it? i have an idea for an invention and seeing this makes me thing it may be better to use than trying to cast it the old fashion way with molds
You can use any granular media with a low melting point. Wax, some plastics, and some metals are suitable.
—
Windell H. Oskay
drwho(at)evilmadscientist.com
http://www.evilmadscientist.com/
i noticed you use a hot air thing, have you thought of a modified laser pointer that is rigged to burn as a heat source?
We have considered lasers– you’d need much more than a pointer or DVD laser to work well, however. Please see the CandyFab FAQ as well.
—
Windell H. Oskay
drwho(at)evilmadscientist.com
http://www.evilmadscientist.com/
I know this was a long time ago but do you have any data for the small servo from the hp plotter? I’m working on a project and I am trying to use the same small servos from an old hp plotter.