Yearly Archives: 2013

WaterColorBot at Kickstarter: One Day Left

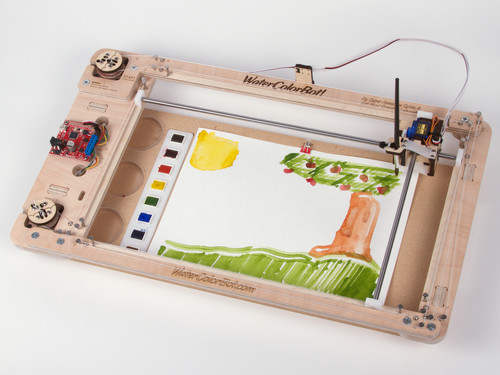
WaterColorBot Drawing
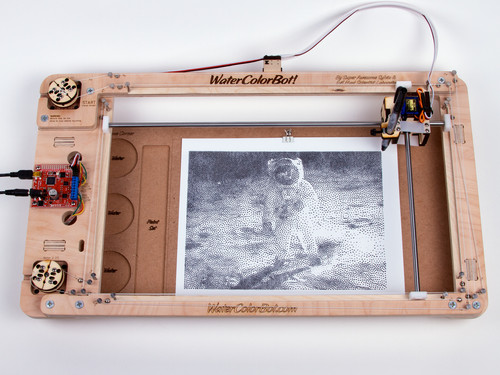
The Kickstarter campaign for Super Awesome Sylvia’s WaterColorBot is almost at a close, with just 24 hours remaining; it winds up tomorrow (Thursday) morning, at 7 AM eastern time.

So, if you haven’t signed up yet— and you think you might like to —this would be a great time to do so. If you’d like to learn more about the WaterColorBot, we’ve written a number of articles here on our blog, and there is also a detailed introduction on the Kickstarter page itself.

And for those of you who have backed our project, we are thrilled to have your support, and to have you along with us as we unleash so many art robots upon the world this fall. We can’t wait to see what kinds of amazing things people will create with them.

WaterColorBot Drawing

Artwork painted on the WaterColorBot by Robert “RoboGenius” Sloan

Laser Marking with Moly

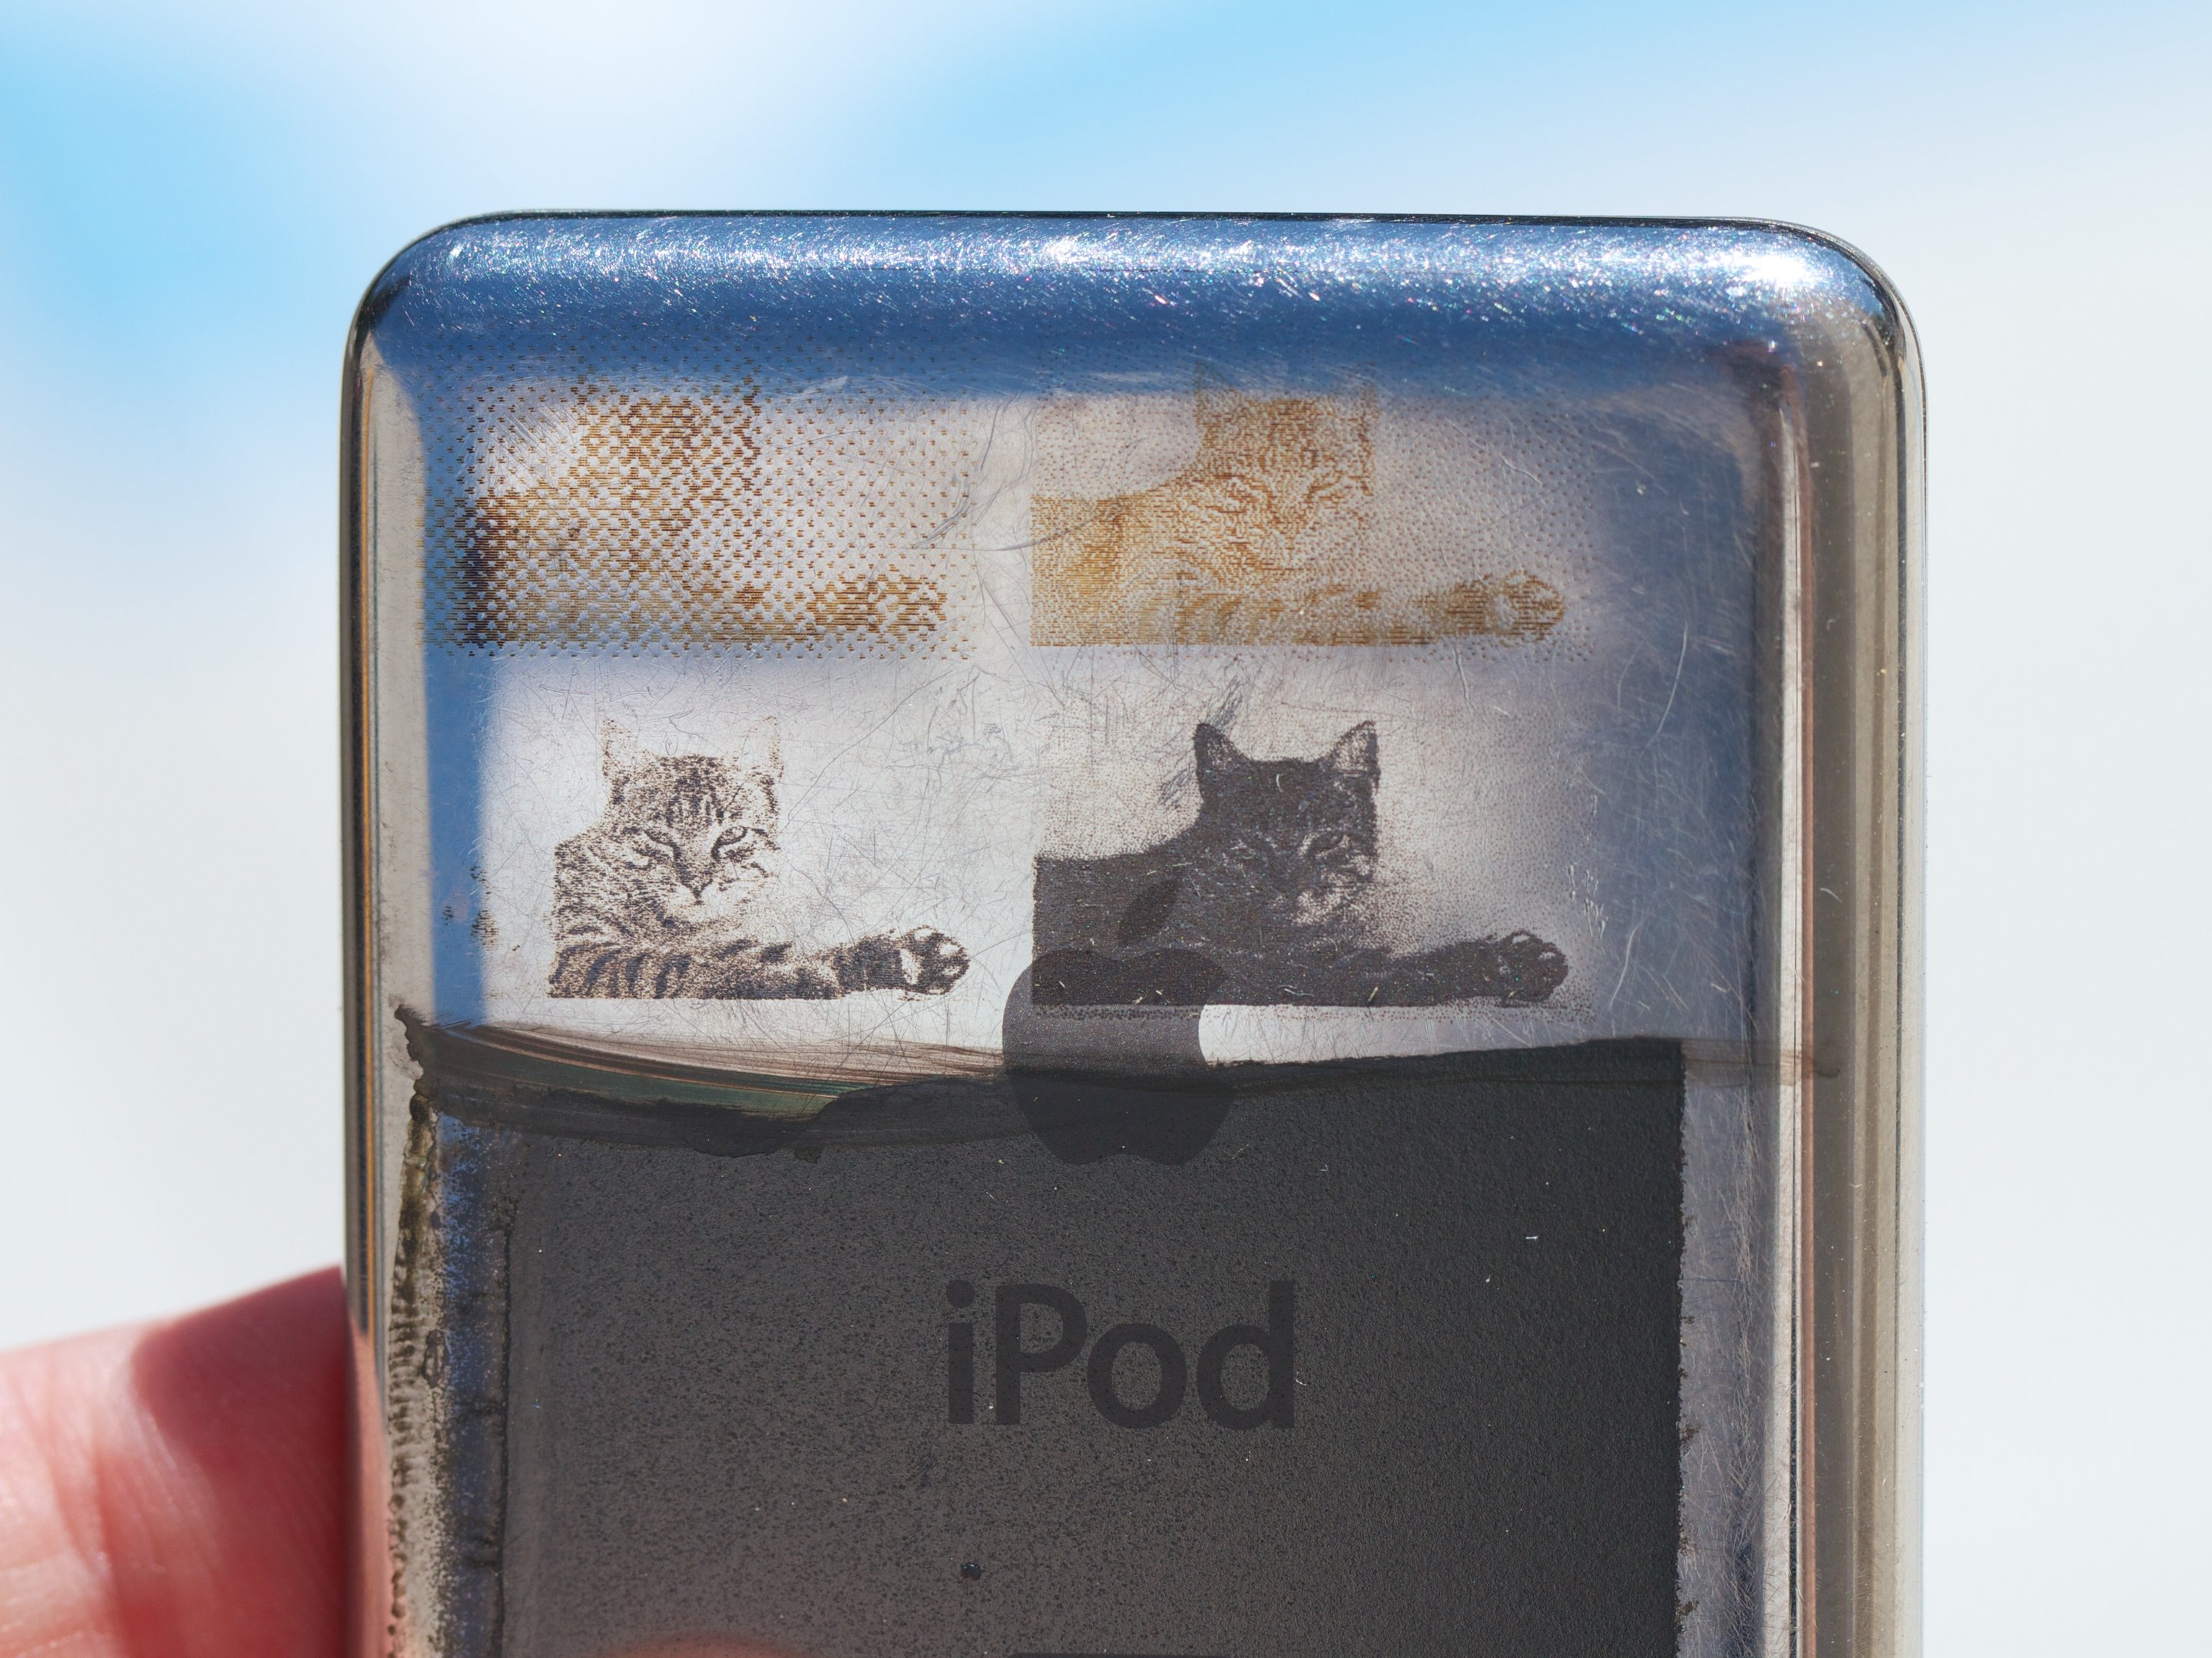
MolyMarking 9

A low power CO2 laser cutter (like the one that we use) is fantastic for cutting and engraving wood, fabric, paper, and plastics. It’s also great for engraving painted or otherwise surface coated metal, like anodized aluminum (for example, making the labels on a Maglite).

However, with only a few exceptions, a laser like this generally falls down flat if you want to cut or engrave a chunk of bare metal. One exception is that you can actually cut through metal if it’s thin enough. Another is that you can make dark marks on metal with the help of a ceramic coating compound like CerMark.  CerMark is sprayed on metal, then blasted with the laser so that it fuses to the surface, leaving a dark, permanent mark. Unfortunately, a spray can of CerMark costs $60, and as it is a specialty item, it may not be easily available when you happen to need it. So what do you do if you need something like this and you don’t have it?
Continue reading Laser Marking with Moly

Inside the ULN2003

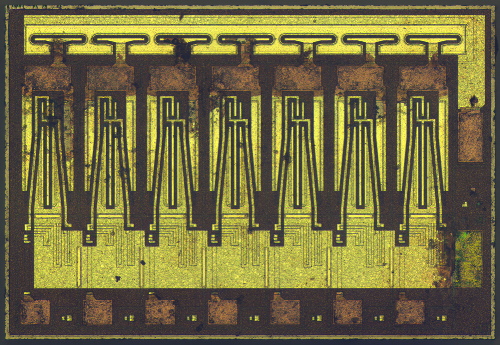
Over at ZeptoBars, they have an incredibly detailed “take-apart” post on what’s inside the ULN2003 seven channel Darlington driver chip. The ULN2003 is commonly used for driving LED displays—you can find it, for example, in our Mignonette game.

We often receive comments that while out microchip photos are beautiful and interesting, it is completely unclear how integrated circuit implements basic elements and form larger circuit. Of course it is impossible to do a detailed review of an 1’000’000 transistor chip, so we’ve found simpler example: ULN2003 – array of Darlington transistors.

They’ve stripped off the outer housing and put it under the microscope. They then analyzed the photos to show you what parts make up the individual transistors, resistors and diodes inside the chip.

Three Little Upgrades to the WaterColorBot

WaterColorBot Drawing

Even while the Kickstarter campaign for our WaterColorBot is in full swing, we’re continuing to improve its hardware design. Here are a select few of the refinements we have made since the last revision that will make the WaterColorBot better for everyone.

Continue reading Three Little Upgrades to the WaterColorBot

Open Medical Hardware: The Open Stent

Untitled
Untitled
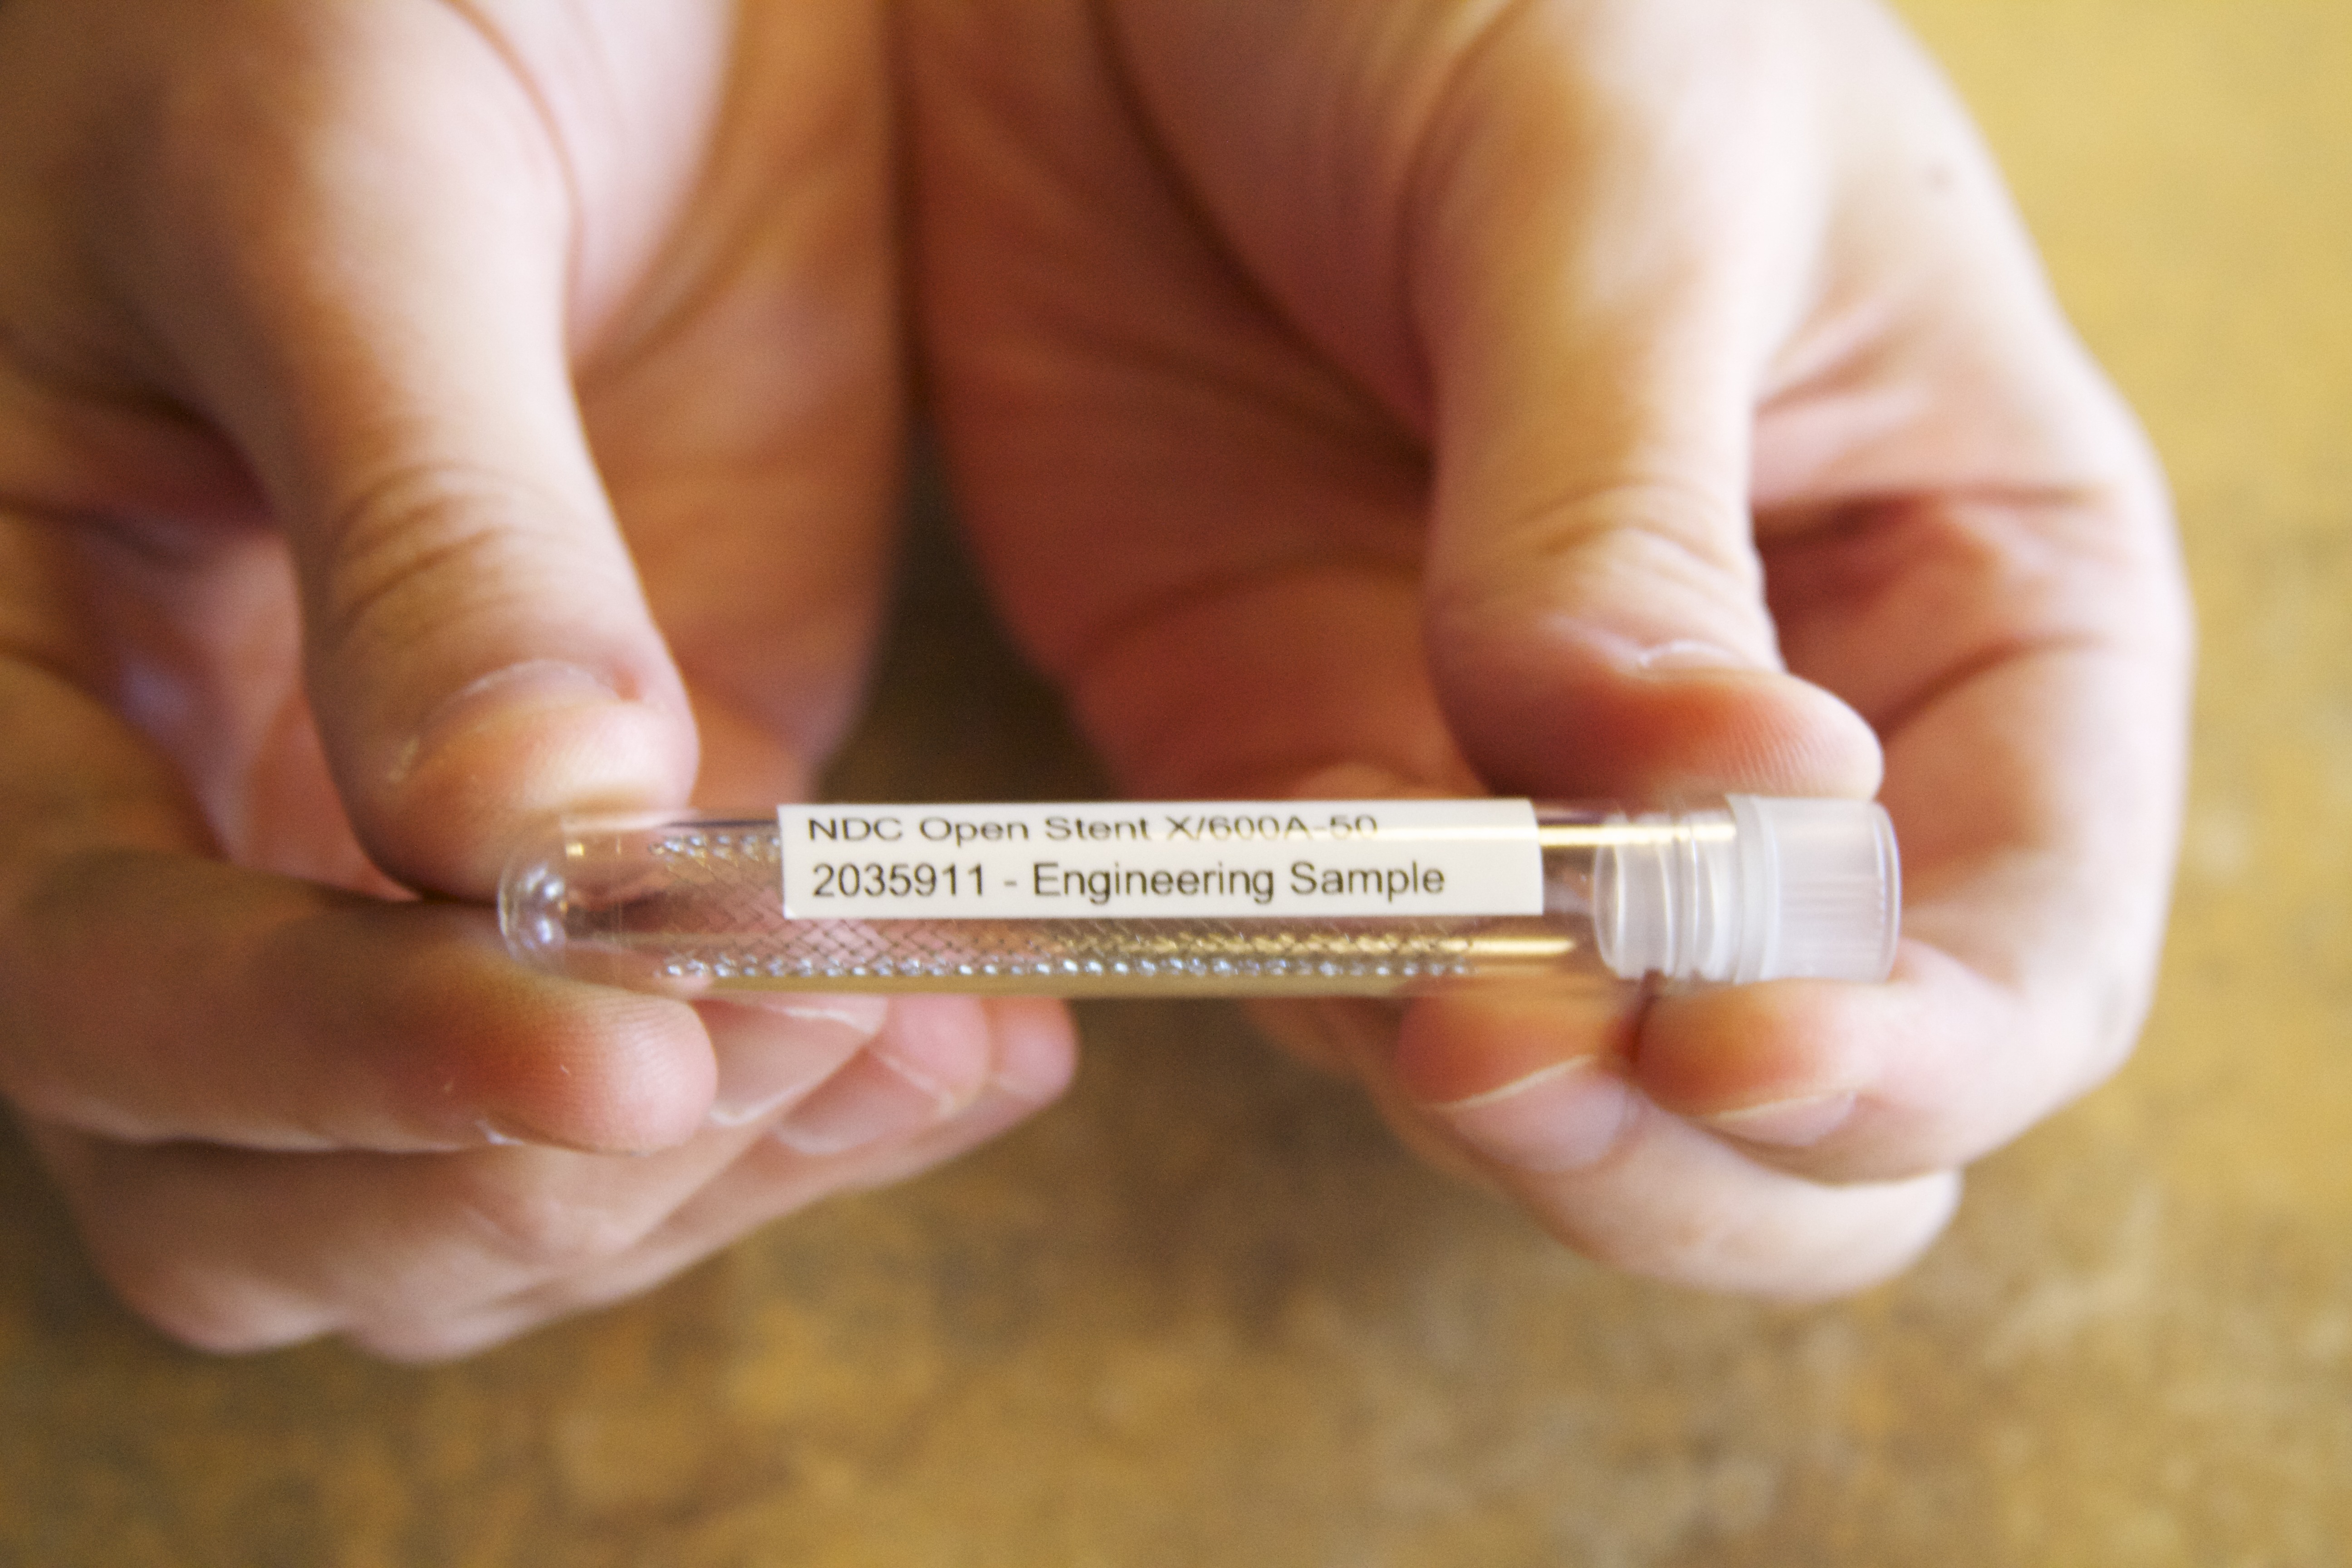
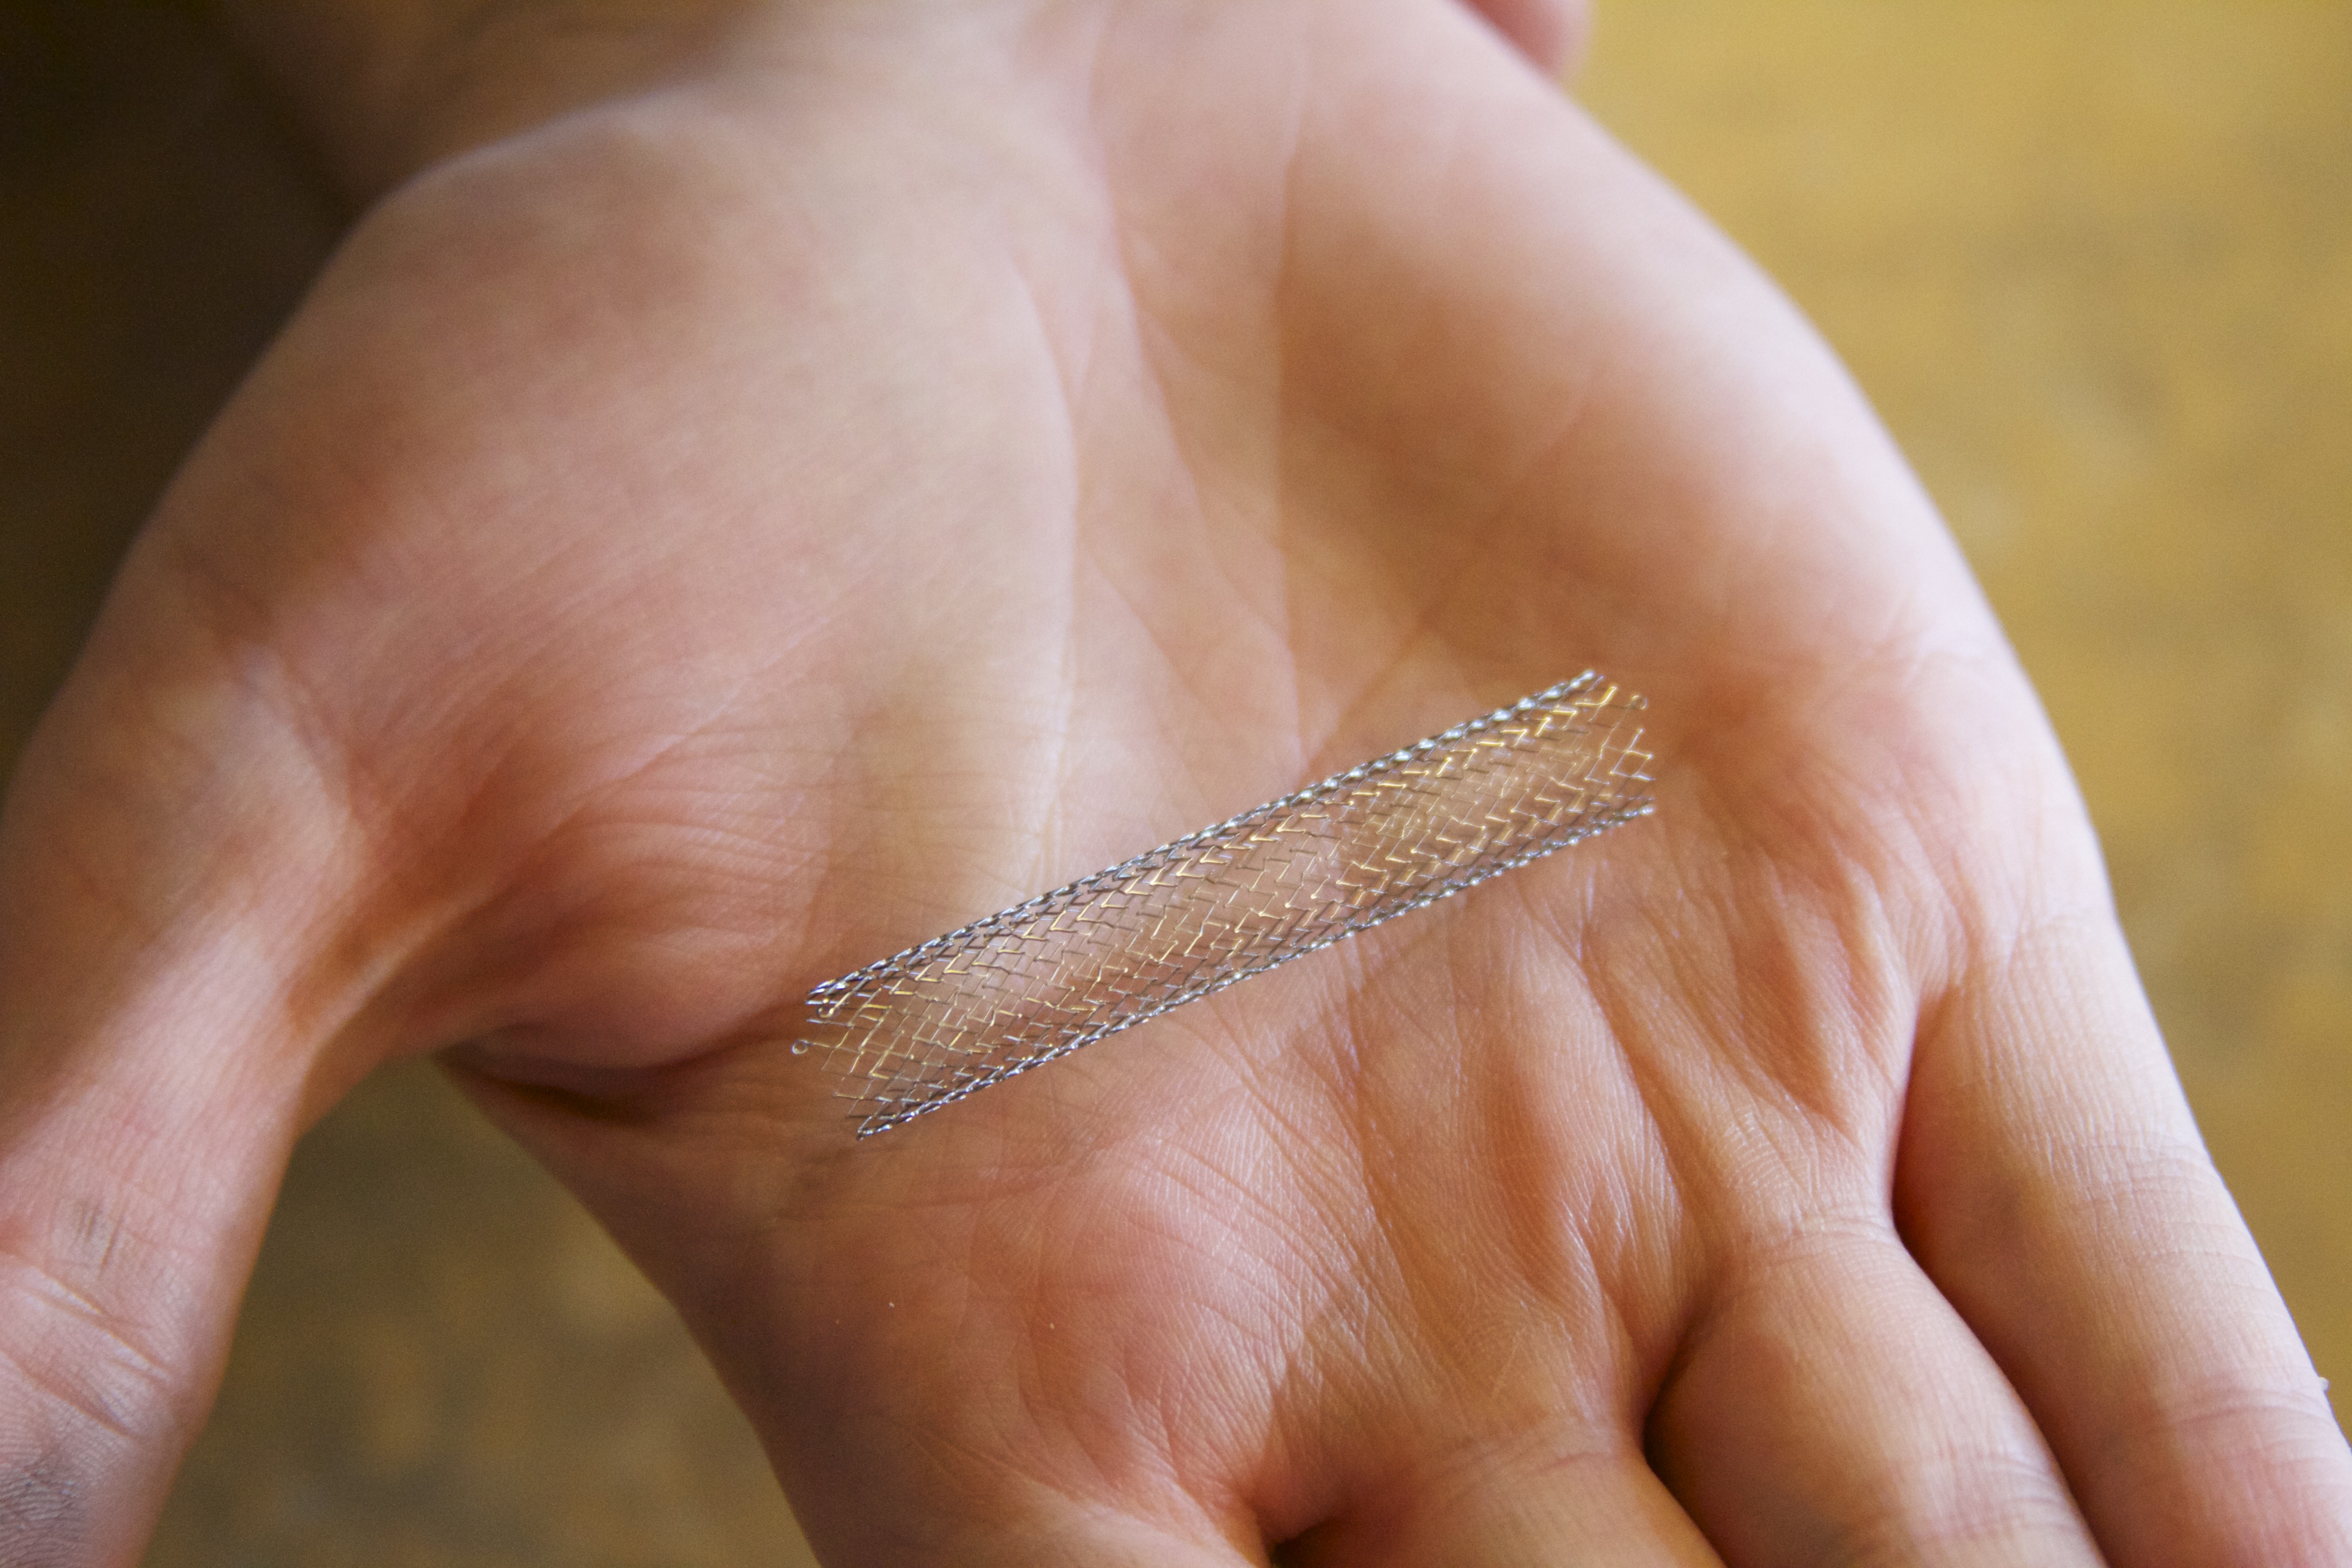
The stent pictured above is an example of an Open Stent from NDC, makers of nitinol materials and devices, particularly for medical applications. In their introduction to the project, they write:

The first problem that we encounter when developing useful and practical educational resources for stent design is that every design we might want to use as an example is proprietary! That leaves us without much to talk about… So to solve this problem, the first step was to create a design to use as an example. The Open Stent is designed to be completely generic, but also realistic, and relatively easy to modify and extend to be useful for whatever purpose a designer intends.

In addition to publishing their draft of Open Stent Design, which they call “a practical guide and resource for design and analysis of a generic Nitinol stent,” NDC has provided extensive calculation tools and CAD files as well, to help others evaluate and create derivatives of the design.

The project is a fascinating open source hardware use case, where creating an open design provides a platform for education and discussion where none existed before.  It’s also very exciting to recognize this as an early example of open source hardware in the field of medical devices— one of the places where open hardware can potentially make a very big difference in the world.

Evil Mad Scientist Open House, August 12

If you’re in the San Francisco Bay Area next Monday, we hope you’ll join us for an open house:

When: Monday, August 12, 5 pm ? 9 pm
Where: Evil Mad Scientist Laboratories
175 San Lazaro Ave, Suite 150
Sunnyvale, CA, 94086

Come see the WaterColorBot in action (just a few days before the end of our Kickstarter campaign!), meet minor internet celebrity Zener the cat, and share in food and conversation.

Using Artist Grade Materials with the WaterColorBot

watercolorbot paints

One of the questions that we’ve had on the WaterColorbot is about its ability to use higher-quality materials. And in particular, can you use it with fine (artists’) watercolor paints?

The WaterColorBot comes with a starter set of Crayola watercolors. This kind of paint set is great for kids and great for learning how to use the WaterColorBot. And in the United States at least, it’s also easy to obtain direct replacements from your local office or art supply store.

But on the other hand, watercolors like these do not offer the depth or range of color nor the archival quality that professional artists expect and require. And, replacement paint sets may not be so easy to find overseas, or even in less urban areas of the US. Fortunately, you can use the WaterColorBot with other paints, and we’re working on expanding the number of different ways that you can.

watercolorbot paints

The first, easiest solution is to note that the Crayola paint set actually comes with (well, in) a perfectly-sized paint palette; simply rinse out the remaining paint with cold water.

The empty Crayola palette can be reused with tube-based watercolor paints, which are available at art supply stores worldwide. Like dry (pan) watercolors, tube based watercolors are available in many grades, from very inexpensive to fine artists’ watercolor, and in a truly impressive range of colors.
watercolorbot paints

While the the empty Crayola palette is perfectly serviceable, it is a bit flimsy, and we are also planning to offer a couple of more durable permanent palettes as optional accessories for the WaterColorBot.

watercolorbot paints

Here is the first of those accessories: A milled plastic palette for use with tube-based watercolor paints. It’s tough and permanent with eight oval wells.

watercolorbot paints

For artists who prefer to paint from pans (dry paint), our second accessory is a palette that cradles up to eight “standard” half pans, which are one of the preferred shapes for artists’ watercolors. The word “standard” is in quotation marks because there is actually quite a range of variation in the size of half pans; this particular palette is sized for Winsor & Newton (and Cotman) watercolors. We also plan to offer other holders to fit half pans from other manufacturers.

And what about paper?

The WaterColorBot is designed to fit 9×12” paper, which is one of the most common sizes for watercolor paper. Heavier and finer grades of paper (140 Lb, 300 Lb) can be used without issue, and standard methods for affixing paper to the board– such as tape and tacks –will work just fine. Larger sheets of paper can be cut down to fit, and smaller paper– including A4 and US letter –can be used, although you may need to pay attention to the margins.
Marking Klein Bottles with the Eggbot

Untitled

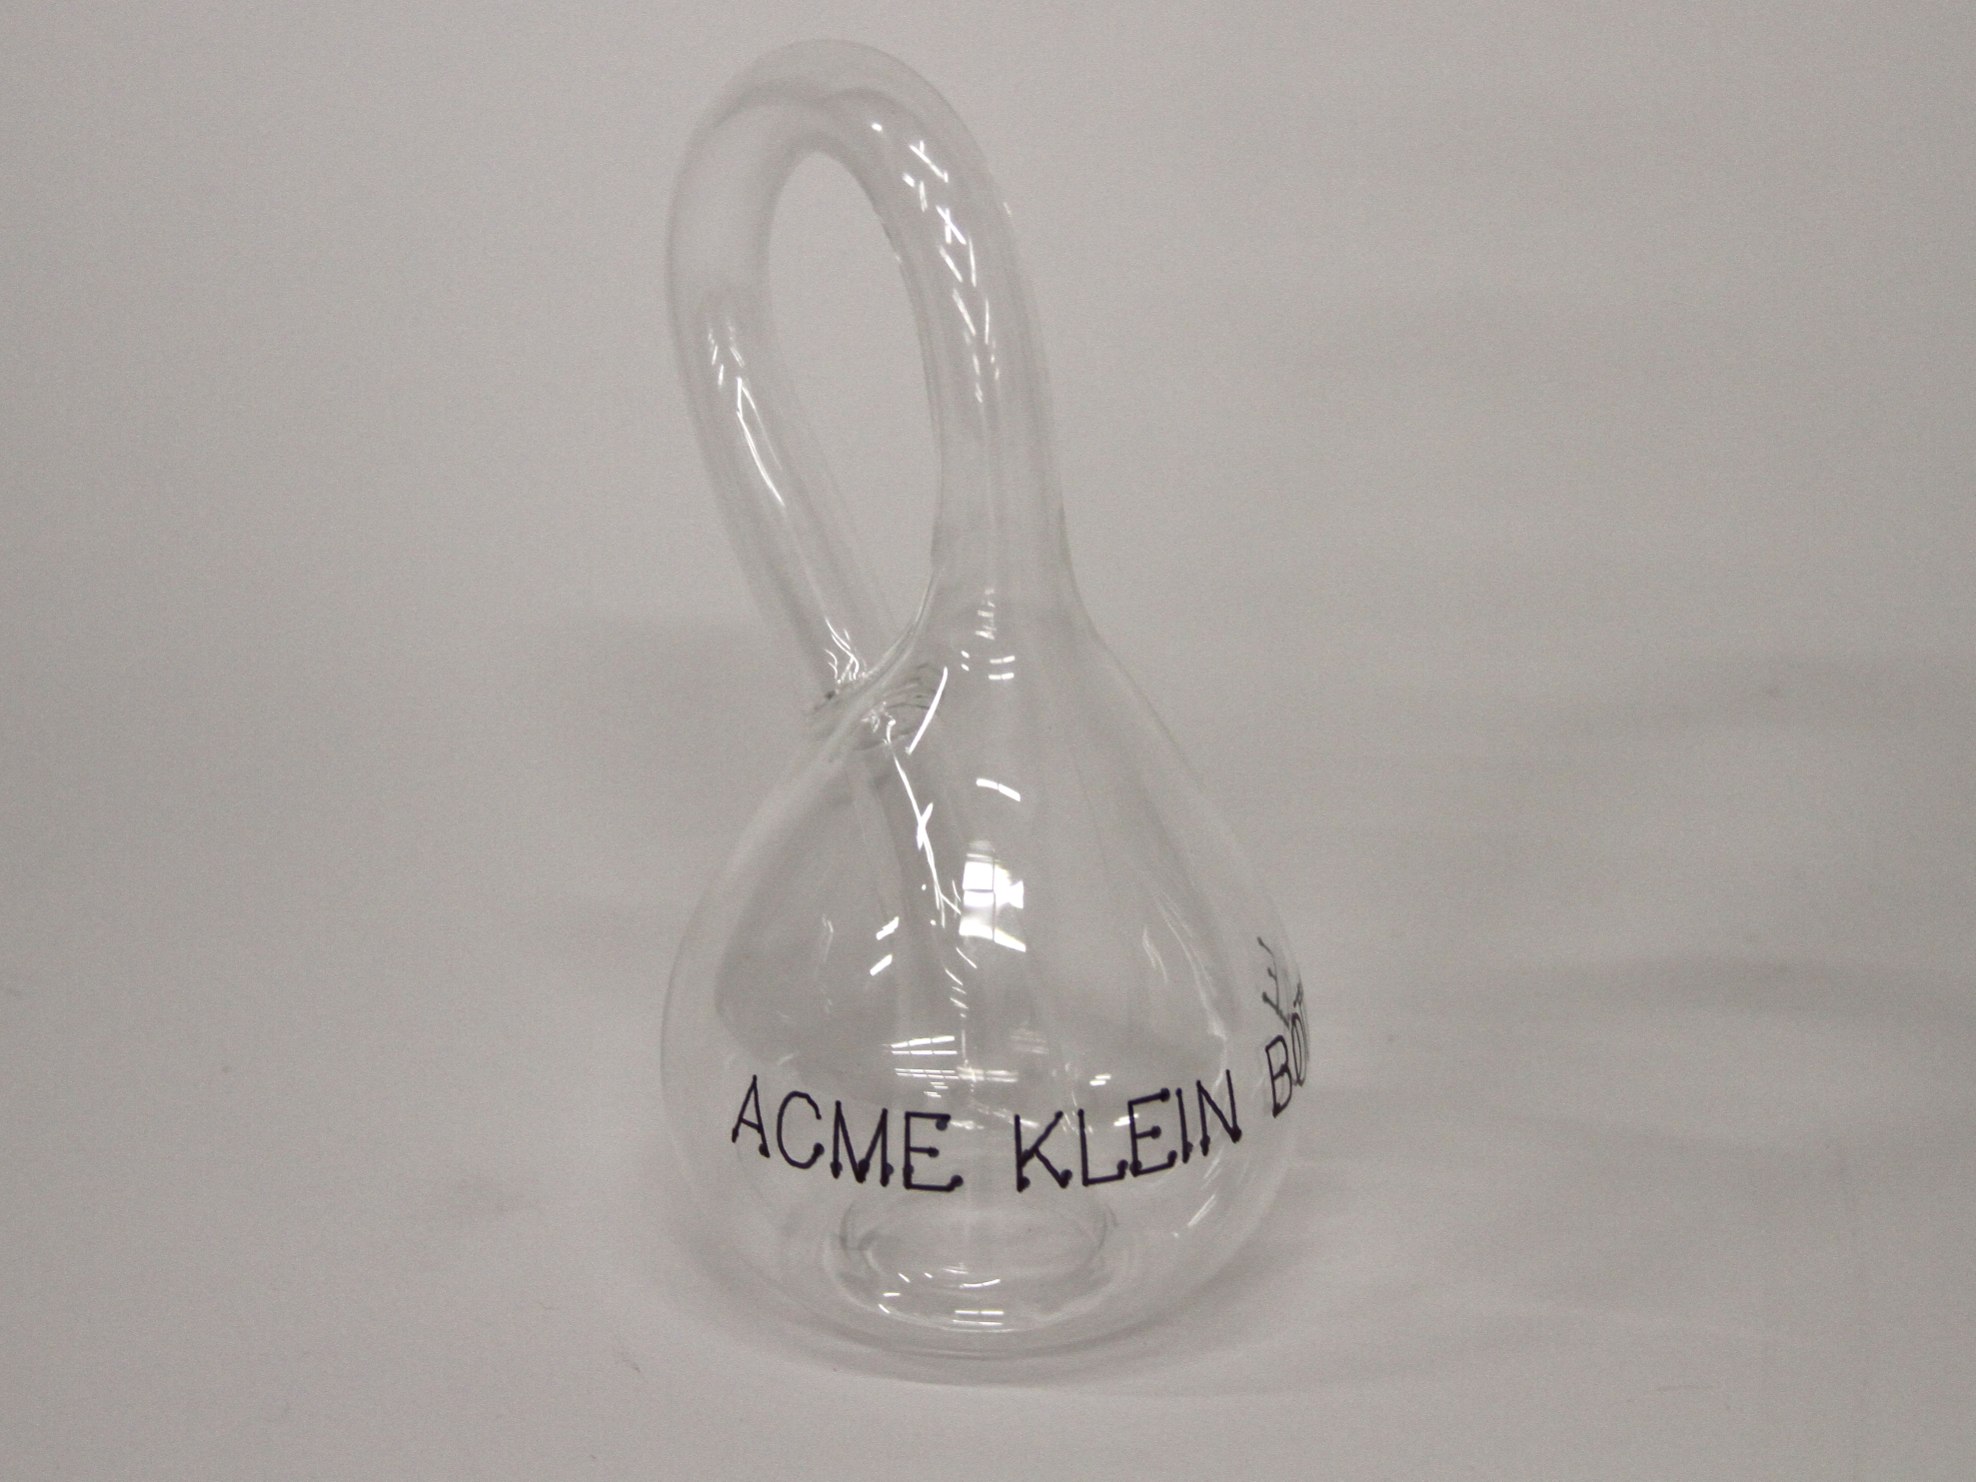
We were lucky enough to have a visit from Cliff Stoll, geek celebrity and proprietor of Acme Klein Bottle. Acme is the finest source of Klein bottles on the internet.

Cliff came with an esoteric dilemma: how to engrave a glass Klein bottle. Acme Klein bottles are blown from borosilicate (Pyrex) glass, which has a low coefficient of thermal expansion, which means that the usual way of engraving a curved glass surface—laser engraving—doesn’t actually work.  With more common types of glass, you can use a laser engraver to etch anything you want into the surface. But with Pyrex, the surface simply melts unevenly rather than creating the microfractures that give an etched appearance.

Untitled

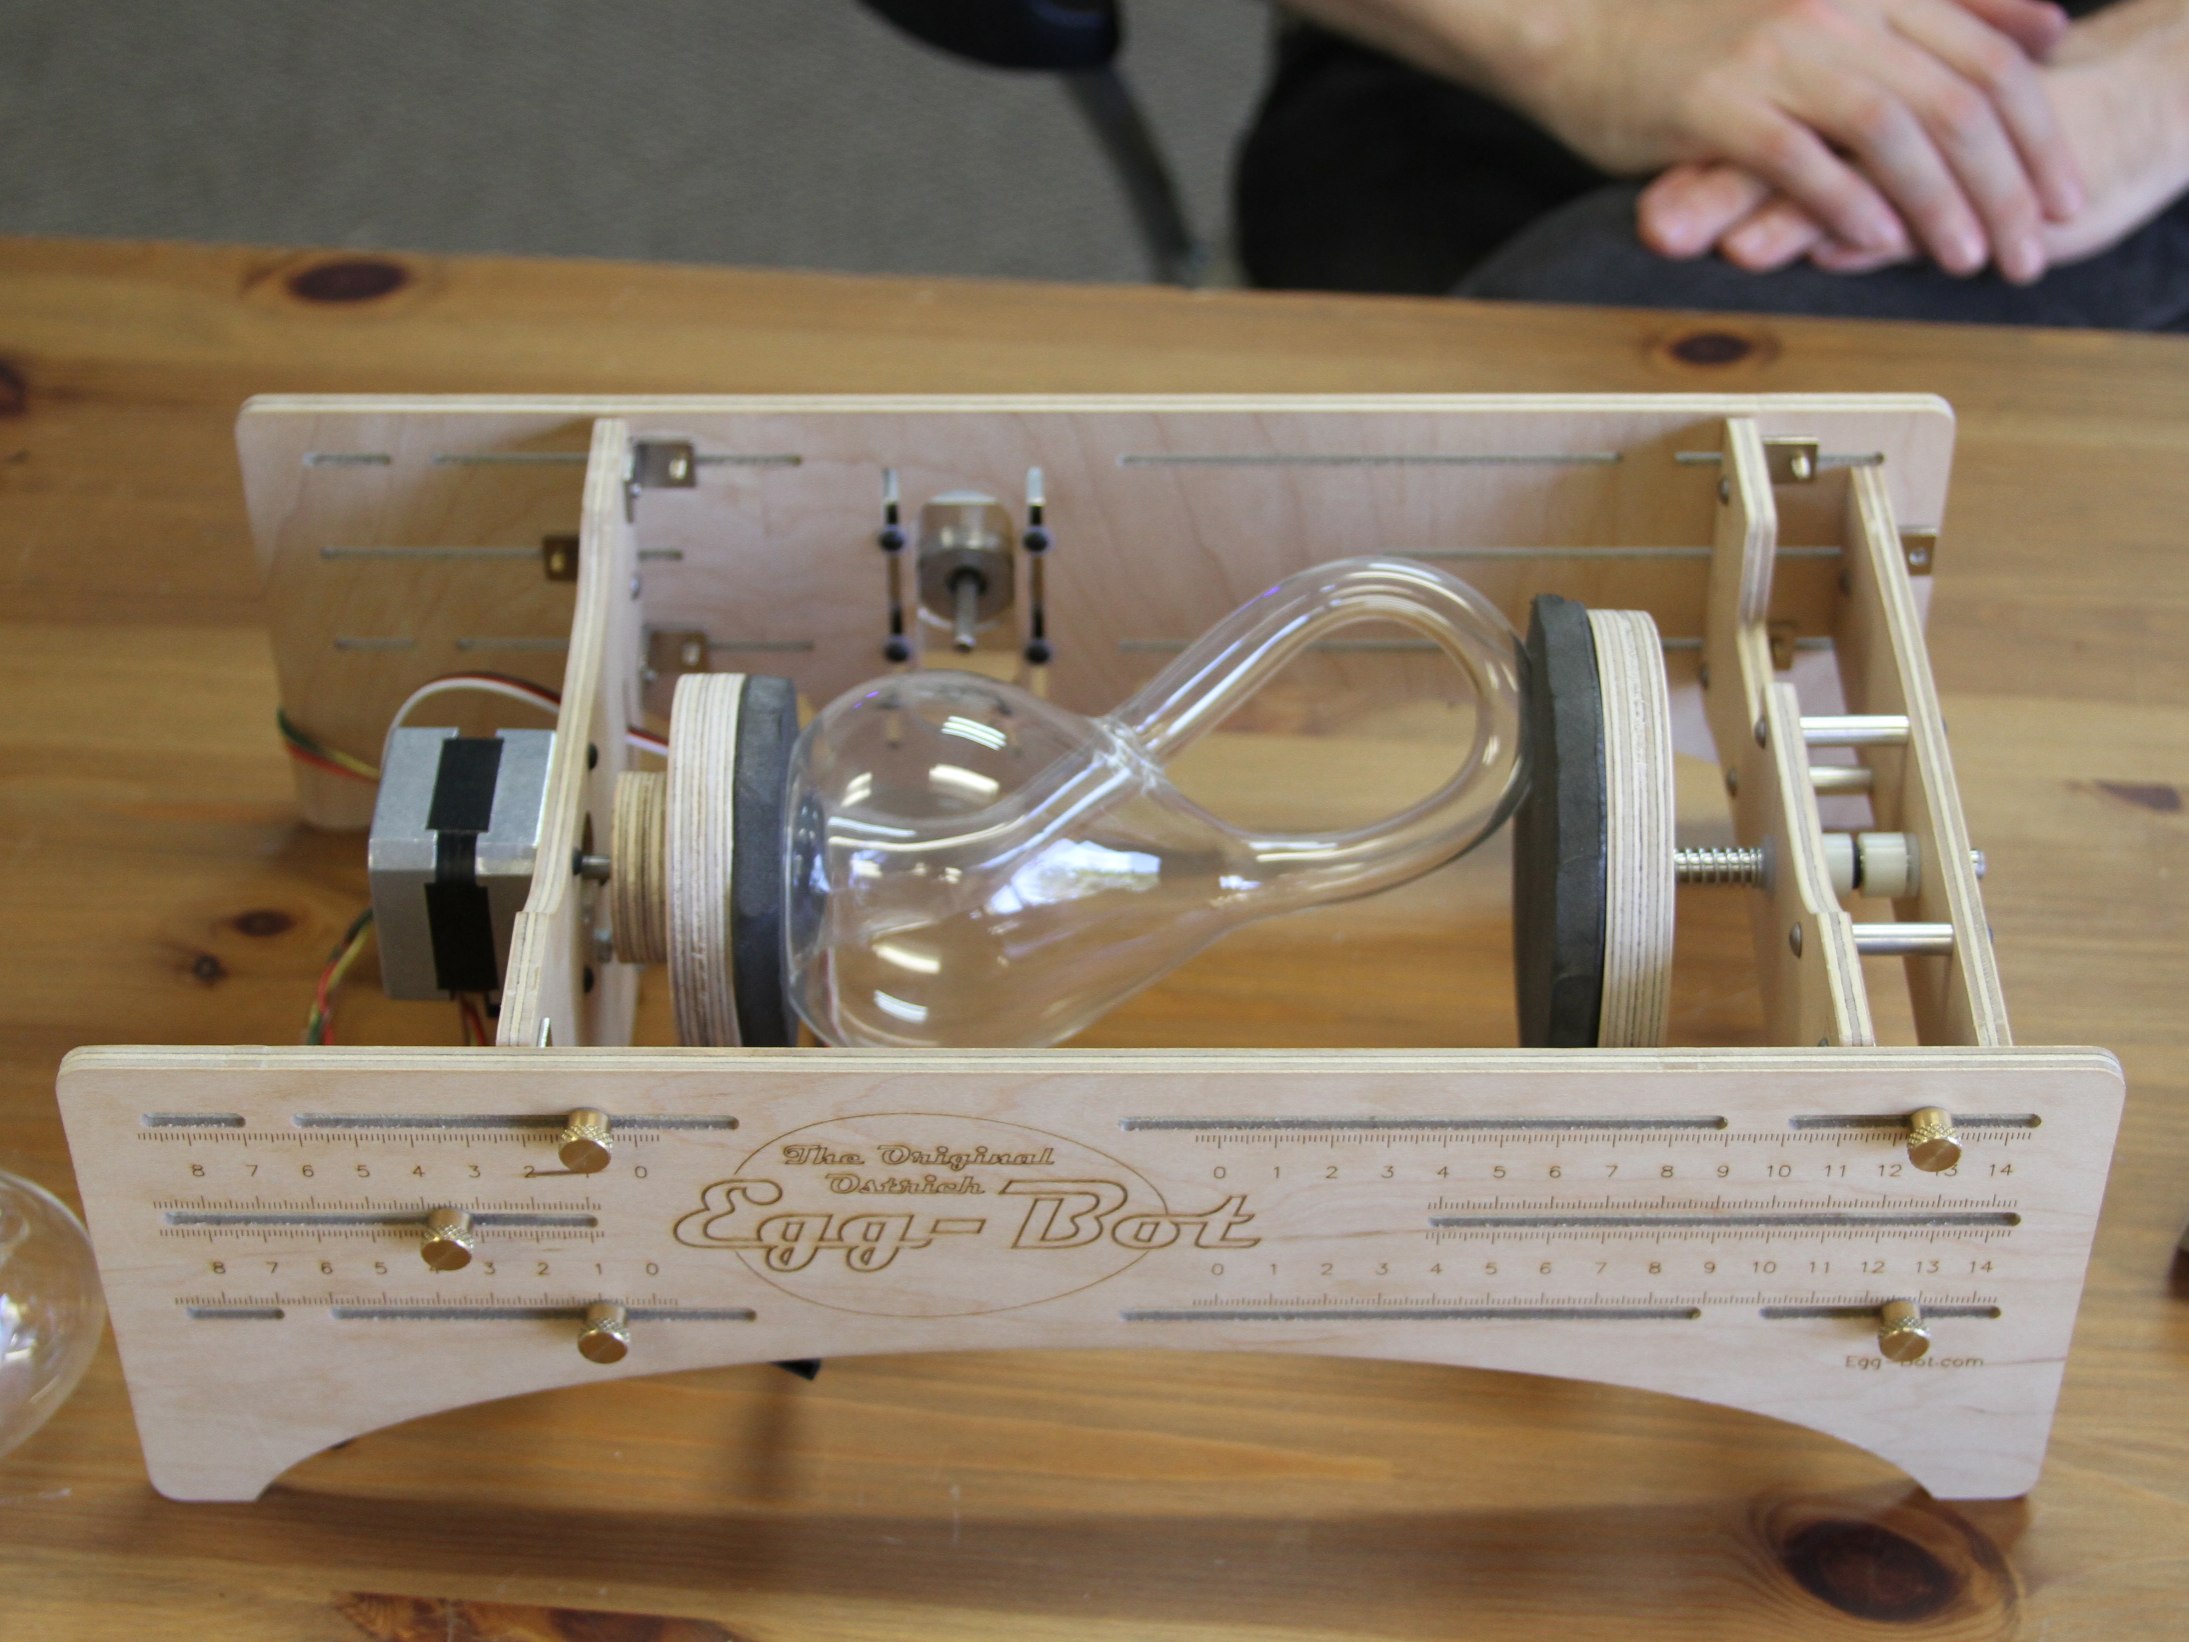
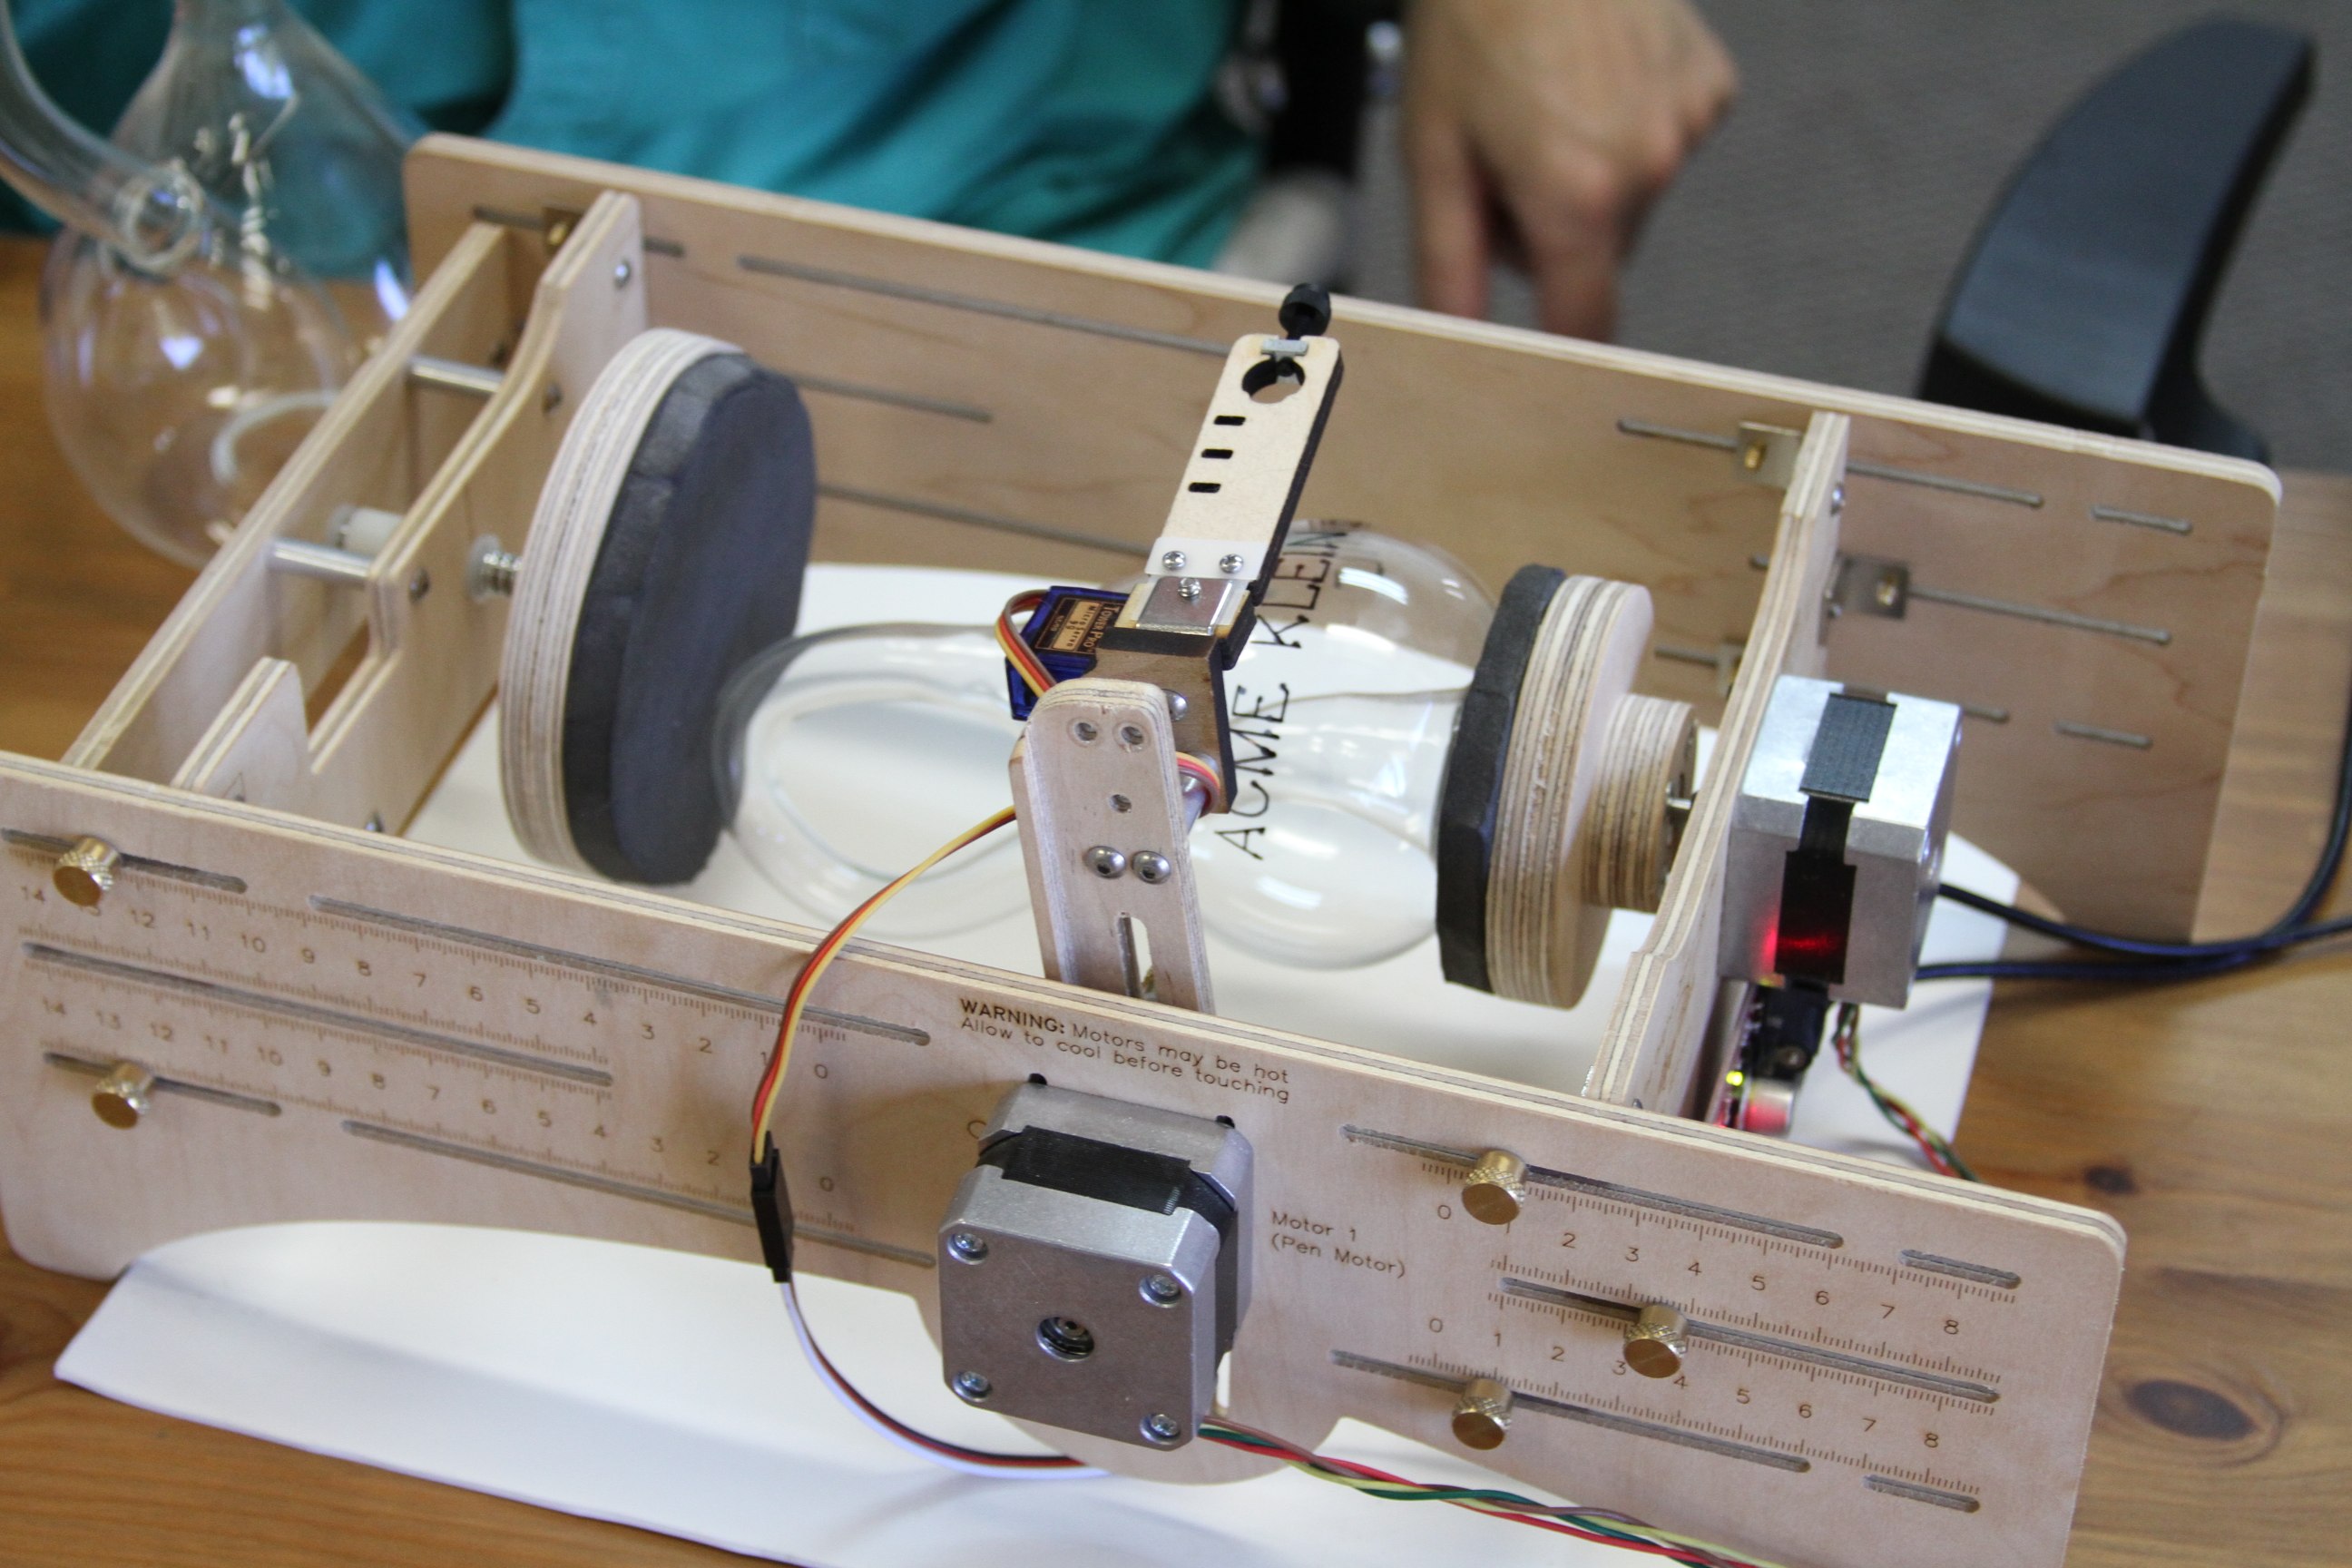
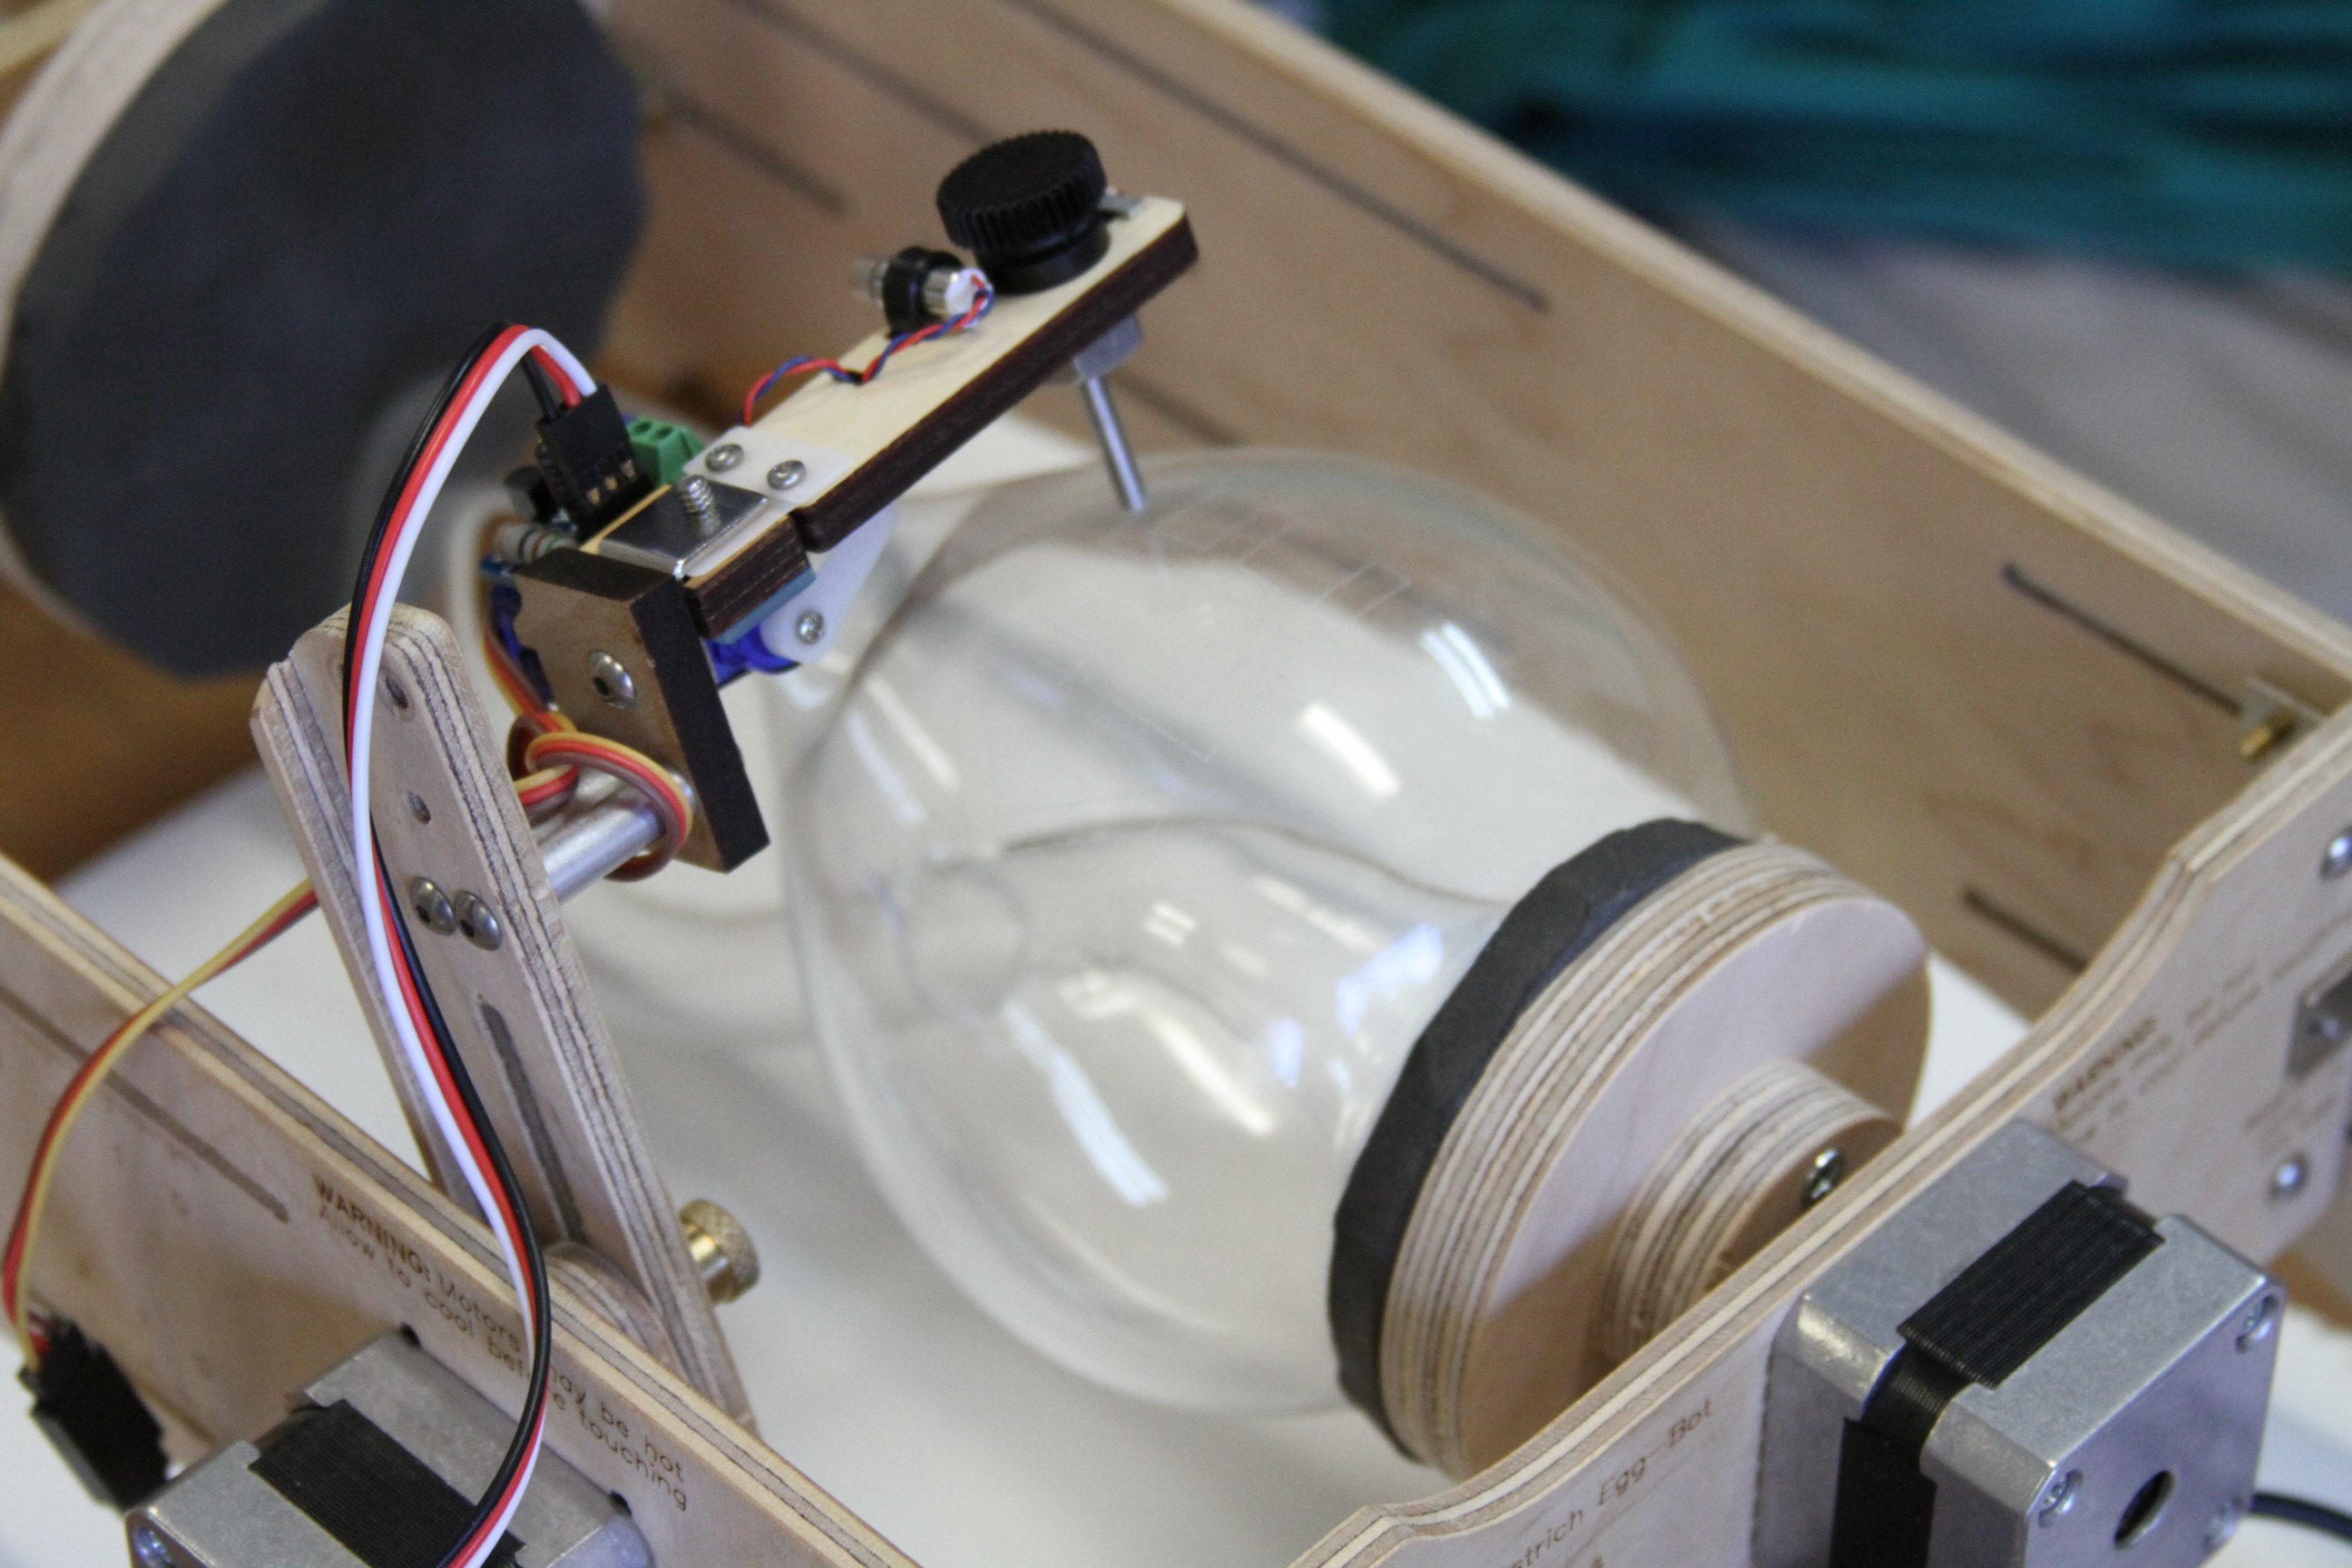
So how would you etch the curved surface of a Klein bottle? It turns out, to our surprise, that it is remarkably easy to do it with an Ostrich Eggbot fitted with a diamond engraver attachment.

There was one complication, which is that a Klein bottle is a funny shaped object! In order to fixture the Klein bottle in the Eggbot, we made a couple of extra large couplers—much larger than the tiny pads normally used to hold the ends of an egg—with EVA foam rubber pads on their surfaces. The extra large couplers held the Klein bottle securely for rotation.

Untitled

Untitled

We did some initial tests with Sharpie and a medium sized Klein bottle to make sure our fixturing worked well.

Untitled

And then we hooked up an engraver for a real test.

Untitled

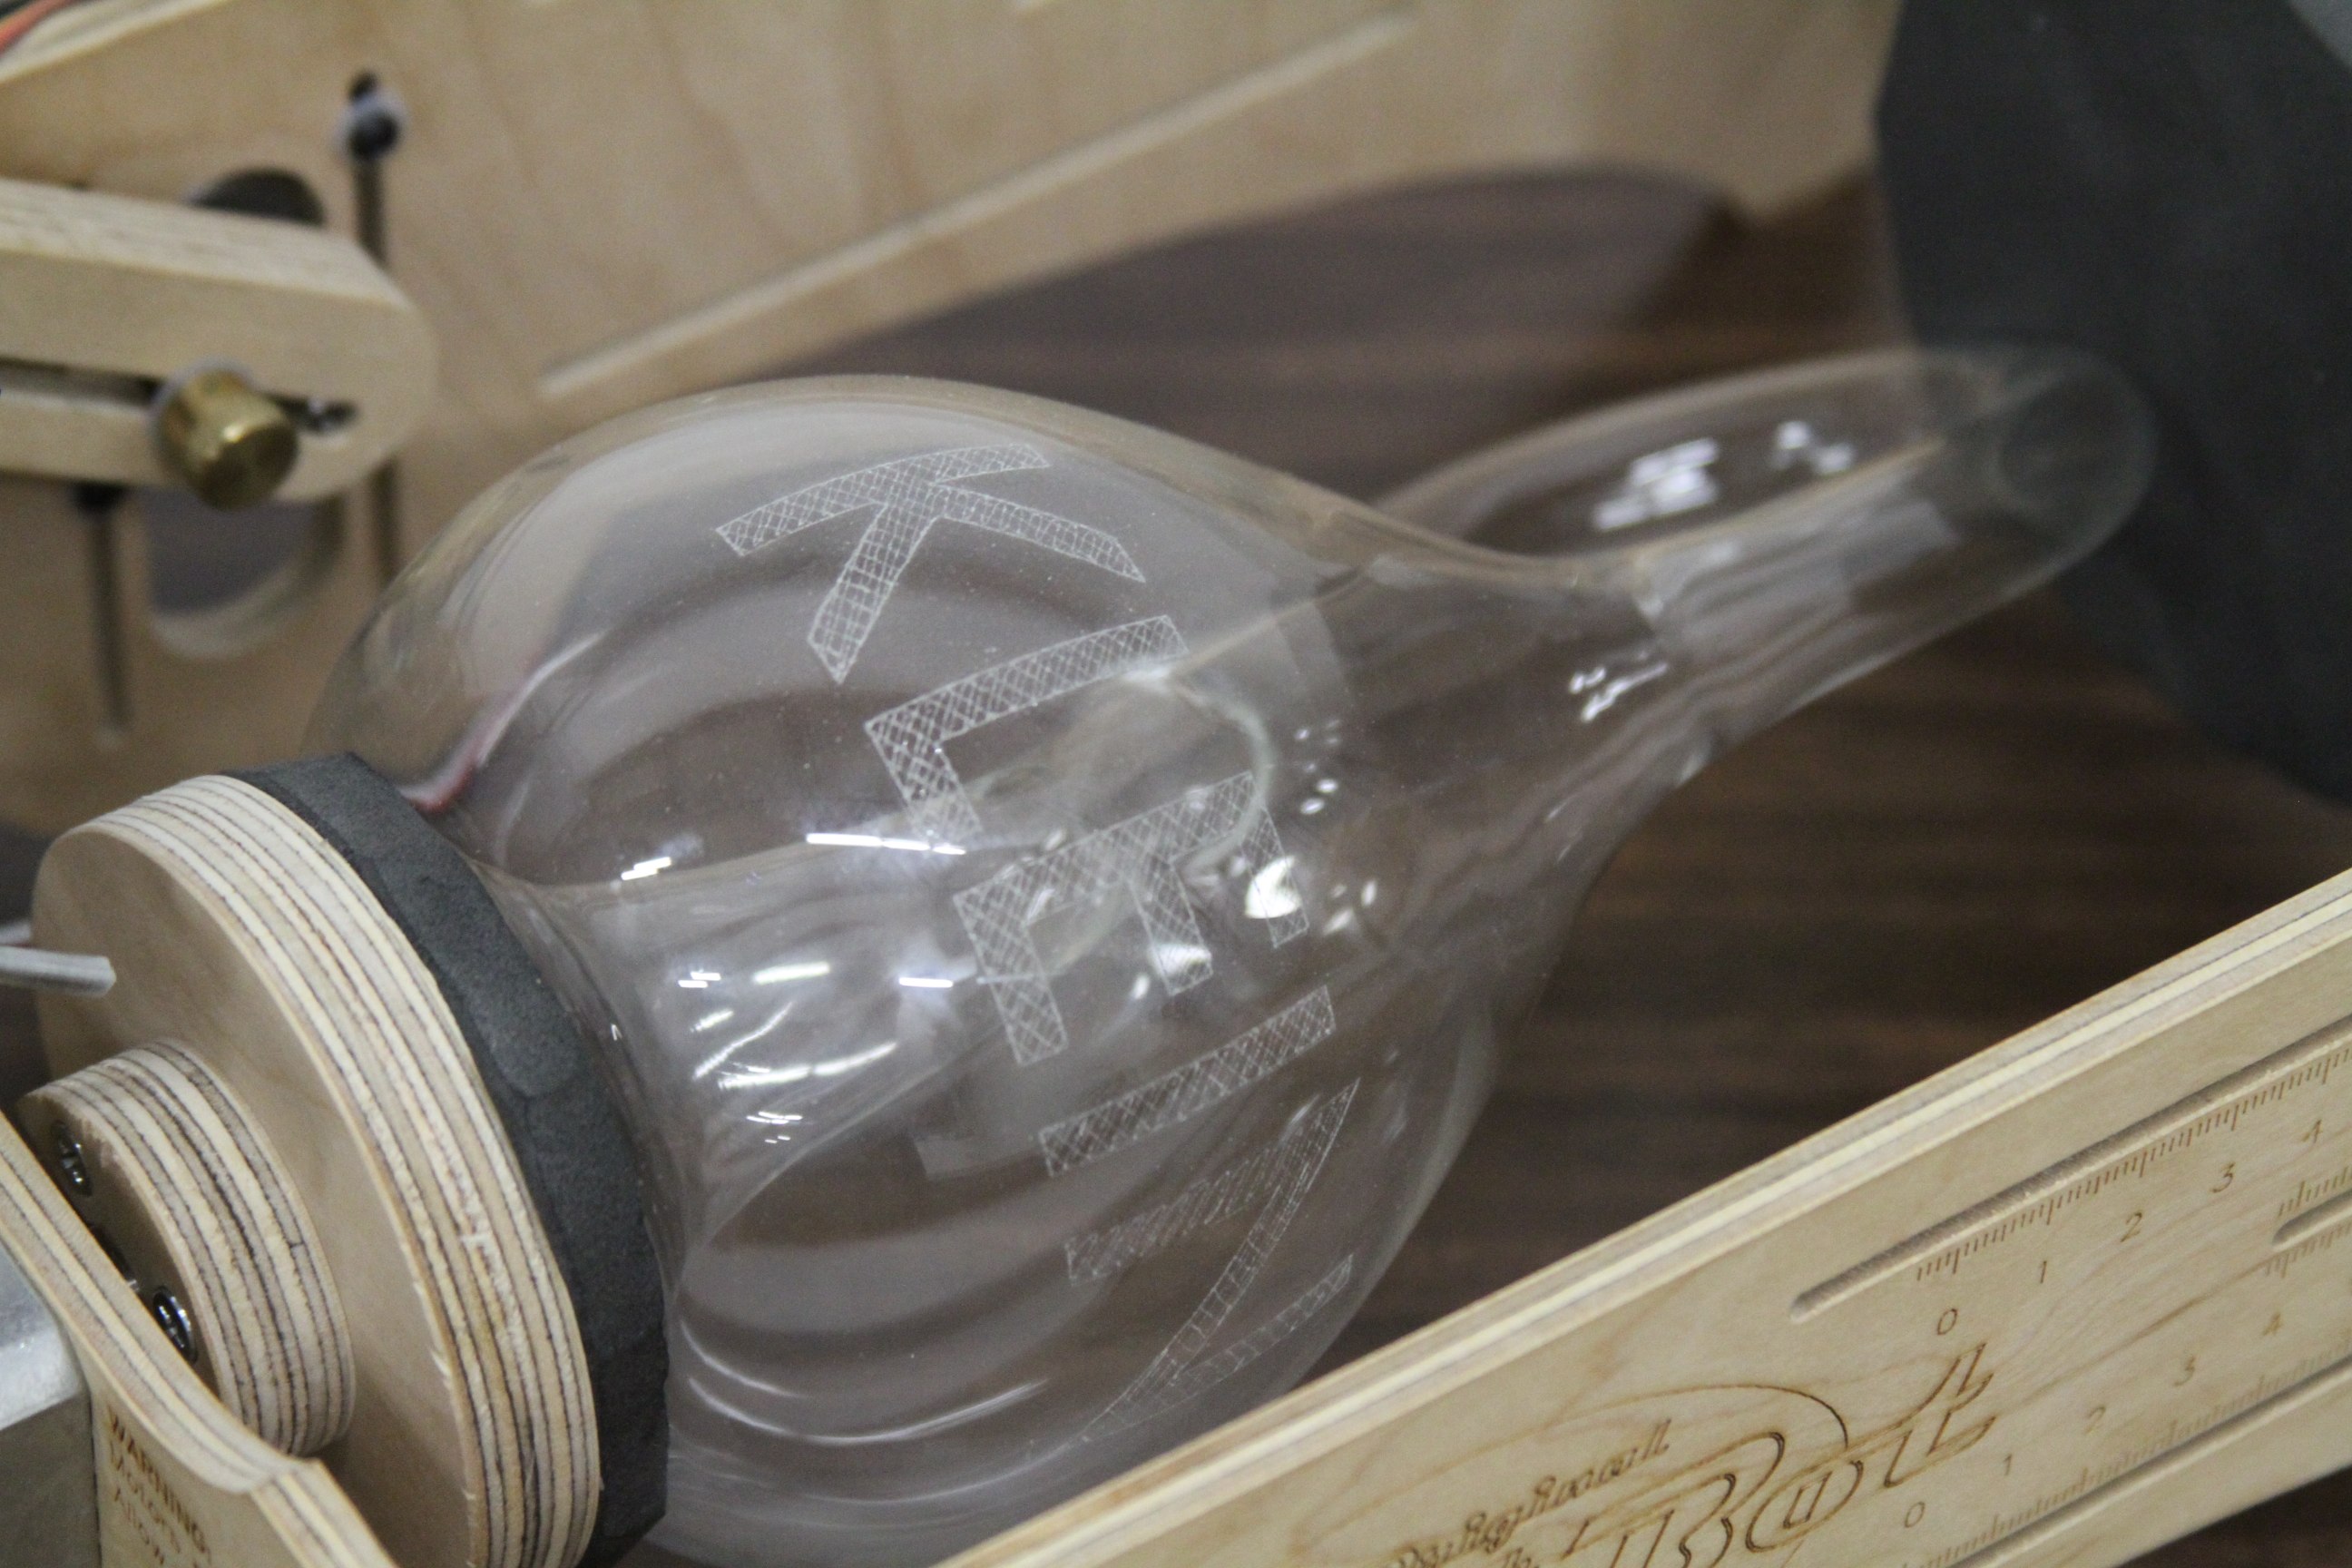
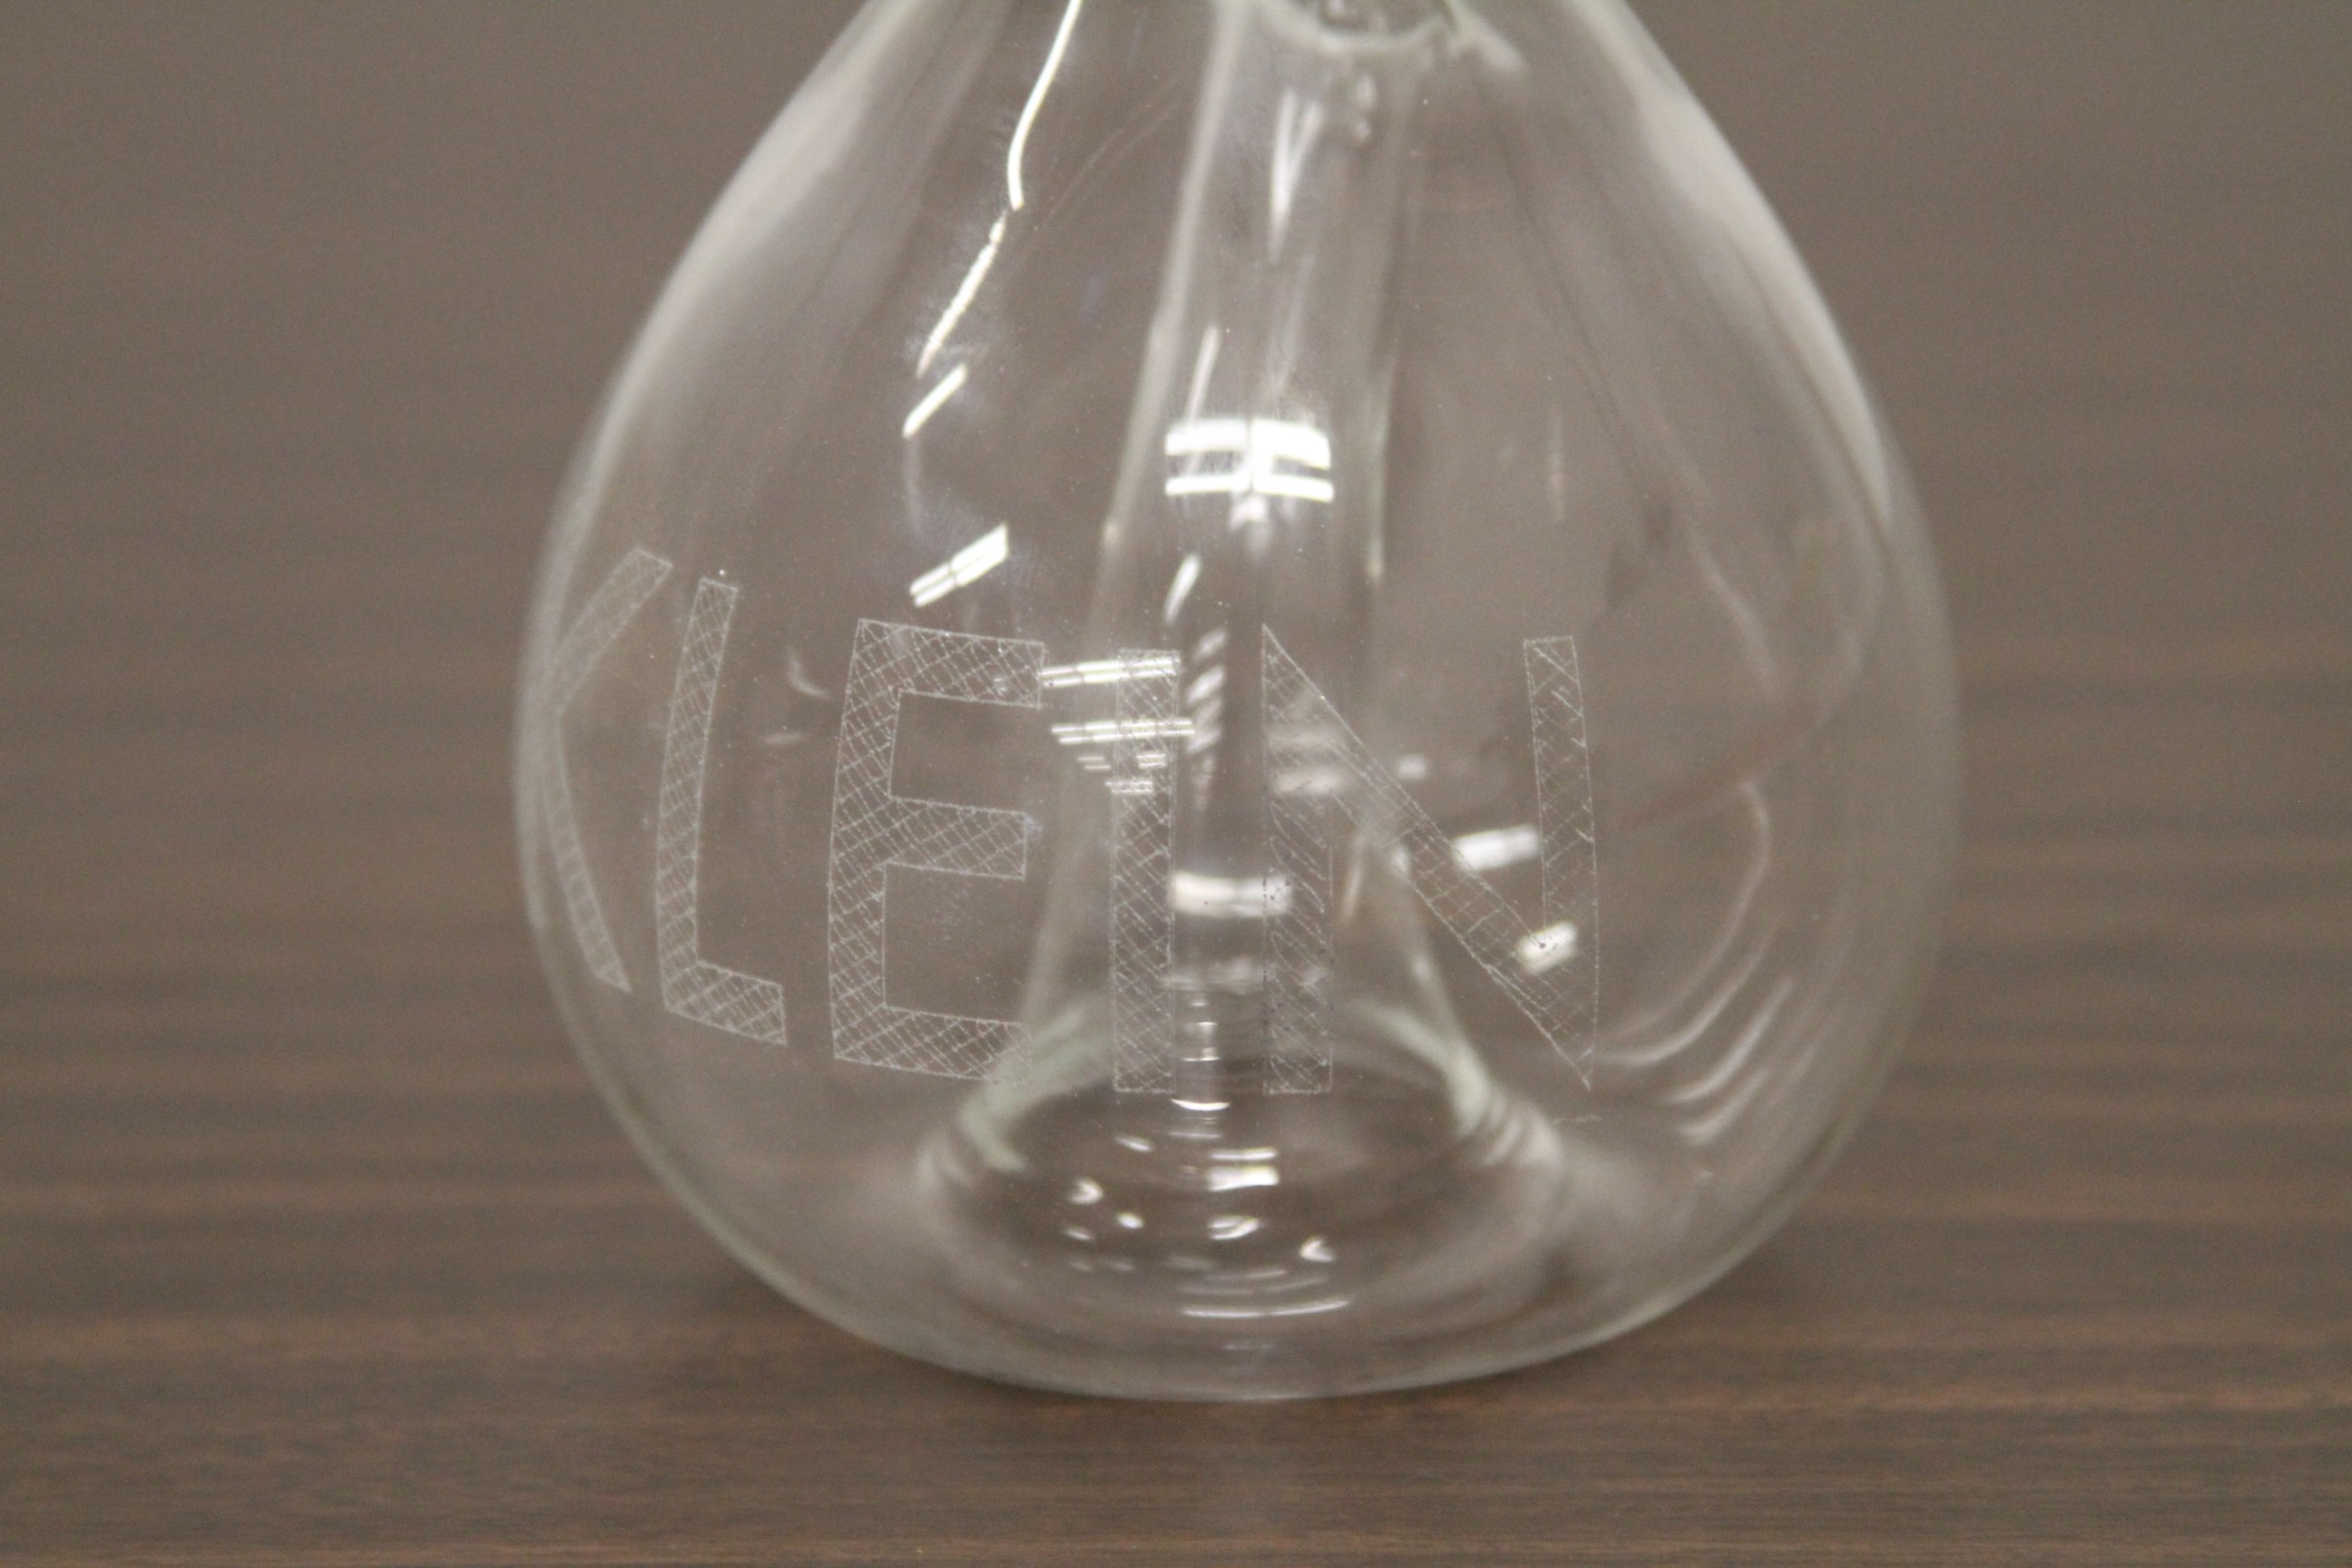
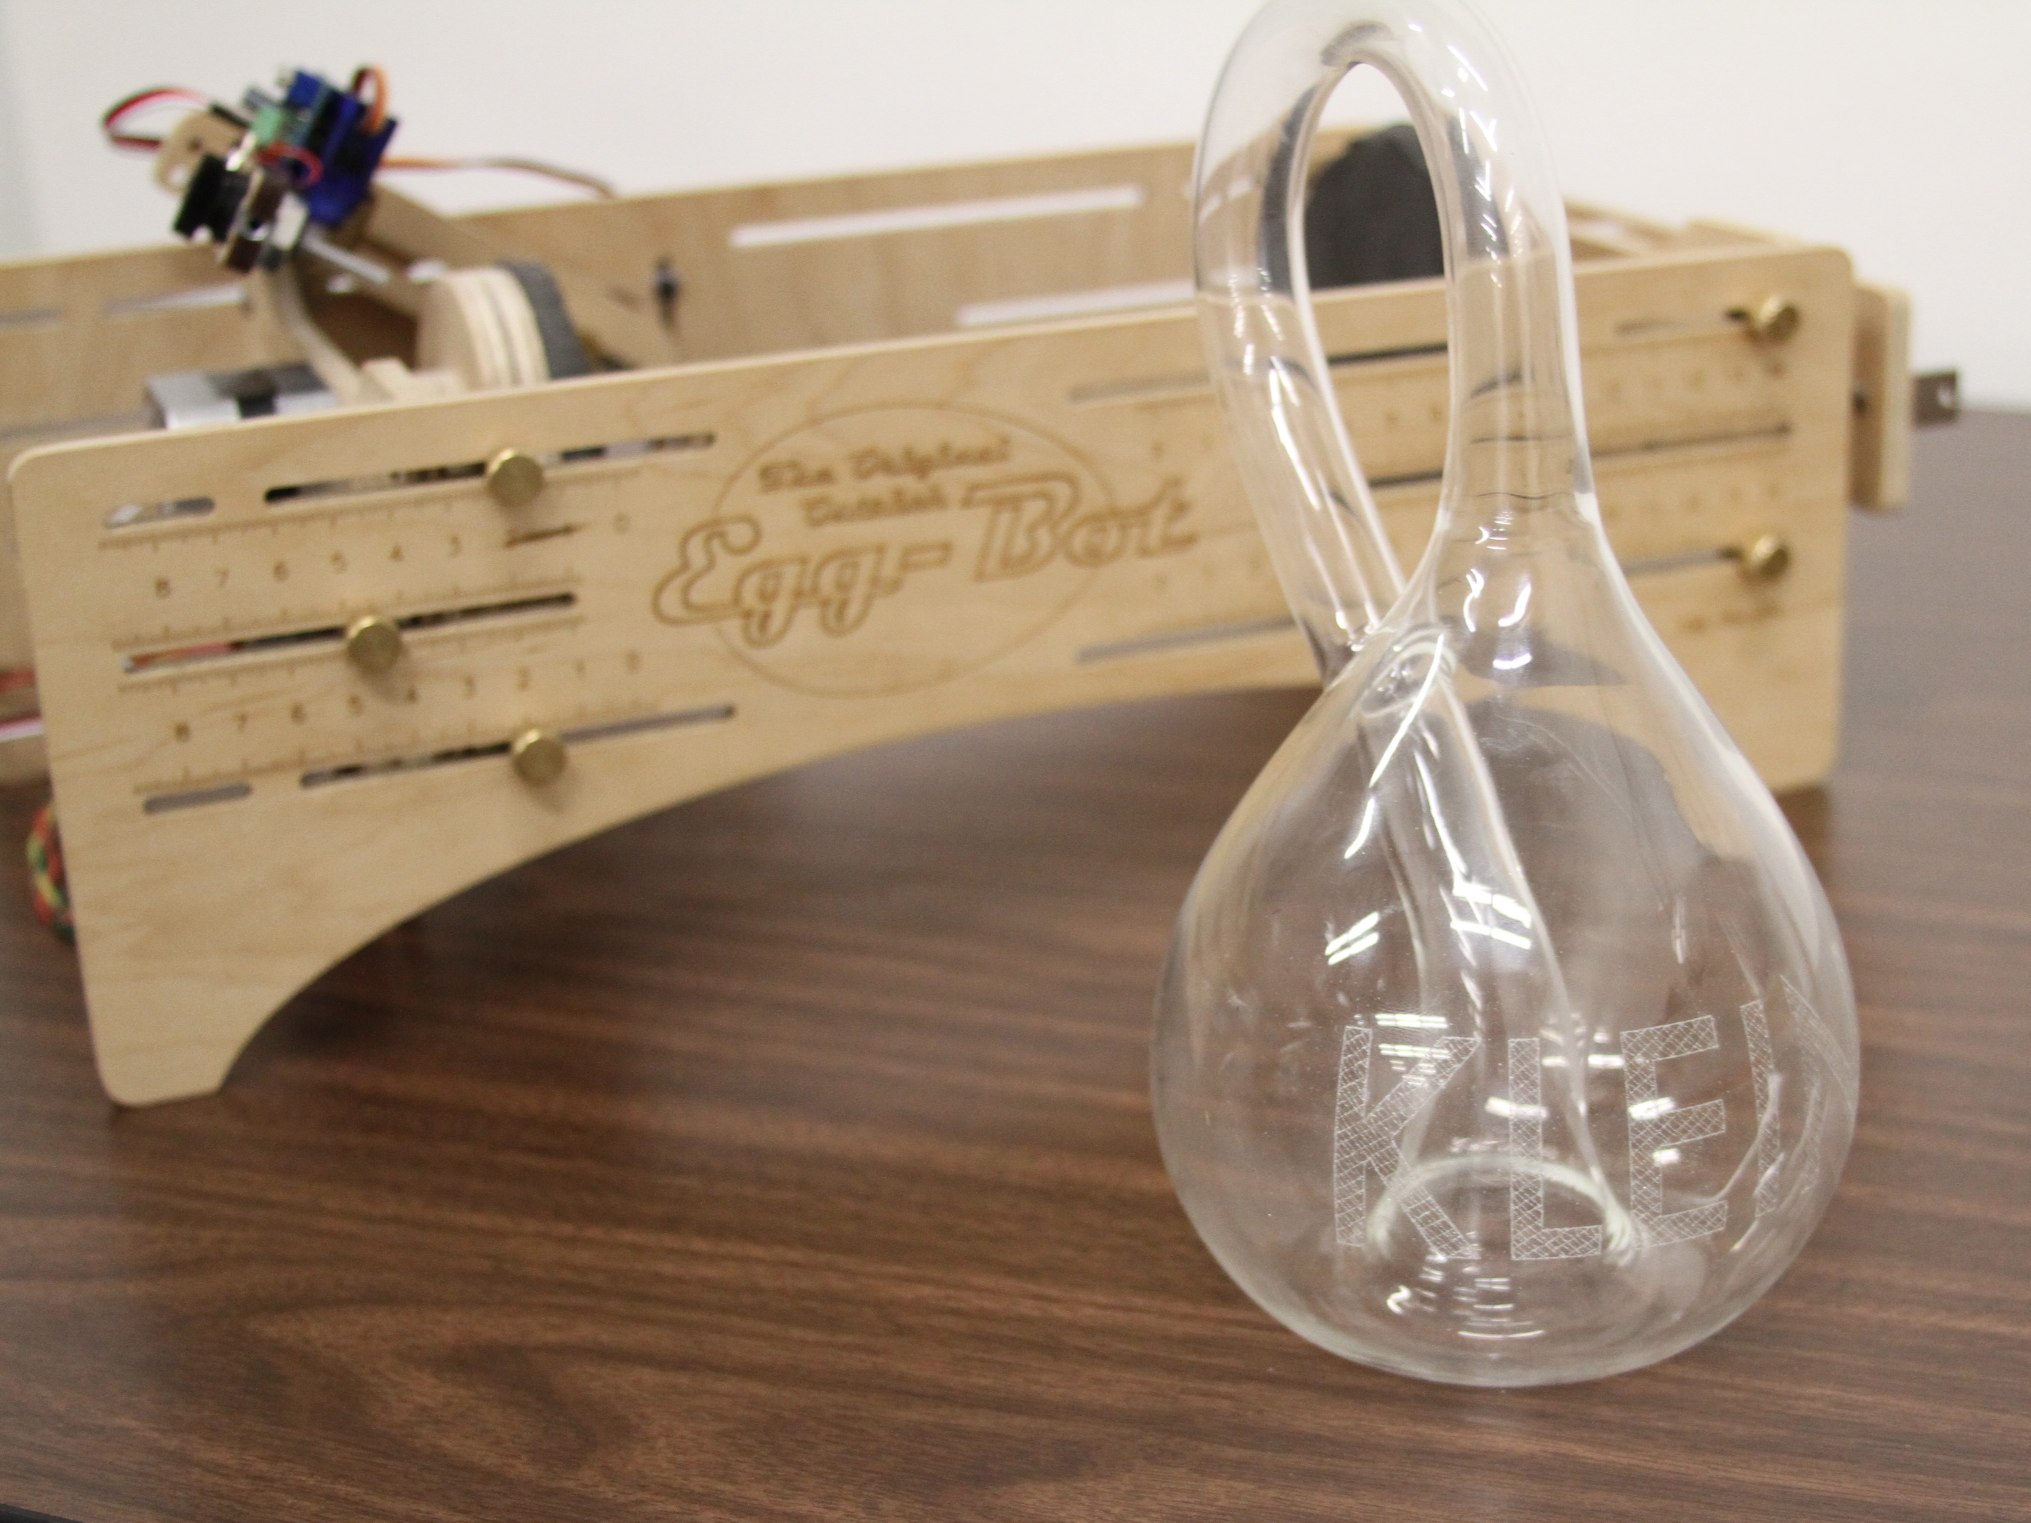
Here’s what the Klein bottle looked like after engraving. Not being particularly creative, we etched the word “KLEIN” into the side.  Because the Klein bottle is made from thick borosilicate glass, it takes engraving remarkably well. It is a much more sturdy object than the fragile Christmas ornaments that we have engraved in the past.

Untitled

While we can’t imagine that it is a major market segment, the Eggbot seems to be ideal for working with Klein bottles (insomuch as anything can be perfect for working with a closed, non-orientable, boundary-free manifold). But regardless, it’s quite wonderful to find an unexpected application like this, where our little robot can solve a real-world problem that we had never even considered.