Category Archives: EMSL Projects

Cylon-approved

Red Eye

Andrew Probert, the designer of the Cylons for the original Battlestar Galactica TV series, wrote to say:

Years later, now, I just was made aware of this great pumpkin idea of yours and wanted to thank you personally for keeping my toaster ‘alive’ in a fun new way… this is SO cool.

Our Cylon Jack-O-Lantern project and Larson Scanner kits are carrying on the tradition!

Snap-O-Lantern Kit

Just in time for Halloween, we’re launching a Snap-O-Lantern kit. You can still build this robotic snapping pumpkin from scratch using our original instructions, or you can do it the easy way with this kit, which uses one of our ATtiny2313 target boards and has all the parts you’ll need— except the mini-pumpkin and three AA batteries.

We’re putting the full documentation for the kit on our wiki.

Maniacal Labs on the Three Fives Kit

Dan at Maniacal Labs posted a review of our Three Fives kit:

… yay for creative kits that cause you to go out and (re)learn stuff! The cool thing about the 555 chip is that it is very much a building block to bigger things. There are plenty of resources out there for 555 applications and project ideas. I’d like to thank Eric Schlaepfer for his awesome kit idea and Evil Mad Scientist for helping make it available to the masses!


Maker Faire NY 2013, Day One, in Pictures

maker faire new york 2013

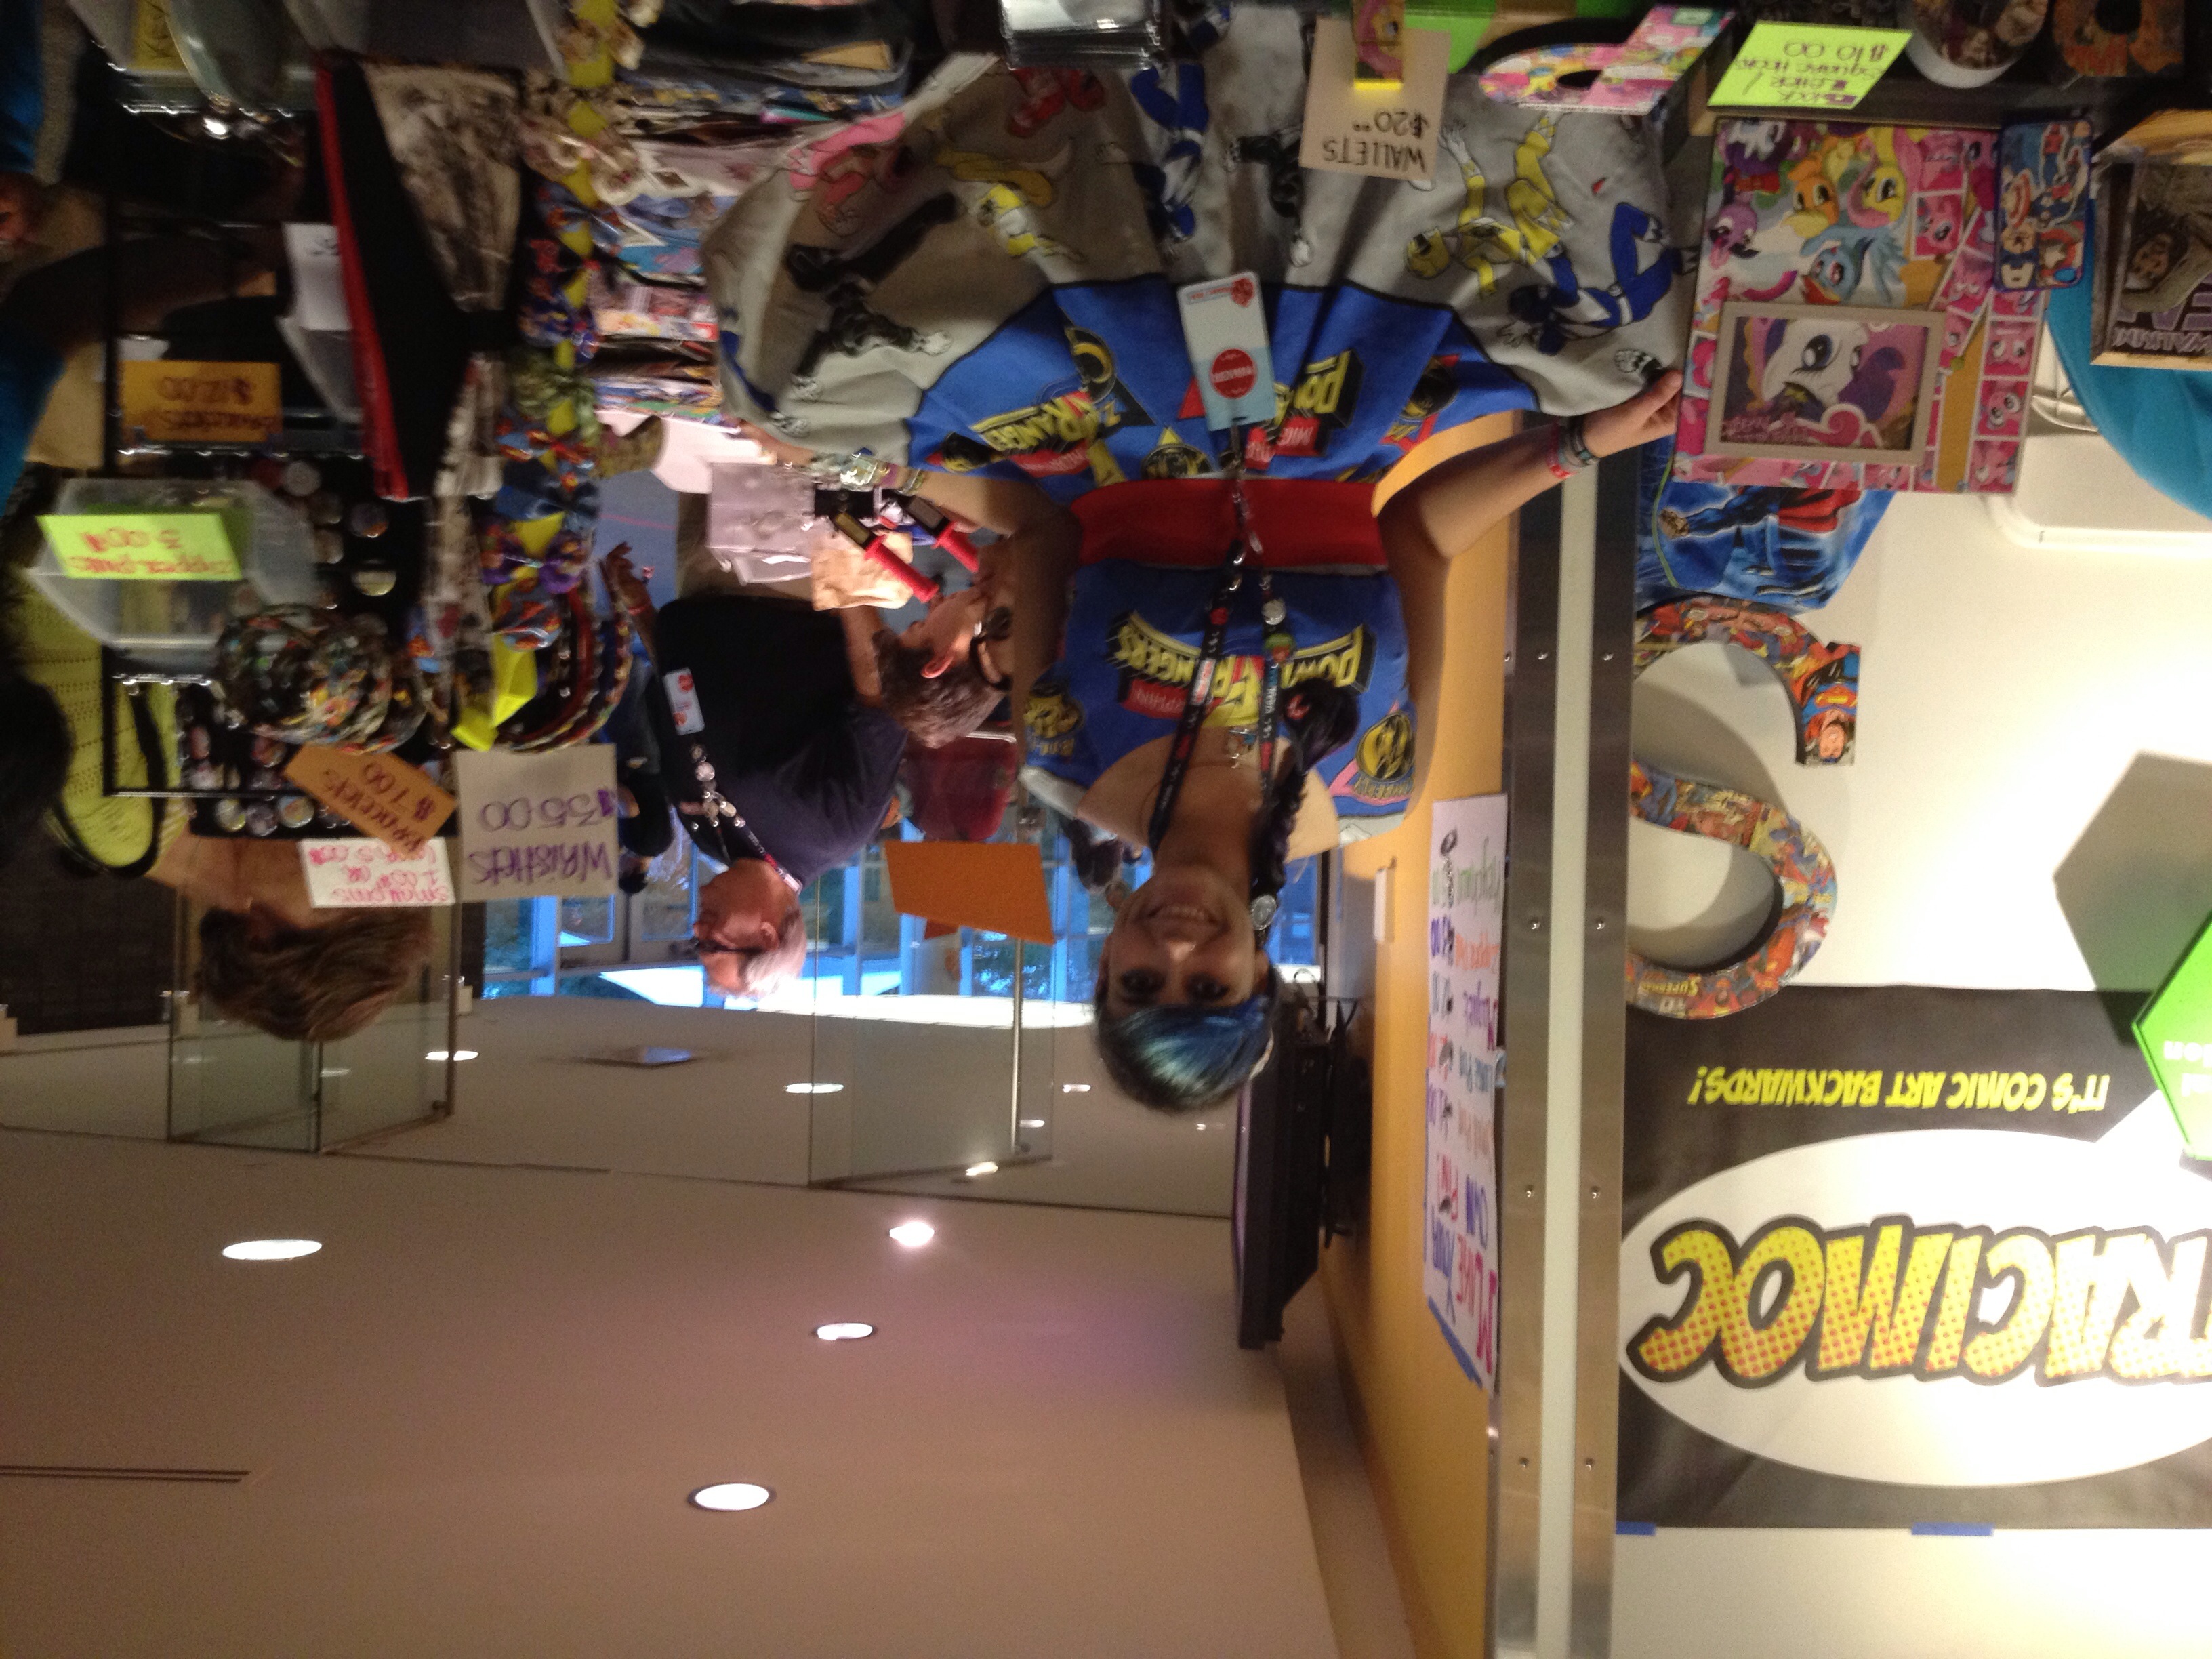
Day one of the 2013 Maker Faire New York was incredible. We’ve nearly lost our voices after speaking with folks about our projects, all day long in the Atmel area of the Make:Electronics tent.  However, we tag-teamed a bit and managed to take photos of many of the sights to see– costumes, robots, oodles of 3D printers, handmade furniture, mars rovers, UAVs, underwater ROVs, electronics, and so many other incredible projects. You can see the full photo set here.

We’ll be back for more; Maker Faire continues tomorrow (Sunday) at the New York Hall of Science.

WaterColorBot Goes into Production

This has been a busy and invigorating week at WaterColorBot HQ, as we’ve finalized the hardware design for the WaterColorBot and begun in earnest the manufacturing process.

That term “finalized” carries a lot of weight with us. It marks the end of a seven month period of making regular iterative improvements to the WaterColorBot design. When we launched our Kickstarter campaign back in July, we had thought that we were already done with the process. However, it turned out that having these two extra months between launch and shipping gave us an invaluable opportunity to refine and finesse many of the little details that we had already spent so much time on.

Here are some of the highlights of that process; some subtle yet wonderful little improvements that we’ve made to the WaterColorBot.


An improved brush lift mechanism

Since we started the project, the carriage on the WaterColorBot has been refined through over 30 revisions, including a half dozen or so just since we launched our Kickstarter campaign in July. Some of these revisions have been minor (for example, rounding the corners more to make it more finger friendly, or tweaking the tolerances on the guide bushings).

Other revisions have been more substantial. In the last few revisions, we changed the way that the brush-lift servo motor actually lifts the brush. Previously, the motor directly pushed the brush holder up or down. But there is now a little stainless steel wire form that transmits motion from the motor to the brush holder. By adding it, we’ve made it so that the brush has a full 3/4” (19 mm) of travel– up from 1/2” (12 mm) –making it possible to push the brush down lower to better wash between changing paint colors, and to go up higher, more readily clearing paper and paint.


An improved lower deck 


The lower deck of the WaterColorBot, affectionately known as the “spoilboard” is machined from medium-density fiberboard (MDF), with indentations to index the paint set and water dishes, and a clip to hold the paper. In WaterColorBot 1.0, we’ve moved from 1/4” to 3/8” thick MDF, making it tougher, more substantial, and better weighted. We’ve also added new laser-engraved indexing marks that show you where to position other sizes of paper (US letter and A4), in case you’re not using 9×12 watercolor paper.

On a related note, we’ve also been developing an alternative plastic spoilboard as an add-on accessory, which may be helpful for artists who like to paint on soaking-wet paper.


Better bearings, yet again

And finally, one last upgrade to the motion control system. As you may recall, the carriage that holds the brush is moved by cords driven by stepper motors. After upgrading to the Spectra cord last month, we found that we could make a further improvement in the overall performance of the robot by replacing three specific plain-bearing stainless steel pulleys with miniature ball bearings. Those three places are the three locations on the WaterColorBot where the cord is directed in a U-turn (for example, at point ‘E’ above). Without the ball bearings, the friction at those three points can potentially be significant, particularly if the cord is operated under tension. And with the ball bearings, the robot can run faster and smoother, with lower current to the motors.


The WaterColorBot kit is now available for pre-order at the Evil Mad Scientist Shop.


Making the Legs for the 555 Kit

555 Legs 1

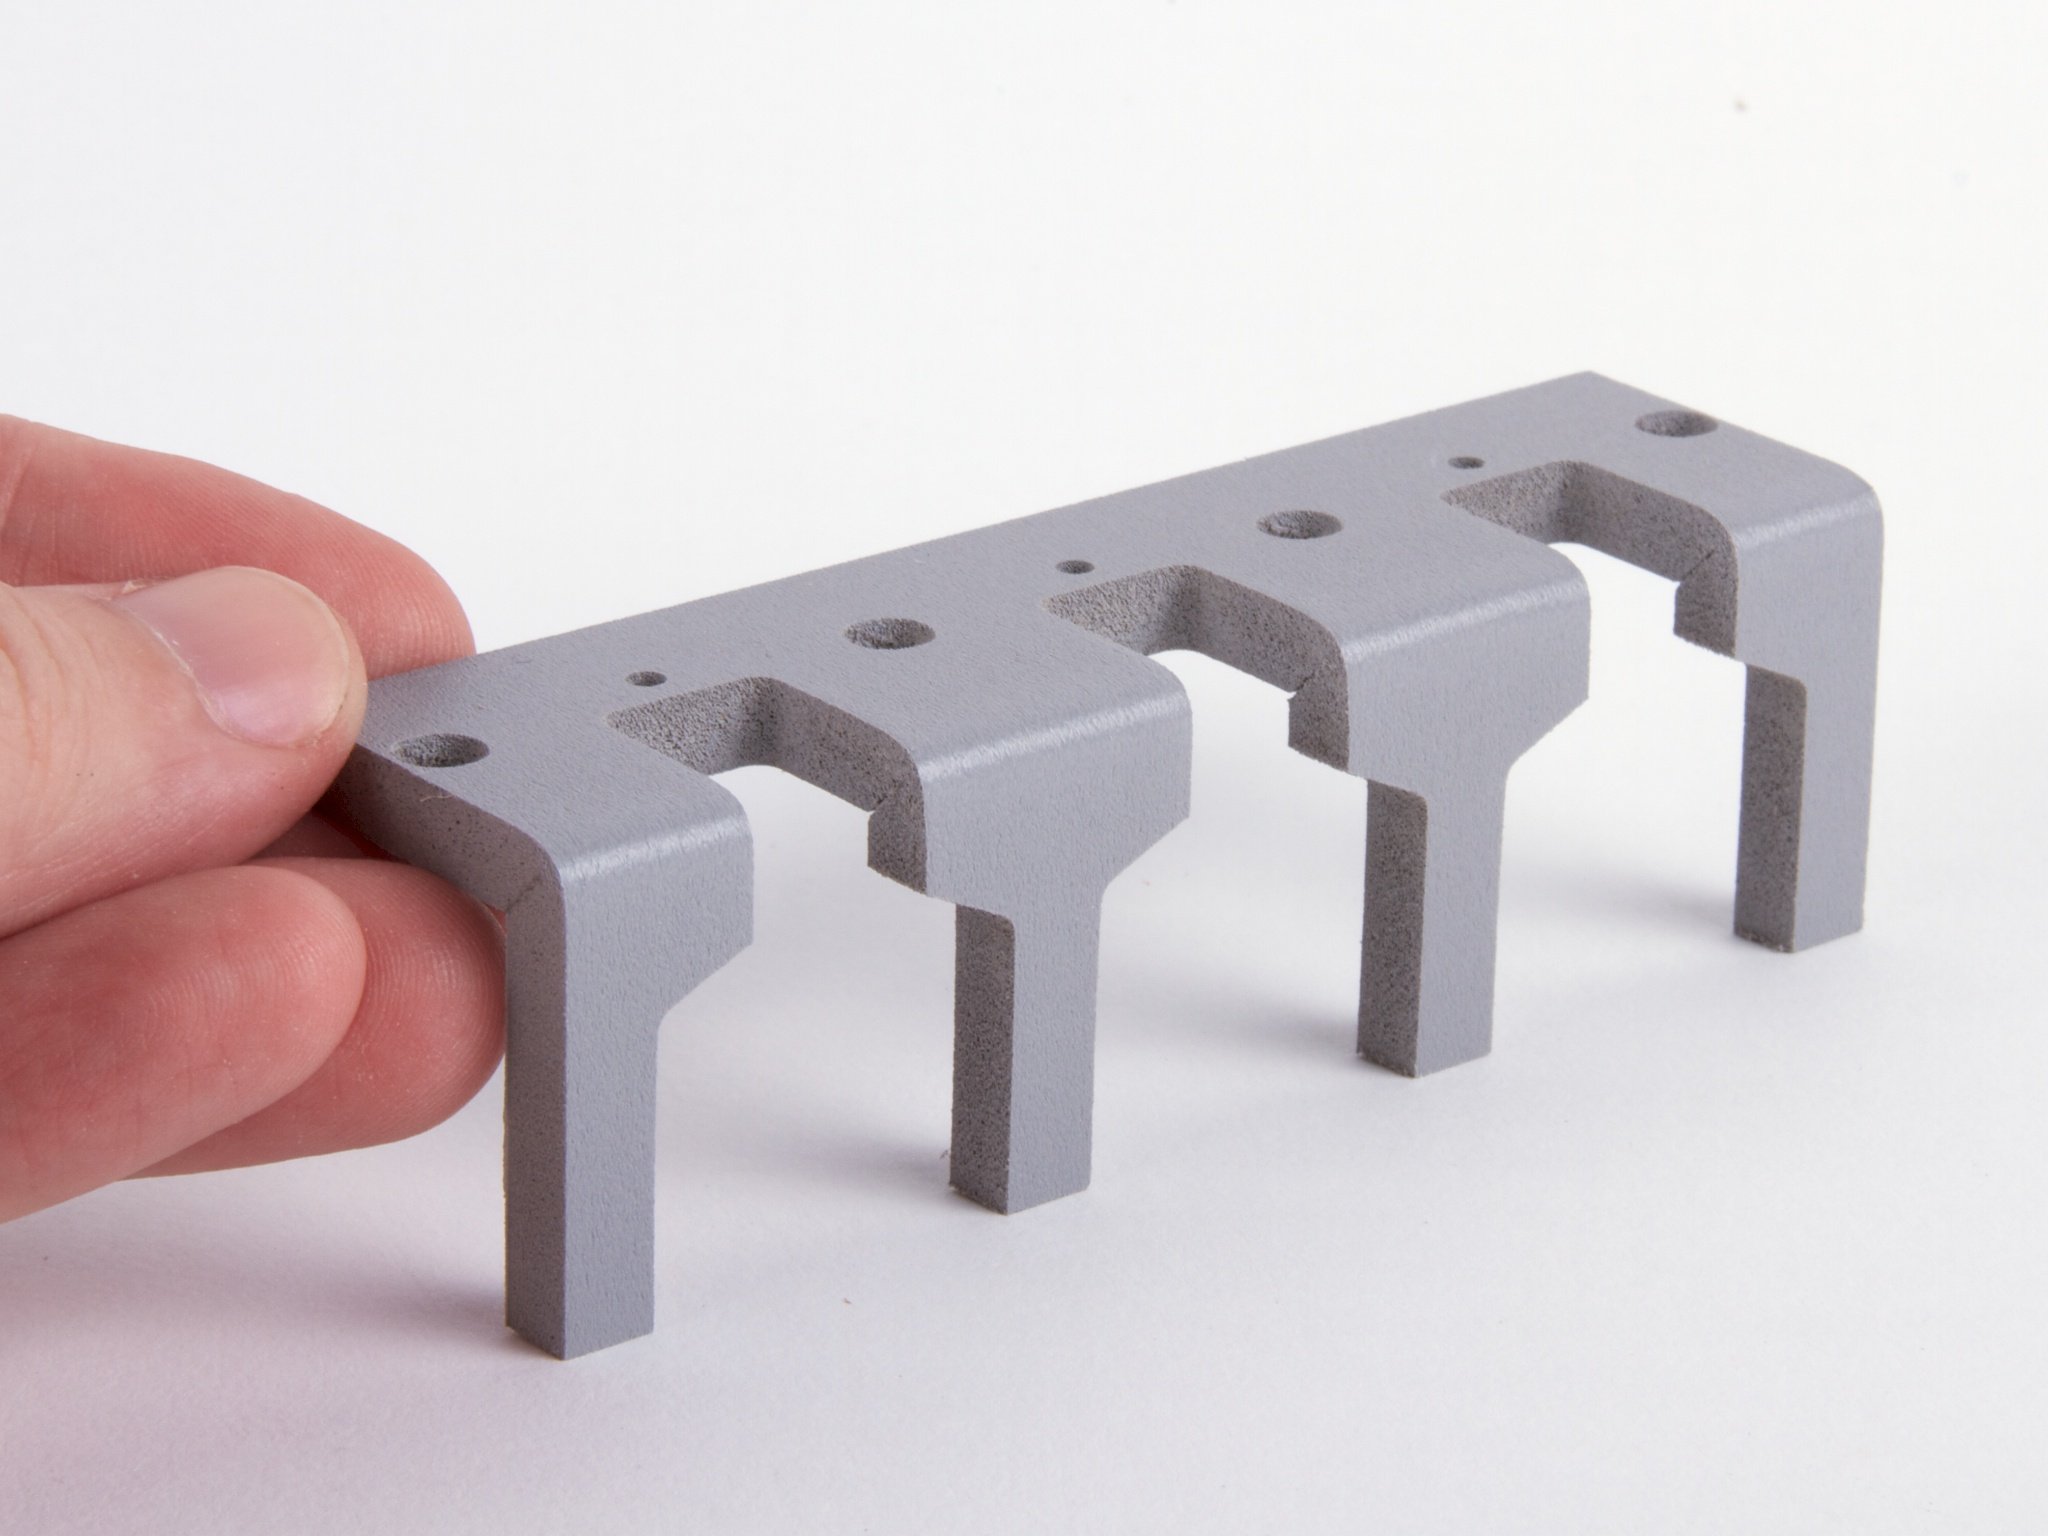
This past week we introduced our “Three Fives” discrete 555 timer kit, which comes with a set of “legs” to make it look like a (DIP packaged) integrated circuit. In that introduction, we mentioned that the legs are machined and formed from PVC foam. But what exactly does that mean? Here (in gory step by step detail) is how we make them!

Continue reading Making the Legs for the 555 Kit

The “Three Fives” Discrete 555 Timer Kit

555 kit

We’re pleased to announce our newest kit, the “Three Fives” Kit, a kit to build your own 555 timer circuit out of discrete components. Here’s a way to re-create one of the most classic, popular, and all-around useful chips of all time.

The kit is a faithful and functional transistor-scale replica of the classic NE555 timer integrated circuit, one of the most classic, popular, and all-around useful chips of all time. The kit was designed and developed as a collaboration with Eric Schlaepfer, based on a previous version (pictured here), and adapted from the equivalent schematic in the original datasheets for the device.  There have been a few other examples of circuits like these (such as the one that we featured in our article about the 555 contest), but we really like how this one has come together.

555 kit

The kit is designed to resemble an (overgrown) integrated circuit, based around an extra-thick matte-finish printed circuit board. The stand— which gives the circuit board eight legs in the shape of DIP-packaged integrated circuit pins —is made from machined and formed semi-rigid PVC foam.

555 kit

To actually hook up to the giant 555, there are the usual solder connection points, but there are also thumbscrew terminal posts that you can use with bare wires, solder lugs, or alligator clips.

555 kit

One of the really cool things about having a unintegrated disintegrated discrete circuit like this is that you can actually hook up probes and monitor what happens at different places inside the circuit.

555 kit

So that’s our new “Three Fives” Kit (shown above with an original NE555 for scale). It’s not quite as big as our 555 footstool, nor as tasty as our edible version, but it’s a great little circuit, and it’s got legs.