


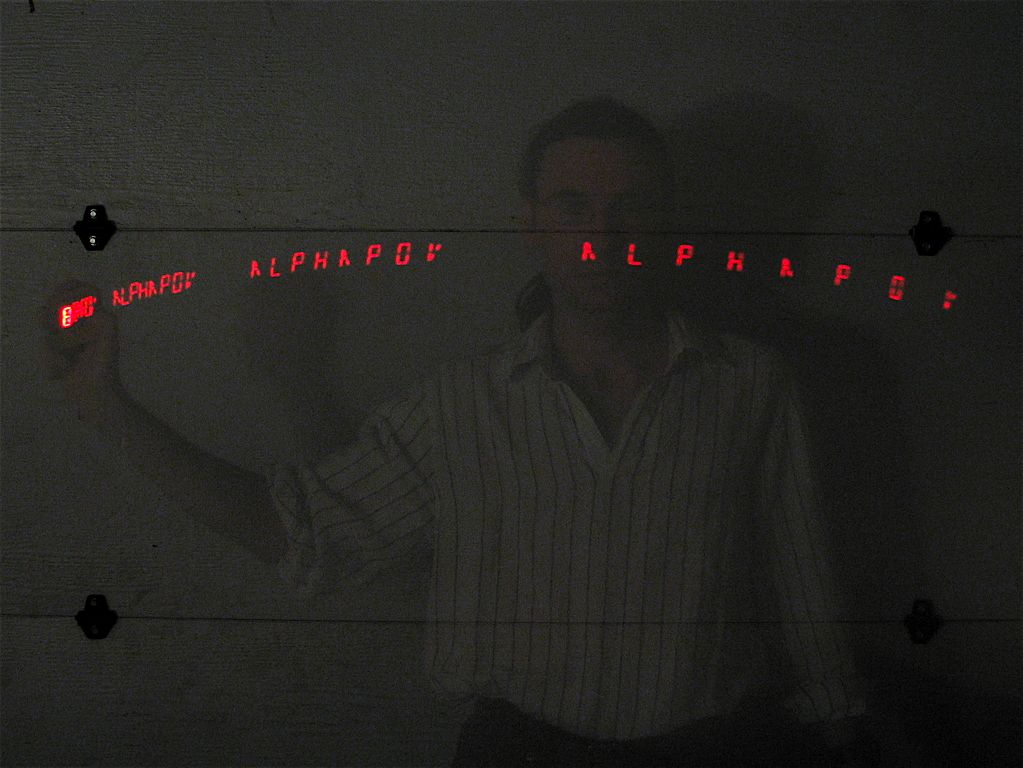
You have probably seen persistence of vision (POV) toys at some point– little LED dot-matrix displays that, when waved around, display a picture or a message that seems to hang in mid air. We’ve been playing with 16-segment LED displays lately, and it some point it occurred to us that we’d never seen an alphanumeric POV display. So, we went ahead and tried it out, and hey– it works! AlphaPOV is the result. It’s a neat effect since the clearly defined segments– designed for text– introduce a certain degree of legibility into the display.
The starting point for building this project is our LED Micro-Readerboard. Normally, the micro-readerboard shows one character at a time, so that you can read it sequentially while holding it still. Here, we use a (very slightly) modified version of the firmware that blinks the characters on and off at high speed. Read on for details, AVR source code and a few more pictures.

In any sort of technical context, persistence of vision is a slippery term. Most directly, it describes the largely discredited notion that images can “accumulate” on the retinas of your eyes over short periods of time. That is more or less a myth that has been perpetuated to explain (among other things) why motion pictures– changing at only 24 frames per second– appear to be moving. Besides this illusion of apparent motion, there are a few related phenomena that tend to be lumped into what is colloquially known as persistence of vision. One is the ability of your mind to perceive a whole scene when only part of it is visible at a time. The effect is most apparent when you look through the crack of a door or the narrow slit of a wooden fence: by moving your head side-to-side you can see everything on the other side. Fast examples of that very phenomenon– like the scanning line of a CRT or other cyclic displays — can lead to an apparently constant image through a third phenomenon known as flicker fusion.
In any case, it isn’t our intent to delve into the mechanisms by which we perceive things. Rather, let us note that we use the term “persistence of vision” in its common sense– to describe phenomena that relate to visual memory– and, there is a lot more to human perception than what goes on in the eyeball. (If do you like thinking about illusions, check out this site.)

There are a lot of good DIY POV projects. Two good beginner projects are the
MiniPOV3 and SpokePOV, both of which are available as kits. Shown above are two pictures of the SpokePOV– still and in use (by flickr users thejof and somos_cuba).
Amongst the commercial offerings (which all seem to be derived from efforts of the DIY community), this LED Art Fan stands out.

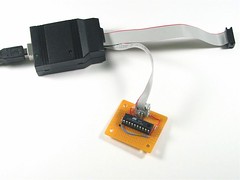
As we noted earlier, the starting point for building this project is our LED Micro-Readerboard, for which we are using a modified version of the firmware. So, the first thing to do is to gather the parts and instructions for that project. Whether you are modifying one of the kits (which are available from the Make Store) or building it from scratch, you will need a programmer and a target board to program (or reprogram) the microcontroller before soldering it to the LED*. You will also need a working copy of the GNU AVR toolchain; see this post for some hints on where to get started.
(*If you think that you might want to reprogram the microcontroller again later, you might consider building the AlphaPOV with a socket instead of directly connecting the microcontroller to the LED.)
Next, download the Source code (16 kB .ZIP file, for AVR-GCC, licensed under the GPL).
- To use it, follow these steps:
- Update the phrases stored in the firmware to ones that you want to display.
- Update the header of the makefile as needed to reflect the type of AVR programmer that you use.
- Open a terminal window and move into the directory with this file and the makefile.
- At the terminal enter
		make clean
		make all
		make install
- Make sure that avrdude does not report any errors. If all goes well, the last few lines output by avrdude should look something like this:
avrdude: verifying ...
avrdude: XXXX bytes of flash verified
avrdude: safemode: lfuse reads as 62
avrdude: safemode: hfuse reads as DF
avrdude: safemode: efuse reads as FF
avrdude: safemode: Fuses OK

avrdude done. Thank you.
(If you do use a different programming environment, make sure that you copy over
the fuse settings from the makefile.)
Since the AVR is now programmed correctly– and verified– you can then go ahead and assemble it according to the usual set of instructions. Assuming that everything goes together correctly, you should have a functioning AlphaPOV display now!
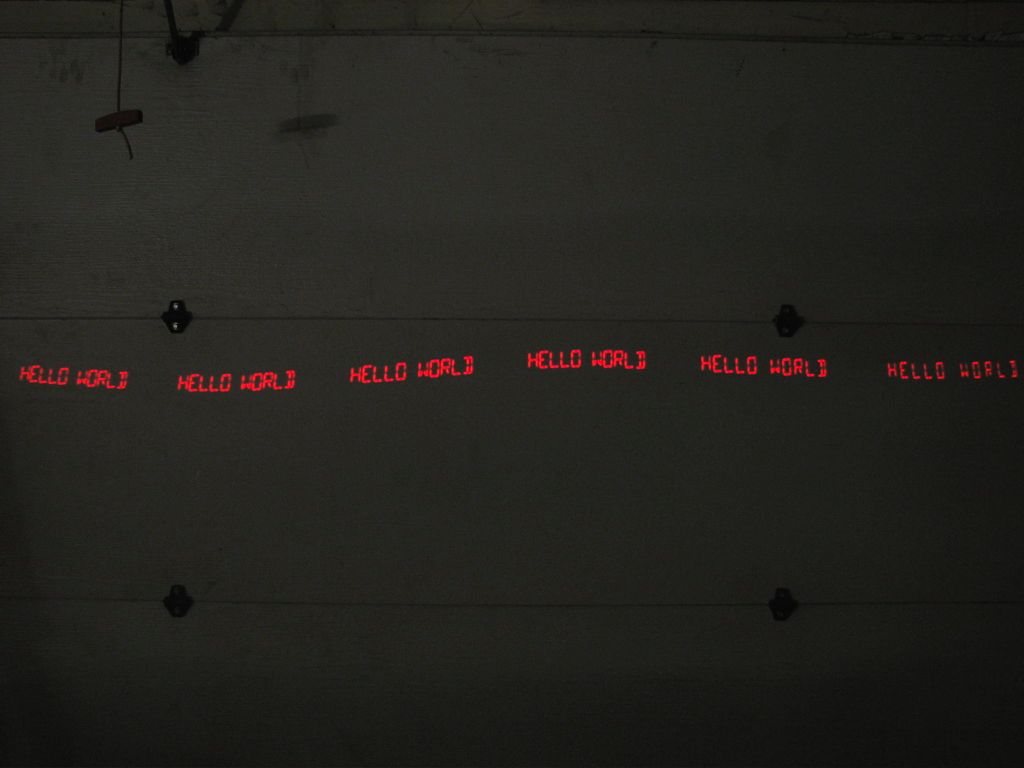
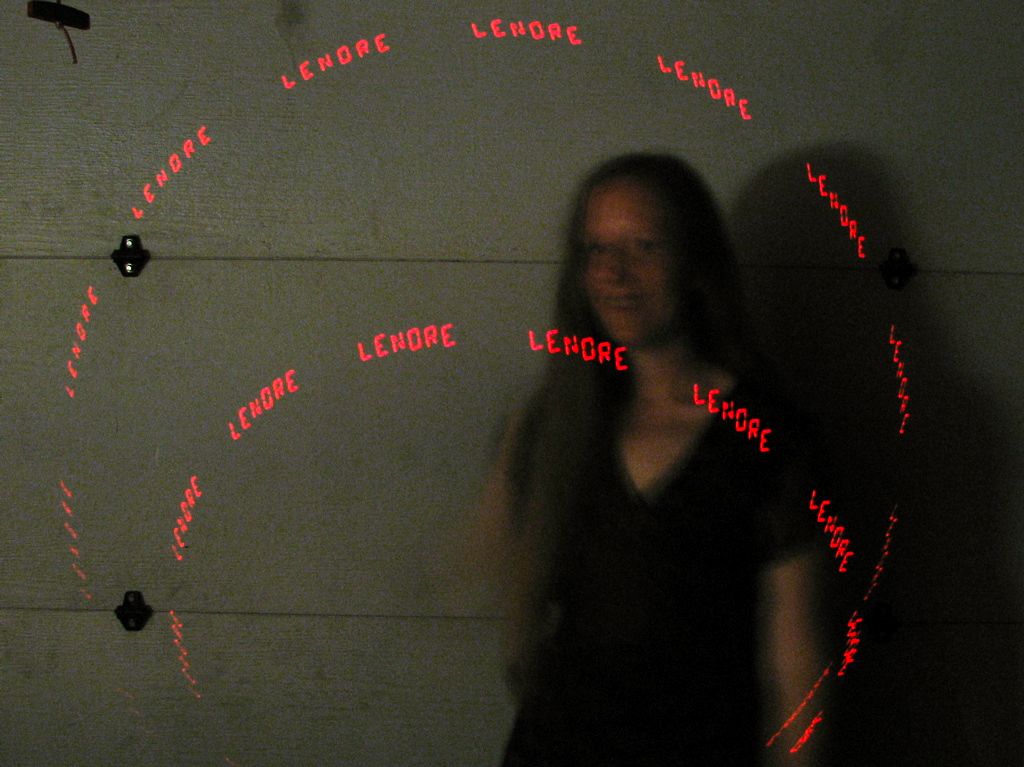
One of the default phrases that is in the AlphaPOV firmware is “HELLO WORLD”, as seen above. To take this photo, I put the camera on auto timer with a 2.5 s exposure time. I then held the display at my side and walked at a normal pace by the camera when the exposure started.

So how does it work?
In the “regular” version of the micro-readerboard firmware we never light up the whole character that we’re displaying. Instead, we light up each segment for the character, in turn, for a very brief fraction of the time. By doing this, we can keep the instantaneous power consumption of the device very low– since only a single LED is ever driven at one time. This can lead to a long battery life at the expense of brightness. If, however, you rapidly move that display from side to side, you will not see individual letters, just the lit-up segments. To see the letters when we move the display rapidly from side to side, we instead need to actually display whole letters at a time. Furthermore, they need to be bright, and properly spaced apart– in time– so that when they appear, they are not blurred but look as though they were seen with a strobe.
In practice, all of these options are just simple tweaks to the firmware; especially because an option to use a non-multiplexed display was part of the original firmware.
What else you do with it is up to you. Make a name tag?
You can certainly take the idea of a POV display and run with it in other directions as well; all you need is a microcontroller and an LED display of sort. You can even get away with repeating this project using a seven-segment display… if you don’t mind sticking to
beghilos.
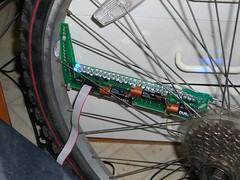
This is a great project! I crossed it with the spokePOV idea by velcroing it to the spokes of my bike so that it spelled out messages when you cycle at >= 1 revolution per second (around 6 miles an hour).
You can see a (fairly poor) picture of it spinning round at the bottom of this page: http://blog.cogapp.com/2007/11/08/hardware-hacking-the-next-frontier/
N.b. if you want to do this (and you’ve already soldered everything according to your instructions), then you will need to flip the letters so that they are visible upside down, to avoid having the power wire looped back on itself.
To do so, use the following code to define
font_tableinstead (order of letters is identical to your original source code):/* new letters: upside down: */ const unsigned int font_table[] PROGMEM = { 52256, 12765, 47488, 12757, 63872, 63496, 47512, 51225, 12740, 33169, 51234, 35200, 35859, 35889, 47505, 63497, 47537, 63529, 31128, 12356, 35217, 35330, 35377, 1570, 1090, 13186, 18030, 514 };Very, very nice!
—
Windell H. Oskay
drwho(at)evilmadscientist.com
http://www.evilmadscientist.com/
ok everytime i flash lfuse to 0x62 i lose all ability to update the chip is this by design or am i doing something wrong. everytime i refesh or re read the fuses they are always different. can some one please let me know what the issue could be besides ???
Are you *really sure* that this has to do with changing the fuse, not the rest of the programming? You could possibly verify this by doing all of the other programming except for the fuse bytes and see what’s going on then.
Changing that fuse byte *should not* cause any problems– it just chooses a slower internal clock that helps to save power. You can also use the standard fuse settings–without changing those values– but the program will run twice as fast as it is intended to. You could hack it by changing the delay definition to be twice as long in duration.
Now, I don’t know what your setup is exactly, but a big easy mistake to make is be to try to reprogram the chip while it’s still in the circuit with the LED display– that won’t work. If you’ve got it all hooked up on the breadboard, pull the alphanumeric display out while you reprogram.
—
Windell H. Oskay
drwho(at)evilmadscientist.com
http://www.evilmadscientist.com/
Password hasnt come yet for an account, it was programmed out of the bread board for the display made a programming one from the avr getting started site. i have tried to do it in steps if i just do the programming with out the fuse settings everything is fine if i change the other two fuses it is fine if i change the lfuse to 0x62 it is hosed my chip is the attiny2313 20-PU. i have got to be doing something wrong I am making a new board now to see if that is it. Thank you for the quick response
For the moment, try not reprogramming the fuse bytes then– I’ll see if I can reproduce the issue here.
Now as far as debugging this goes, you haven’t given many hints. How are you powering your chip, and with what voltage?
What program are you using to set the fuse bytes? If you’re doing this from the command line or makefile, perhaps you can post the code that you’re using here. Also, what error messages (if any) are you getting when you program it the first time? Is it *working* but just not reprogrammable, or is it *not working*? What error messages are you seeing when you try to reprogram it?
—
Windell H. Oskay
drwho(at)evilmadscientist.com
http://www.evilmadscientist.com/
I thought at first that i was able to reproduce this problem– the chips seemed unresponsive after programming. But after checking the cables, and slowly plugging things back in, in the correct order, i was able to erase and reprogram the chips.
—
Windell H. Oskay
drwho(at)evilmadscientist.com
http://www.evilmadscientist.com/
Thank You for The Help. !!!!!!