Category Archives: EMSL Projects

Meet Big Daddy Hands

Mr. Hands

If you are handy with a soldering iron, you’ve probably come across one of these ultra-handy soldering tools. It is various known as a
third hand soldering tool, a set of helping hands, or, as it was introduced to me, as “Mr. Hands.”

Mr. Hands is a great guy to have around for holding a small circuit board or for holding two wires against each other. He provides a third (or even fourth) hand to hold things and prevents your fingers from getting burned. There are all sorts of clever mods that you can perform to them, and they are very cheap– typically $2-$6. You can also make your own equivalent with the same kind of budget, which is good from the standpoint of being able to choose different designs. (I’m partial to the alligator-clips-on-big-fat-wires method, myself.)

The only weakness of Mr. hands is, well, weakness. He’s small, can’t hold heavy or big things, and probably got picked last for kickball. And if it starts to cause a problem, then that’s when we bring out Big Daddy Hands, shown here with Mr. Hands for scale:

Useful!
Continue reading Meet Big Daddy Hands

Interactive LED Coffee Tables: Update and kits!

PopSci_2007_10 Cool, our interactive LED coffee tables got a mention in the October issue of Popular Science!

What’s an interactive LED coffee table? (Funny you should ask….) It’s a coffee table that has hundreds of LEDs in the top surface that respond to motion above the table. We have (finally) put together a movie to give you a better idea of how they respond to their environment. You can see the movie on YouTube or watch it embedded:

The complete tables are for sale from Because We Can, our partners in design on this project. There are presently two models, The Ripple (left) and The Wave (right):

the ripple   the wave

Since we first showed these off, we have had a lot of inquiries about how you can make your own table like this. We are now producing (very large) electronic soldering kits so that you indeed can make your own.

Our kits include the giant printed circuit boards, components, instructions, LEDs, and all other parts needed to build the electronic portion of the table tops. Constructed, you end up with what essentially amounts to a single extra-ginormous circuit board that can sit underneath the clear or frosted glass (or plastic) top of your own table. Interesting in getting a kit? Click here to read the details!

(Revised 11/16/2007).

Flannel Pillow Case Mod

Goway, I'm sleeping For a group trip I’m going on, I was given an inflatable neck pillow by the travel agency. It seems like a good idea: it packs compactly and is still reasonably comfortable to rest my head on. However, it is made with flocked vinyl, and reeks of plastic softeners. My solution: make a cotton flannel cover. It has a much better texture, can be easily washed, and it even hides the silly name of the travel agency.

cover number one

I took a scrap of leftover flannel and cut it out in the shape of the pillow with the fold of the flannel on the straight edge of the top of the pillow. I then stitched around the perimeter, leaving one side open so I could stuff the pillow in. Crowning touch: I put a button hole where the valve sticks out so it can be inflated and deflated with the cover on. (More photos here.) The net result is an improved pillow, which did help me sleep while I was packed in a 747-400 sardine can for 14 hours.

Bicycle Seat Cover Project

pretty, pretty

Vintage saddle

My vintage cruiser bike has an unusual seat post both in diameter and in the amount of taper at the top where the saddle mounts. I have not been able to locate a new saddle mounting bracket that will fit on the very small top of the seat post, nor will my non-standard mounting bracket fit on a replacement saddle, so I can’t just grab a replacement off the shelf. So, for both aesthetic and comfort reasons, I decided to make a seat cover.
Continue reading Bicycle Seat Cover Project

Visualizing image stabilization

Eclipse
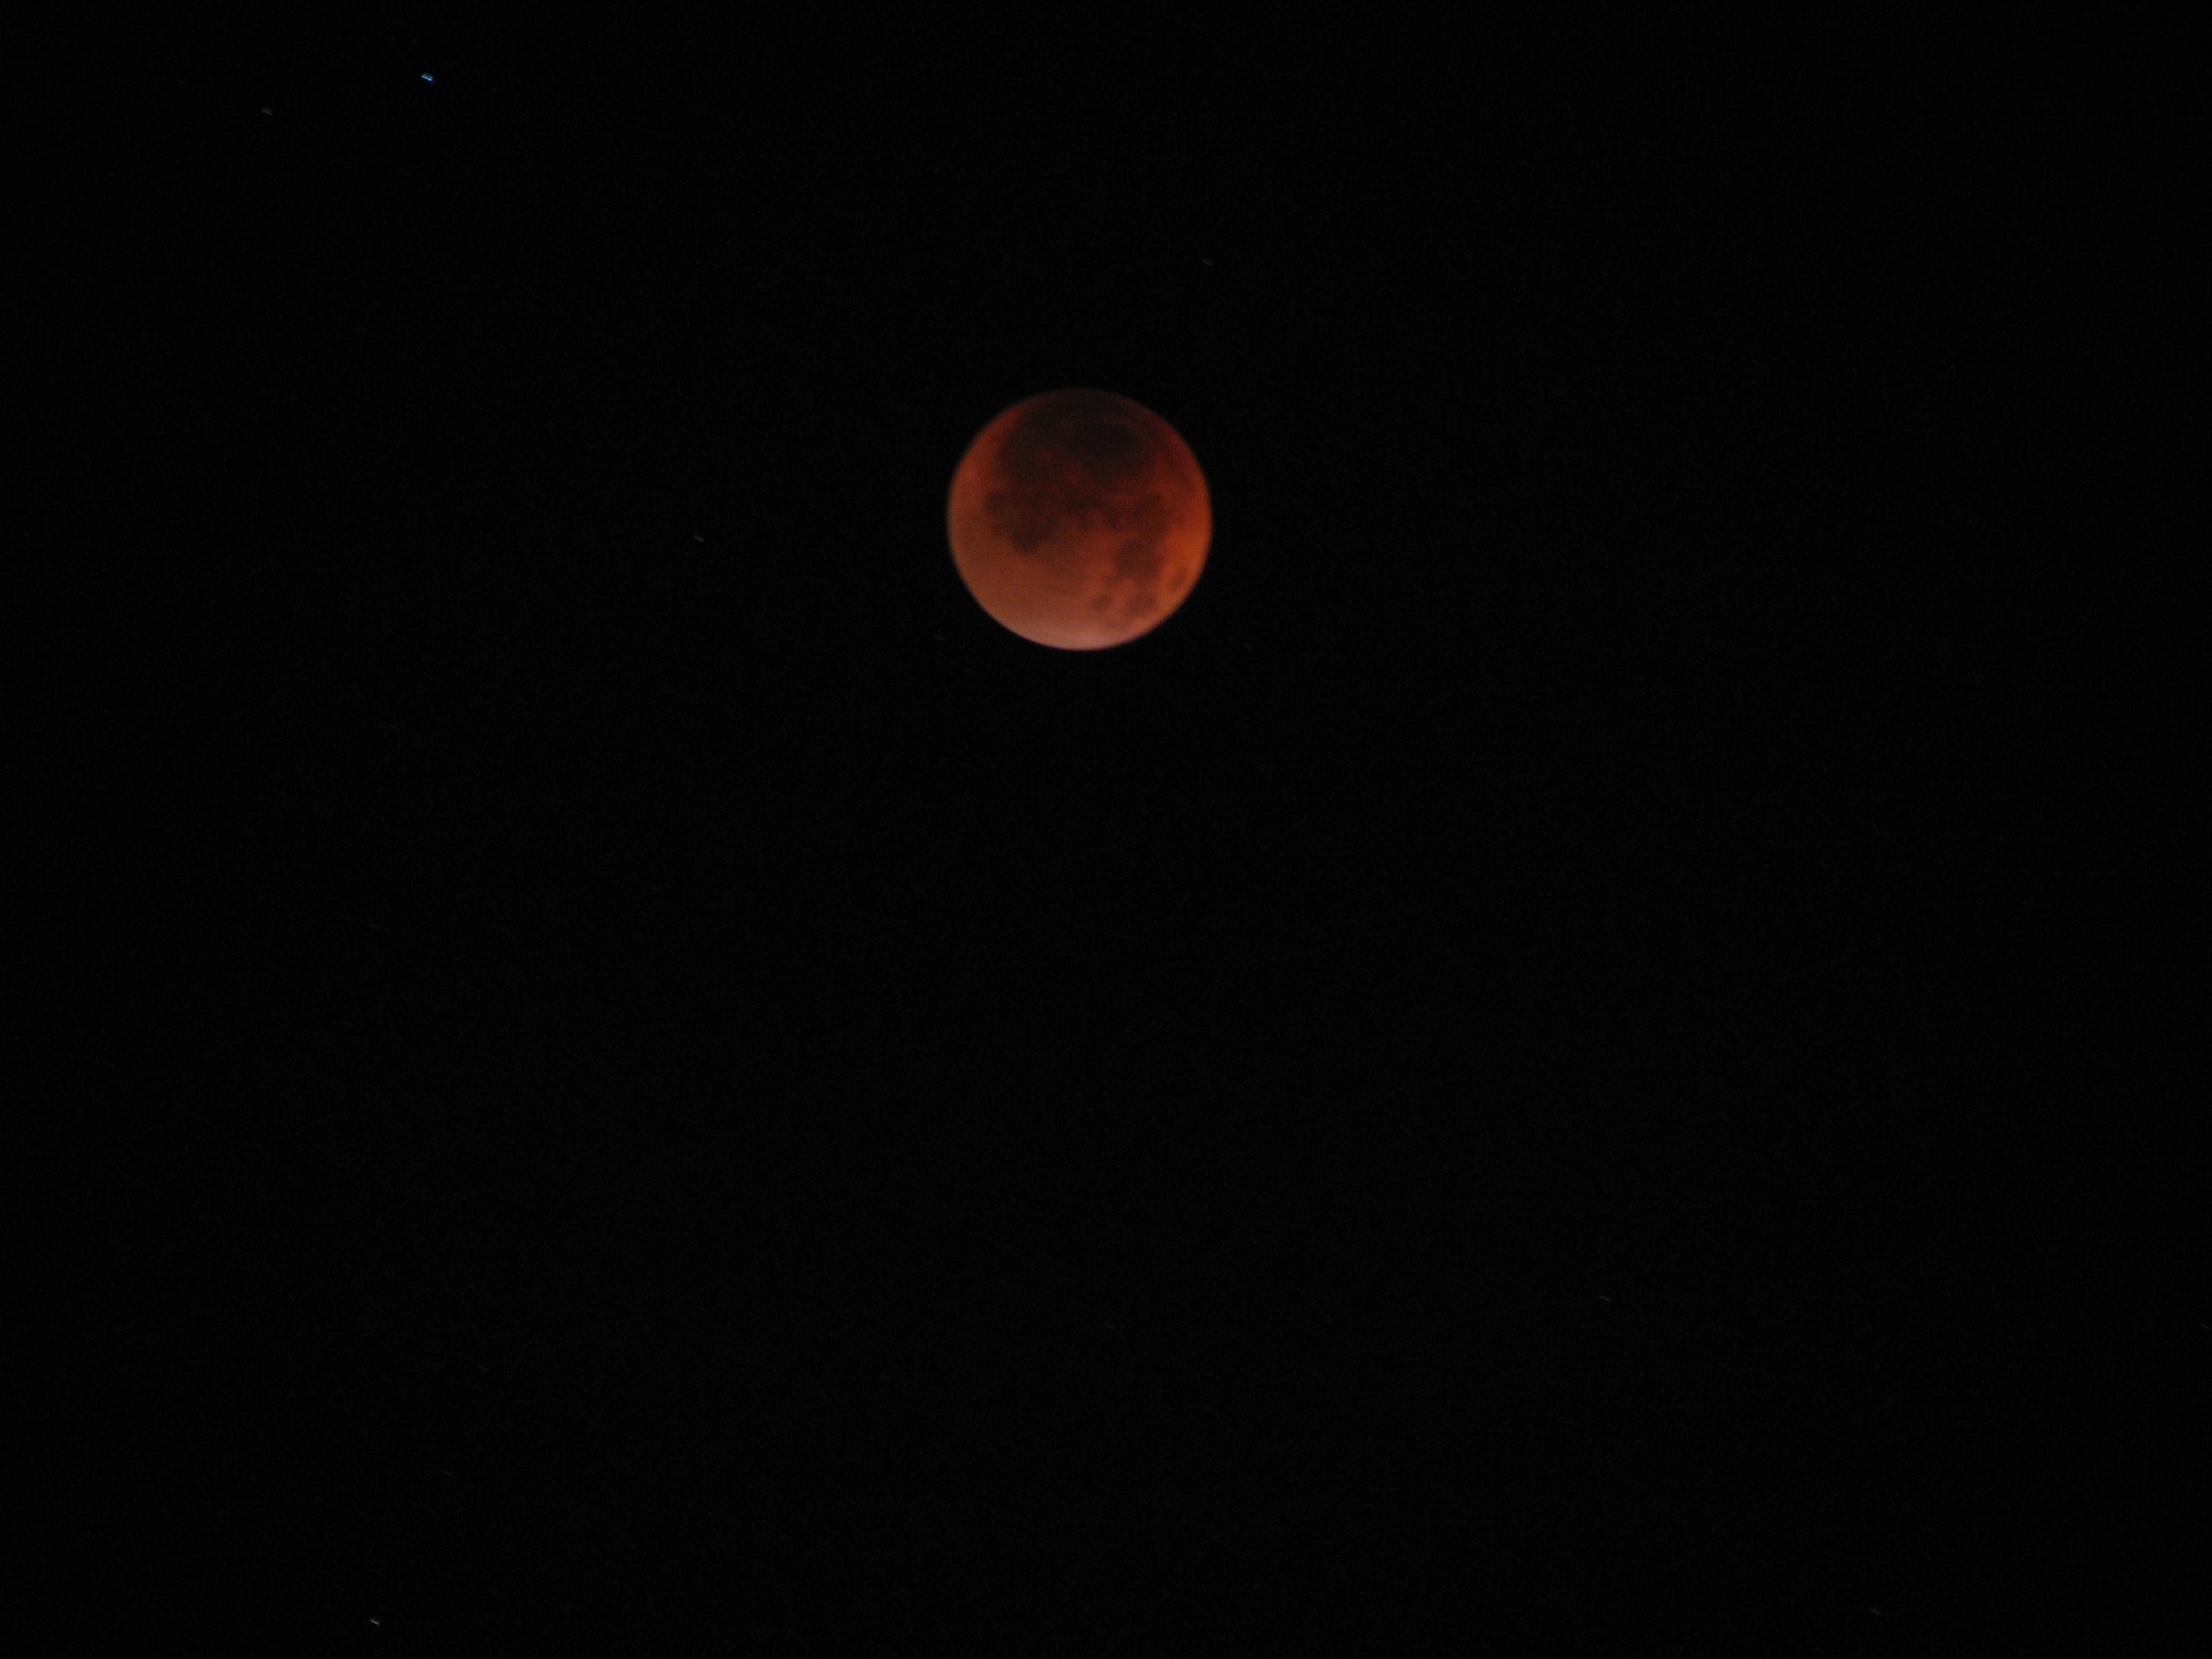
Last month I went outside at 3 AM to photograph the eclipse. But I ended up having a hard time getting a good picture of the moon. The pictures were turning out unreasonably blurry– much more than I’d expect from just the moon’s apparent motion during the exposure time. The problem turned out to be the “IS” in my Canon S3 IS– the image stabilization– which apparently needs to be turned off for this sort of thing.

But why? Isn’t image stabilization supposed to take out blur?

Pointing elsewhere in the sky, you can sometimes (depending where you live) see small point-like sources of lights that can provide a useful tool for figuring out what the bleep your camera is actually doing. In the land of moderate light pollution one thing that we can see through our electronic viewfinder is the Pleiades star cluster, so let’s point our lens at that. The parameters for the two photographs below are identical, except that they were taken with image stabilization off and on, respectively: 15 second exposure, aperture wide open, zoomed in like crazy.
No IS.jpg
IS.jpg
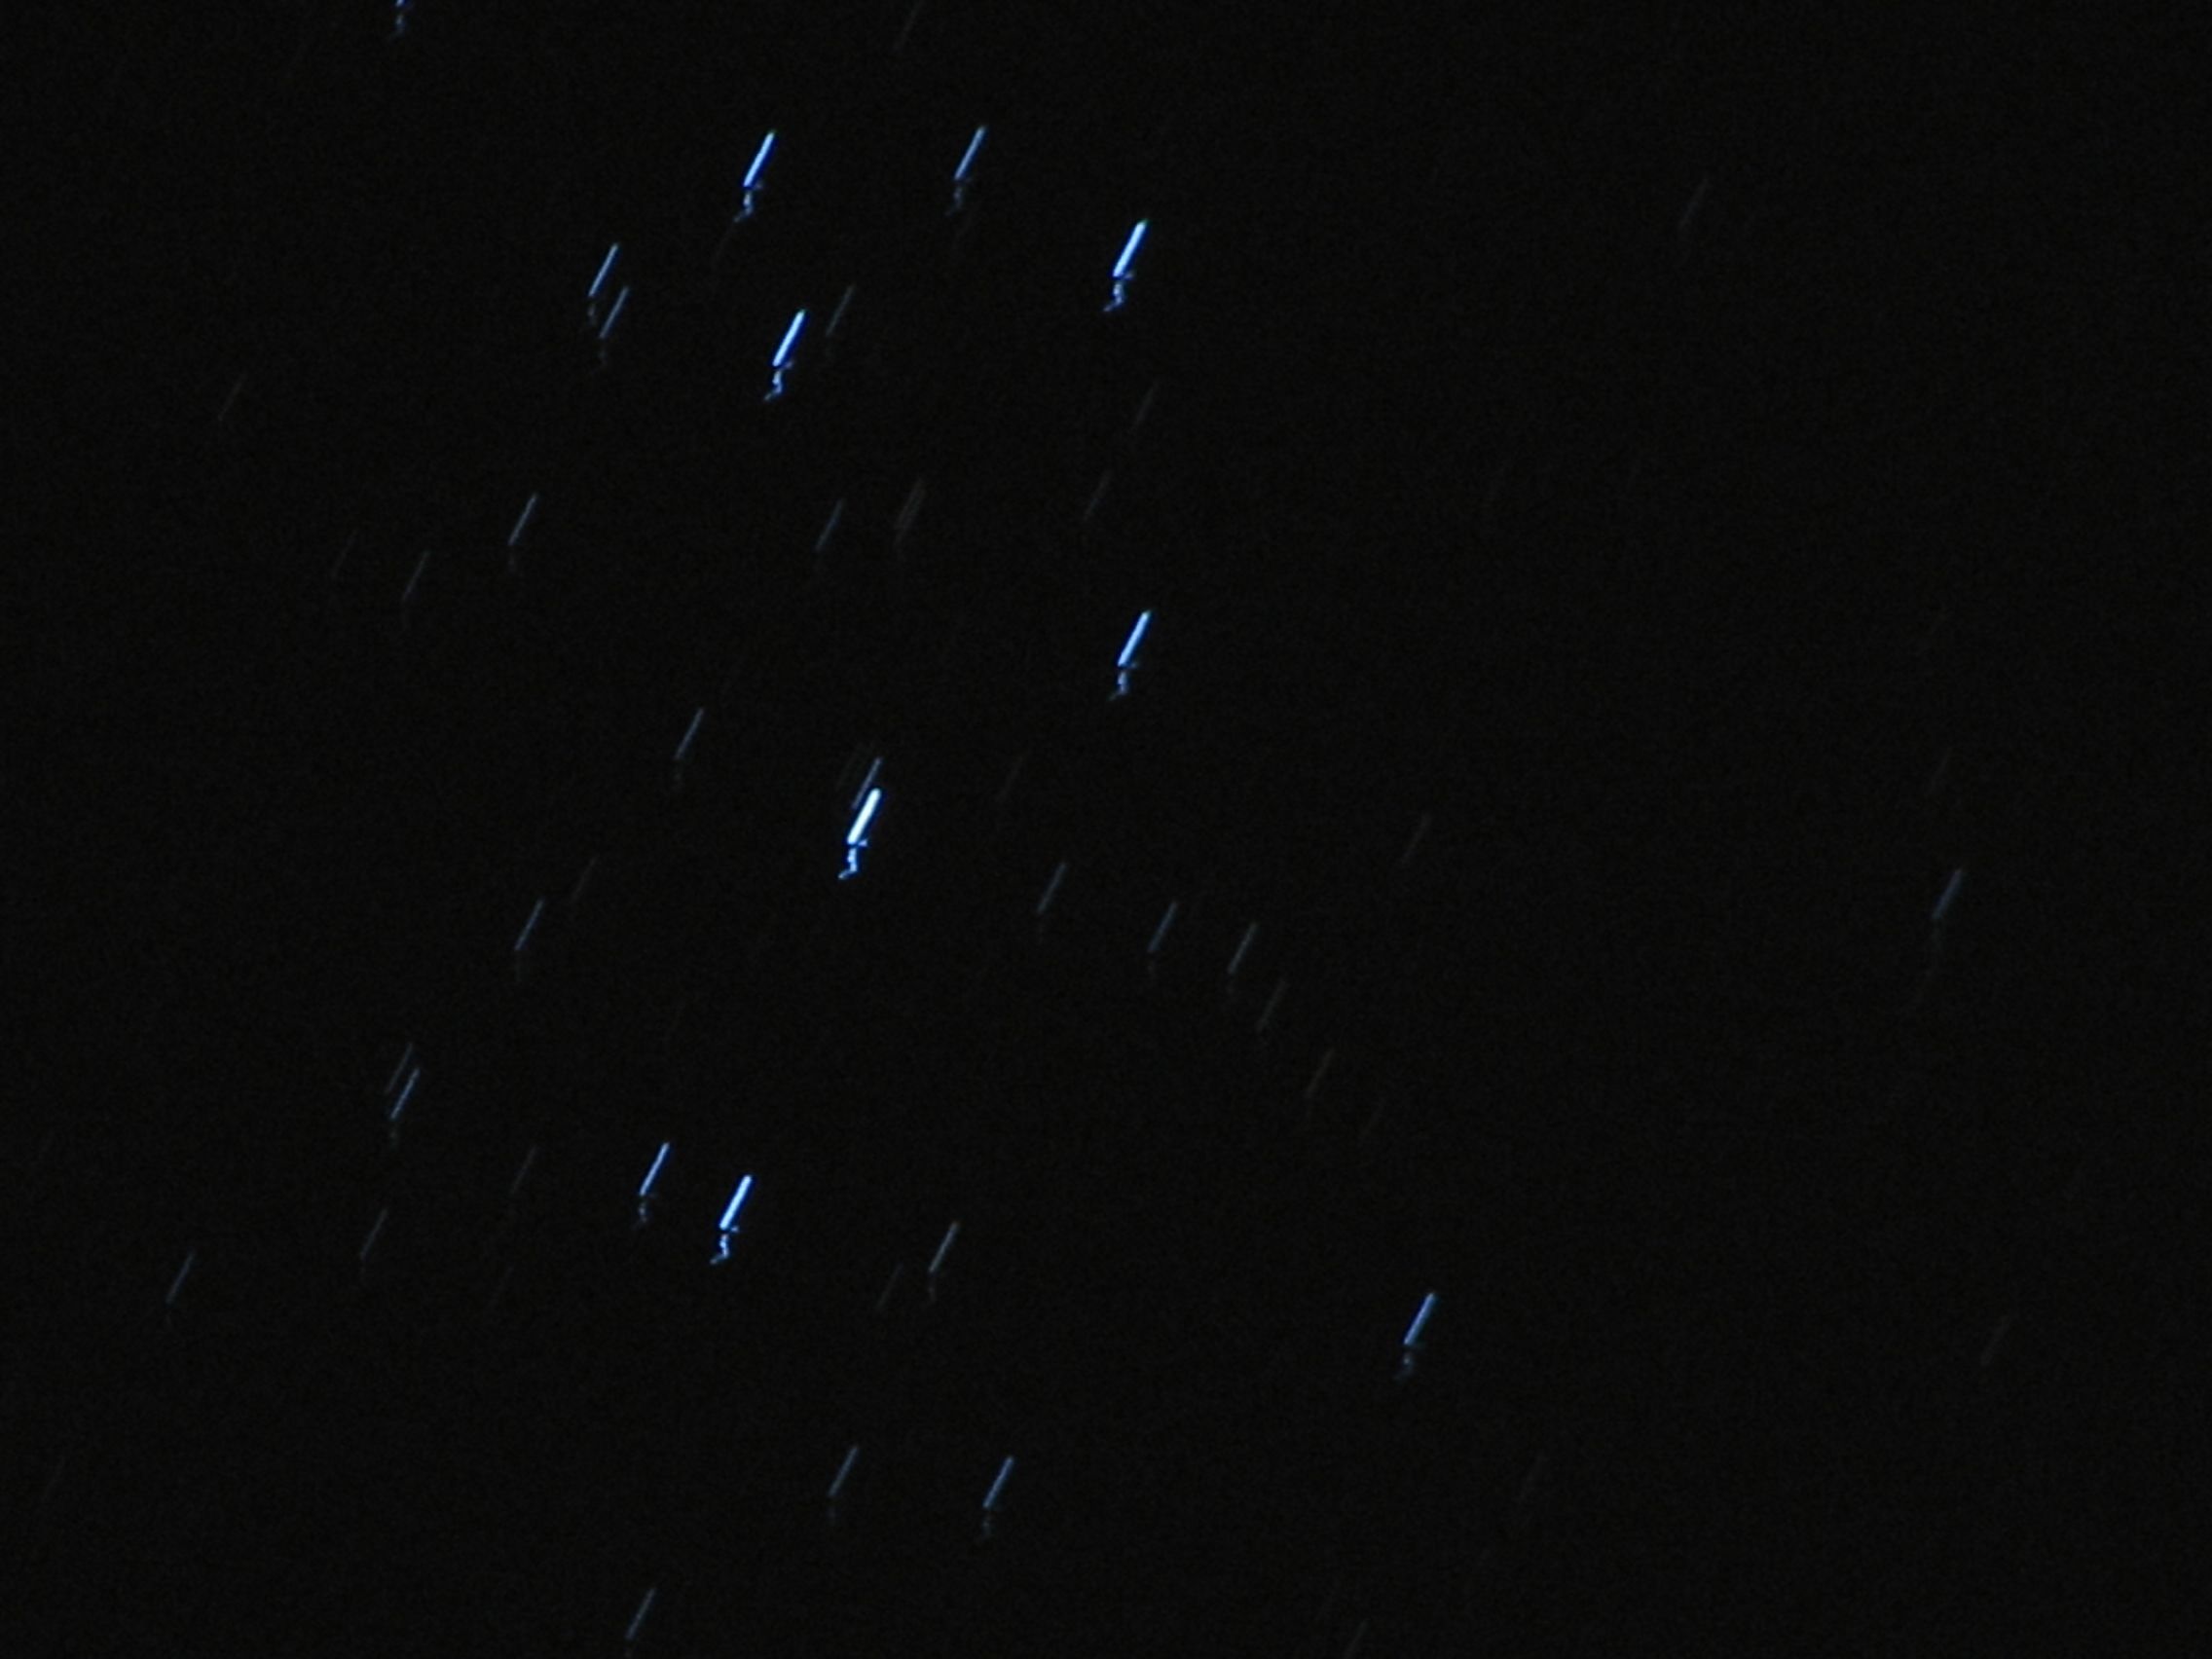
In the top photo the stars each look like clean, easily distinguished stripes.

(In order to reduce vibration due to the button press, these two pictures were taken with a timer delay of a few seconds. However, there is still a small, squiggly tail at the base of each star track, presumably due to residual vibration of the tripod.)

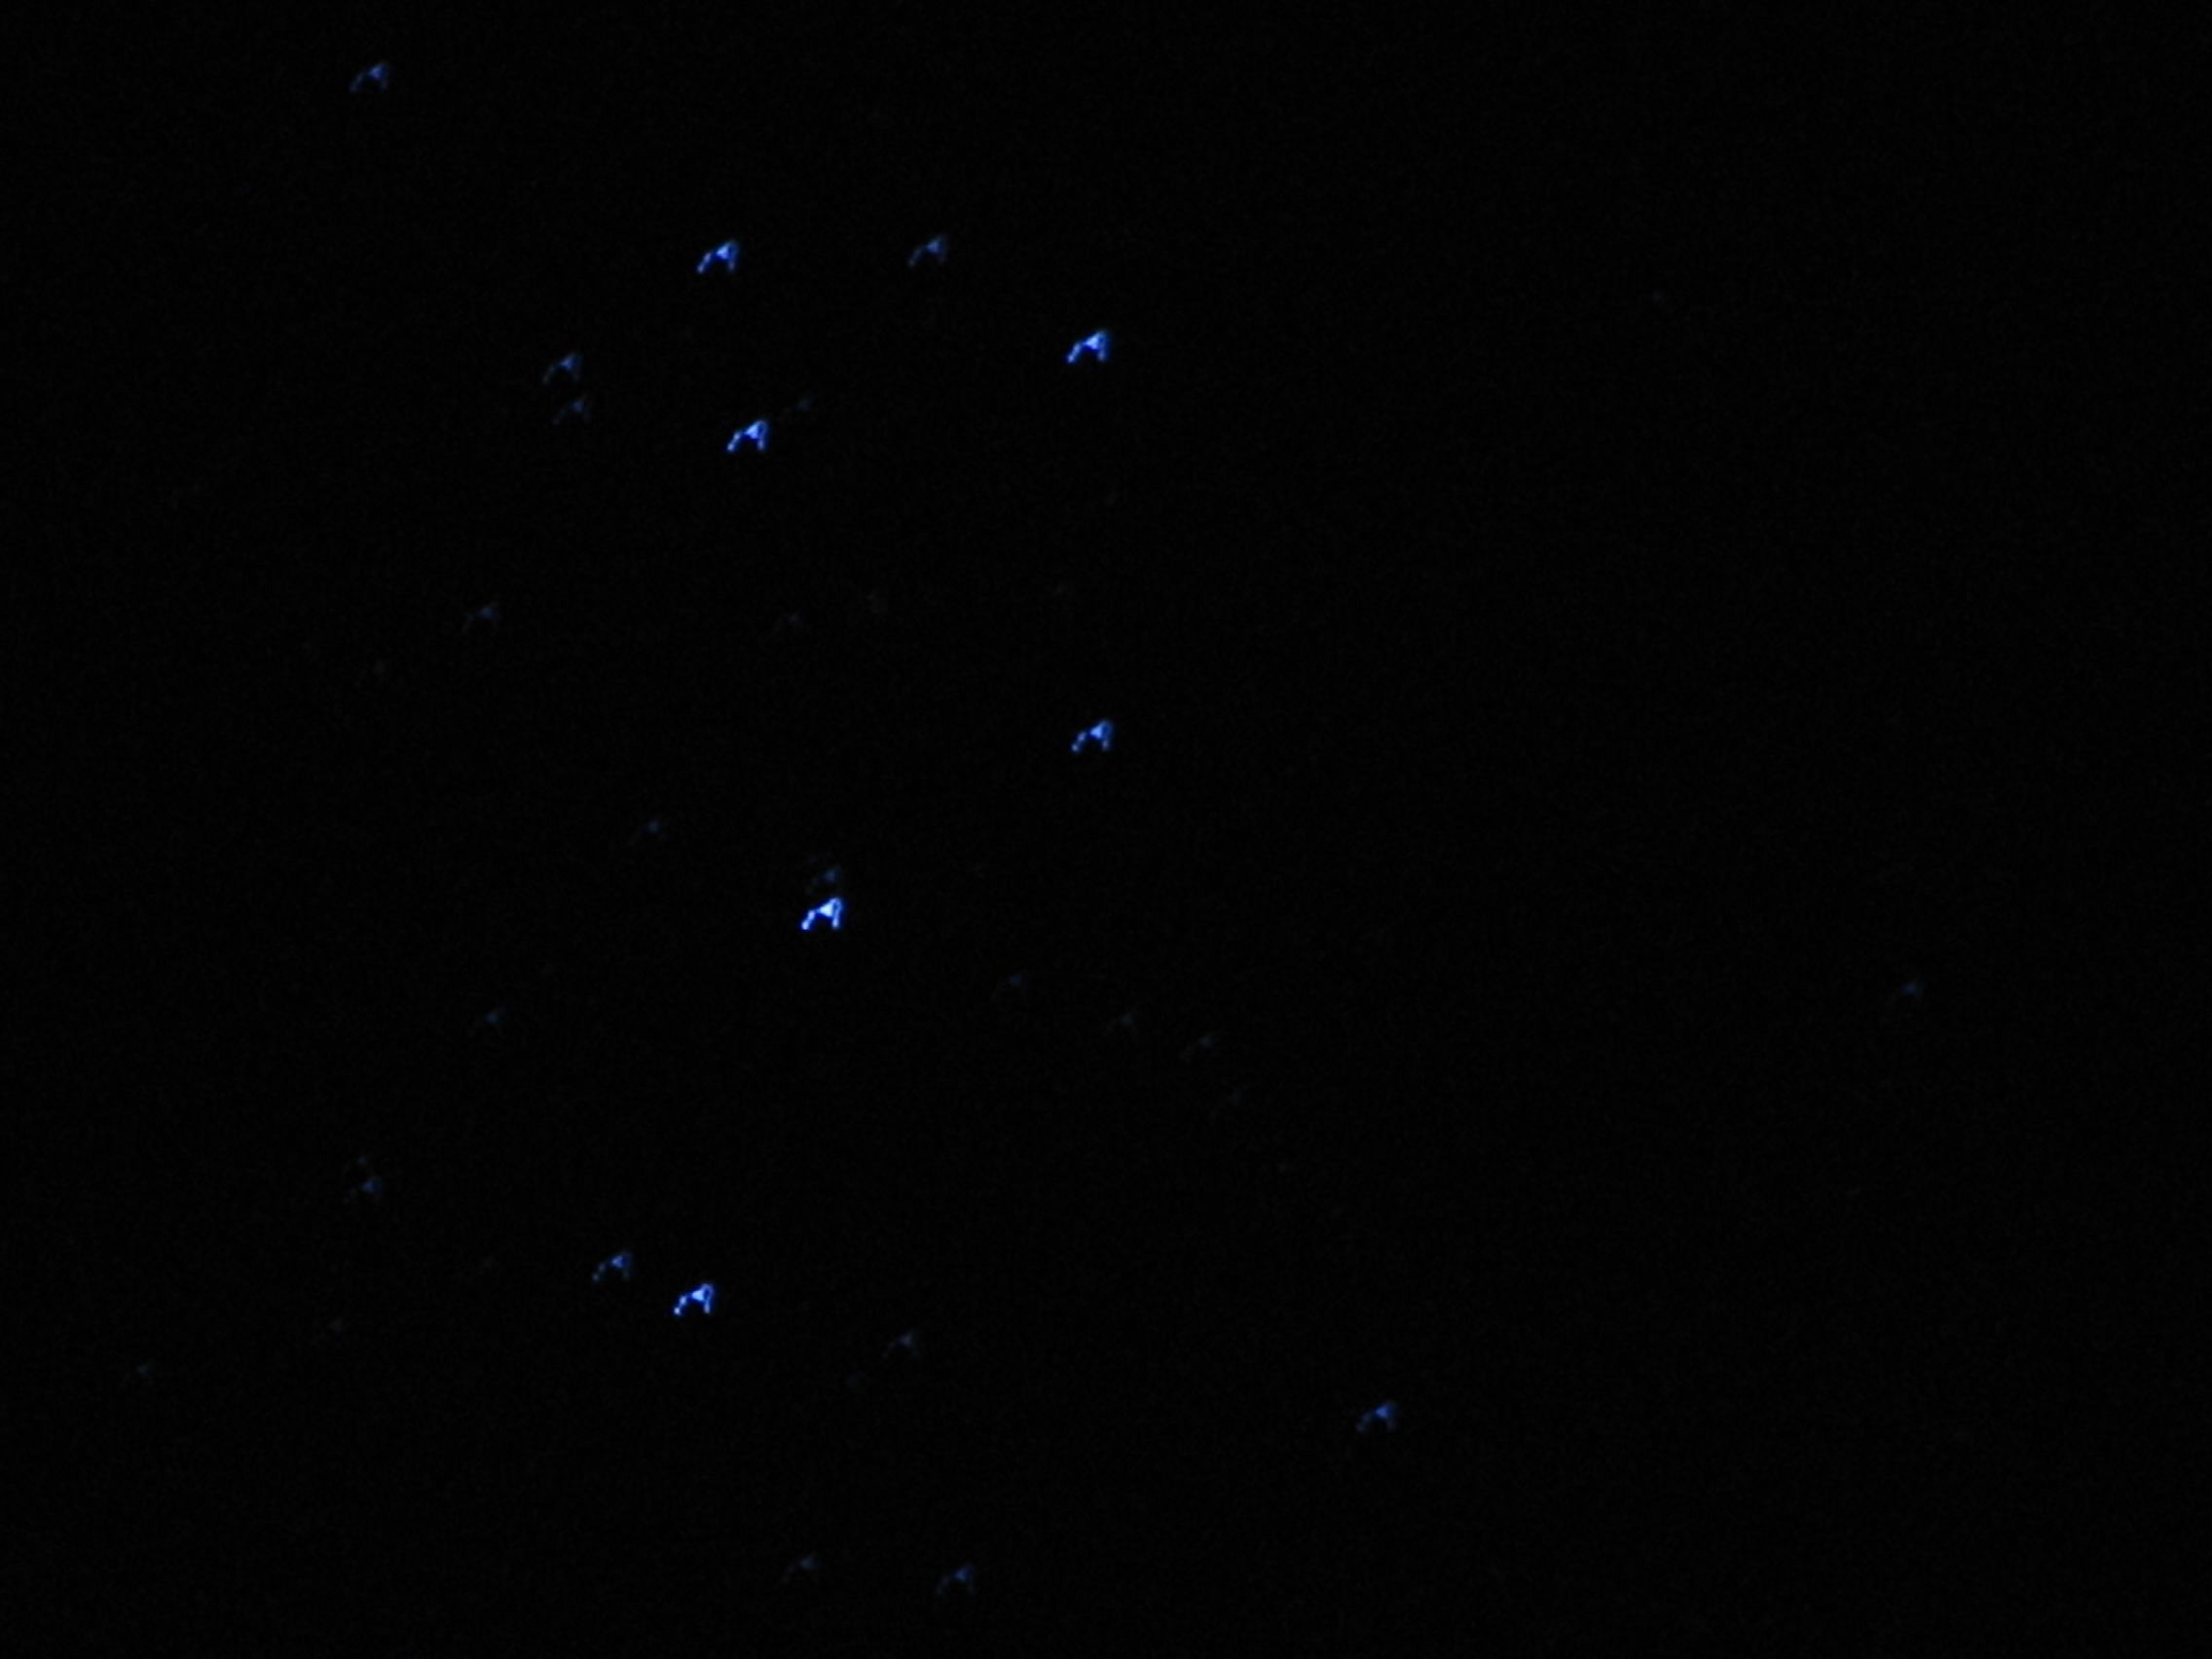
In the lower photo, with image stabilization turned on, you can really see a significant difference. The initial squiggly tail at the lower left of each star track is still present, but is now smaller– thanks to the IS no doubt. Otherwise, the shape of the tracks is quite different. Let’s zoom in:

At the lower left is the initial squiggle from the tripod. In the middle is a large almost triangular structure where the star light was initially steered to. Then, there is an additional, wandering shape starting towards the upper right that bends down the right side.The net effect is that the trail of the star is not reduced to a point– just bent around into a loop.

Conclusion? It looks as though the image stabilization works well for short times– maybe up to a second– but lacks accuracy for longer exposures. And *that* is why you might want the IS off to take a clean picture of the moon.

Update: From what I can see online, there’s no image processing component to the image stabilization process– it’s based solely on sensing acceleration of the camera. Possible answer: Could the slow wandering of the image result from noise in the accelerometer signal?


One Minute Project: Chip Bugs

Still life with yellow paper (group shot 2)

If you work with electronics, you have probably at some point come across chips that have gone bad. The usual strategies to deal with these include (1) writing “DEAD?” on them in large letters (2) throwing them out, and (3) hiding the evidence. I once heard about a lab student who, whenever he came across a dead chip in his circuit, would dutifully file it back in the drawer with the new chips of that variety– just in case it turned out to be good after all.

Here’s an alternative solution: Turn your chips into Chip Bugs: cute, tiny sculptures that leave no doubt as to which components are which.
Continue reading One Minute Project: Chip Bugs

Make your own 1952 Fraction-of-an-inch Adding Machine

Adding Machine in case

Last weekend we took a trip to Urban Ore in Berkeley, where I found an incredible gem: this “Fraction of an Inch Adding Machine.” It’s a simple to use device that lets you add any number of fractions– from 1/64 to 63/64– quickly, automatically, correctly, and without thinking about it.

As proudly proclaimed on the bezel itself, this calculator design is covered under patent Des. 169941, submitted in 1952, and granted a 14-year term in 1953. Forty years after the patent has expired, it’s painfully obsolescent, and yet remarkably charming. The design is so simple and so obvious in how it works, and yet… there’s something almost magical about it.

But enough talk. Want to play with one? Using our pdf pattern and some office supplies, you can make a working replica in 5-10 minutes and try it out yourself!

Usage 3: First operand

Continue reading Make your own 1952 Fraction-of-an-inch Adding Machine

Vintage QuiltBert!

Q-bert quilt Eric's original 1984 003

I knew I couldn’t have been the first to make a QuiltBert, but I just couldn’t find any evidence for one online. That’s probably because in 1984 putting pictures of all your crafts online wasn’t yet commonplace, and that’s when Eric’s extremely cool mom made him this Q*bert quilt for naptime, making him the luckiest preschooler ever. It even has a brown plaid flannel border like mine! More pictures here, including a close-up where you can see some of the embroidery that went into making Coily. Many thanks for sharing it with us!