We’re wrapping up this week’s updates on the WaterColorBot project with some notes about software and documentation.
Documentation
Our guides for setting up and using the WaterColorBot are already extensive, and still growing. You can find them at the Evil Mad Scientist wiki, or get there with a shortcut: watercolorbot.com/docs.
Getting Started with WaterColorBot
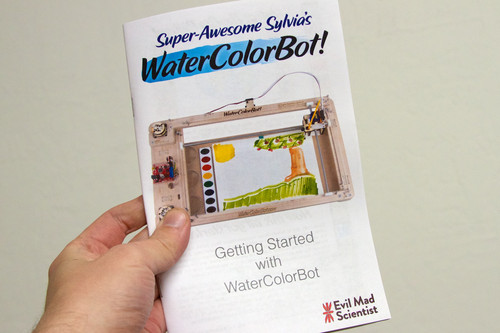
One of the most important parts of the WaterColorBot’s documentation is our booklet “Getting Started with WaterColorBot.” The booklet covers the process of assembling the WaterColorBot kit, basic usage, an overview of software options, and a host of tips and tricks. It’s available on our documentation site in PDF format.
Assembly video
We’ve put together a setup video, walking through the steps of putting together the WaterColorBot kit. The video is strictly optional, and covers much of the same ground that the booklet does. You can watch it at http://watercolorbot.com/setup.html, or find it linked from our documentation page.
Software
There are, at present, three primary applications that you can use to control the WaterColorBot, each of which has unique advantages.
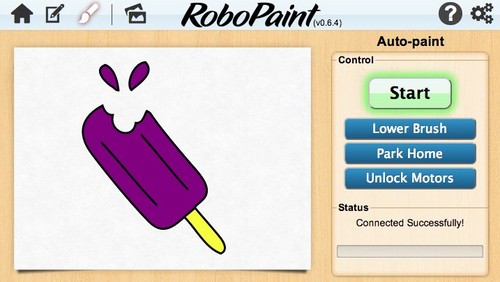
RoboPaint RT
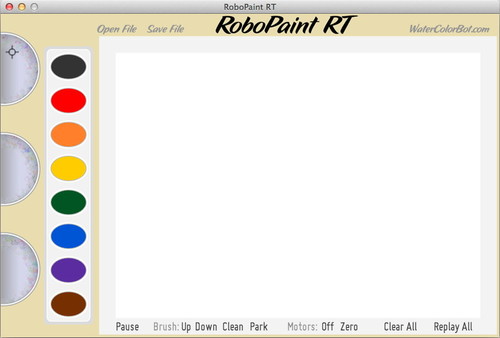
The simplest of the three programs is RoboPaint RT, which is the one that we featured in our Kickstarter video. RoboPaint RT is a “real time” application that allows you to paint with the WaterColorBot. It’s straightforward and manual: Click on a color in the paint palette to change to that color, click on the water to dip the brush in the water, and drag the brush to paint on your paper.
With RoboPaint RT, you can also replay your drawing to make multiple copies, and save the file to open up and print again later. This program can be a lot of fun to play with and is a great way to get acquainted with the WaterColorBot. For those with good artistic skill, it can also be a remarkably powerful program.
RoboPaint
Next up is RoboPaint, another stand-alone application written by the WaterColorBot team. In RoboPaint, you can open existing artwork in SVG format, snap the colors to your paint palette, and paint the document. It also has a rudimentary edit mode that lets you create new drawings to print. If you’re starting with existing SVG artwork, RoboPaint is generally the best of the three programs to use for a few different reasons. Most importantly, it’s good at automatically filling in large solid regions of a painting.
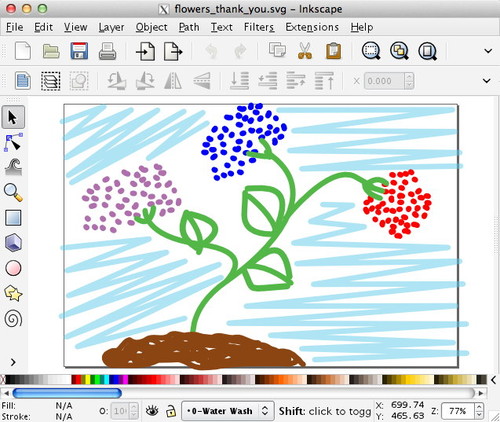
Inkscape, with extensions
The third primary application is Inkscape, a superb, free vector graphics editor, for which we have written an extension (a plugin) to control the WaterColorBot. Our extension provides fine grain control over exactly what will be painted, but more-or-less requires that you create the artwork within Inkscape to take full advantage of the features.
Above, the drawing used to make the Robo-painted thank you cards that we wrote about earlier this week.
Inkscape is also capable of importing artwork in PDF format (as well as tracing bitmap graphics to some extent), and saving as SVG graphics that can be used with RoboPaint. If you’ve ever used an Eggbot (and its Inkscape based driver) you might want to start here, before trying the other apps.
And if you like to code…
For developers (and people who just like to tinker with code), there are additional options:
– Rolling your own, starting with our examples. RoboPaint RT is written in Java/Processing, RoboPaint is written in JavaScript, and the Inkscape extensions are written in Python. These can provide a nice starting place, in a few different environments.
– Direct serial control. The “EBB” motor controller board used on the WaterColorBot can be independently controlled from any environment that can send serial data to your USB ports. Its command set documentation is here.
– The RESTful API. RoboPaint includes the “CNCserver” API for WaterColorBot, documented here. You can use this interface to control the robot locally (from your computer) or remotely (from anywhere on the internet, if you enable the remote option within RoboPaint and tell the other computer what your IP address is). Currently this is a low-level API; we are working on a higher level version where you can simply send an SVG file for RoboPaint to process and paint.
WaterColorBot kits are shipping now, and we are still taking pre-orders for December shipment.