Pumpkins are being featured today on a special Halloween edition of Maker Camp, and I’ll be there, showing our Snap-O-Lantern project. Tune in at 5 pm (Pacific), today, Thursday, October 10.
Category Archives: Engineering
Maniacal Labs on the Three Fives Kit
Dan at Maniacal Labs posted a review of our Three Fives kit:
… yay for creative kits that cause you to go out and (re)learn stuff! The cool thing about the 555 chip is that it is very much a building block to bigger things. There are plenty of resources out there for 555 applications and project ideas. I’d like to thank Eric Schlaepfer for his awesome kit idea and Evil Mad Scientist for helping make it available to the masses!
LED Vertical Blinds
dinofizz posted in the forums about the LED display based on the Peggy 2 he installed on his vertical blinds:
I had custom PCBs made to help daisy chain the vertical blinds (they’re sitting on top of the horizontal beam from which the blinds hang). 300 ft spool of 16-way ribbon cable completely used up. Around ~4000 individual solder joints, and I’m still using breadboard to hold things together at the moment! Took me forever.
He linked to a few more build photos over in the forum post, and he even posted some video of it in action:
Video Sans-Video Game
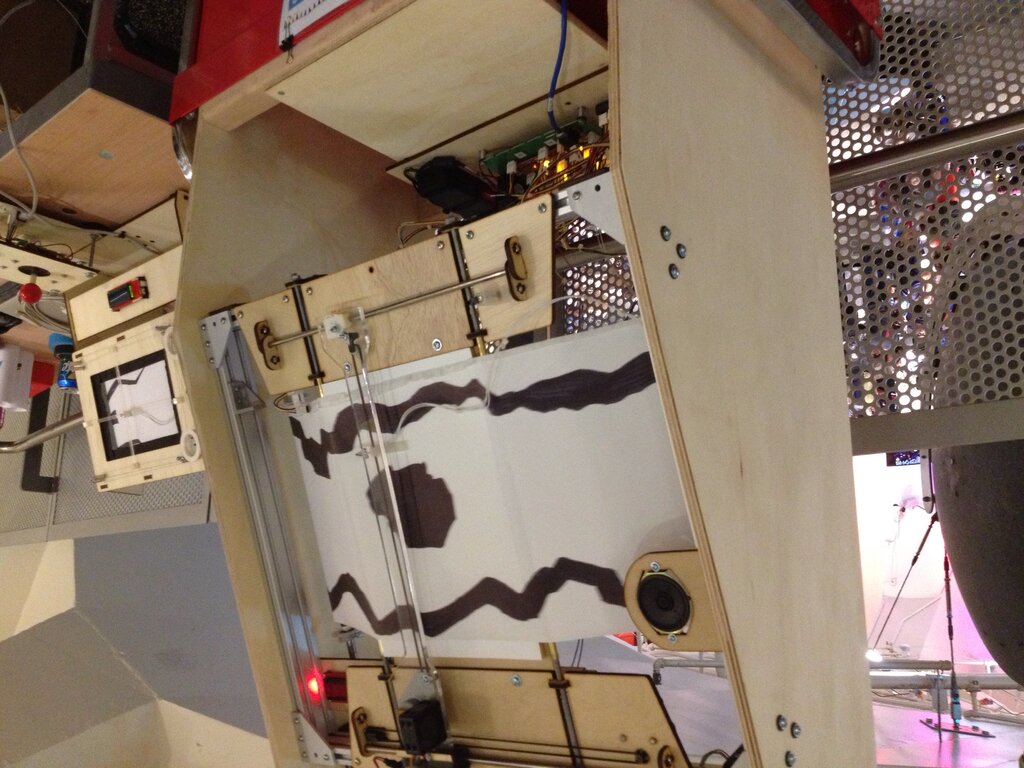
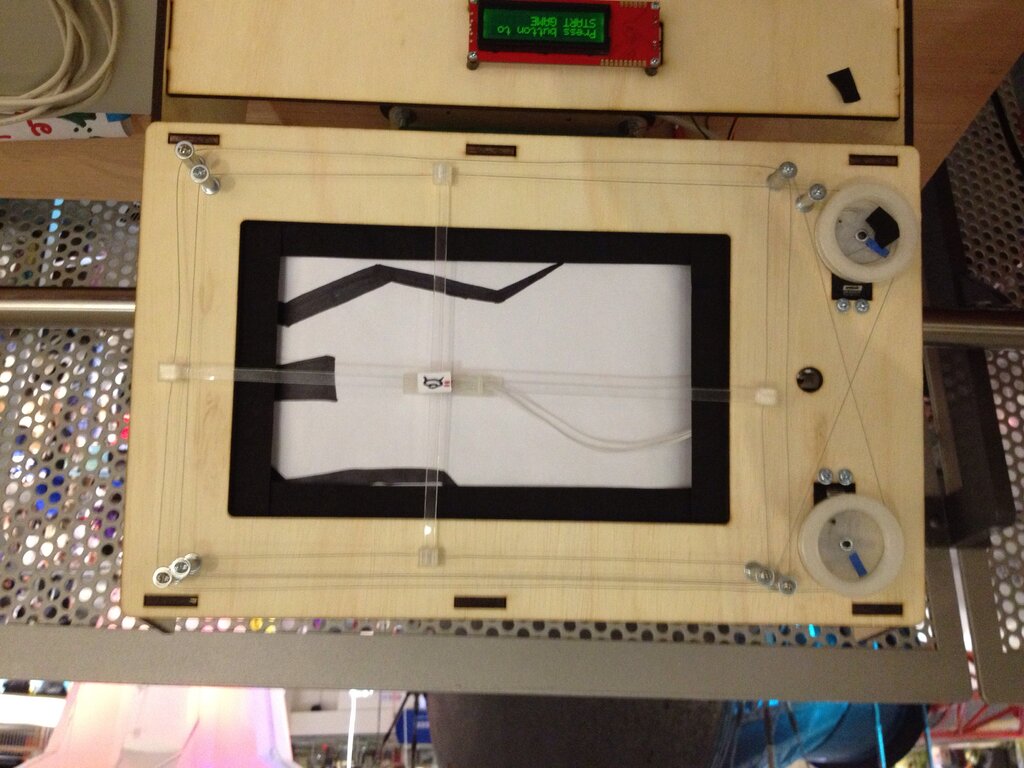
One of the treats at Maker Faire New York was watching kids playing Michael Newman‘s mechanical Video Sans-Video Game. The play field is a scroll of paper with drawn-on caves and channels through which you must navigate (via joy-stick) your little paper space craft on an X-Y stage. If your craft collides with a wall or an asteroid, an infrared detector sees the darkened part of the paper, and it is game over!
Michael brought two versions— a large arcade style one with a belt driven stage, and a smaller one modeled after the WaterColorBot cord and windlass system.
One interesting thing about the young kids playing the game is that none of them had ever seen a media system that required rewinding to restart. Michael drew a new game Sunday morning to replace the slightly tattered roll after a full day of play at Maker Faire on Saturday.
CalGames 2013
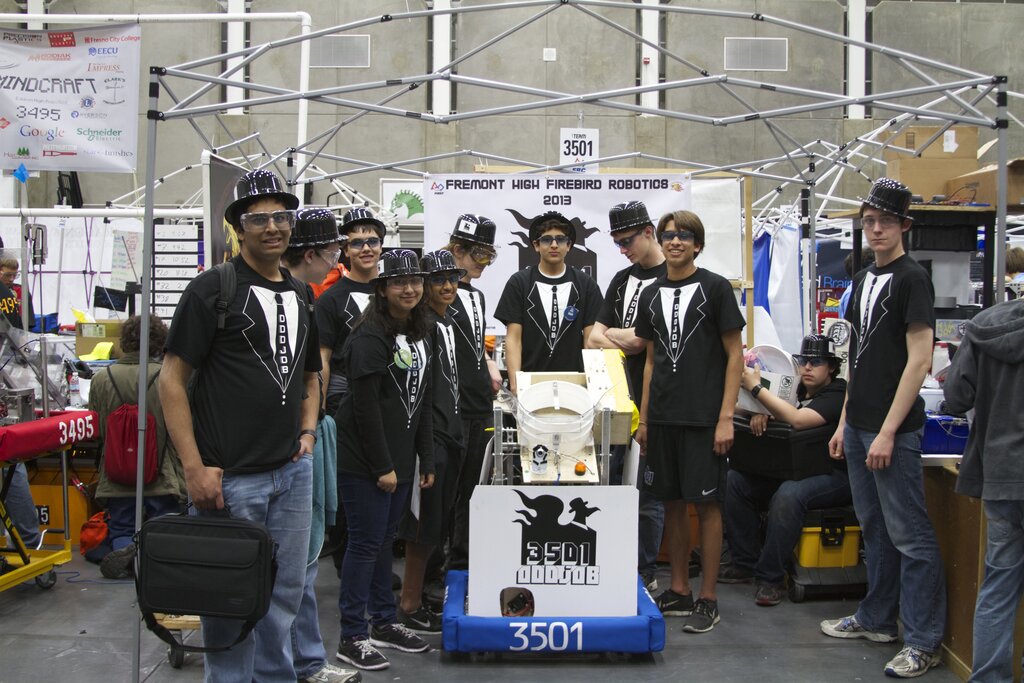
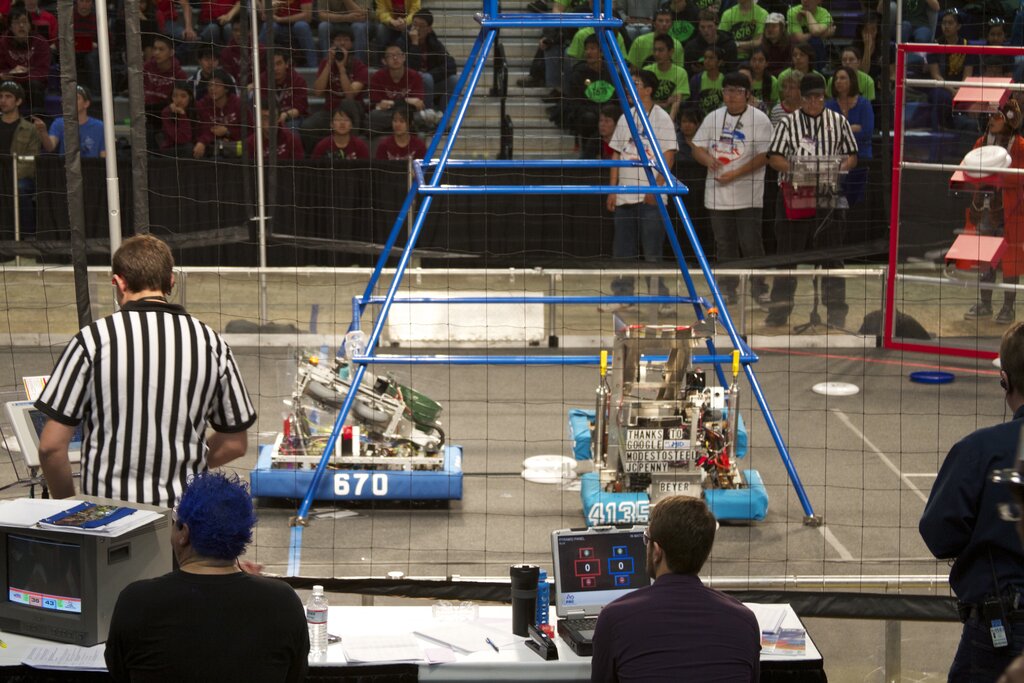
This weekend, Oct. 4-5, is CalGames 2013, an off-season FRC competition. It’s being hosted by the team we mentor, Firebird Robotics, at Fremont High School here in Sunnyvale, California. The event is open to the public and free of charge for spectators. Matches are scheduled for 6:15-7:15 Friday night, start again at 8:15 on Saturday morning and everything wraps up with awards at 5:15 on Saturday afternoon.
If you’re in the area, come watch the robots shoot frisbees and climb the pyramids!
Sugar Refinery
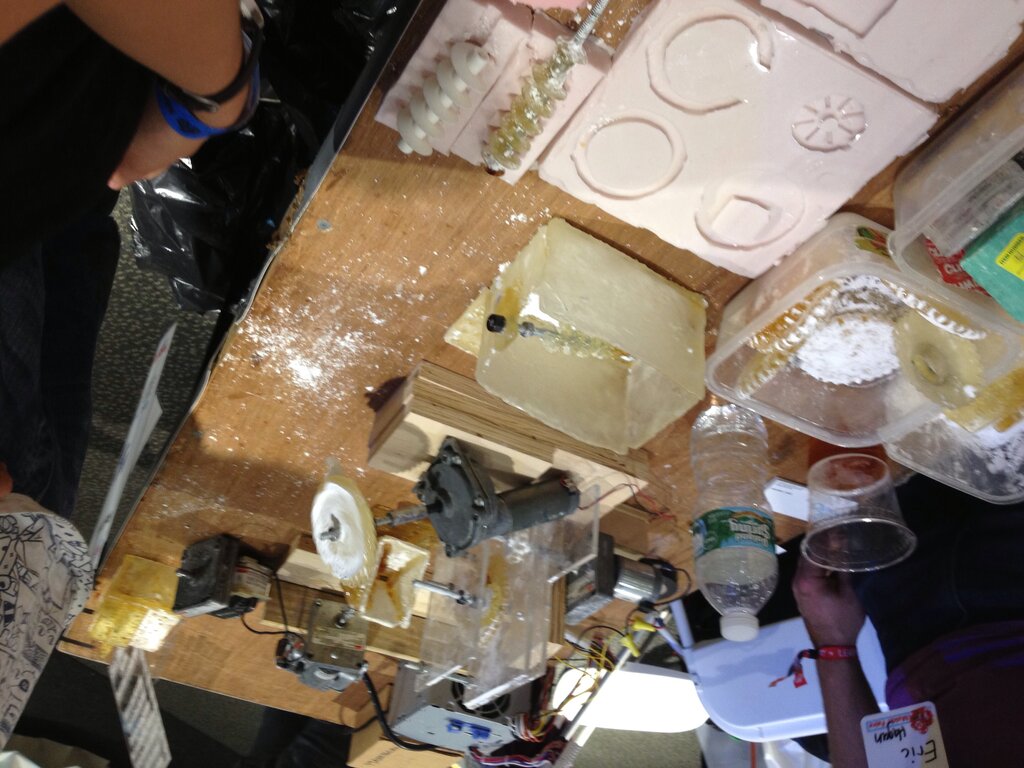
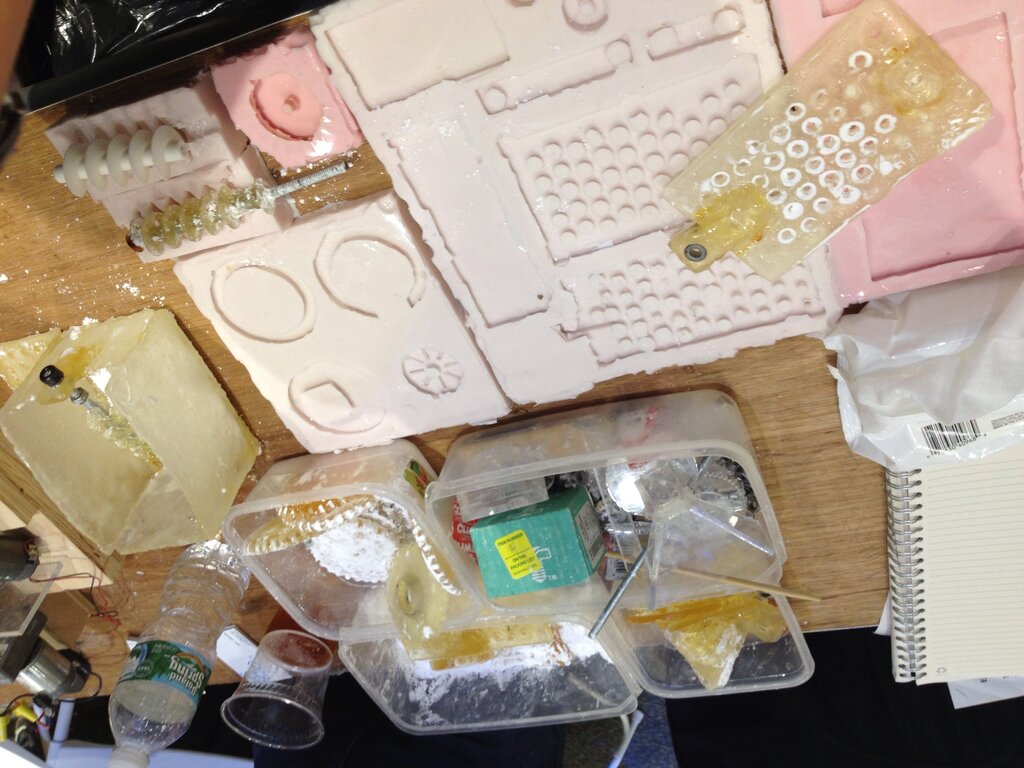
Refined by artist Eric Hagan is described as
a food safe sugar based electromechanical kinetic sculpture. Utilizing digital fabrication and mold making techniques, Refined represents a few select stages from the manufacturing process for refining sugar.
At Maker Faire New York, Eric brought along not only the mechanisms, but also the molds he used to make the gears and other components out of sugar.
Making at Maker Faire
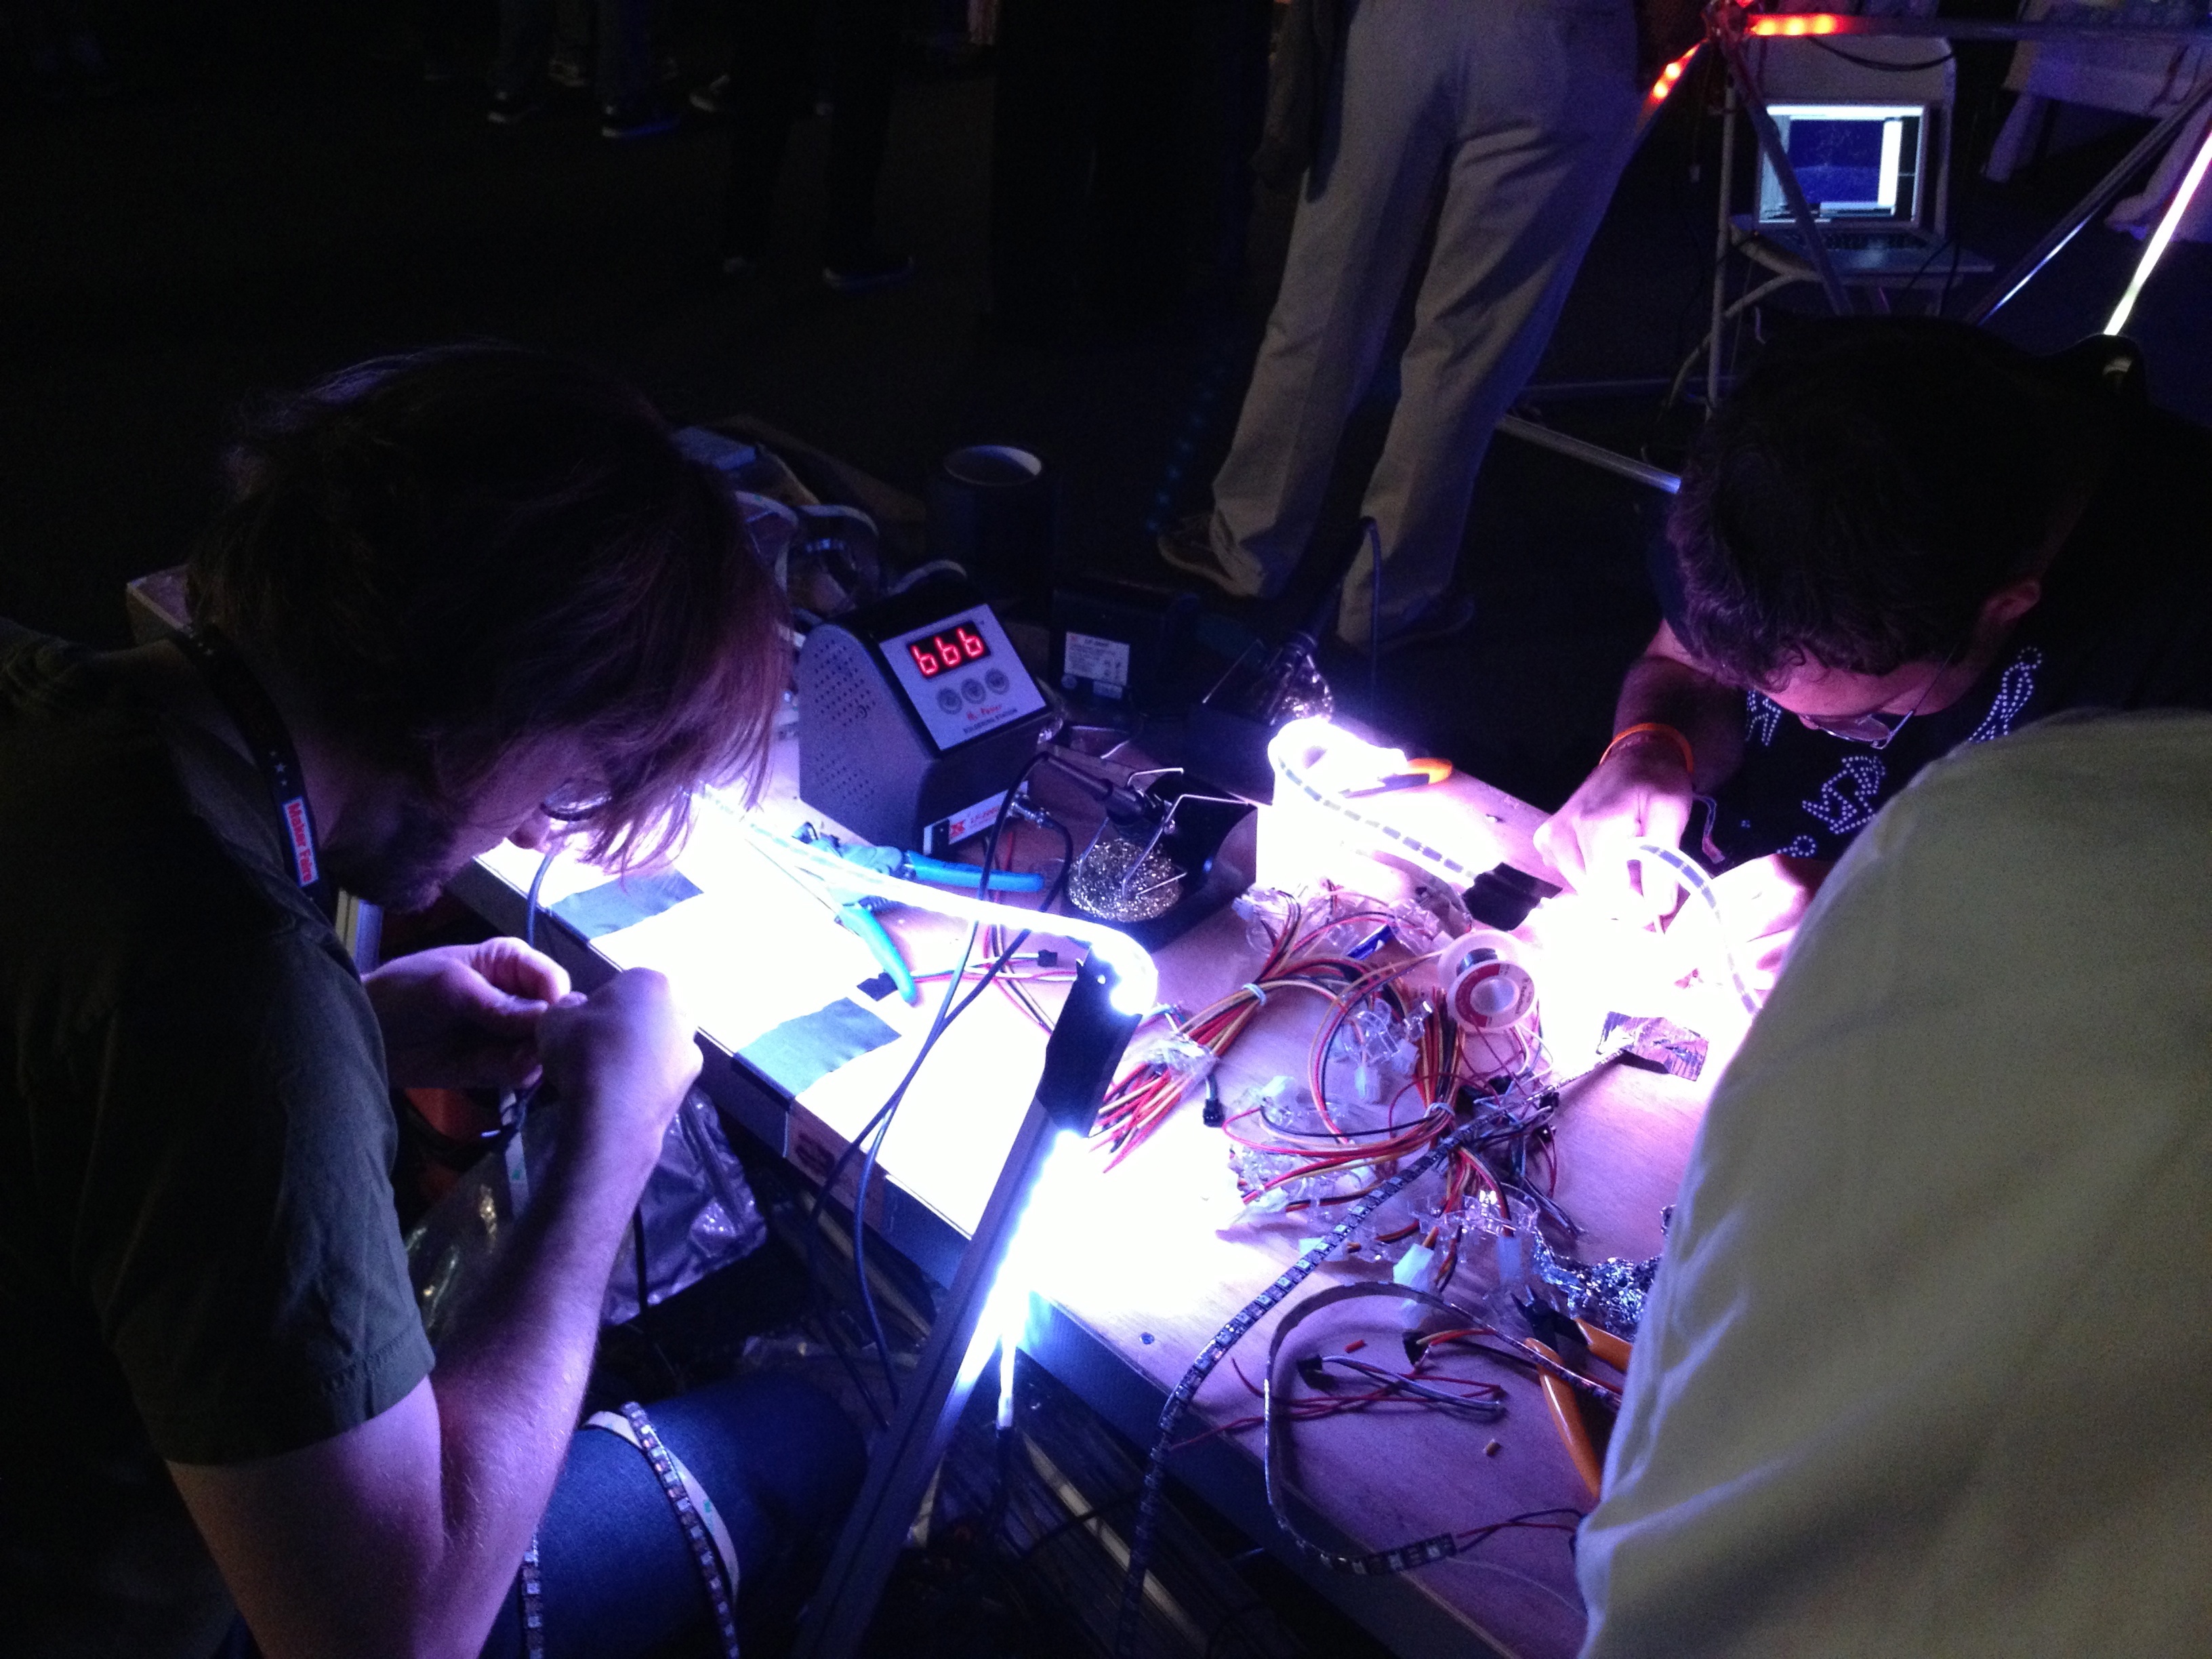
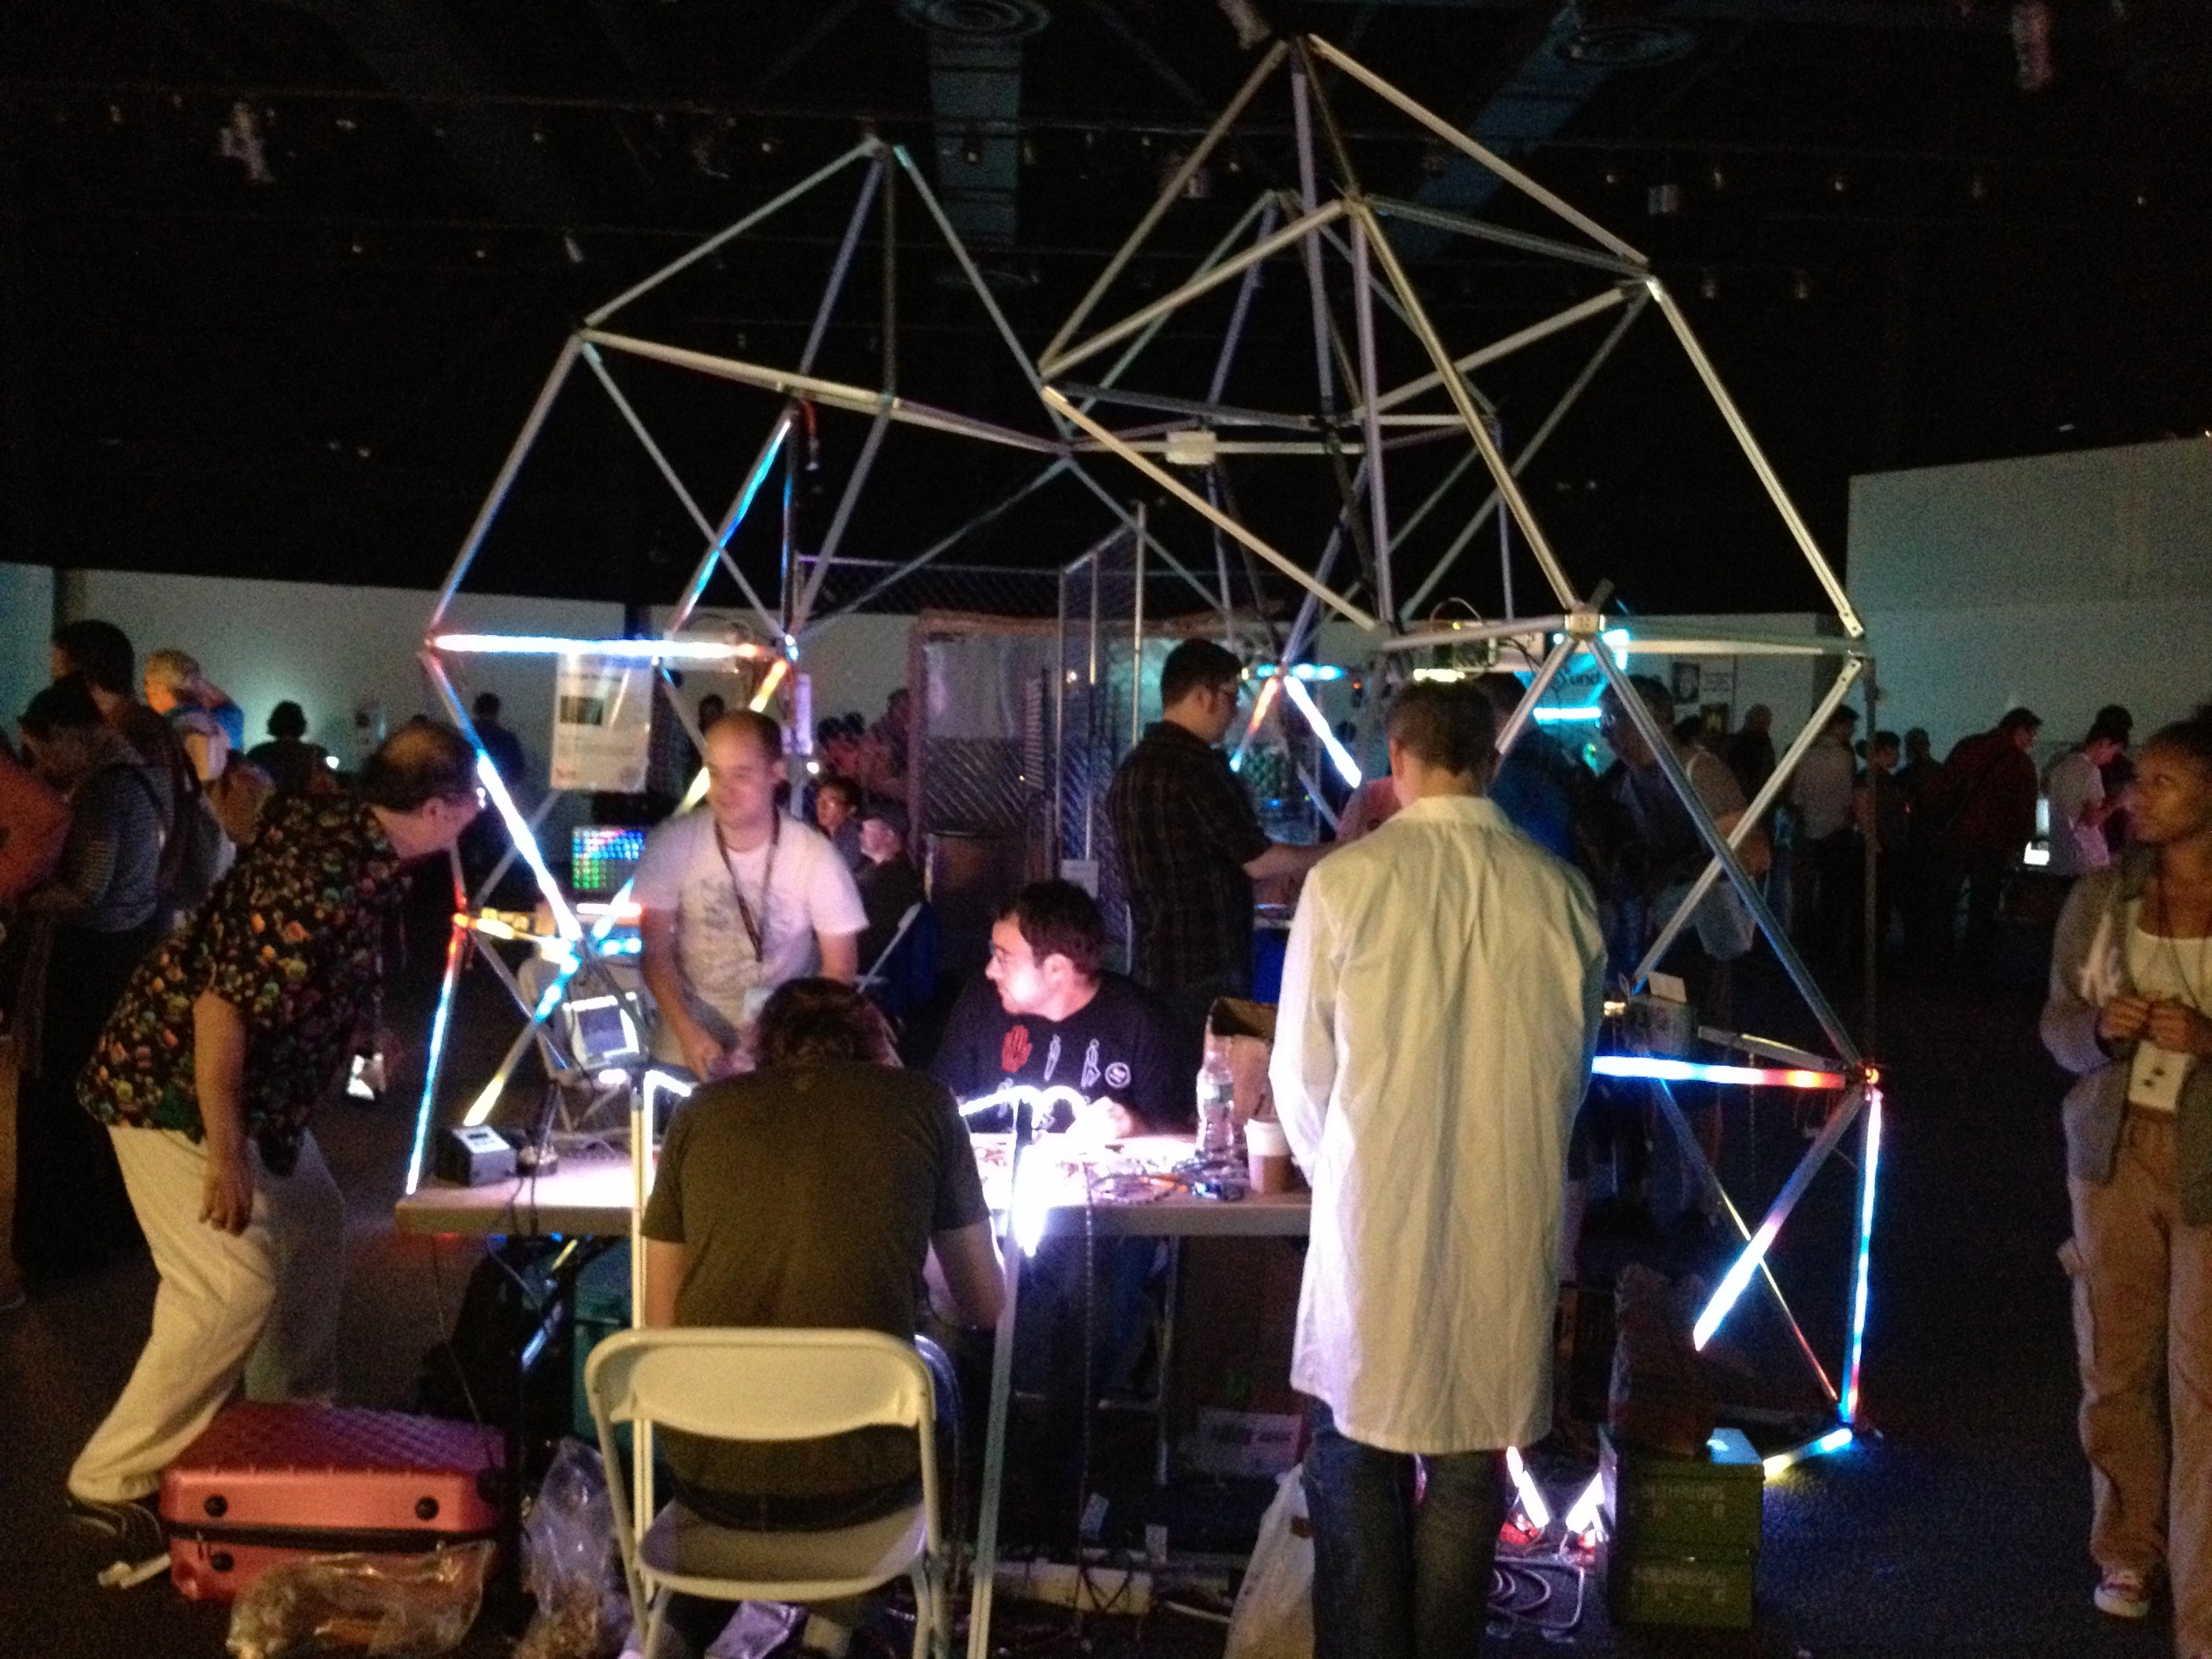
Matt Mets of Blinkinlabs assembled a crack team of volunteers to assemble BlinkyTape for the Crystal Archway at Maker Faire NY. They sat in the dark with their soldering irons and LEDs, making Maker Faire happen in real time.
It was great to see the installation come together over the course of the fair.
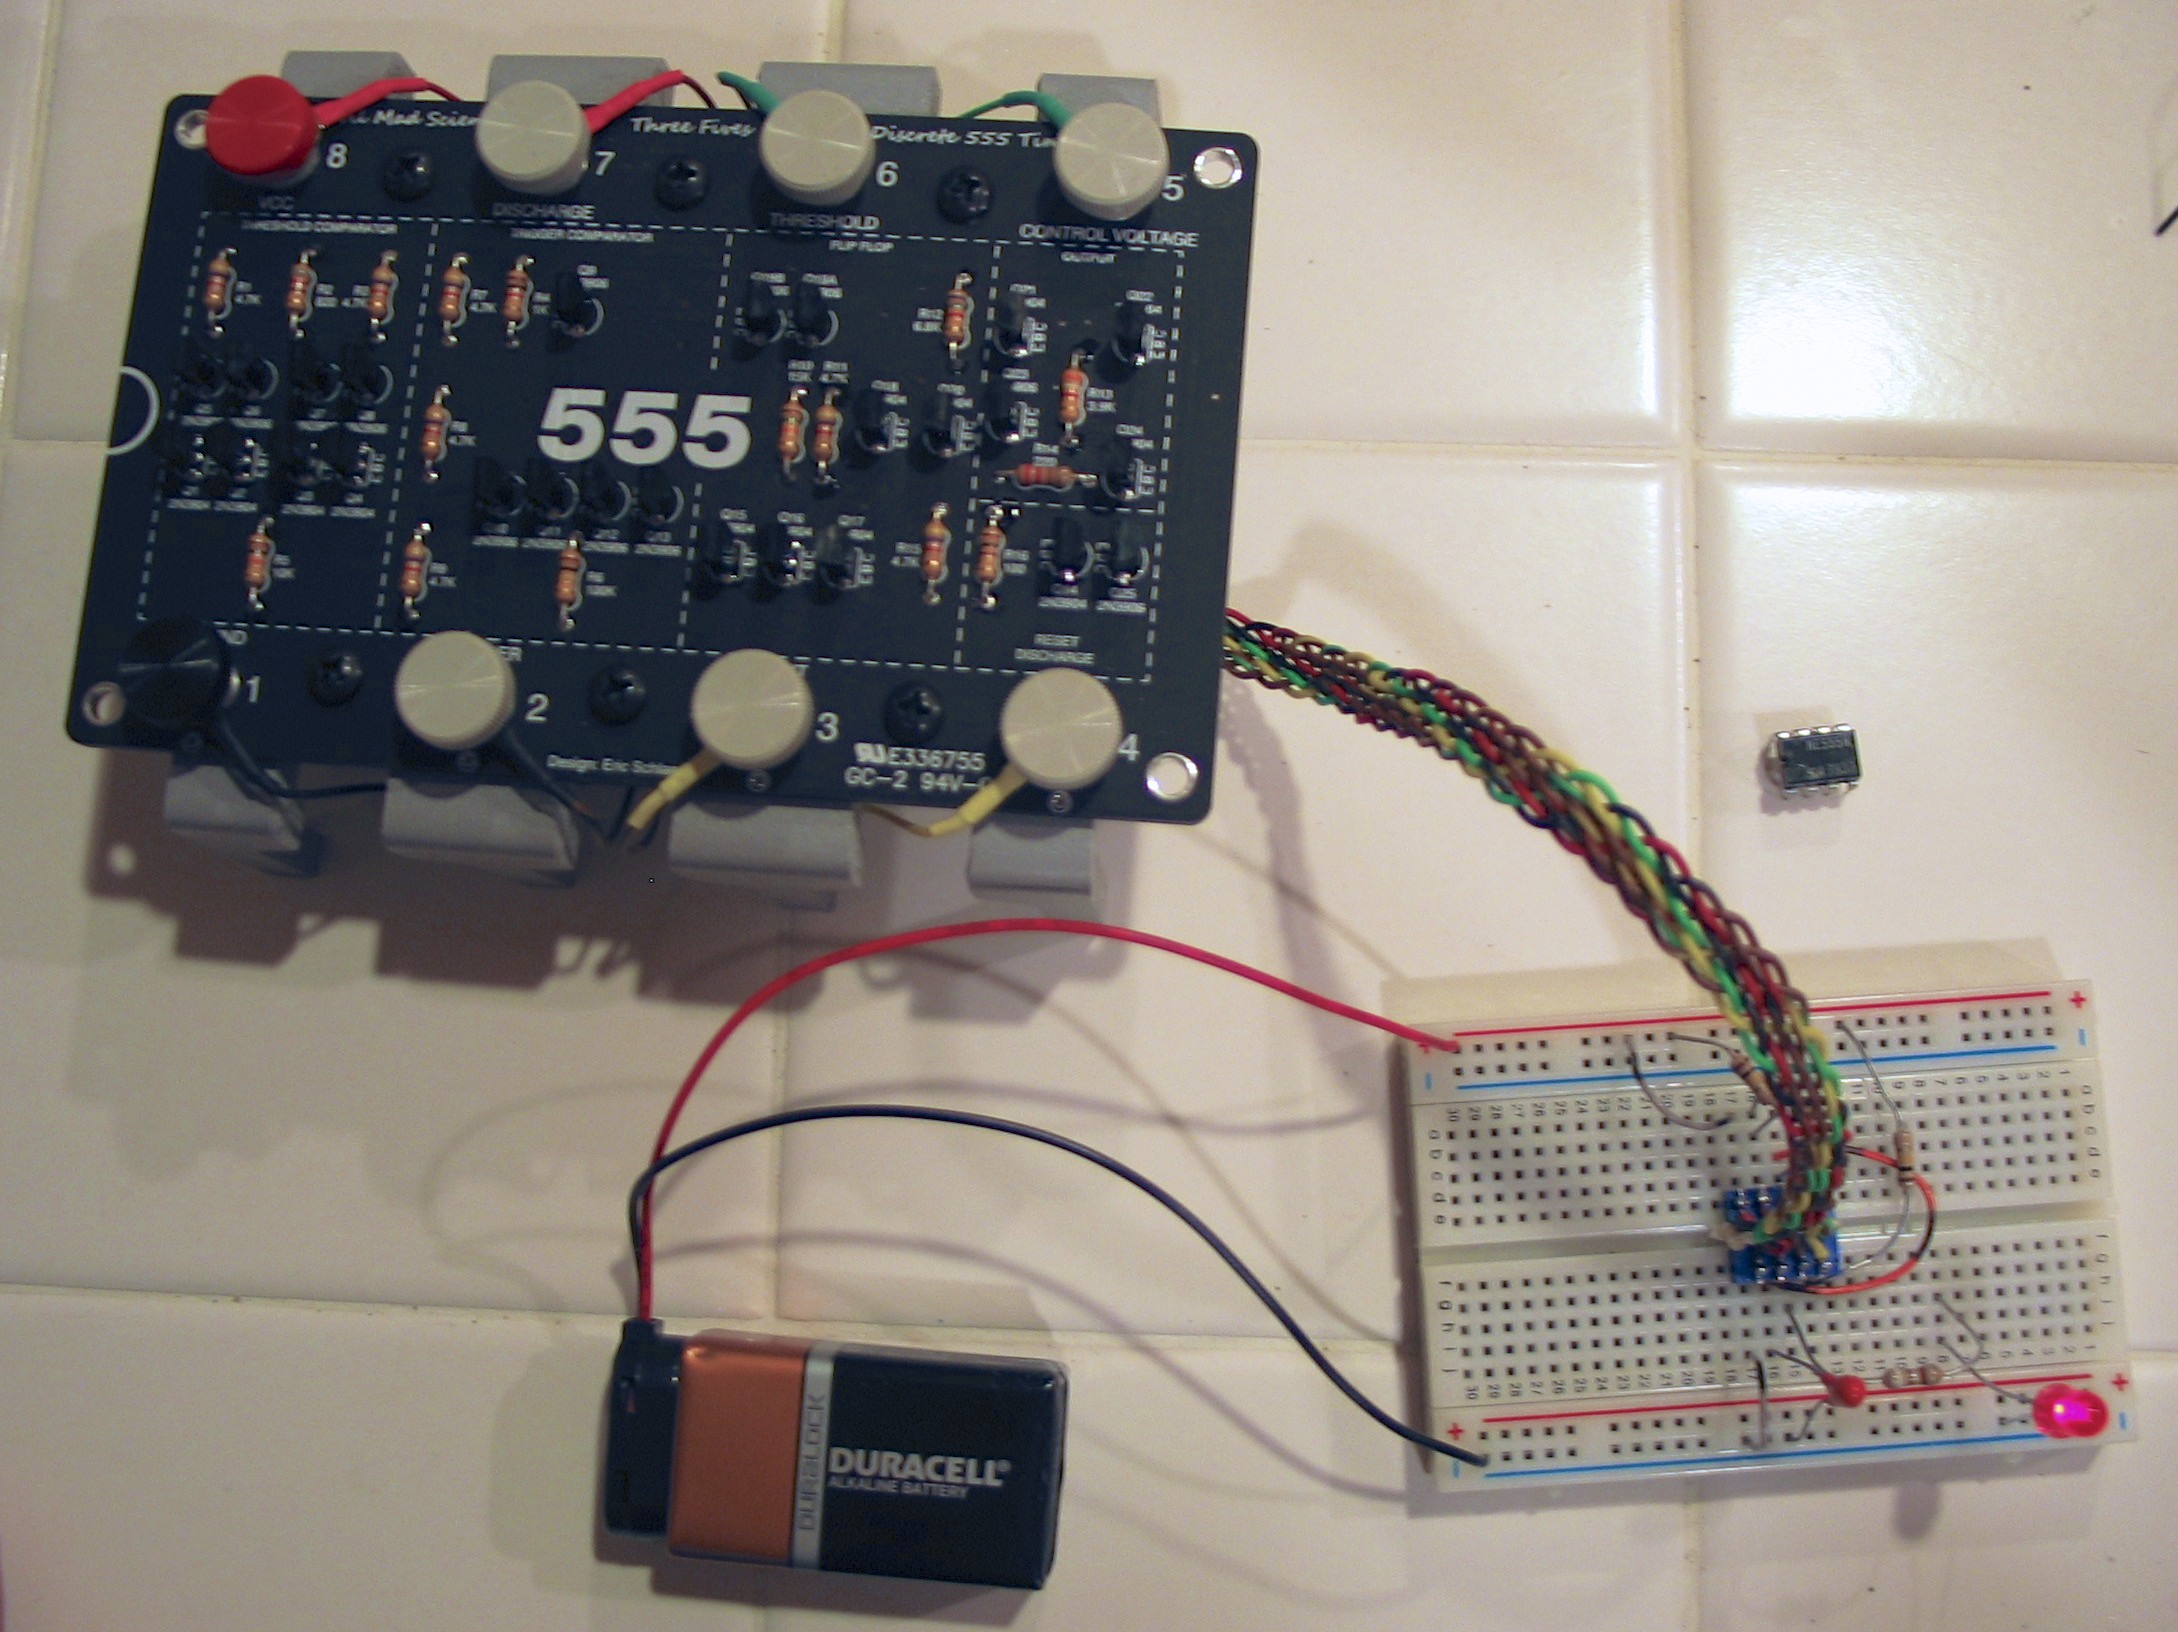
In-circuit emulator for the 555
After building up one of our Three Fives kits, Ed wrote in to say:
I have been an electronics hobby enthusiast for well over 45 years building many, many kits, hacking my own stuff, others’ stuff, designing projects, etc. I have to say, your Three-Fives kit is truly the nicest commercially available kit I have ever had the privilege of assembling.
I was inspired to create a small, flexible wire harness with an 8-pin header on the end to effectively create an “In-Circuit Emulator” interface. You can prototype a circuit and then quickly pull the chip and insert the “ICE probe” and use a scope to probe any part of the chip you want to see what’s going on “under the hood.”
Thanks to Ed for sharing his project with us— and what a cool idea!
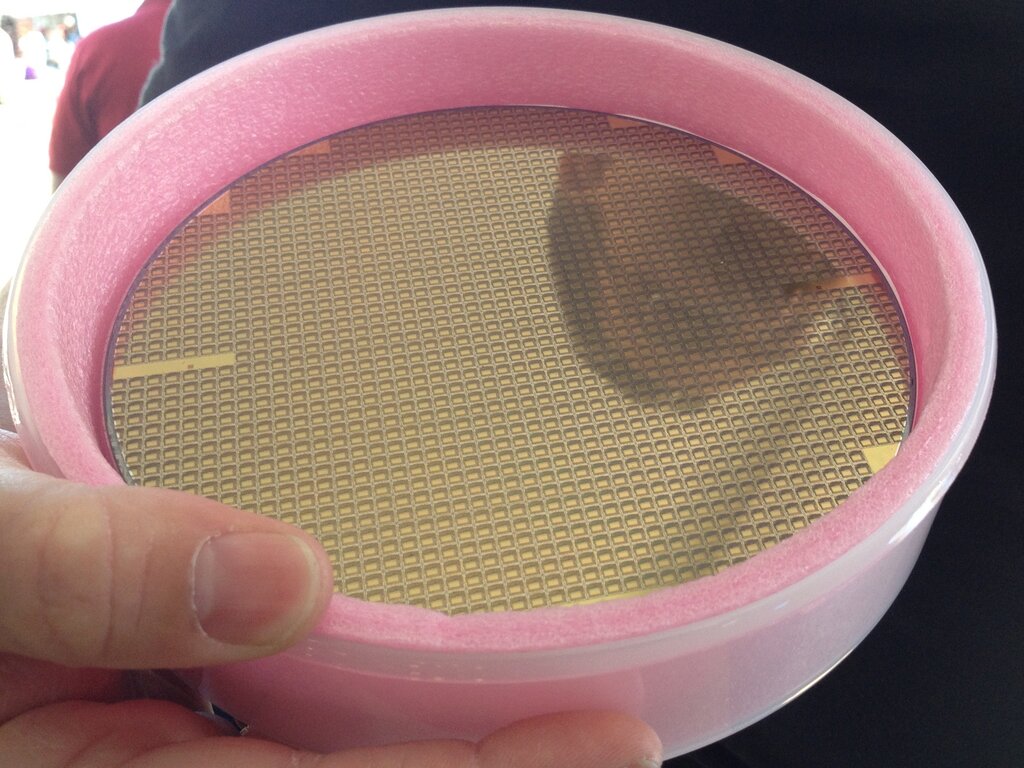
A wafer full of ‘328s
WaterColorBot Goes into Production
This has been a busy and invigorating week at WaterColorBot HQ, as we’ve finalized the hardware design for the WaterColorBot and begun in earnest the manufacturing process.
That term “finalized” carries a lot of weight with us. It marks the end of a seven month period of making regular iterative improvements to the WaterColorBot design. When we launched our Kickstarter campaign back in July, we had thought that we were already done with the process. However, it turned out that having these two extra months between launch and shipping gave us an invaluable opportunity to refine and finesse many of the little details that we had already spent so much time on.
Here are some of the highlights of that process; some subtle yet wonderful little improvements that we’ve made to the WaterColorBot.
An improved brush lift mechanism
Since we started the project, the carriage on the WaterColorBot has been refined through over 30 revisions, including a half dozen or so just since we launched our Kickstarter campaign in July. Some of these revisions have been minor (for example, rounding the corners more to make it more finger friendly, or tweaking the tolerances on the guide bushings).
Other revisions have been more substantial. In the last few revisions, we changed the way that the brush-lift servo motor actually lifts the brush. Previously, the motor directly pushed the brush holder up or down. But there is now a little stainless steel wire form that transmits motion from the motor to the brush holder. By adding it, we’ve made it so that the brush has a full 3/4” (19 mm) of travel– up from 1/2” (12 mm) –making it possible to push the brush down lower to better wash between changing paint colors, and to go up higher, more readily clearing paper and paint.
An improved lower deck
The lower deck of the WaterColorBot, affectionately known as the “spoilboard” is machined from medium-density fiberboard (MDF), with indentations to index the paint set and water dishes, and a clip to hold the paper. In WaterColorBot 1.0, we’ve moved from 1/4” to 3/8” thick MDF, making it tougher, more substantial, and better weighted. We’ve also added new laser-engraved indexing marks that show you where to position other sizes of paper (US letter and A4), in case you’re not using 9×12 watercolor paper.
On a related note, we’ve also been developing an alternative plastic spoilboard as an add-on accessory, which may be helpful for artists who like to paint on soaking-wet paper.
Better bearings, yet again
And finally, one last upgrade to the motion control system. As you may recall, the carriage that holds the brush is moved by cords driven by stepper motors. After upgrading to the Spectra cord last month, we found that we could make a further improvement in the overall performance of the robot by replacing three specific plain-bearing stainless steel pulleys with miniature ball bearings. Those three places are the three locations on the WaterColorBot where the cord is directed in a U-turn (for example, at point ‘E’ above). Without the ball bearings, the friction at those three points can potentially be significant, particularly if the cord is operated under tension. And with the ball bearings, the robot can run faster and smoother, with lower current to the motors.
The WaterColorBot kit is now available for pre-order at the Evil Mad Scientist Shop.