The EggBot is Back, and it’s better than ever. Bantam Tools is spreading holiday cheer with the launch of the Bantam Tools EggBot™ Ornament Edition, a drawing machine designed to transform blank glass spheres into unforgettable custom ornaments you’ll take delight in unpacking every year for decades to come. Available Now.
Tag Archives: eggbot
Hershey Text v 3.0
Some years ago we wrote a neat little Inkscape extension called Hershey Text. Hershey text could take a little bit of text that you would type and render it into stroke fonts, also known as engraving fonts.
We are very pleased this week to release an all-new version of Hershey Text, written from scratch, and far more useful, capable, and extensible. We have a comprehensive user guide for it as well.
Hershey Text v 3.0 will be bundled into future versions of Inkscape, but it’s also included with the new AxiDraw software and available on its own for download today.
Introducing the EggBot Pro
An EggBot is a compact, easy to use art robot that can draw on small spherical and egg-shaped objects. The EggBot was originally invented by motion control artist Bruce Shapiro in 1990. Since then, EggBots have been used as educational and artistic pieces in museums and workshops. We have been working with Bruce since 2010 to design and manufacture EggBot kits, and our well-known Deluxe EggBot kit is a popular favorite at makerspaces and hackerspaces around the world.
Today we’re very proud to release the newest member of the family: the EggBot Pro, a near-complete reimagining of the EggBot, designed for rigidity, ease of use, and faster setup.
The EggBot Pro is as sturdy as can be: Its major components are all solid aluminum, CNC machined in the USA, and powder coated or anodized. (And isn’t it a beauty?)
The most common mechanical adjustments are faster with twin bicycle-style quick releases, and repositioned thumbscrews for easier access.
The frame also has an open front design that gives much better visibility while running, and greatly improved manual access when setting up.
And, it comes built, tested, and ready to use — no assembly required. Assuming that you’ve installed the software first, you can be up and printing within minutes of opening the box.
The EggBot Pro begins shipping this week. We’ve also put together a little comparison chart, so you can see how it fits in with the rest of the family.
Electro-Kistka: Alternate In-Place Egg Dyeing Technique

After seeing our recent post on dyeing in eggs in place with the Eggbot, Ragnar posted instructions in the forums for an alternative egg dyeing technique.

It involves pre-installing a plastic dyeing bag at the time of positioning the egg in the Eggbot. Full instructions (with more photos) are in the forum post. Thank you for demonstrating this technique, Ragnar!
Visited by Toymakers TV
Addie and Whisker of @tymkrs just posted video from their recent epic road trip including a visit to our shop. The video starts off in Colorado and wends through Arizona before getting to the bay area. After stops including the Internet Archive, the Electronics Flea Market and HSC, they arrive to tour our shop (starting at 11:53) before wrapping up at Tindie. We had a great time talking about the Eggbot, WaterColorBot, Digi-Comp II and miscellaneous vintage mechanical and electronic contraptions.
Eggbot demo at AIA Vision Show
Katherine Scott posted on Twitter:
The
@EMSL eggbot being used for demos by IDS imaging at the@AIAVision show. Awesome.
Eggbot on the news

The Robot Block Party was on the news yesterday, including a our very own Eggbot in action. You can watch the segment, titled “Robotics ‘Block Party’ Attracts Diverse Crowd To Palo Alto” over at CBS.
The Egg-Bot Electro-Kistka
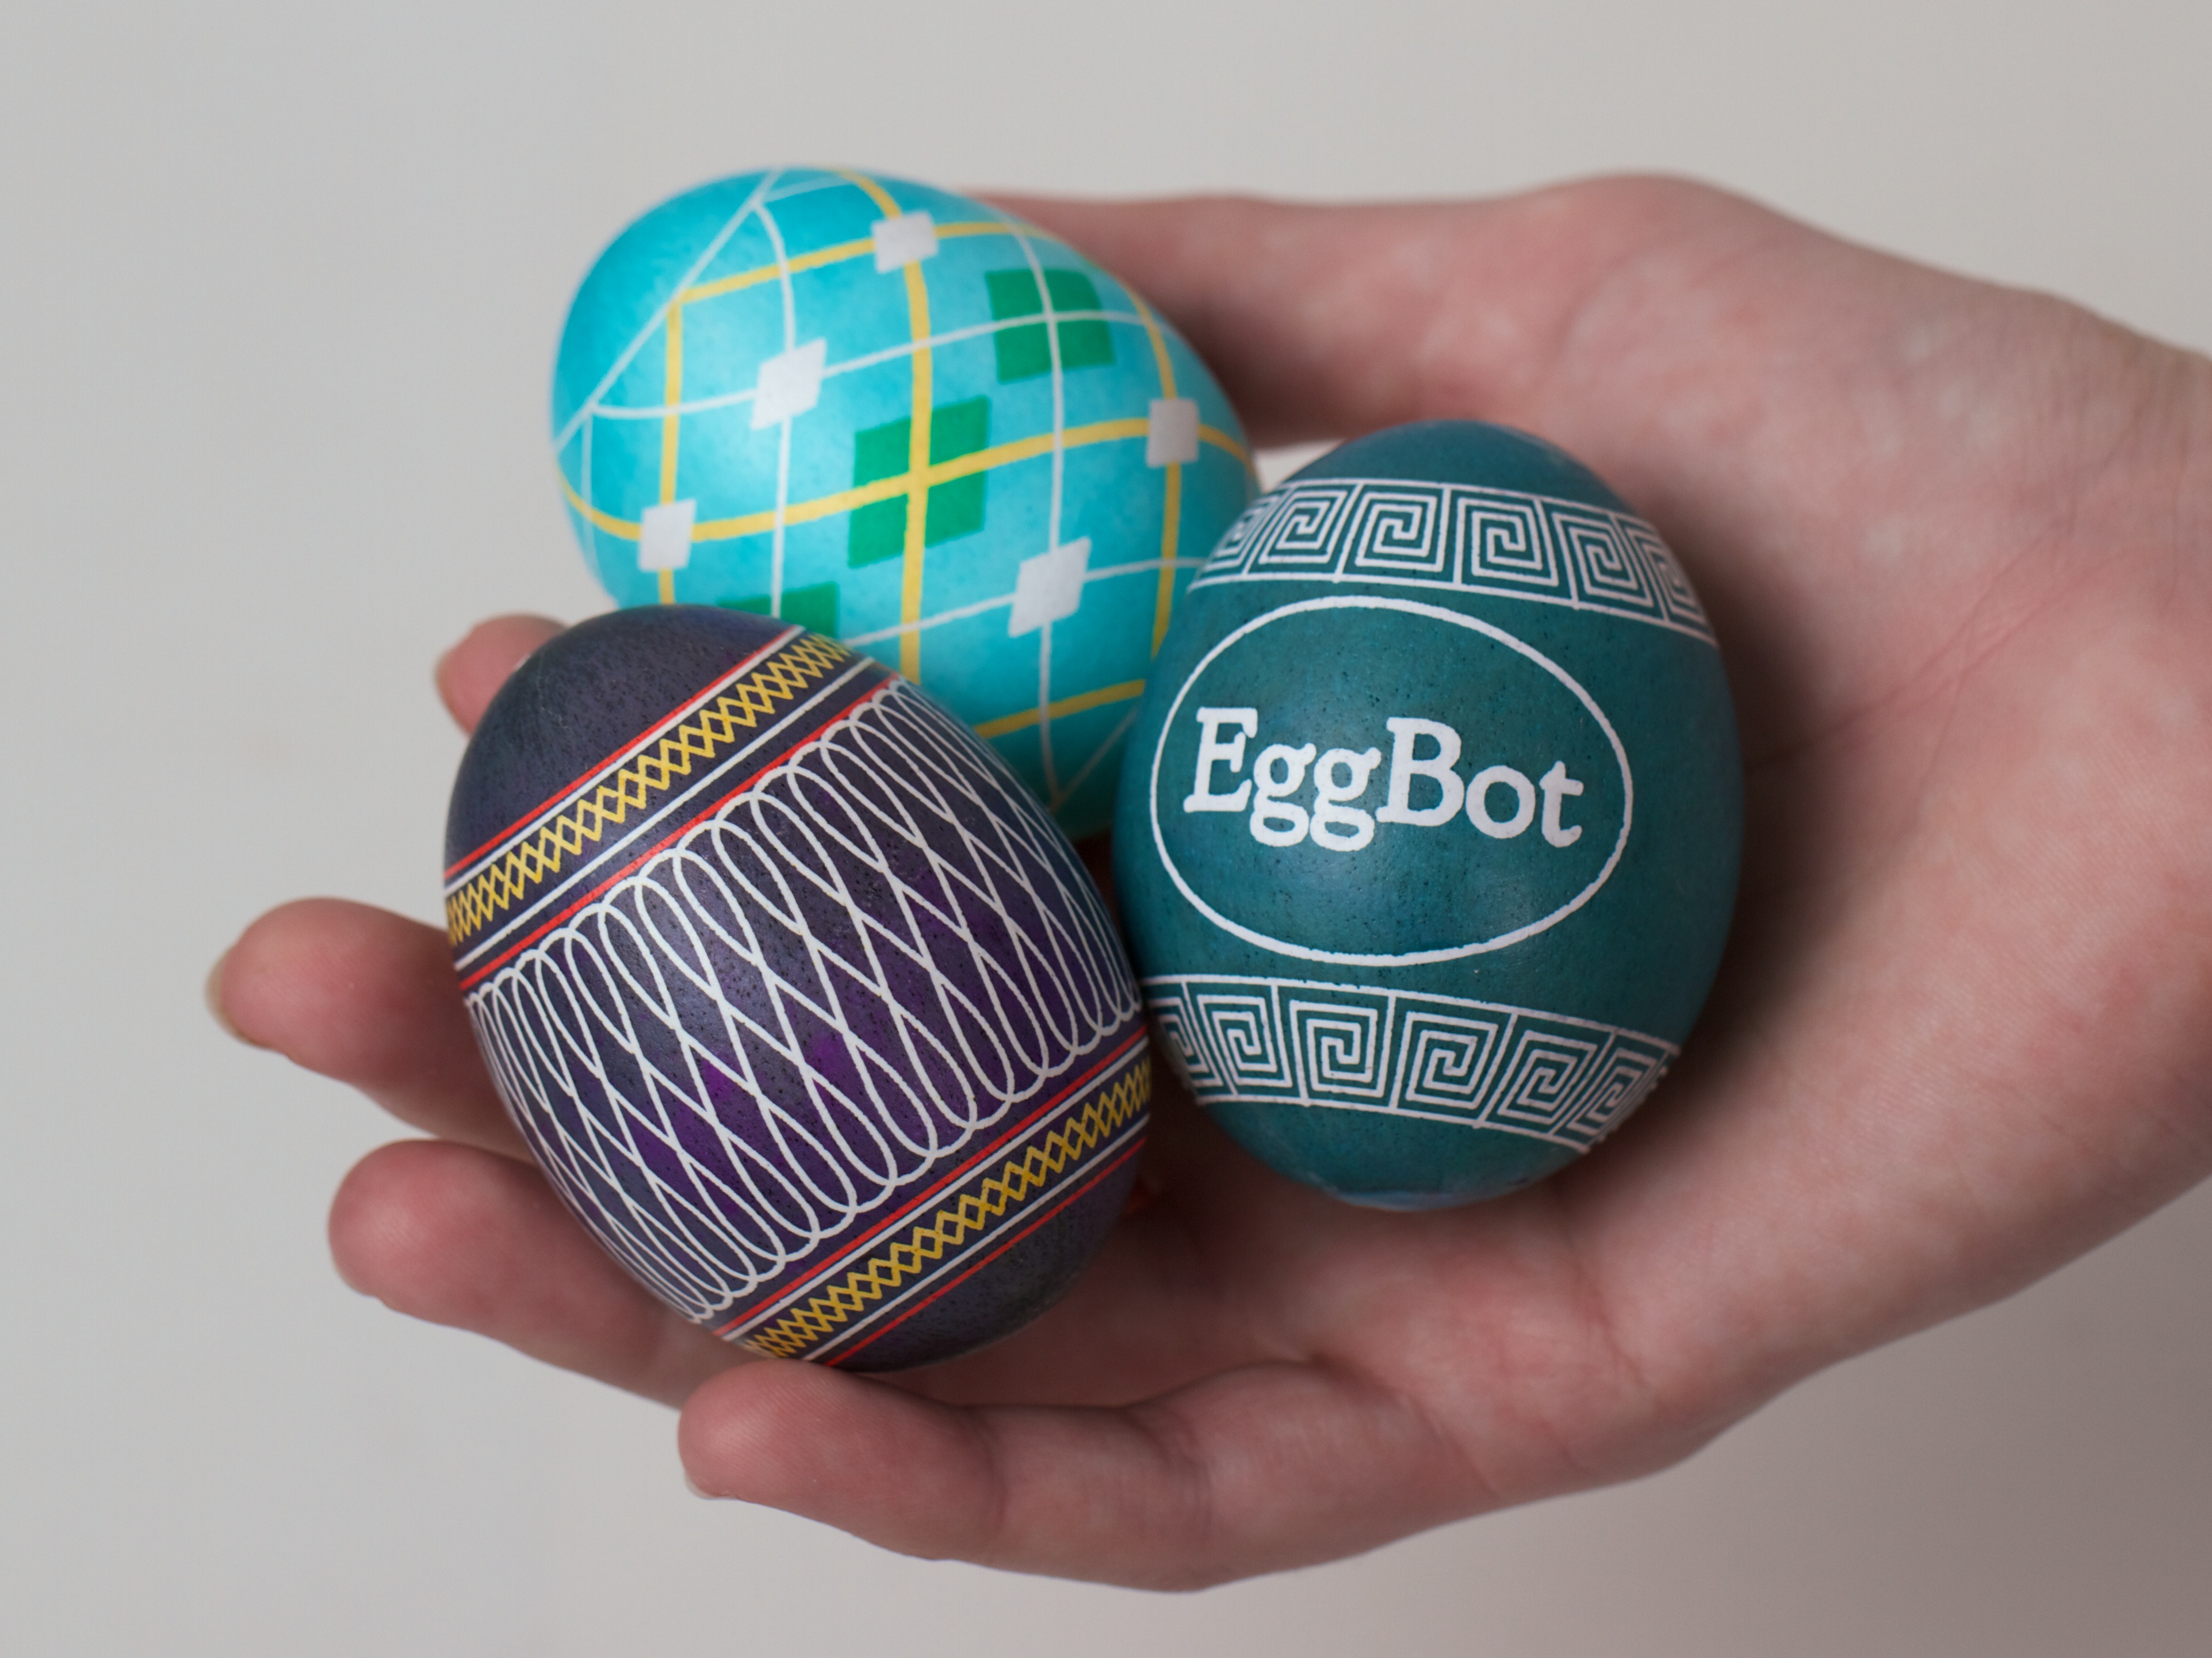
We’re pleased to announce the availability of the Egg-Bot Electro-Kistka: An electric hot wax pen designed to be used with the EggBot. A kistka is the wax tool used in the traditional wax-resist and dye (batik) method to produce colorful eggs in the same fashion as Ukranian pysanky.
We would like to acknowledge that this is not by any means the first time that anyone has strapped a kistka to an EggBot— We wrote about Ann’s DIY version a few months ago, and we’ve seen other versions (both manually heated and electric) in YouTube videos dating back several years.
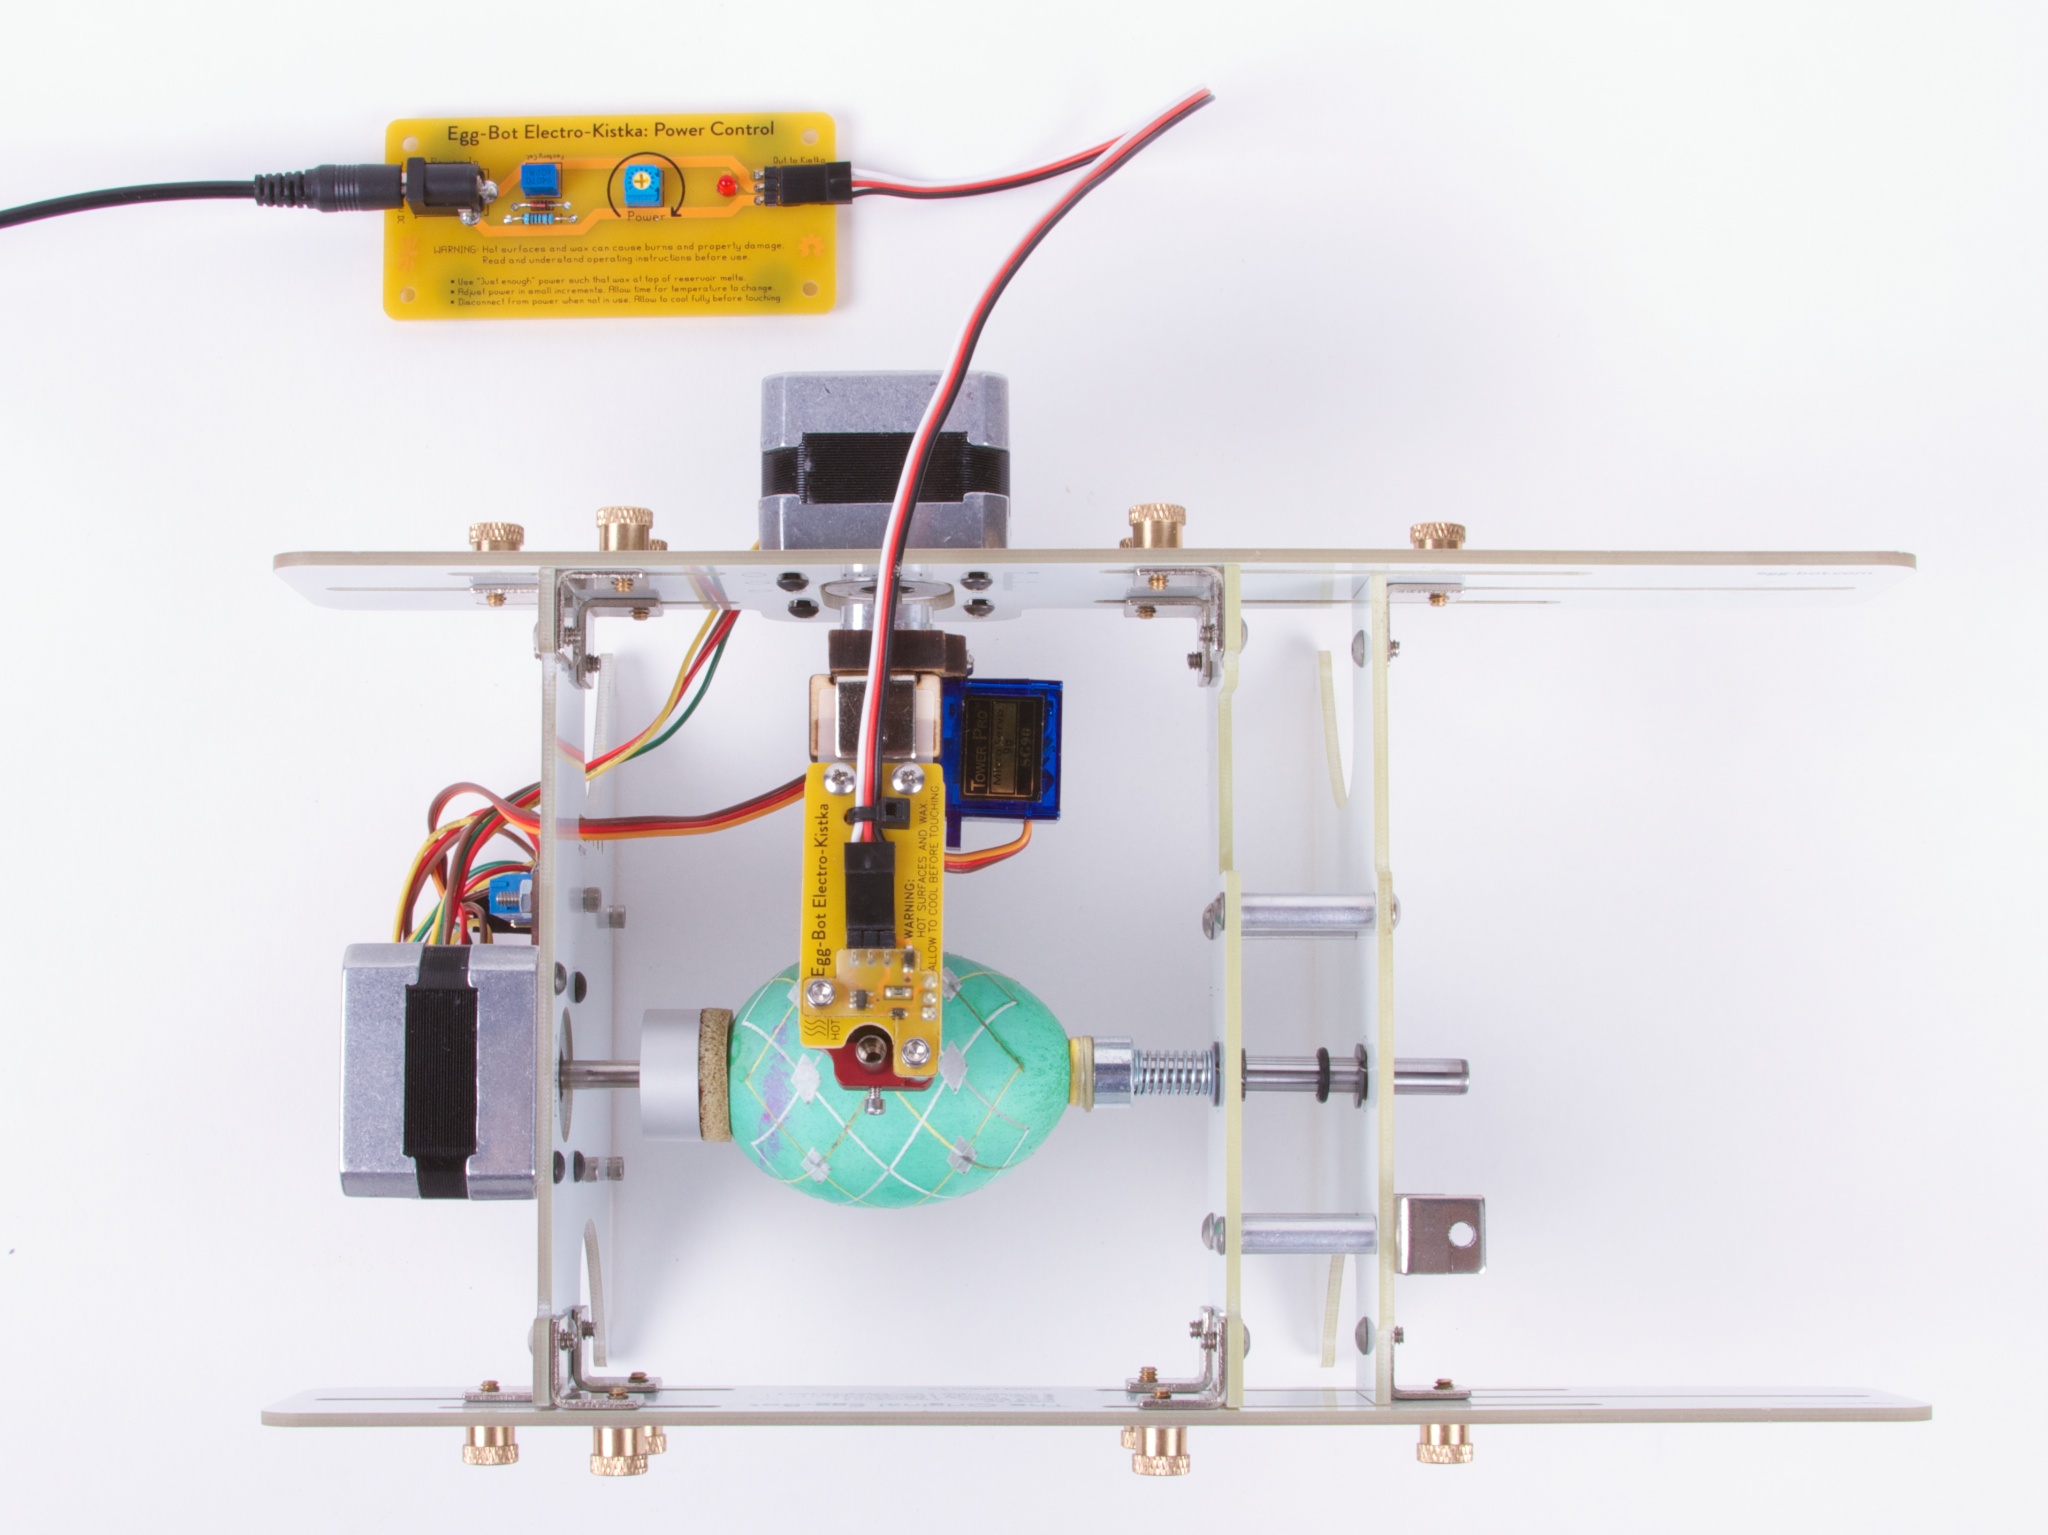
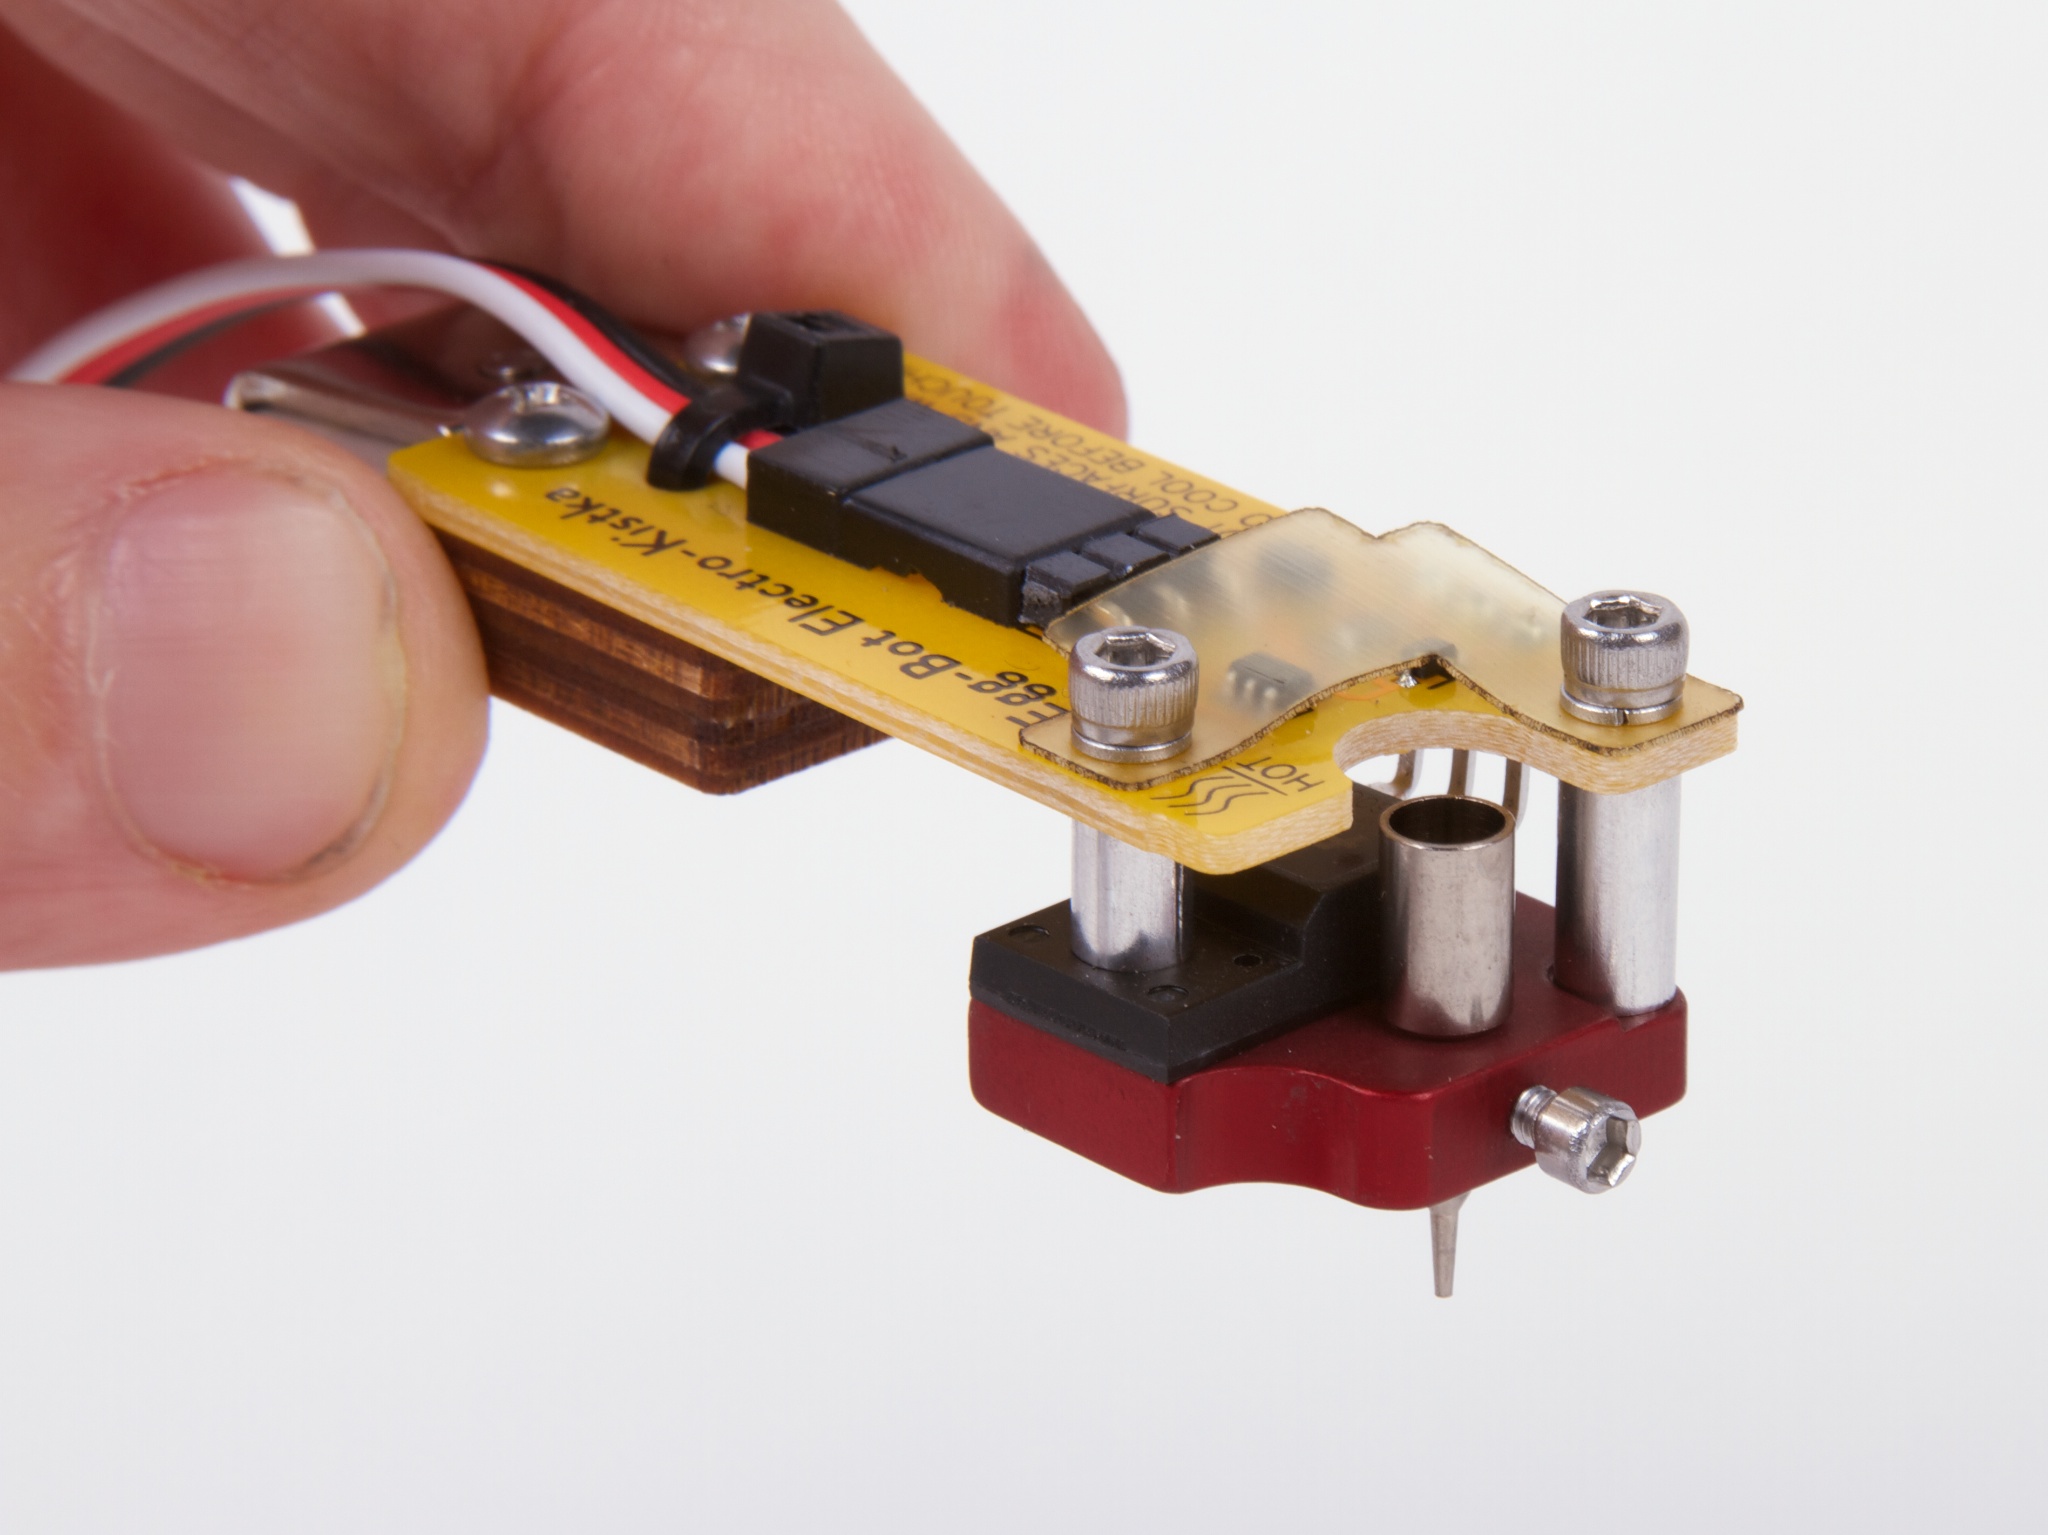
The Electro-Kistka consists of two main parts, connected by a cable: A heater assembly that gets mounted to the EggBot’s pen arm (in place of the usual pen holder), and a power control board that sits behind the EggBot.
The power control board is relatively simple: it accepts input from a plug-in power supply, and has an adjustment pot so that you can set the power level of the kistka.
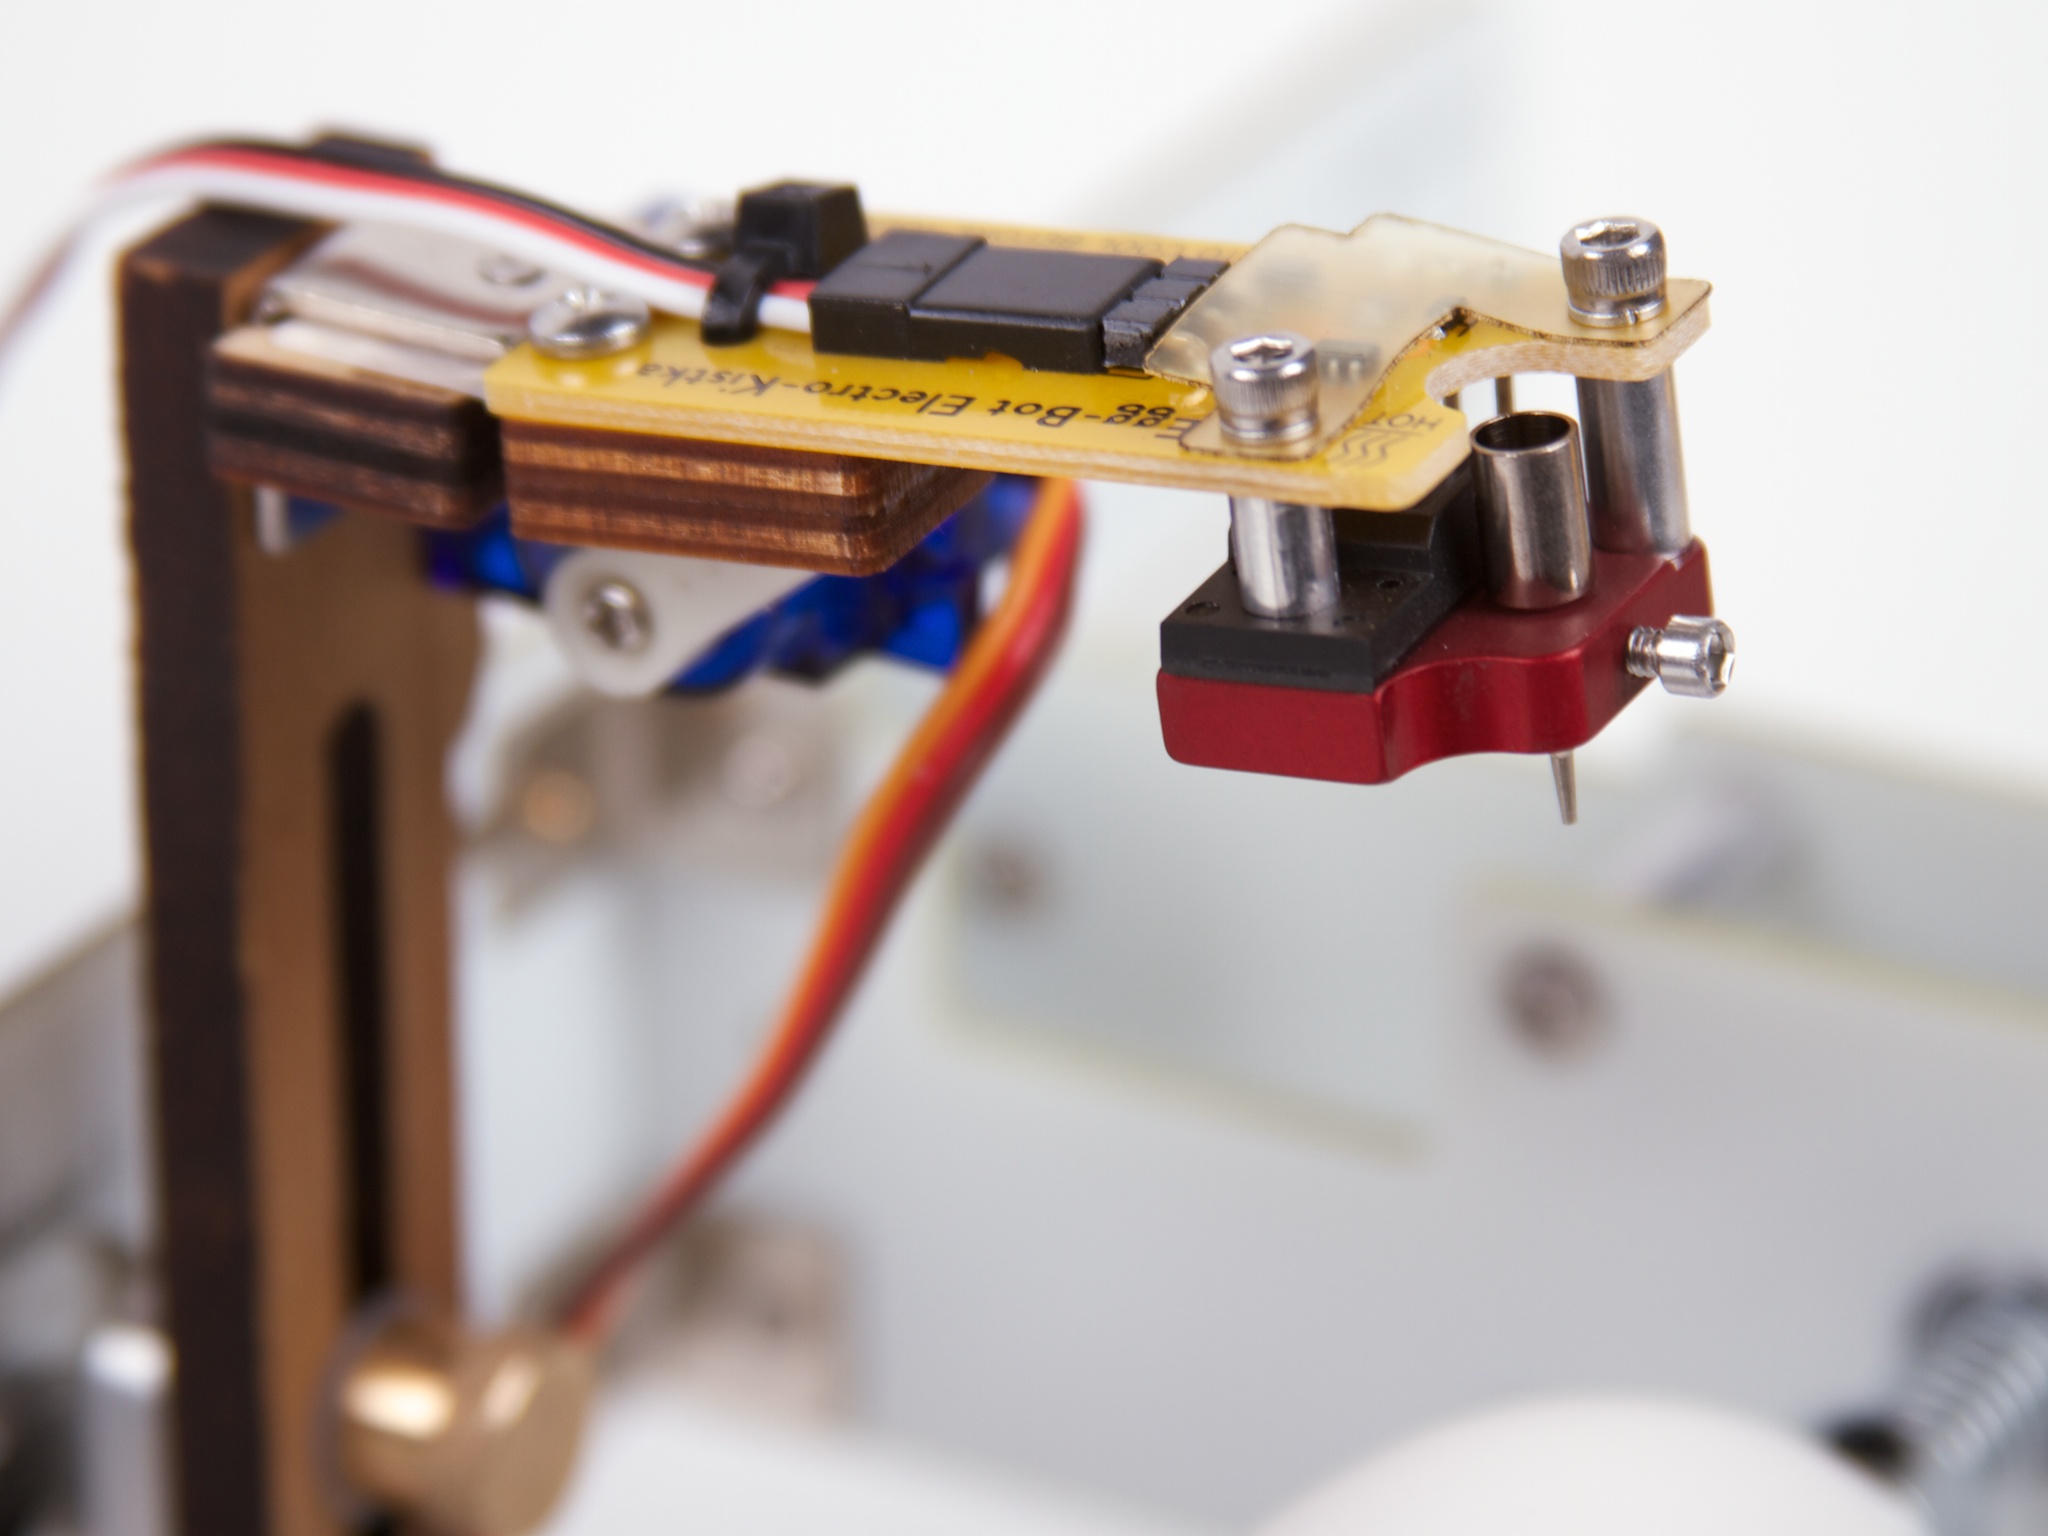
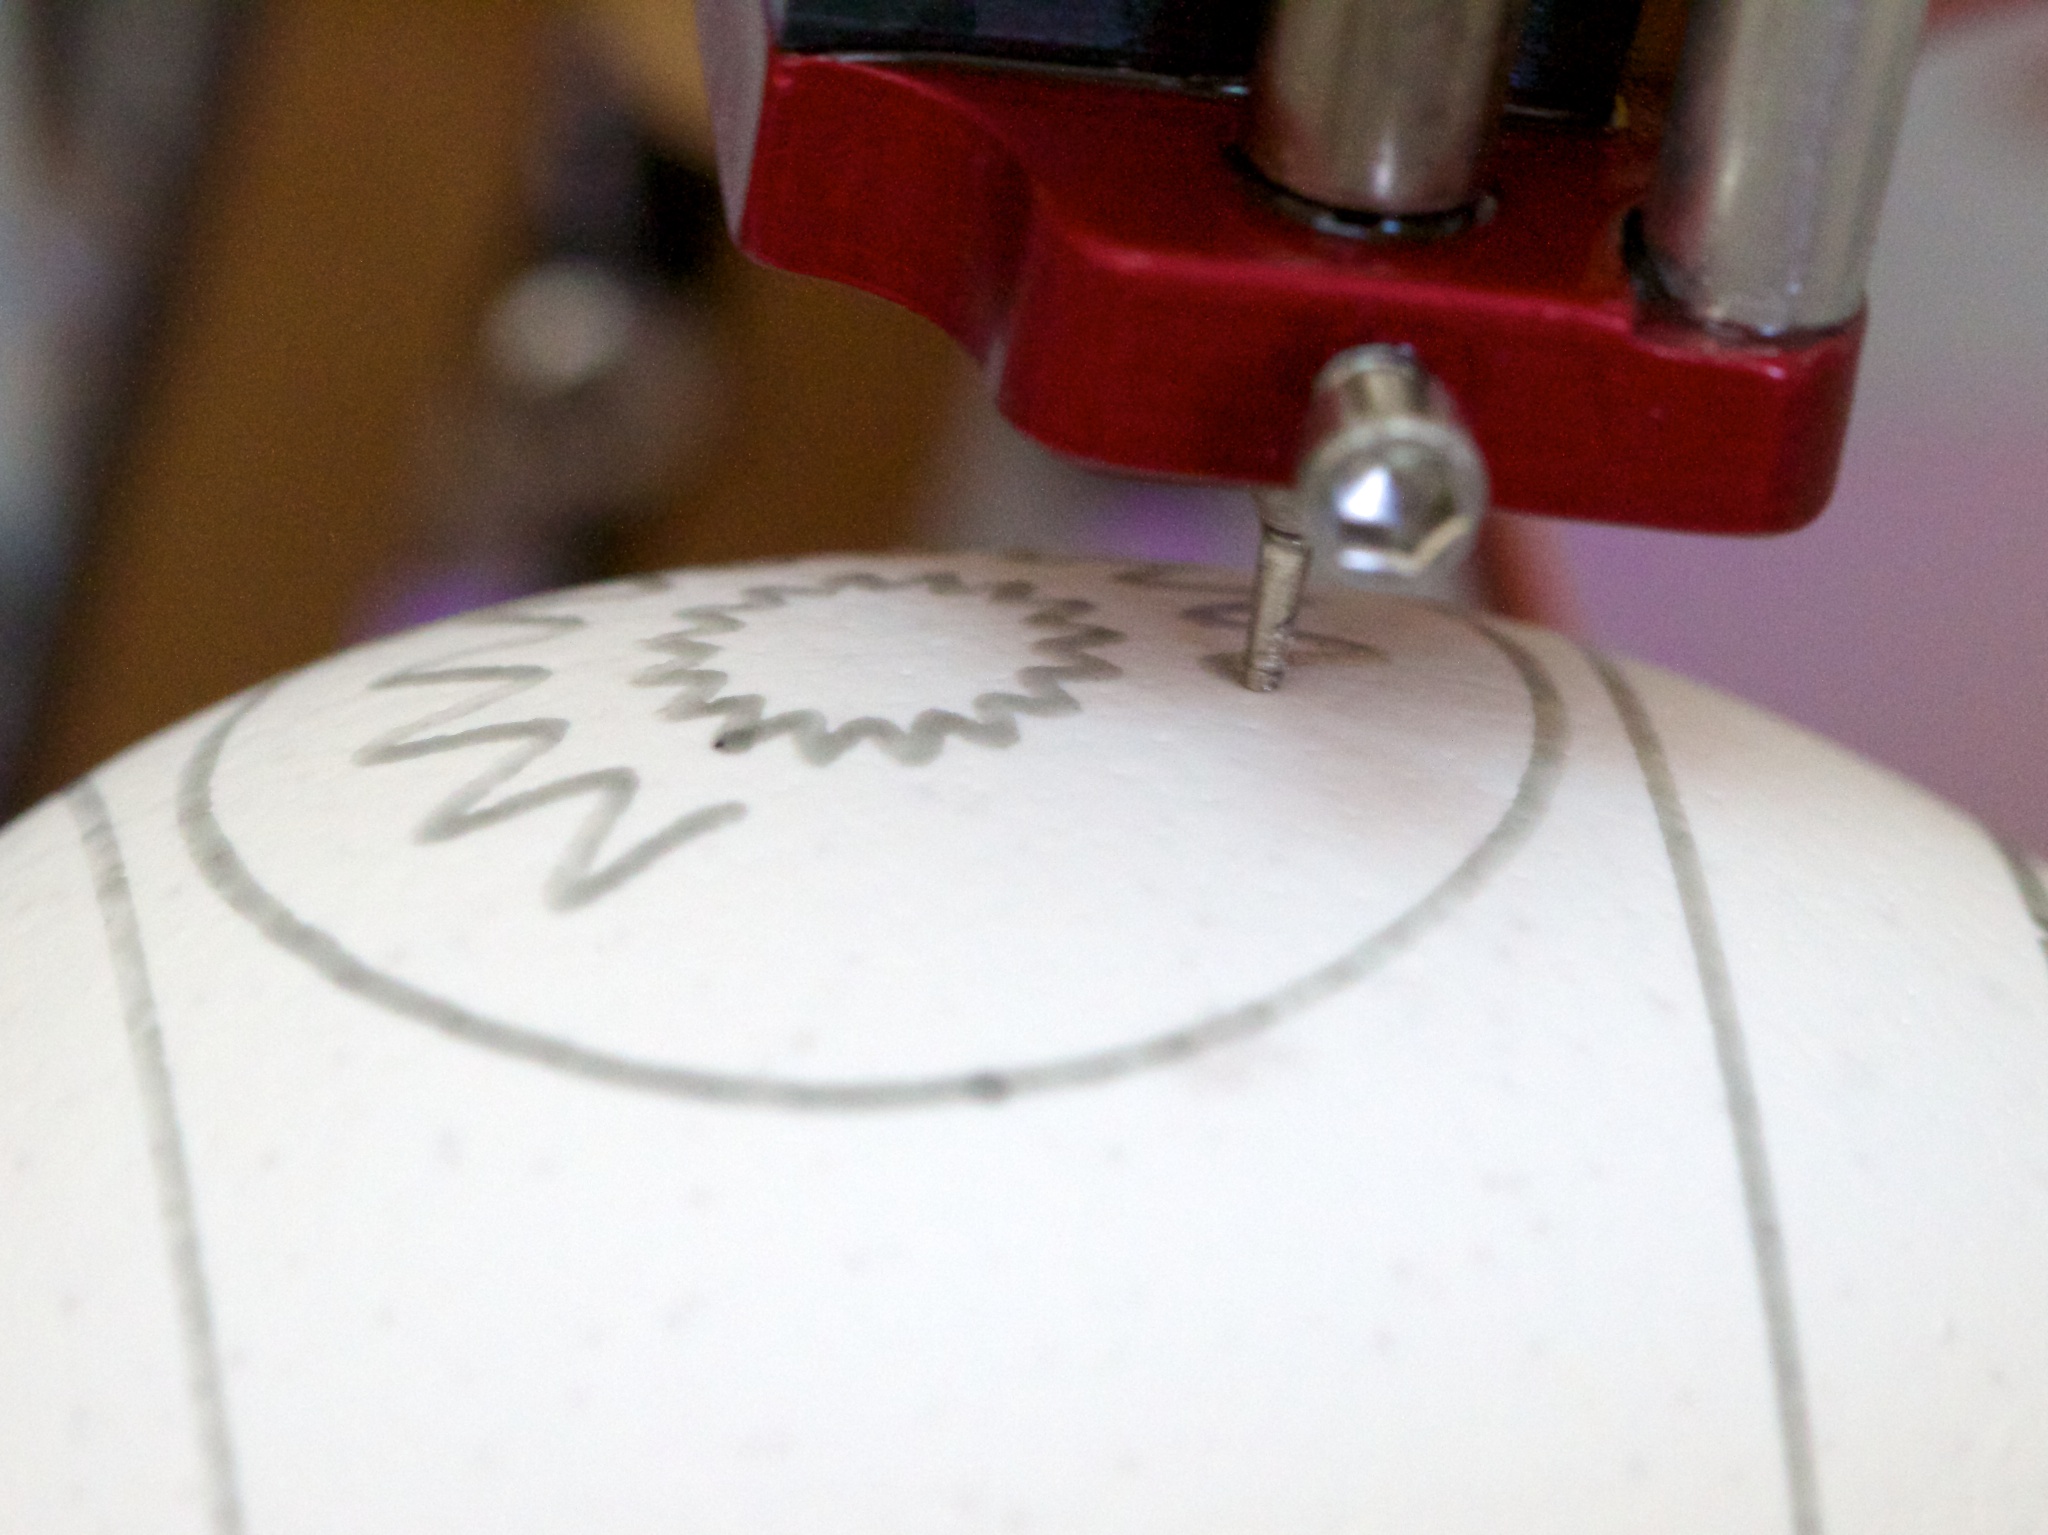
The heater assembly has two parallel surfaces that you can see in the pictures. The upper is a yellow circuit board with control electronics, and the lower red part is a machined aluminum heater block that holds the actual kistka tip.
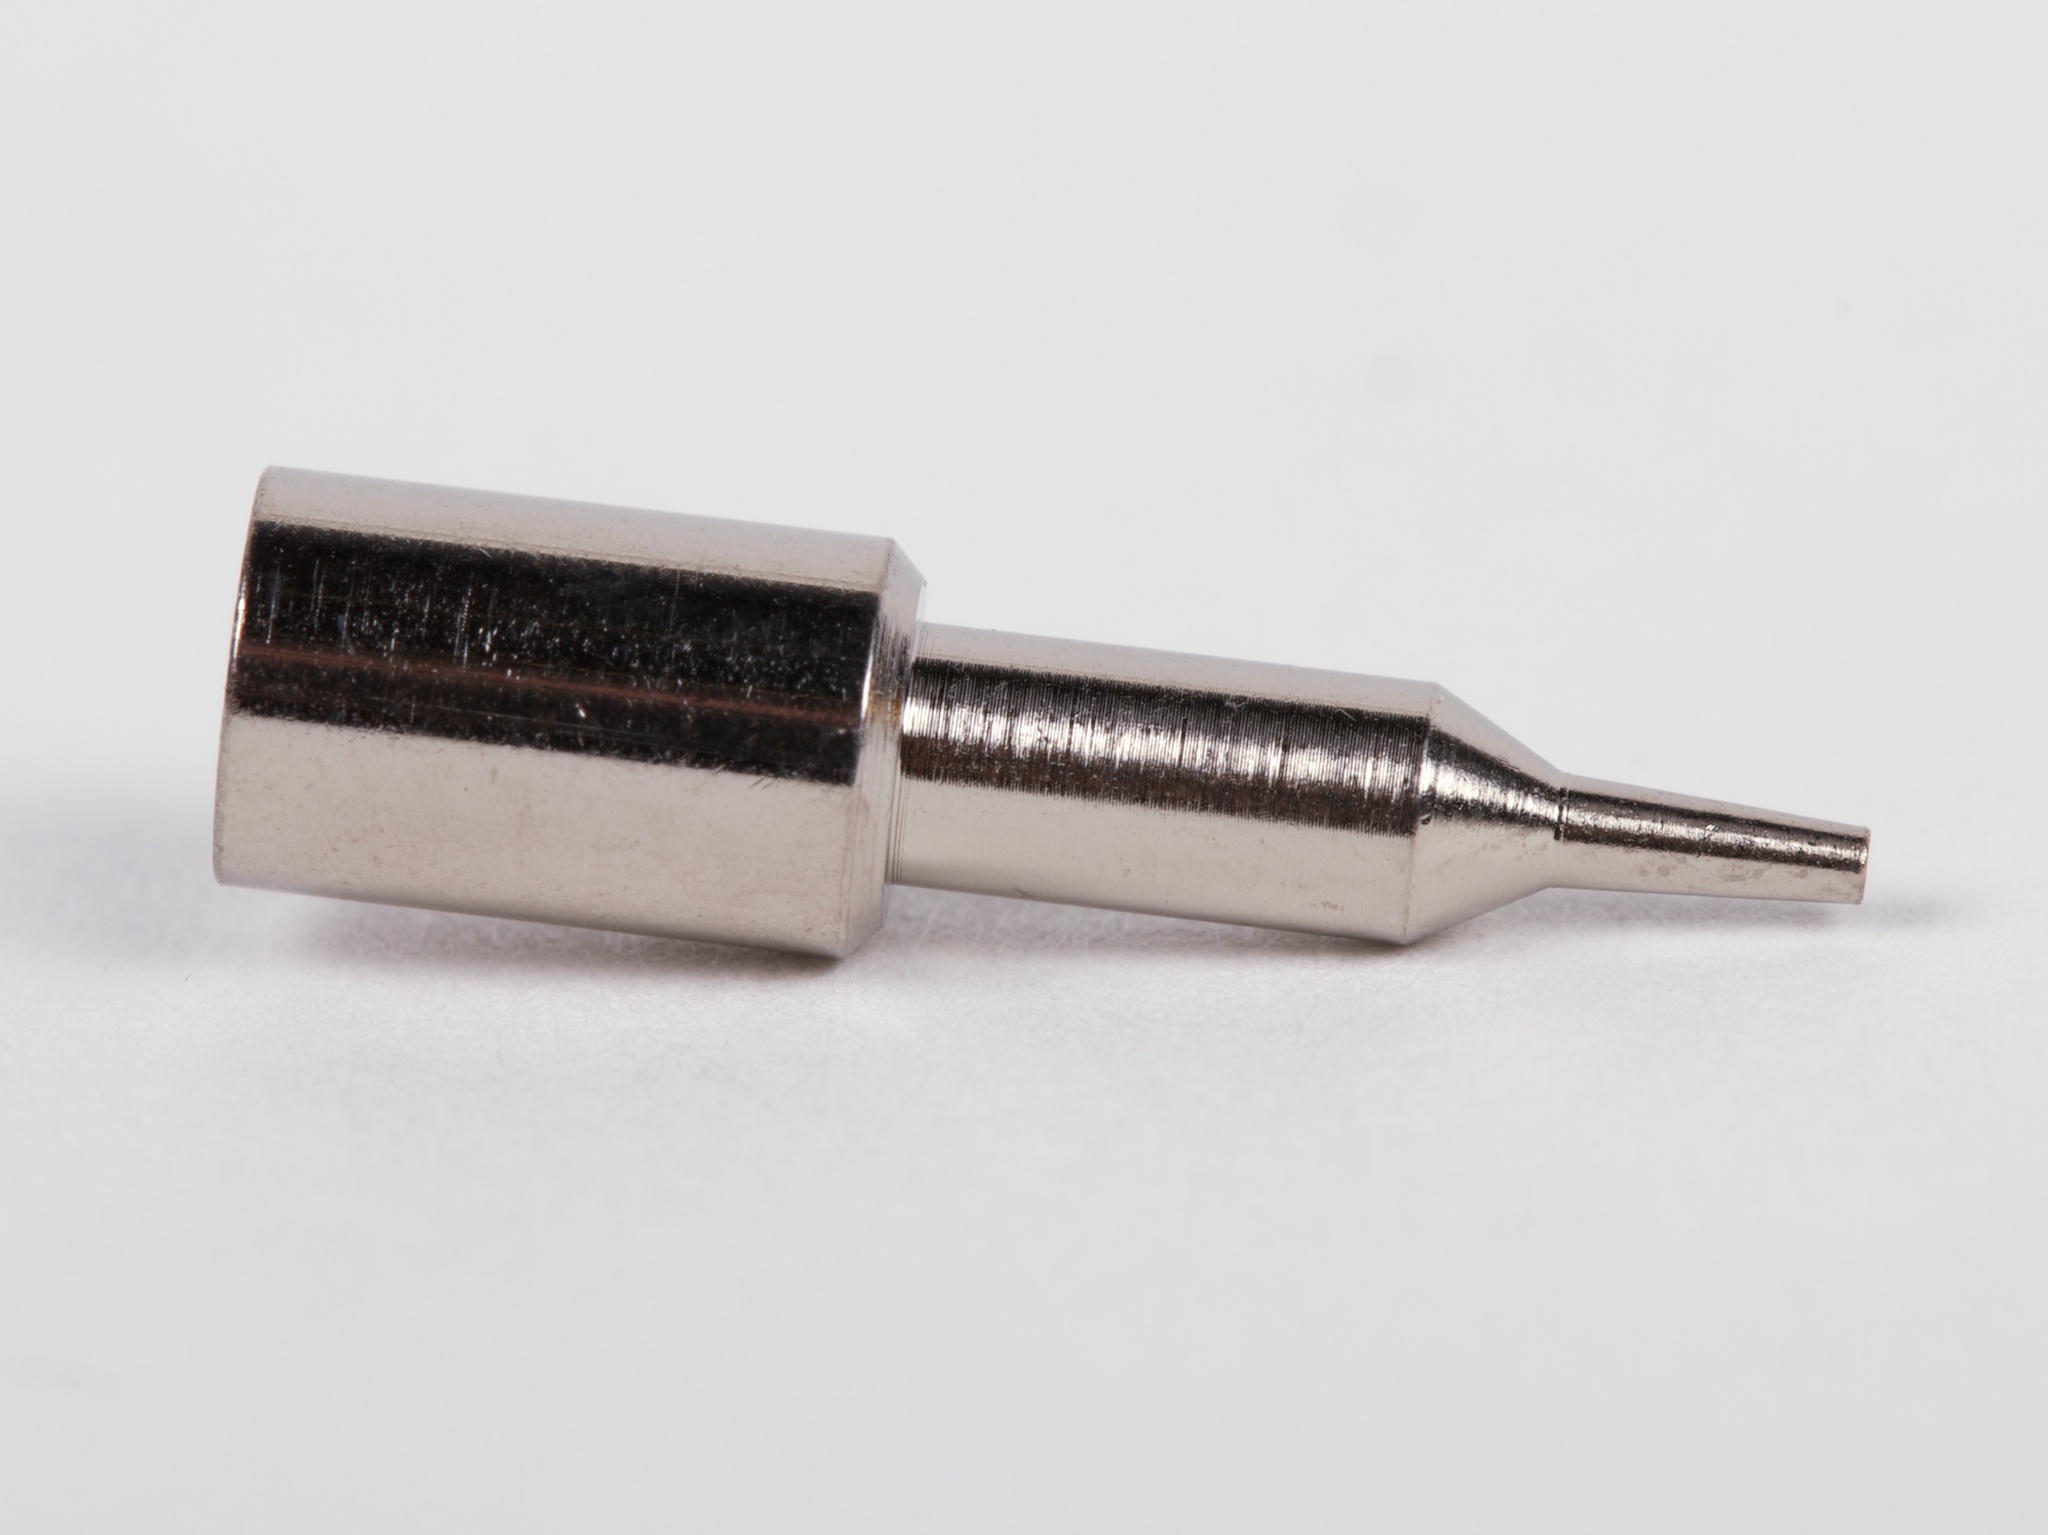
The kistka tip (right) has a small wax reservoir at the top and a smaller-yet point on the bottom that feeds molten wax onto the egg surface through gravity and capillary action.
Designing a good kistka tip is an art unto itself, and we are using field-proven kistka tips, wax, and other accessories from Folk Impressions, manufacturers of the excellent “white handle” electric kistka. The tips are interchangeable and a number of sizes are available. For all of the examples shown here, we’re using only the #2 (medium) tip that comes with the kit.
Process: two-tone
The basic wax resist process is as follows: Apply wax to the parts of the egg that should remain the present color, and then dye the entire egg a different color.
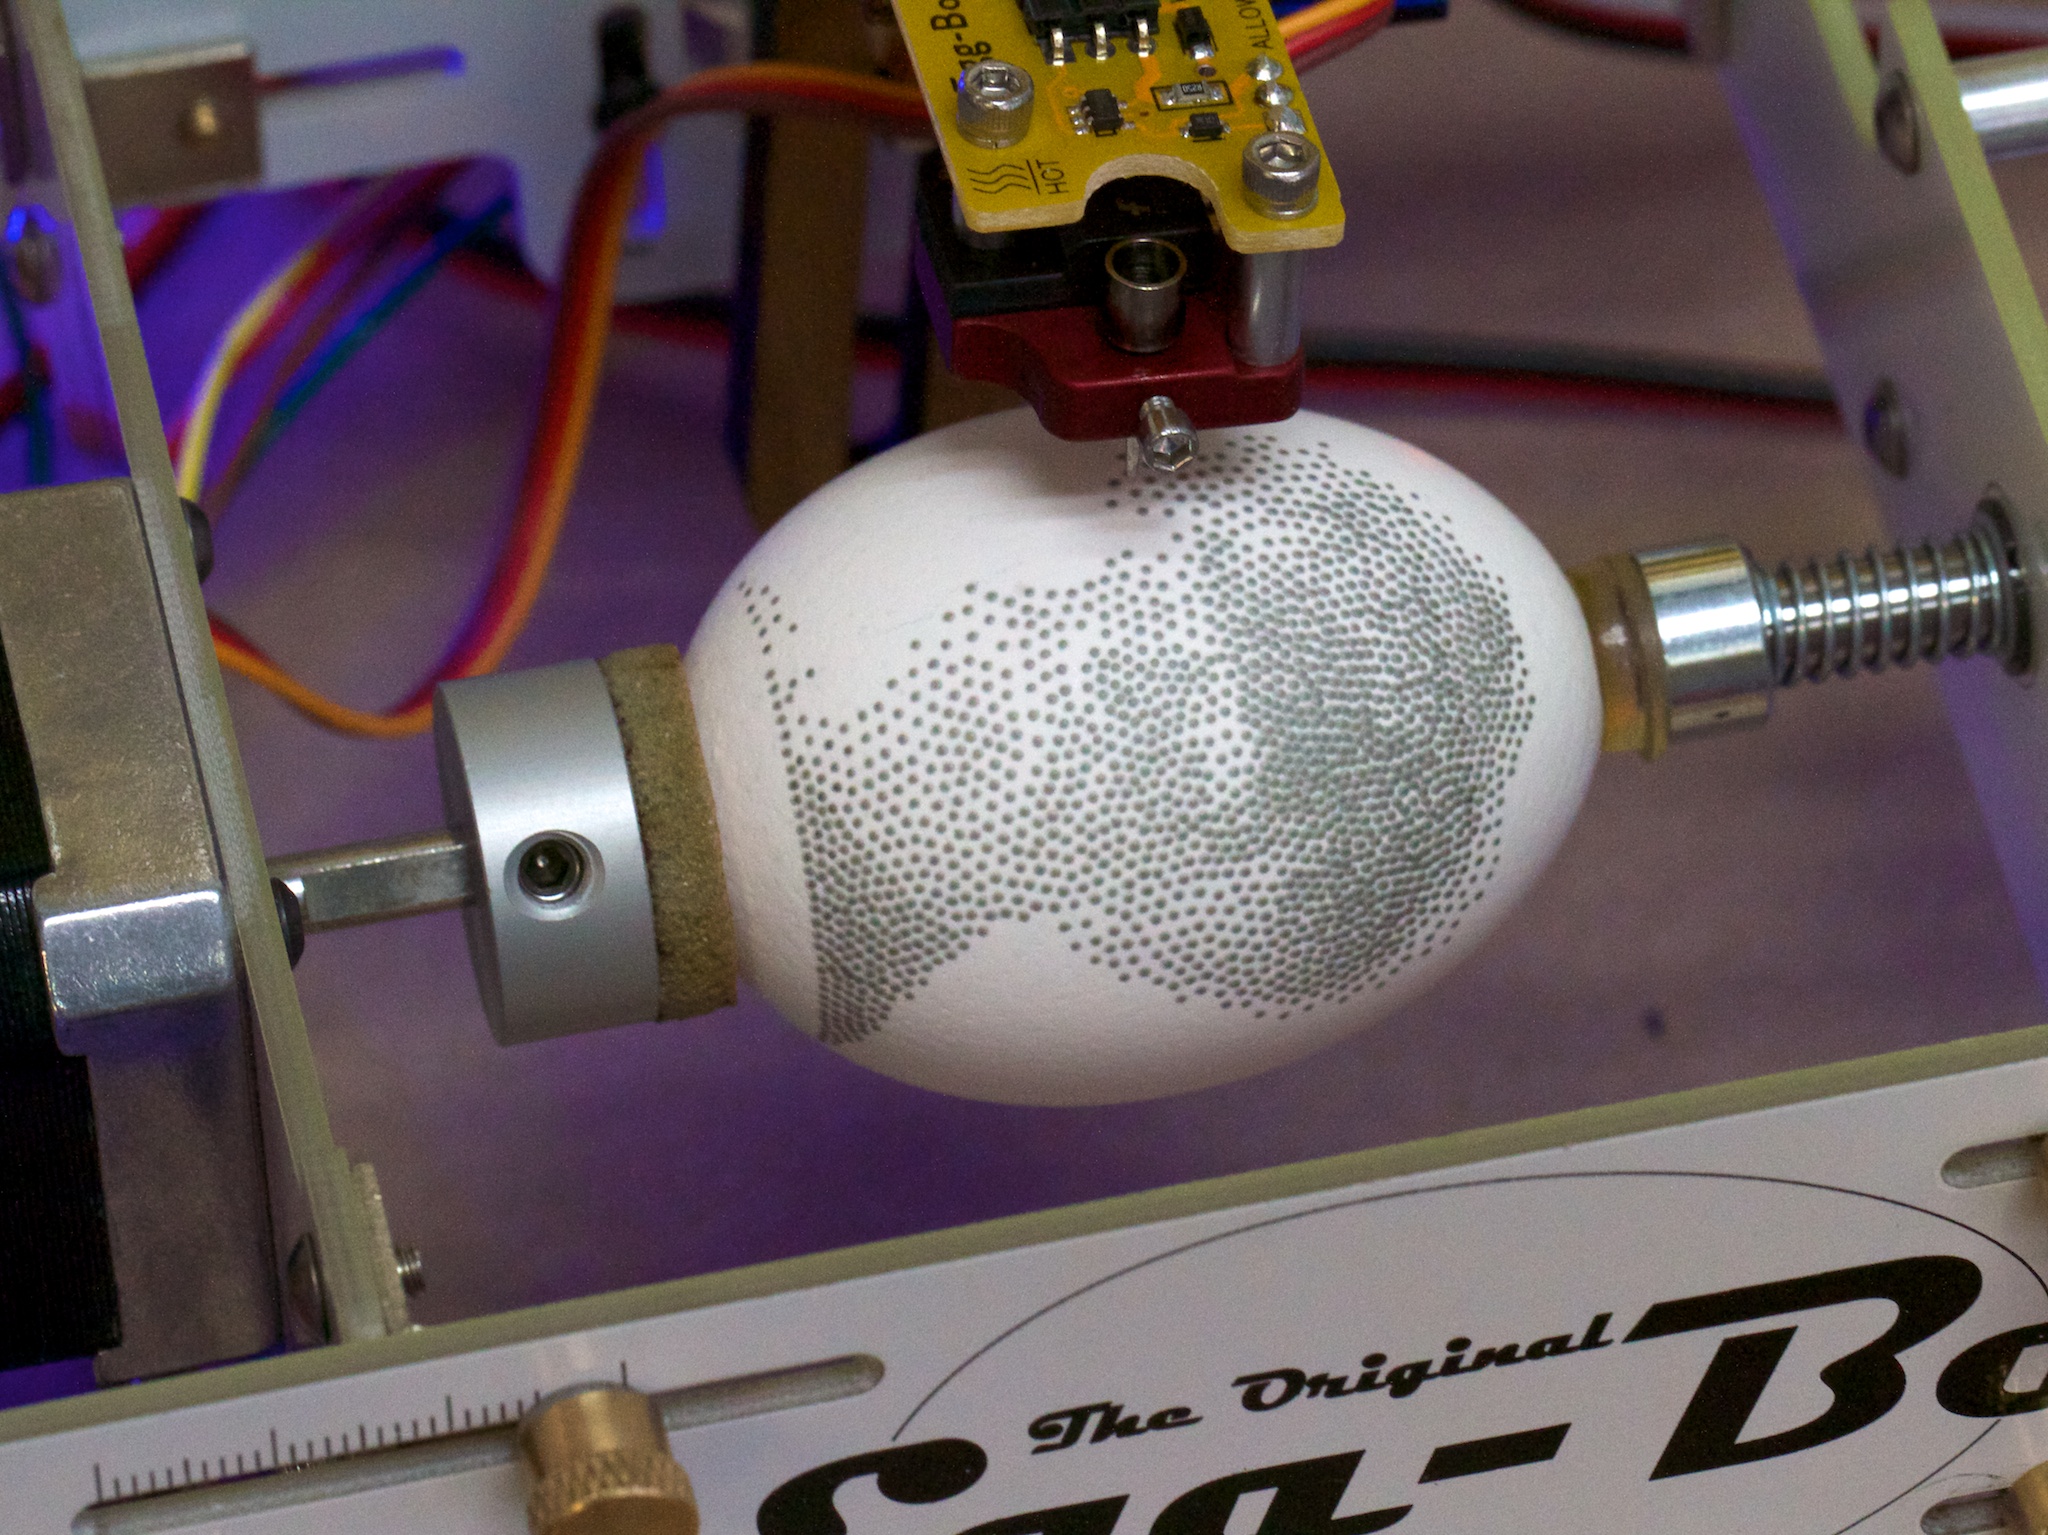
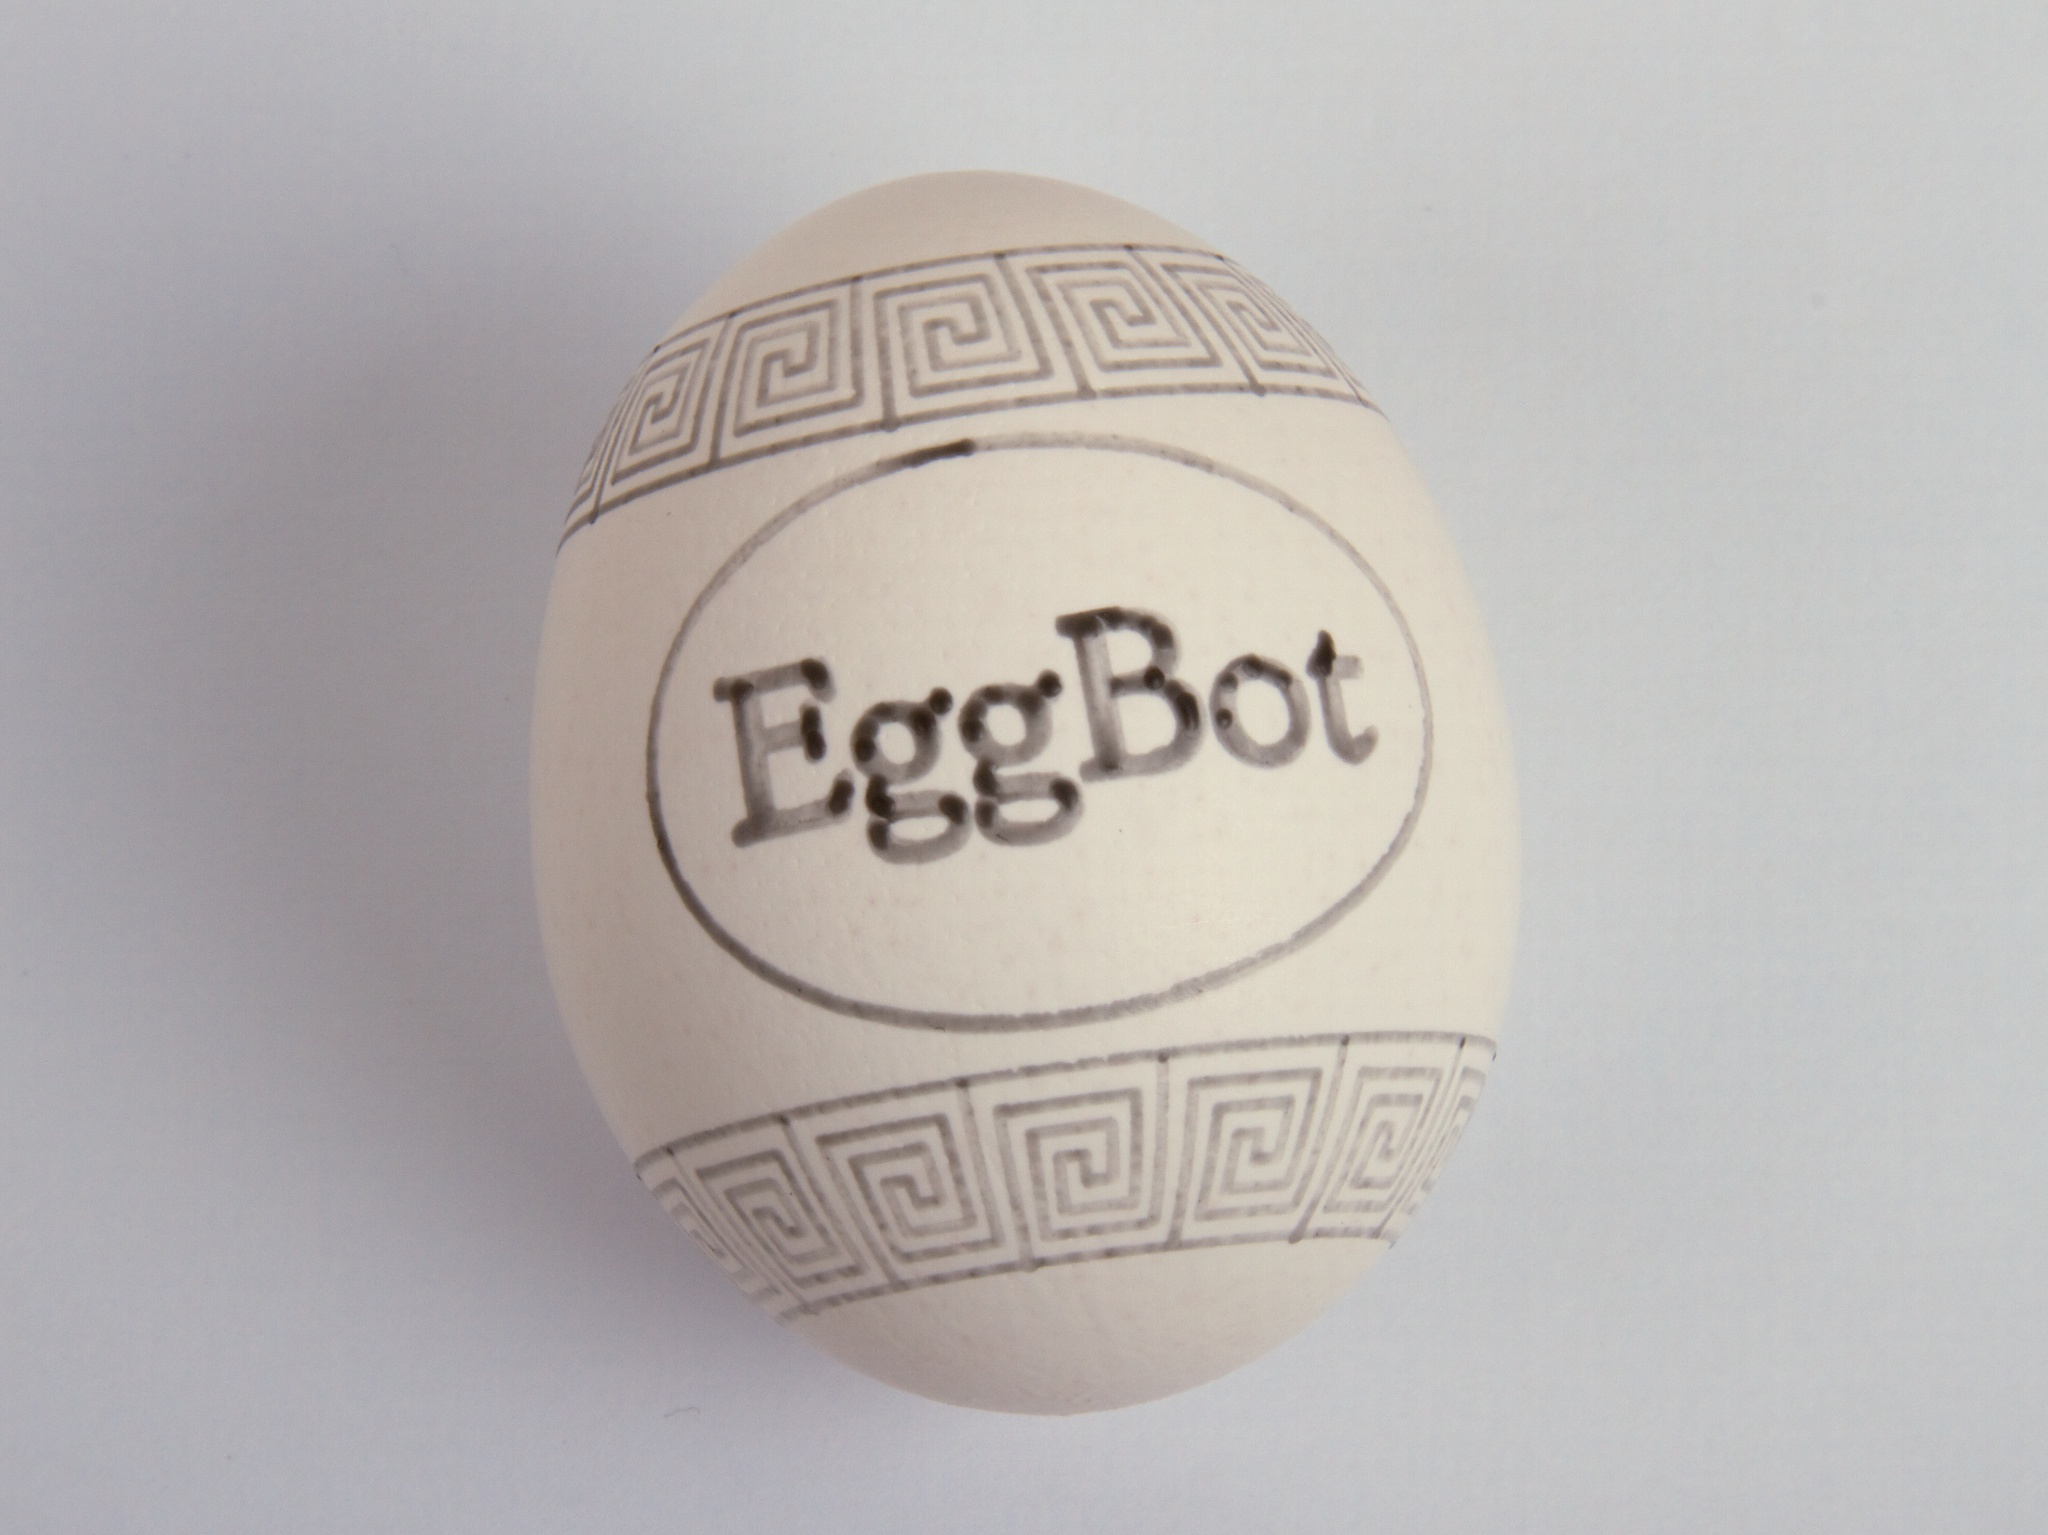
For a simple two-tone image — white on black — we started with Mark Twain, one of our example images from the StippleGen project. From a user standpoint, drawing wax onto the egg works exactly the same way as using a felt tip marker in the EggBot — it’s just a different tool that does the drawing. The wax itself is black-colored beeswax, which is nice because you can see it against the egg.
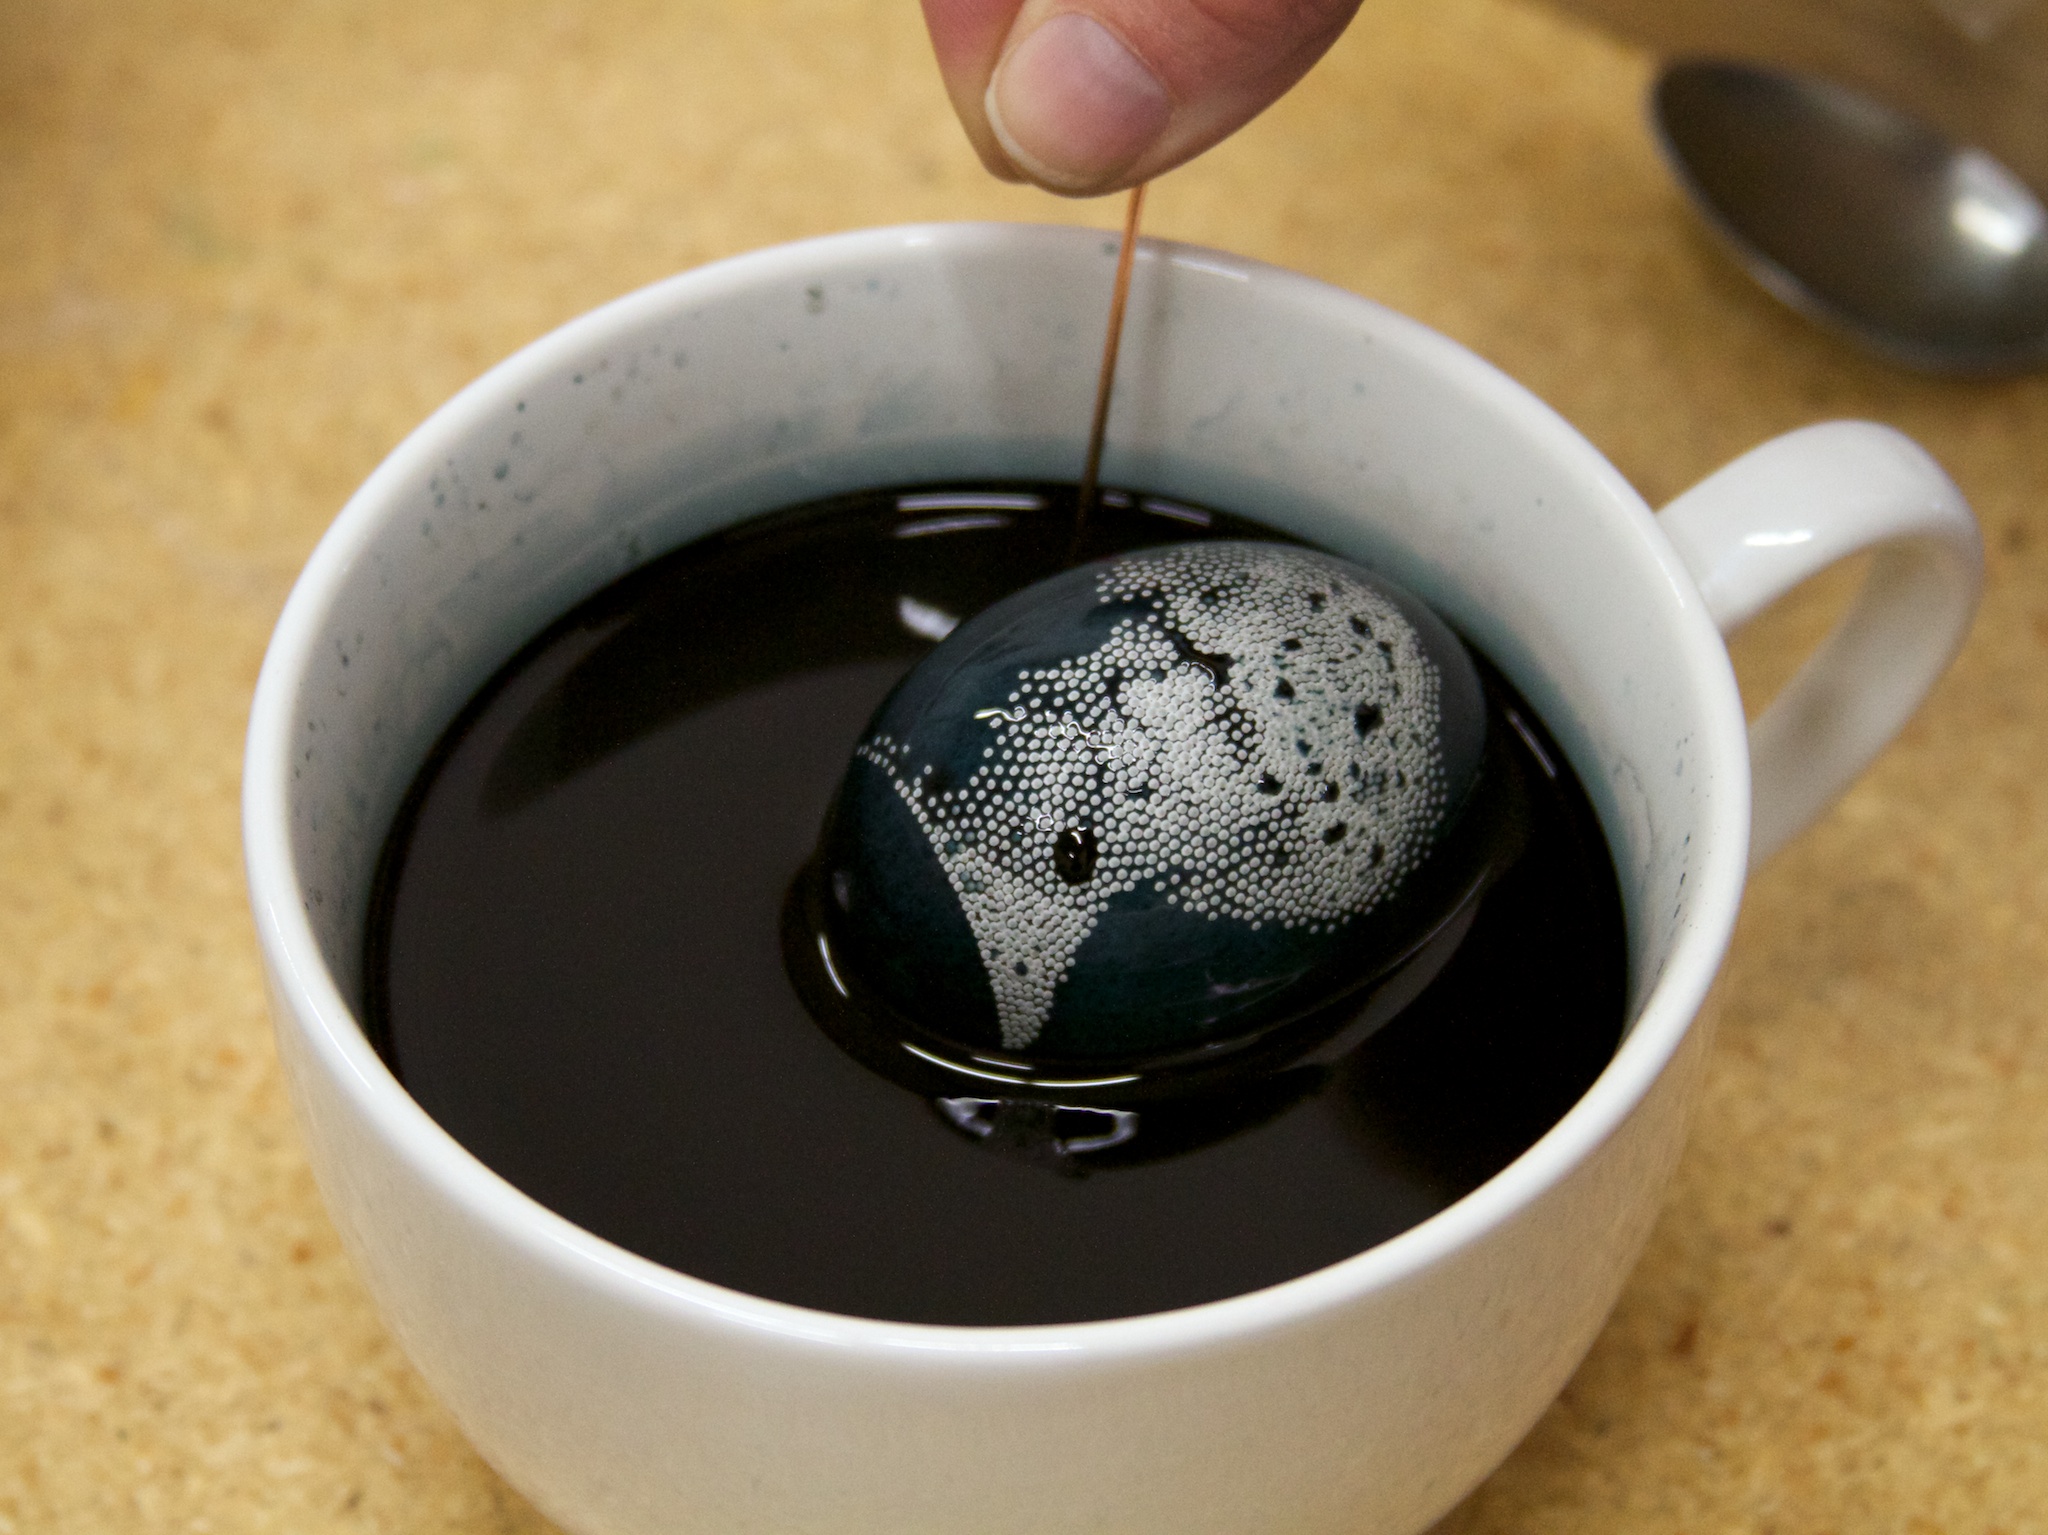
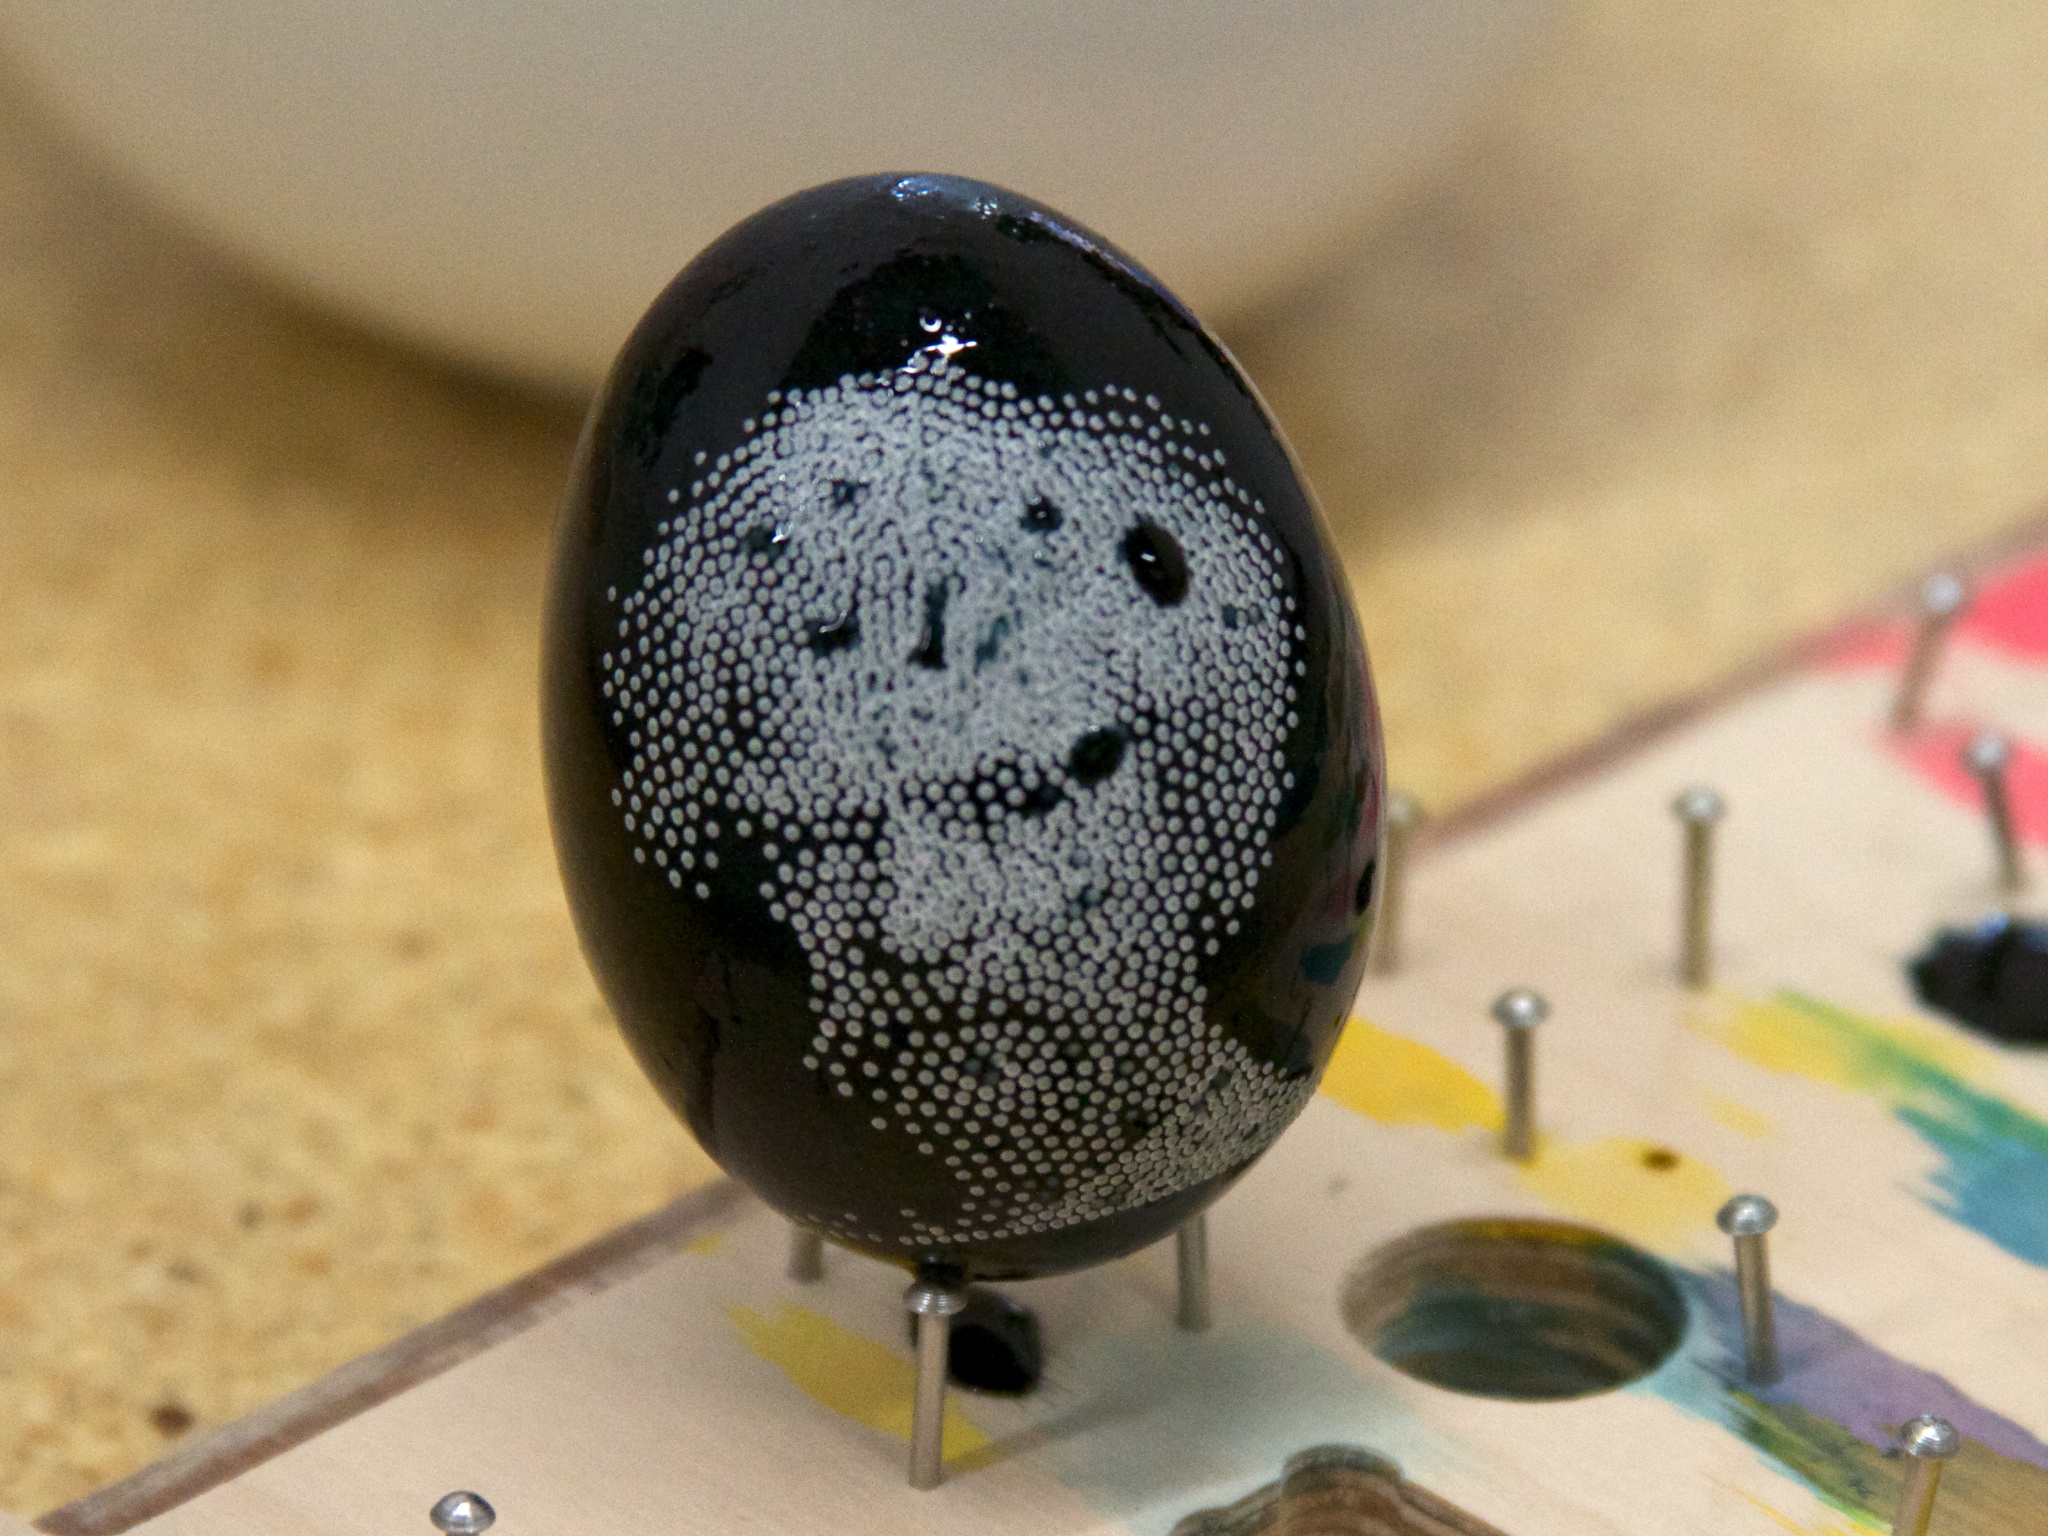
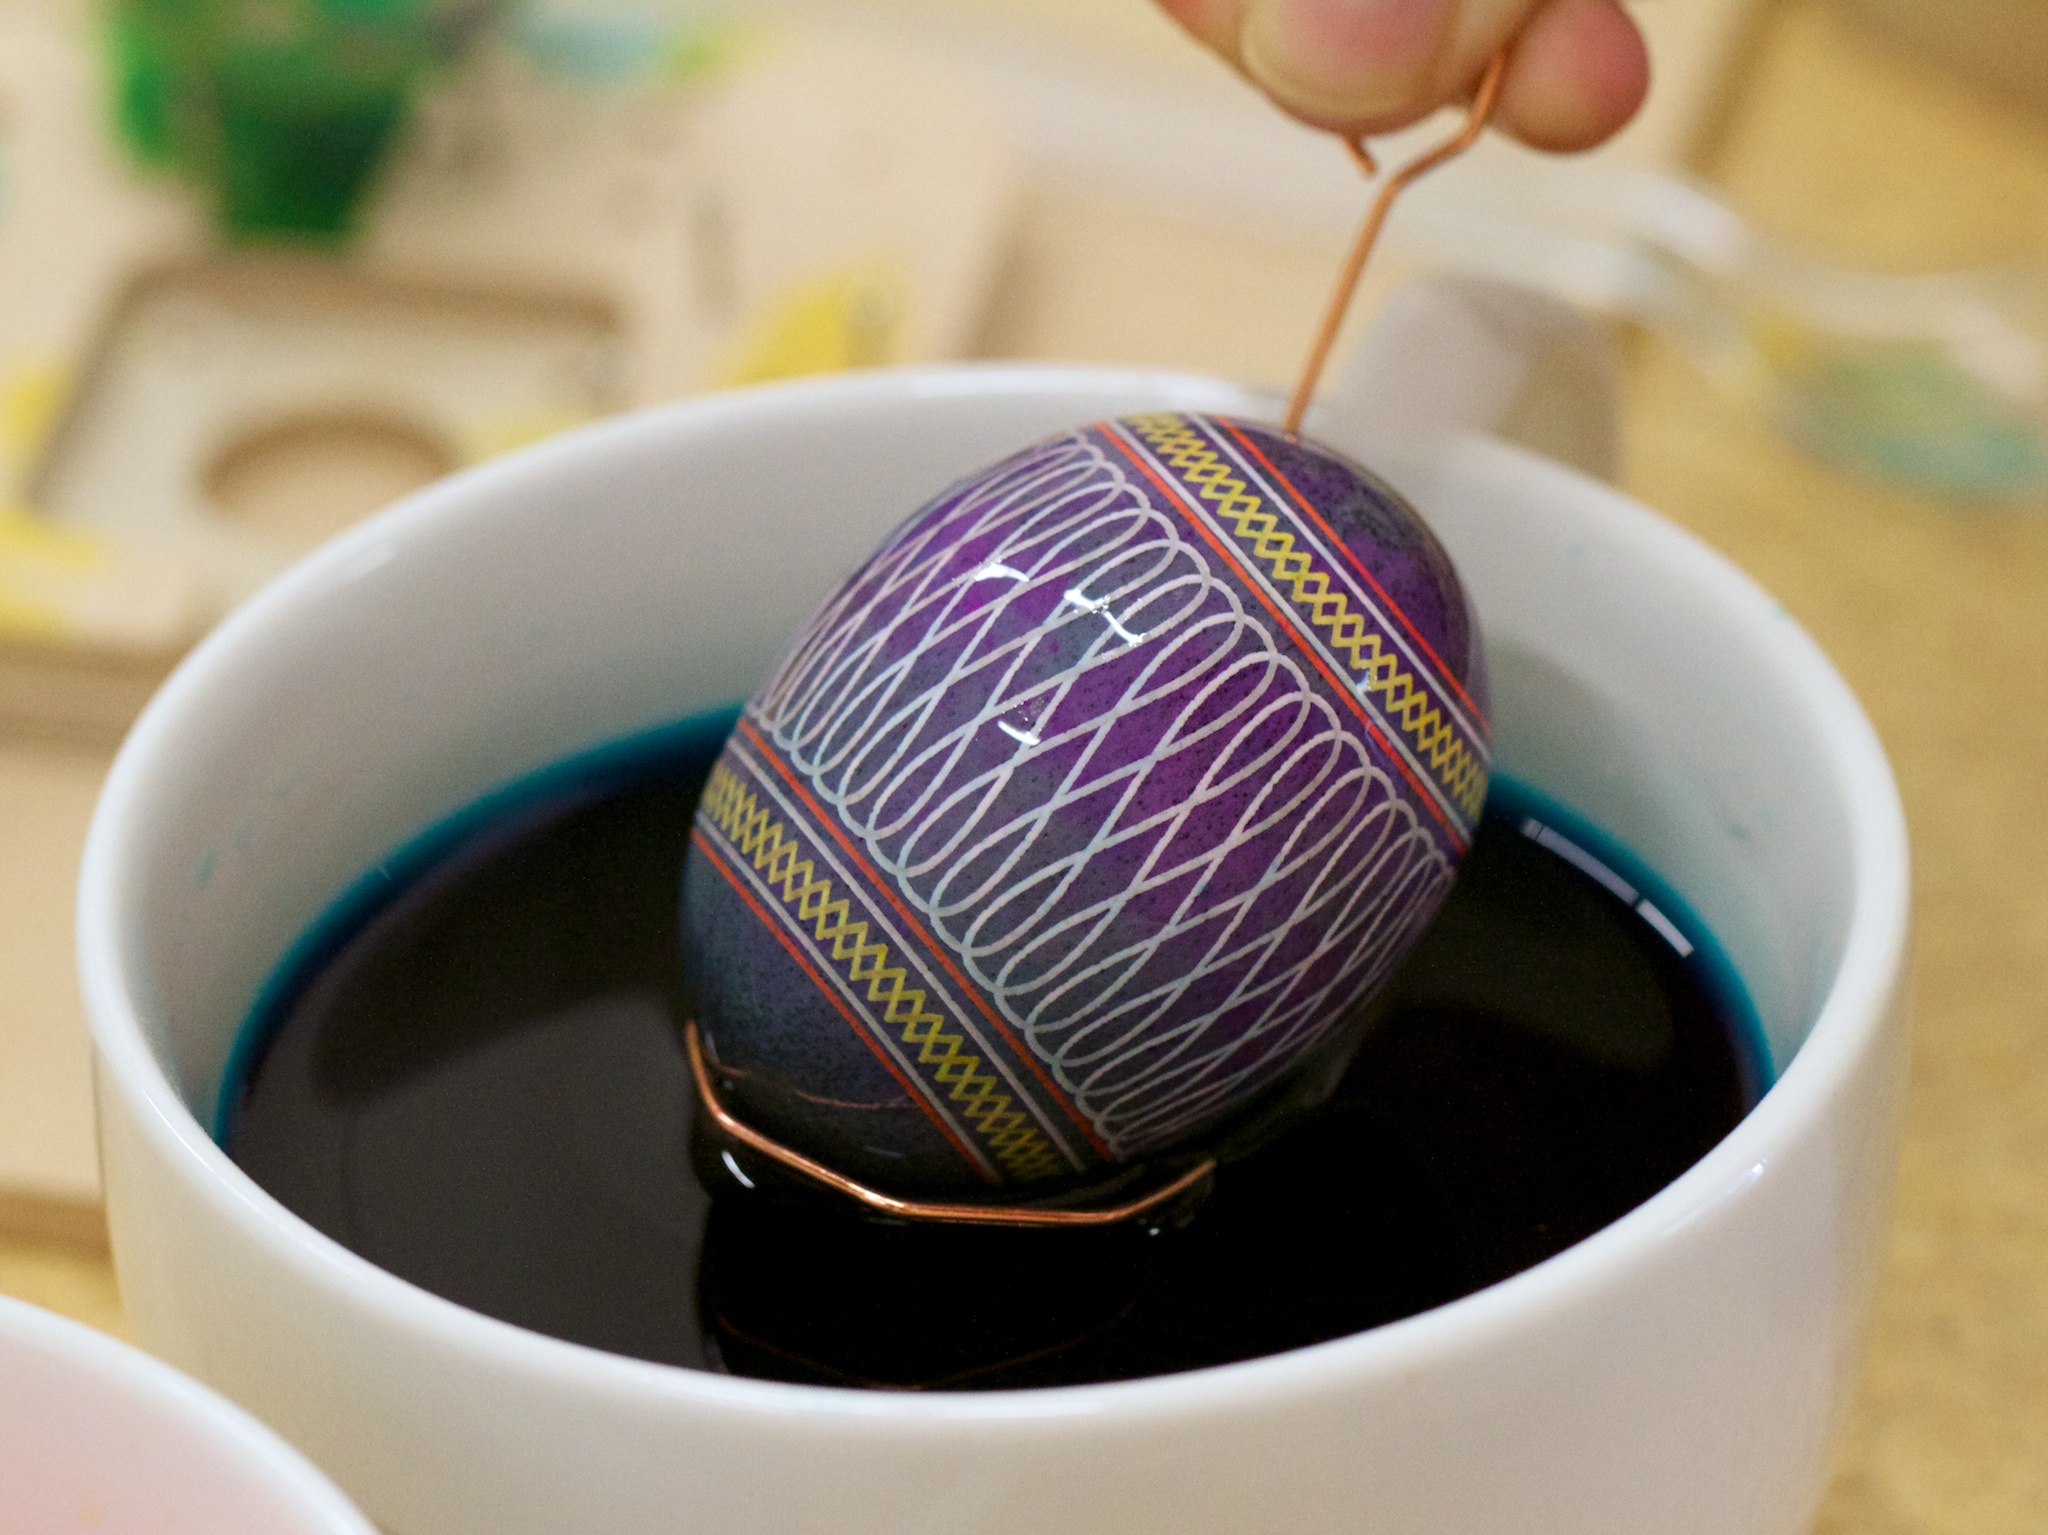
After the EggBot finishes, we dip the egg in dye for a couple of minutes, and leave it to dry on a grid of little nails.
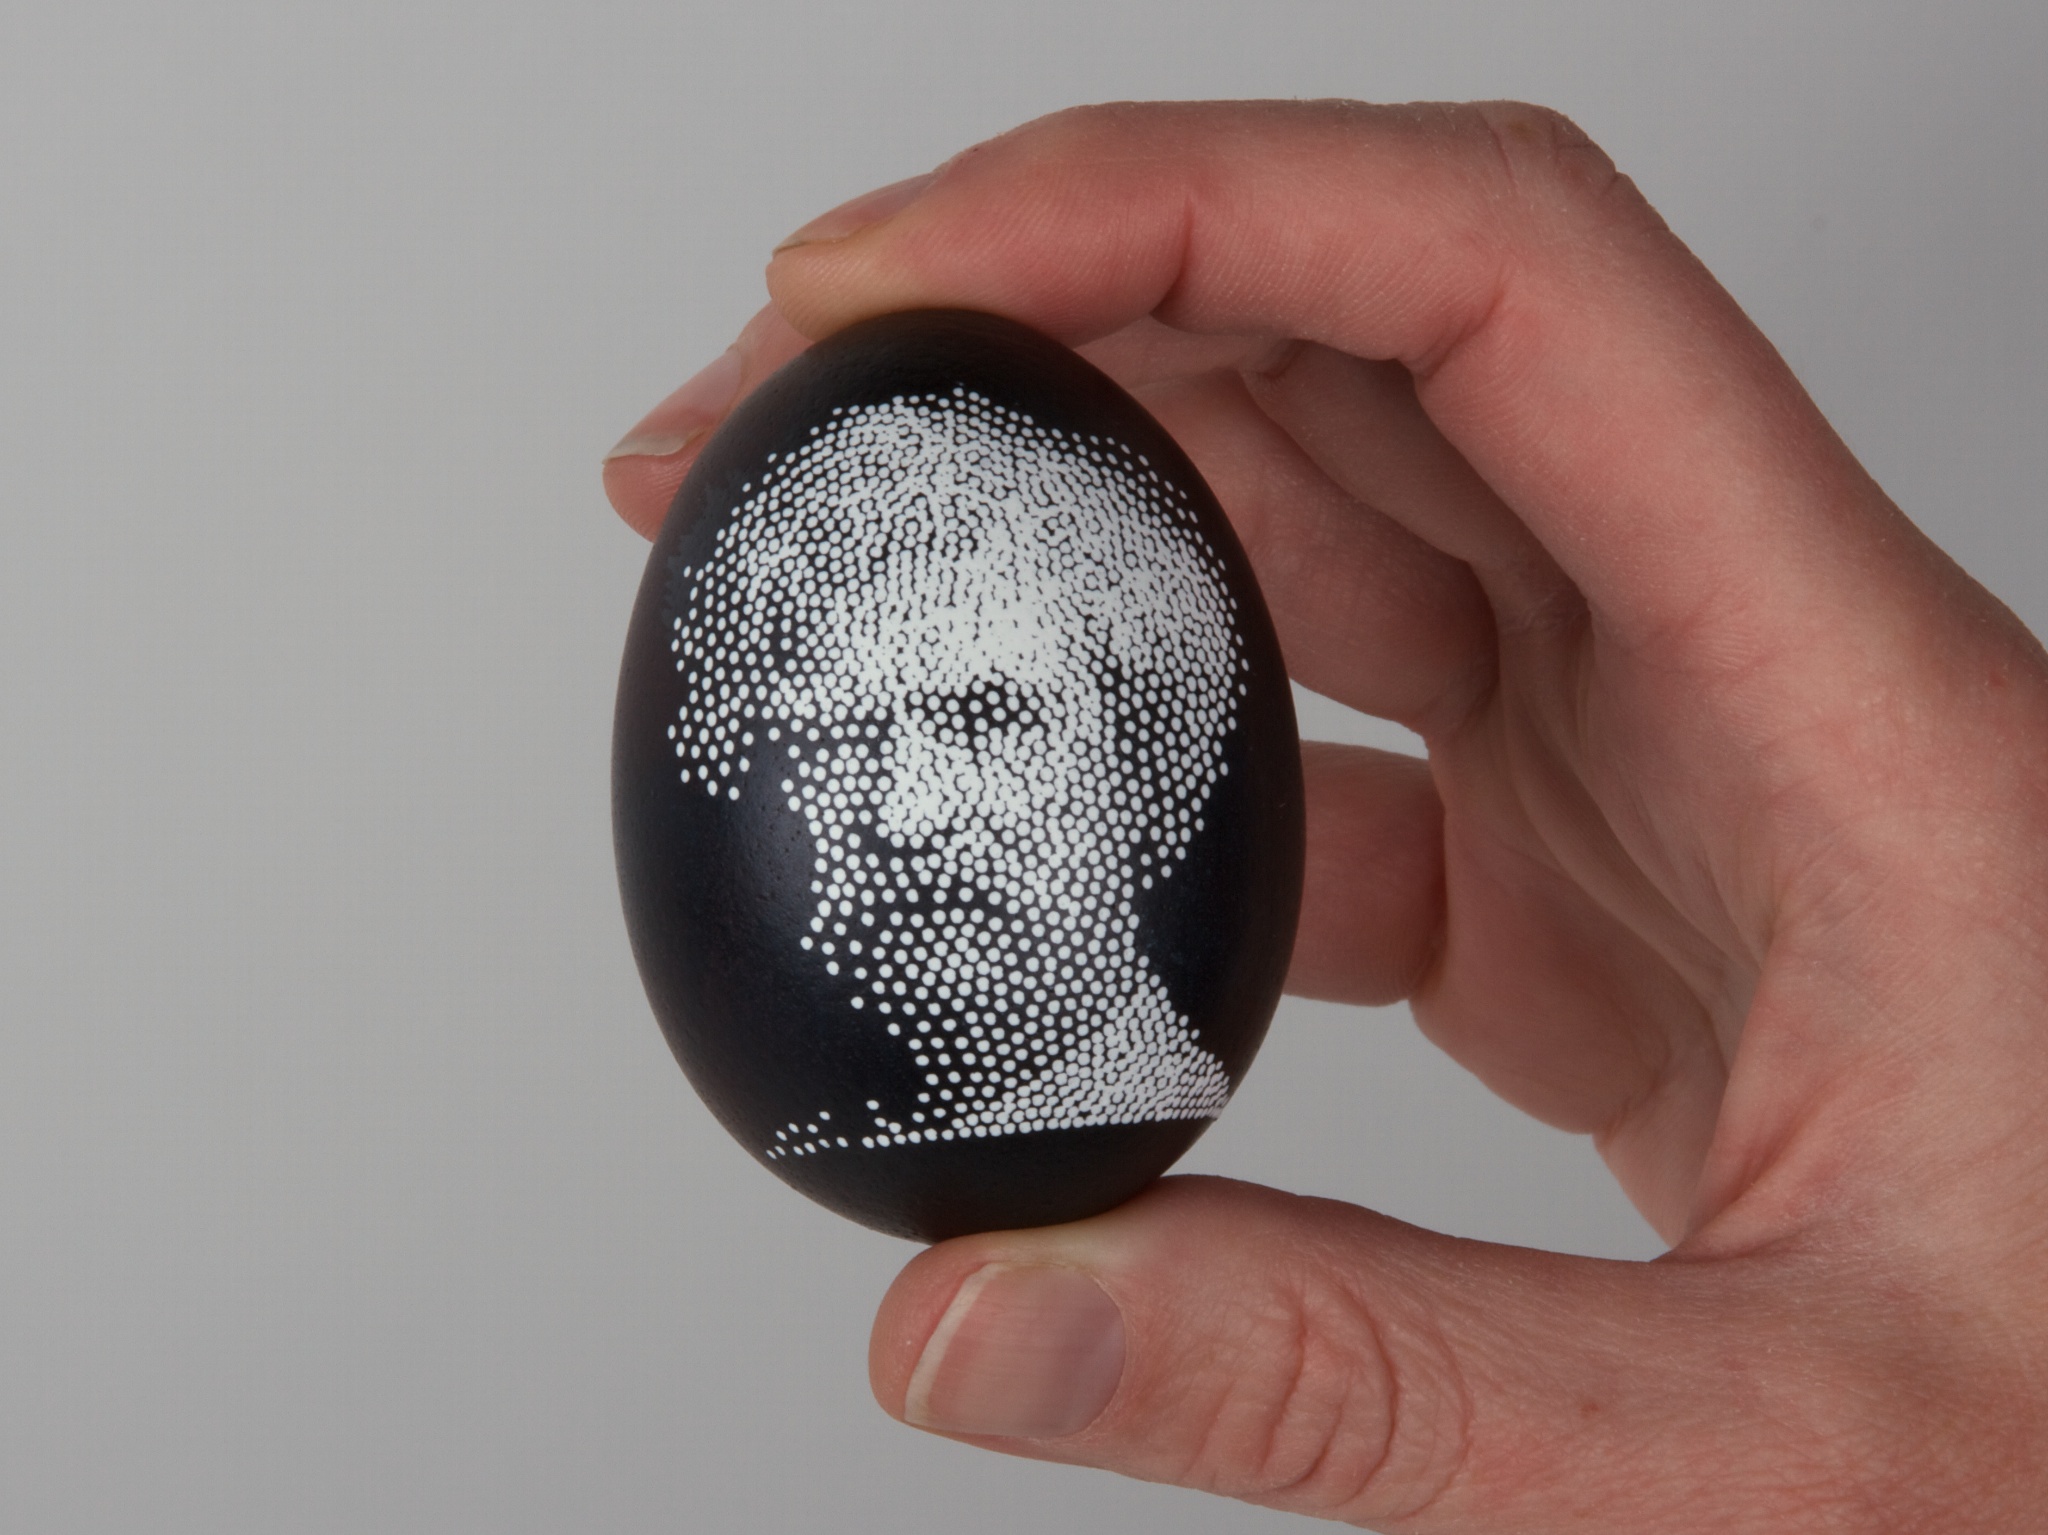
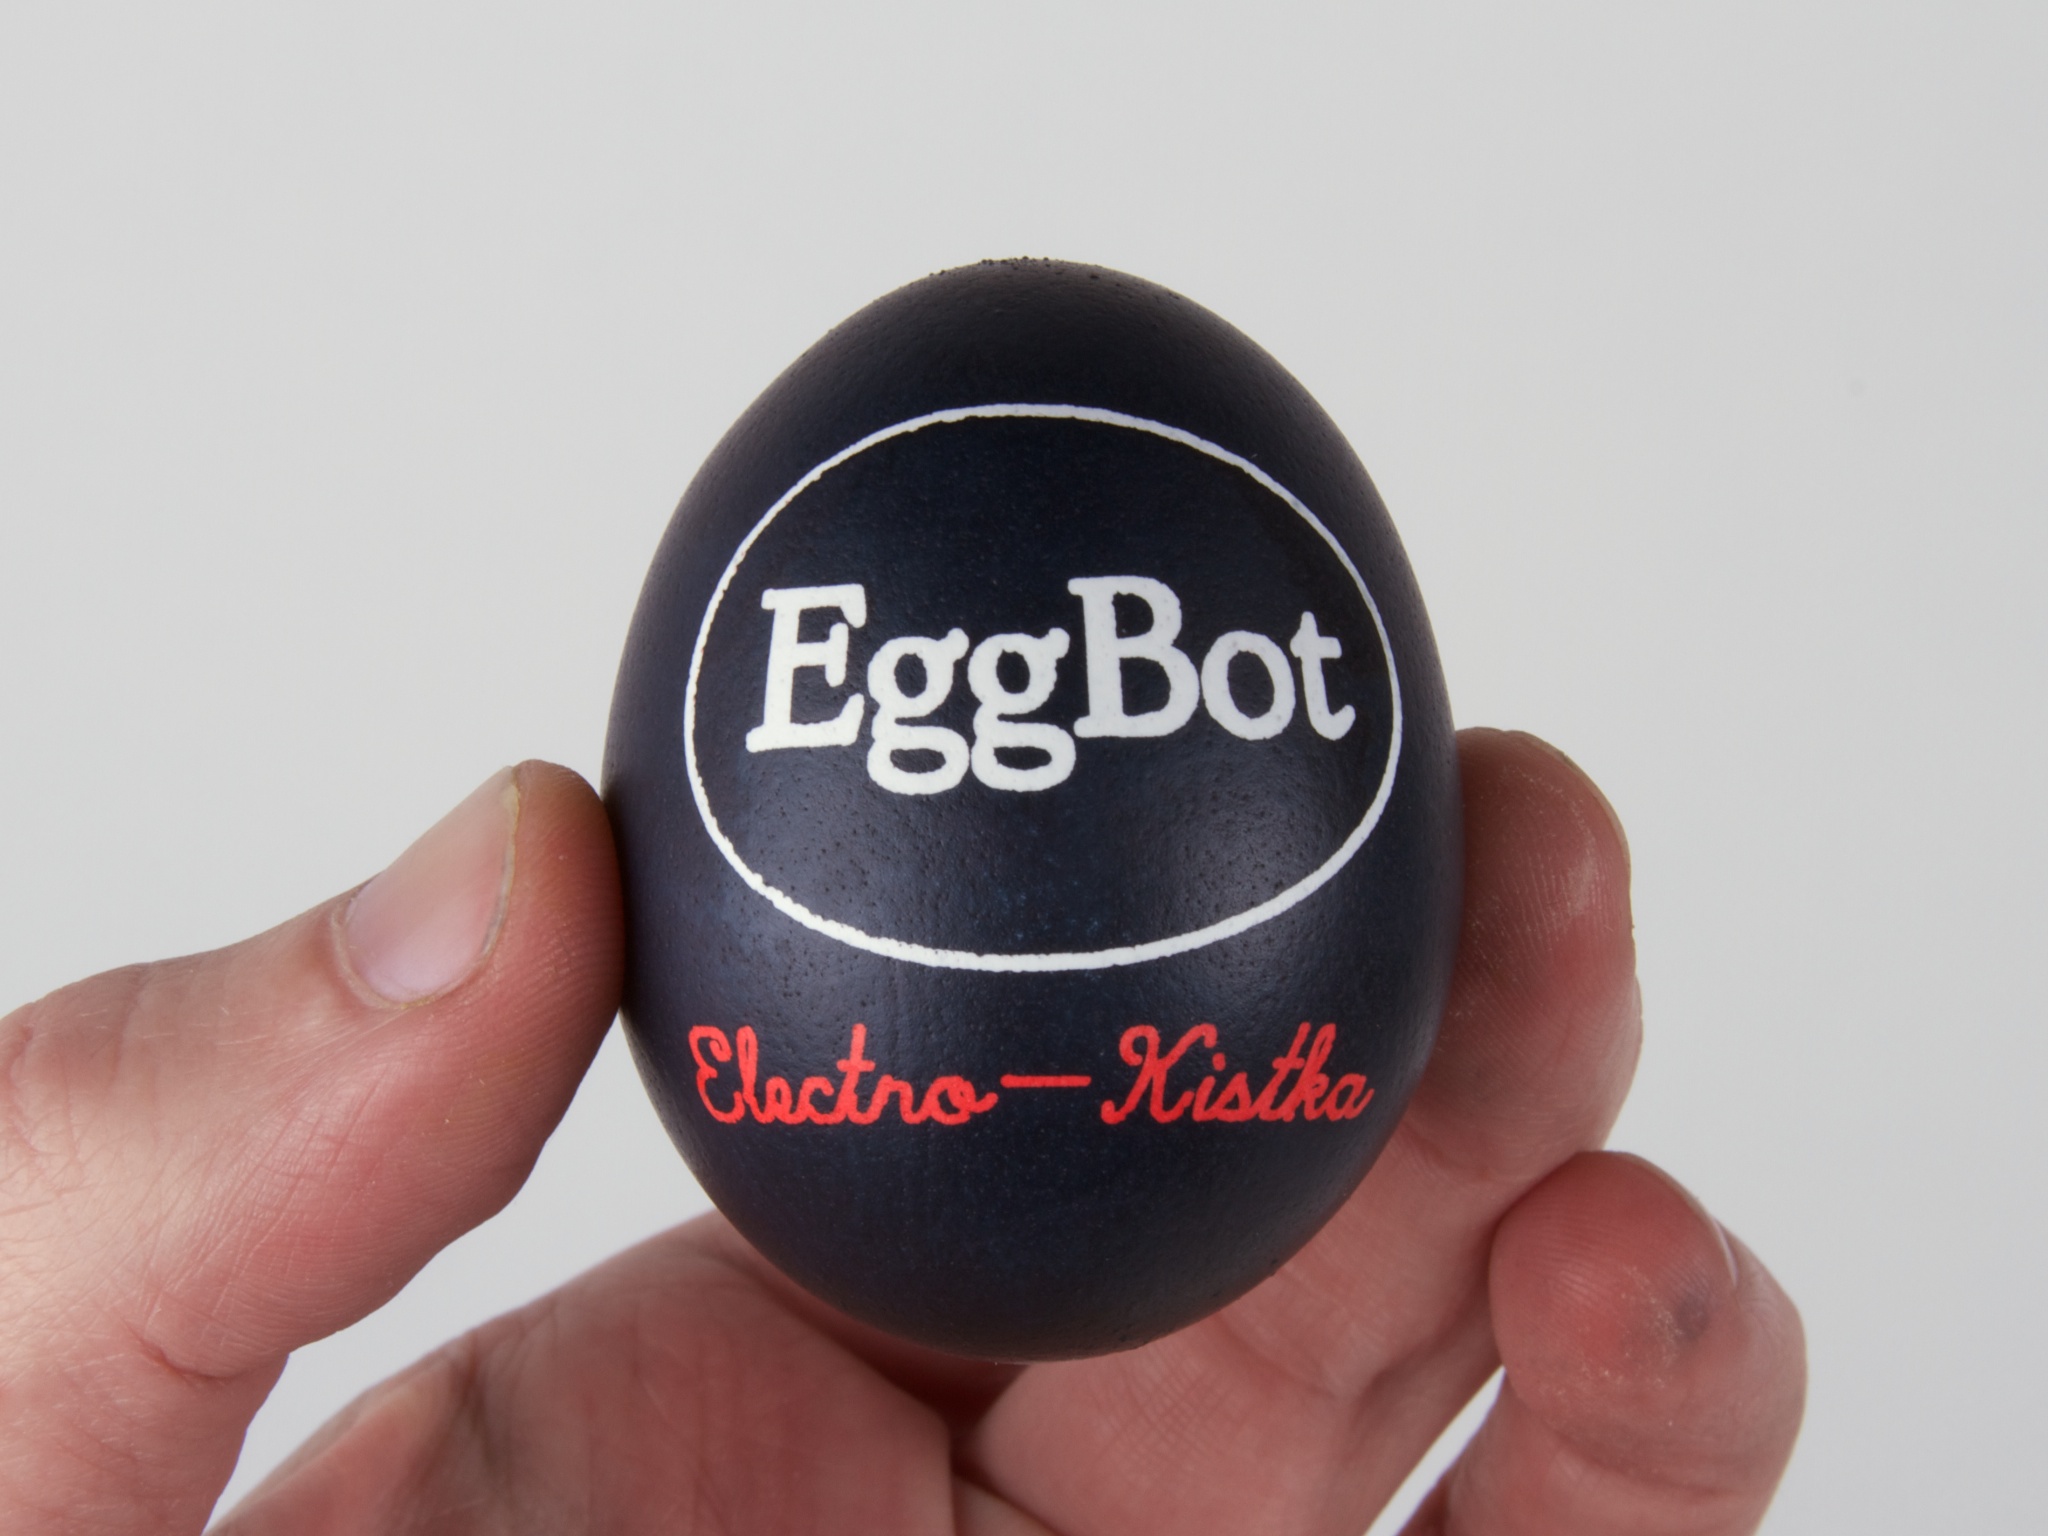
Once the egg is dry, we remove the wax with a heat gun on the low setting (a glorified hair dryer…) and a tissue. With the black wax gone, the contrast is stunning. (If you are interested, here is how it looks before the wax is removed.)

Another example of a two-tone egg. Alternately, you could dye the egg before the wax resist first goes on (say, yellow), and then dye it blue afterwards. The end result would be yellow lettering on a blue background.
Process: Multicolor
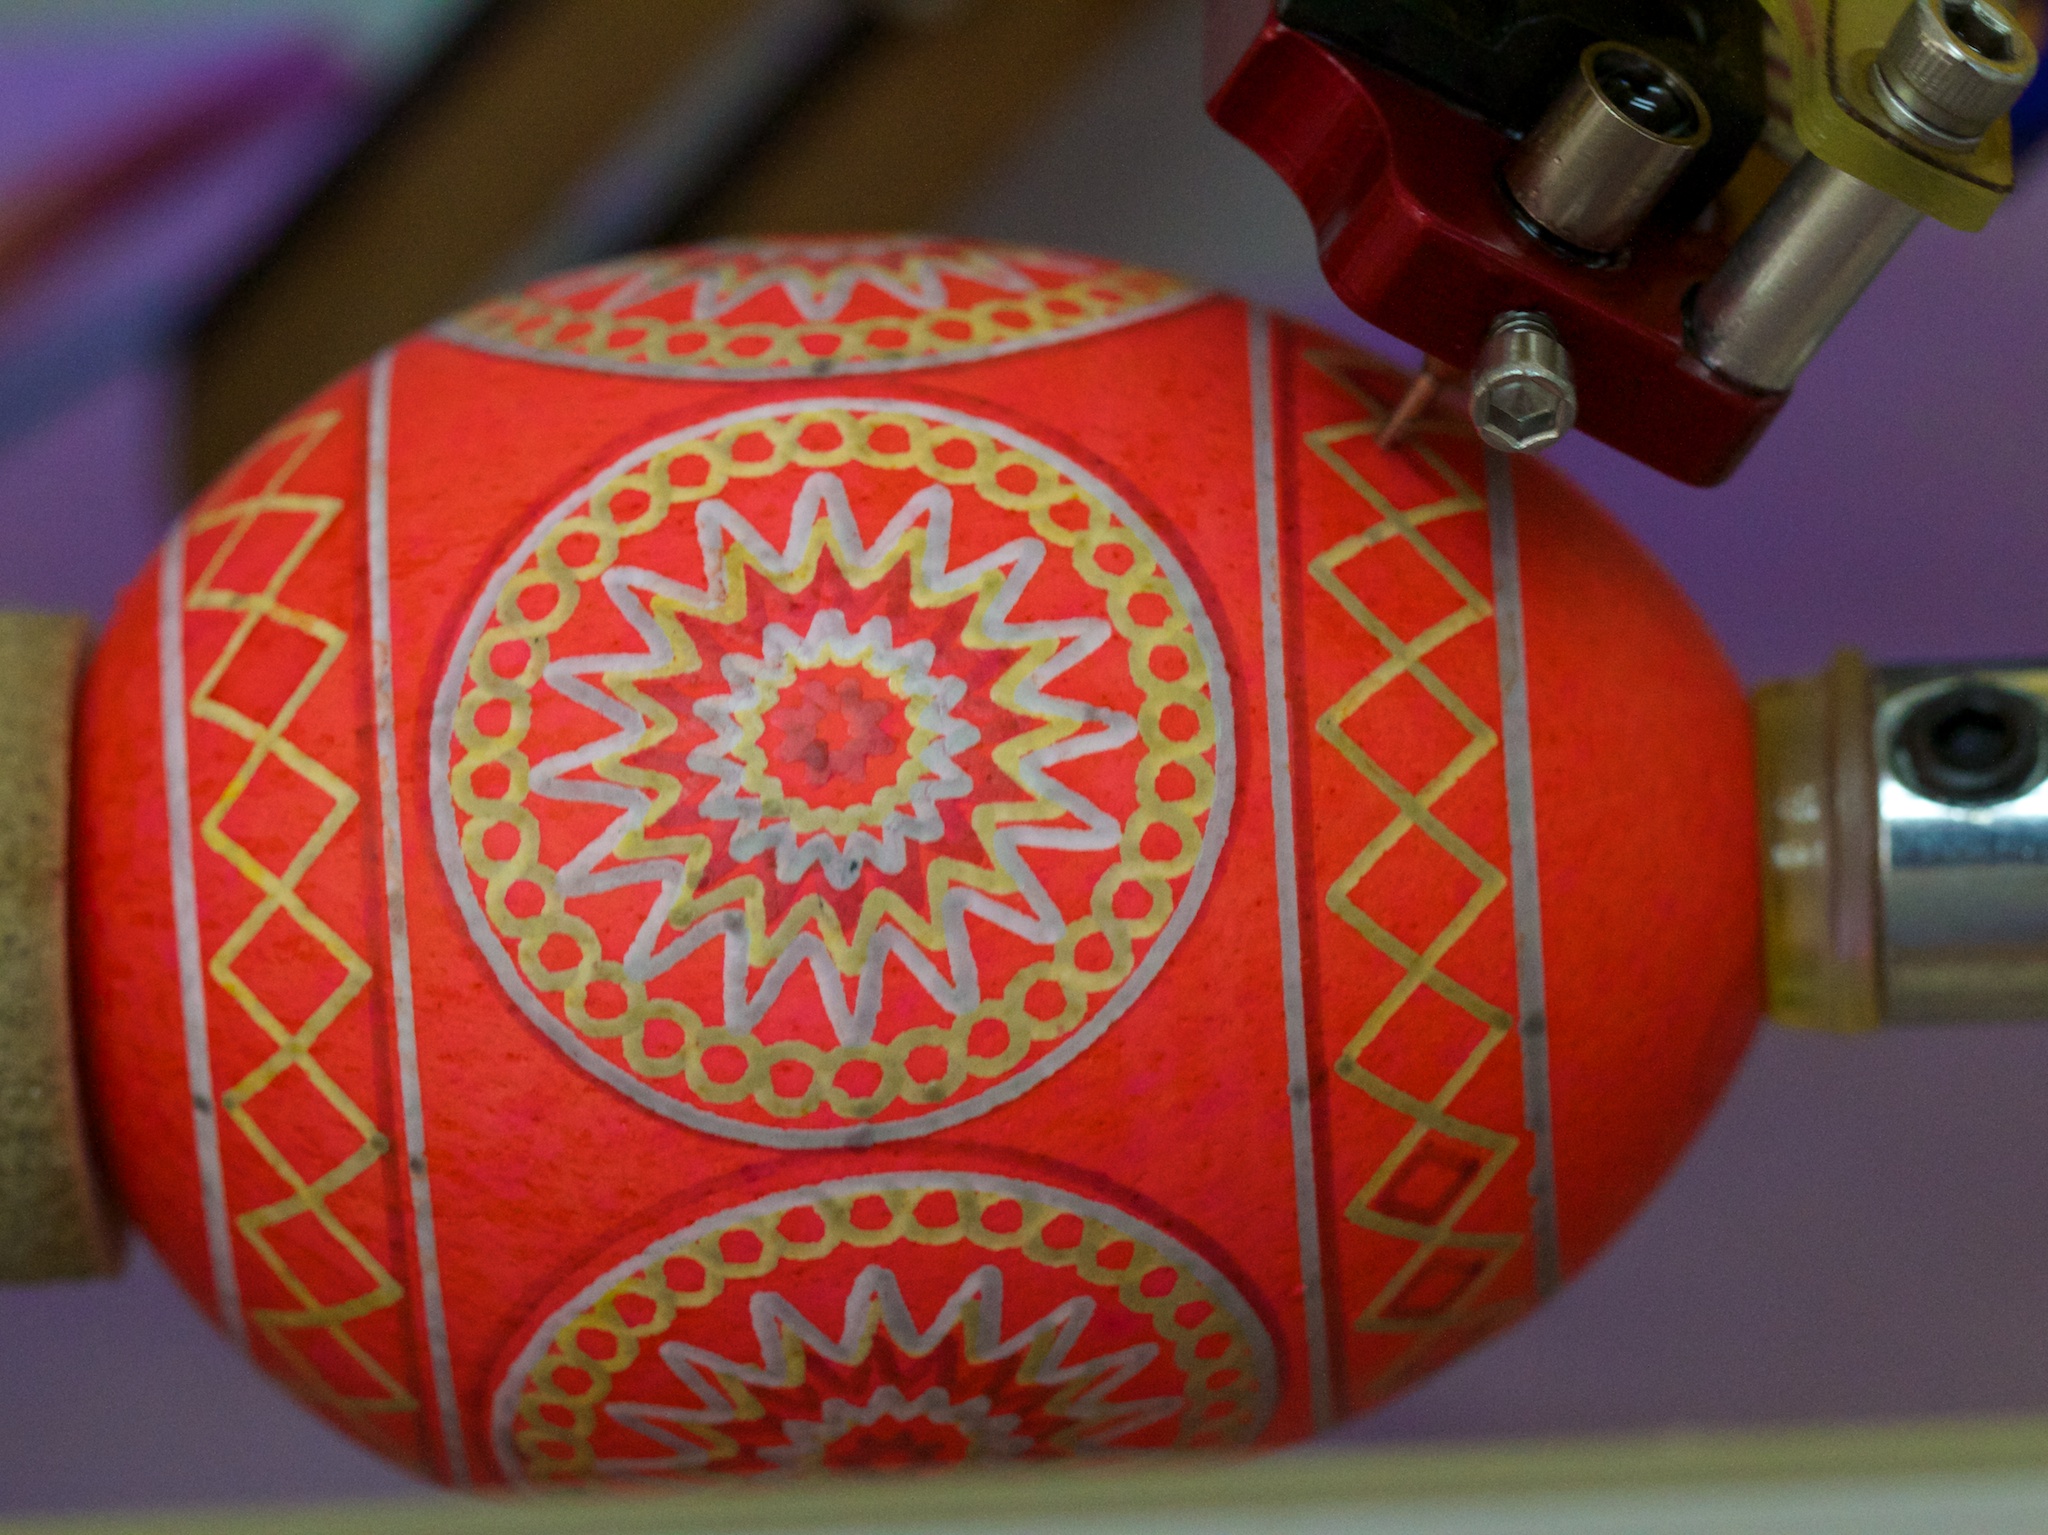
Making multicolor eggs uses the same process, but with added complexity. For this example, we applied wax resist on a bare (white) background, and then dyed the egg yellow and allowed it to dry (upper right). We then applied a second layer of wax, dyed the egg red and allowed it to dry. Finally, we applied a third layer of wax (lower left), dyed the egg blue, and allowed it to dry. The results after removing the wax (lower right) show the white, yellow, red, and blue areas — not bad!
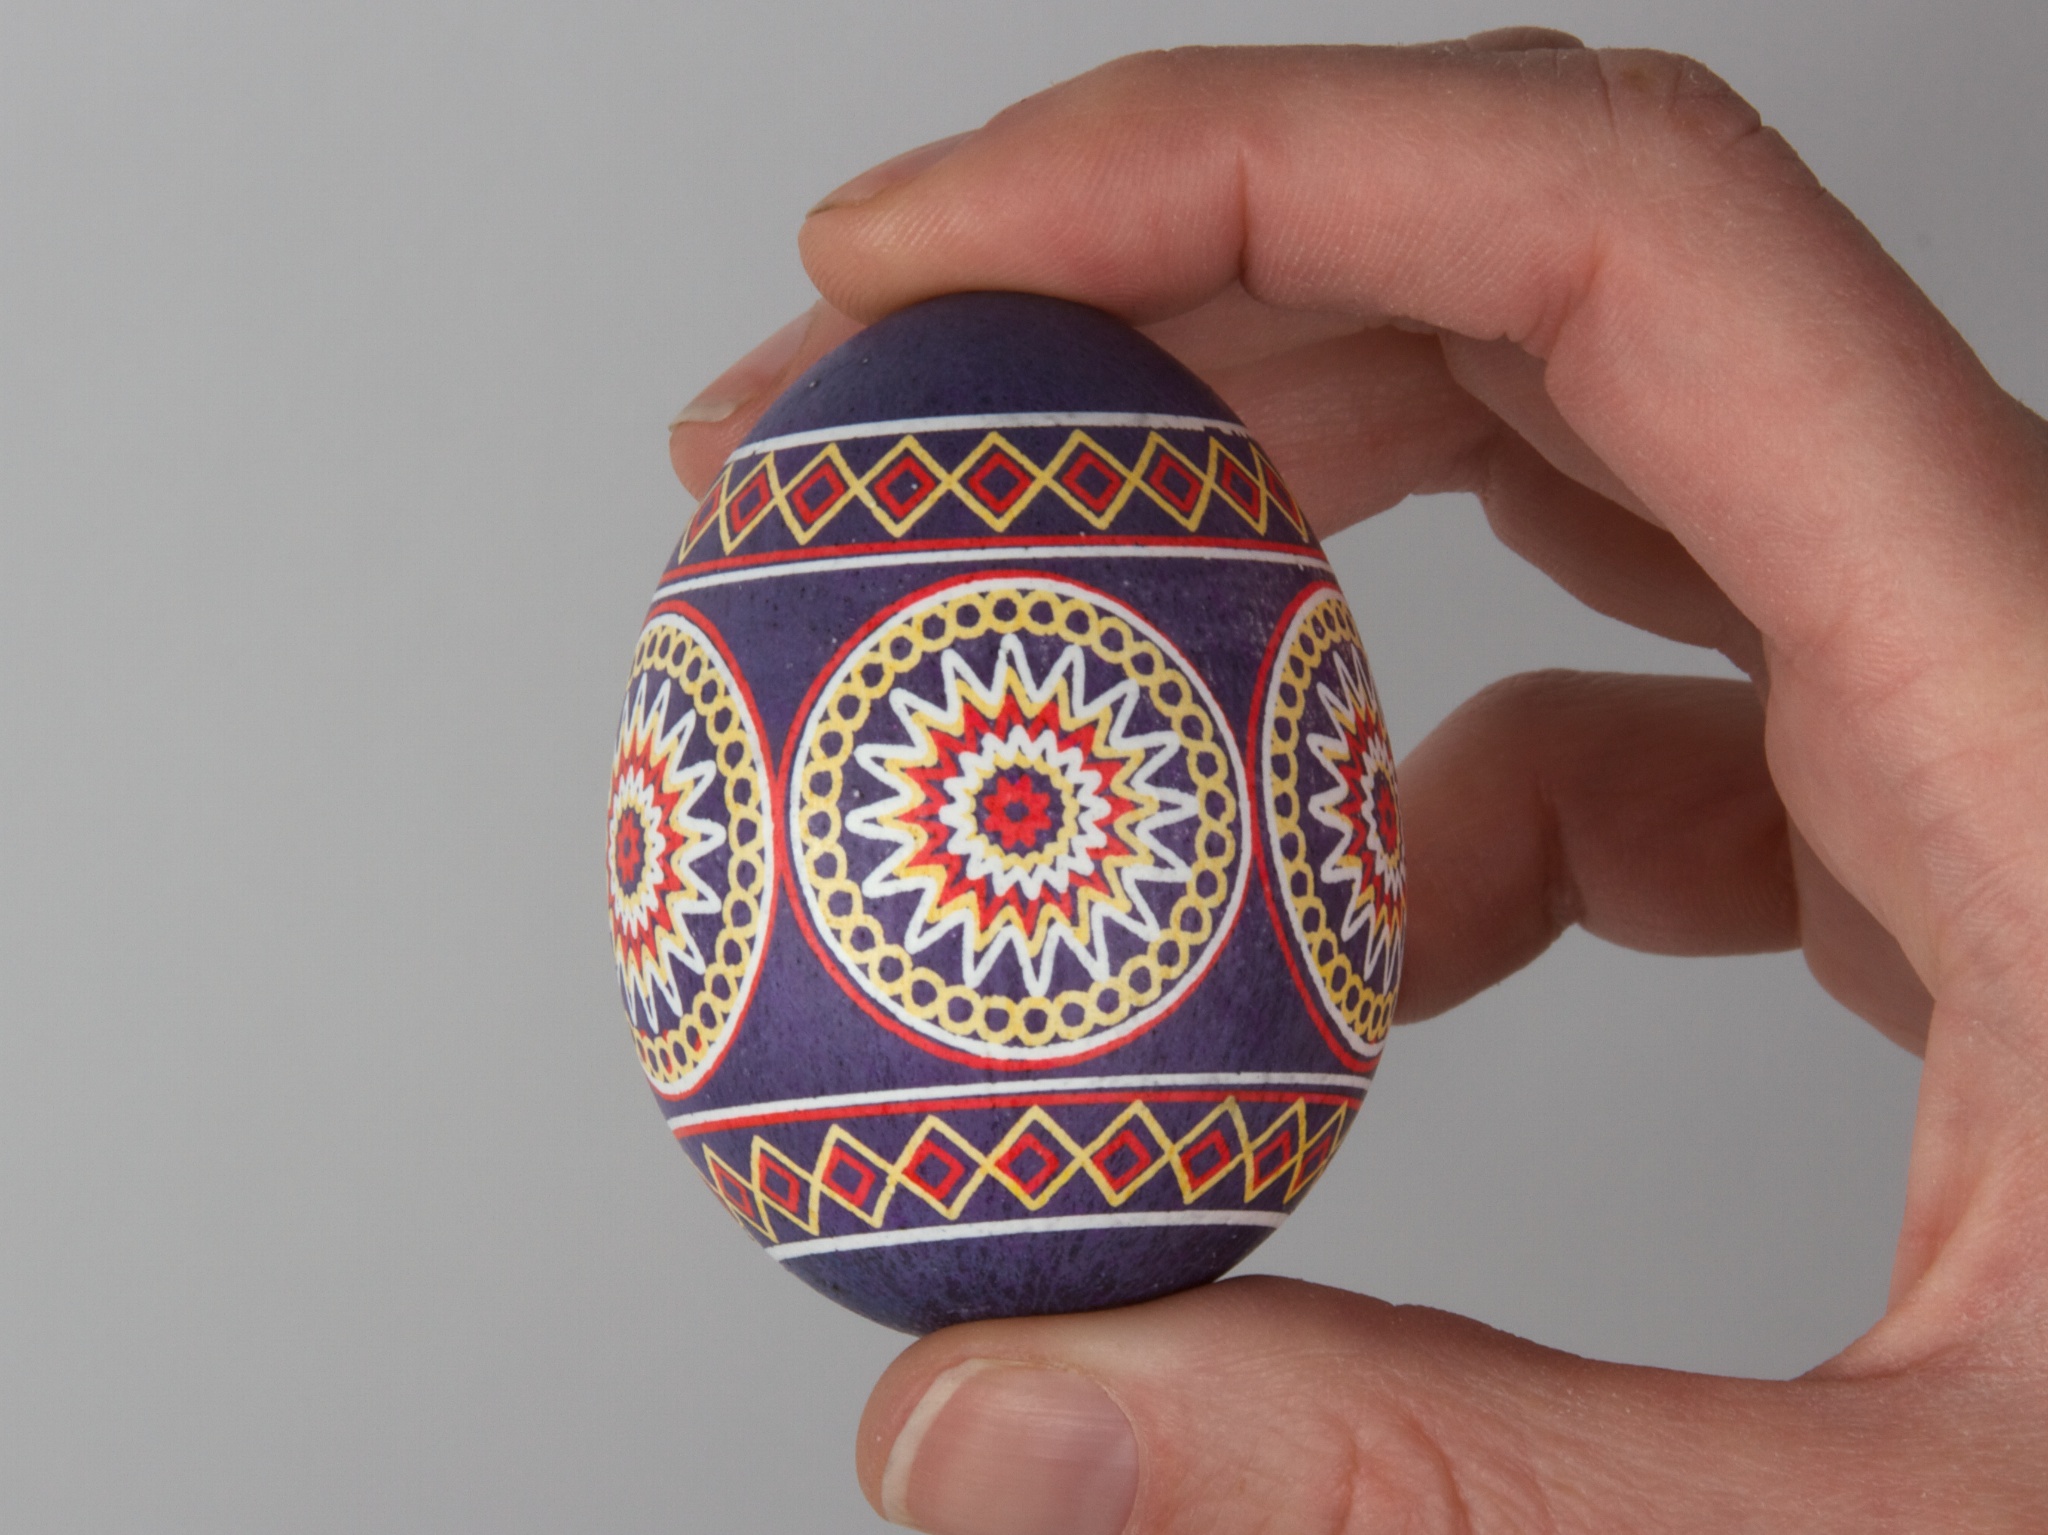
A caveat: It is harder than it looks. While two-tone eggs are straightforward, we have found it to be challenging to precisely reposition an egg after removing it for dyeing. Thus, it takes considerable patience and experience to produce multicolor eggs with good registration between subsequent color layers. We’d be interested in exploring better ways to do this.

Still, maybe it’s worth the effort.
The Egg-Bot Electro-Kistka begins shipping this week.
Heavy Duty Marshmallow Roasting
Building our April Fool’s Day project, the MarshMallowMatic, was a fun project but not without its fair share of trial and error. When heating flammable materials with an oxy-fuel torch, the biggest challenge is simply not setting them on fire.
In the video above — one of our first trials, before we had figured out how far away to position the flame — we wondered what would happen if we tried to “evenly” roast a marshmallow… with predictable results. Let’s just consider this an outtake.
Eggbot Code Easter Egg

Over in the Eggbot forums, user ragstian has been poking around in the firmware for the the controller board for the Eggbot, the EBB. He found an easter egg: holdover code from an old demo mode which would do standalone plots without a computer attached. The plot above depicts one of the very earliest versions of the Eggbot kit.

And on the reverse, www.egg-bot.com. Nicely done!


