Yearly Archives: 2012

Vector engraved stipples

Laser-etched Hoan Bridge

Over at rasterweb, Pete has been playing with StippleGen2 to create artwork with the laser engraver at the Milwaukee Makerspace.

Laser-etched Hoan Bridge

StippleGen’s output consists of lots of tiny overlapping circles and this piece was made by using vector engraving, where the laser traces out each circle individually. In some places, the lasered marks overlap many times, leading to a new and unusual surface texture. In the closeup above you can see the ridges and valleys formed by the overlapped engraved areas. Go check out his article for the rest of the story about the project!

The Art Controller

Art Controller

Today we’re releasing a new open source kit: A stand-alone, microcontroller-driven relay module called the Art Controller.

The Art Controller project was originally suggested by our friends (and Maker Faire regulars), San Francisco Bay Area kinetic artists Christopher T. Palmer and Nemo Gould.  Amongst other things that they build are amazing mechanical sculptures that need to run for a little while after a visitor presses a button or inserts a coin into the slot.

The long-established solution for driving electronic artwork (along with many similar endeavors) is to use a timer relay module; a little stand-alone board with a relay controlled by a timer.  There are several types of these: fancy programmable modules, bulletproof industrial types, and simple low-cost boards with a 555 timer and a pot that you turn to adjust the delay.  As we understand it, Christopher and Nemo go through the latter type like jellybeans.  But, what they realized that they really wanted was something just like that, except that you could reprogram it if you wanted to.

Art Controller

Hence the Art Controller.   It’s a low cost stand-alone relay module, with an on-board AVR microcontroller, an ATtiny2313, that manages the timing and I/O.

It can be used as a replacement for one of those basic 555-based relay boards, but it’s considerably more flexible in terms of timing range and functionality:

  • The timing is adjusted with an 8-position DIP switch, rather than a knob.  This cuts down on guess-and-check, but also gives a huge range. With those 8 little switches, you can select times from 1 second to 31 hours. (The ranges are 1-31 seconds, minutes, or hours, plus a few intermediate ranges.)
  • It can work as a one-shot timer or a continuously repeating timer.
  • There’s an option to trigger automatically upon turn-on (reset).
  • There’s a separate cancel input, so you can build a “STOP” button.
  • There’s an option to cancel a trigger if you push the “START” button a second time.

It comes preprogrammed, and all of those adjustments can be done with switches and wiring— handy if solder is your favorite programming language —so no computer or programming are actually required to get that far.

But, when that’s not enough, the on-board microcontroller can be reprogrammed in situ (using the board’s AVR ISP programming header) to handle the most specialized applications, potentially taking advantage of up to 16 free digital I/O pins.

And that’s pretty neat. 

Art Controller

Beyond the obvious applications in DIY projects, automation, and controlling art projects, we think that this is also going to be a fantastic relay board for education. It starts out as a (well-designed) simple function timer relay board, but can optionally transition to a full-on microcontroller development board when you’re ready for it.

So that’s the Art Controller in a nutshell: a versatile, easy to use, low-cost relay board that you can reprogram if you want to.

There’s plenty more detail on our product page: The Art Controller at Evil Mad Science.

And, special thanks to Christopher T. Palmer and Nemo Gould for a great project idea!


This post is included in our Halloween Project Archive, where you can find ideas for props, decor, and more.

Makerspace Launch

The Makerspace program is a joint effort by O’Reilly’s Make division and Otherlab to put dedicated space and tools for hands-on making into high schools. They describe their aims on their about page:

By creating makerspaces in an educational context, students can have access to tools and equipment that they might not have otherwise; they can collaborate on projects that are driven by their own interests, and by doing so, develop the capacity and confidence to innovate. We see making as a gateway to deeper engagement in science and engineering but also art and design.

On Monday, September 10, we’ll be attending the Makerspace launch event at the College of San Mateo. We’ll be demoing a few kits and are excited to have the opportunity to meet educators interested in bringing making into the classroom. If you’ll be attending, please stop by our table and say hi!

Klein Bottle Openers

Klein Bottle Opener by Bathsheba Grossman

This is one of the coolest things that you can actually buy. It is a Klein Bottle Opener by Bathsheba Grossman.  It is made in the shape of a Klein Bottle, a 3D representation of a single sided shape.  And it opens bottles. It’s a 3D printed stainless steel sculpture that fits nicely in the hand, giving you just the right kind of leverage; an absolute pleasure to use.

Klein Bottle Opener

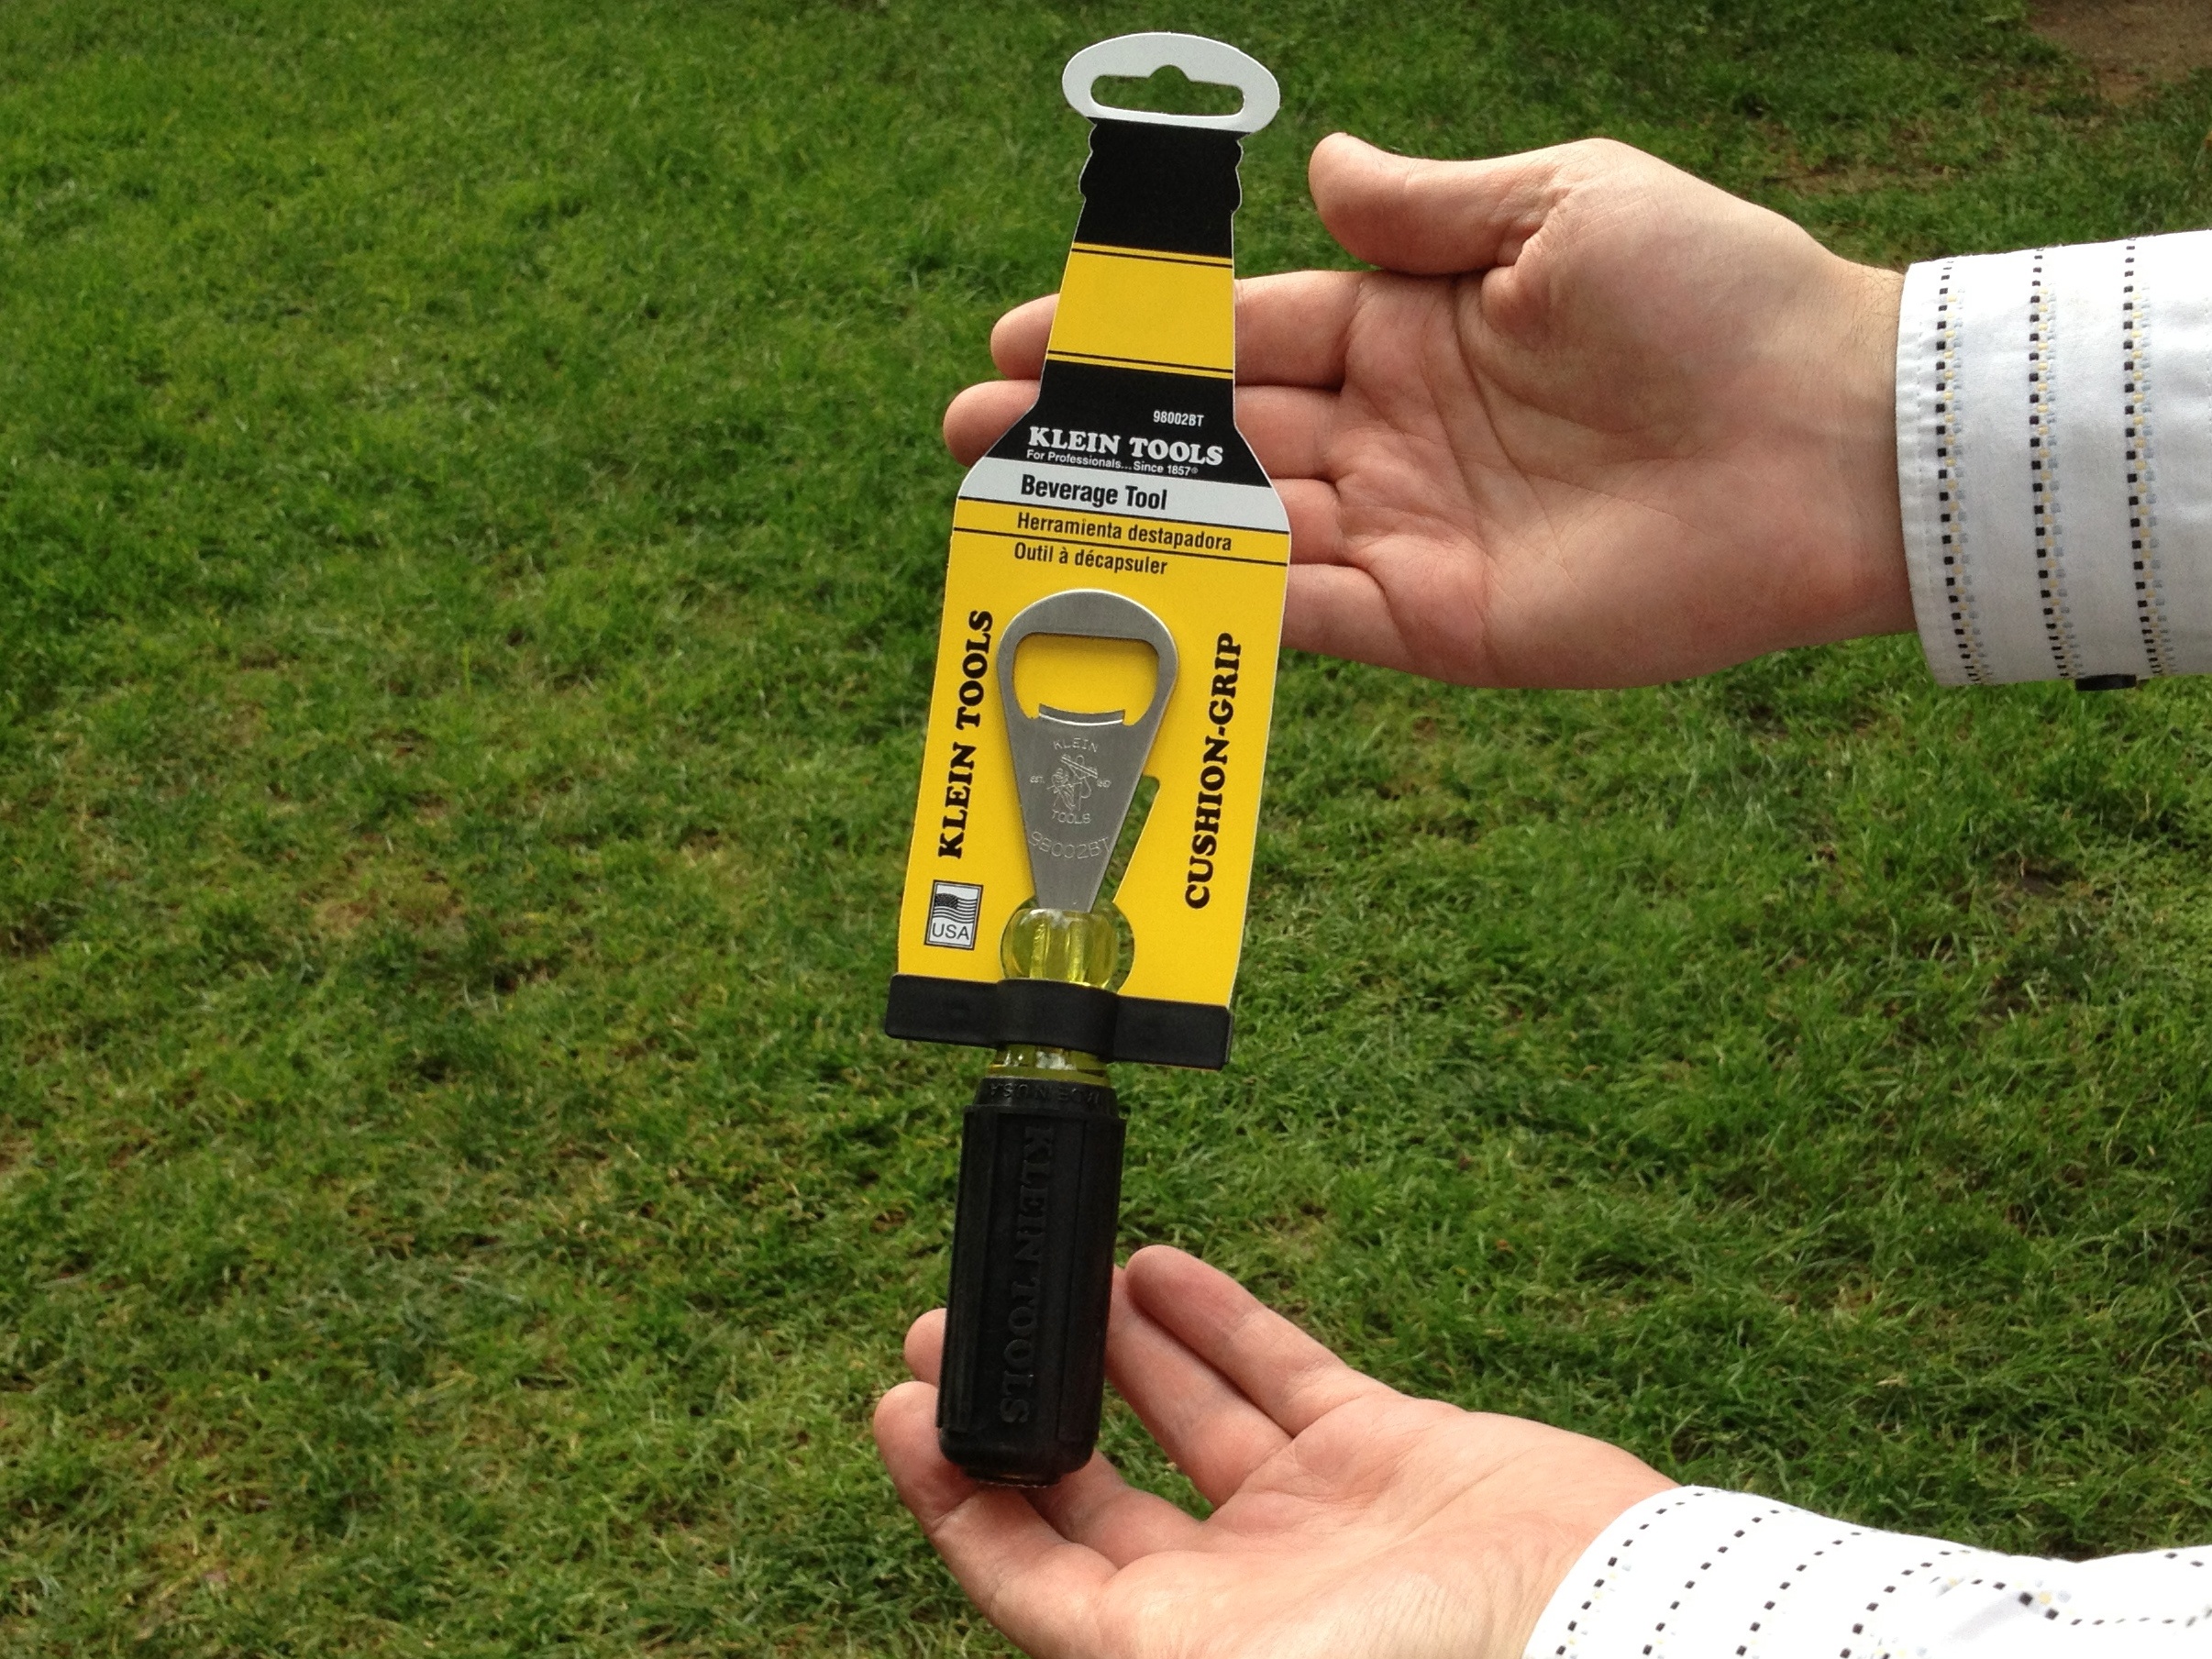
But— and this is where we were caught off guard— there’s a second great, yet completely independent, kind of Klein bottle opener out there: the Beverage Tool by Klein Tools. Klein tools is quite truly (as they say), “the #1 choice among professional tradesmen.”

We happened upon this gem at Hand-Eye Supply, the Core77 store, while visiting Portland, Oregon.  As far as we can tell, it was there because they like well-made tools, including those from Klein, not because they like mathematics.

Klein Bottle Opener

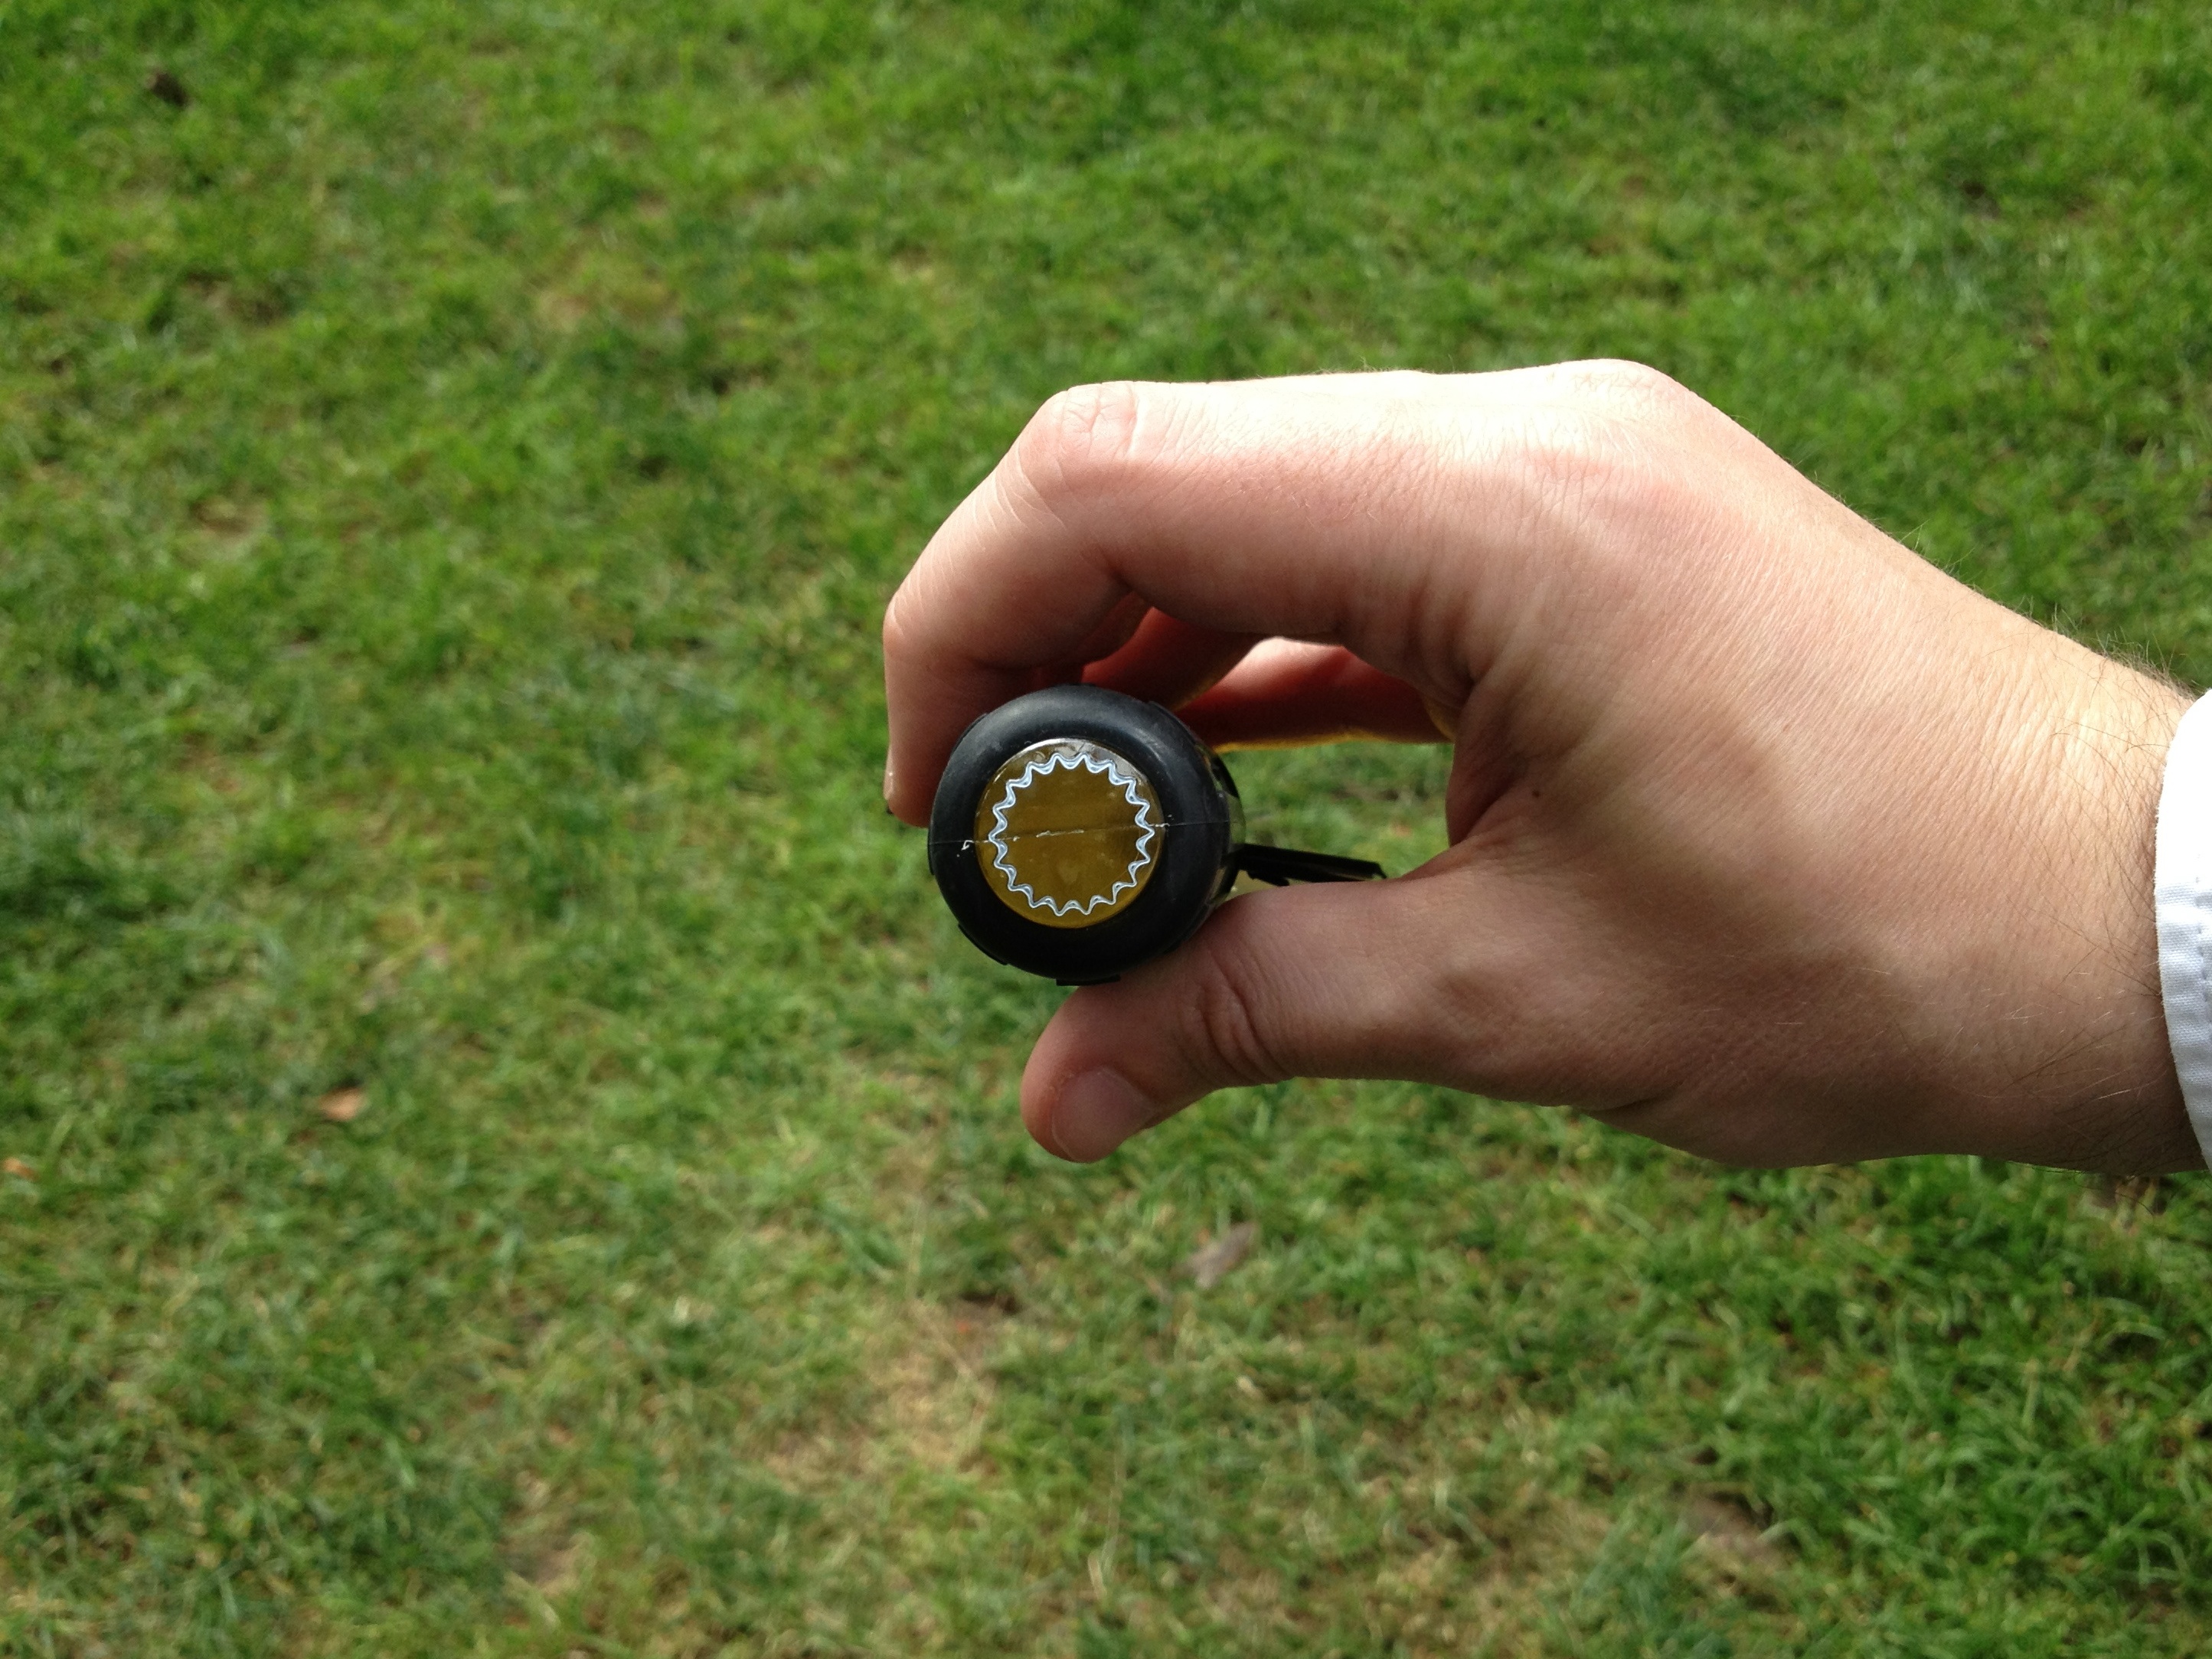
The tool has convenient “Tip-Ident” mark in the shape of a bottle cap so you can quickly find it among other tools.

And now, dear reader, you know where to get a complete set of Klein bottle openers.

Coming soon: Visual diffs for 3D models

Cube Hero Screenshot

After reading our post on Improving open source hardware: Visual diffs, Wil wrote in to to tell us about Cube Hero:

I have a demo up of visual diffs for 3D printable models. Here you can see a specific model, and … you can see diffs as I changed the model.

We’re excited to see new tools for collaboration like this being developed. Besides visual diffs, the project aims to provide visual versioning, 3D object sharing, and bill of materials integration. Cube Hero is looking for interested possible users, so go check it out–they’re accepting signups for updates and launch invitations.

Mailbag: Hacking a Mega-Peggy

grayscale

Tony writes in with a question about hacking our DIY LED matrix kits:

“I’m building a Peggy 2LE. I have completed the wiring with the exception of the LEDs. I have constructed an external frame which has 600 mounting points for my LEDs using a Matrix design of wires crossing every 3 inches. Since the Peggy 2LE has 625 LEDs I need to know how I can drive the 30 anode connections and 20 cathode connections to the wiring them to the Peggy 2. Or am I going to have to wire each LED to the PCB of the Peggy + and – LED locations?”

And, that’s actually an interesting topic.  We’ve written before (here and here) about some giant-scale variations and modifications to our Peggy 2 and Peggy 2LE LED matrix kits, but we haven’t really addressed how one might go about building it.

First off, since you asked— and though we recommend against it —it is indeed possible to build an off-board LED matrix by simply running individual running wires from every LED location on the Peggy circuit board to every LED.  There are 625 LEDs in a 25 × 25 grid, and if each has two wires… that turns out to be quite a few wires.

MakerFaire2011 - 144

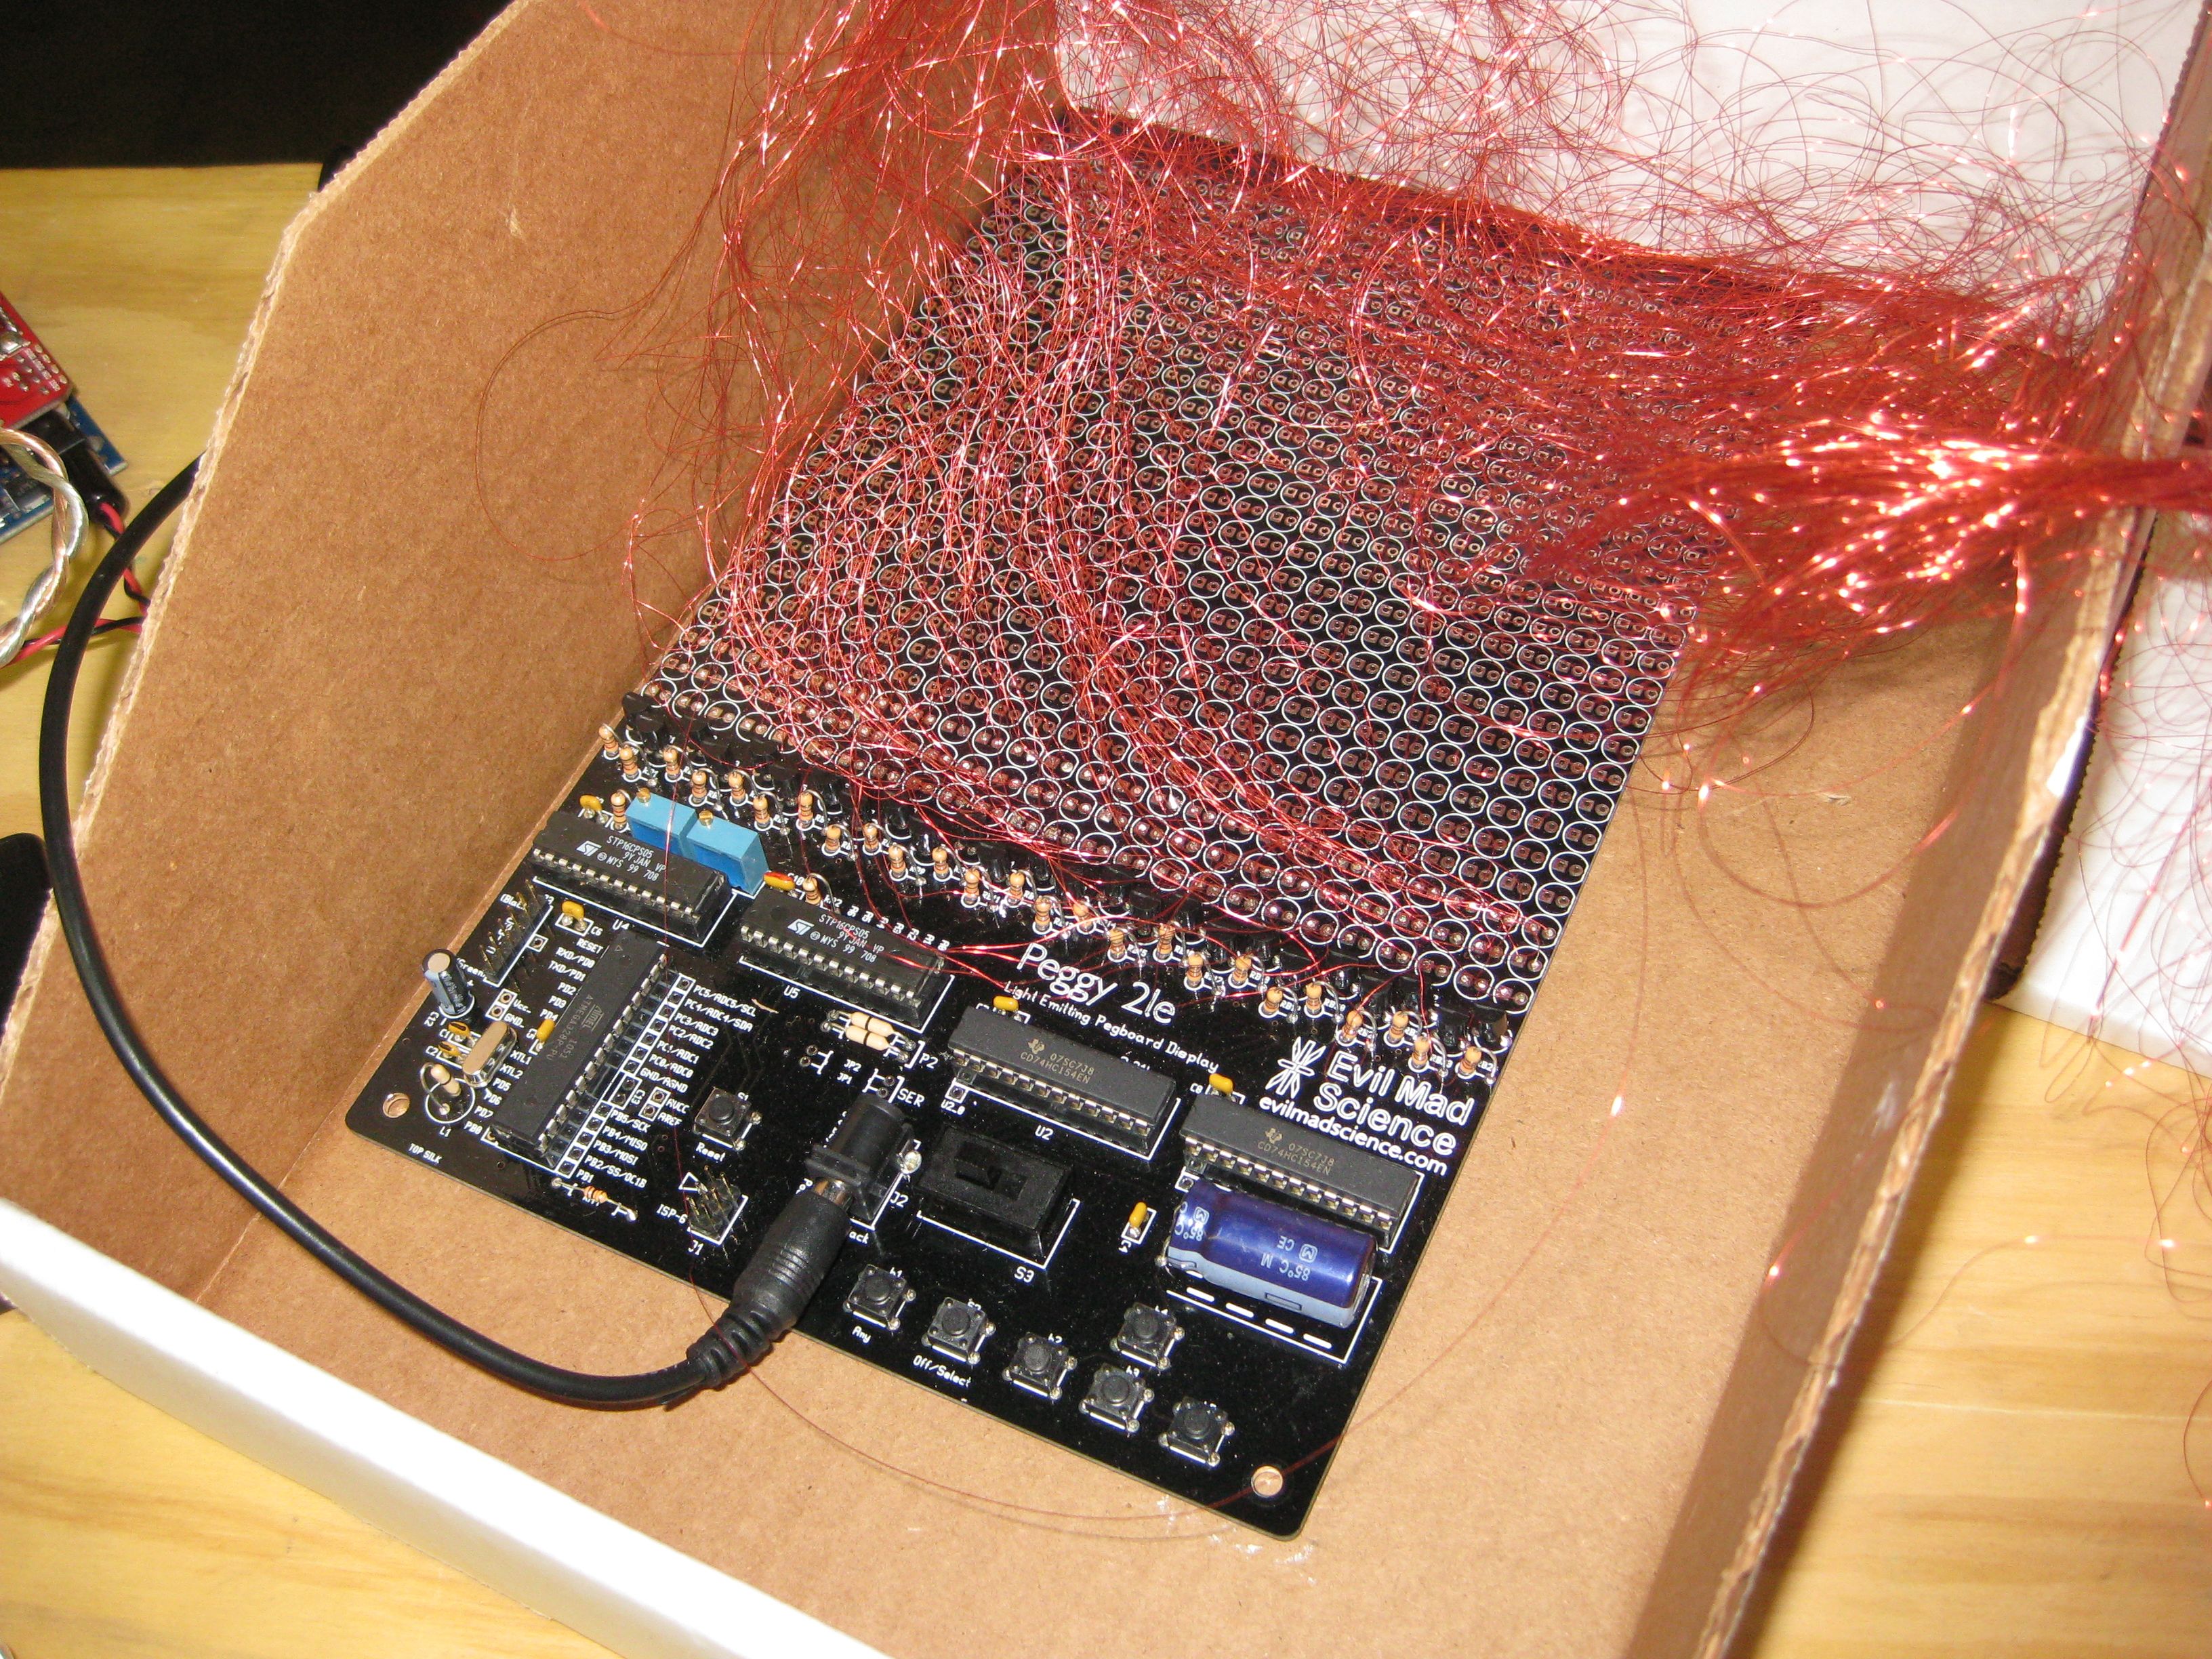
While *ahem* labor intensive, this method does work. We know this partly because several people have actually done it.  The “rats nest” of thin, red-lacquered magnet wire shown above is one example, and the Peggy shown here is another victim example of this method.

Fortunately, very fortunately, there are easier ways: think 50 wires, rather than 1250. And, there are a few other clever tricks that you might want to consider when changing the size of the matrix.  For example, it’s possible to use the Peggy 2LE to drive an off-board LED matrix of size up to 25 × 32 without adding any other extra hardware.

Continue reading Mailbag: Hacking a Mega-Peggy

Nerdy Derby at New York Maker Faire

Our friends over at ITP are putting on a brand new event at Maker Faire NY called Nerdy Derby. It’s like Pinewood Derby racing, but without any pesky rules*. They’ve listed track specs on their site, so check ’em out and bring your own car to race, or build one on-site at their workshop. They’ll be giving out prizes in several categories, including “The Underdog,” “The Tricked Out,” “The Delicious” (for edible entries), “The Not-So-Pretty” and “The King of the Hill.” Watch their introductory video embedded above or click over to see it on Vimeo. We’re looking forward to checking out these races! We might even have to enter a car of our own…

*The Nerdy Derby site states: “While there are technically no rules for the competition, we ask that participants exercise common sense when it comes to safety.” Gotta love a common sense approach!

Basics: Picking Resistors for LEDs

5 mm warm white diffused LED

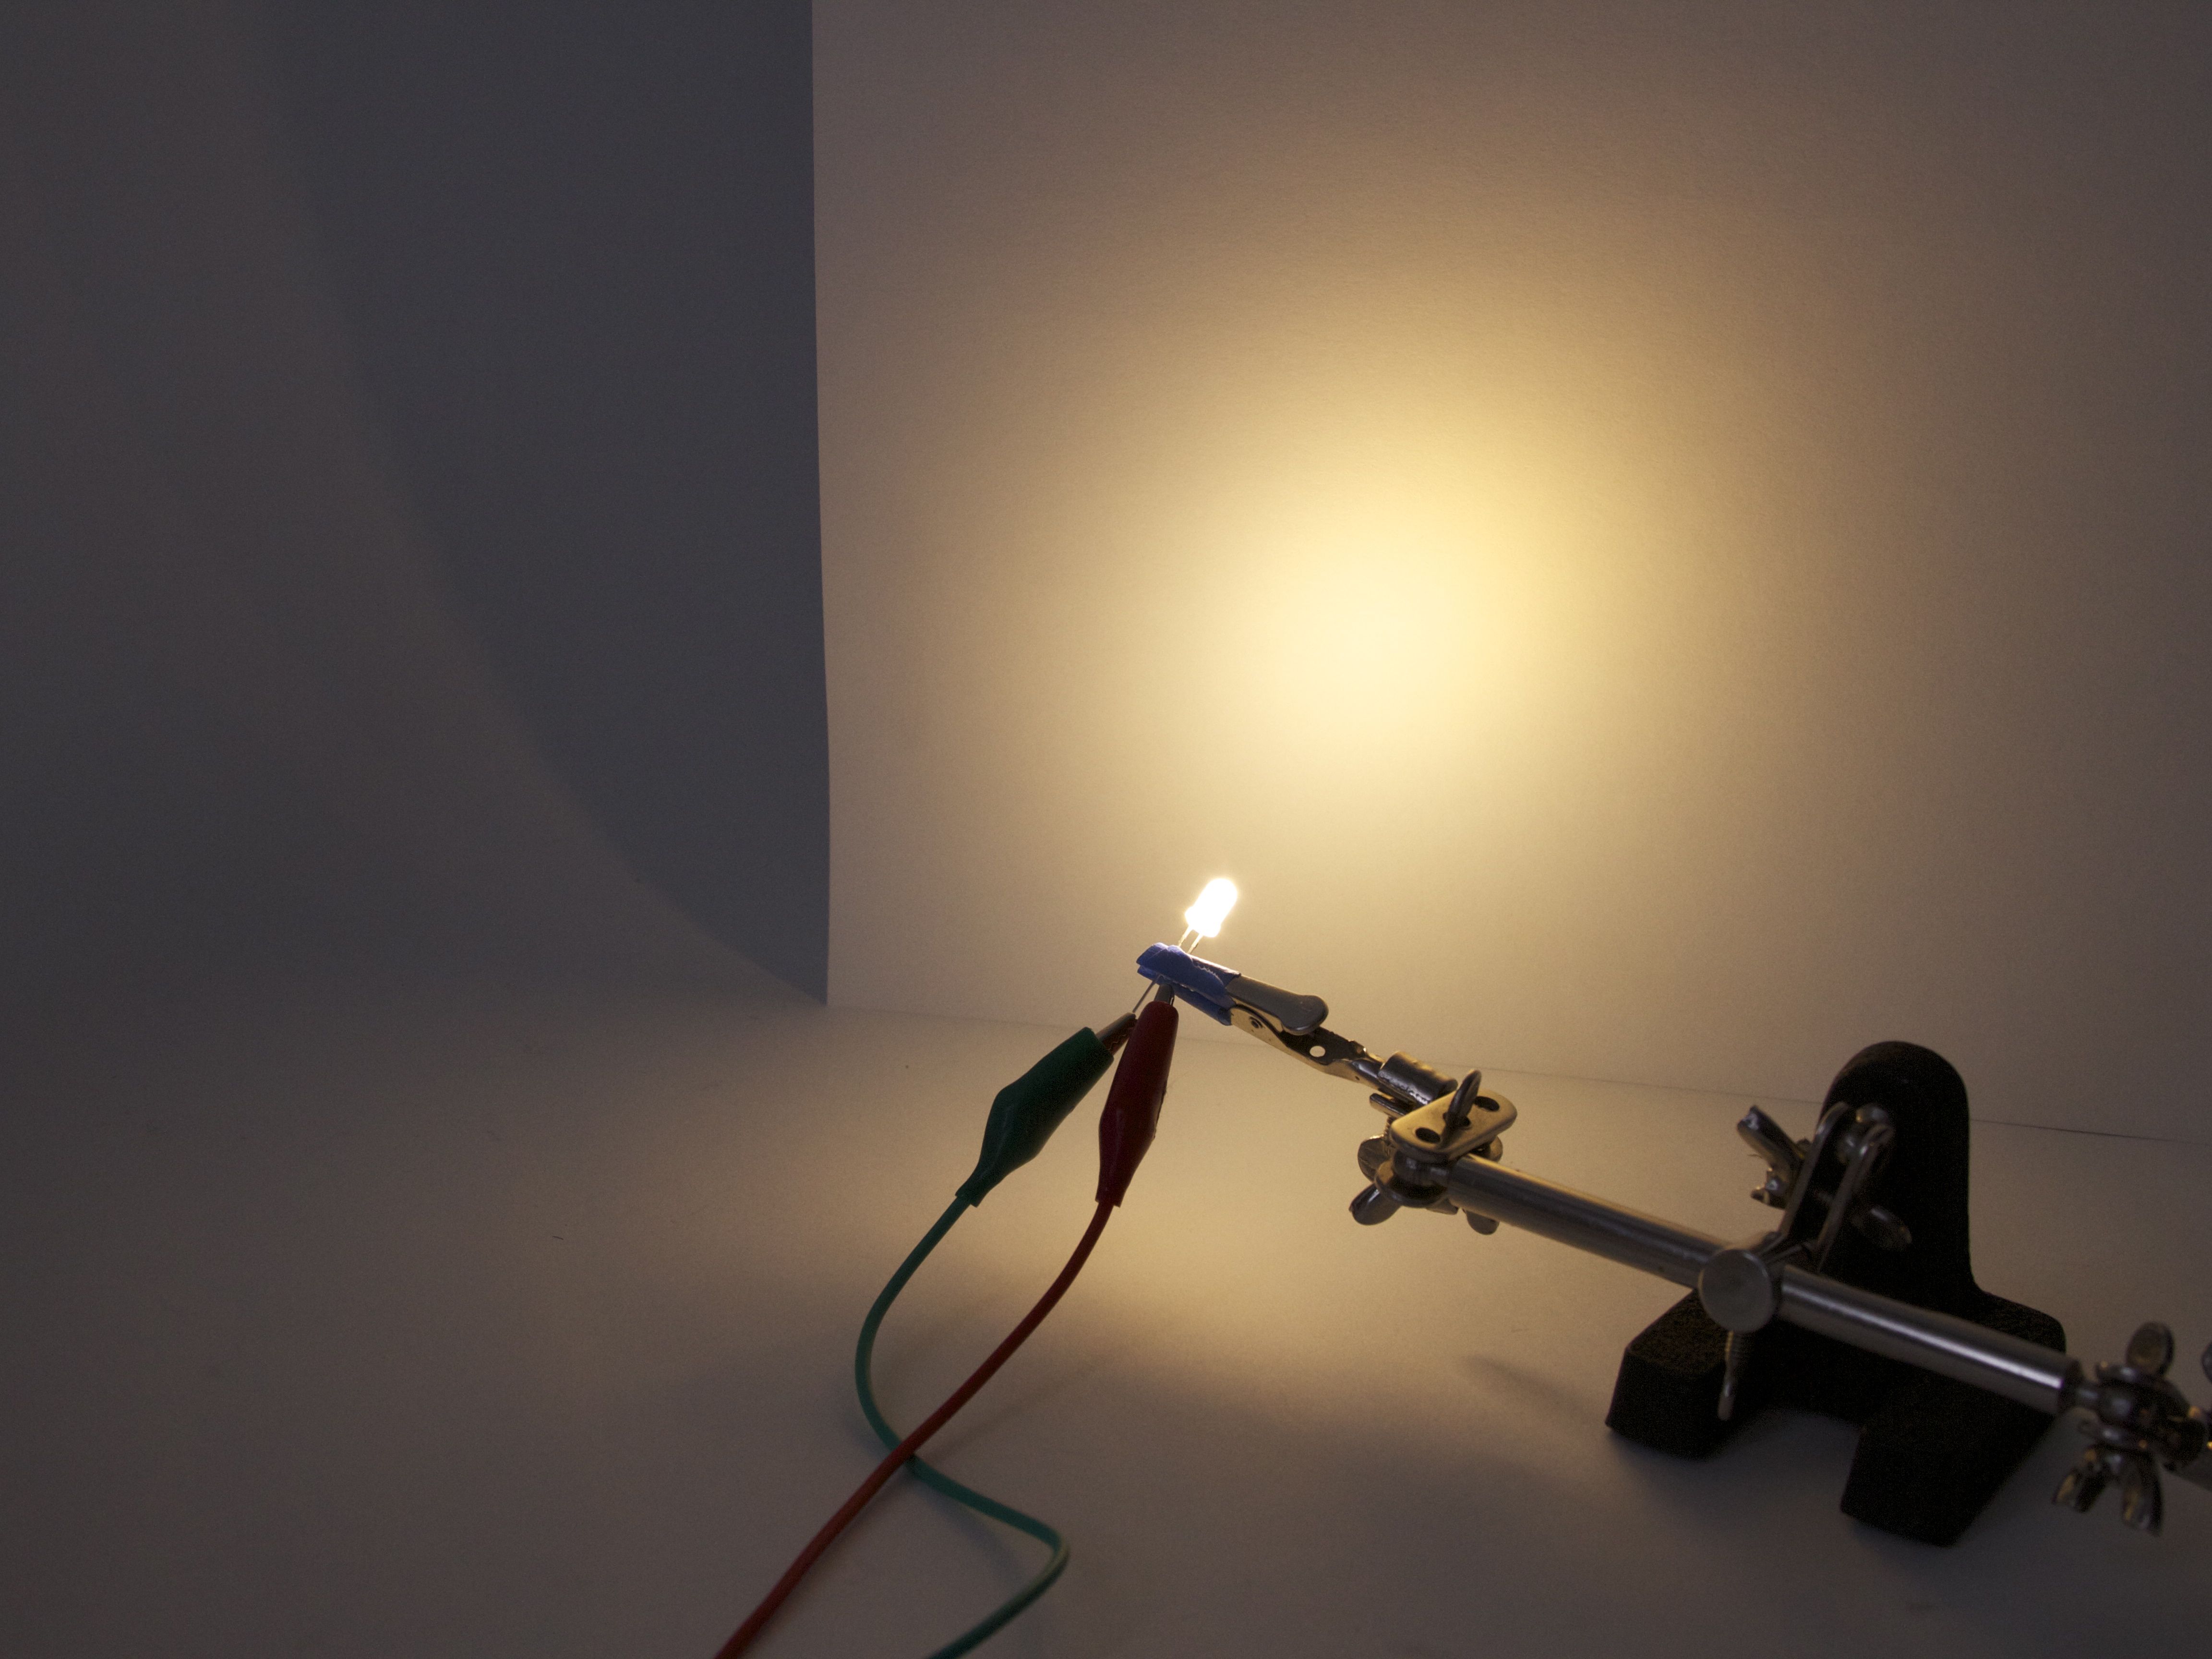
So… you just want to light up an LED. What resistor should you use?

Maybe you know the answer, or maybe everyone already assumes that you should know how to get to the answer.  And in any case, it’s a question that tends to generate more questions before you actually can get an answer: What kind of LED are you using? What power supply? Battery? Plug-in? Part of a larger circuit? Series? Parallel?

Playing with LEDs is supposed to be fun, and figuring out the answers to these questions is actually part of the fun.  There’s a simple formula that you use for figuring it out, Ohm’s Law. That formula is V = I × R, where V is the voltage, I is the current, and R is the resistance. But how do you know what numbers to plug into that formula to get out the right resistor value?

Continue reading Basics: Picking Resistors for LEDs

Build Your Own CNC Workstation Cart

CNC Workstation 1

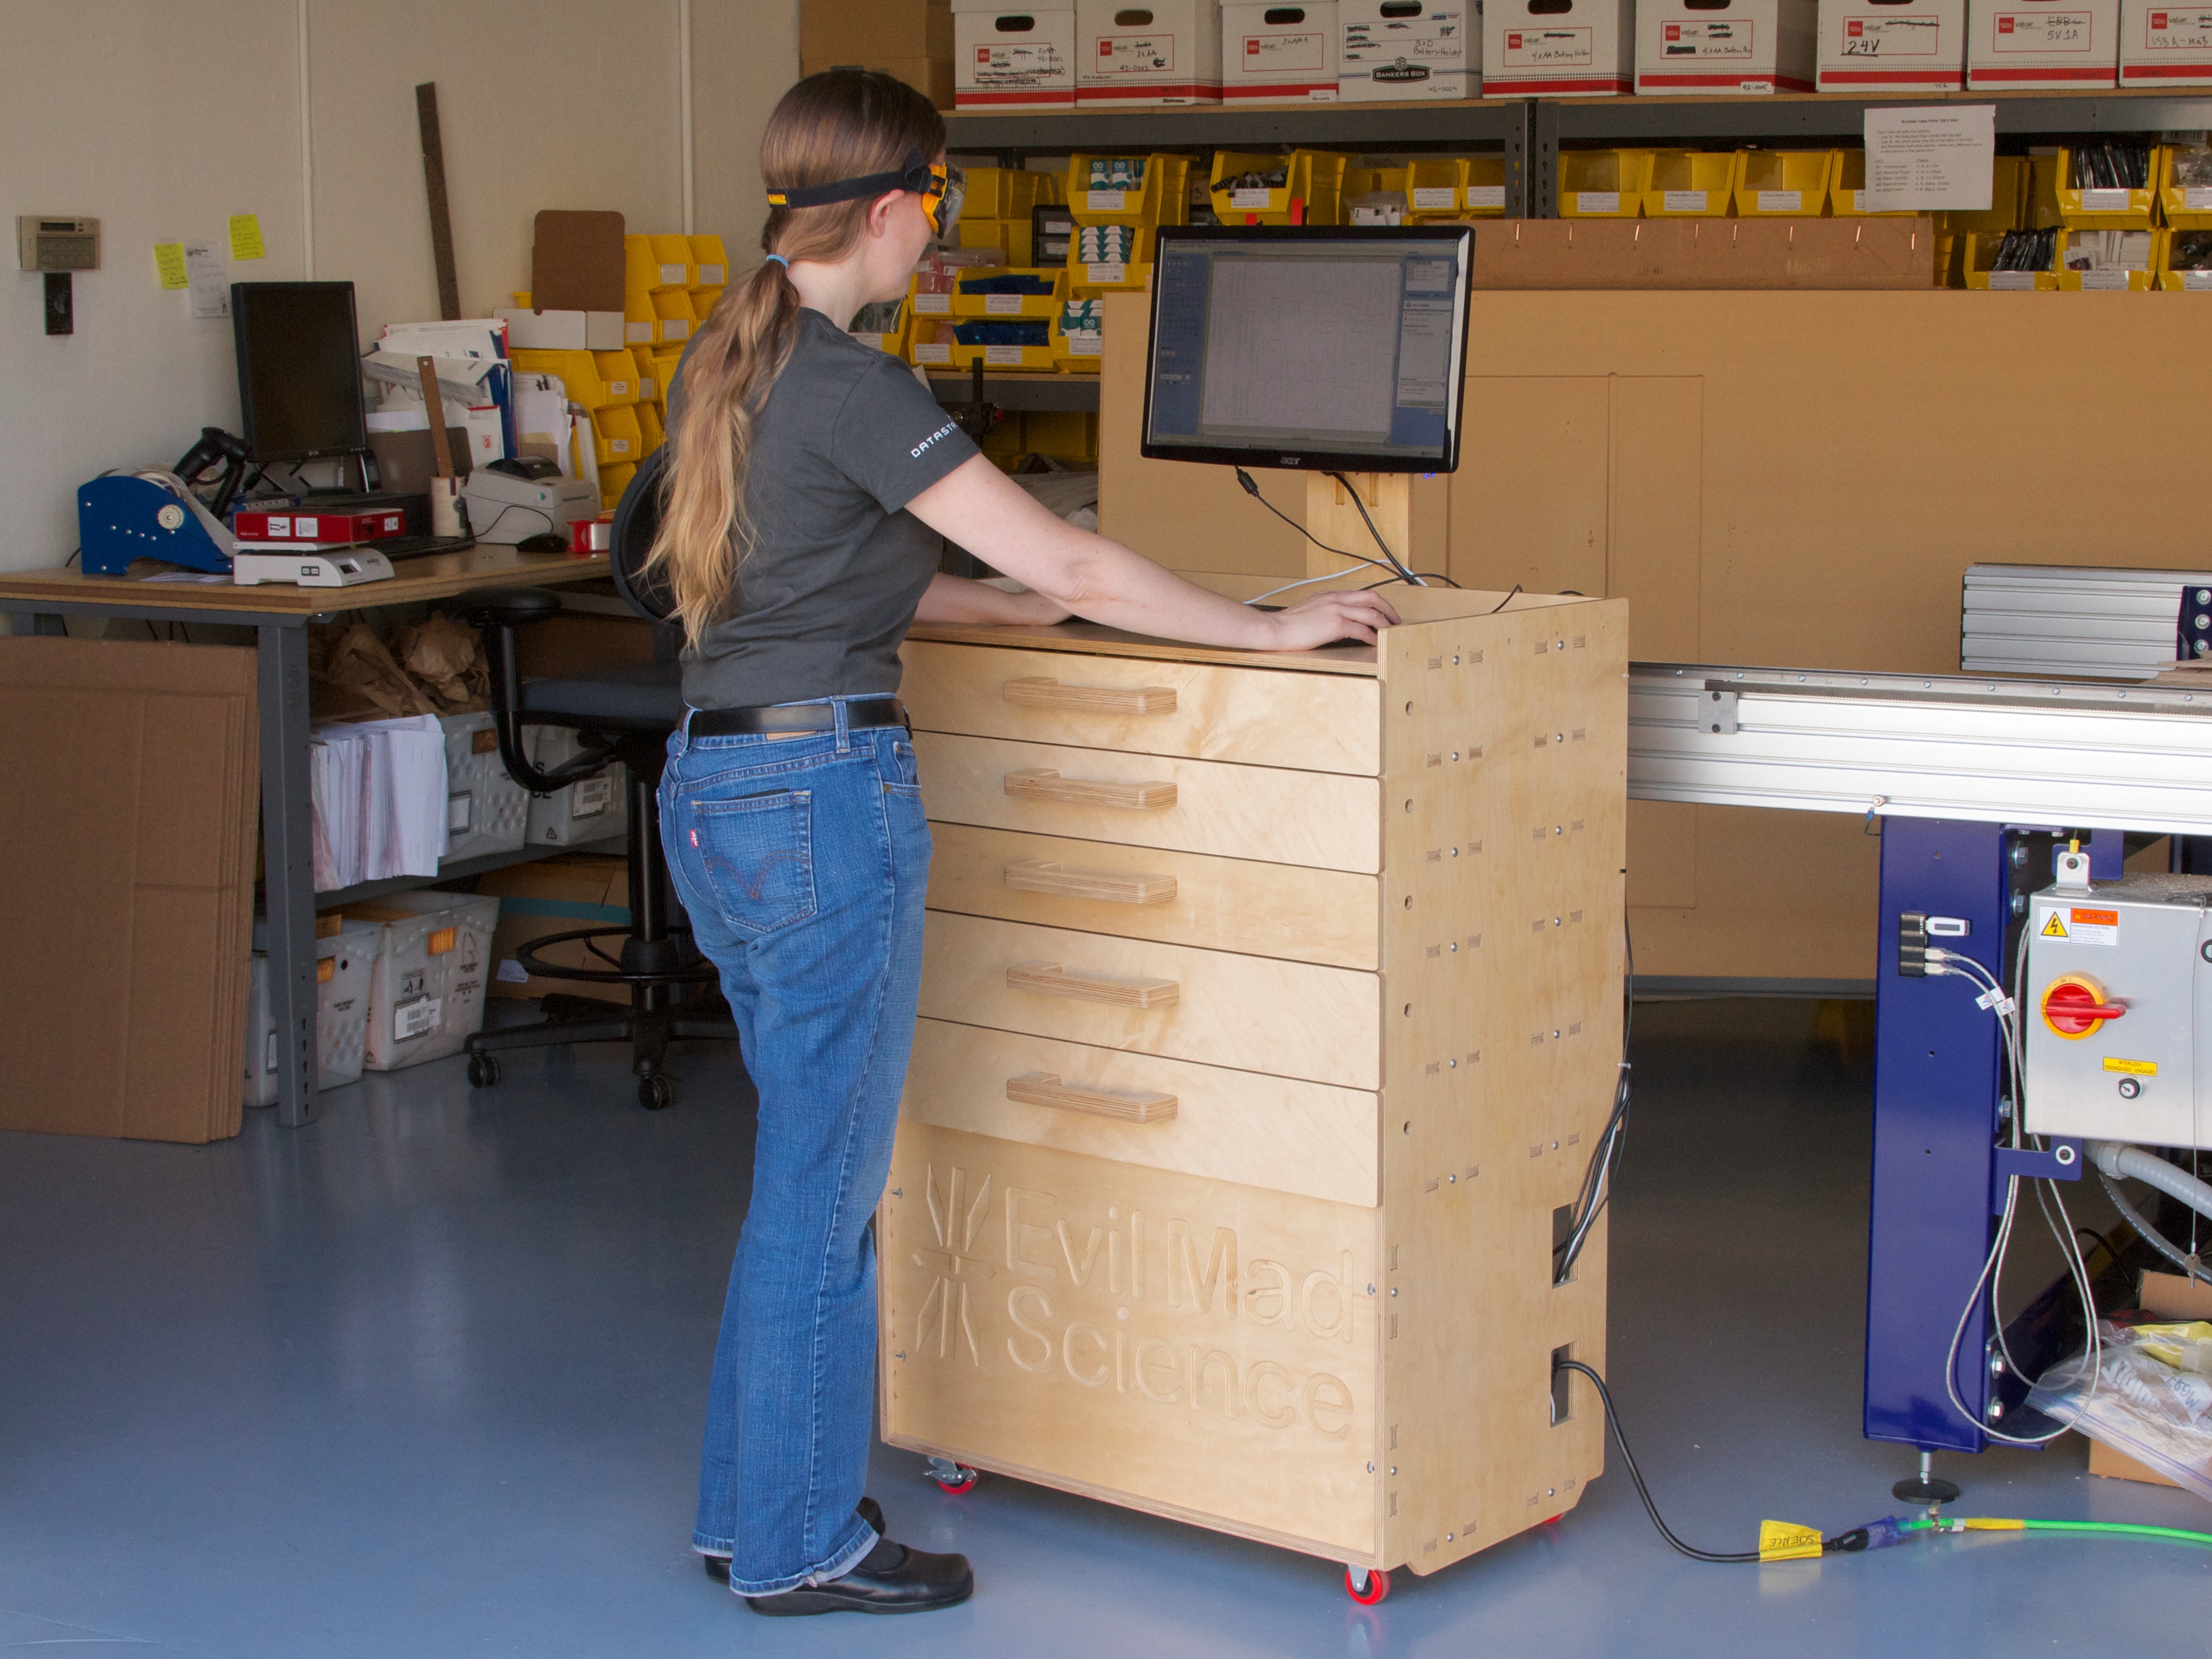
Recently we needed a sturdy, standing-height computer workstation for our workshop. So, we designed and built one. It has turned out to be one of the most useful things that we’ve ever made. And now, we’re releasing our design, so you can build one too!

A little background: This computer station is the one that we use to operate our CNC router.  Previously, we had been operating that machine from a laptop on a rolling tool chest.  While having a tool chest handy was great, the laptop wasn’t, and the height was backache-inducingly awkward.  Once we swapped the laptop out for a desktop computer that didn’t fit on the tool chest, we needed a new solution.  We needed a new computer workstation that would actually fit the computer, be comfortable for working at standing height, be sturdy enough for use in the workshop, roll where we needed it to, and offer a decent amount of storage space for tooling and supplies.

Our workstation is CNC-cut from half-inch plywood. It is rock-solid sturdy, yet comes apart easily for transport or modifications. It features a main computer bay with an optional door, five spacious drawers that can’t fall out, enough room on top to comfortably fit a laptop (in addition to the main computer), stainless hardware, polyurethane casters, and a stiff vertical “neck” that supports a swing-arm VESA monitor mount for the main computer.

Continue reading Build Your Own CNC Workstation Cart

A Liquid Power Fuse

Liquid Power Fuse 9

Liquid Power Fuse 5

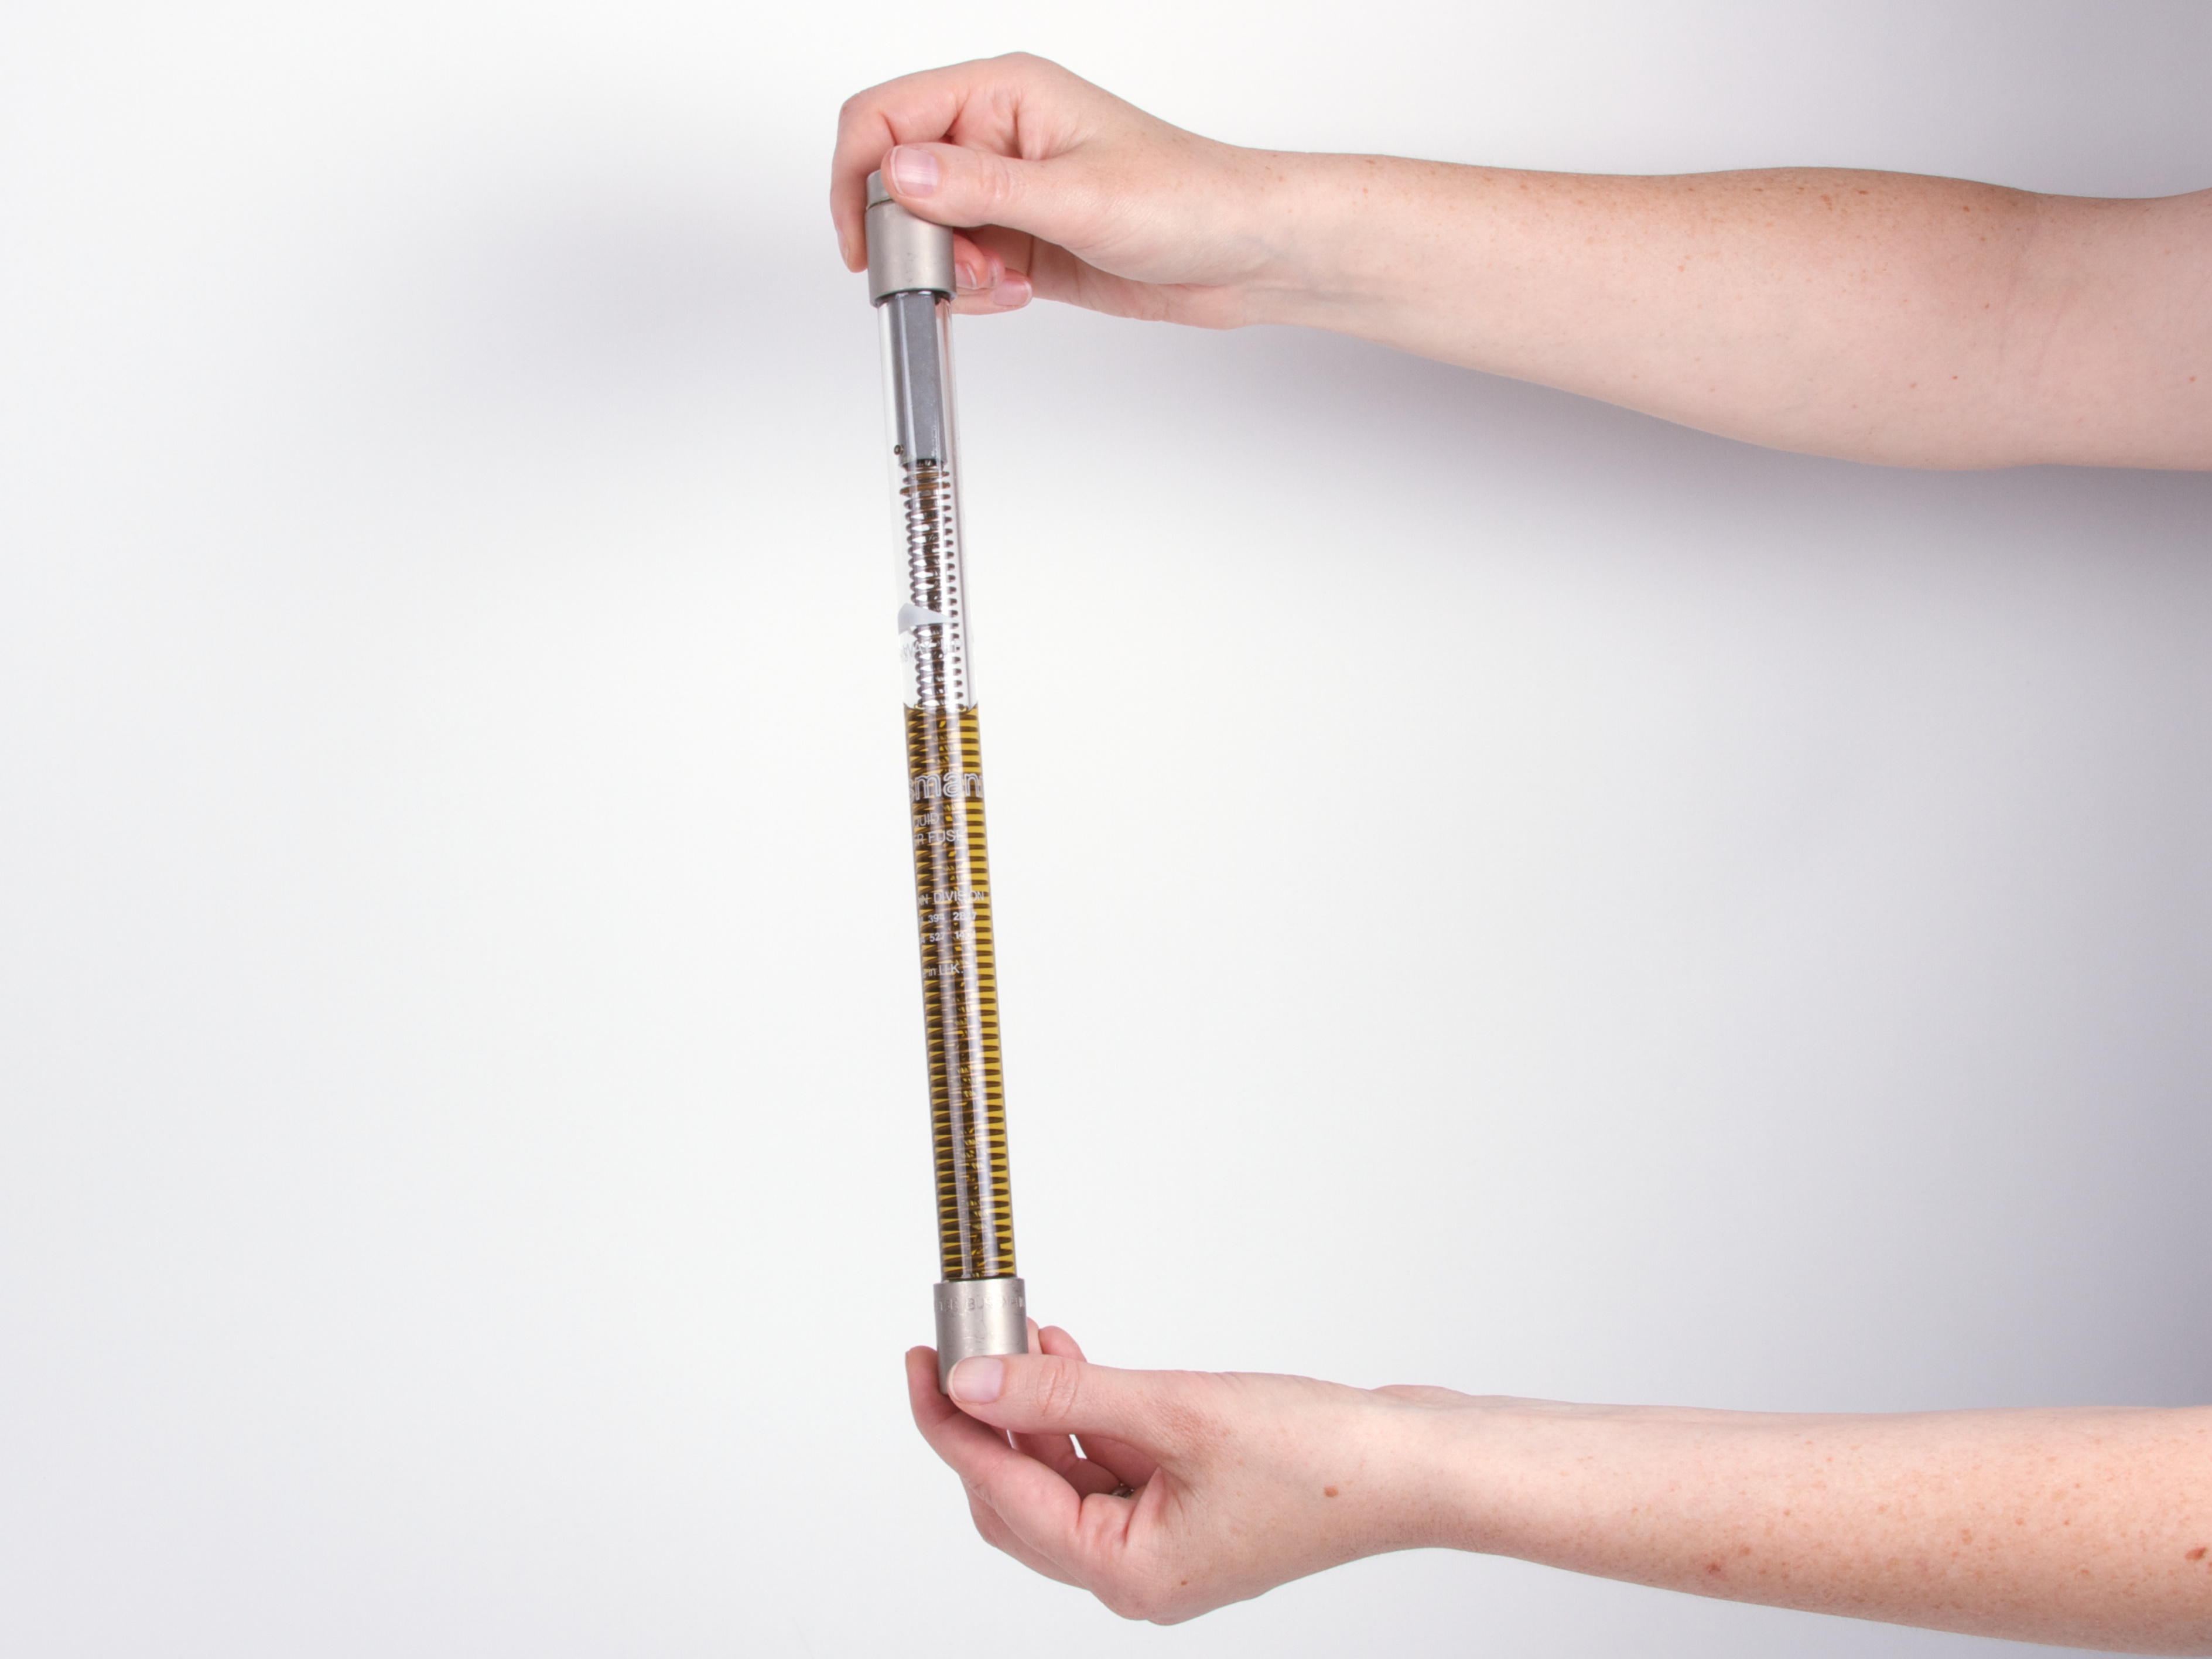
Here’s an interesting find: This rather large mad-sciencey-looking component is a Bussmann type 23L1F15E, liquid-filled power fuse. What is all that stuff in there, and what’s it doing? It turns out to be a clever old solution to a tough problem, involving springs, wires, and solder, not to mention the mystery fluid!

Continue reading A Liquid Power Fuse