Category Archives: Engineering

RoboGames Call for Entries Open

Last Rites and the Electric Boogaloo

RoboGames is now accepting registration for the 2013 competition which will be taking place on April 19-21 in San Mateo, California. Registration deadline is April 1. They’ve also put out a call for papers, demos and talks for the academic symposium with a submission deadline of March 16.

Another related— and very important —event to register for now is BarBot, which will be held in San Francisco on March 1-2. This cocktail robotics exhibition is an amazing amount of fun, and serves as a fundraiser for RoboGames. Registration ends on February 22 for BarBot entries, so it’s now time to get to work on your advanced fluid handling systems!

Robogames 2012-3

At RoboGames, robot builders are rockstars and heroes. It’s one of the few places in our society where engineering and technical ingenuity is exalted in a way that is usually reserved for sports and movie stars. It is open to anyone to participate, and the community of robot builders is incredibly welcoming. They provide huge amounts of information and advice to new and experienced robot builders. There are over 50 different events to compete in, so there is a robot type for everyone.  And it’s not just combat: There’s robot soccer and sumo, navigation and weightlifting, painting and climbing, firefighting and hockey, maze solving, and the all-important bartending event.

IMG_0798

If you have ever thought about building a robot, now is the time. Build your bot and bring it to RoboGames, and maybe soon you’ll be the one autographing robot parts for admiring fans!

Update 1/23/2013: BarBot tickets are now on sale!

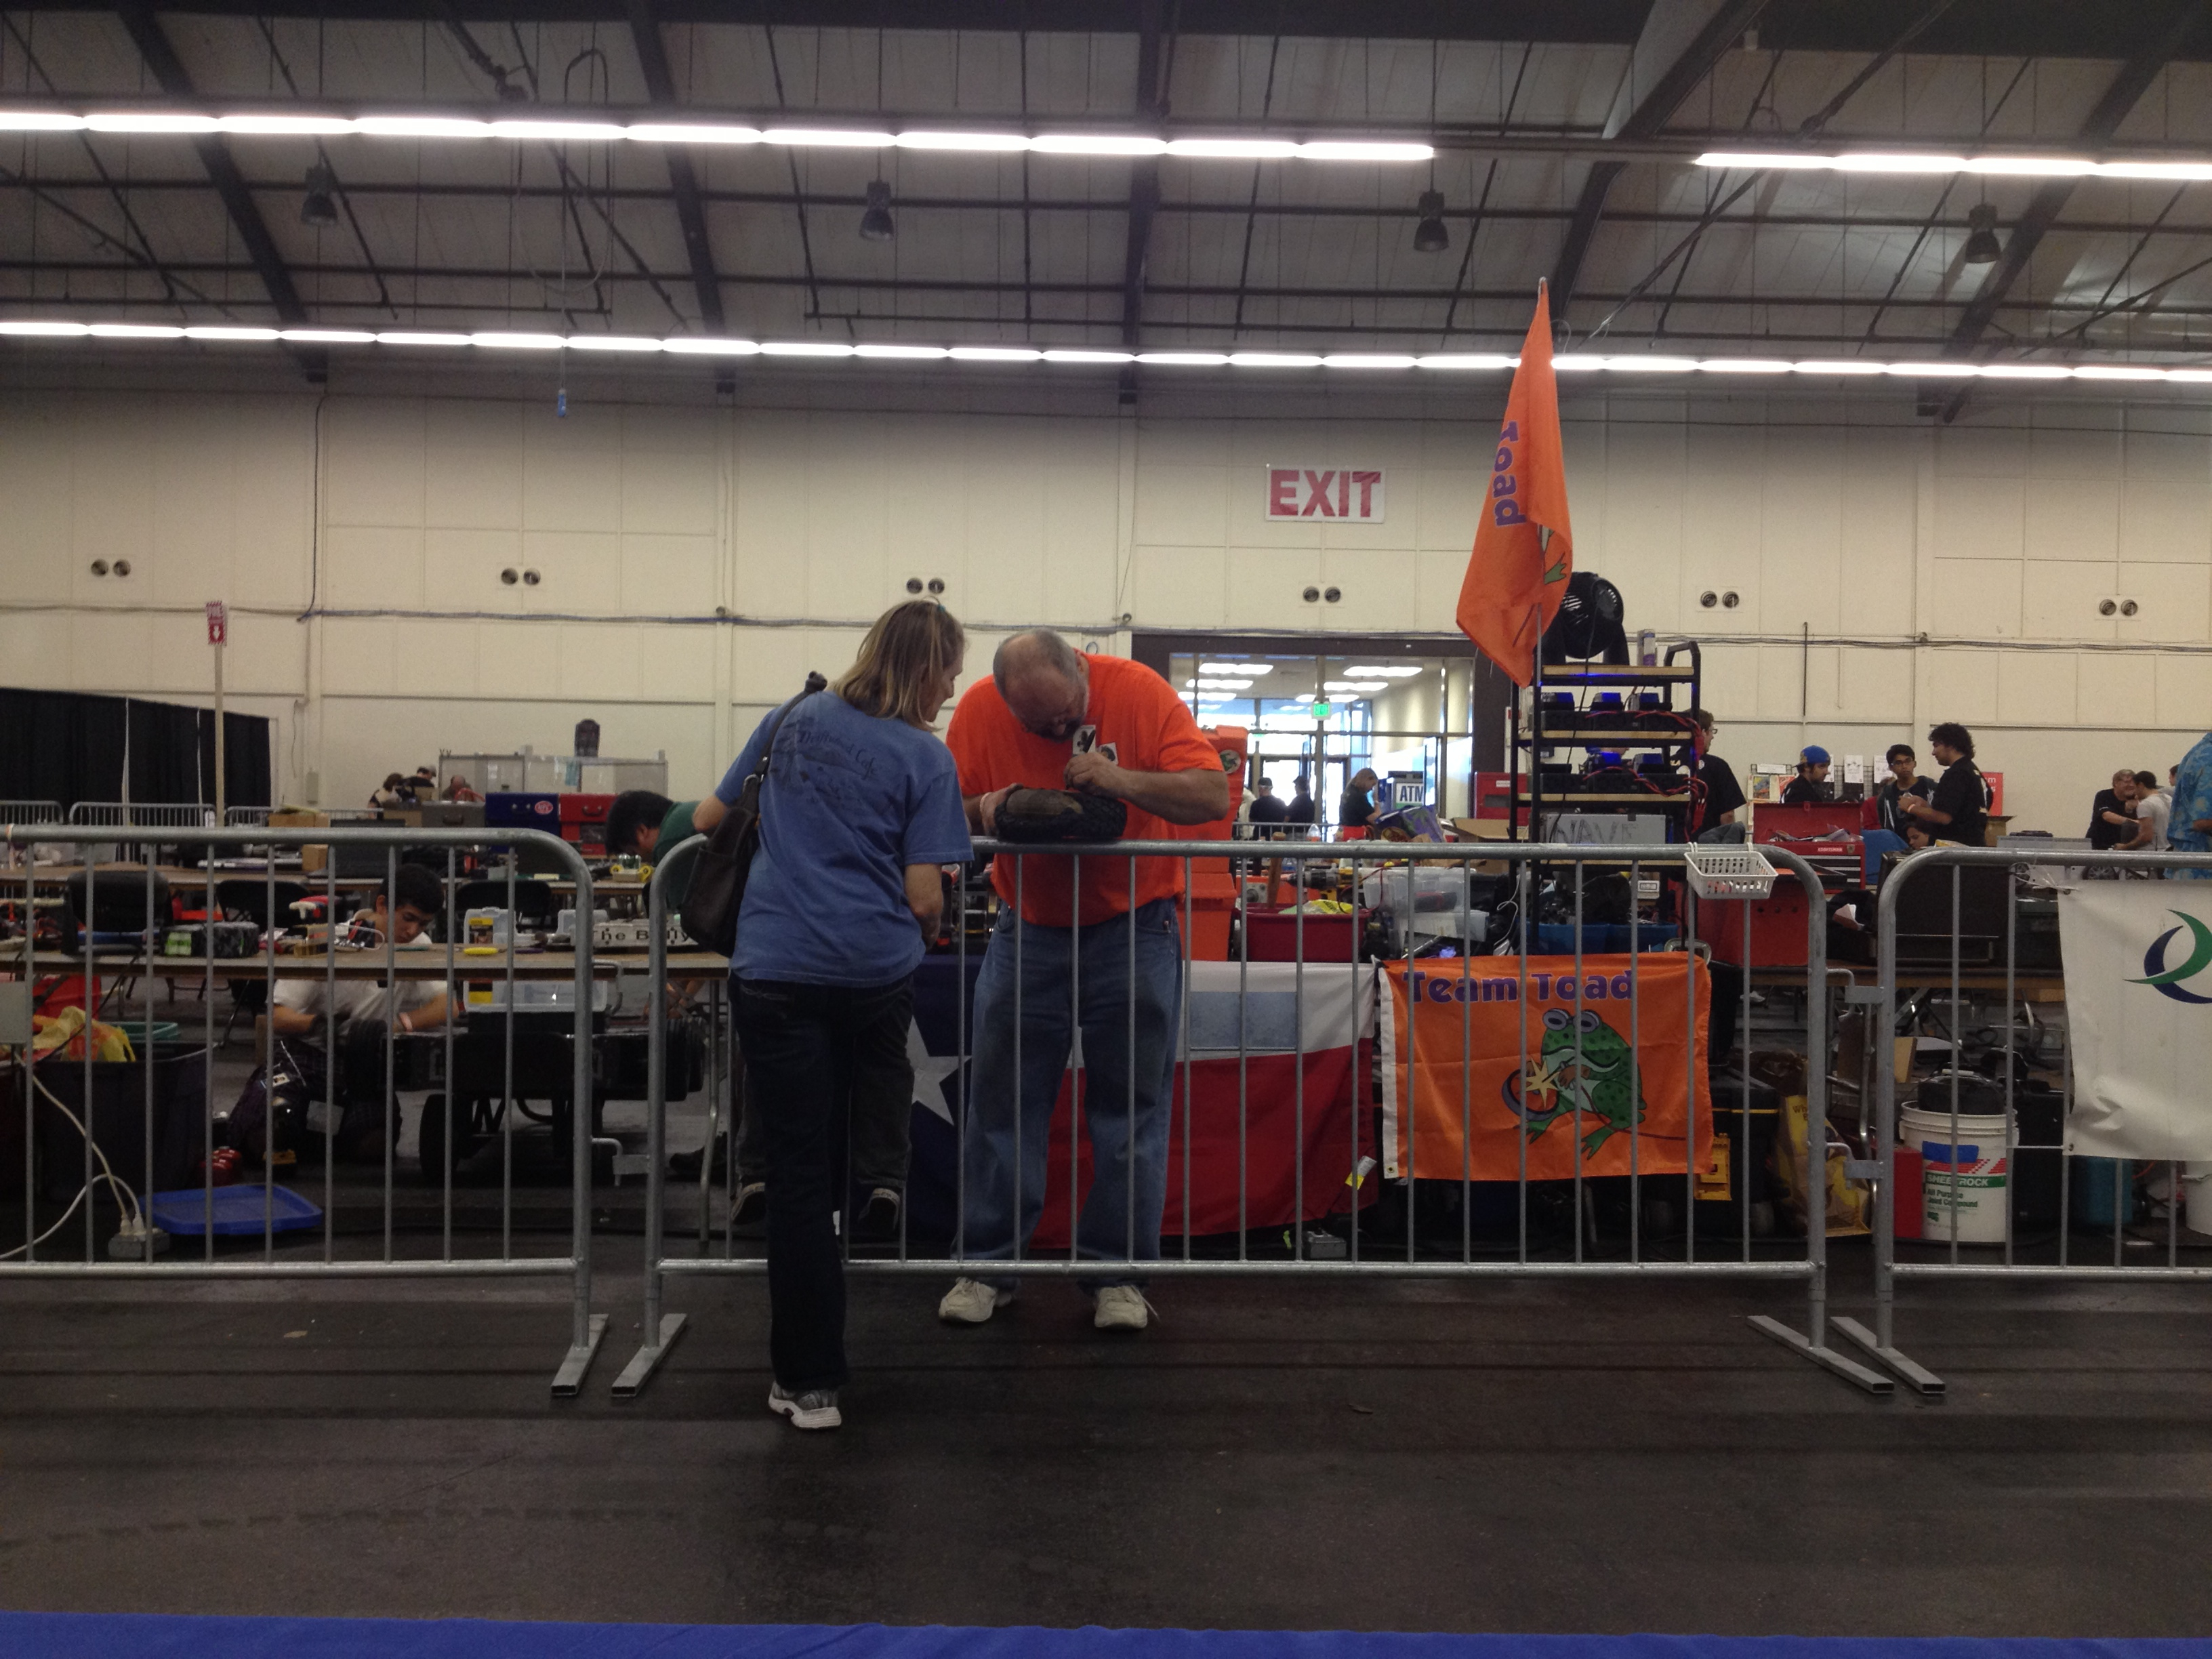
Photo credits: Last Rites and the Electric Boogaloo by Annie Blumenberg (CC-BY-ND), Yellow art robot by Patrick Giblin (CC-BY-NC).

Help Bring PancakeBot to Bay Area Maker Faire

Pancakebot

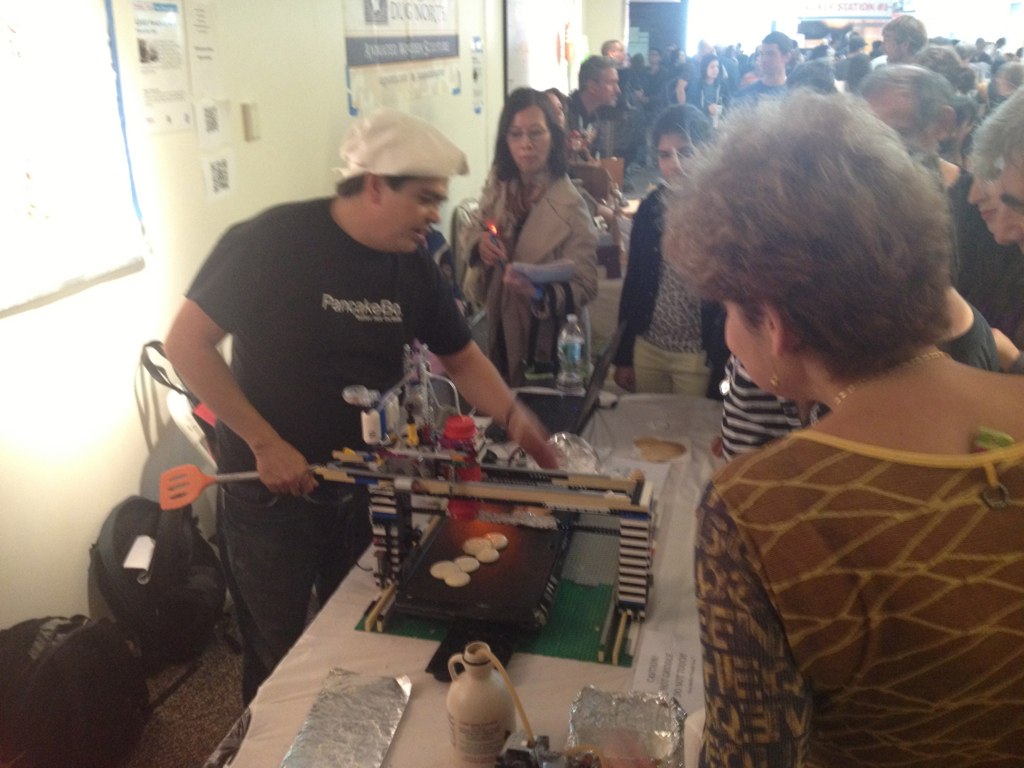
Miguel, the great guy behind PancakeBot, a CNC pancake printer made out of Lego, is running an Indiegogo campaign to help bring the whole family all the way from Norway to the Bay Area Maker Faire. We met Miguel at the New York Maker Faire last year, and got a chance to see PancakeBot in action.

Even if you can’t support the campaign, you should check out the video to see the machine in action, cheered on by enthusiastic young pancake aficionados. And come to Maker Faire in May, where we’ll hope to see Miguel and family with the awesome PancakeBot.

Resistor Color Code Tattoo

resistor tat

Our good friend Jimmie P Rogers— of LoL Shield fame, amongst many of us who love Arduino and LEDs —has a brand new tattoo of the resistor color code: Black, Brown, Red, Orange, Yellow, Green, Blue, Violet, Gray, White.  I’m pretty sure that Jimmy himself has known this color code since he was in diapers, but now he has an always-present chart that he can use as a visual aid while teaching electronics.  And at five inches across, it doubles as a ruler (albeit one that will grow less accurate with age).

So, that’s pretty neat.  But two things bring this above and beyond the “usual” coolness of a geek tattoo.  First, Jimmie designed it in Processing, and second, as an open source tattoo, you can download the source code on his web site.

And for those of us who may be a little less committed: Our own favorite mnemonic for the resistor color code is “Black Beetles Running On Your Garden Bring Very Good Weather.”

More Star Trek Menorahs for Hanukkah

Star Trek TNG Menorah

We’re not sure what it it is about Hanukkah that brings out the Star Trek fans, but they’re back. First, Joyce brings us an updated TNG hanukiah. Joyce was one of those responsible for the epic menorah we posted about in 2009. The LED on the Enterprise is being worked on–we think they may have a problem with their dilithium crystals.

Star Trek Menorah

Next, VanEdge posted this menorah in the forums. Both of these fine examples are based on Pez dispensers, which seem to be a handy size for holiday hacking, particularly when combined with our LED Menorah kit.

Happy Hanukkah to you both, and thank you for sharing your projects!

Digi-Comp II: First Edition

dcii_9

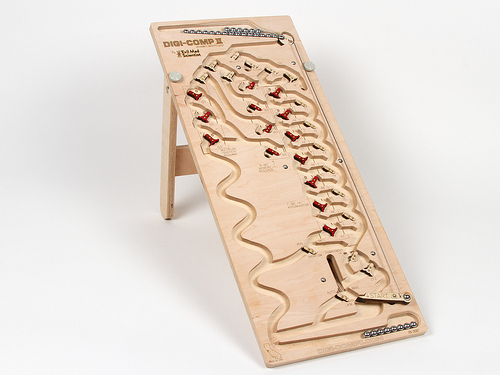
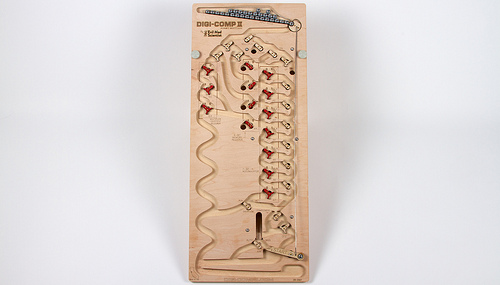
We’re pleased to finally announce availability of our brand new, long-awaited kit, the Digi-Comp II: First Edition. It’s a modern, fully-operational recreation of the original Digi-Comp II— the classic 1960?s educational computer kit —CNC routed from hardwood plywood.

The Digi-Comp II is a binary digital mechanical computer, capable of conducting basic operations like adding, multiplying, subtracting, dividing, counting, and so forth.  These operations are all conducted by the action of balls rolling down a slope, directed by mechanical switches and flip flops, and all powered by gravity.

We’ve been working on project for over two years now, and so we’ve written before, in some detail, about how the Digi-Comp II works, and what kinds of things you can do with it. We’ve written about our larger than life version of the Digi-Comp II, which uses 8 Balls.  We showed off that version at the 2011 and 2012 Bay Area Maker Faires and made a demonstration video to show how it works.   We have also written about our smaller wooden prototypes that we displayed at the 2011 Maker Faire New York.
 

dcii_2

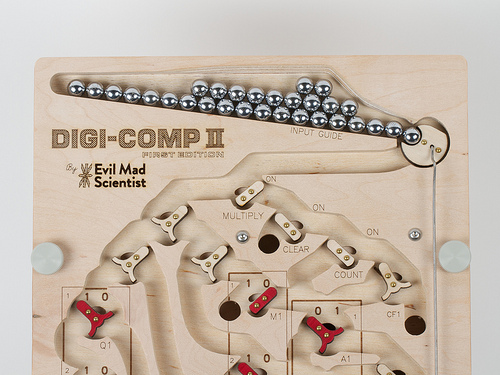
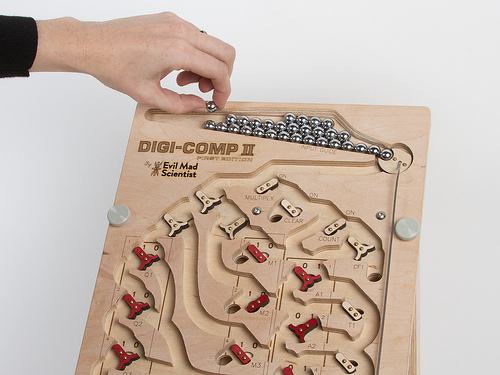
Our new version, the “First Edition,” is a descendent of the latter.  As compared to the “2011” model, it has a huge number of refinements— including an improved ball feeder that both fits 30 balls at a time (so you don’t need to refill during most calculations) and is jam resistant, a more compact and reliable start lever, better labeling, better flip-flop design, and internal baffles that slow the balls down, to prevent them from flying out of the machine.
 

dcii_10

Many of these improvements were made possible by slightly reducing the size of the balls that we use.  Whereas the “2011” model used ½” ball bearings, the First Edition uses standard 11 mm pachinko balls, which are easily available, shiny, and rust resistant.  The fact that they are slightly smaller has allowed us to shrink some of the main circuitry, to allow for that larger ball feeder, to use thinner flip flops, and to fit the full machine into the same 10×24″ envelope that we had aimed for, which is considerably more compact than the 14×28.5″ size of the original.
 

dcii_3

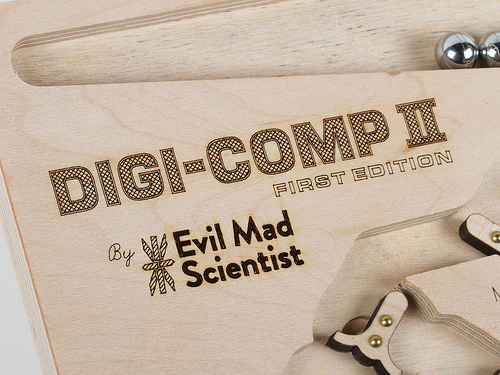
One of the nice things about keeping the size under 24 inches long is that we can fit the entire top deck of the Digi-Comp II into our 12×24″ laser engraver— so that we can directly laser engrave markings onto the playfield.  And while it’s nice to be able to write out DIGI-COMP II in huge letters, the more important application is actually adding the individual markings by the flip-flops and registers:
dcii_6

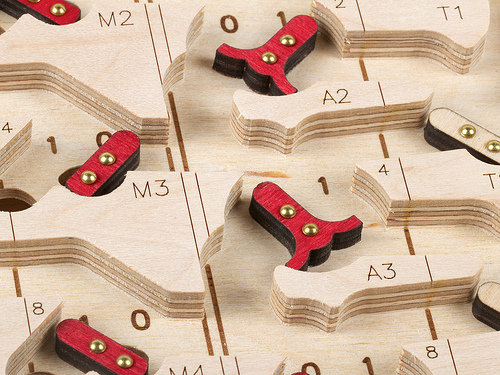
You may notice that the laser marks are very sharp on the “mesas” of the playfield, and less sharp but more bold down below.   This is an intentional effect, created by laser engraving the playfield in a single pass, with the laser focussed just below the level of the “mesas.”  On previous versions, we’ve either lasered the two parts independently, fully in focus at each depth, or focussed the laser halfway between the top and bottom— which leaves the engraving to look uniform, but less sharp, at each depth.   But this method seems to create exactly what we want:  sharp up top where it’s easier to read, and bold down below where it’s harder to see.
 

dcii_5

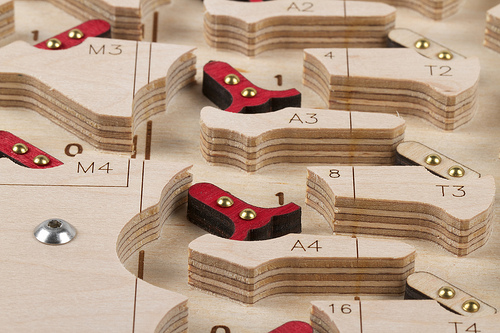
The playfield itself is made of 1/2″ thick maple-faced veneer-core all-hardwood plywood.  This is a rock-solid material that is about as far from “hardware store” plywood as you can imagine.  We use a CNC router to cut the pivot and limit holes for the flip flops and to carve the channels— roughly 3/8″ deep —where the balls can roll.  The CNC router is precise enough that when we cut the channels for the balls, we evenly split one of the veneer layers, ending up with a clean inner surface.  The Digi-Comp II also has a lower deck, below the playfield, that supports the clear-register and complement functions.  The lower deck is carved in the same way, but does not have any laser engraving.
 

dcii_12

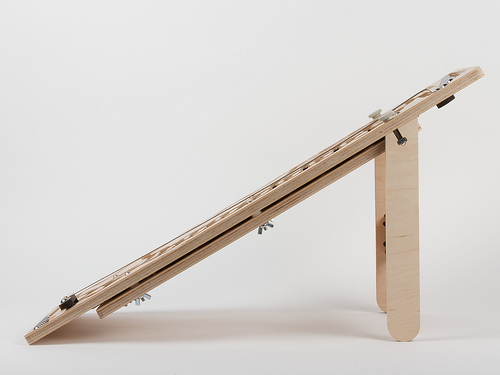
The lower deck is attached below the upper deck by six screws that come down from the top to meet six wing nuts below.  Between the two layers are 3/16″ spacers that keep the decks uniformly separated.  It turns out that it’s actually important to use six screws; our earlier prototypes tended to jam up when the spacing between the two layers wasn’t controlled well enough.

One of the other improvements is that the “First Edition” kit has a very sturdy stand, as shown above.  The laser-cut stand on the “2011” model was flimsy, and the simple dowels on the original 1960’s kit were not much better.   The new stand is a glued assembly made of two rigid legs and a crossbeam, made of the same remarkably-hard plywood as the rest of the machine.  It can be attached to or detached from the playfield with the two fat thumbscrews.  It holds the playfield at an even 30° from horizontal, such that the top sits about 12 ½ inches above your desk top— a particularly good angle for viewing the playfield.  The stand is actually reversible, so that you turn it the other way and raise the playfield only about 20° from horizontal, giving the option of a slower speed of operation.  If you want to go faster instead, you can overclock the Digi-Comp II by putting a book below the stand to increase the angle.
 
dcii_1

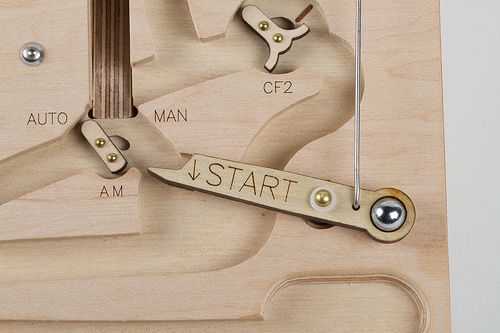
The new ball release mechanism has been fine-tuned and greatly simplified.  We recently showed off a little video demonstrating how this part of the machine works.  The start lever— now nicely labeled —is made of laser-cut poplar, has a brass rivet as its bearing and a glued-in pachinko ball as a counterweight.  When pulled down by a human or a rolling ball, it pushes a stainless steel rod that moves the ball release at the top of the machine to release the next ball.
 

dcii_11

Finally, it’s worth noting that this is called the “Digi-Comp II: First Edition” for a reason: We are planning others.

The original 1960’s Digi-Comp II kit was made of thin vacuum-formed plastic (what we more often refer to as “coffee drink lid material”), supported by a sheet of masonite and fitted with injection-molded flip-flops and switches.  Our CNC-cut wooden versions are much more substantial, but also cost a lot more to make, both in terms of raw materials and fabrication time.  We’ve been slowly working towards what we hope will be a happy medium: a Digi-Comp II made of (more substantial) vacuum-formed plastic, reasonably sturdy, and at a more modest cost.  We still plan to release a version like that, hopefully within the next year.  This has been a long journey for us— making wonderful machines mostly because they are wonderful machines —and we’re very happy to release our first one into the world.


The Digi-Comp II: First Edition is now available to order at the Evil Mad Scientist Shop.

Alpha Clock Five v2.0 and Alpha Clock White

Alpha5v20

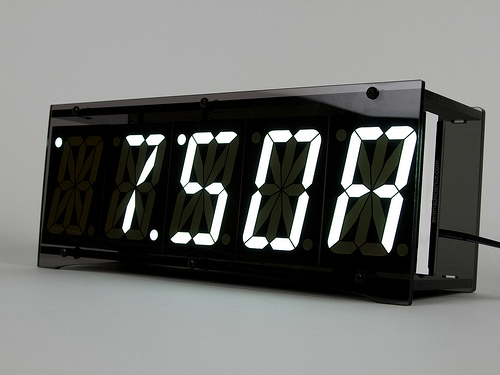
Today we’re releasing a major update to Alpha Clock Five, our alphanumeric LED desk clock, alarm clock, and data display device.

Alpha Clock Five still has five remarkably bright, remarkably huge 2.3″ alphanumeric LED displays.  But for version 2.0, we’ve rewritten the firmware from scratch.  It’s packed with new features and it is simply a joy to use.

To name a few of those new features, Alpha Clock Five now:

  • Has a built-in calendar function so that it can smoothly alternate between displaying the time and date— a neat trick for a desk clock.
  • Smoothly fades between numbers (or letters) on the screen.
  • Has a five letter word “art clock” mode where it displays randomly chosen five-leter words from a built-in dictionary.
  • Allows you to use the second hardware serial port to daisy-chain multiple Alpha Clock Five units together for text or data display applications— for example, as we have done in the photo above.


And, here is one more thing that we’ve been cooking up for a long long time:A5WhiteBrightness-high

The all-new White Edition of Alpha Clock Five— with five 2.3″ alphanumeric LED displays, now in stunning white.   (And, shown above with a phone for scale.)


Alpha Clock Five firmware v. 2.0 is now shipping on new Alpha Clock Five kits, and is also available as a download and free update for anyone who already has an Alpha Clock Five with the original firmware.  Please see our documentation wiki for details.

Read on for more about what’s new in Alpha Clock Five v. 2.0, and about the design of the White Edition.

Continue reading Alpha Clock Five v2.0 and Alpha Clock White

Open Source Pumpkin PCB

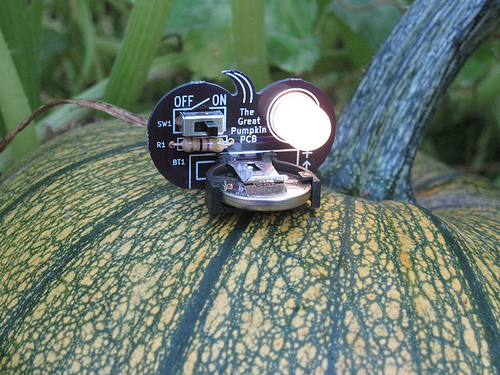
The Great Pumpkin PCB on a pumpkin!

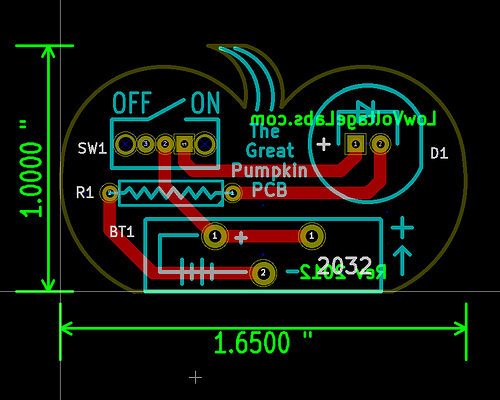
Eric over at Low Voltage Labs has posted up his design for a simple PCB ideal for putting an LED into a pumpkin. This is very much like our simple LED pumpkin project but in a neat, reusable format. And it makes a mighty cute little jack-o-lantern all on its own.

KiCAD - pumpkin PCB layout

He has made it available as a kit with PCB, switch, resistor, battery holder and the same candle flicker LEDs which we love so much. Unfortunately, the kit is currently sold out. Hopefully he’ll make more, if not in time for this Halloween, then at least for next year.

ComBots Cup VII

This weekend, Saturday and Sunday, October 20-21, 2-7 pm is ComBots Cup VII at the San Mateo Fairgrounds. ComBots is the heavyweight championship for combat robotics and is one of the loudest, most entertaining robotics competitions there is.

Teams from all over the US, Canada and Brazil will be coming to California to fight for The ComBots Cup – the annual international robot combat championship now in its seventh year. The ComBots Cup is to fighting robots what the World Series is to baseball. The two-day event features robots weighing up to 220 pounds fighting to be crowned the world heavyweight champion.

To get a taste of it, check out the video above, which is one in a series from earlier events. You can get your tickets online now. We’ll hope to see you there!