We have mentioned Eggbot several times this year as we demonstrated it at Maker Faires in San Mateo and Detroit, as well as at the California state fair. And today, we’re very pleased to (finally) reveal the the design of our new kit.


We have mentioned Eggbot several times this year as we demonstrated it at Maker Faires in San Mateo and Detroit, as well as at the California state fair. And today, we’re very pleased to (finally) reveal the the design of our new kit.

This week, Brad wrote in with an interesting question: Can you program the ATtiny25 on one of our ‘tiny2313 target boards? And the answer is yes: you can, with just a trivial modification.
Okay, back up– a little context here. The ATtiny25 and the ATtiny2313 are examples of AVR microcontrollers, the little brains that power many of our projects.
To program these chips, we use a usbtinyisp programmer, hooked up to a minimalist target board.
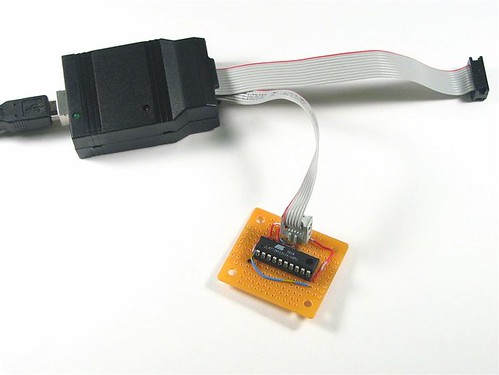
The target board basically provides a programming header that’s hooked up to the right pins of the chip, plus some way to power the chip– often through the programmer itself.
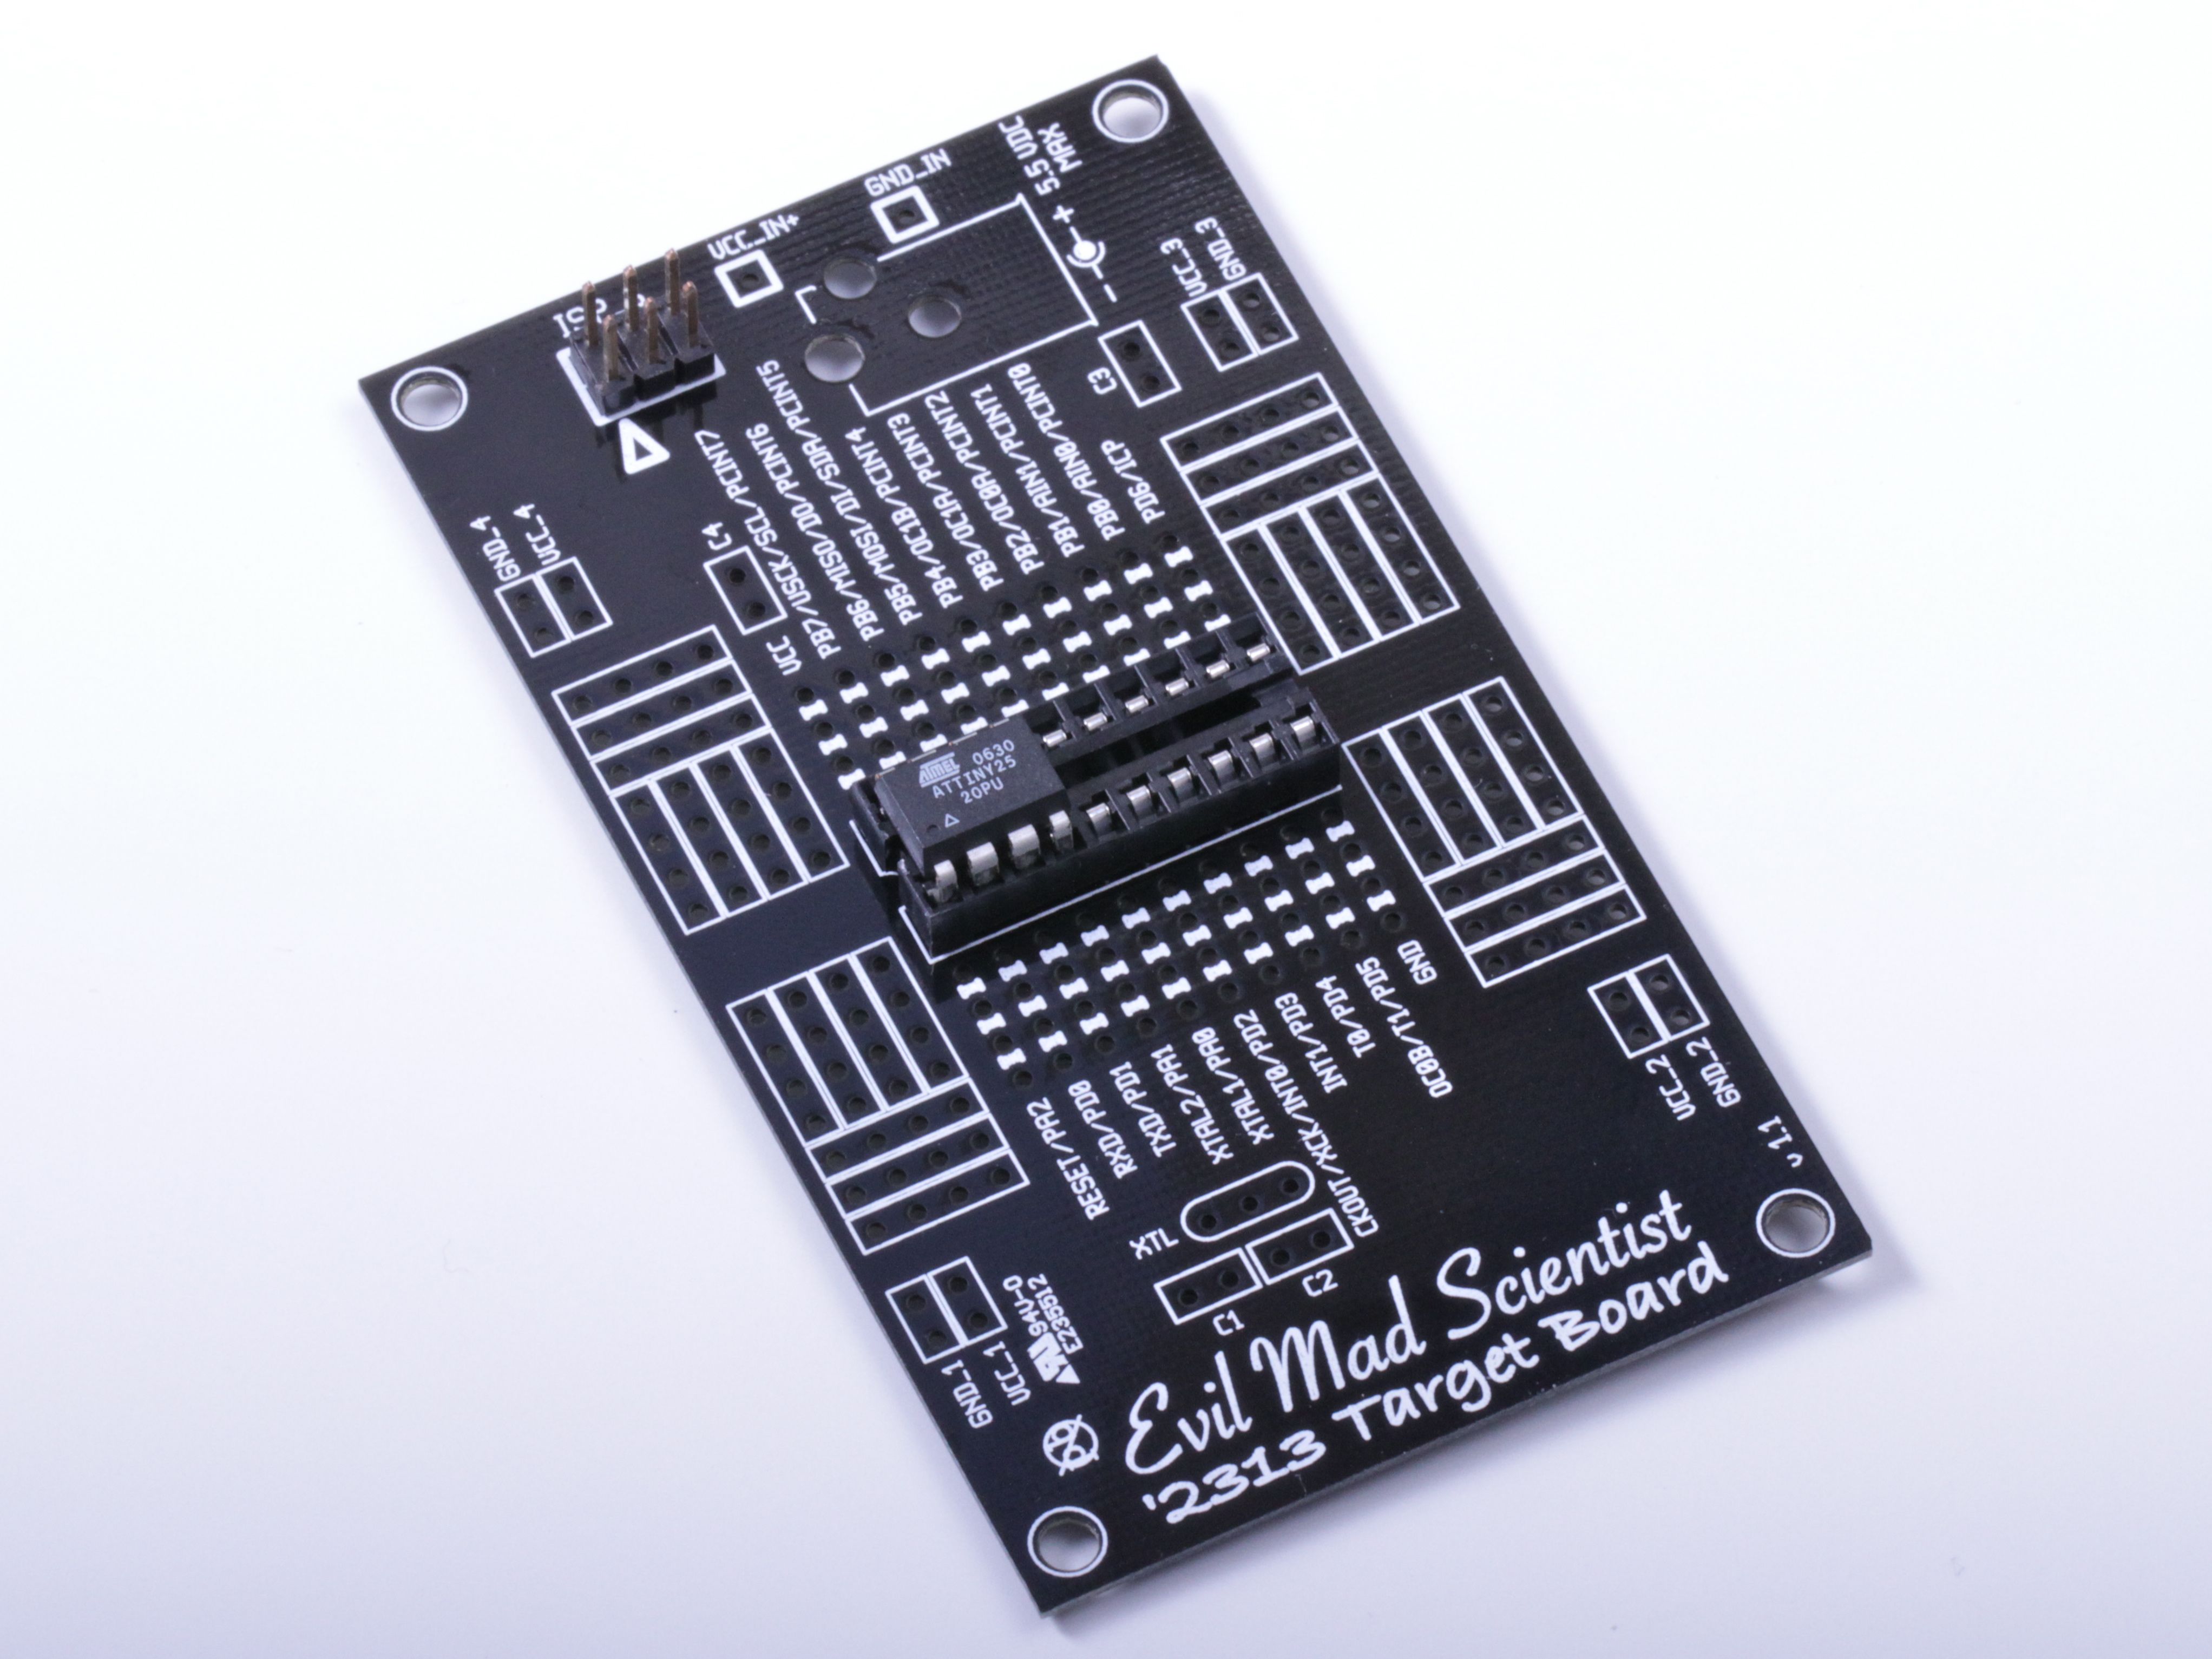
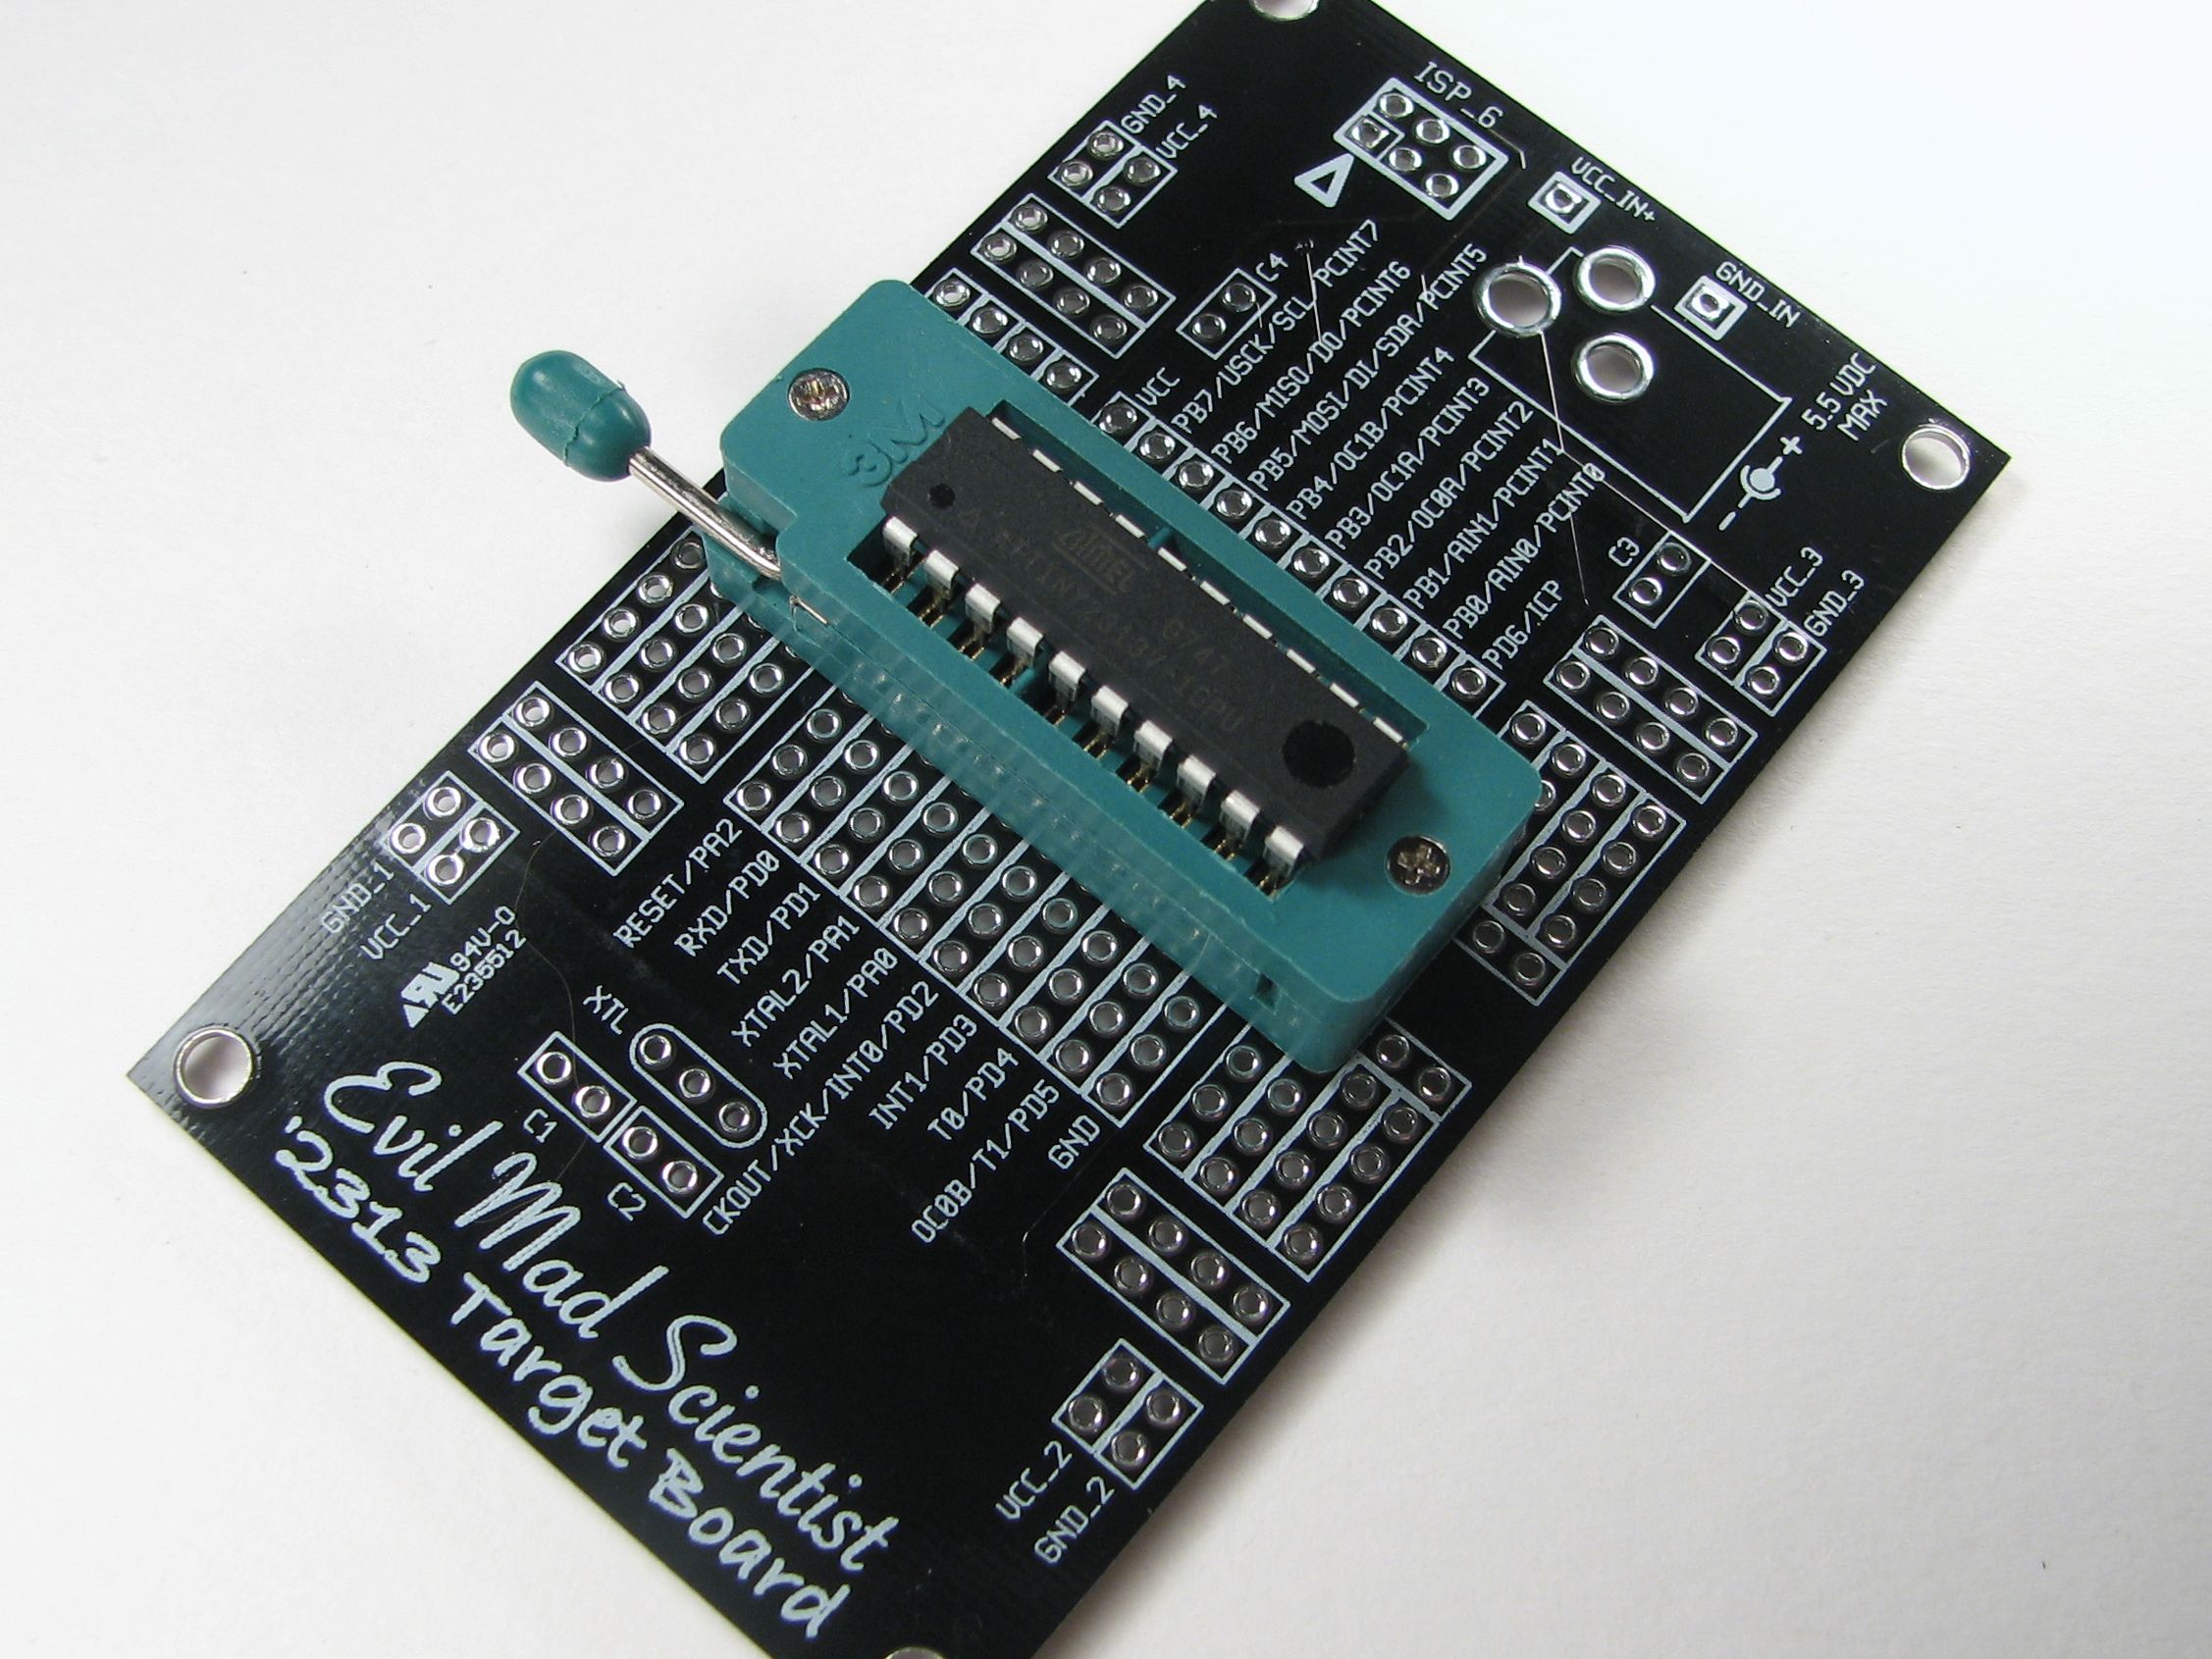
After hand-wiring up one too many minimalist ‘2313 boards like that, we also made a printed circuit board version of the ‘2313 target board. Normally, it looks something like this, with an ATtiny2313 in a ZIF socket:
But, back to the question. The ATtiny25, ATtiny45, and ATtiny85 are a family of 8-pin AVR microcontrollers that are not pin compatible with the ‘2313. However, at only 8 pins instead of 20 pins, they’ll definitely fit in the socket… somewhere.
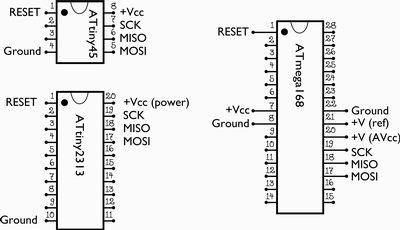
Looking at the datasheets and pinouts for the the ’45, ‘2313 (and the ‘168 that we also have a target board for), we can identify the lines used for programming: MISO, MOSI, SCK, and RESET:
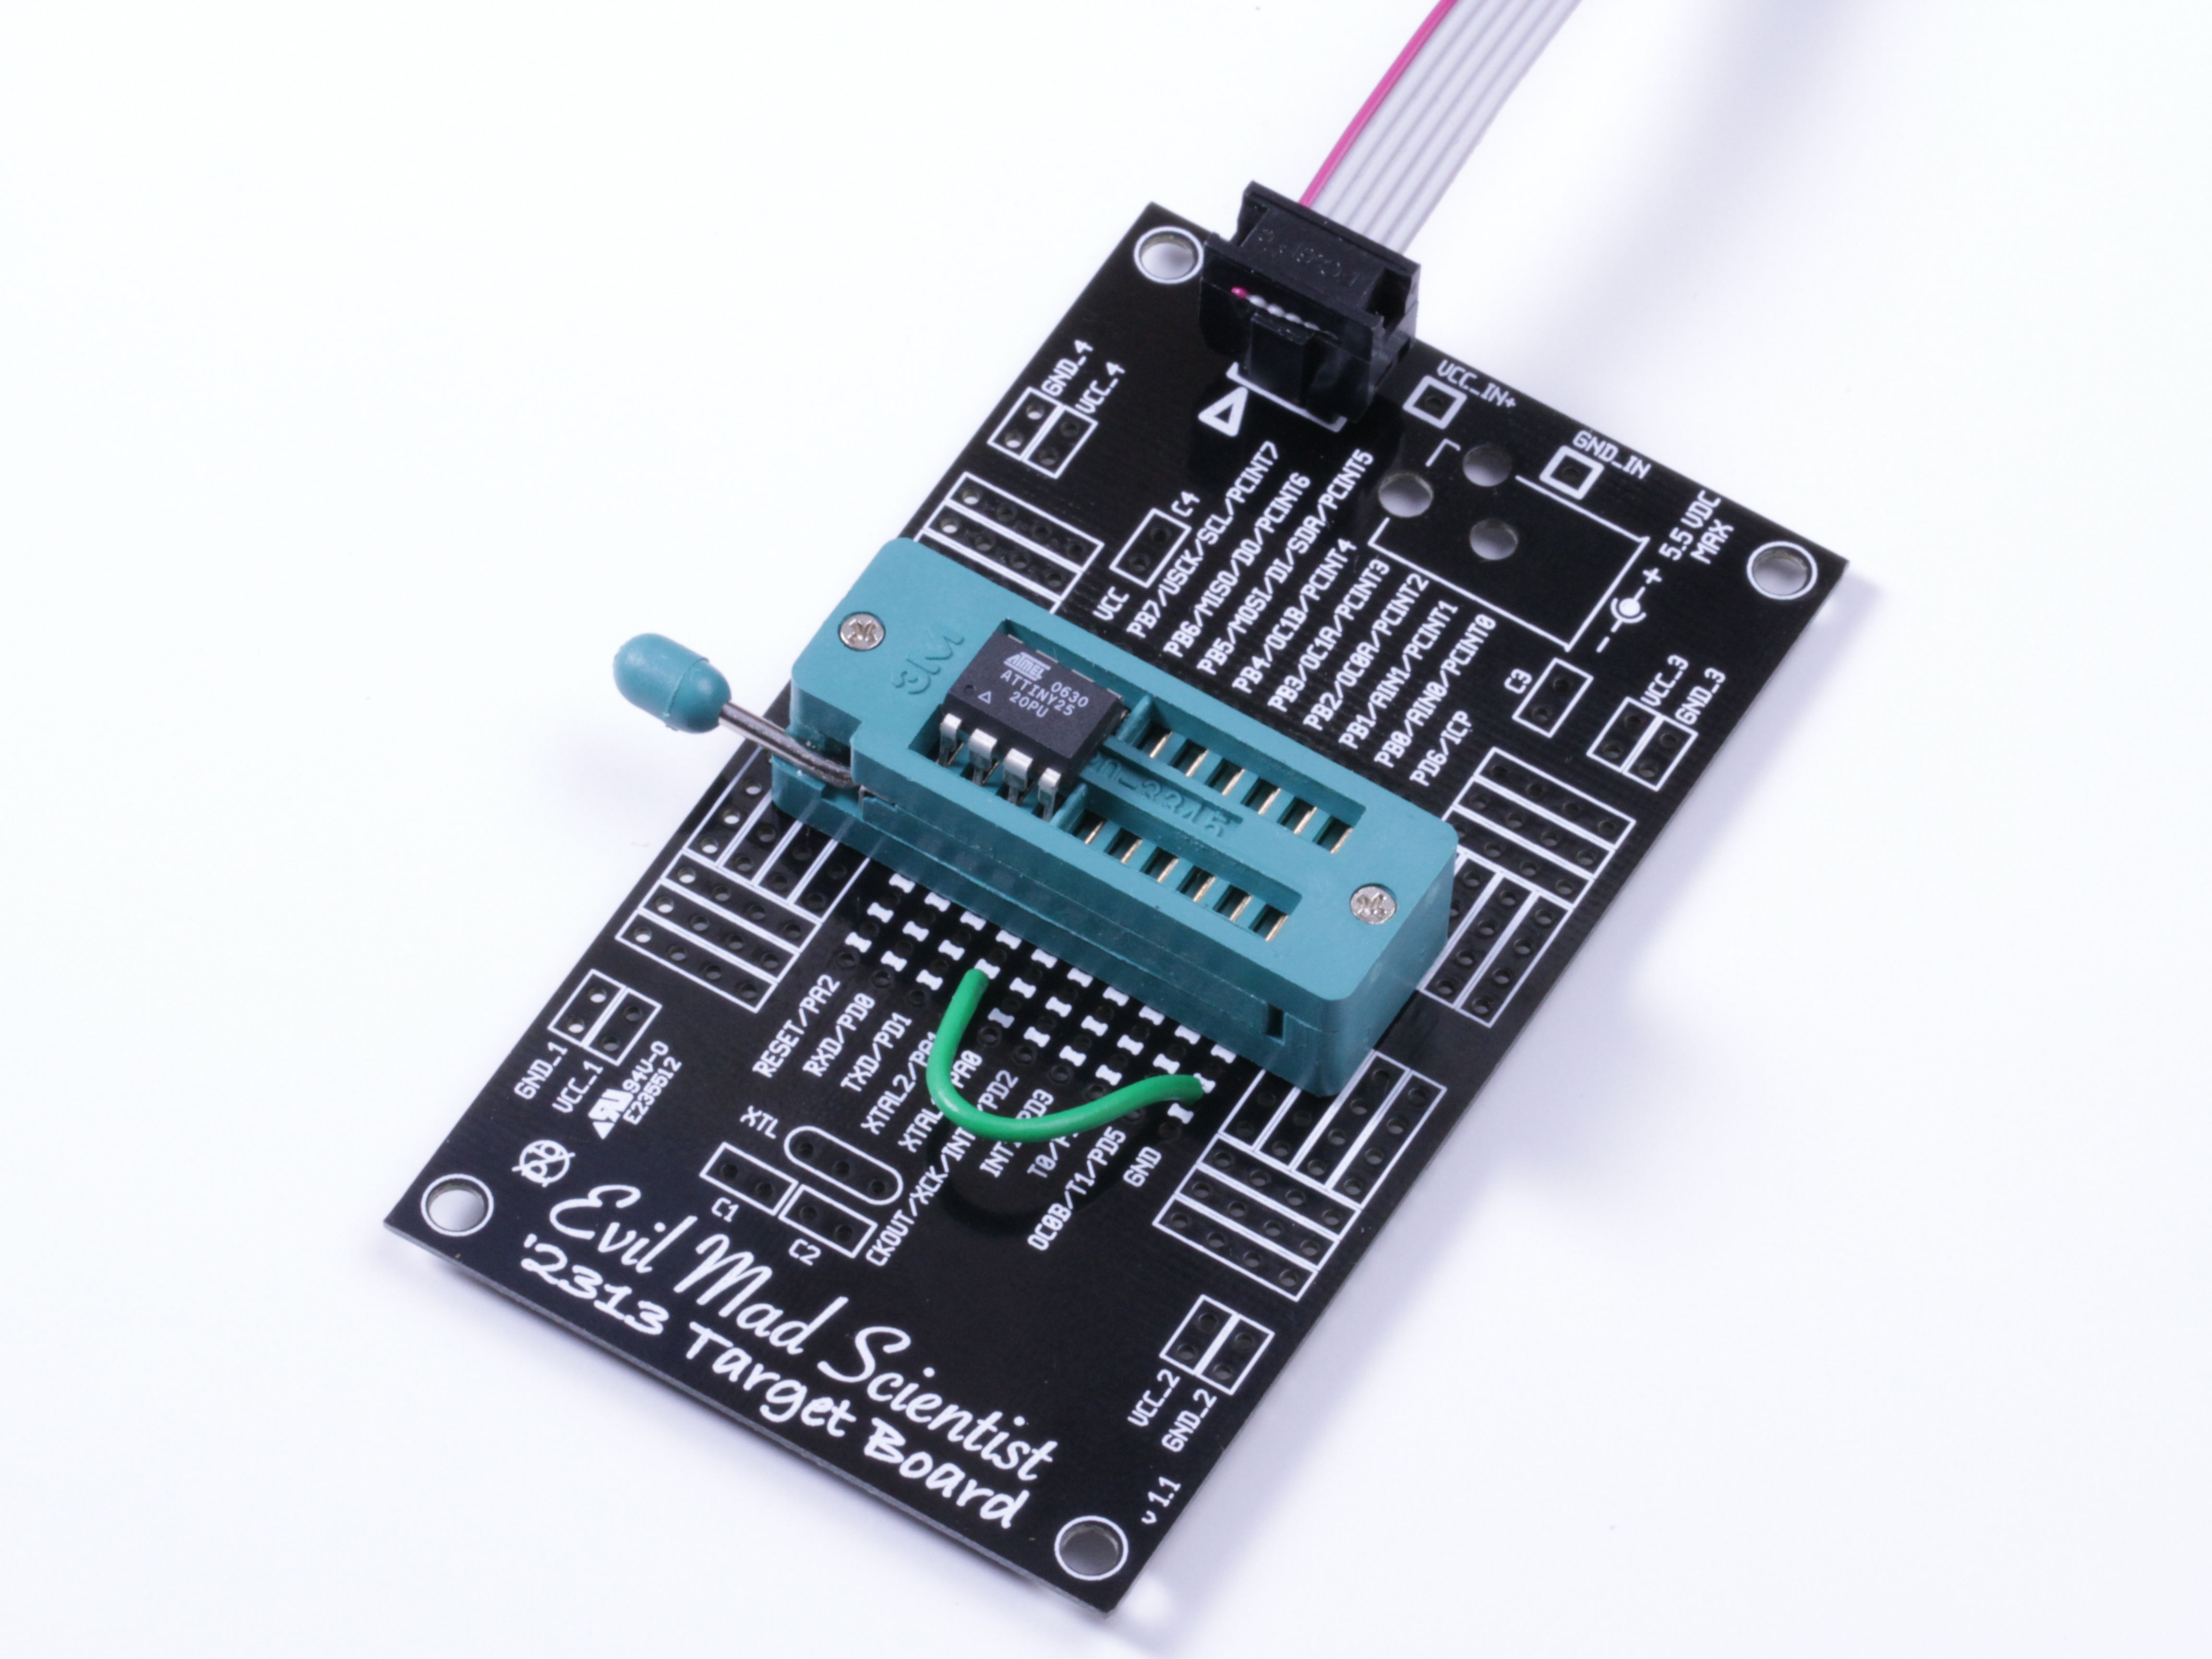
So, adding a wire from ground– pin 10 of the ‘2313 –to pin 4 of the smaller chip (an ATtiny25 in our photo), and lining up pin 1 to pin 1, we’re ready to go. And yes, it works like a charm.
If you do use this method, there are a few (possibly obvious) things worth noting:
Going one step further, you could also potentially program the ’25/’45/’85 from the ‘168 target board: it only takes a couple more wires. To do so, line up pin 1 of the ’25 to pin 9 of the ‘168. Add two wires this time, from board-reset to chip-reset, and from board-ground to chip-ground. You’ll also need to connect AVCC (analog power supply) to VCC. A little more work, yes, but still a good hack.
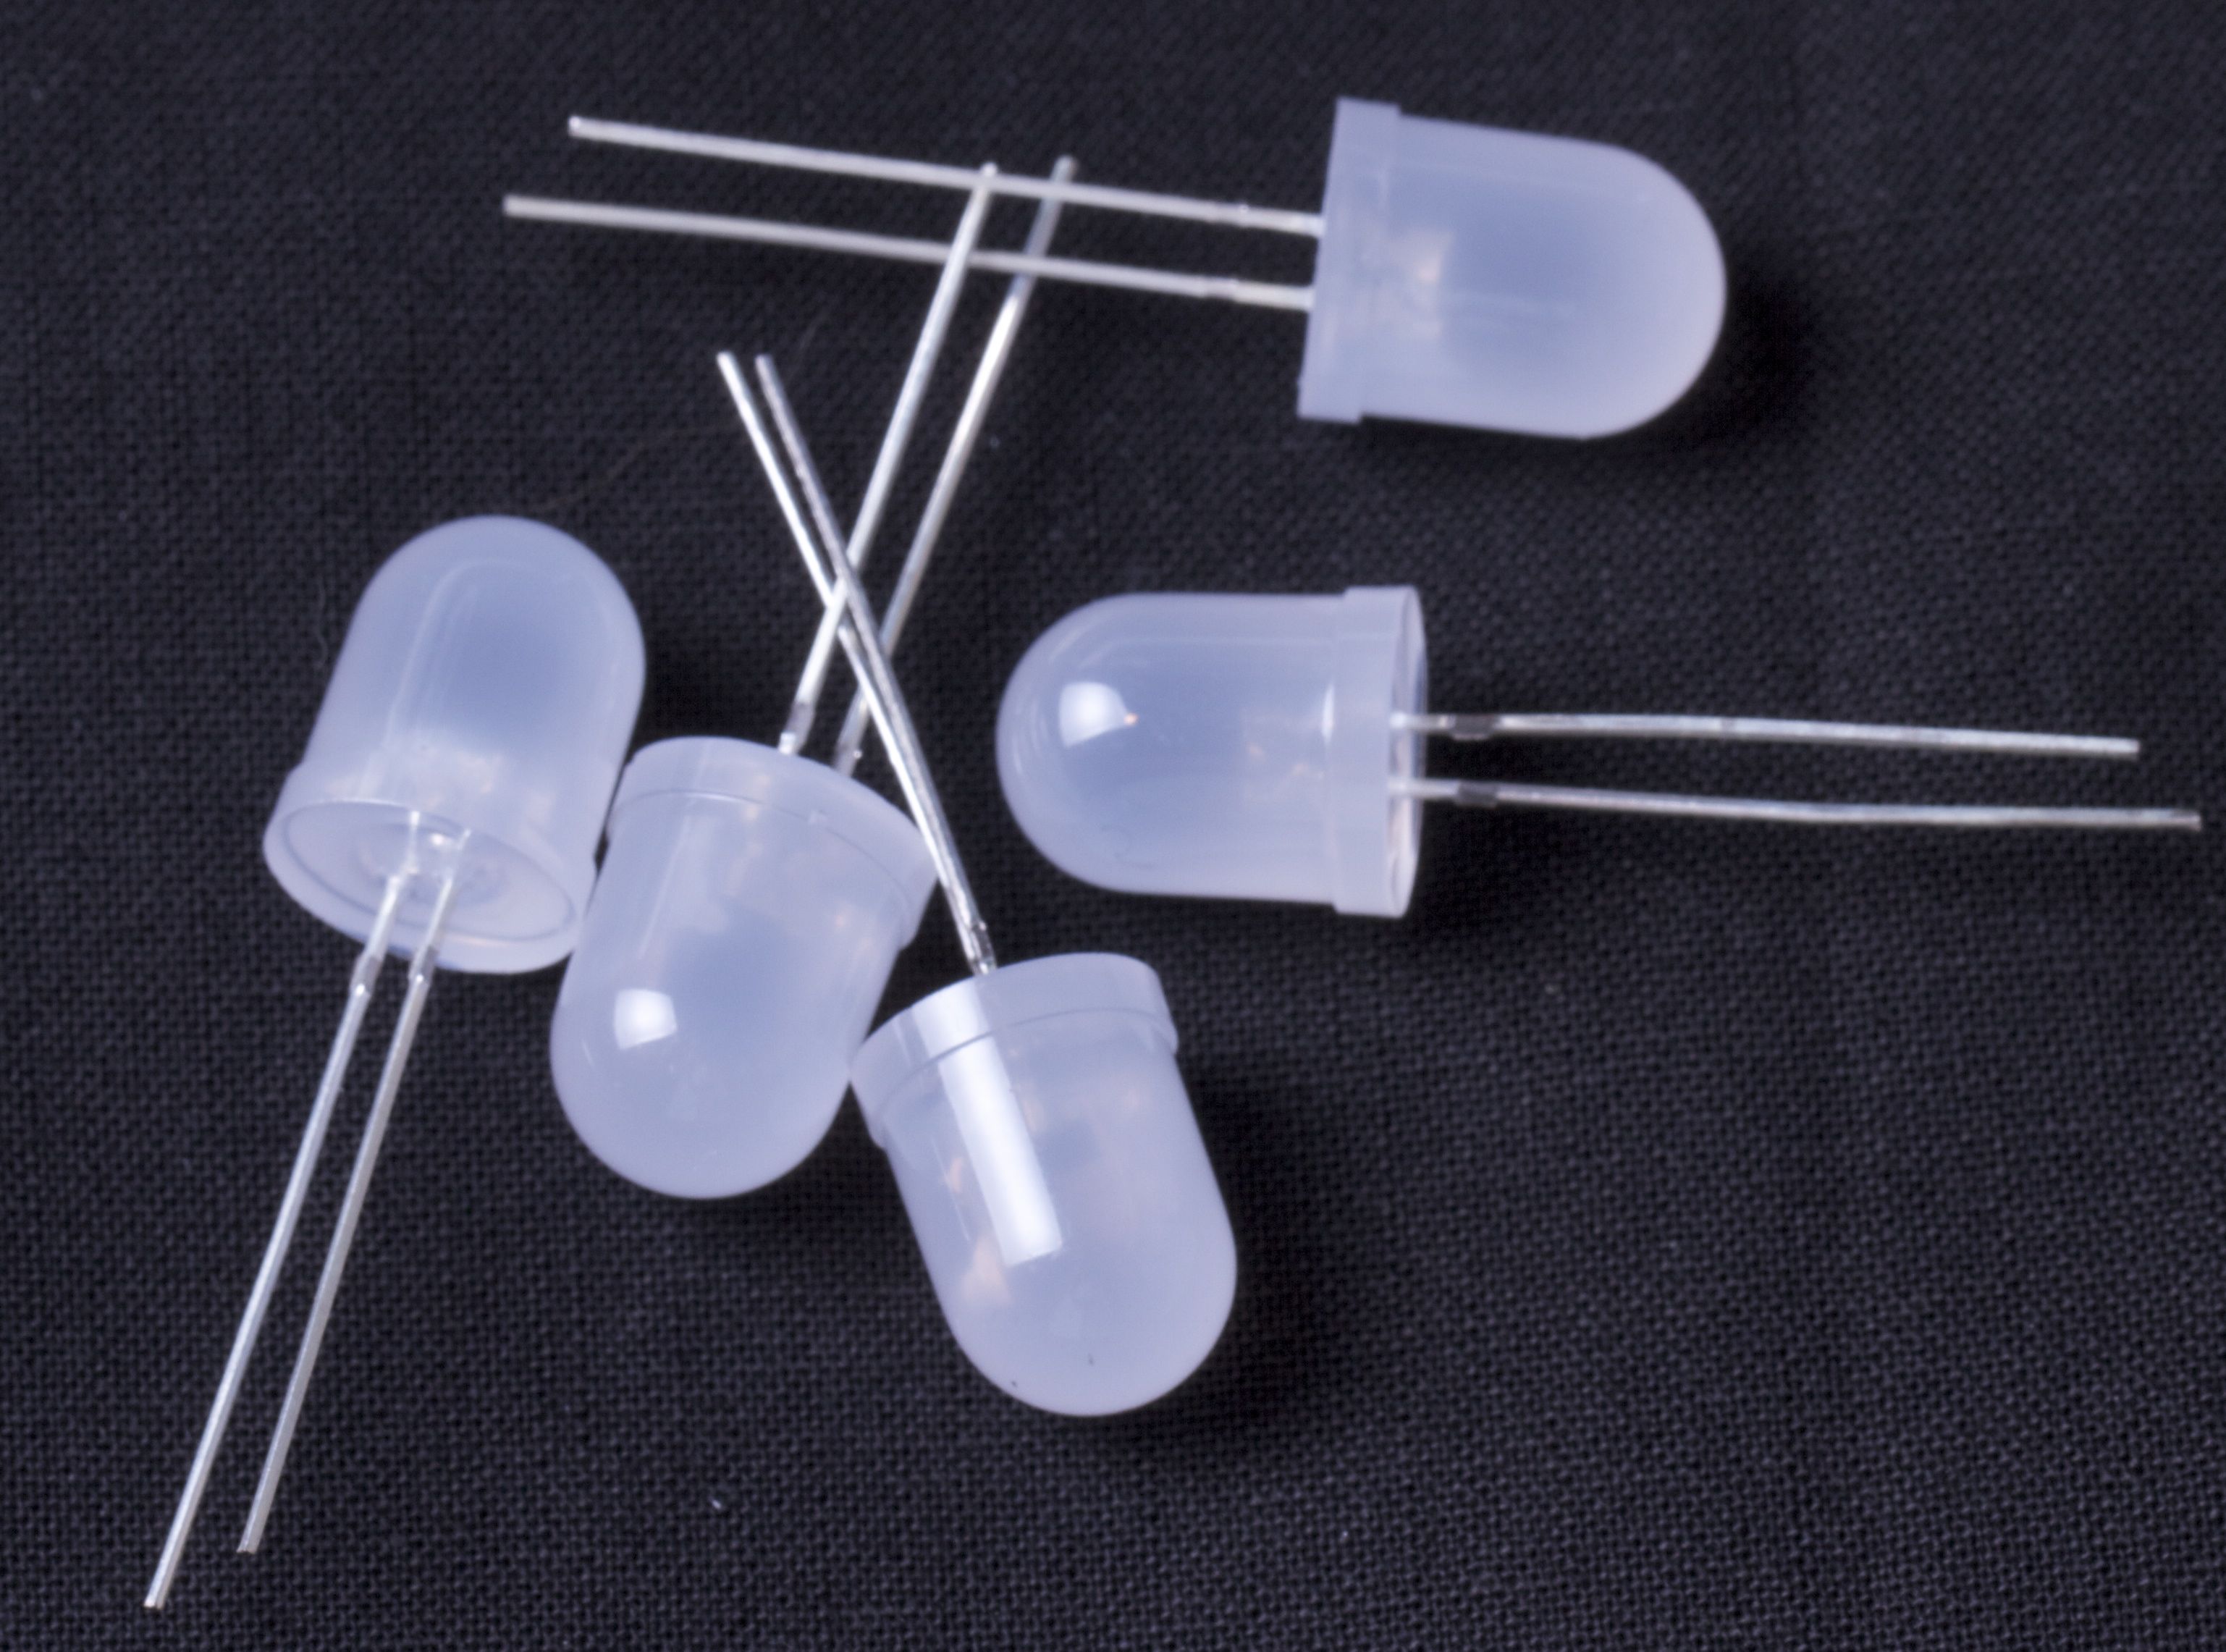
A few weeks ago we got a batch of LEDs– a sample order from a new vendor. These are 10 mm diffused white LEDs, much like the ones that we use on the Peggy 2 or in the LED Ghosties.
On the surface, they look okay. But after lighting them up, we noticed something funny in a few of them that led us to discover their deep dark– or really, shallow and clear –secret. Continue reading A funny batch of LEDs
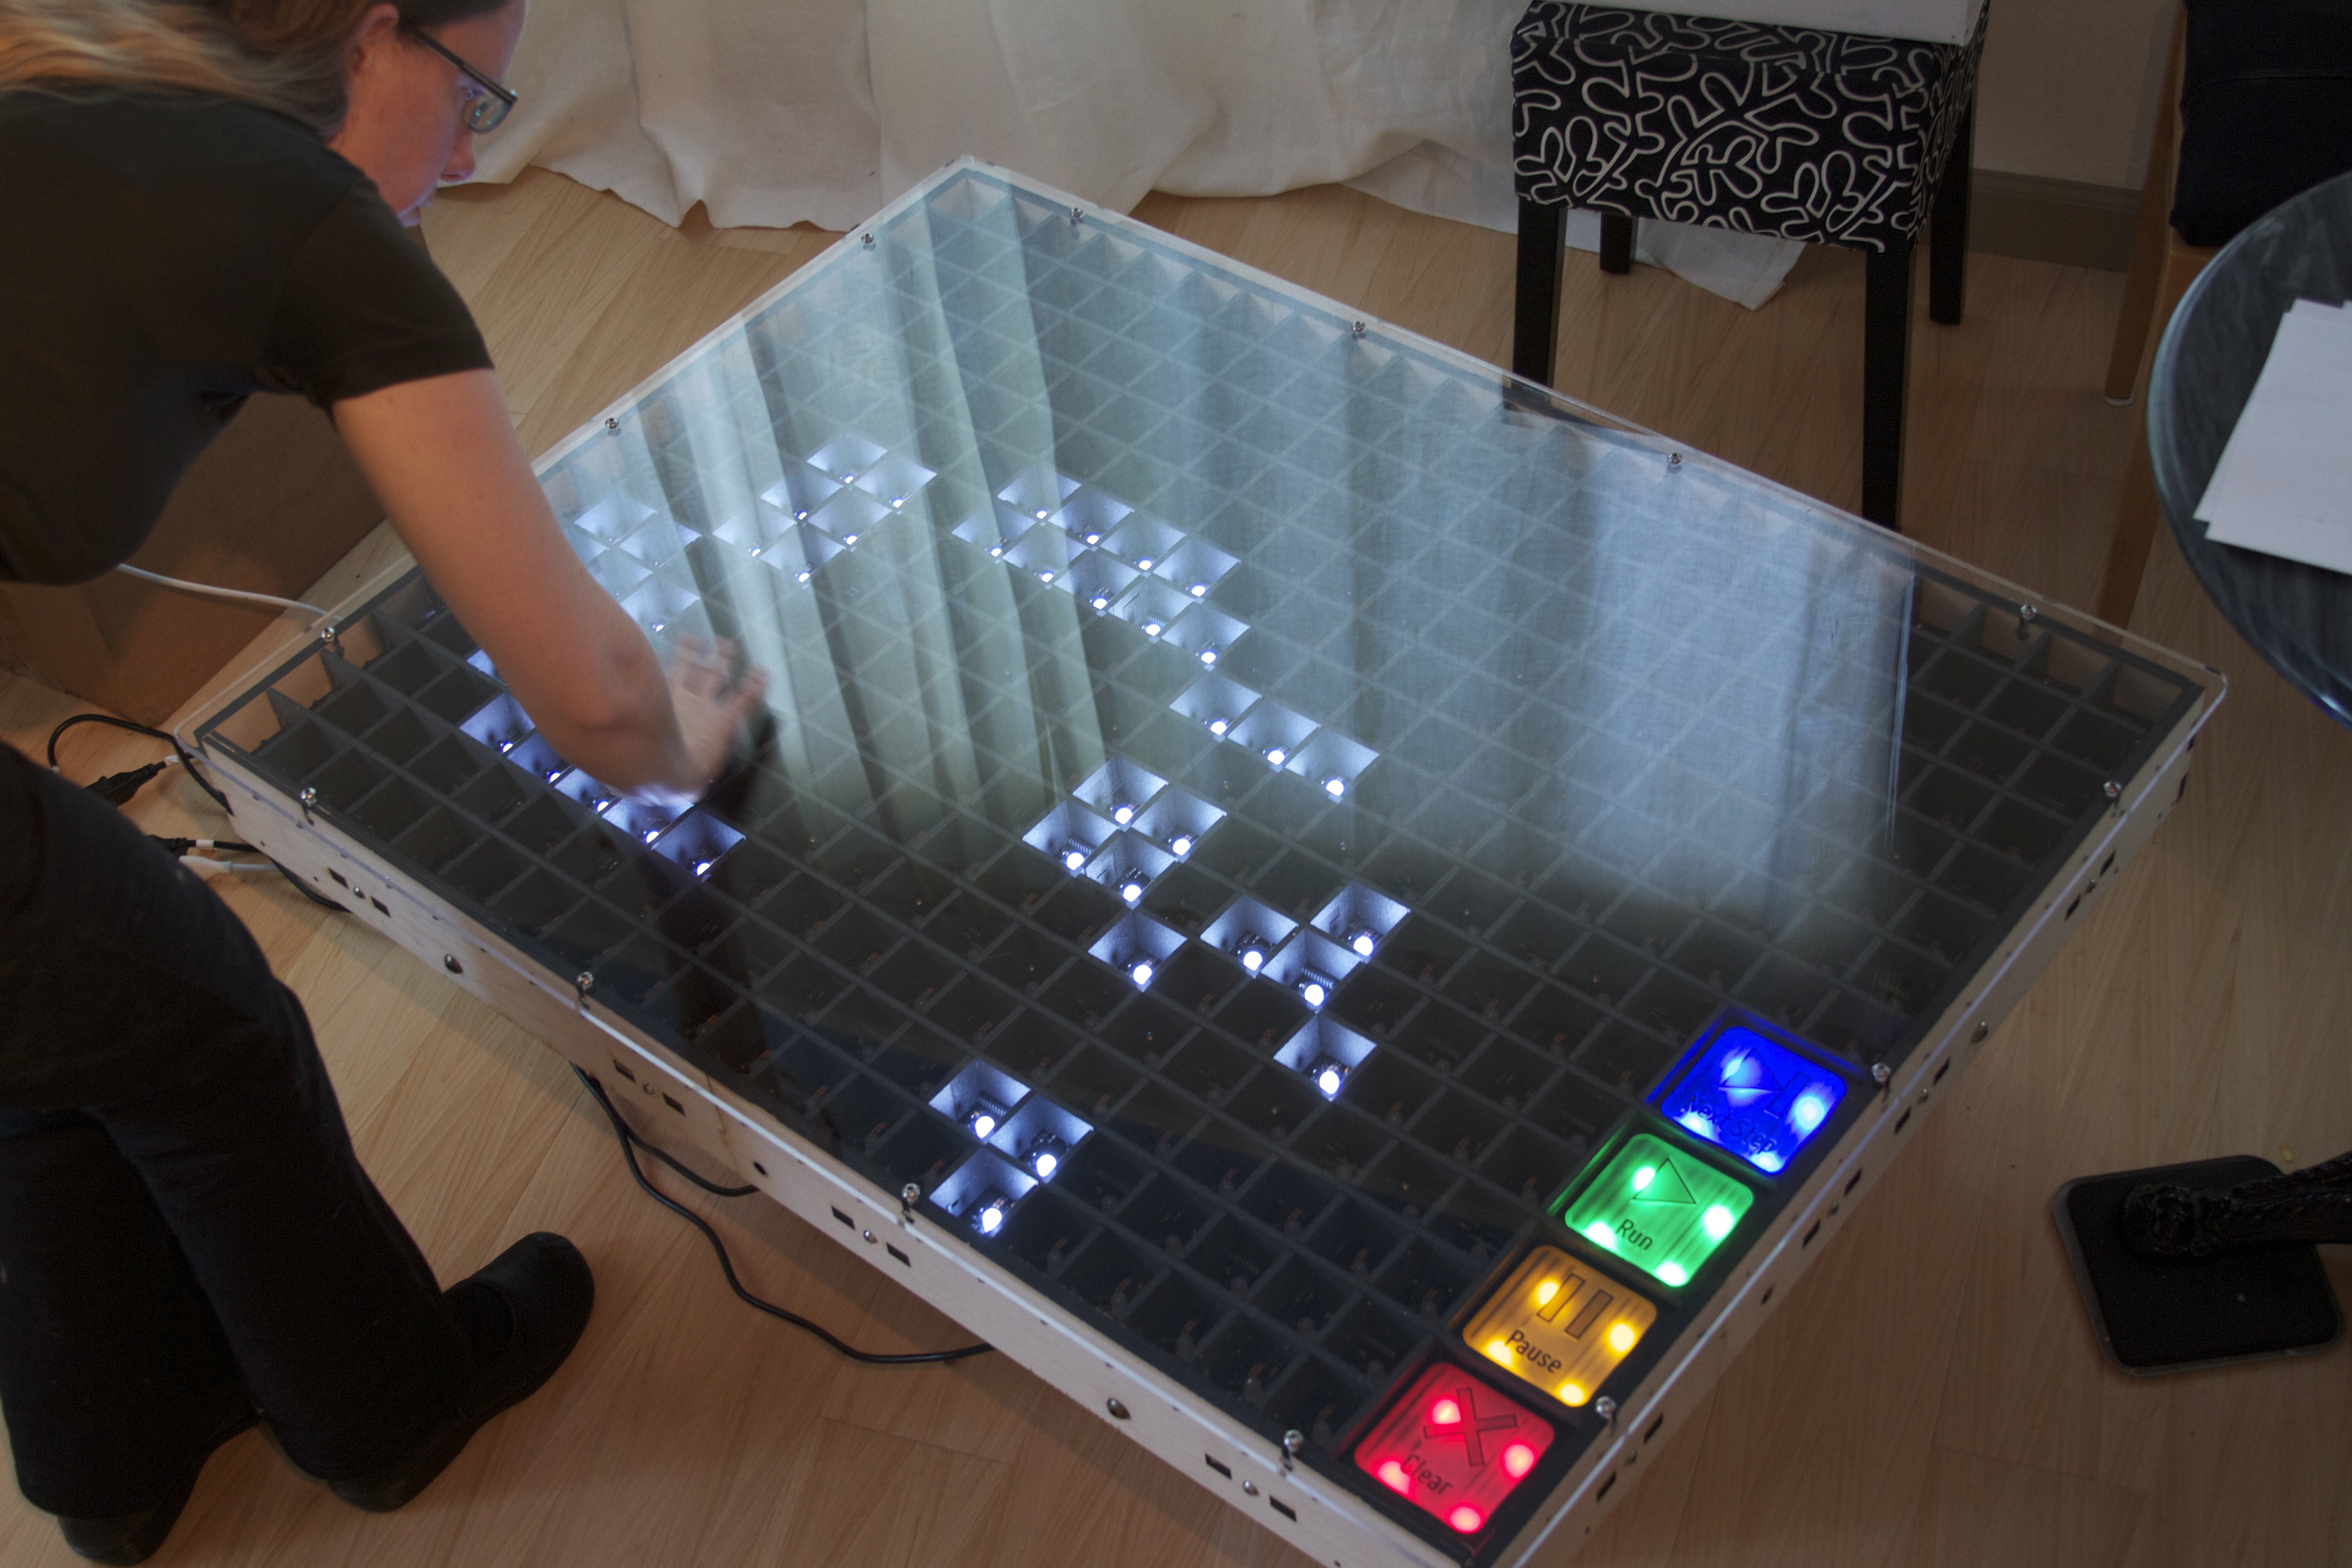
Recently we put together this interactive Game of Life display as an educational adjunct for a new exhibit by the San Jose Museum of Art on the works of Leo Villareal. Leo primarily works with light sculptures, and we’re very excited to see (and participate in) the exhibit, which opens this Friday.
We put together a video showing off the project, embedded here:
(If you can’t see the video here, click here to visit the youtube page.)
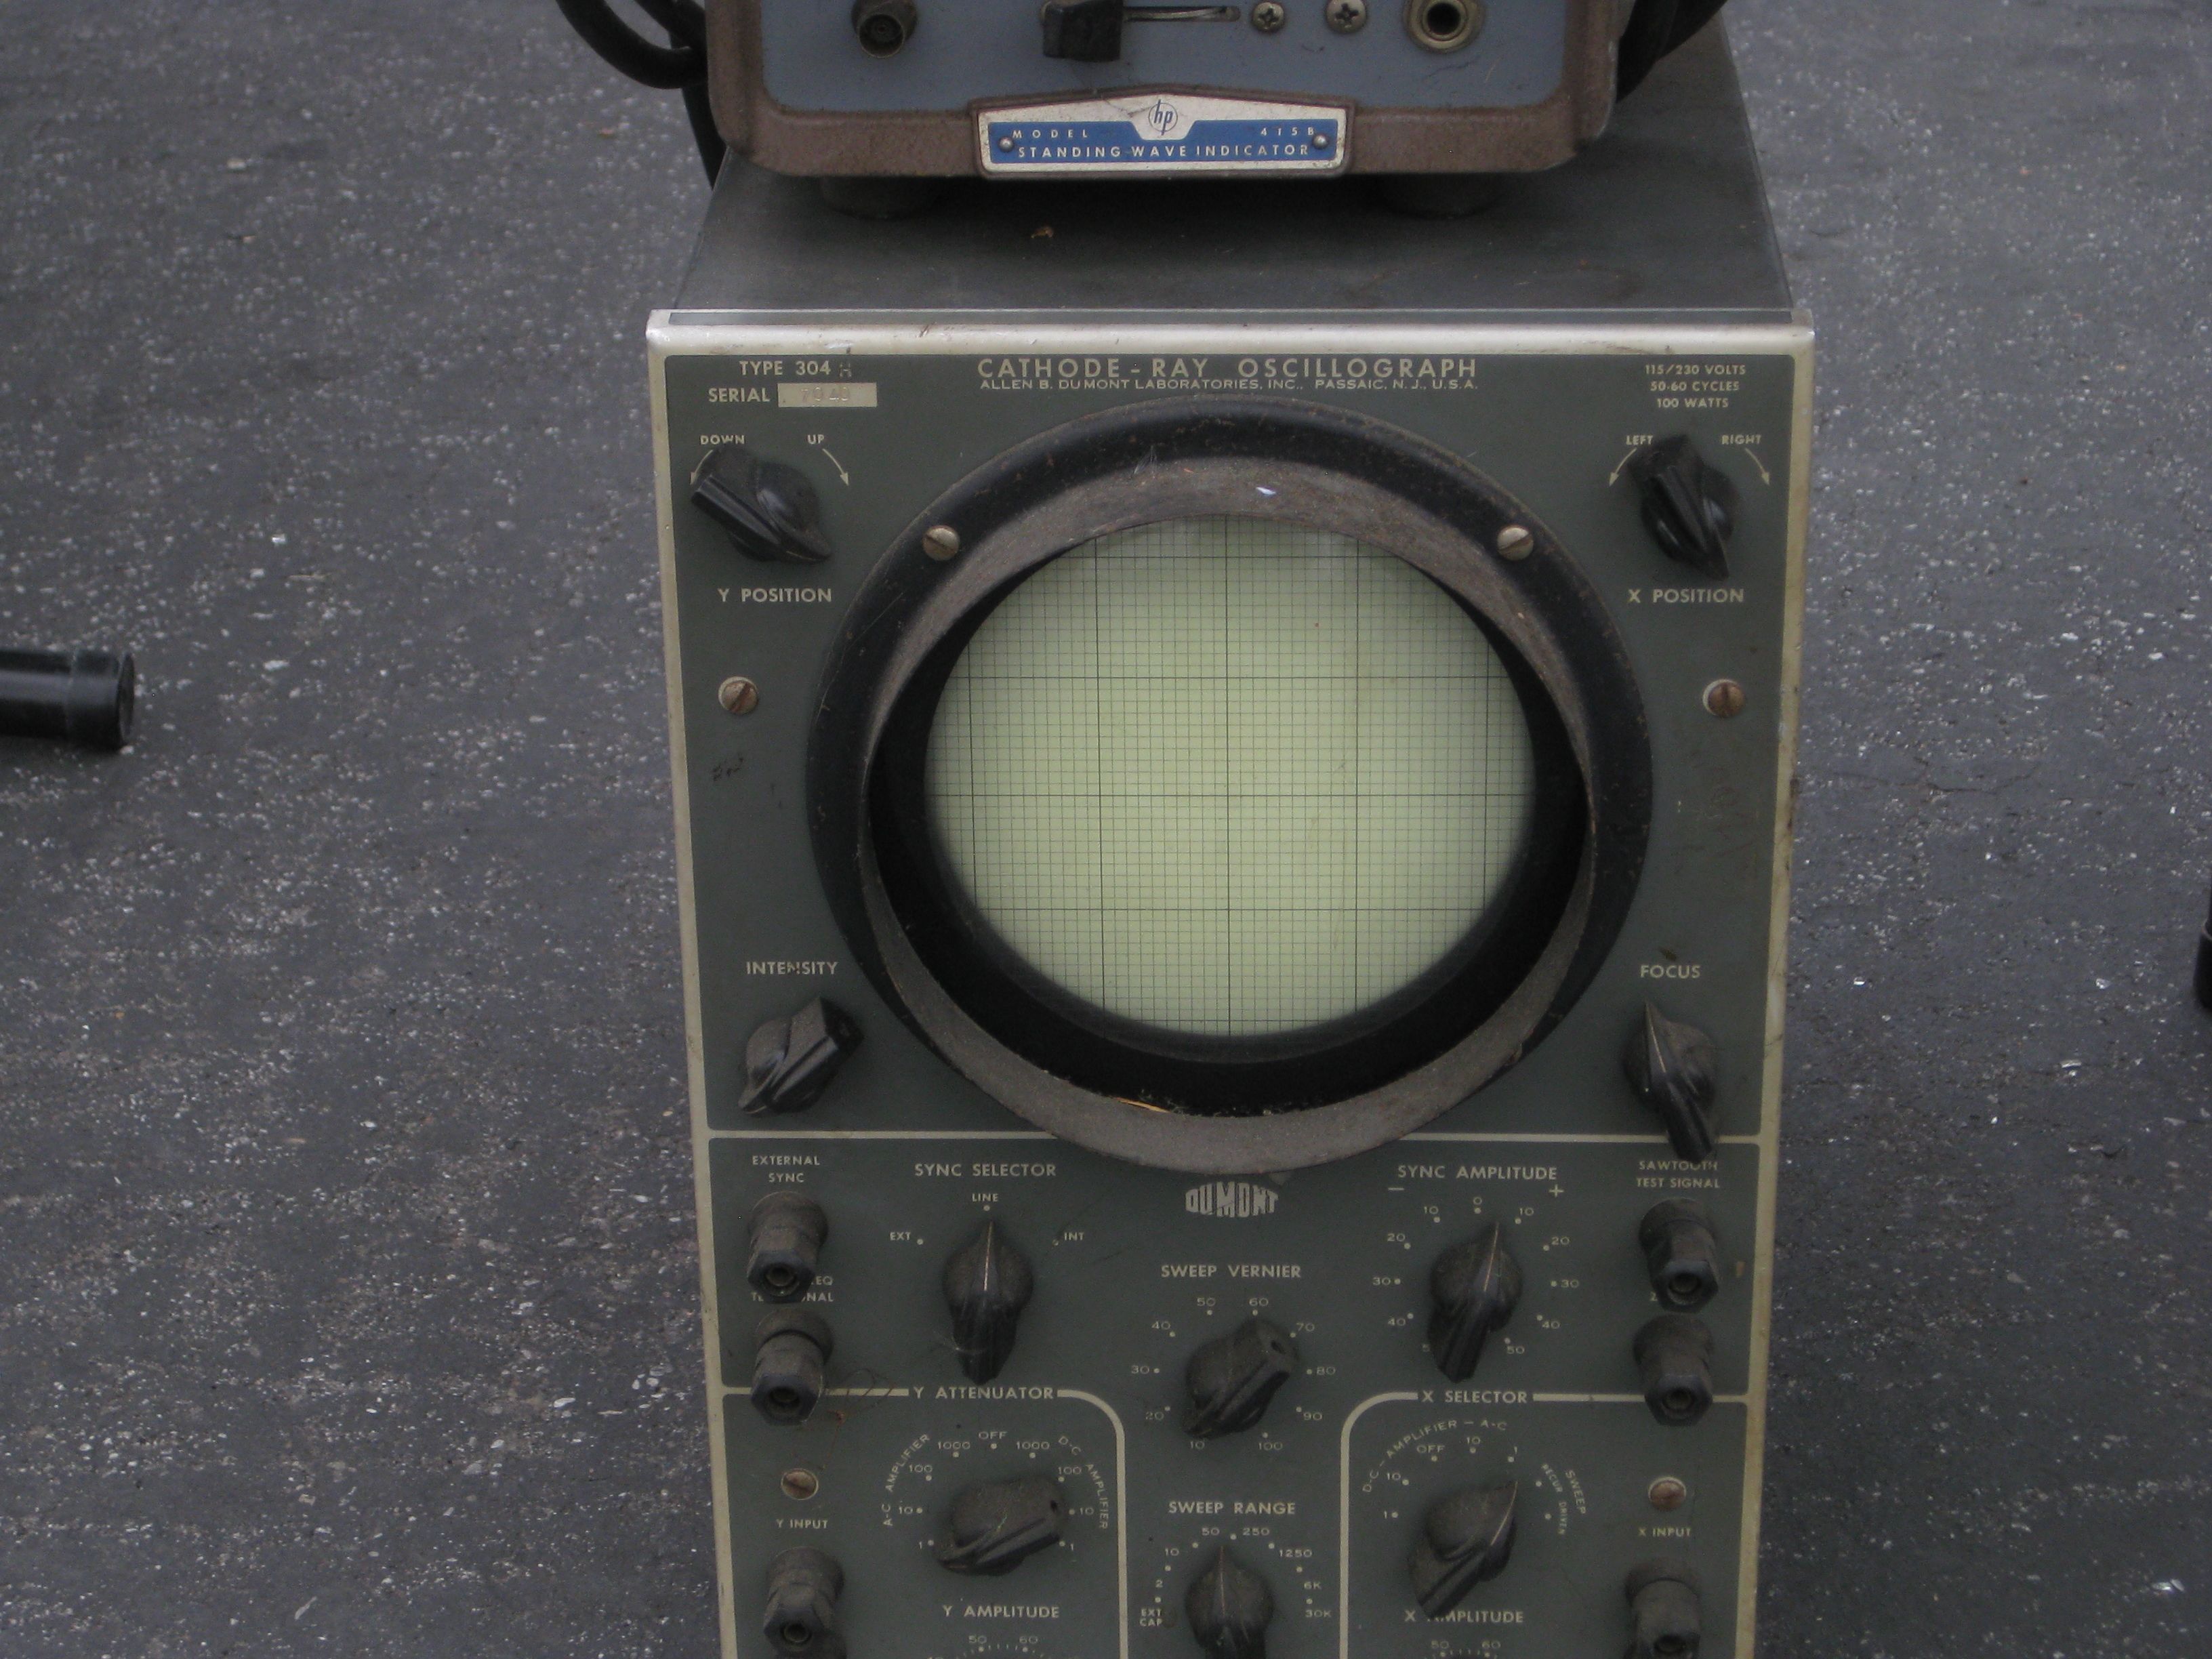
We’ve just posted a few pictures from last weekend’s fantastic Electronics Flea Market at De Anza College in Cupertino.
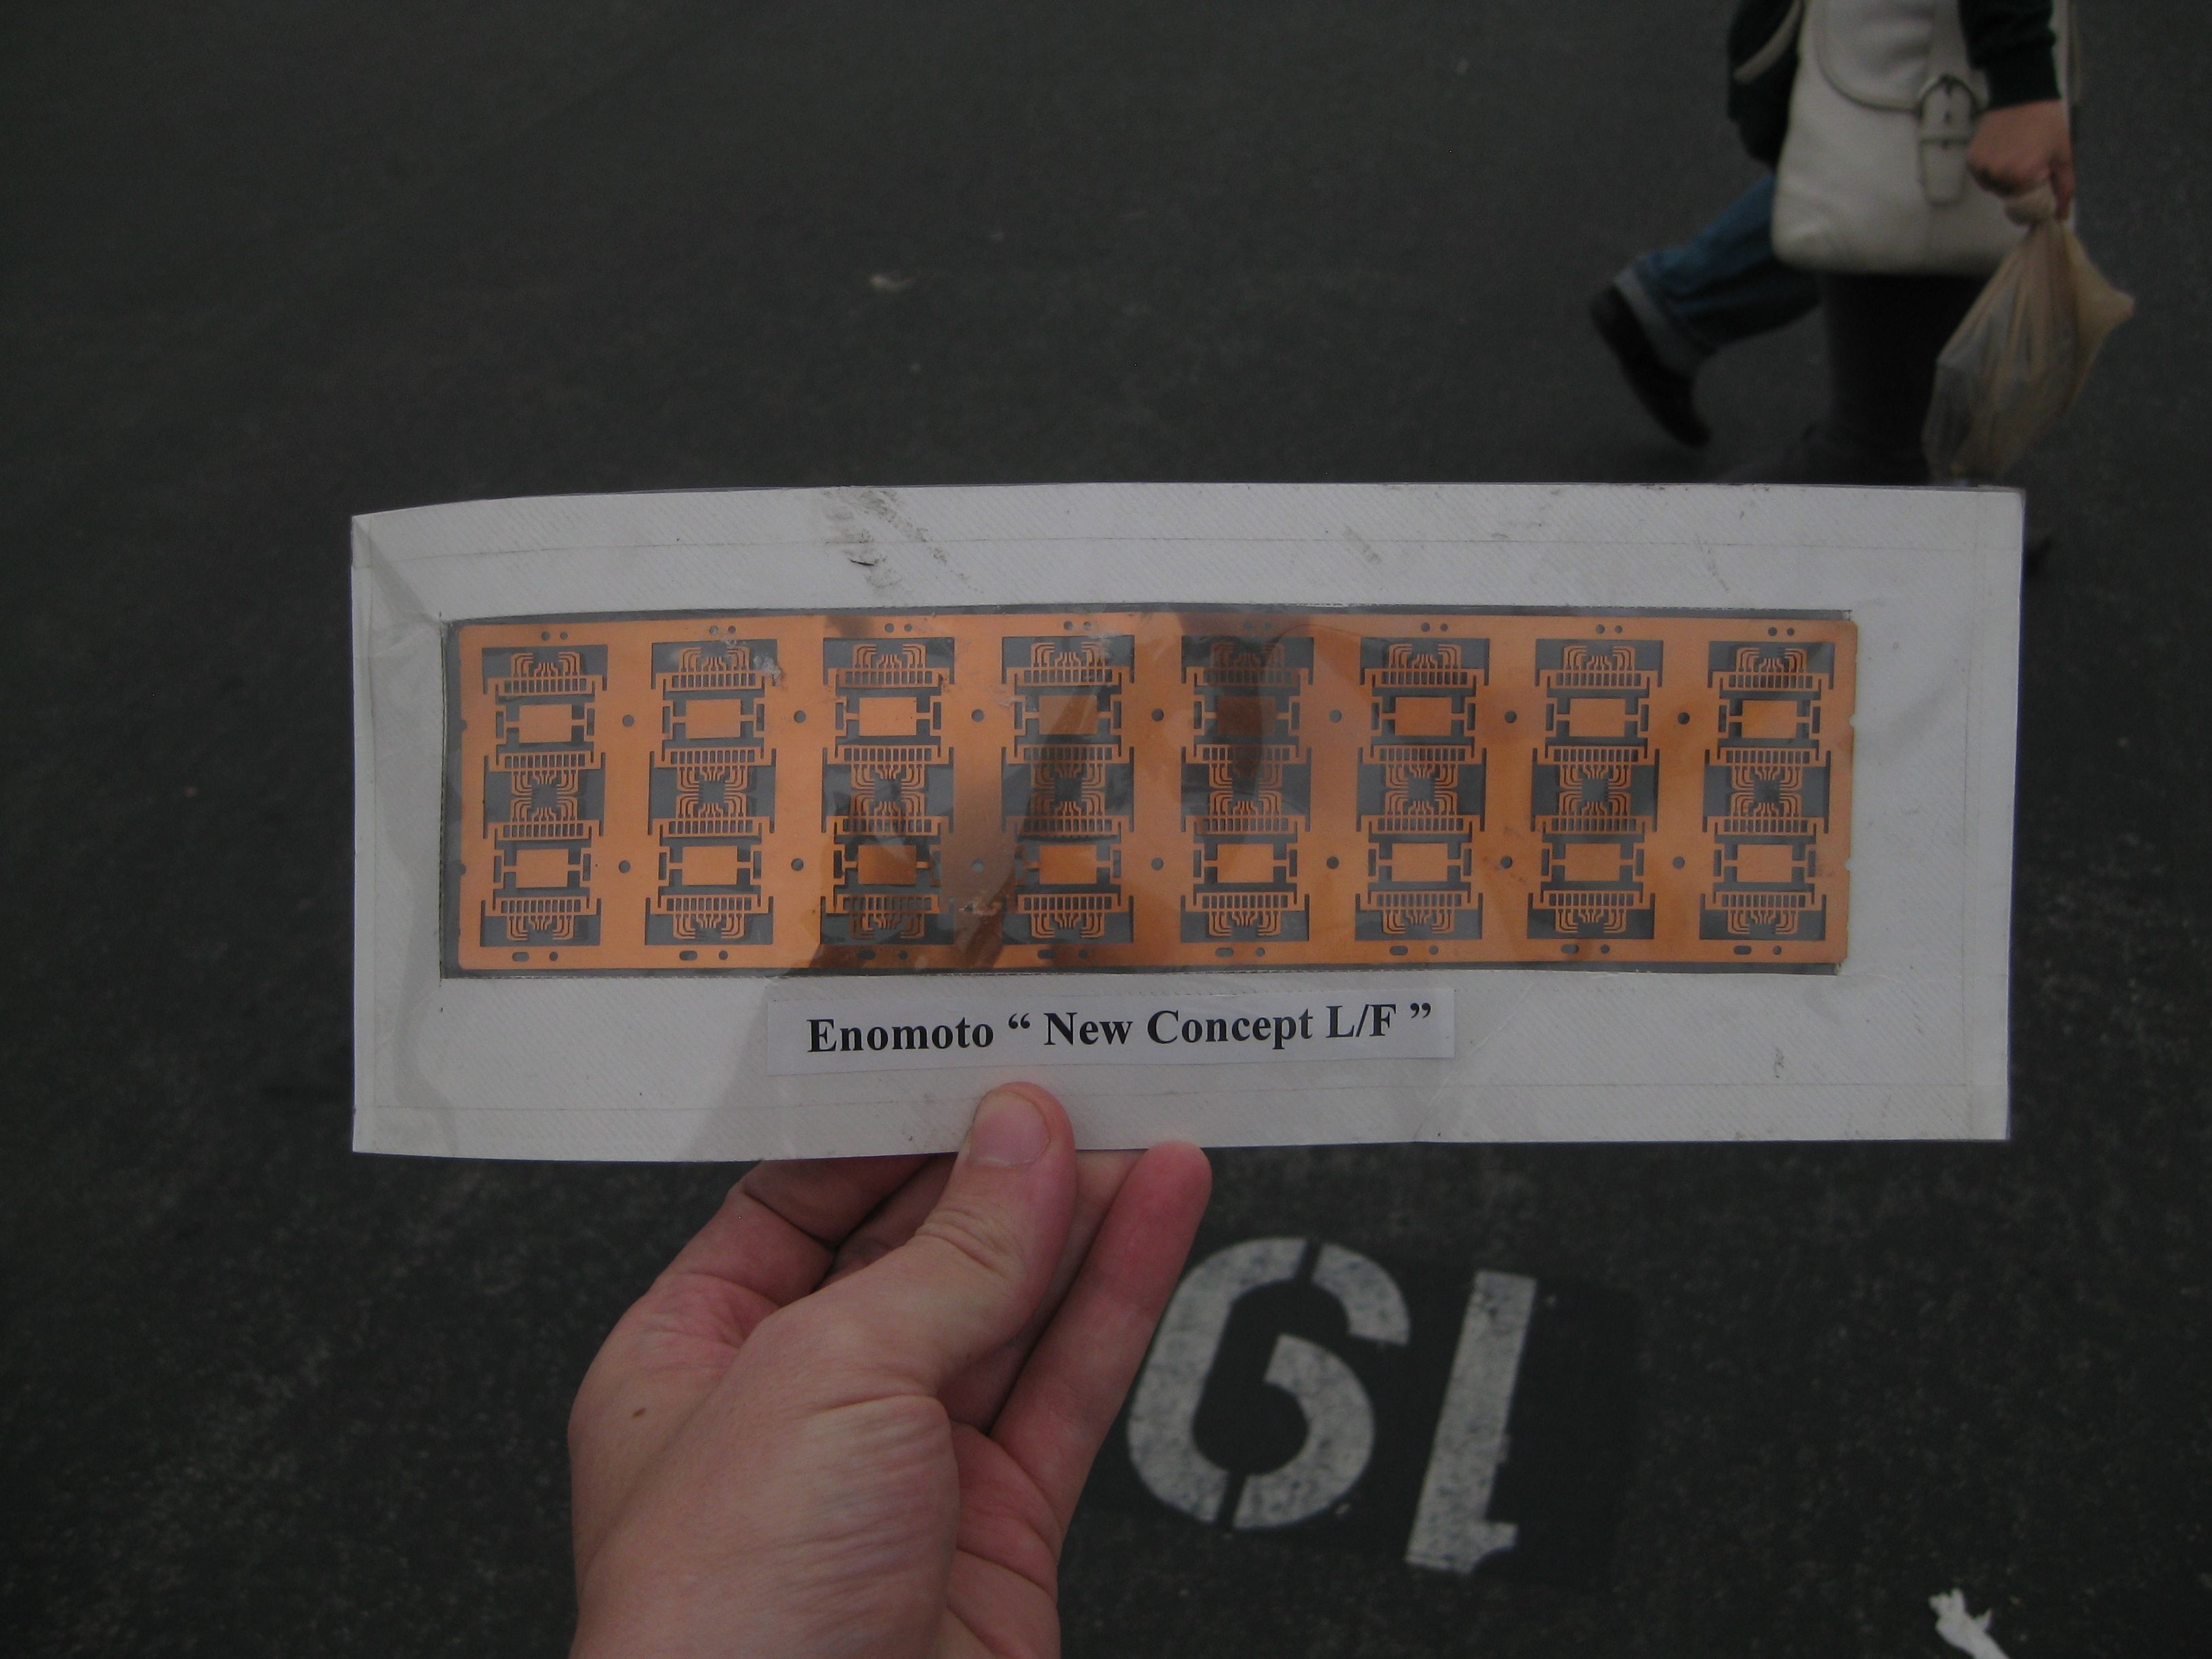
One interesting thing that we came across: a set of leadframes not so different from those that might be made from that photomask that we wrote about a couple of weeks ago.
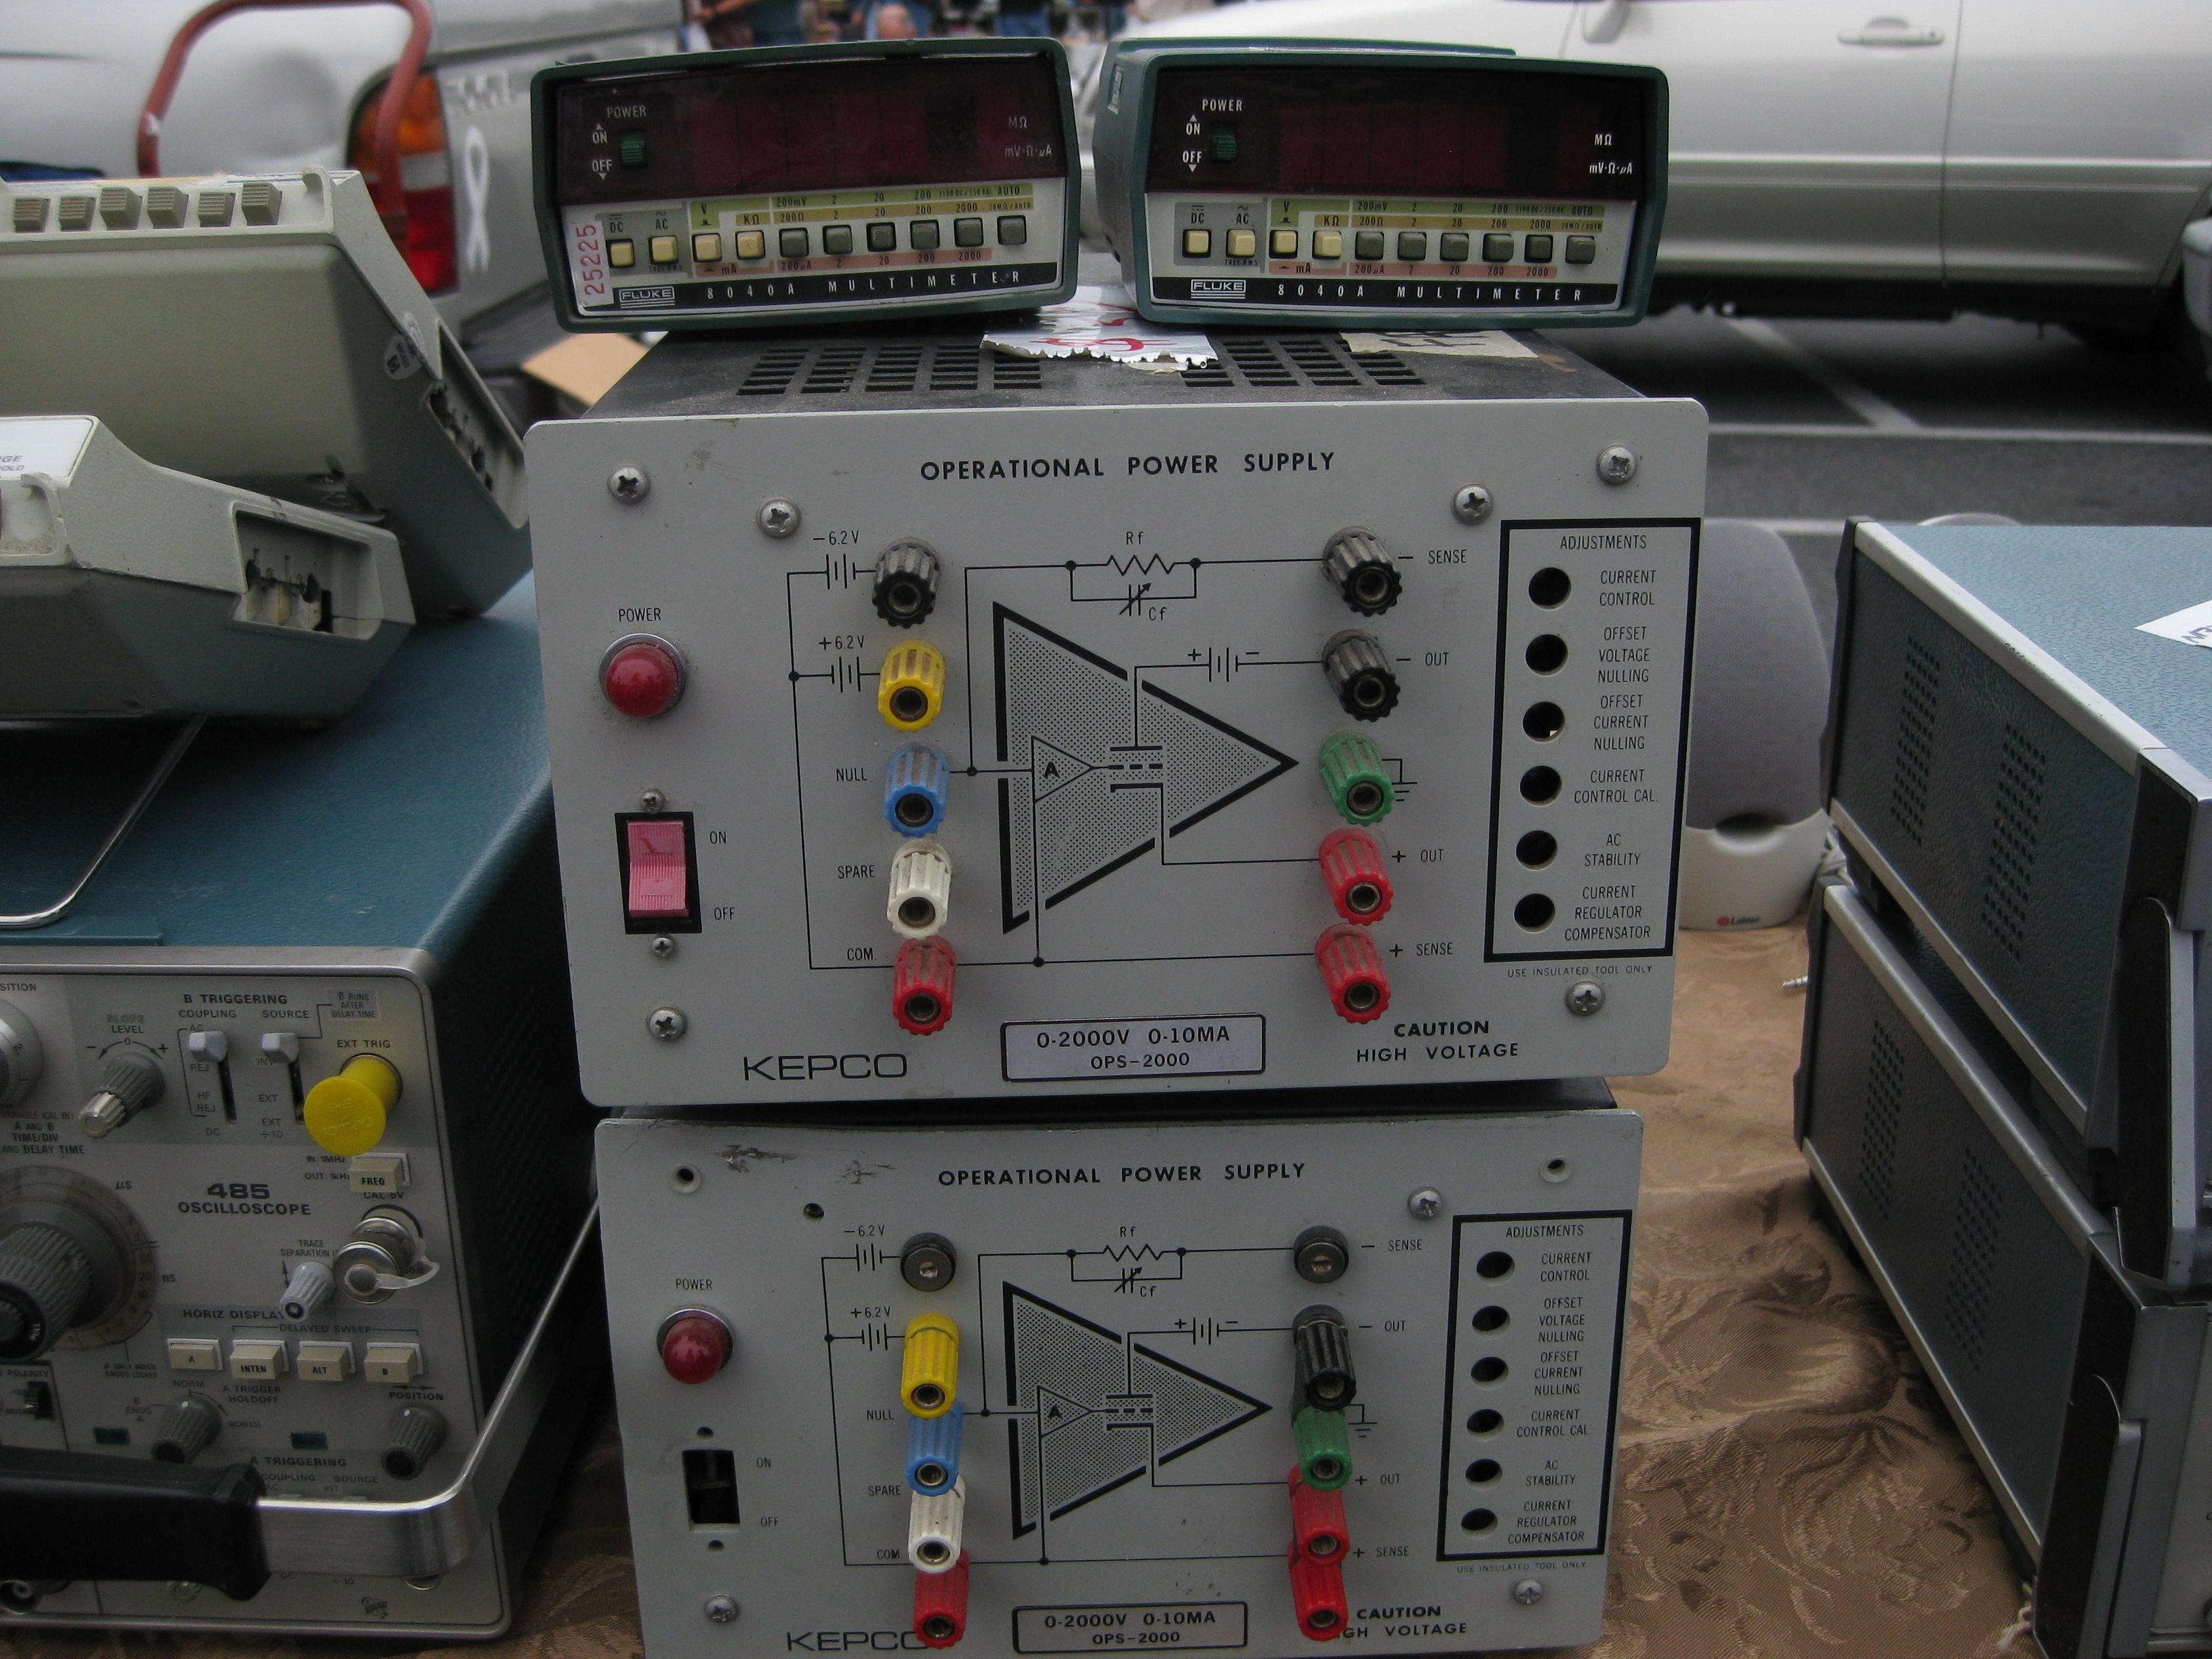
Only one two more flea markets left this year, September 11 is the next one; mark your calendars and we’ll hope to see you there!
(For a few more, check out photos from another electronics flea market a couple of years ago here.)
Corrected 8/16/10: two more flea markets left for 2010– Sept. 11 and Oct. 9.
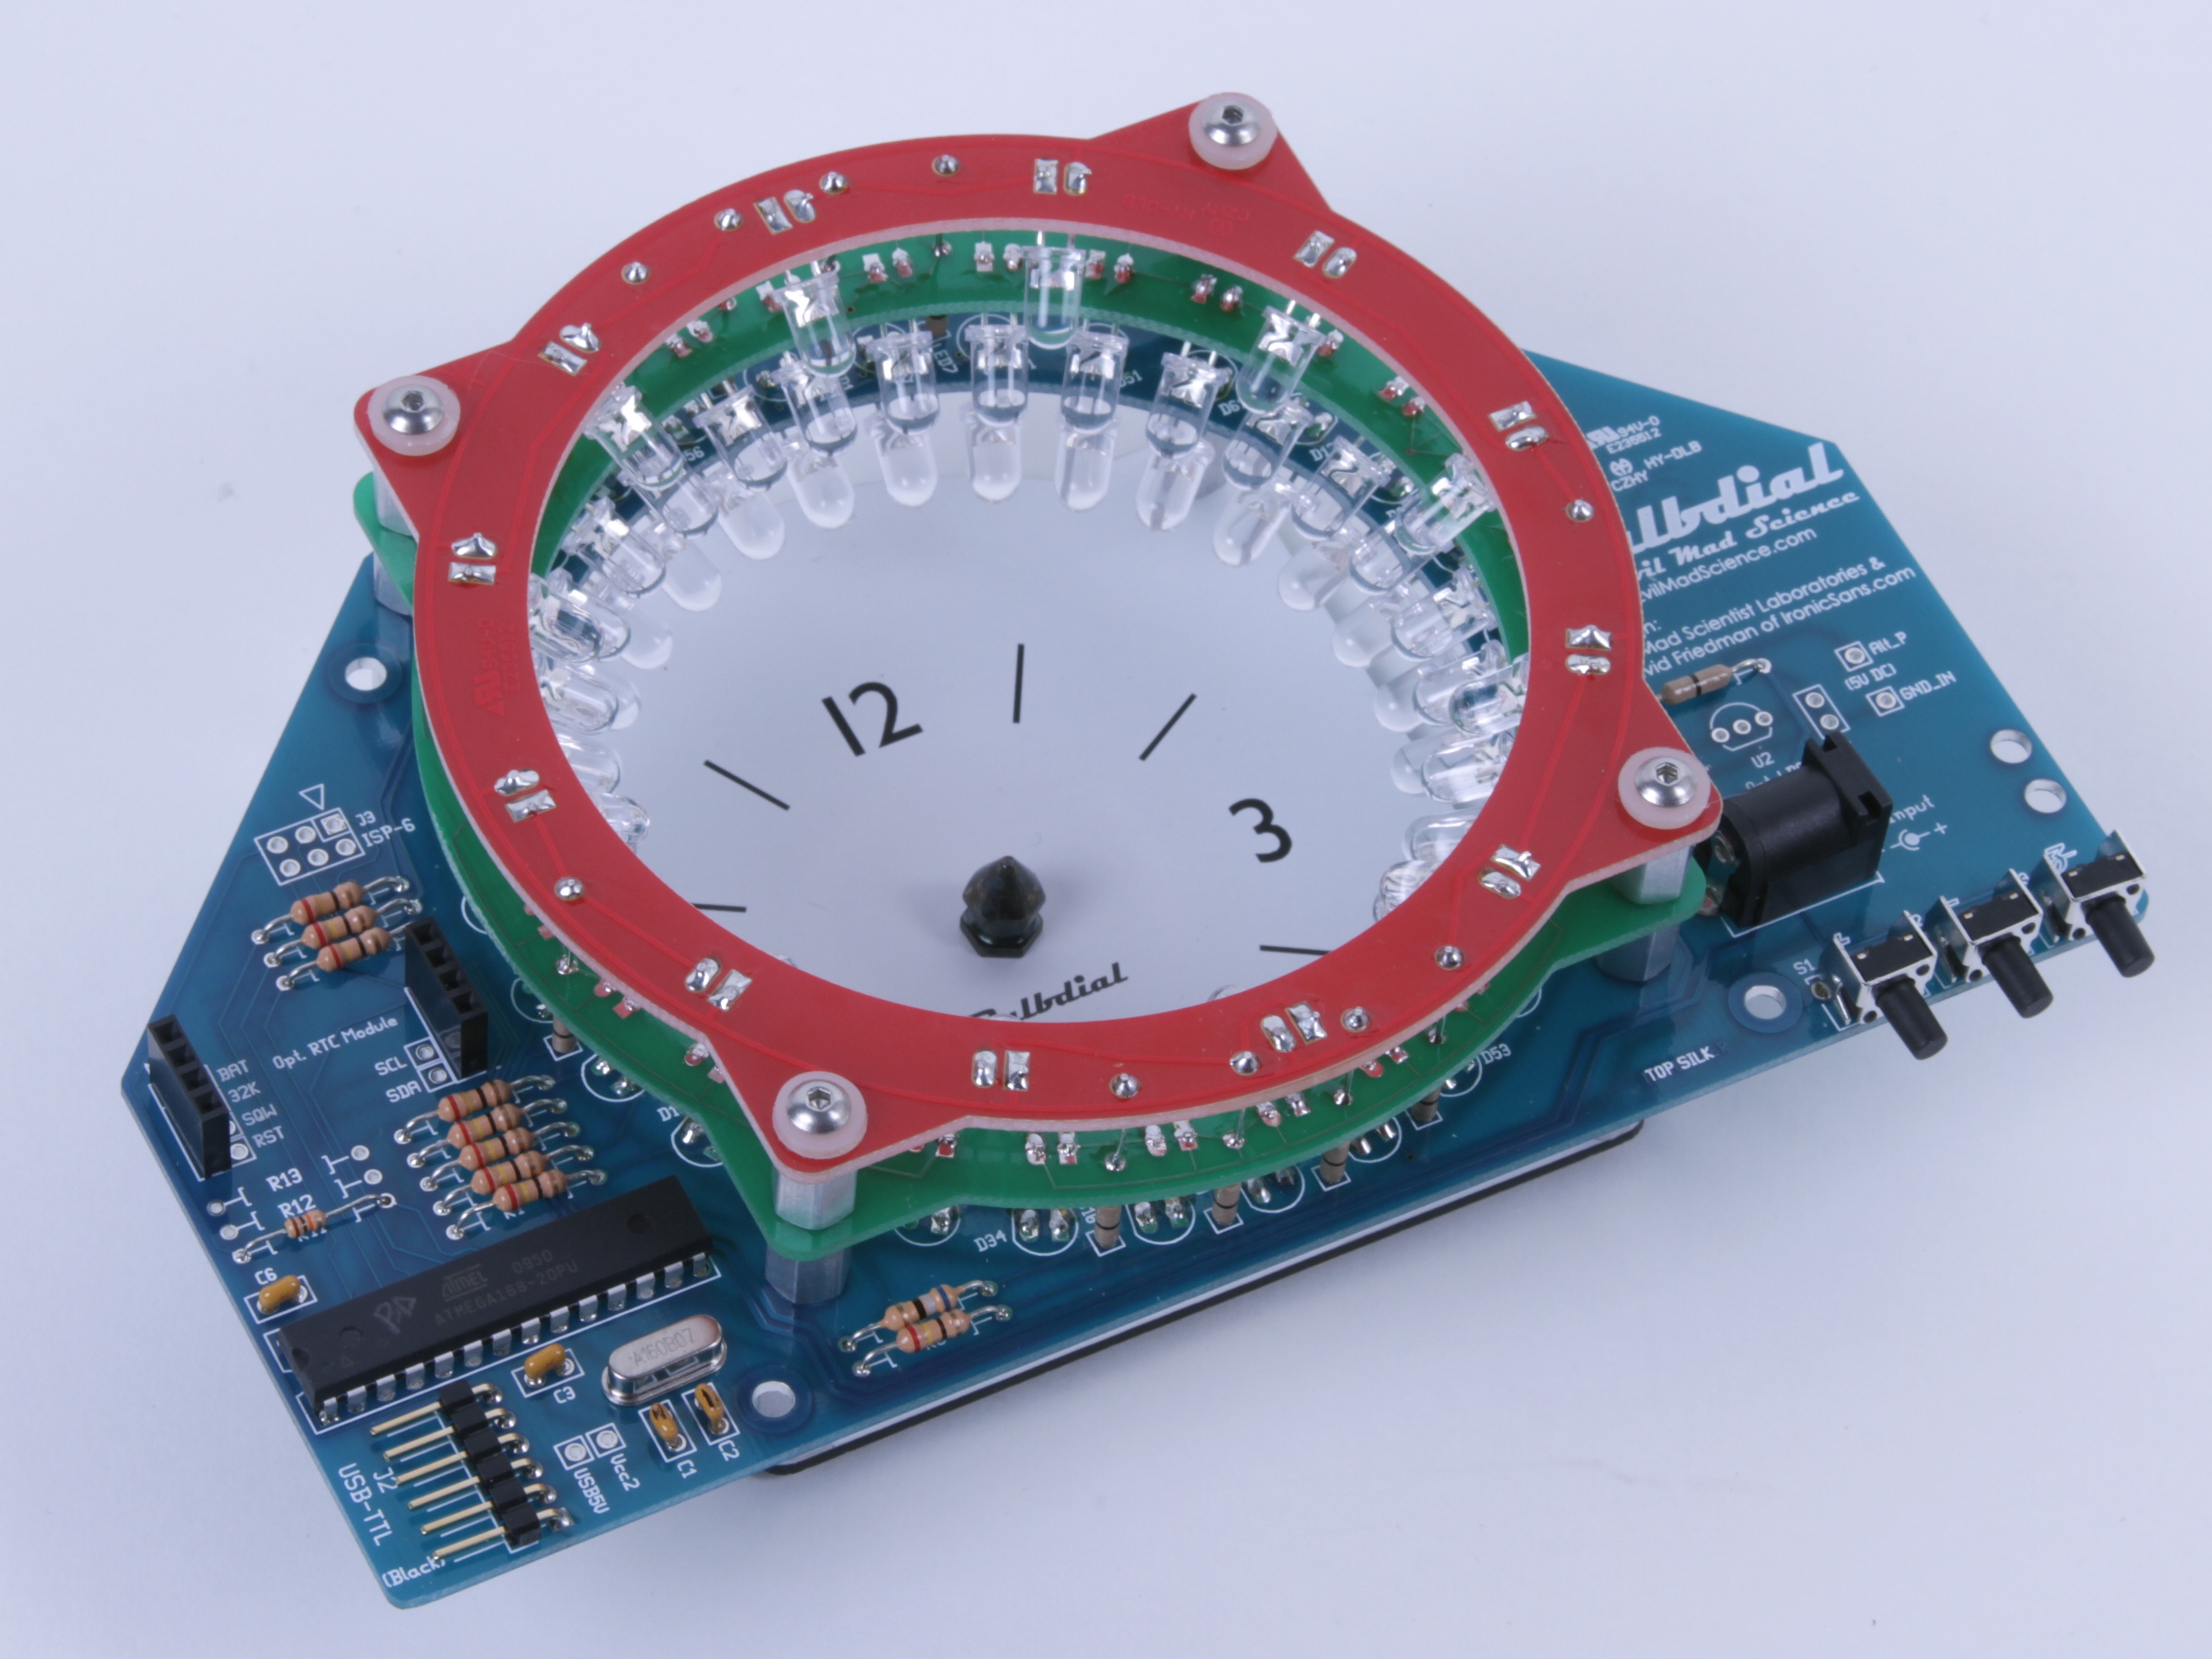
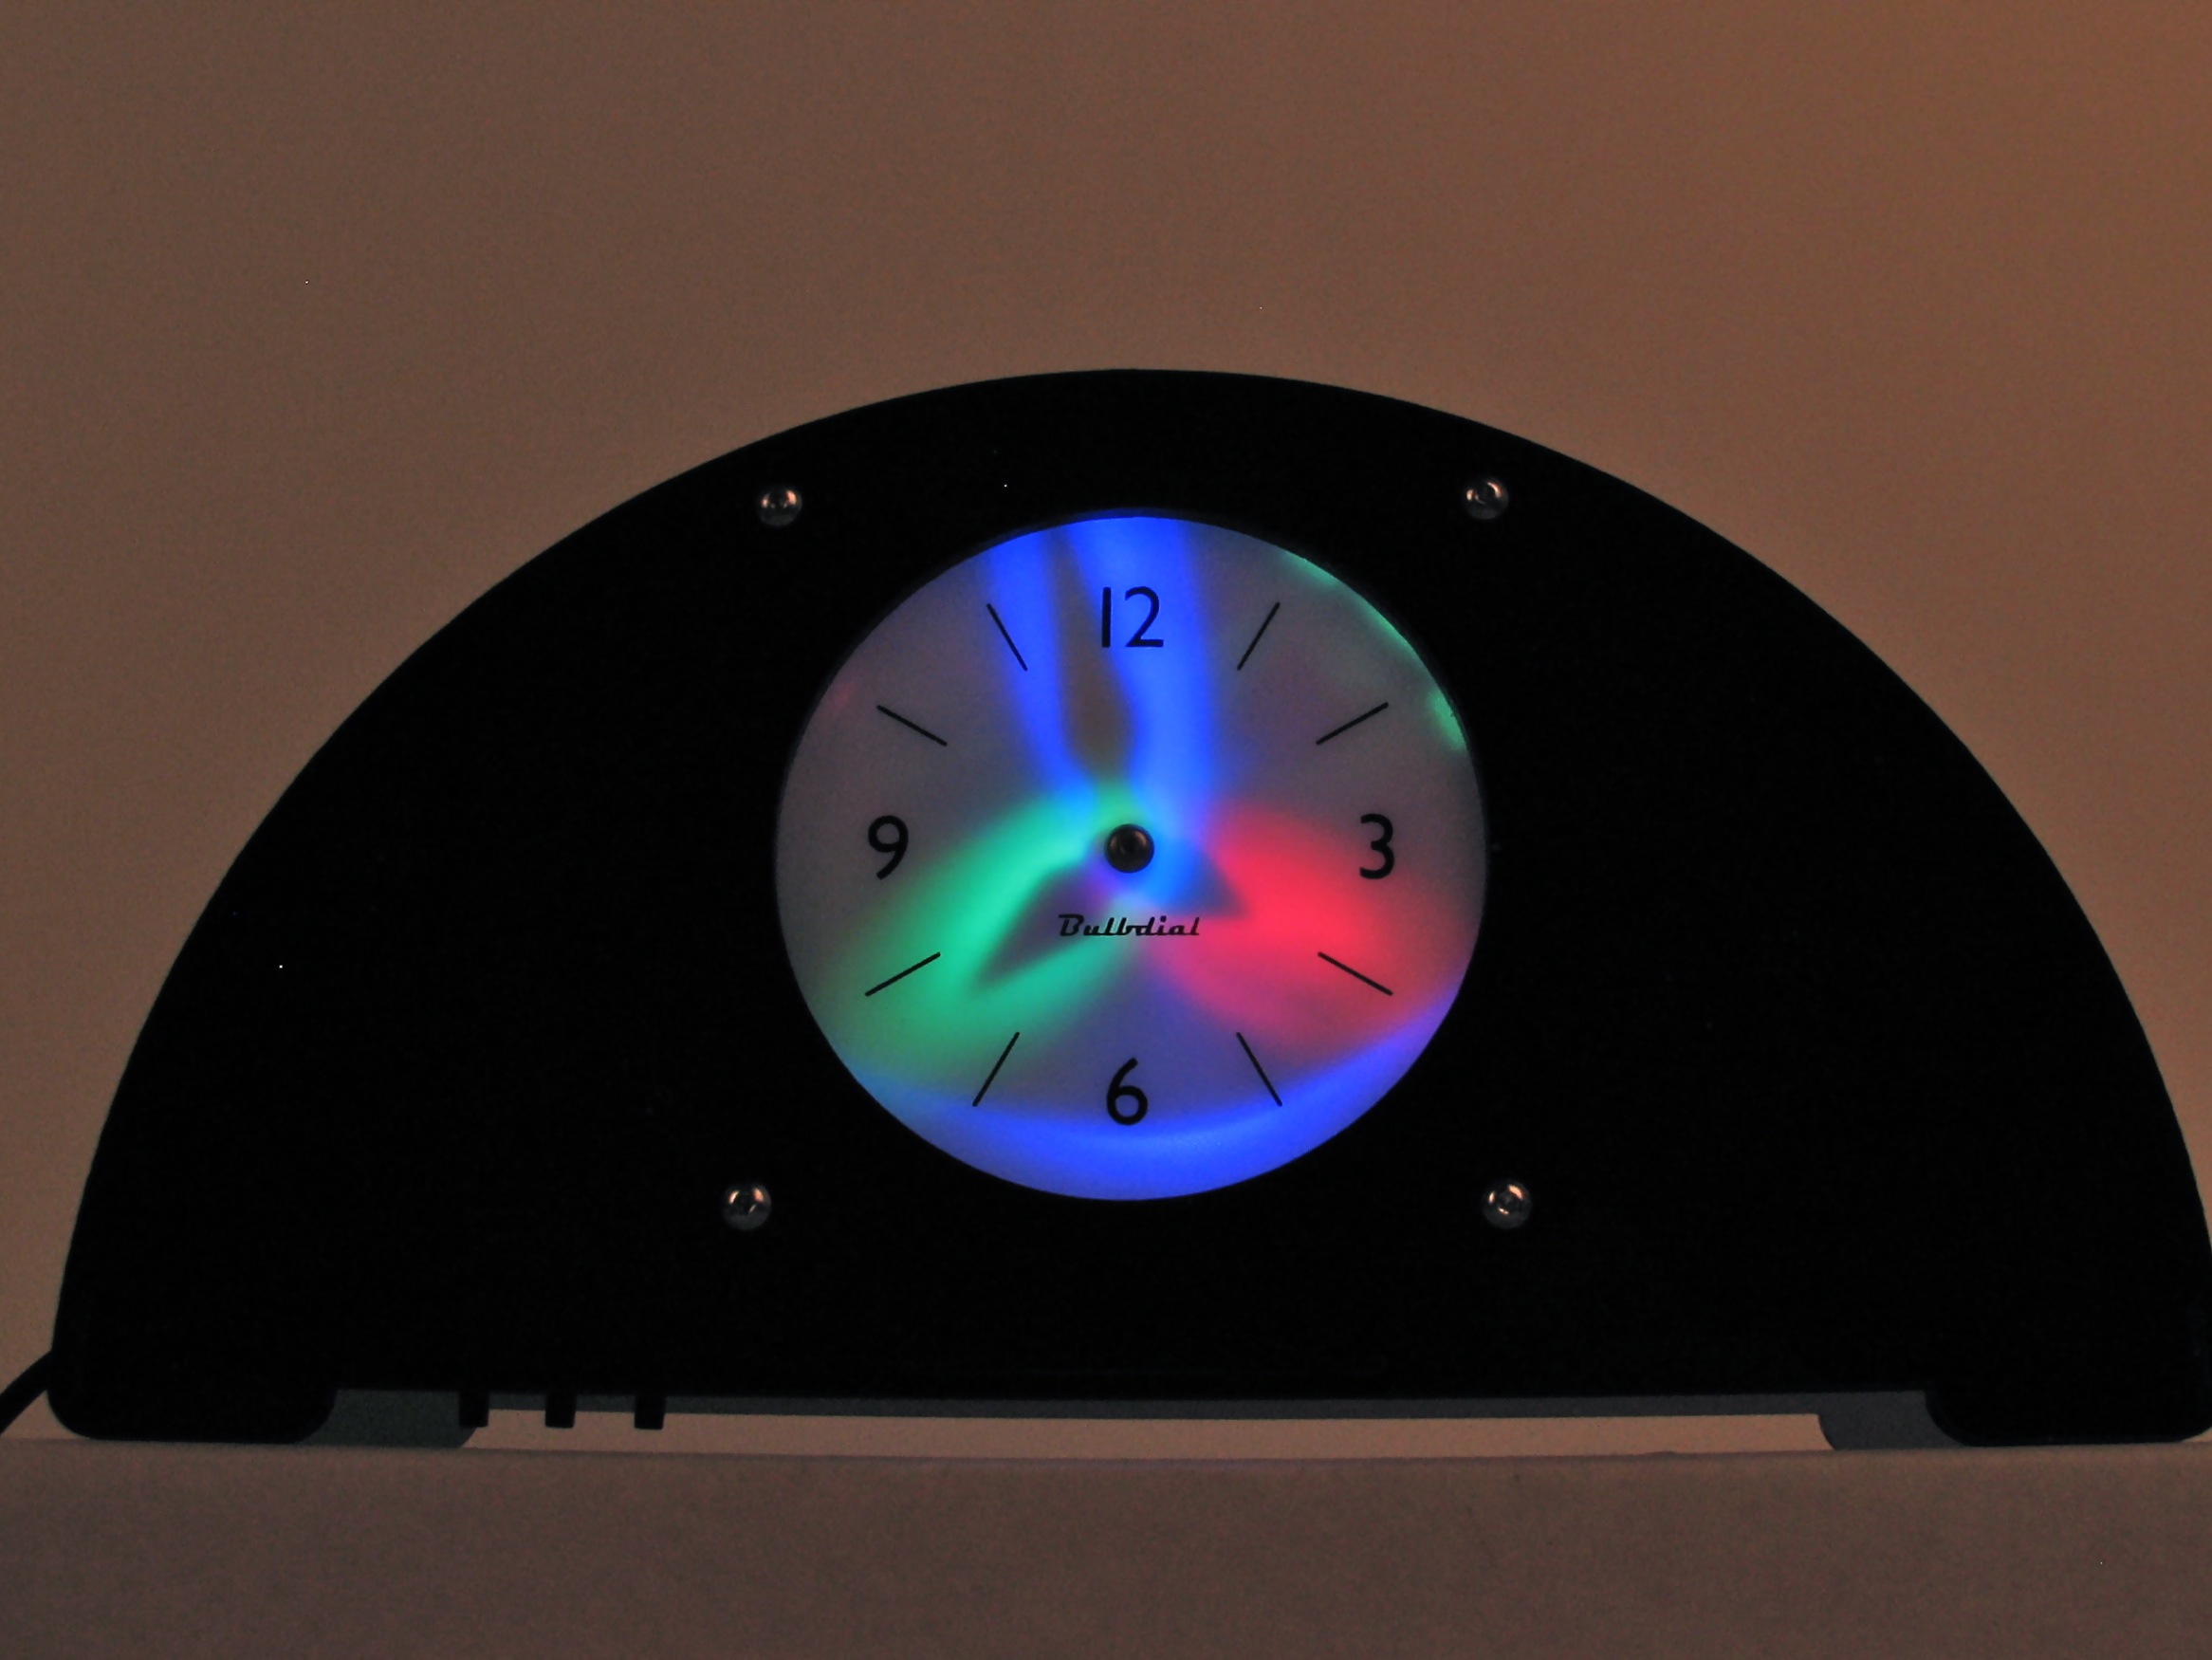
One of our favorite projects of the last year is our Bulbdial Clock, an LED shadow clock based on an idea from Ironic Sans. And, while we have written a fair bit about it, we haven’t yet taken the time to describe some of the interesting technical details.
So in what follows here, we discuss some of those details, with an emphasis on a few in particular that we’ve been asked about. First, the process of designing and prototyping “funny shaped” circuit boards, but also charlieplexing LEDs in a mixed array, and (finally) getting that rear-projection scheme to work.
Continue reading On the design of the Bulbdial Clock
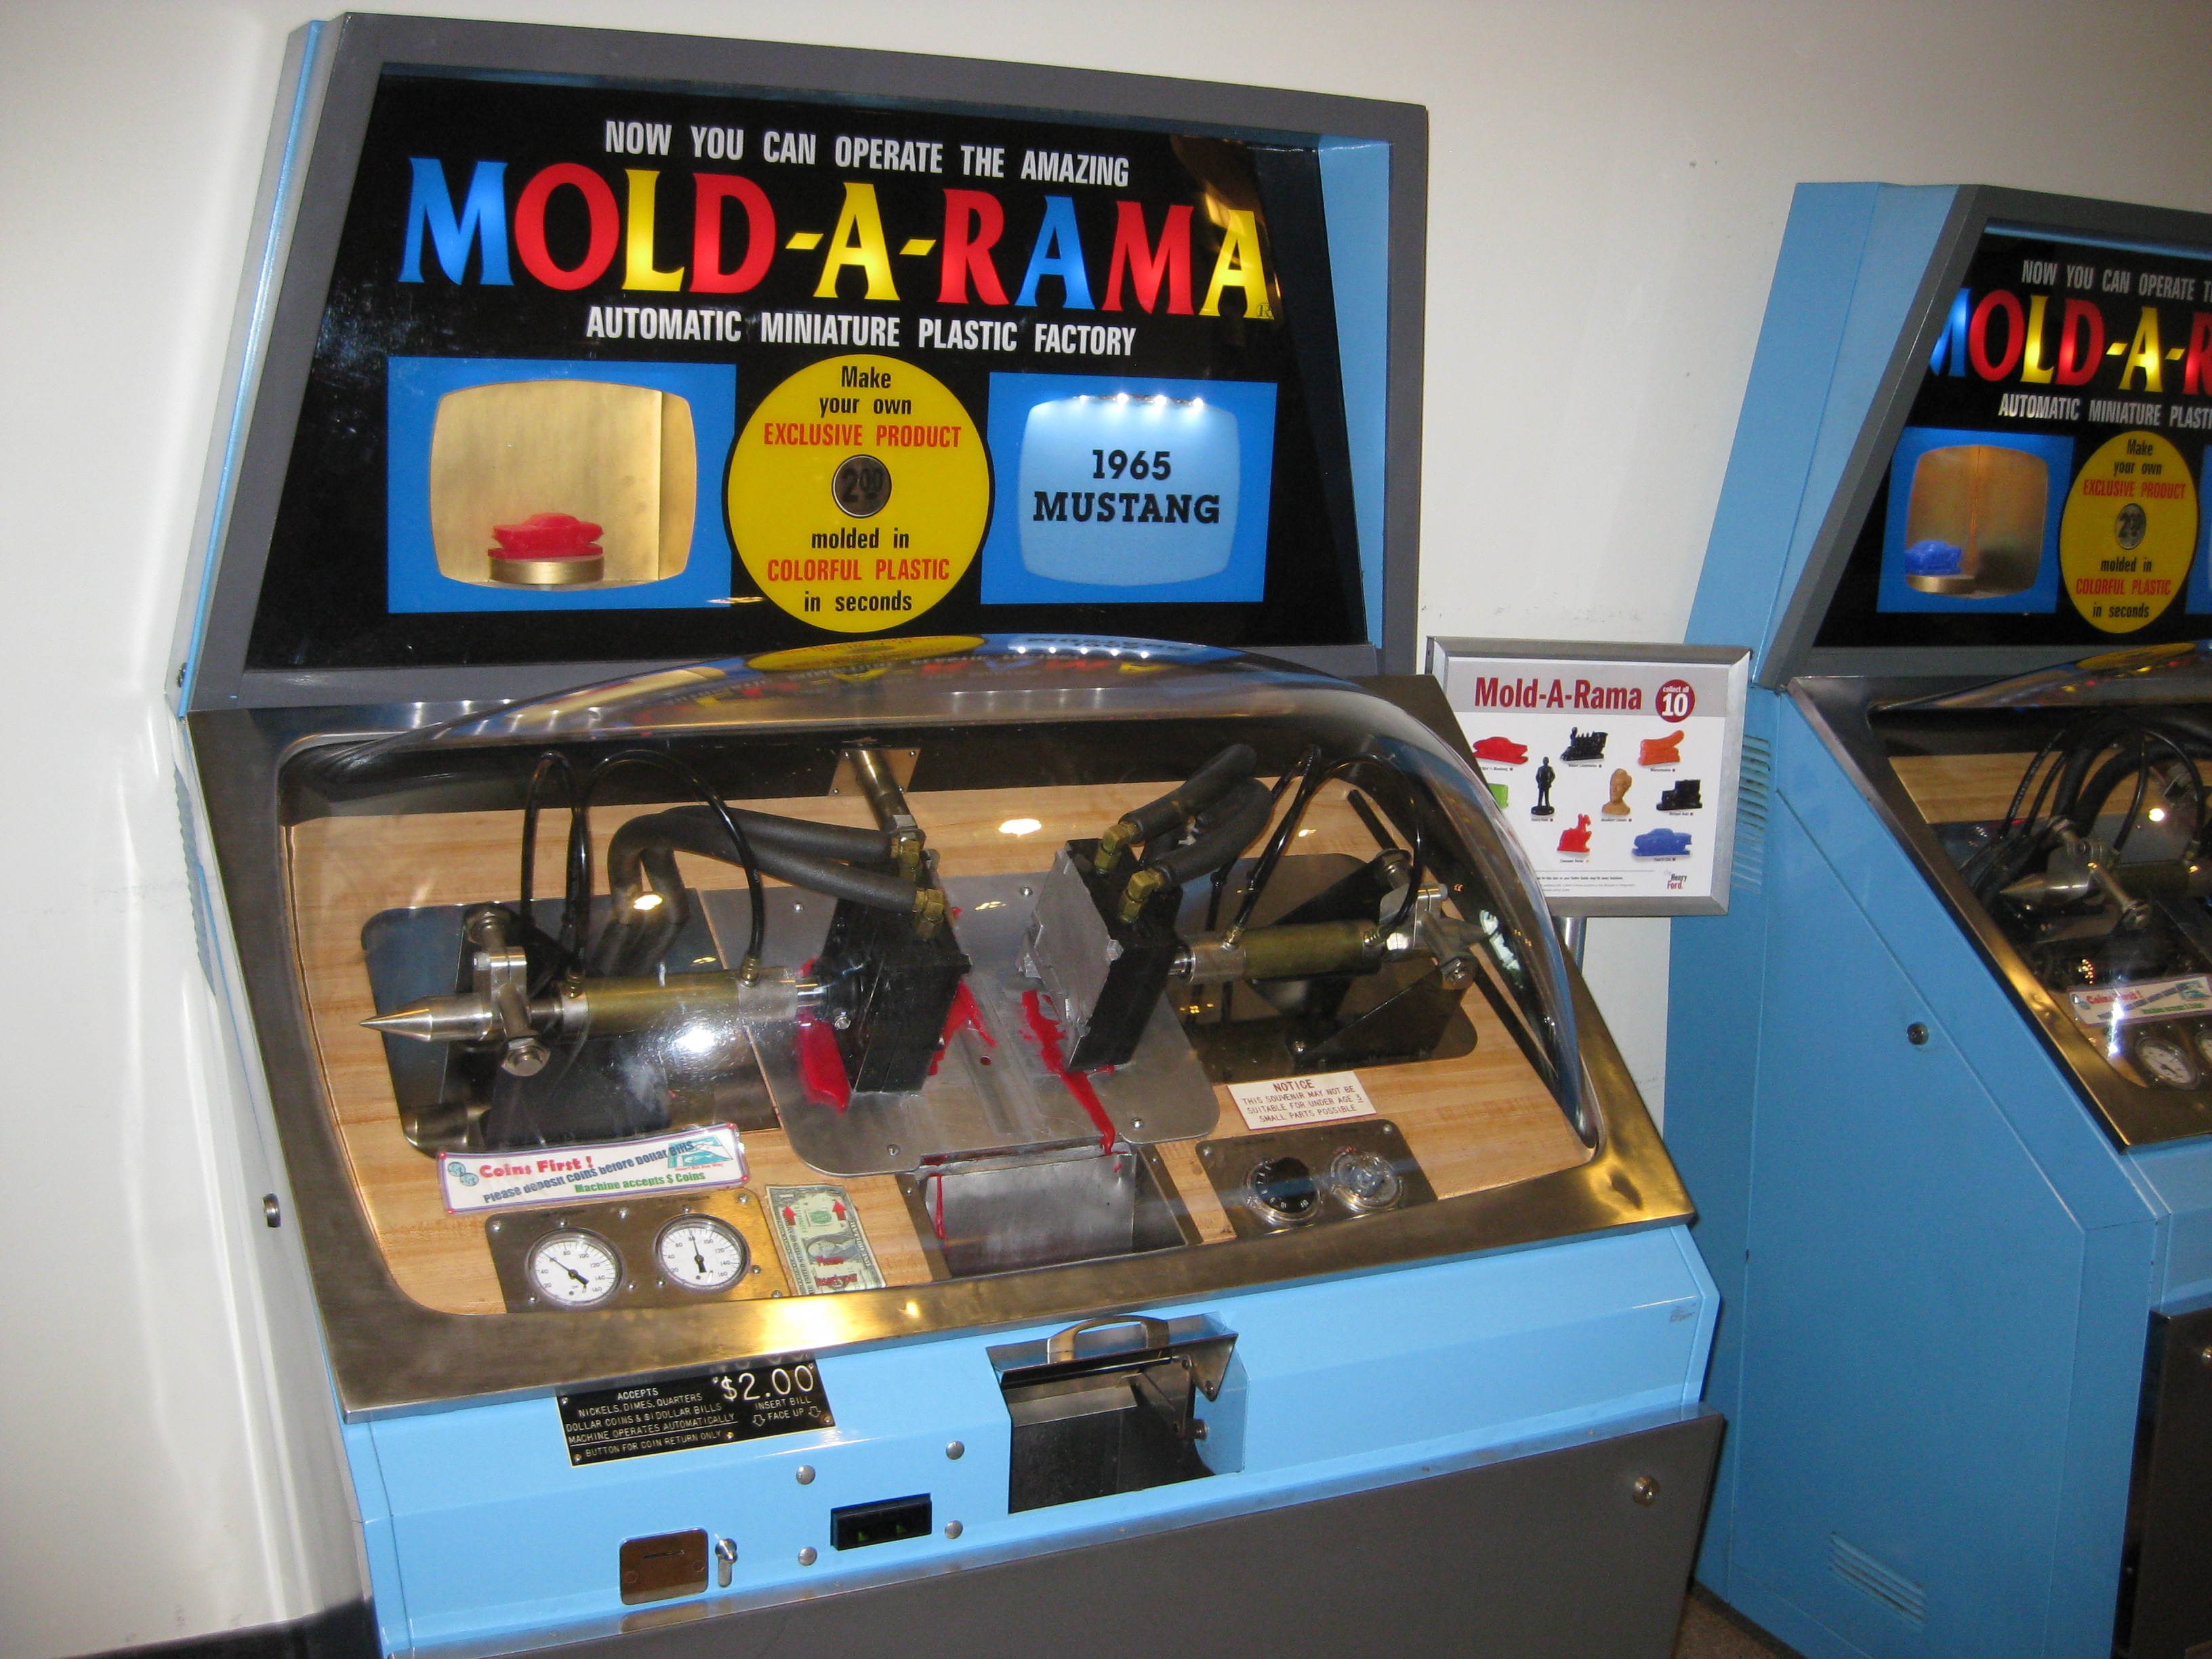
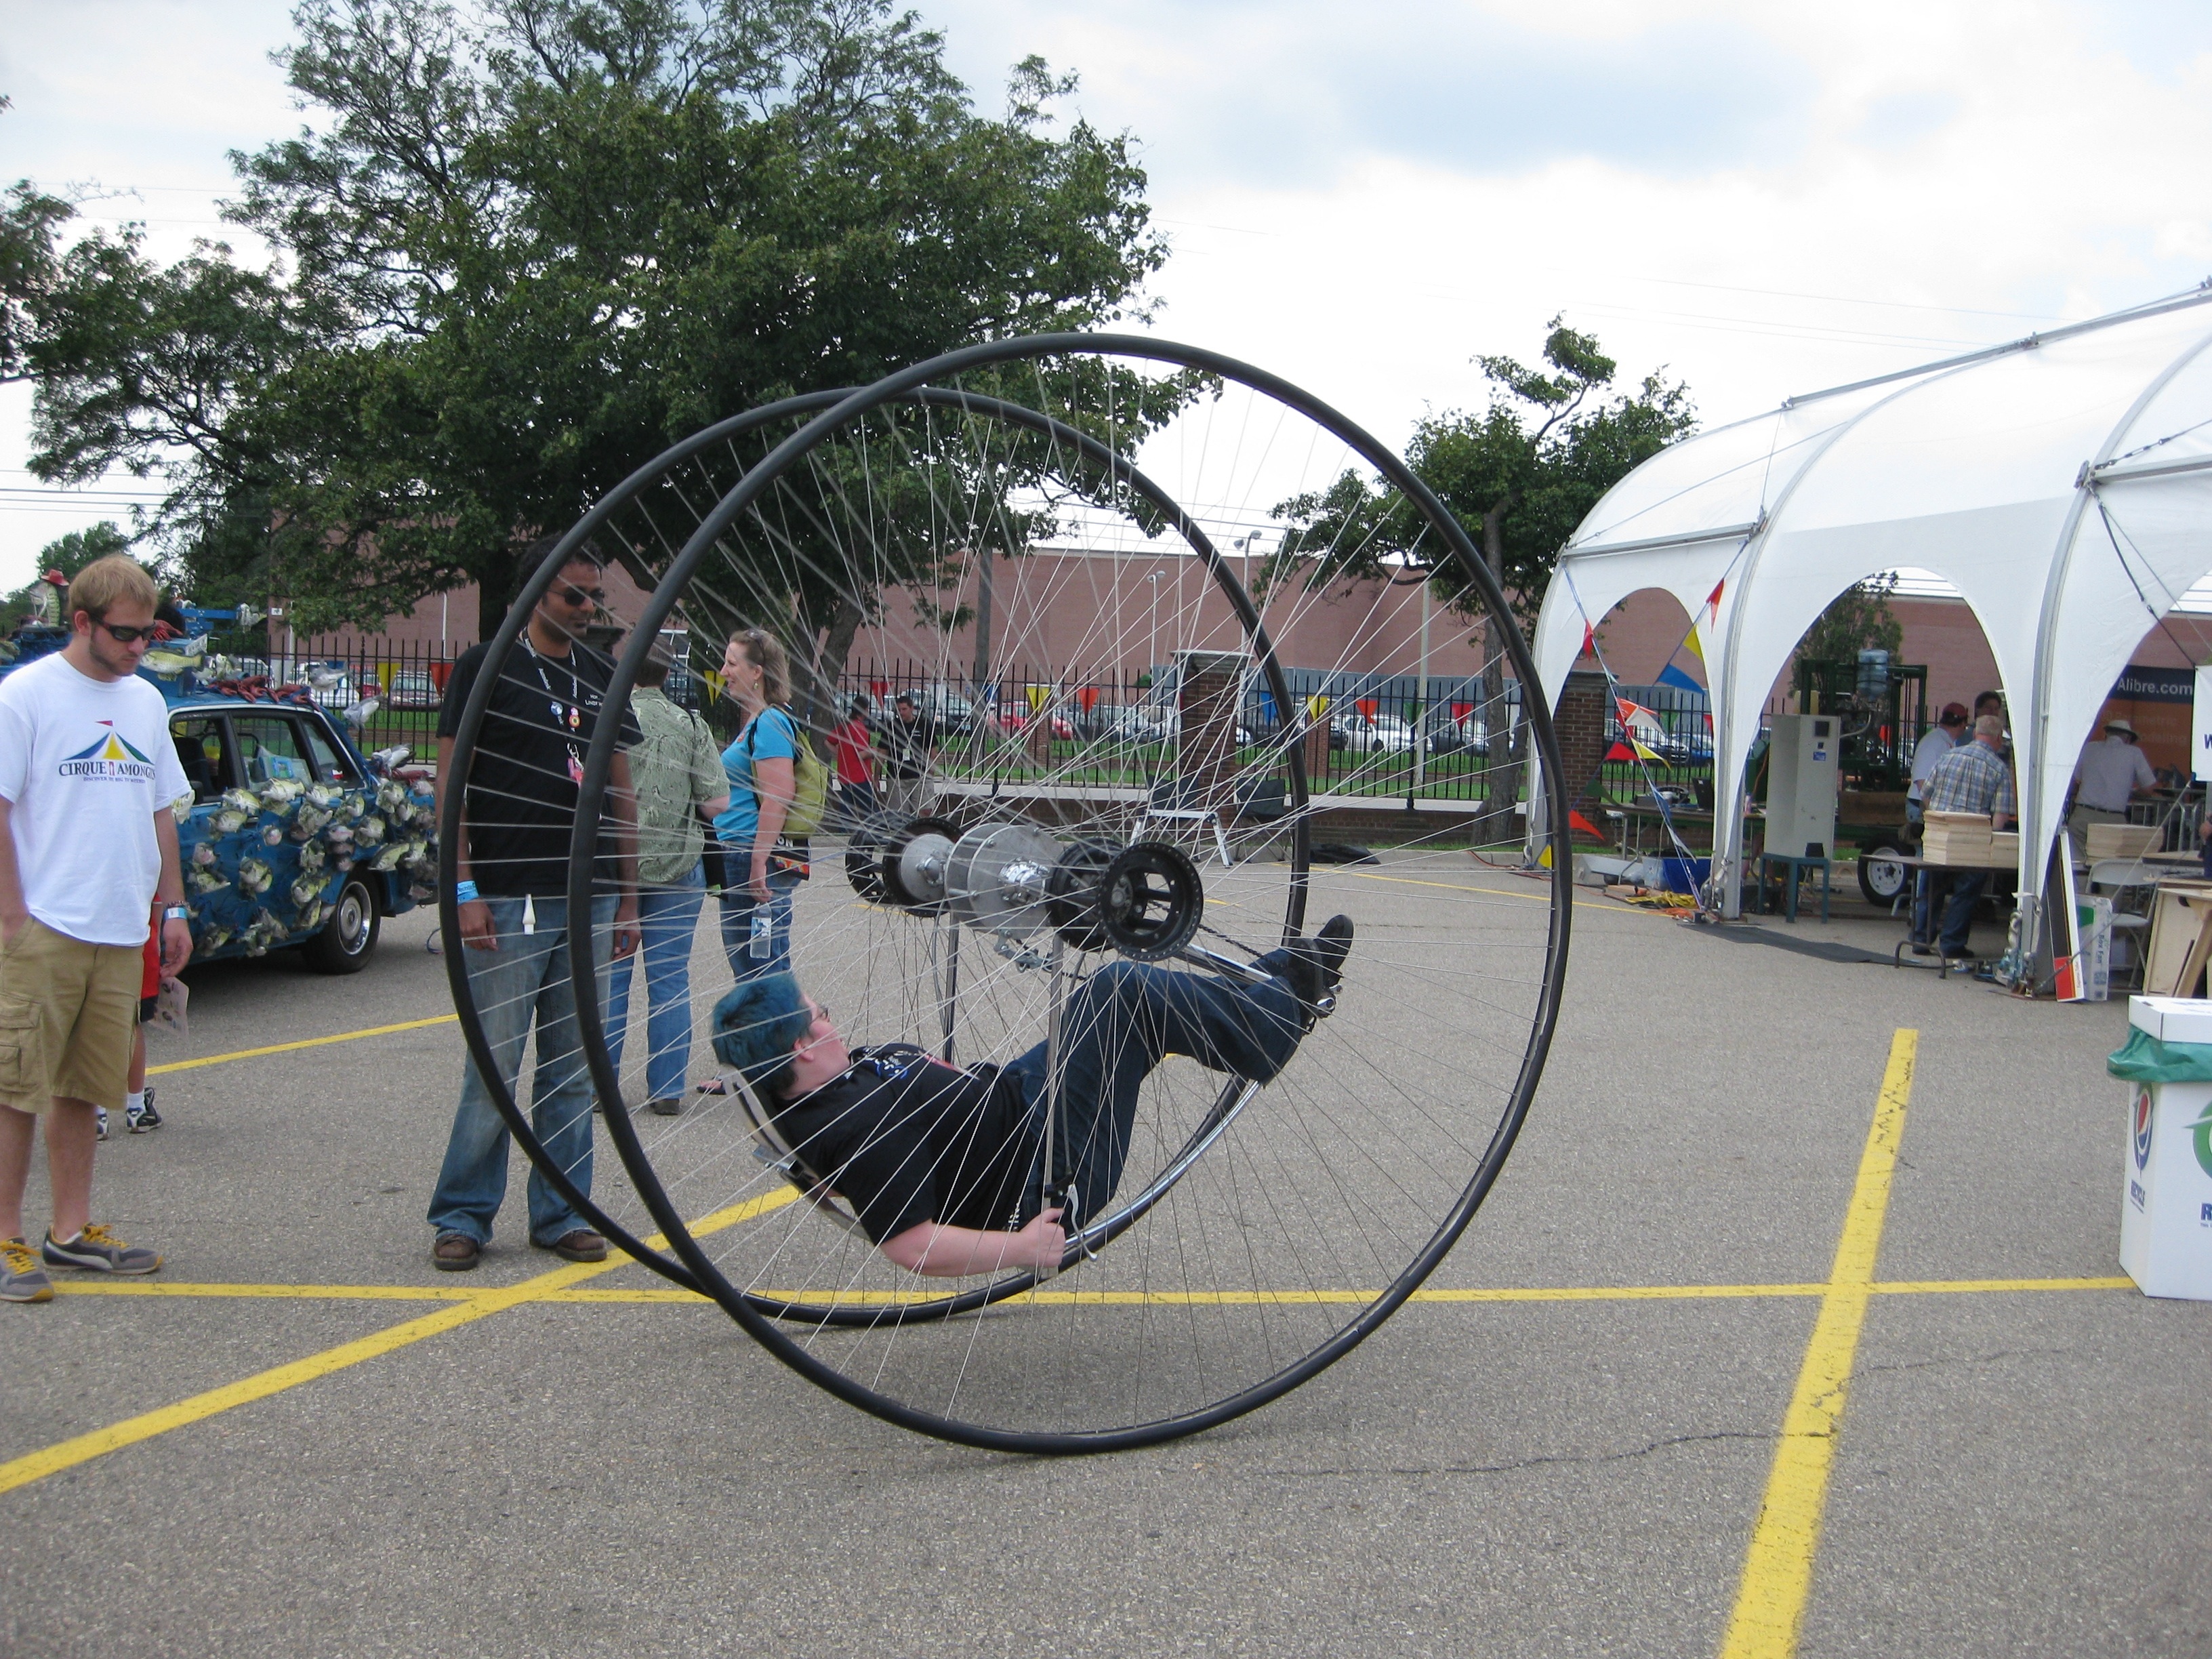
Maker Faire Detroit was a blast! It was held at The Henry Ford, which is a museum worth visiting in its own right. It is an amazing place we didn’t get to see nearly enough of and would love to go back and visit again.

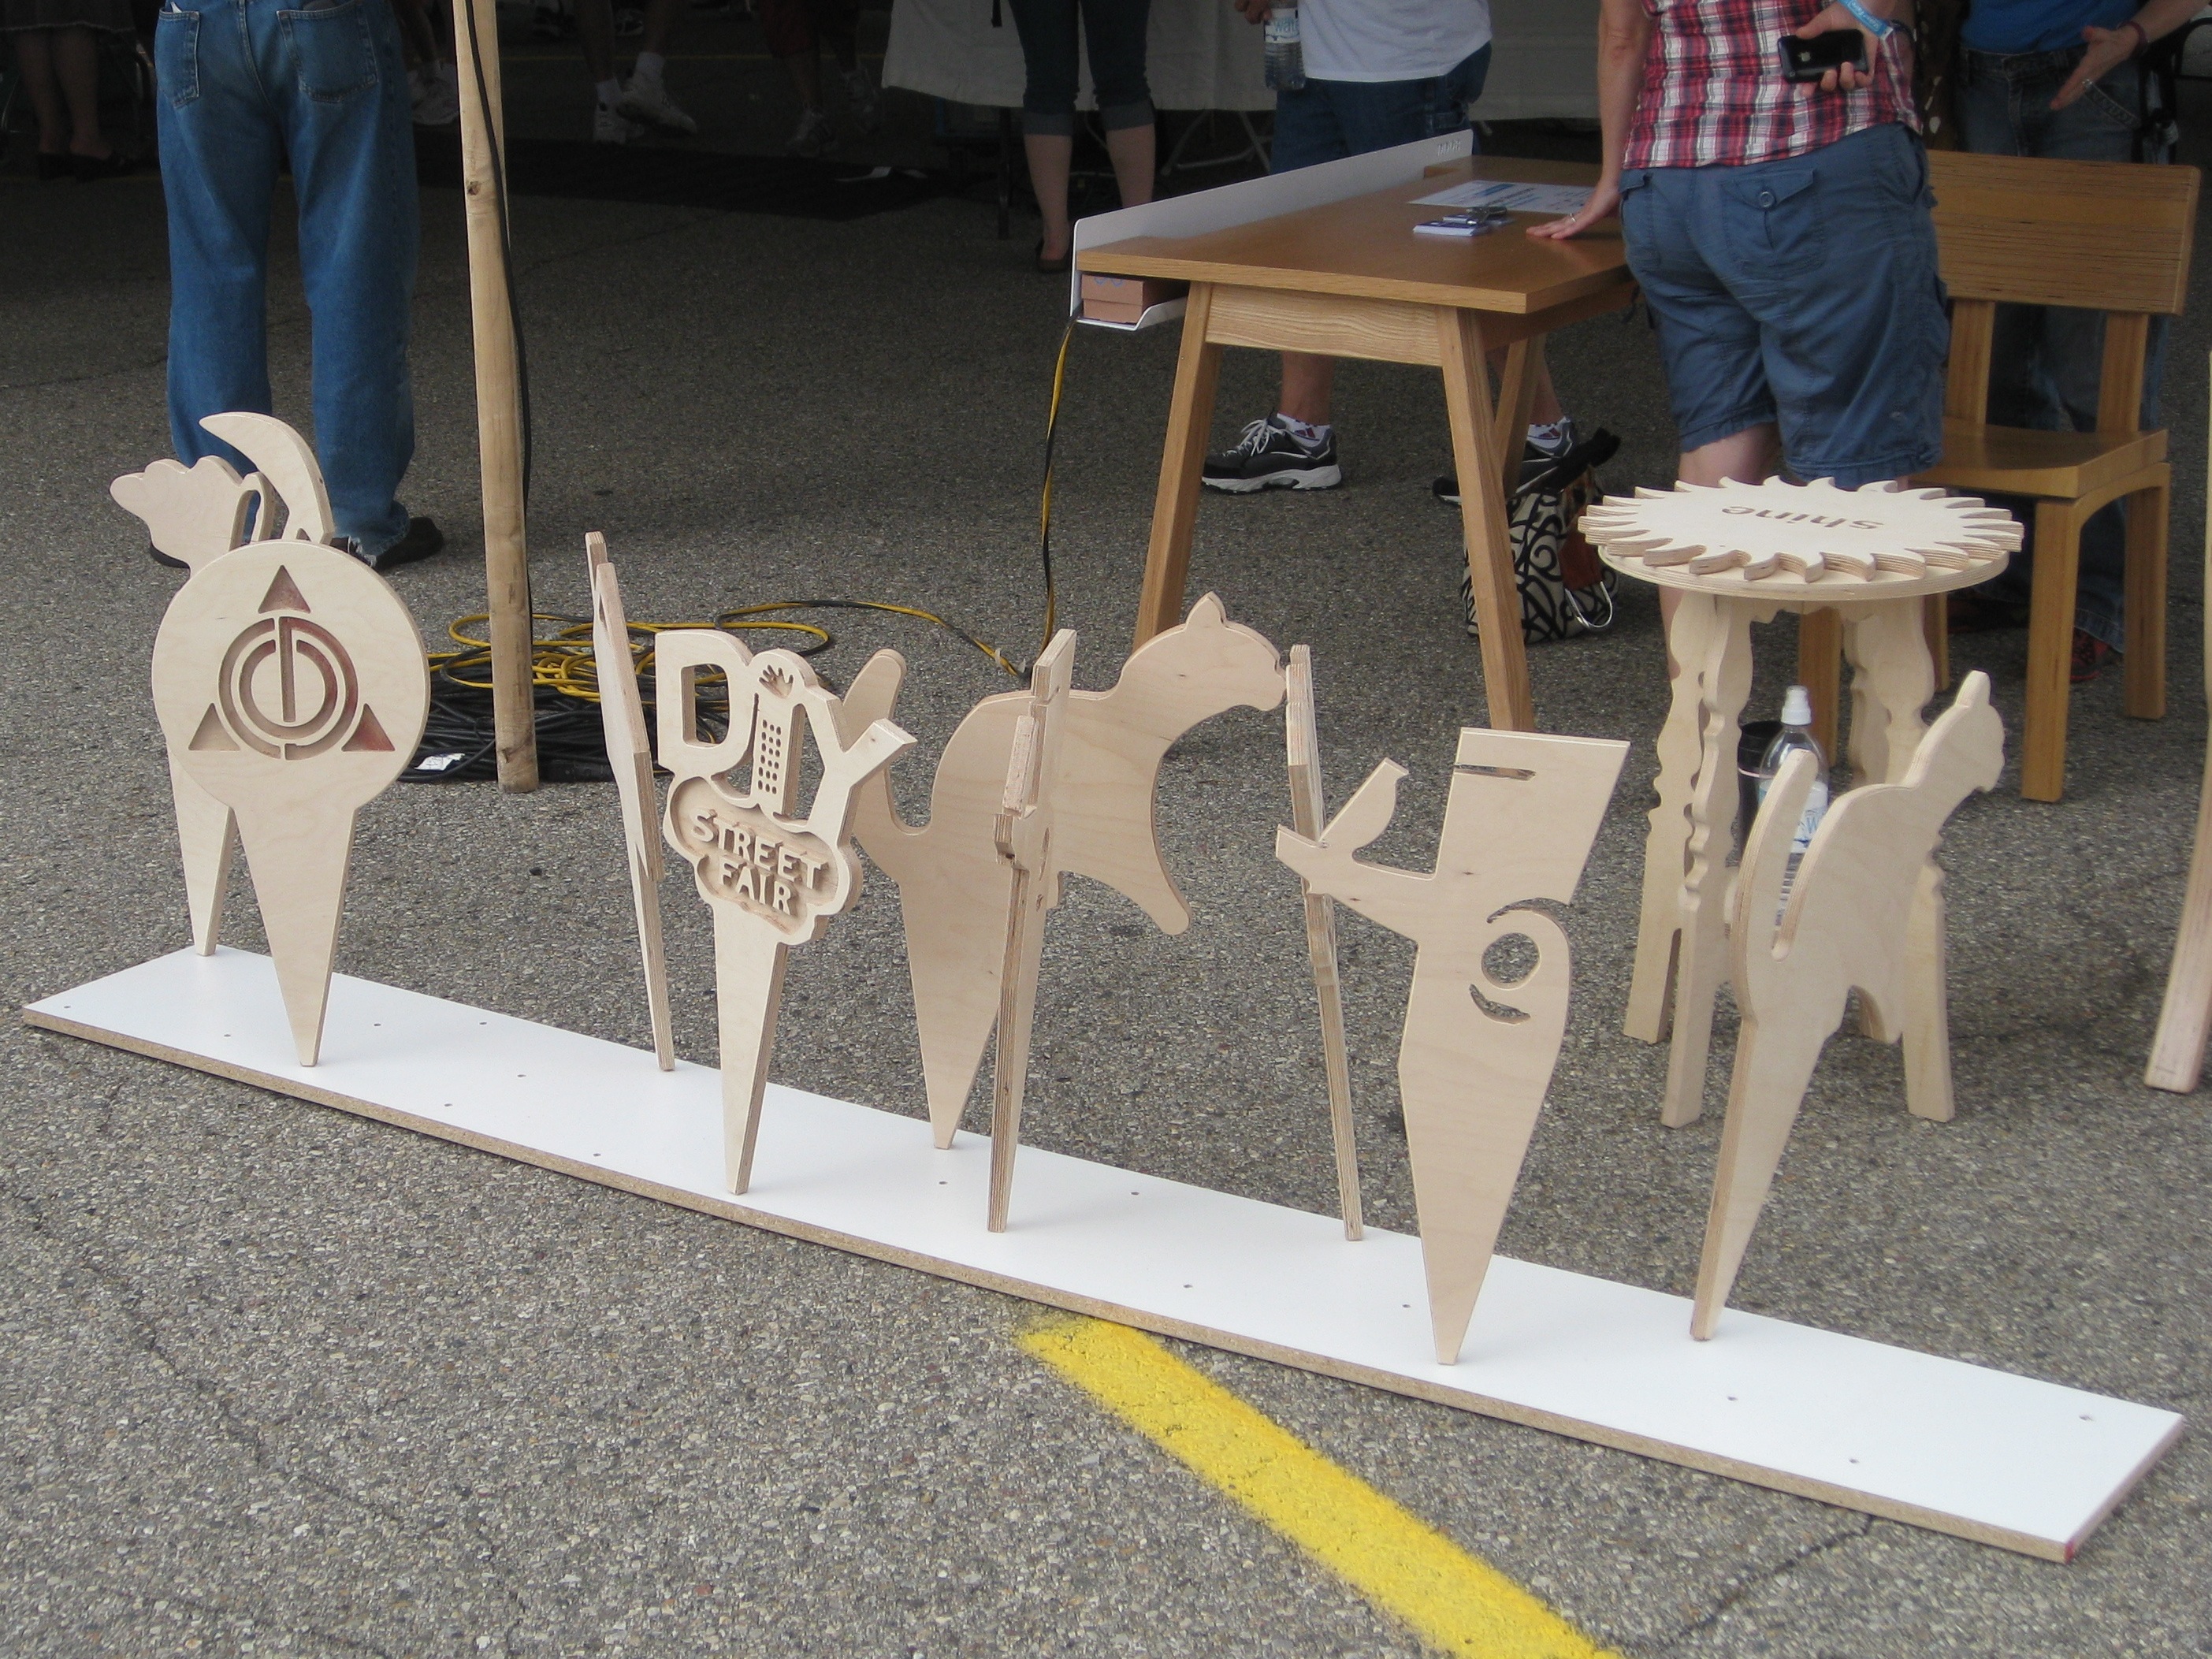
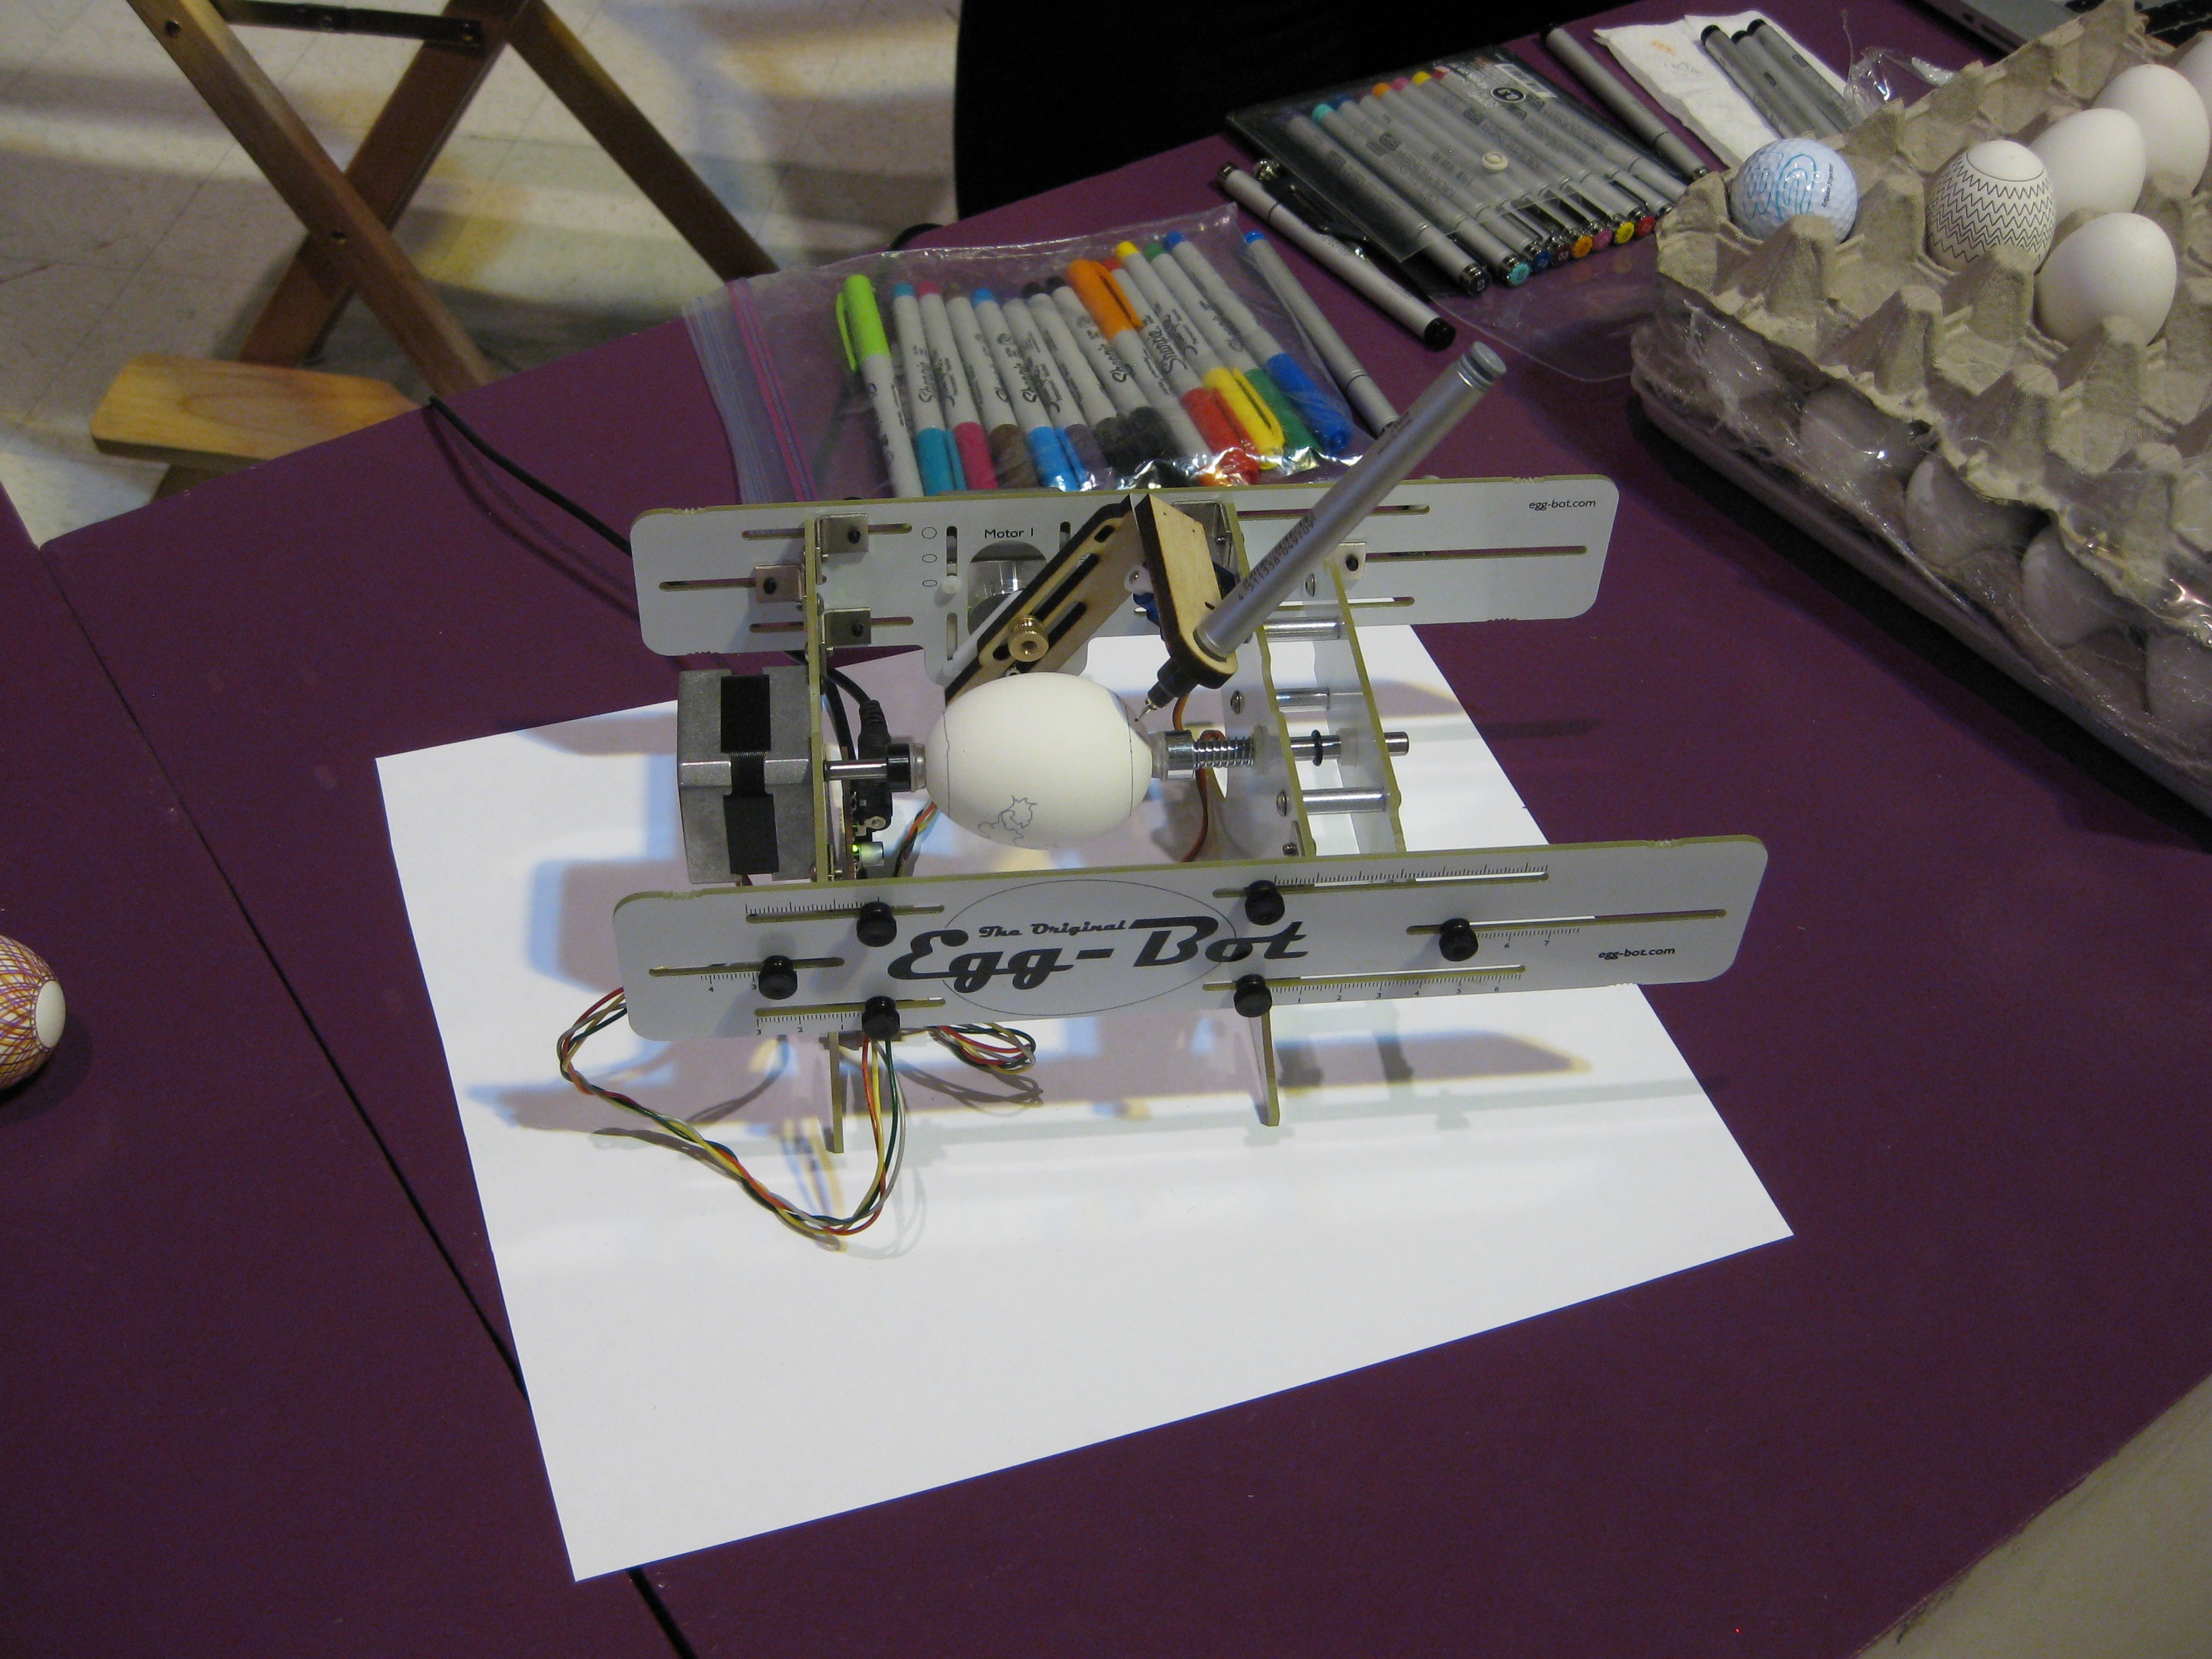
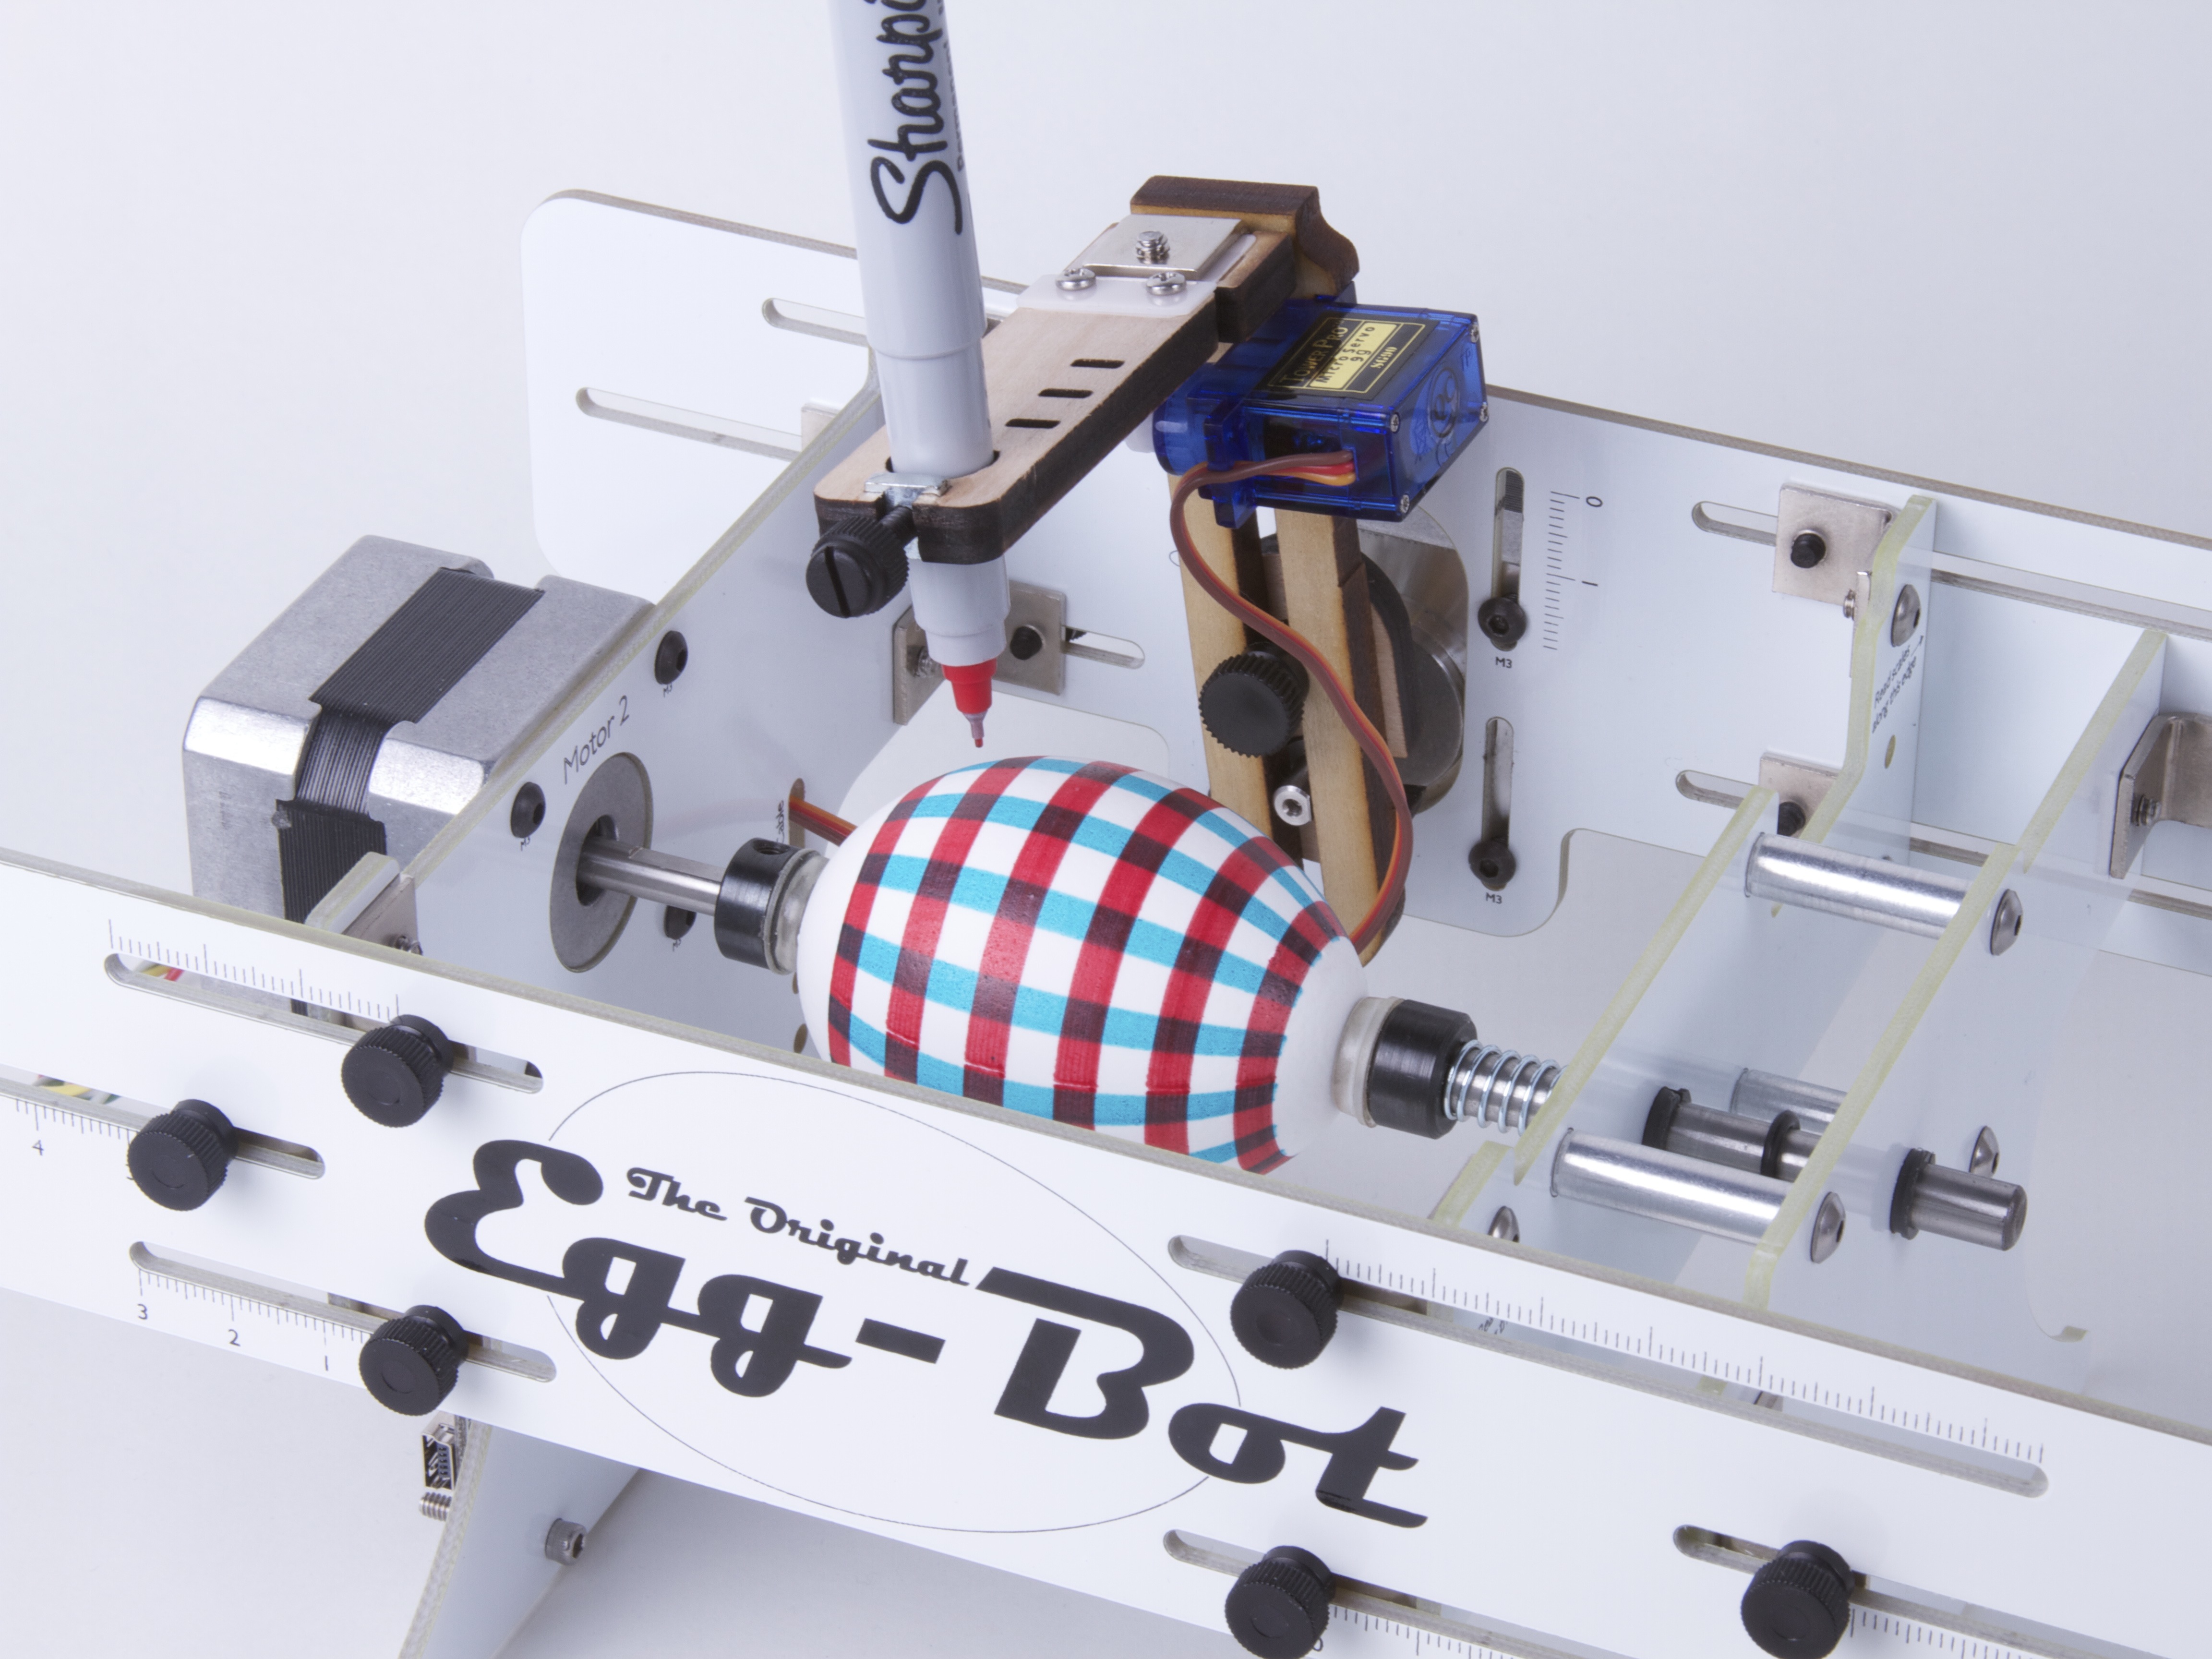
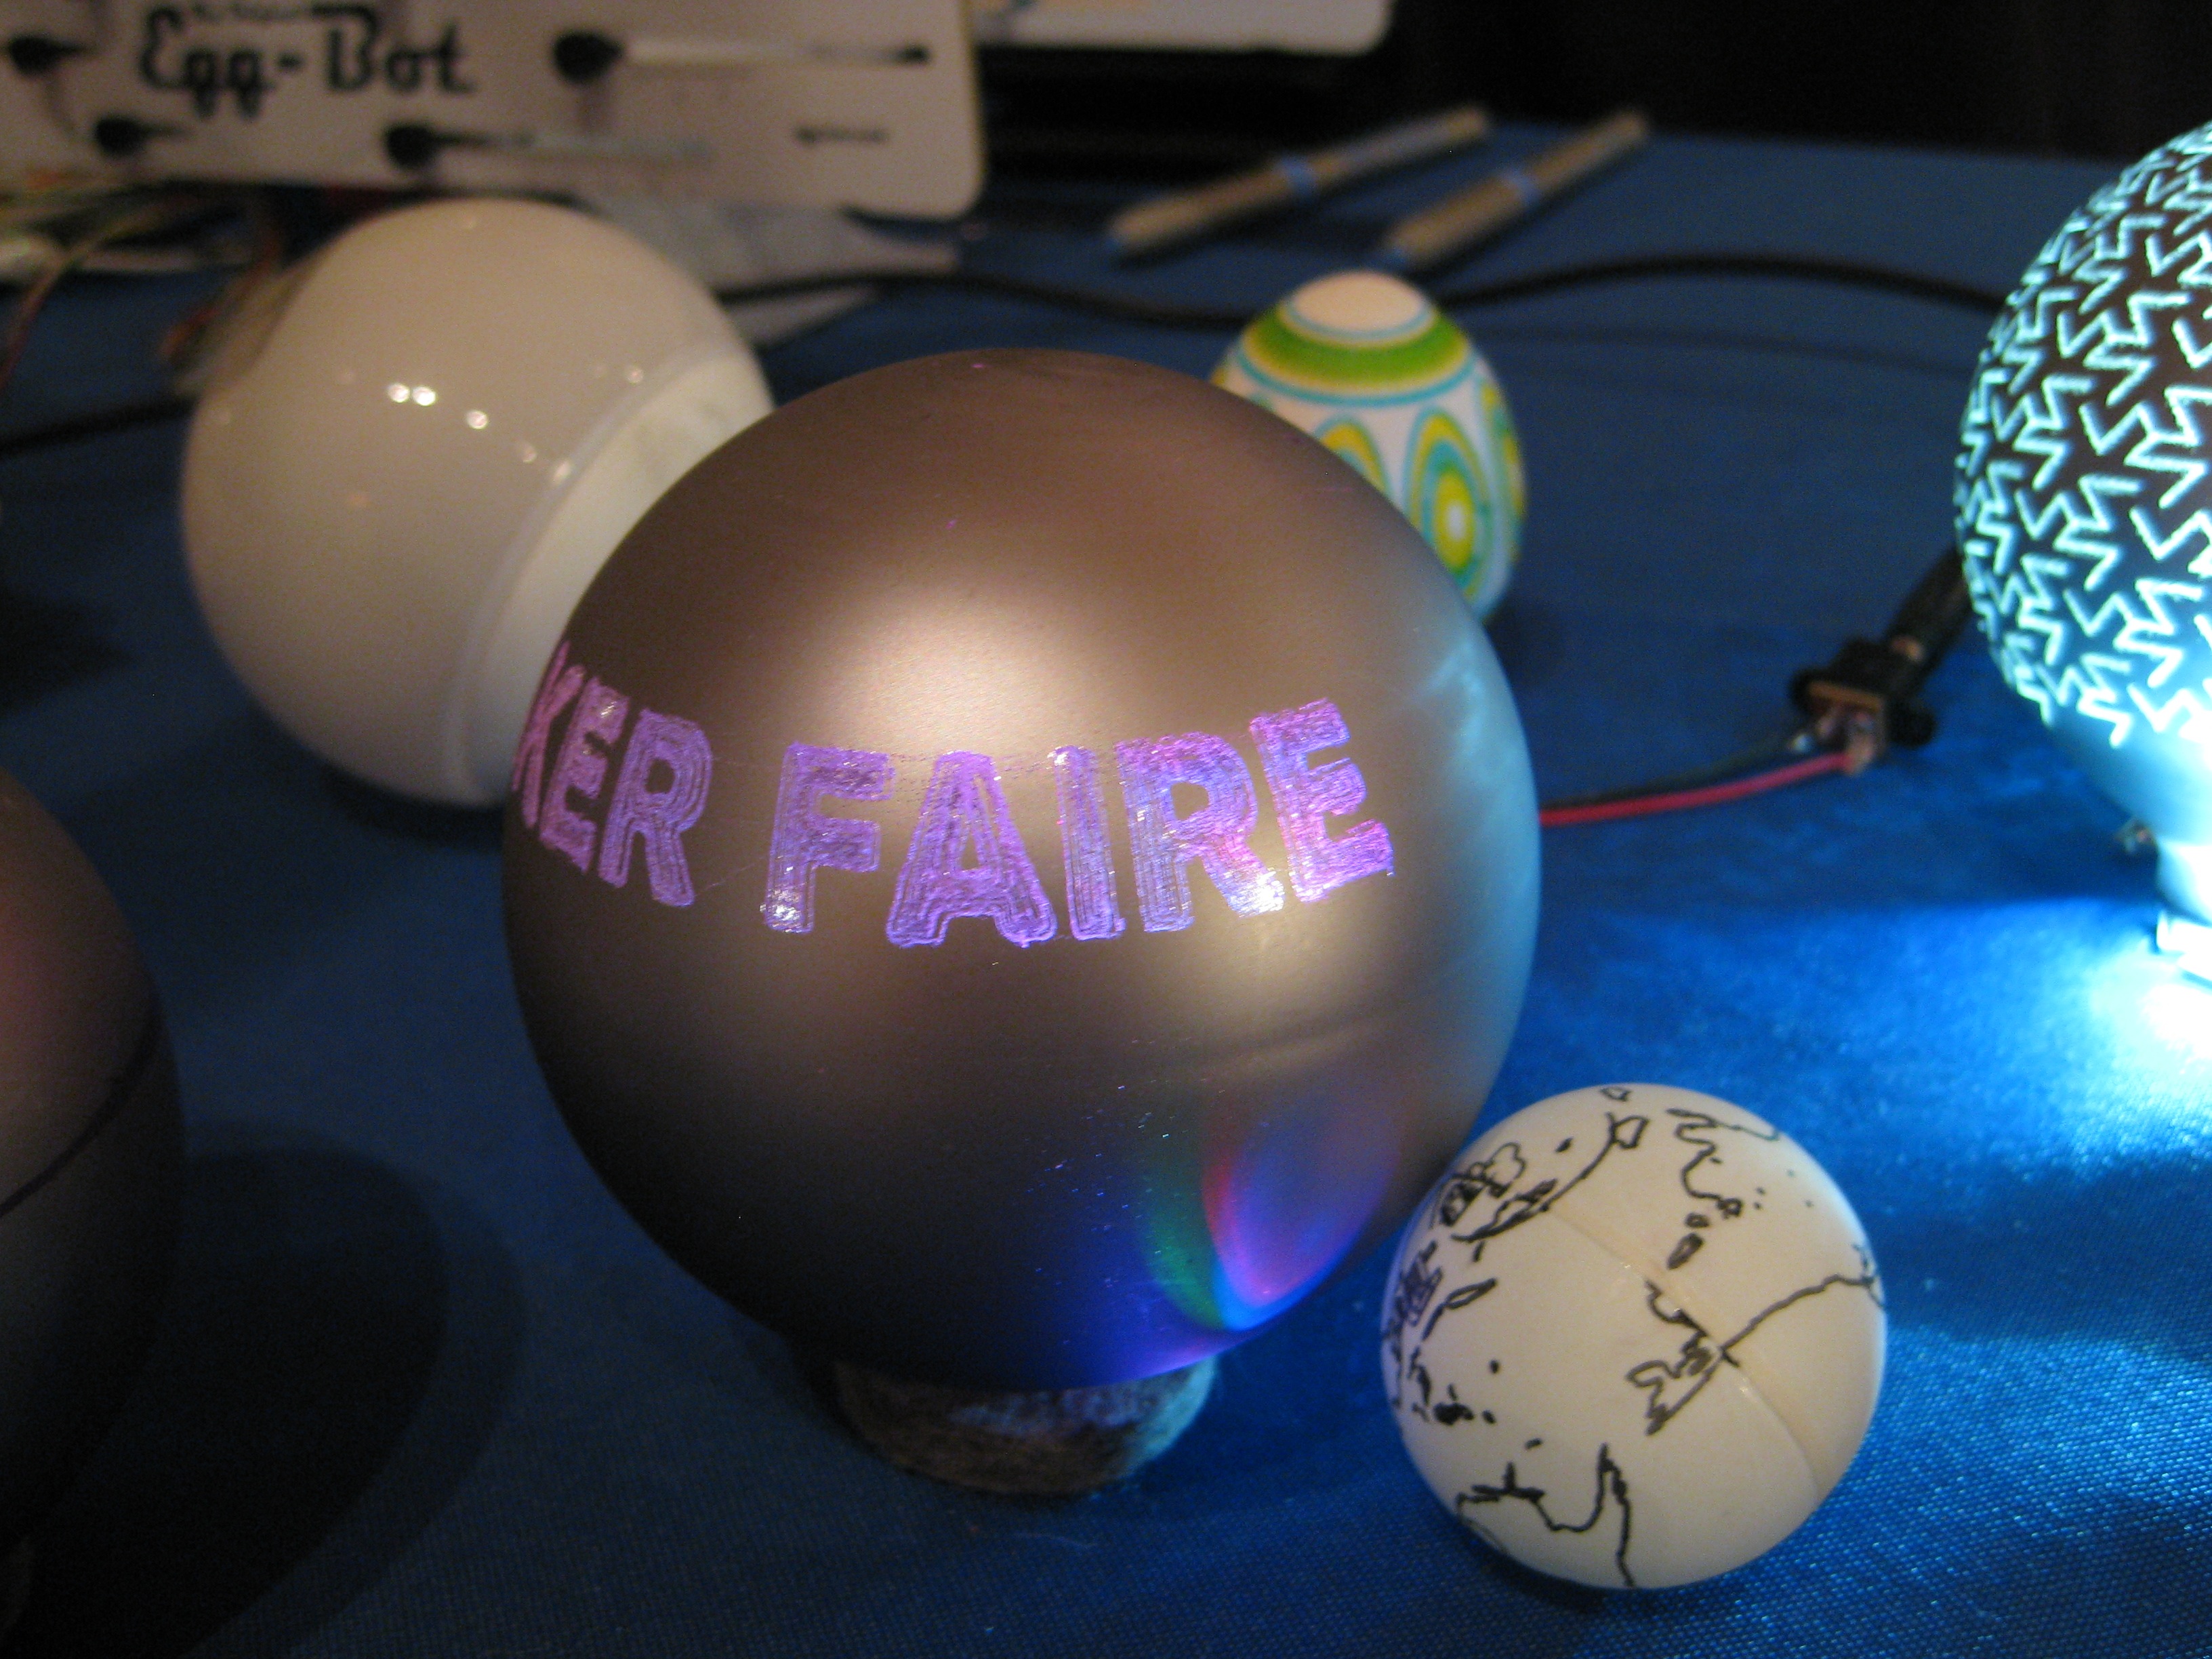
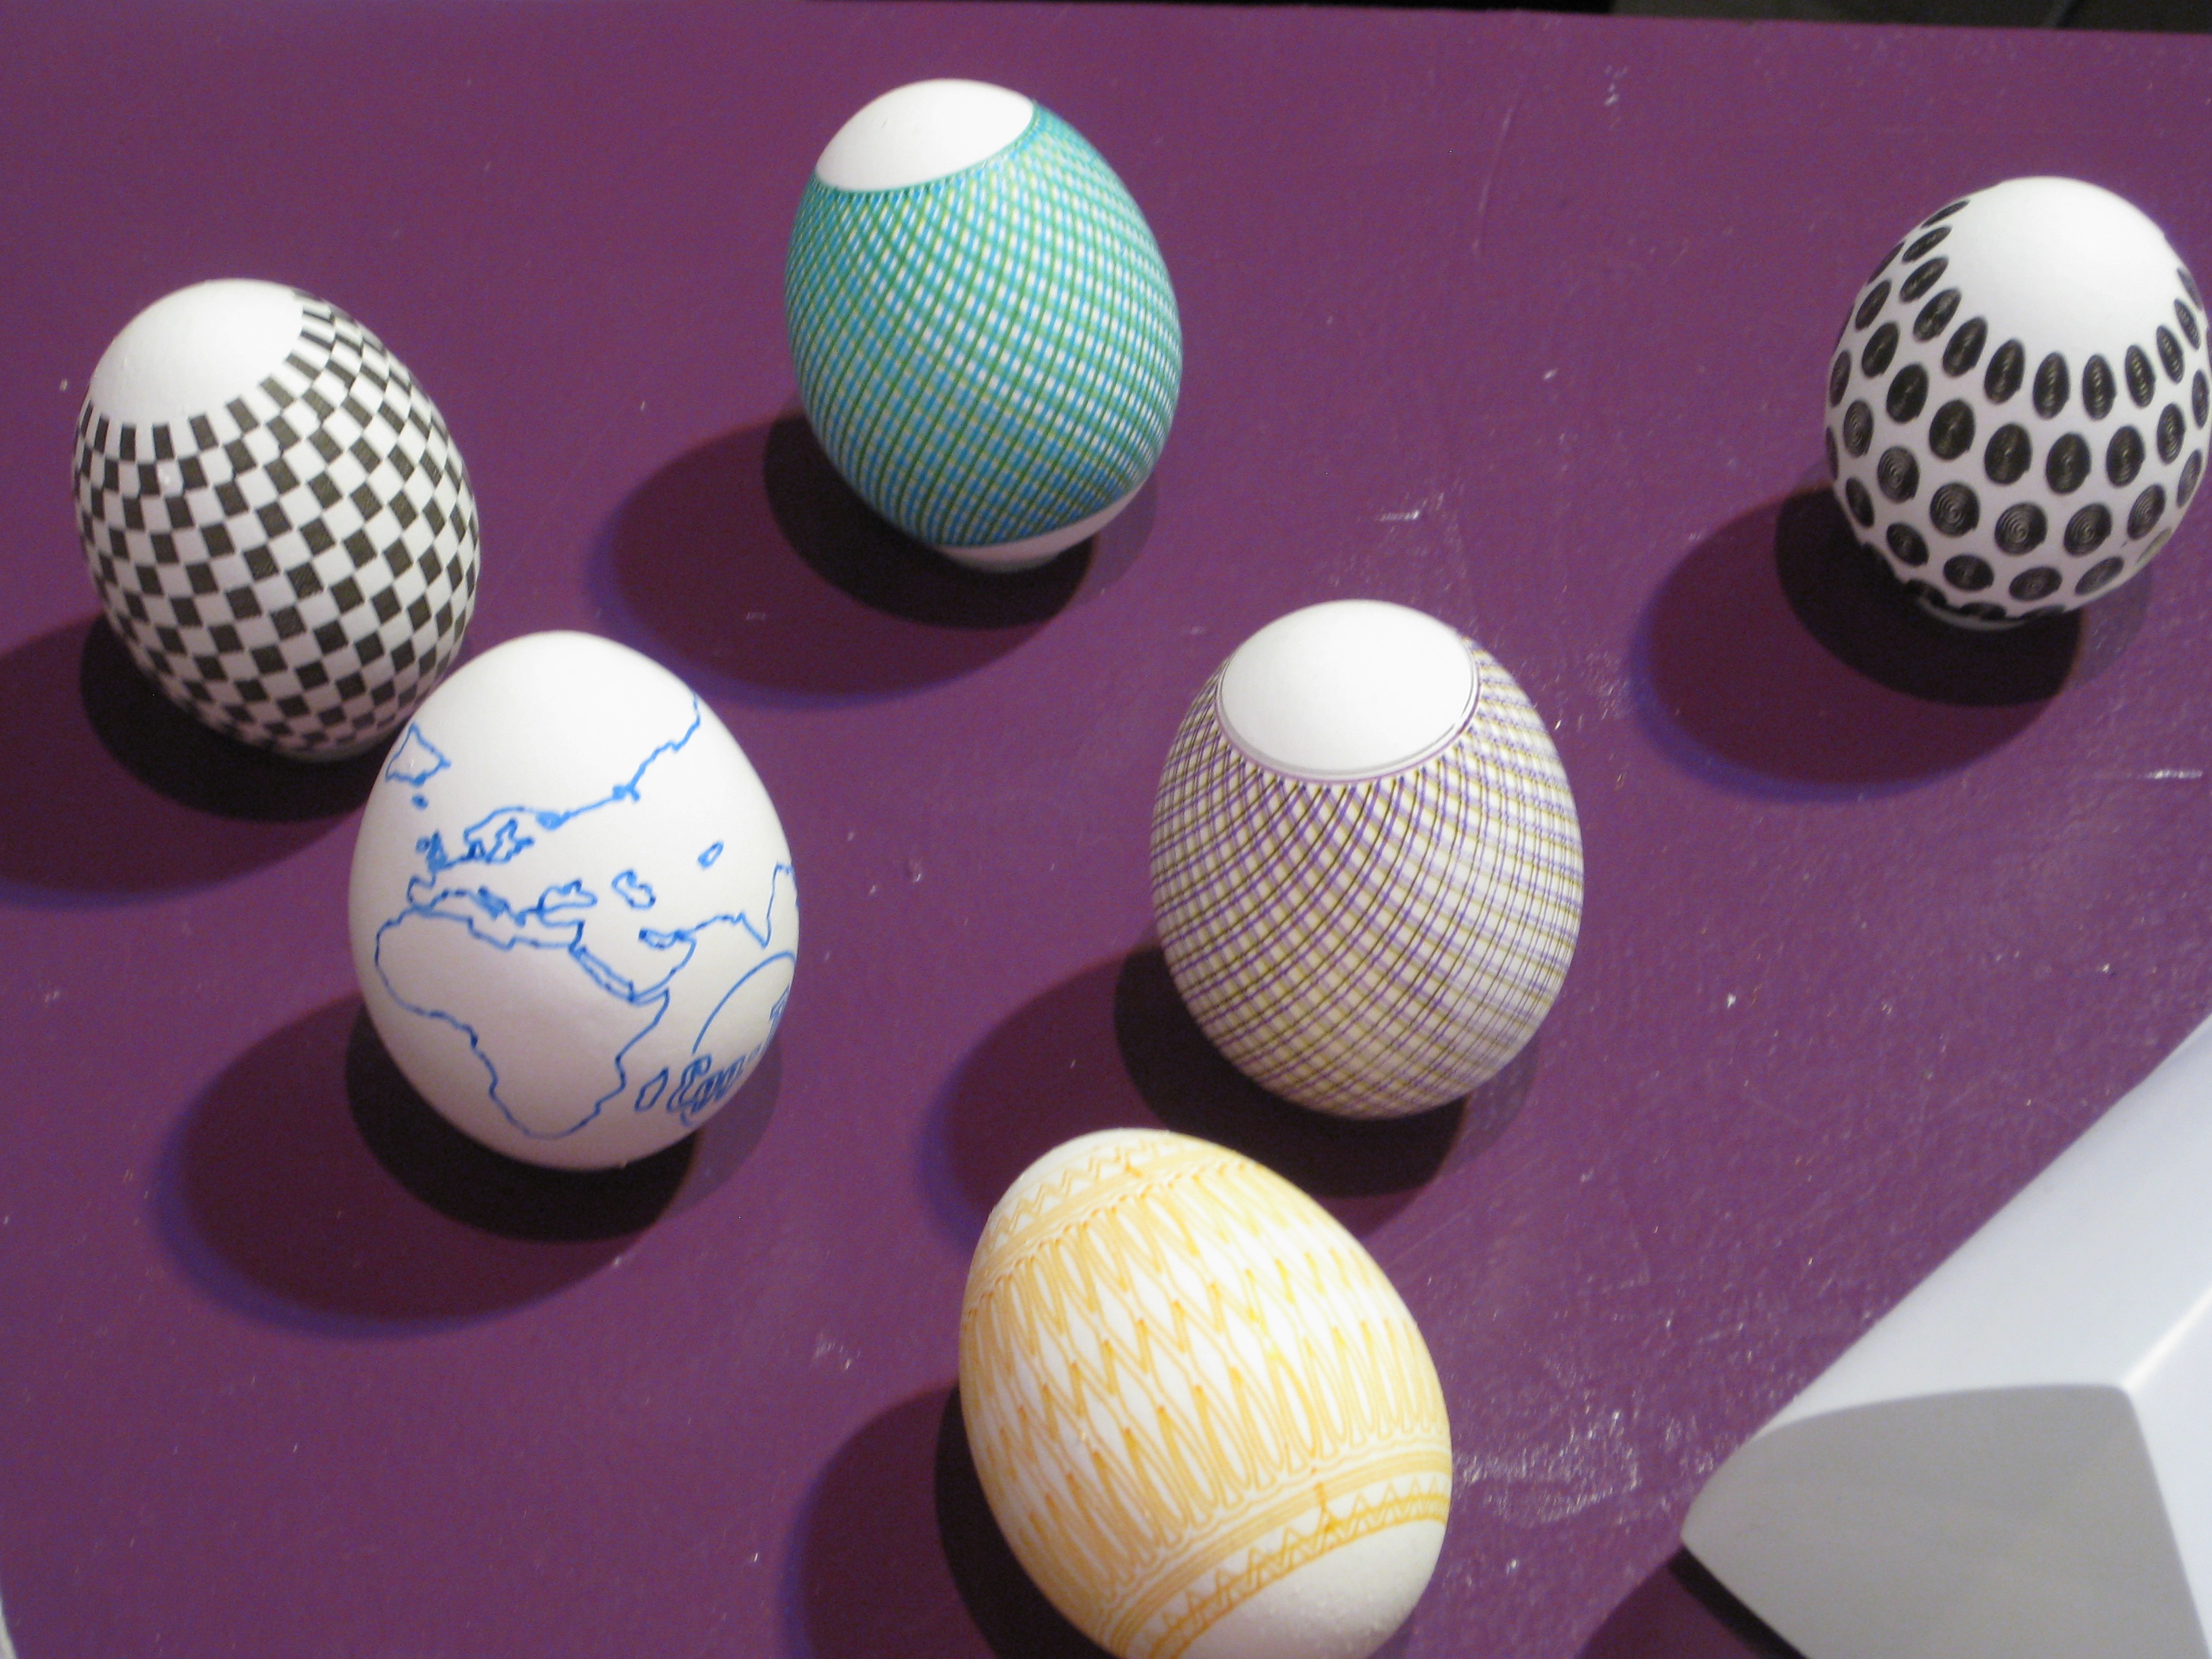
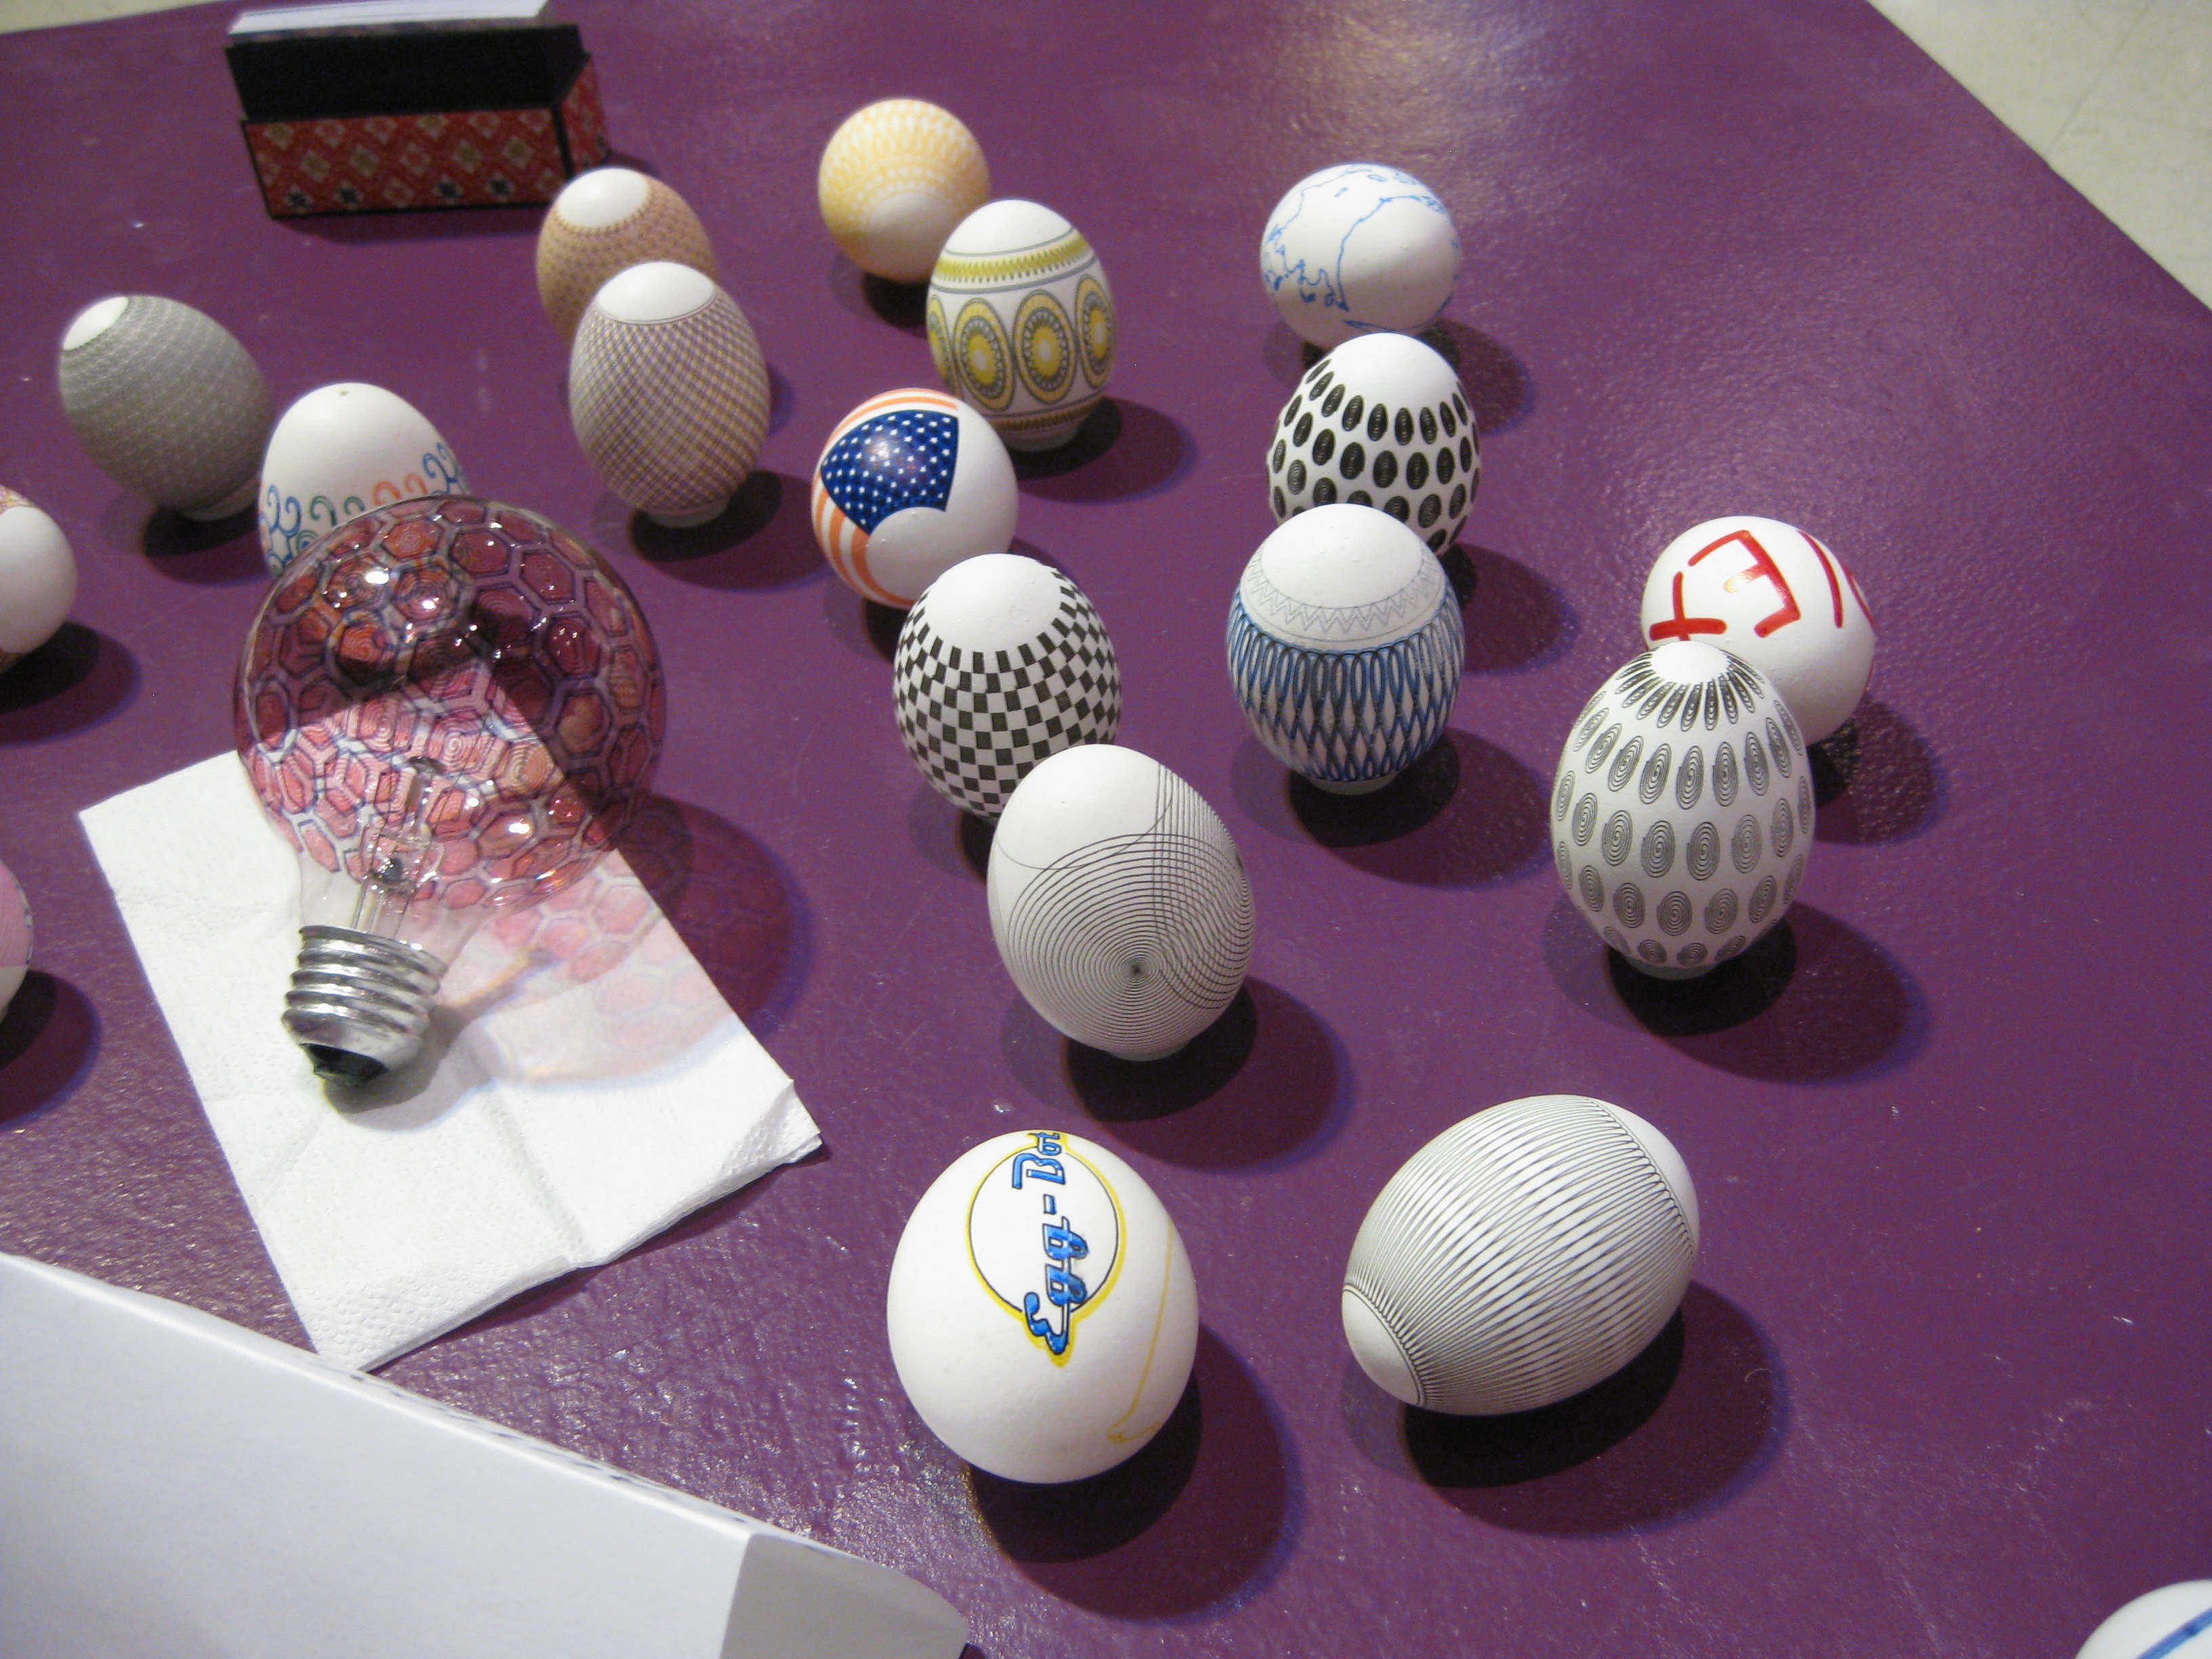
This week we’re getting ready for our big trip to Maker Faire Detroit 2010, where we’ll be demonstrating the Egg-Bot, our forthcoming spherical-coordinate drawing robot, which we’re gearing up to release later this summer.
Our last Egg-Bot outing was to the California state fair a couple of weeks ago, where we had a blast showing off our machine, drawing on light bulbs and (yes) eggs:


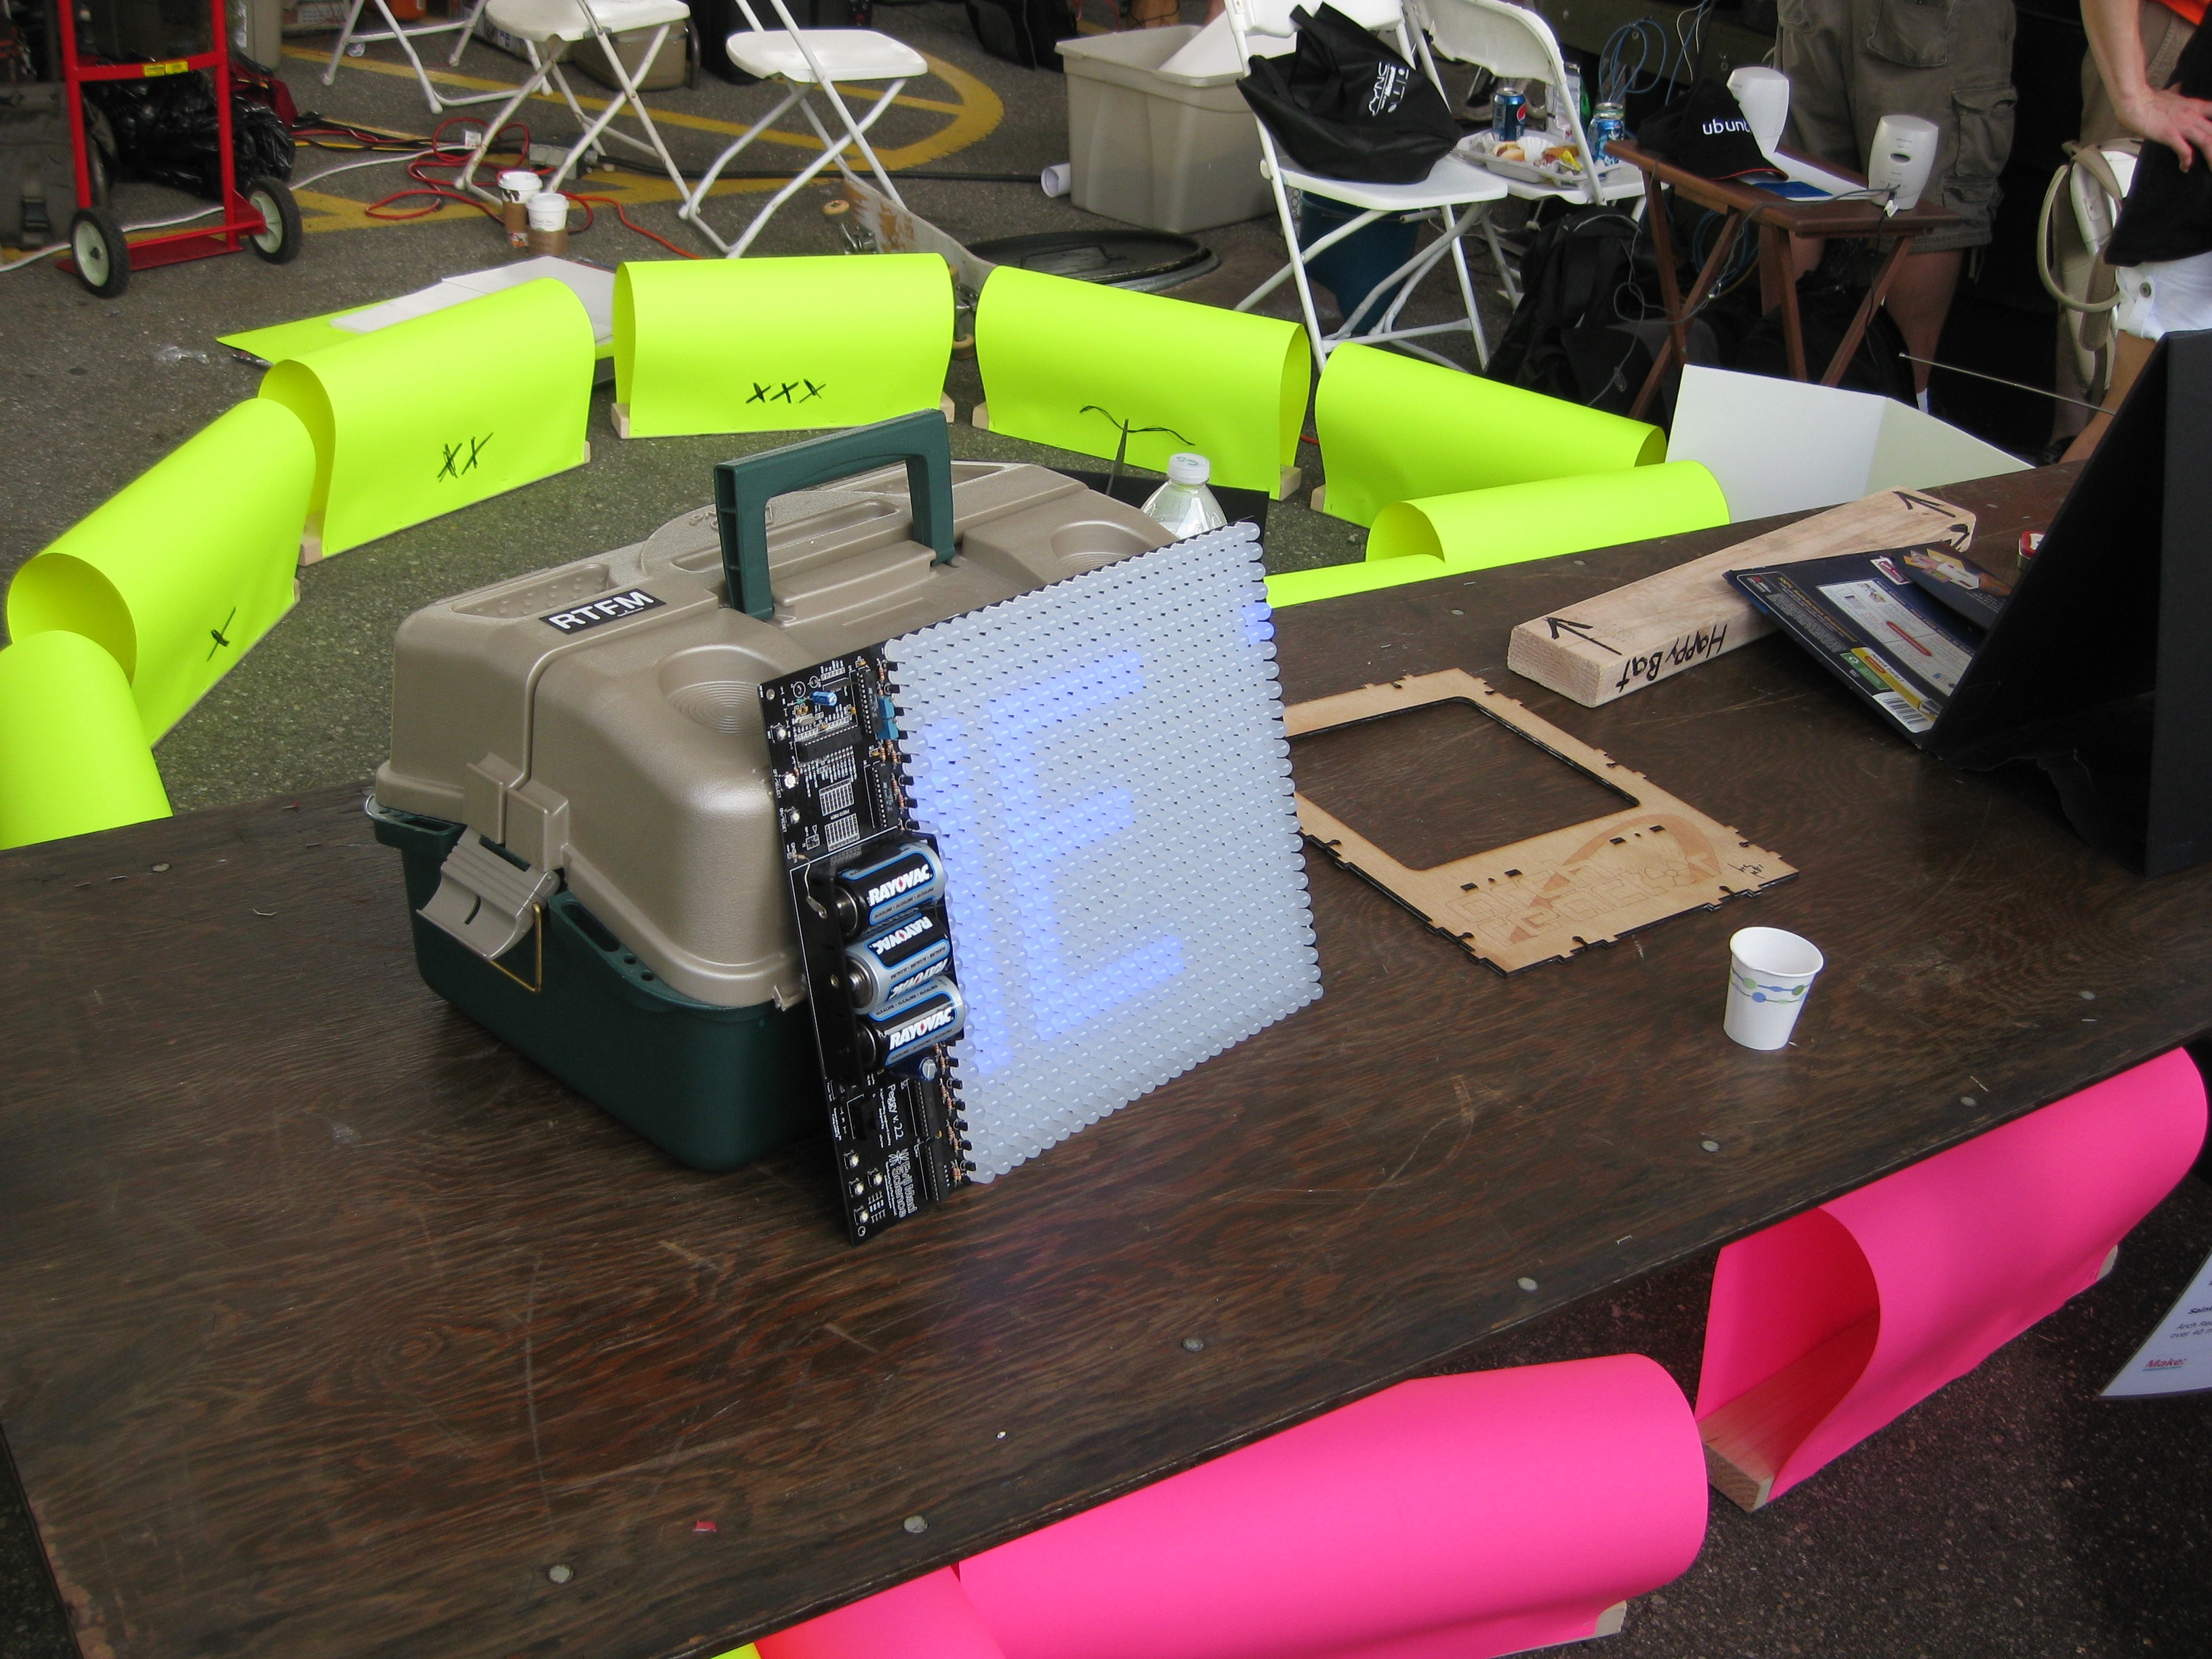
What else is going on at Maker Faire? Well, lots— it’s hard to know where to begin –but for one thing Wes and Don told us about their cool project– a low-resolution 3D volumetric display based on a Peggy 2LE, rotated on a big box fan.
Embedded youtube video follows:
For those of you who can make it to the Henry Ford this weekend, we’ll certainly hope to see you there. (And further off and further away, we’re planning to be at Maker Faire NY in September.)