Category Archives: EMSL Projects

A History of the Sky

A history of the sky

Ken Murphy’s A History of the Sky is a fantastic art project recording, collecting, and displaying time-lapse movies of the San Francisco sky.

The movies are displayed side-by-side in high definition– one little video for each day –and synchronized to show the same time of day in each movie. It’s simply stunning to see the progression in the length of the days as the seasons change.


Here is Ken’s video introducing the project, still very much a work in progress:

(Direct YouTube Link)


The technical aspects of this project are nothing to sneeze at either, involving weatherproofing a digital camera, tiny and large linux computers, design for high reliability, video processing, and big data sets. Ken’s site has the details. It’s an excellent set of hacks in service of an beautiful project; we look forward to seeing it complete.

Love this project as much as we do? You can help support it through Kickstarter.

Say hello to xmega

xmega - 2

We’ve been big fans of AVR microcontrollers for a few years now. If you look around our site a bit, you might find quite a few AVR projects. And our little friends the ATtiny2313 and the ATmega328P have become our go-to chips for many different purposes.

And, while none of that is changing, something that just seems better has come along. Or rather, a better AVR has come along.

Continue reading Say hello to xmega

Basics: Finding pin 1

pin numbers - 03

You’ve got your components, and your datasheet, and you’re read to start hacking. But which way does the chip go? Pin 23 is where? If you’re lucky, the orientation is clearly marked, or perhaps diagrammed in the datasheet. But if it isn’t, or if you’re simply new at this, it’s helpful to know what to look for. Continue reading Basics: Finding pin 1

Mailbag: Moving from breadboard to protoboard

breadboard - 1


Ryan writes in,

“I have a question about moving a project off a bread board and onto a project or perf board. Basically what is the best way to do without a lot of rework? This will be my first time doing this and I was just wondering if there were any best practices so that the final product looks clean and organized and I don’t have mountains of solder on the back side.”


And it’s a good question.
Continue reading Mailbag: Moving from breadboard to protoboard

A scarf to aid your search for terrestrial intelligence

arecibo 2


The Arecibo Message, one of the most famous messages transmitted as part of SETI, loosely translated, says: “Hi! We’re intelligent! We’re made of meat! Here’s where we live!”

Binary designs like the Arecibo message are popular with knitters and cross-stitchers since they can be pixelated easily. We found a pair of fingerless gloves, based on a muffler pattern. We think this type of binary pattern would be good for the message as well. It has also been made into a cross-stitched bookmark.

We implemented the embroidered pixels as columns of satin stitching in a single color. The original binary message didn’t have any of the color coding that people have added to help explain it, and it seems more elegant to keep it this way.

We machine embroidered the pattern on both ends of a piece of linen about 14″ x 76″. The linen is then sewn together on the back and at the ends, and turned right side out. The edges are stitched down to help it lie flat.


arecibo 1


The embroidery design is about 3.5″ x 11.5″. We’re providing a couple of different embroidery formats for those with access to machines as well as a .pdf for cross stitch, hand embroidery, laser engraving, or whatever else you can think to do with it.

  • .DST embroidery file (36 kB)
  • .PES embroidery file (75 kB)
  • .pdf file (4 kB)

If you are inspired by the message or use one of the patterns, we’d love to see the results in the flickr auxiliary.

Drink Making Unit

Drink-Making Unit!

One of the many kinds of machines that we have never made before is a cocktail robot. But recently, after being invited to participate in Barbot 2010, we put together this little drink mixer.

Cocktail robots are a funny breed. No two seem to work the same way and many (like ours) have few enough moving parts to barely count as robots at all. The granddaddy cocktail robotics event is Roboexotica (for which you can read about last years robots here), but we’re showing off our machine tonight and tomorrow night, much closer to home at the DNA lounge in San Francisco.
Continue reading Drink Making Unit

What makes Blip tick?

blip - 05

After our Tabletop Pong project, someone suggested that we should check out the Tomy Blip, a handheld game dating to 1977.

And so we did. We snagged one on eBay, and here it is: “Blip, the digital game.”

Blip is unlike any other handheld that I’ve played, and (as you’ll see) it’s quite a piece of engineering. In what follows, we give it a test drive, and then take it apart and see what makes it tick.
Continue reading What makes Blip tick?

Roasting coffee at home: a DIY coffee bean cooler

Coffee Cooler - 03   Coffee Cooler - 01Coffee Cooler - 18   Coffee Cooler - 09

I never really set out with the goal of roasting my own coffee beans, it just kind of happened.

It started a month ago when we got a coffee grinder. Naturally we started getting whole bean coffee, which we used at a rate of about one pound per week. While I’m not (by any standards) a coffee connoisseur, I found myself noticing that the first pot of coffee out of the new can really was just betterthan the last pot of coffee out of the old can– meaning that the coffee quality does actually decline noticeably after just a week.

Now, that’s a minor annoyance, and hardly cause for action. But, two weekends ago I happened to be browsing in a home brewing store (needed champagne yeast– that’s another story) where there were sealed bags of green coffee beans just sitting there on the shelf. Fair trade, organic, and in a number of varieites. Only 5 bucks a pound. So what the heck, right?

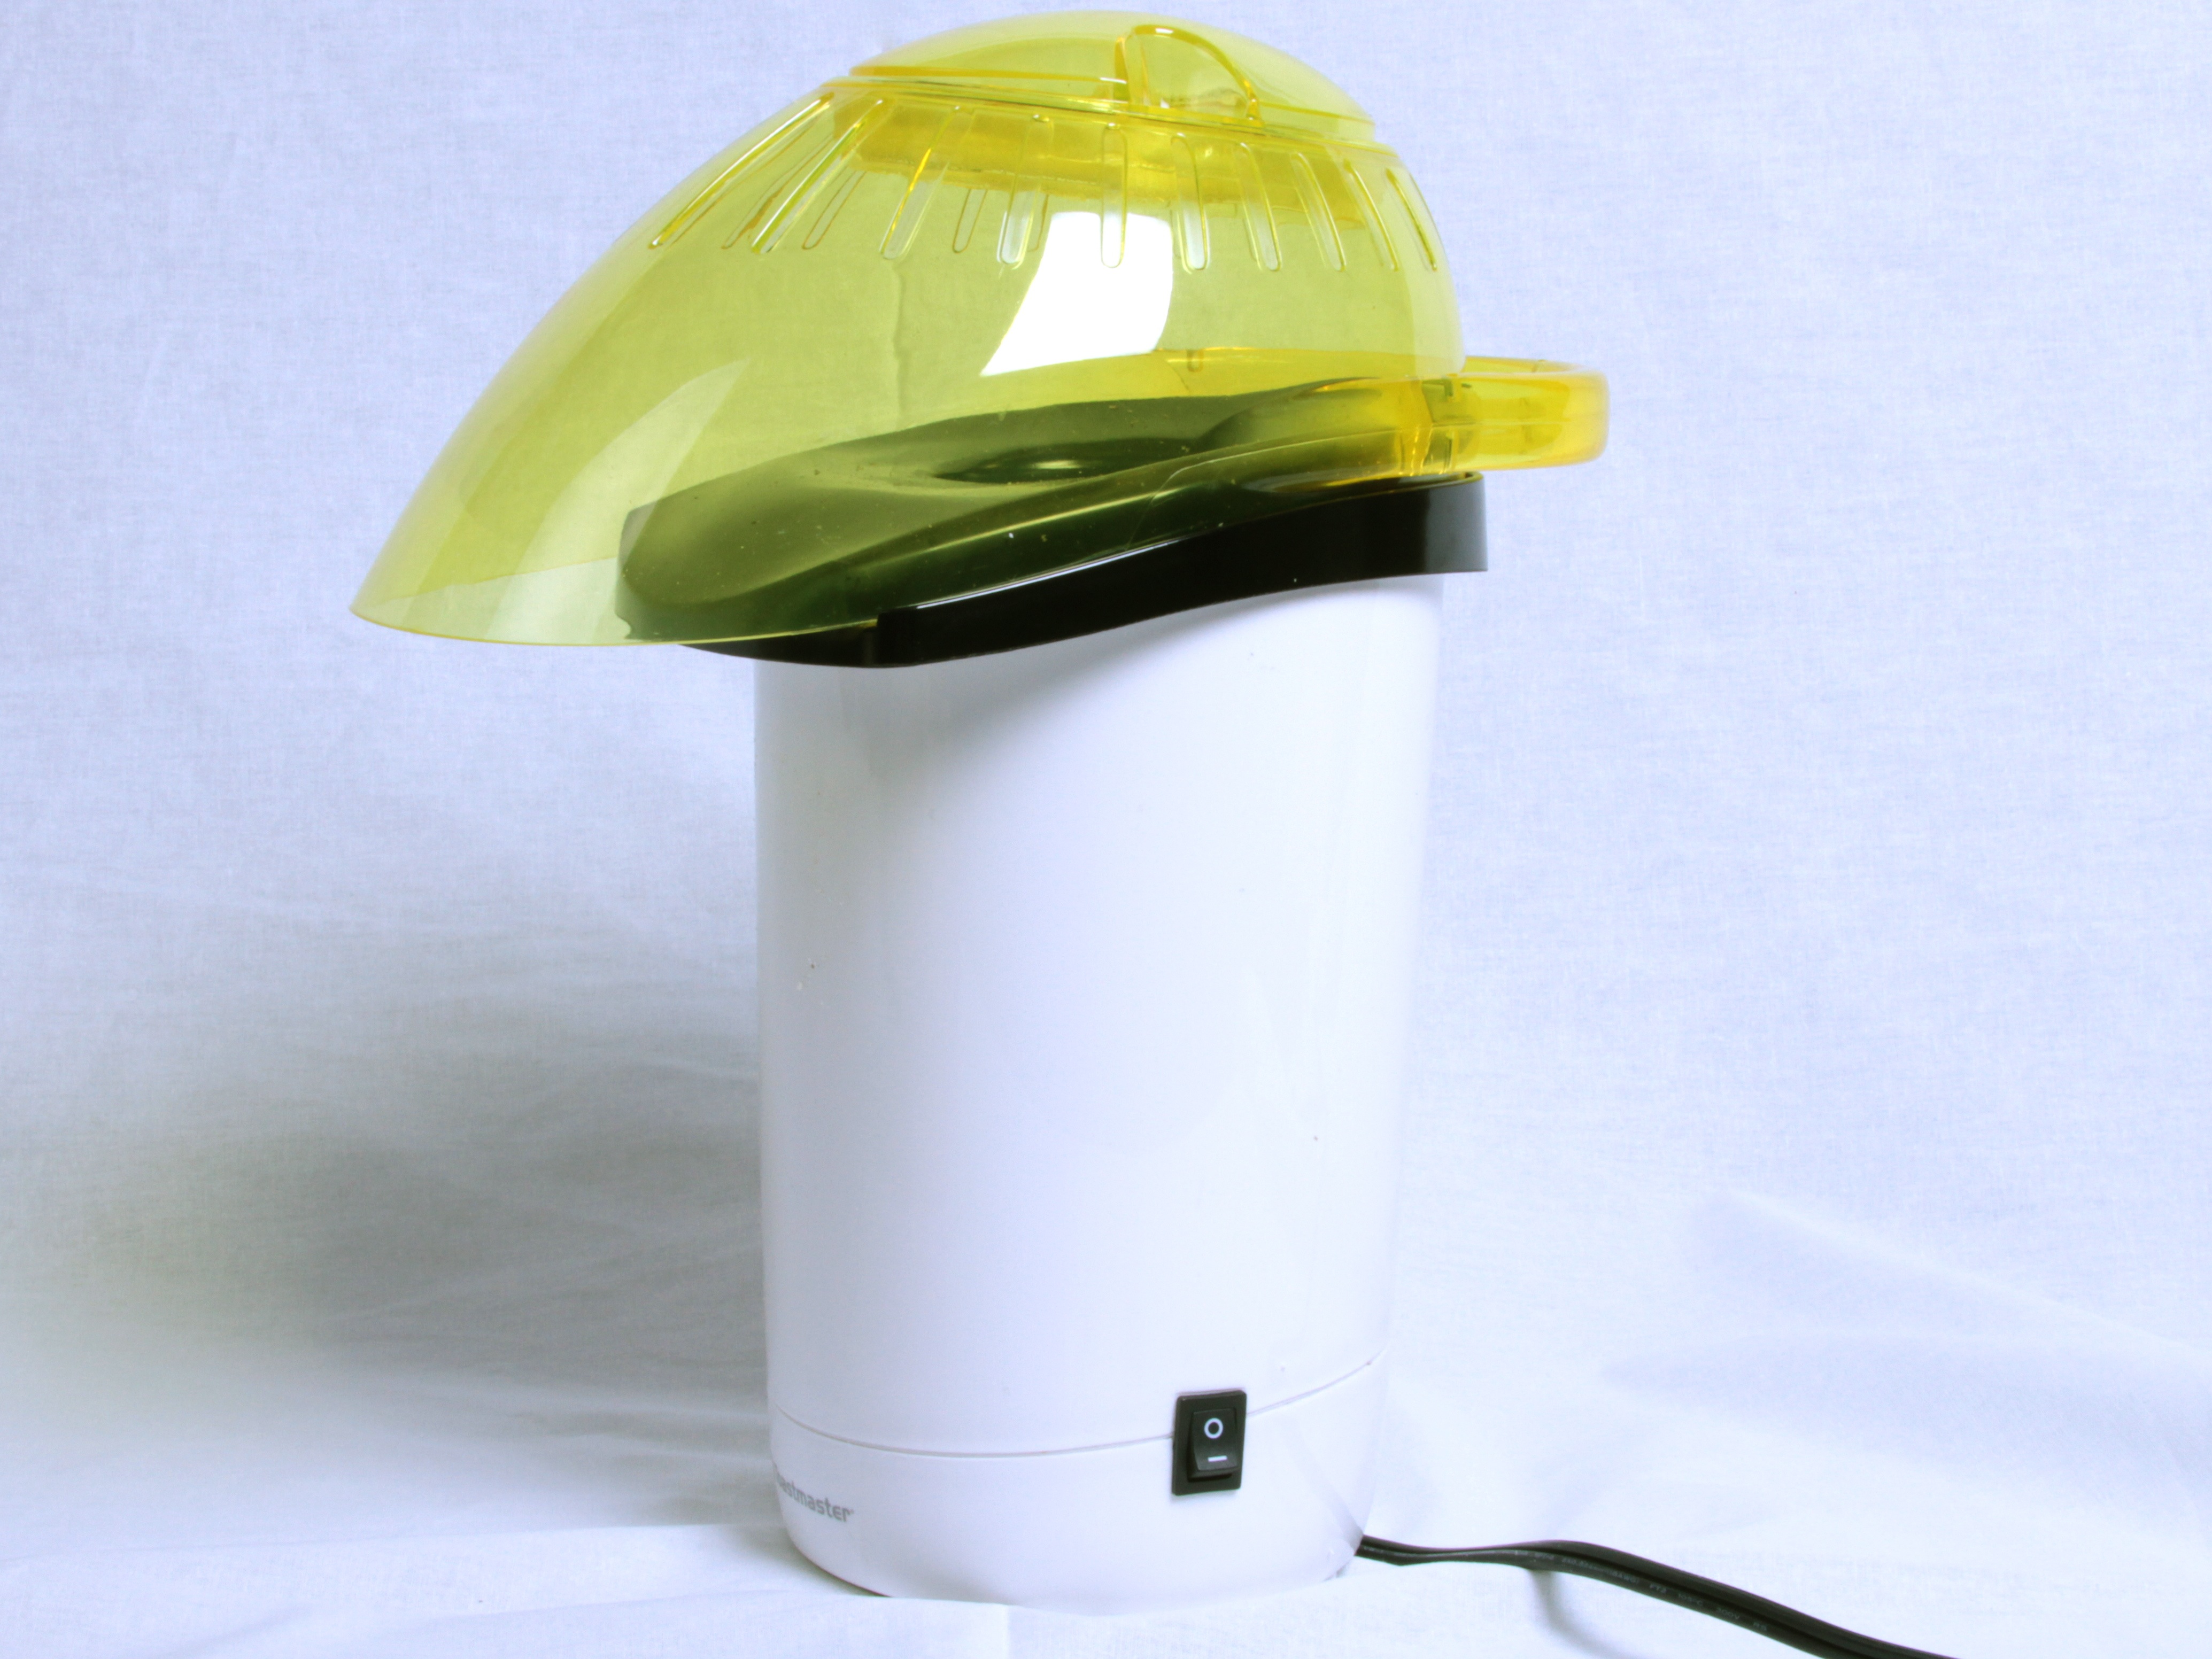
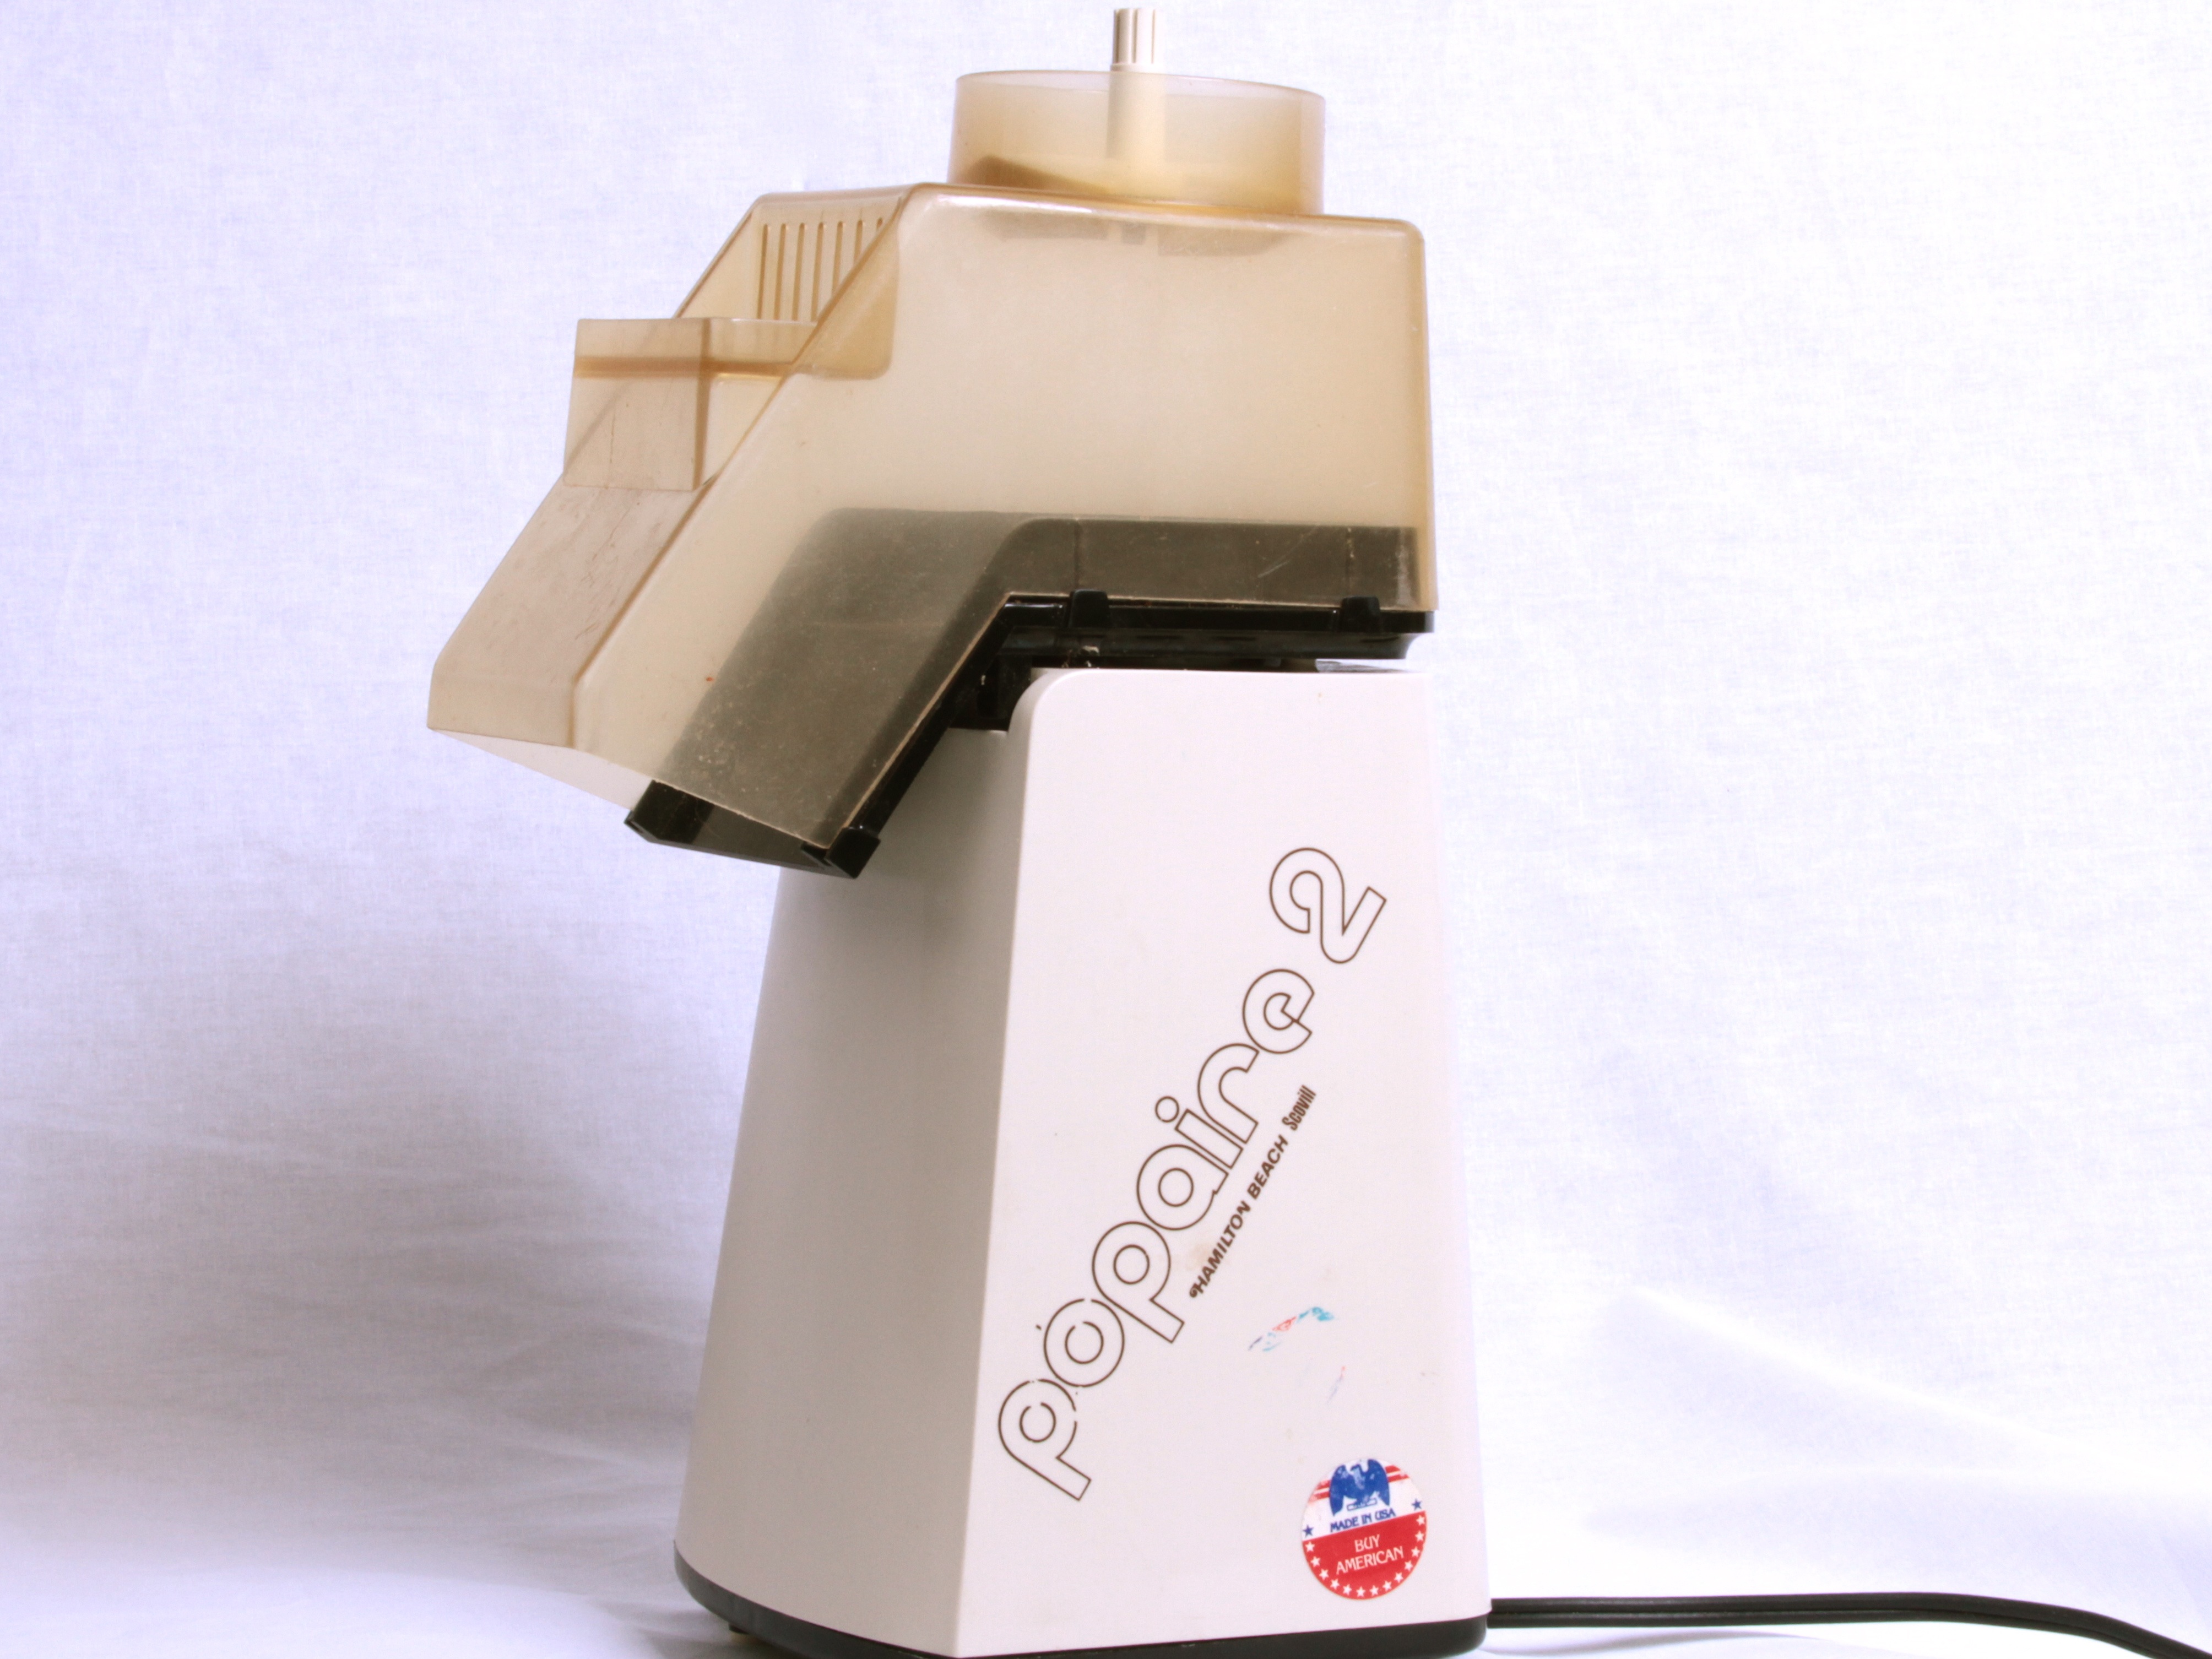
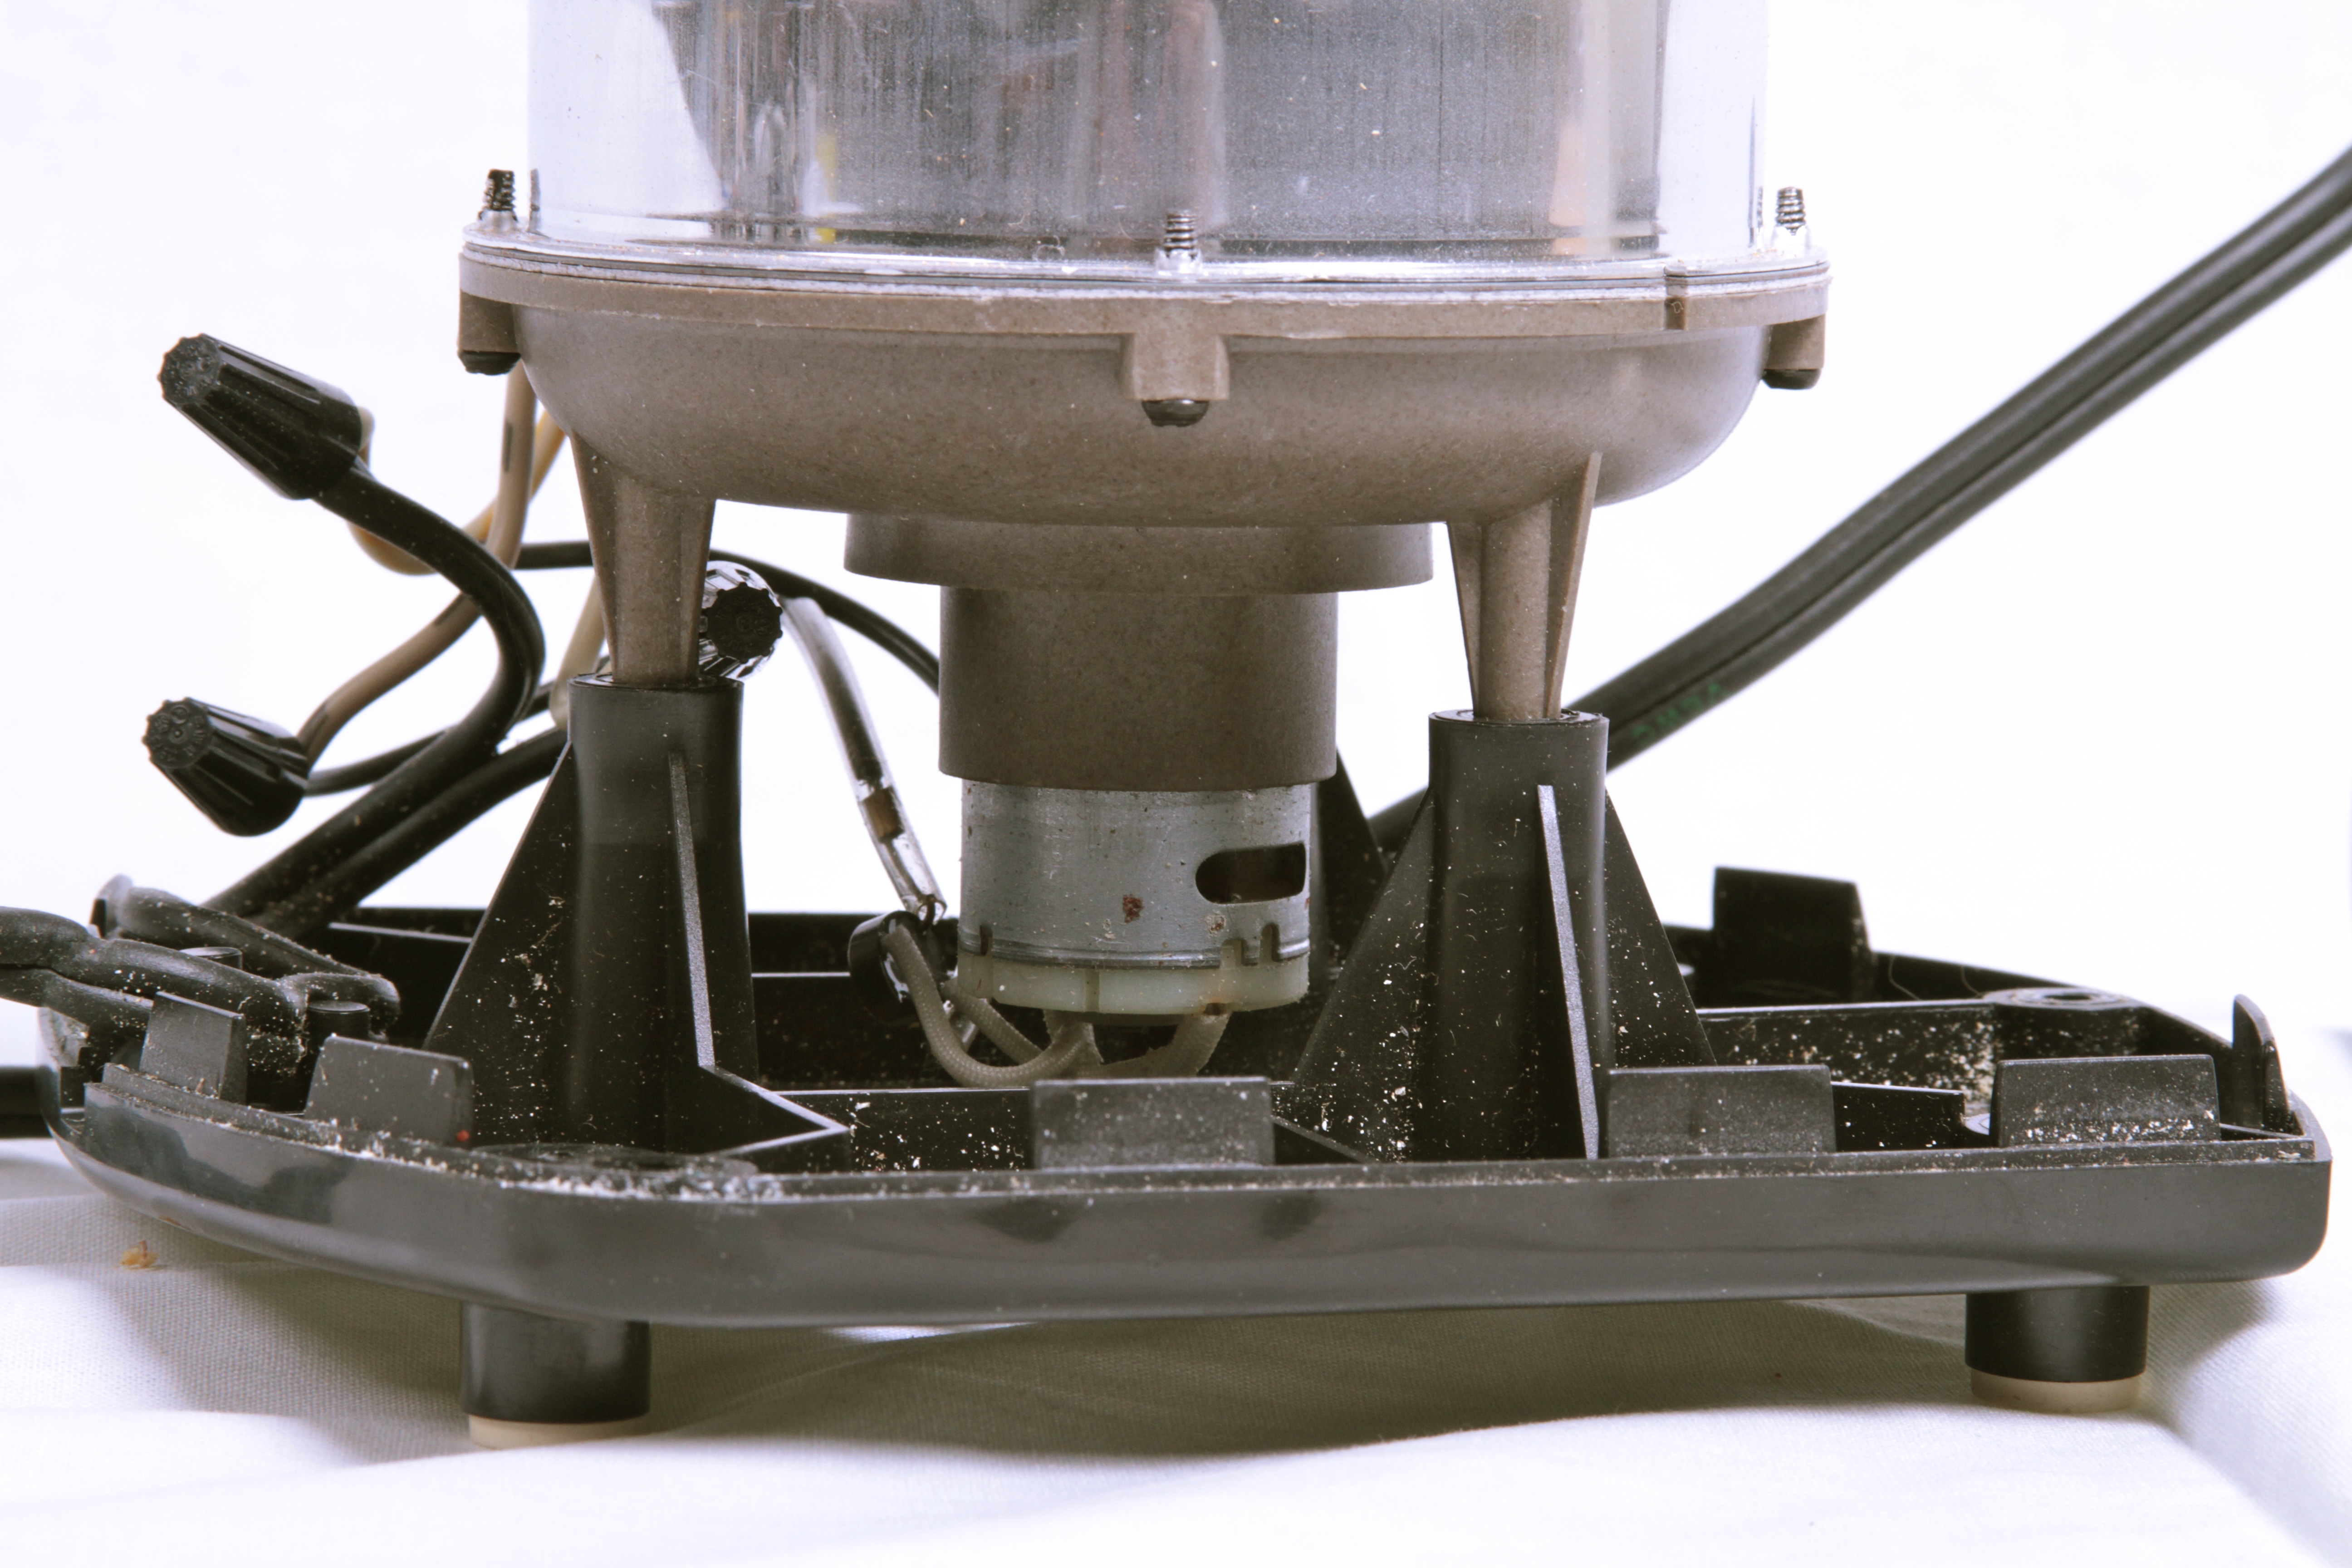
It turns out that there’s a common and cheap method of roasting coffee at home: using a regular air popcorn maker. You put the beans in the popper as though they were popcorn kernels, heat them for a few minutes until they’re properly roasted, and then cool them. (You can read the details of this process here, here, here, and here, amongst other places.) This is kind of neat because it doesn’t take much in the way of equipment and it roasts just enough for a big pot of coffee.

The weak point in the popper method is the cooling. The beans keep roasting as long as they are still hot, so many of the sites suggest pouring the beans back and forth between a couple of metal colanders until they cool down. We tried it, and while it did cool them faster than a cookie sheet, it was more tedious than fun. It also seemed a bit silly to use this nice semi-automatic roaster and then turn it over to a manual process for the next few minutes. So, here is our better (if somewhat obvious) solution: a dedicated coffee cooling tower, built from a second modified air popper. Continue reading Roasting coffee at home: a DIY coffee bean cooler