Category Archives: EMSL Projects

How to Make Japanese Papercraft Boxes

Business card display case

Kits for Japanese boxes like these are often given in Japan as gifts to foreign vistors. Here in the states, you can sometimes find the kits in stationery stores starting at about $6, for example here and here.

Alternately, you can make one yourself– no kit required. You can use paper, paperboard and tissue you probably already have on hand to make a box that will be the shape you want, not one of the three or four readily available designs. These instructions will take you through the steps of making a business card display box, but the techniques are general and can be used for any shape that you like.
Continue reading How to Make Japanese Papercraft Boxes

Nixie tube take-apart

1.94   1.94

Don’t you just love nixie tubes? They glow with a lovely neon color and have gorgeous stylized numbers– something you can’t get with a dot matrix– or even sixteen-segment LED or LCD display.

Recently, we disassembled a well-loved tube when there was a photogamer challenge to break something, and so we had a chance to peek inside and look at how they are made.

Warning: This article contains graphic images of the dissection of vintage electronics which may be disturbing to some viewers. (No working nixies were destroyed in the making of this article.)
Continue reading Nixie tube take-apart

Learn how to make cool things at TechShop

This spring, I’ll be teaching several classes on Saturday afternoons at TechShop. TechShop is a San Francisco Bay Area “open-access public workshop,” located just off of 101 in Menlo Park, where you can go use a wide range of tools to make things. They have full-size milling machines and lathes, welding and rapid-prototyping equipment, Lego, sewing machines, computers, and well… just look at this list of equipment. (Seriously.)

One of the things that TechShop does is hold classes on a variety of topics. These are inexpensive (typically ~$30) drop-in classes that anyone can take without a long-term commitment. Many of them are short “safety and basic usage” classes that teach you what a given machine can do– and how to do it without killing yourself. Other classes teach simple and specialized skills like soldering for kids, blacksmithing, or silk screen printing. I’ll be teaching three (or four, depending how you count) classes, each of which will be held on a Saturday afternoon at Techshop.

Technical Graphics with POV-Ray

The first class is called “Technical Graphics with POV-Ray,” and is a hands-on workshop where you’ll learn how to use POV-Ray, a free cross-platform raytracing program that lets you make killer 3D graphics and animations. You can see some example images that I’ve made in POV-Ray (including the TechShop logo above) here, and master works in the POV-Ray hall of fame here. This is a two-part workshop with part 1 on 3/31/07, 1-3 PM, and part II on 4/7/07, also 1-3 PM.

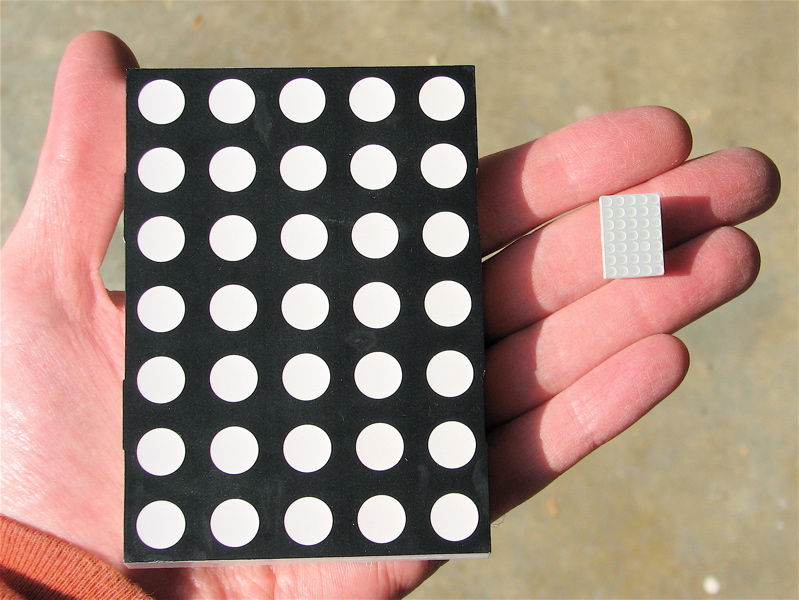
Make a custom LED Micro-Readerboard

On April 14, I’ll be teaching a little soldering class, suitable for anyone with a little bit of soldering experience (well, anyone whose age takes at least two digits to express in base-10 integers), where you can customize the phrases in and assemble an LED Micro-Readerboard, like the ones that we programmed to be ornaments a few months ago. But, since it’s not the holiday season, perhaps you want to make yours into an LED Micro-Readerboard Nametag instead!

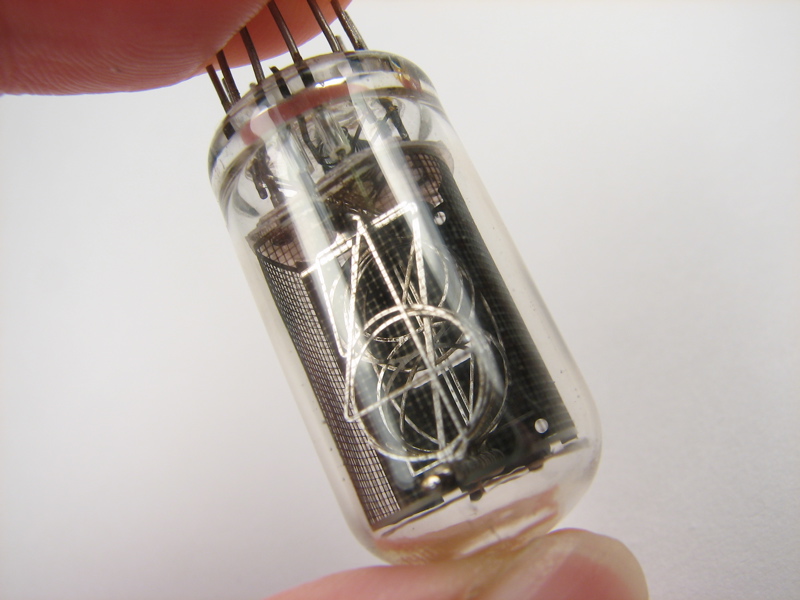
Choosing a microcontroller

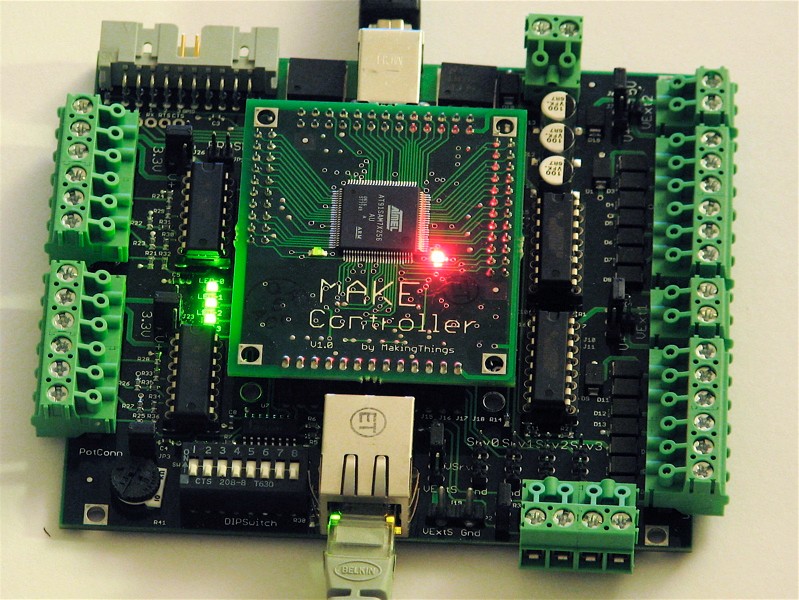
Finally, on April 21, I’ll be giving a large-format seminar that’s an introduction to microcontrollers, called Choosing a Microcontroller. This is designed to be an introduction to the capabilities and variety of single-chip computers, as well how to actually pick one for a given application. It’s easy to get overwhelmed looking at the variety of range of micros, from four-bit micros that have a 4-bit wide data path — and actually cost four bits— to AVRs and PICs, basic stamps and Arduinos, to 32-bit gorillas with names like ARM, Blackfin, and Coldfire. So, we’ll try and cut through the fog and help you figure out where to get started.

If you’ve heard people getting excited about or doing cool things with microcontrollers and want to learn more, this might be a great introduction to the field.

Sign up for these and other TechShop classes here. Sign up early, since space may be limited!

Also, if you have suggestions for other classes that you’d like to see taught by the Evil Mad Scientists, you can E-mail us or leave comments here.

Upgrade your MAKE Controller

Upgrade

As you can see, I’ve upgraded my MAKE Controller.

I’ve long been a fan of googly eyes and of putting them in places where people don’t expect to find them. In this particular case, it’s a clear improvement, and I expect to see them included as standard equipment in future revisions of the MAKE Controller.

Along the same lines, it’s been really great to see googly eyes getting some popular attention lately in such places as the Klutz book and the Amy Sedaris Craft Challenge, which produced some amazing results– check out the flickr pool.

[Related: LabVIEW routines for the MAKE Controller]

Sneak preview: The Evil Mad Scientist 3D Printer Project

X & Y Axes

Did you enjoy making sugar cube sculptures as a kid? Boy have we got a project for you.
Besides the projects that we post here each week, we’ve been working on some larger scale projects in the past year. One of these is almost done, and we’re ready to give you a sneak preview: It’s a home-built, DIY, CNC, 3D printer, that uses granulated sugar as the printing medium. This is still a work in progress, but we’re making rapid progress and we hope to show off the completed printer at the Bay Area Maker Faire in May.

(Update added 5/9/2007: we’ve got it working now.)

The printable volume is 24 x 13.5 x 9 inches, with programmed resolution of 1000 steps per axis. We expect effective pixel size to be in the range of 2-5 mm. In other words, it makes fairly large, but fairly low resolution, models out of sugar. Think of it as a way to make giant and amazing sugar cube sculptures!
Continue reading Sneak preview: The Evil Mad Scientist 3D Printer Project

Quick and Dirty D to A on the AVR: A timer tutorial

So you’ve got a microcontroller and you want to use it to control something analog. That’s a common task, and a number of good solutions exist, depending on exactly what you need to do.
Most microcontrollers do not include built-in digital-to-analog conversion (DAC) hardware, and external converters cost money. There is, however, a quick, easy, and cheap little trick of a solution that can be played by averaging a digital output.
This is a short tutorial on making useful (but crude) analog output signals with a low-cost microcontroller. The analog signals will be made by averaging a digital pulse width modulation (PWM) output from one of the counter/timer units in the microcontroller, and do not require any dedicated digital to analog conversion hardware. We will first introduce some aspects of the counter/timer and discuss how it can be used to generate the pulse width modulation signal. After that, we’ll implement the scheme on an AVR microcontroller and use it to make a simple and slow little function generator circuit.

Continue reading Quick and Dirty D to A on the AVR: A timer tutorial

LED Matrix Displays

Big and little LED matrix displays

Mike Kash, my physics professor at Lake Forest College, once said that he liked matrices “so much that I sleep on one.” The two
5×7 LED matrix displays shown here have pointy plastic edges and are probably not very comfortable to sleep on.

These displays are both alike in character, with the same potential to display thirty five beautiful and well-resolved pixels of bitmappy goodness. That’s just the thing for the new video standard that I’m proposing: Widescreen Ultra Low Defintion, or WULD for short. (HDTV is for wimps. 128-bit video may spark a format war with WULD, but widescreen it is not.)

It is fun to contrast the remarkably different sizes of these two displays. The one on the left is from a large readerboard, and is four inches tall with 10 mm green LEDs. The dots are almost as big as the entire miniature version, shown on the right with its 3 mm red LEDs. More common than either of these sizes are the two-inch 5×7 displays that populate the readerboards sold at office supply stores.

LabVIEW routines for the MAKE Controller

MakeController

As evidenced by a growing collection of projects, the MAKE Controller has great potential as a hardware platform enabling computers to really do things.

We won a MAKE Controller for our set of Halloween projects this year, and we’re just starting to play around with it. Having spent some pondering how best to communicate with the board, it’s clear that one of the barriers to more widespread use of this and other embedded systems is the lack, or perceived lack at least, of user-friendly software for programming and communication.

A number of open-source software packages, such as processing and Ruby, can communicate with the MAKE Controller using its OSC interface. However, there has been a noticeable absence of a suitable interface to LabVIEW, a program that is commonly used for interfacing to other similar types of hardware.

So, we wrote one. It’s a simple LabVIEW “vi” routine for issuing (most) simple commands and queries to the MAKE controller. We’ve also included some example routines to help you get your blinky lights going a few minutes sooner.
Continue reading LabVIEW routines for the MAKE Controller