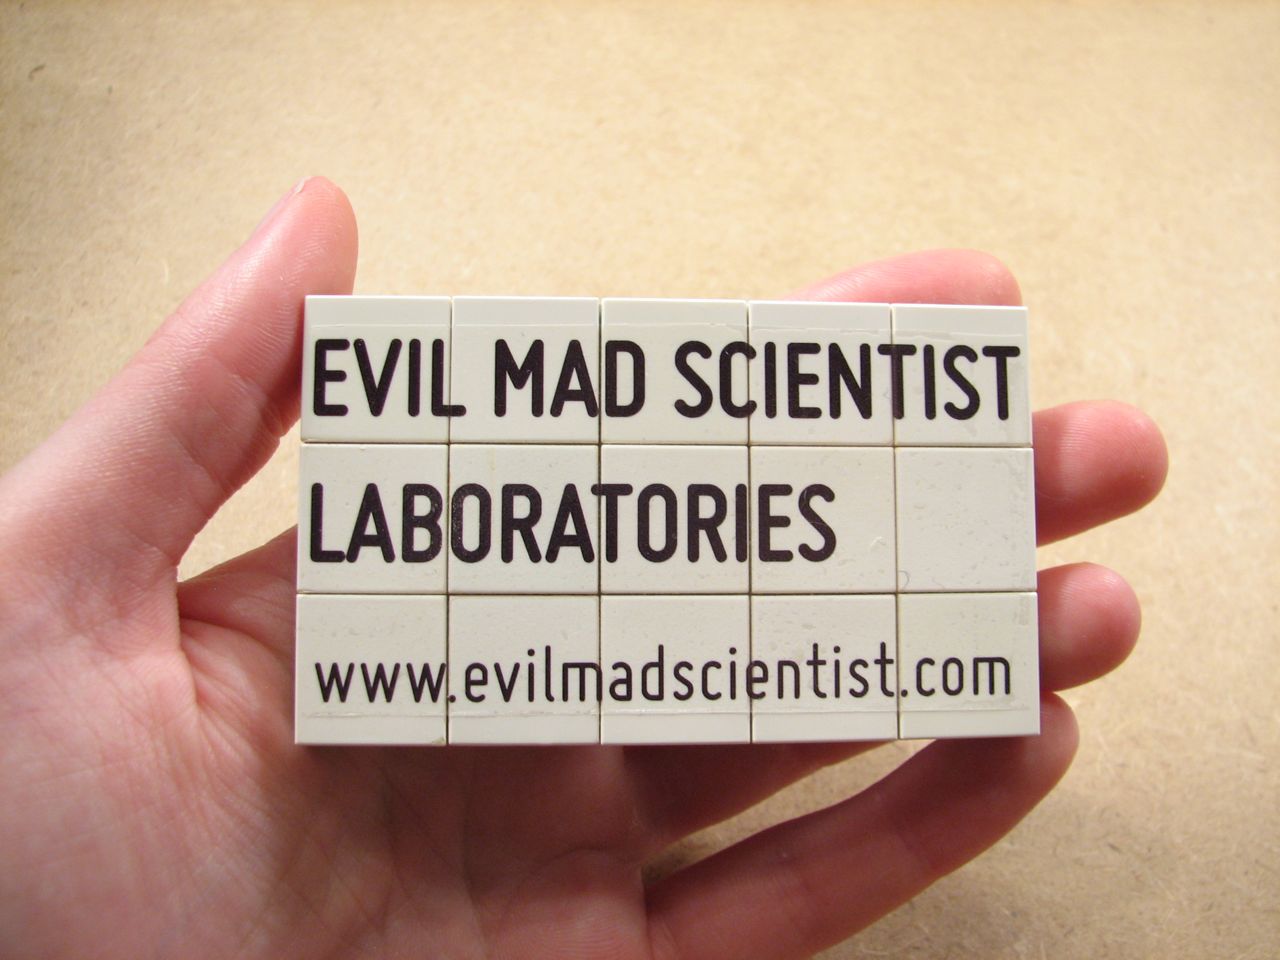
Here we show you how to get started with water slide decals with a very silly (and rather expensive) Lego business card for those of us who don’t have mini-fig business cards.


Here we show you how to get started with water slide decals with a very silly (and rather expensive) Lego business card for those of us who don’t have mini-fig business cards.
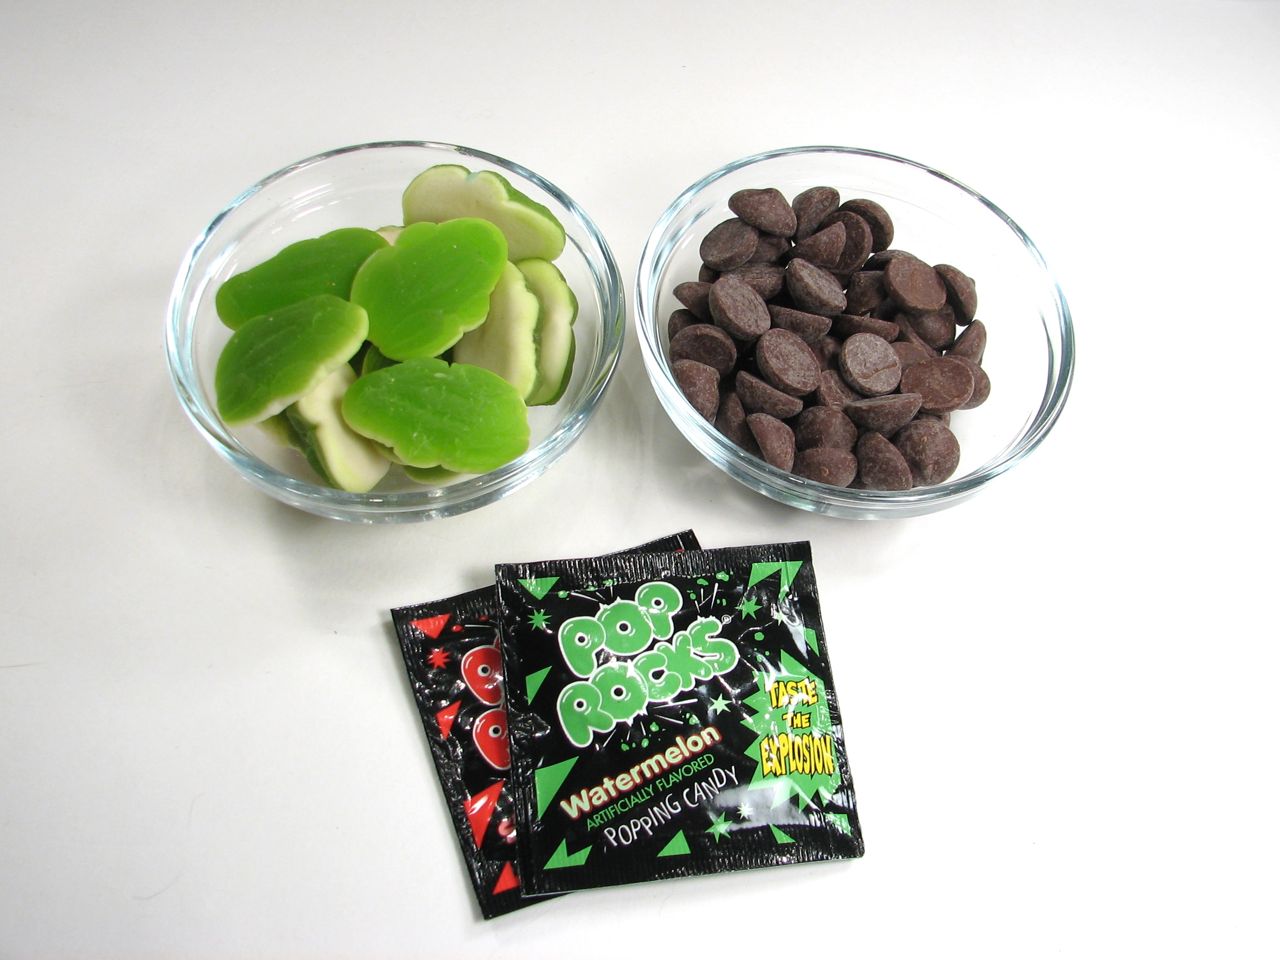
Some time ago we came across a subtle magnetic nail polish. It had fine magnetic dust in it, and could record the local magnetic field profile at the time that the polish dried.
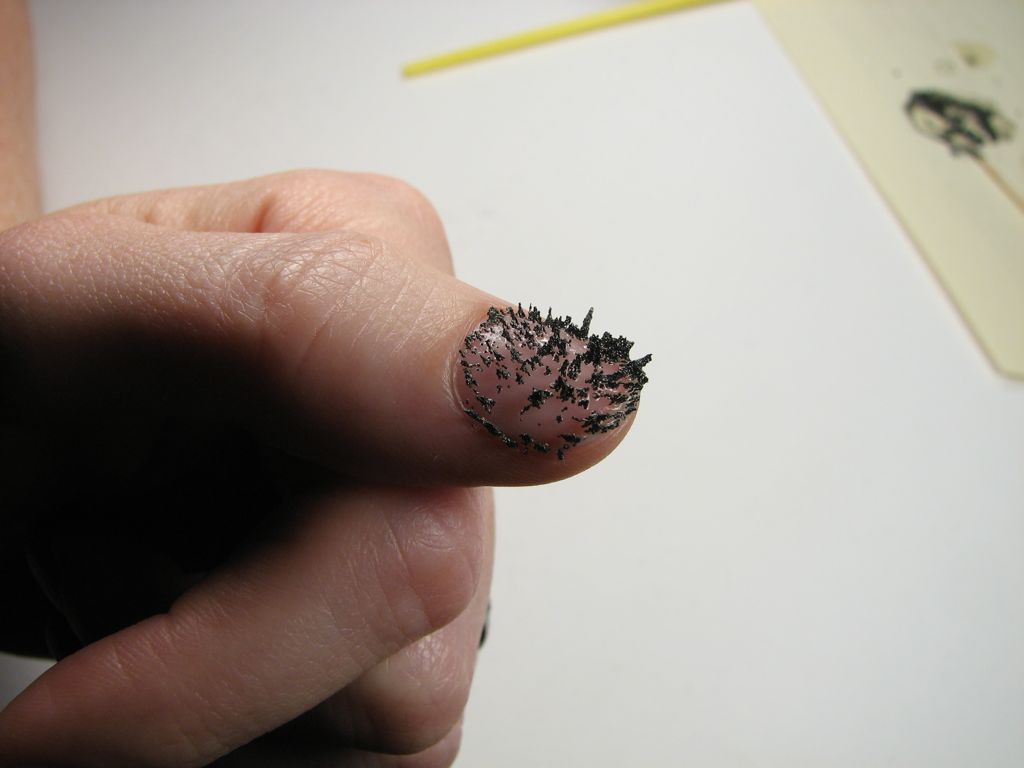
But hey, why can’t you do this with full-on iron filings? So, for our own bold and impractical take on this concept, we tried mixing genuine iron filings with nail polish (clear, in this case). Mix well, paint on, hold finger over (large) magnet while it dries. Don’t even think about trying to fit those spiky fingertips into gloves.
Results? So-so. The particles aligned with the field and solidified, but have more clumping than we’d like to see.
Maybe slightly finer particles would have been better. Much better would be if we found a good way to work with ferrofluid that could be hardened, or perhaps a version of magnetic viewing film that could be painted onto surfaces. Or maybe, if our version above were redone with RTV silicone, the particles could wiggle around in the presence of an external field.
We leave these important questions to higher minds than our own.
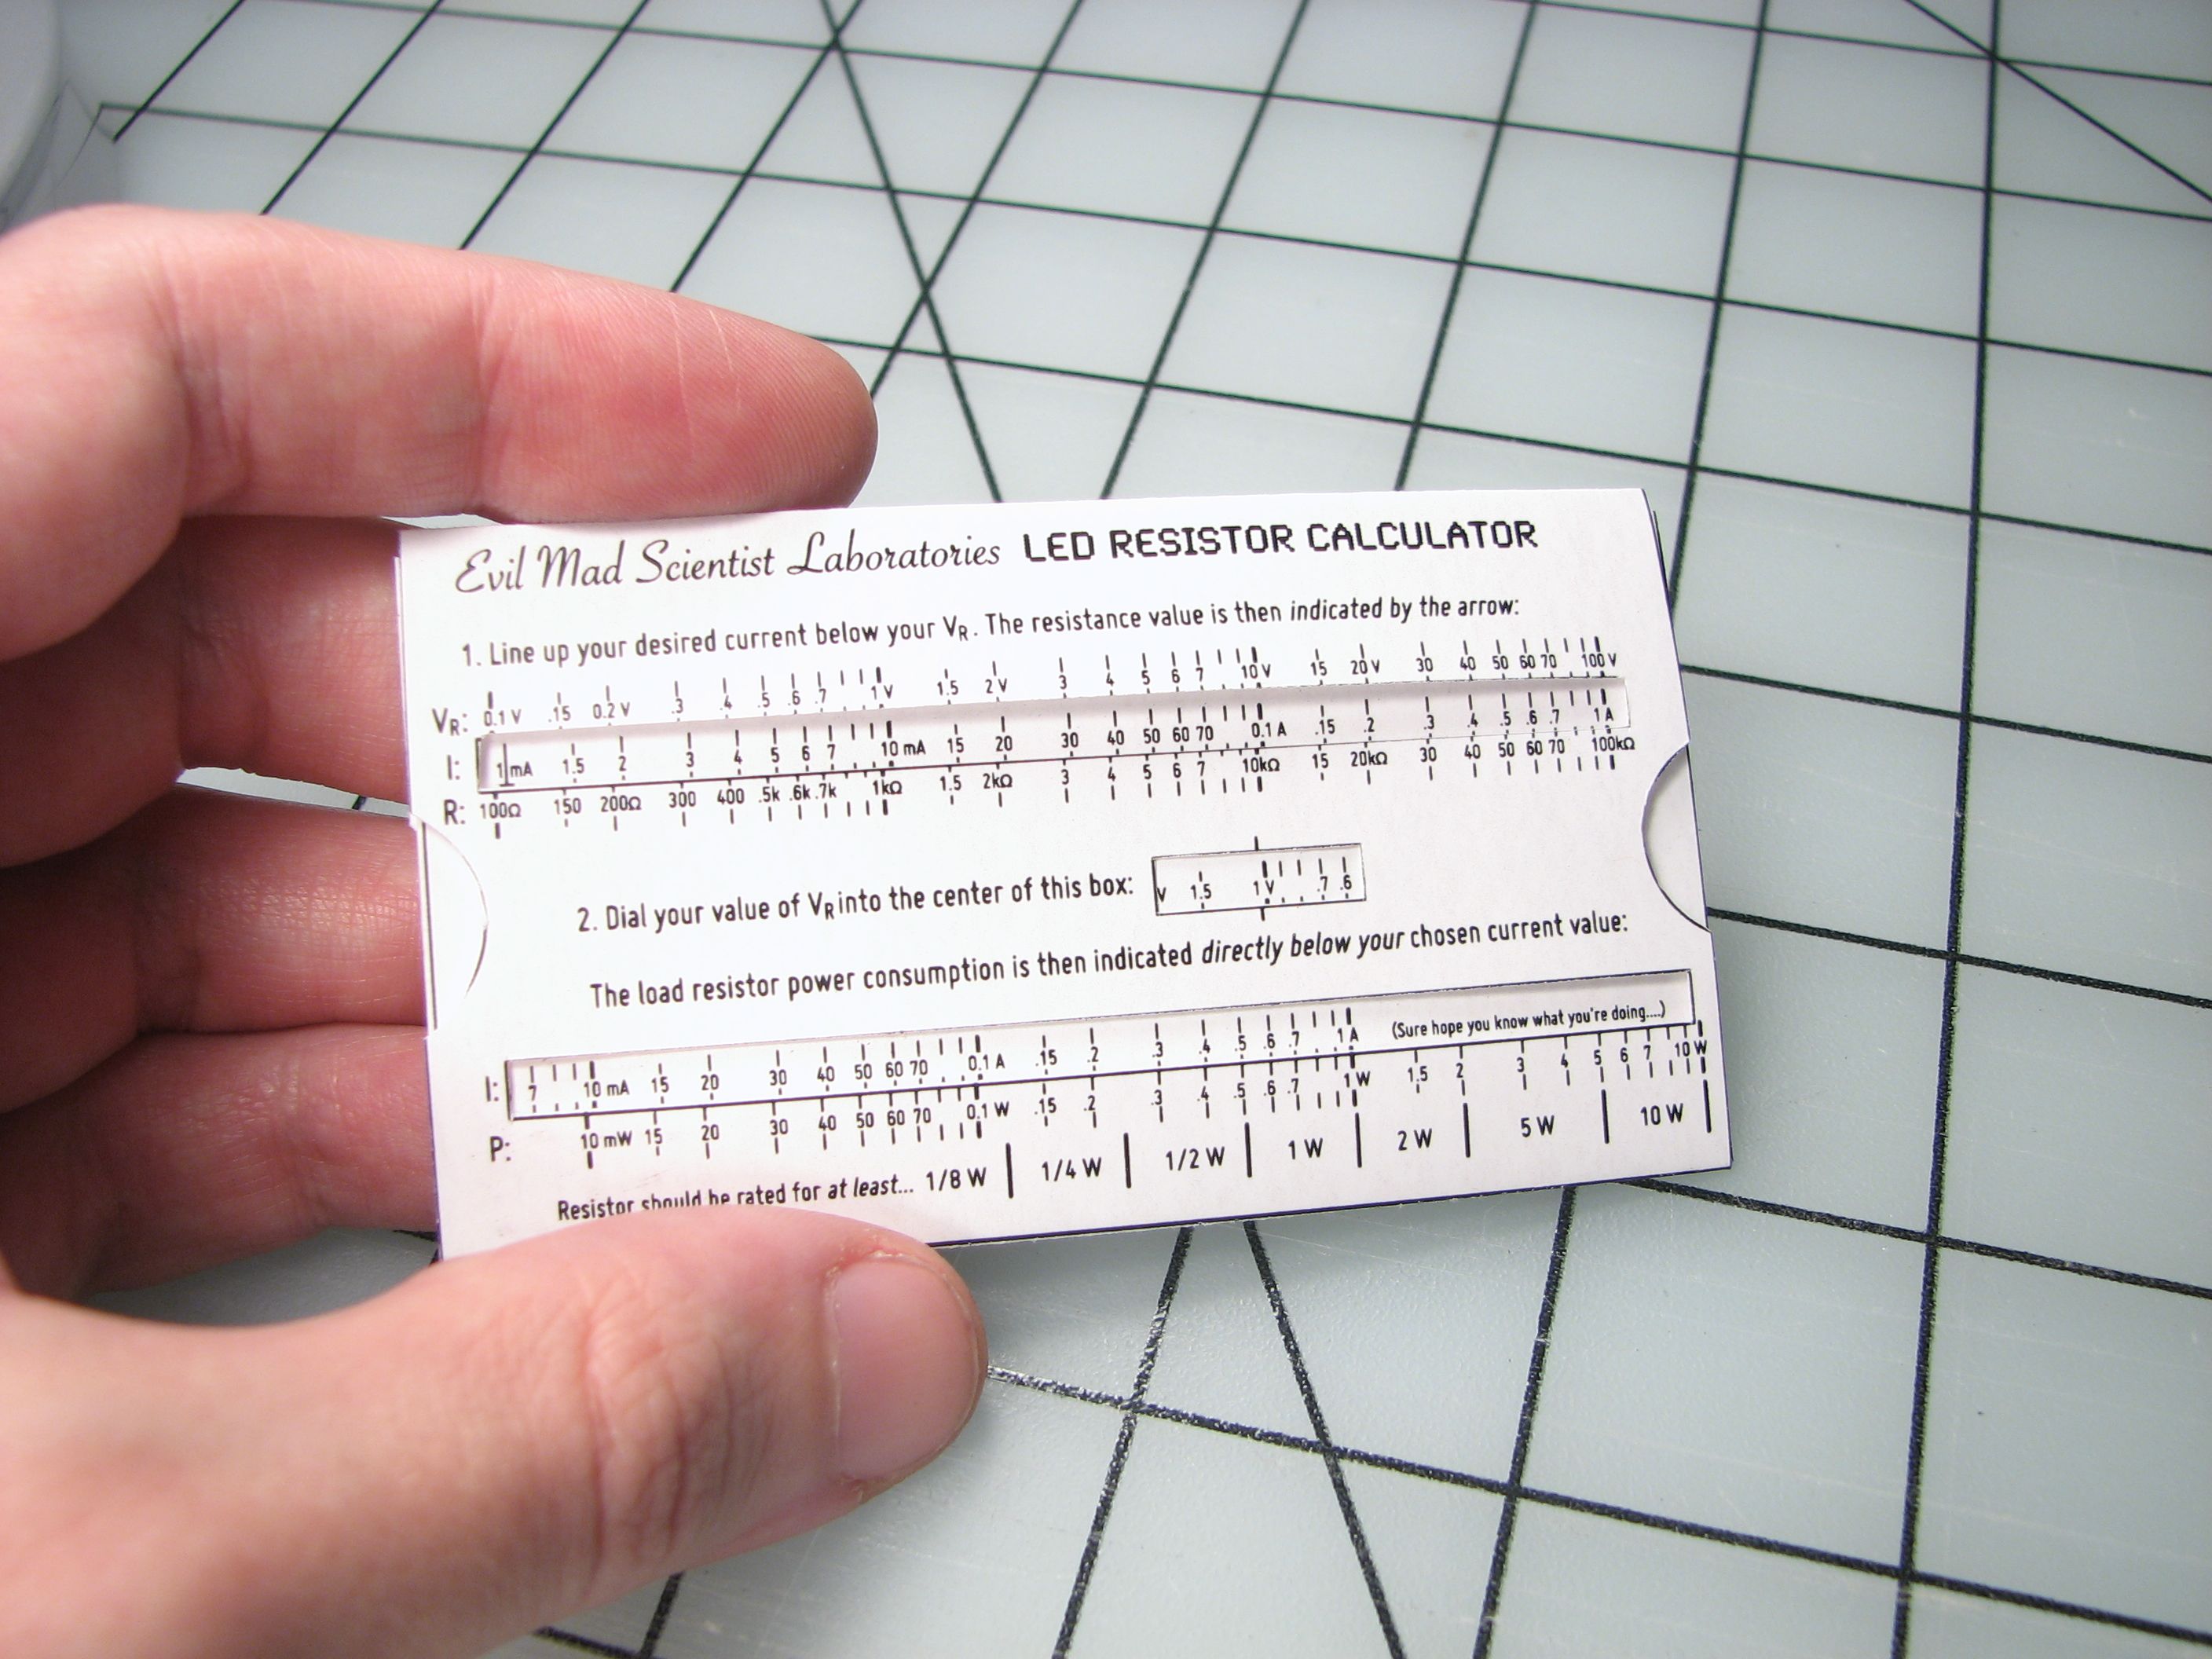
It’s like one of those online “LED resistance calculator” thingies, except that you can fold it up and put it in your wallet.
Continue reading Wallet-size LED Resistance Calculator
We were recently contacted by a mathematics instructor, who suggested that it might be interesting to have a program like Snowflake, but with the option of picking and choosing different symmetry properties.
Natural snowflakes have (approximate) sixfold rotation symmetry plus reflection symmetry. However, a lot of things that you can draw by hand have absolutely no resemblance to snowflakes at all– and it is somewhat fun to explicitly play with the rules.
Our new program, SymmetriSketch, sticks to the same basic design principles as Snowflake: it’s cross platform, open source, and able to export a true vector drawing with a closed path. However, SymmetriSketch is a much more flexible program that allows you to play with different symmetries, and create all kinds of different things that would never be mistaken for frozen water.
Here’s what it looks like when the program first opens:
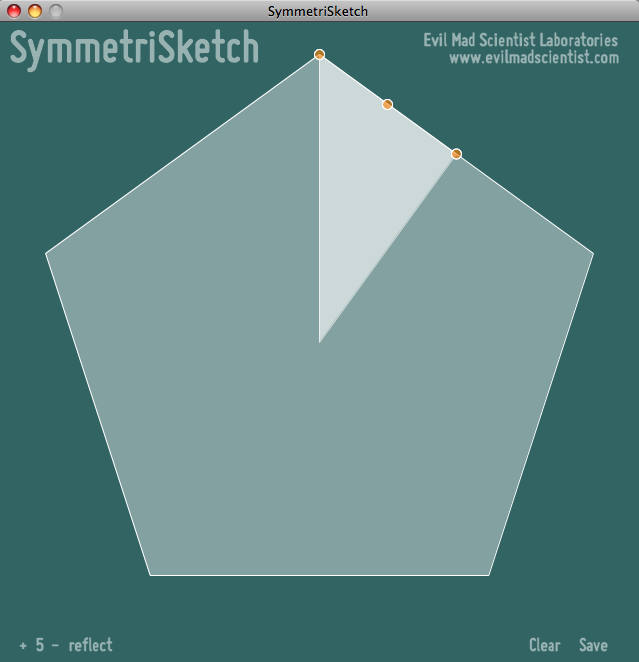
The initial shape is an overall pentagon– an object with five-fold rotation symmetry and reflection symmetry. The figure is generated by taking the editable slice– highlighted here and when you start the program– and reflecting and rotating it to complete the full shape that you see.
Within the editable slice, you can also see three highlighted control points that can be dragged around. There is control point at every vertex and at the midpoint of every line segment between two vertices. If you drag a control point that is the midpoint of a line segment, it turns that control point into a new vertex. That new vertex also gets new control points at the midpoints to its neighbors.
Every vertex point can be moved to any location on the screen with the exception of the vertex that is initially at the top point of the pentagon– that vertex is constrained to move along the vertical axis– the axis of reflection symmetry.

The controls are purposefully kept simple. There are two symmetry controls– for the order of rotational symmetry and to toggle reflection– which you can change in the lower left hand corner of the screen.
The number, with its +/- controls, refers to the order of discrete rotational symmetry. If the number shown is n, then n-fold rotational symmetry is applied, which means that the displayed object is unchanged when rotated by 360 degrees/n. In the screenshot above, 9-fold rotational symmetry is applied.
Orders from 1 to 99 are allowed– note that 1-fold rotational symmetry is “no symmetry at all” since it requires 360/1 = 360 degrees of rotation to return to the original shape.
The second control is for reflection symmetry, and toggles between “reflect” or “rot. only,” where it either does, or does not apply a mirror reflection across the vertical axis.
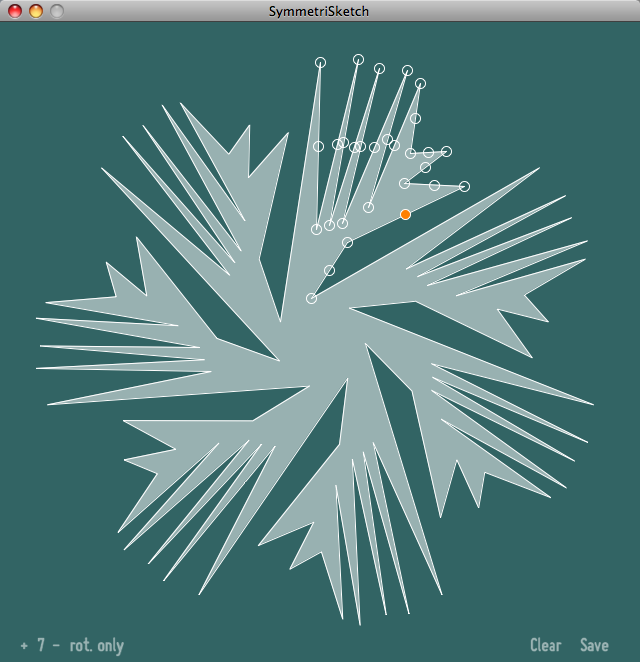
With reflection symmetry turned off, the figure is drawn with pure rotational symmetry. (This screenshot was taken while editing the shape, and you can see control points, indicated by little circles.)
Continue reading SymmetriSketch: A simple app for playing with symmetry

Photo by Brittany Turner
Brittany recently let us know that she had made skirt guards for her bike using my instructable. She used floral wire instead of cable ties since that’s what she had on hand. The guard following the shape of the rack is a nice touch, too.
We always love hearing about your projects and seeing your photos in the flickr auxiliary! Keep ’em coming!

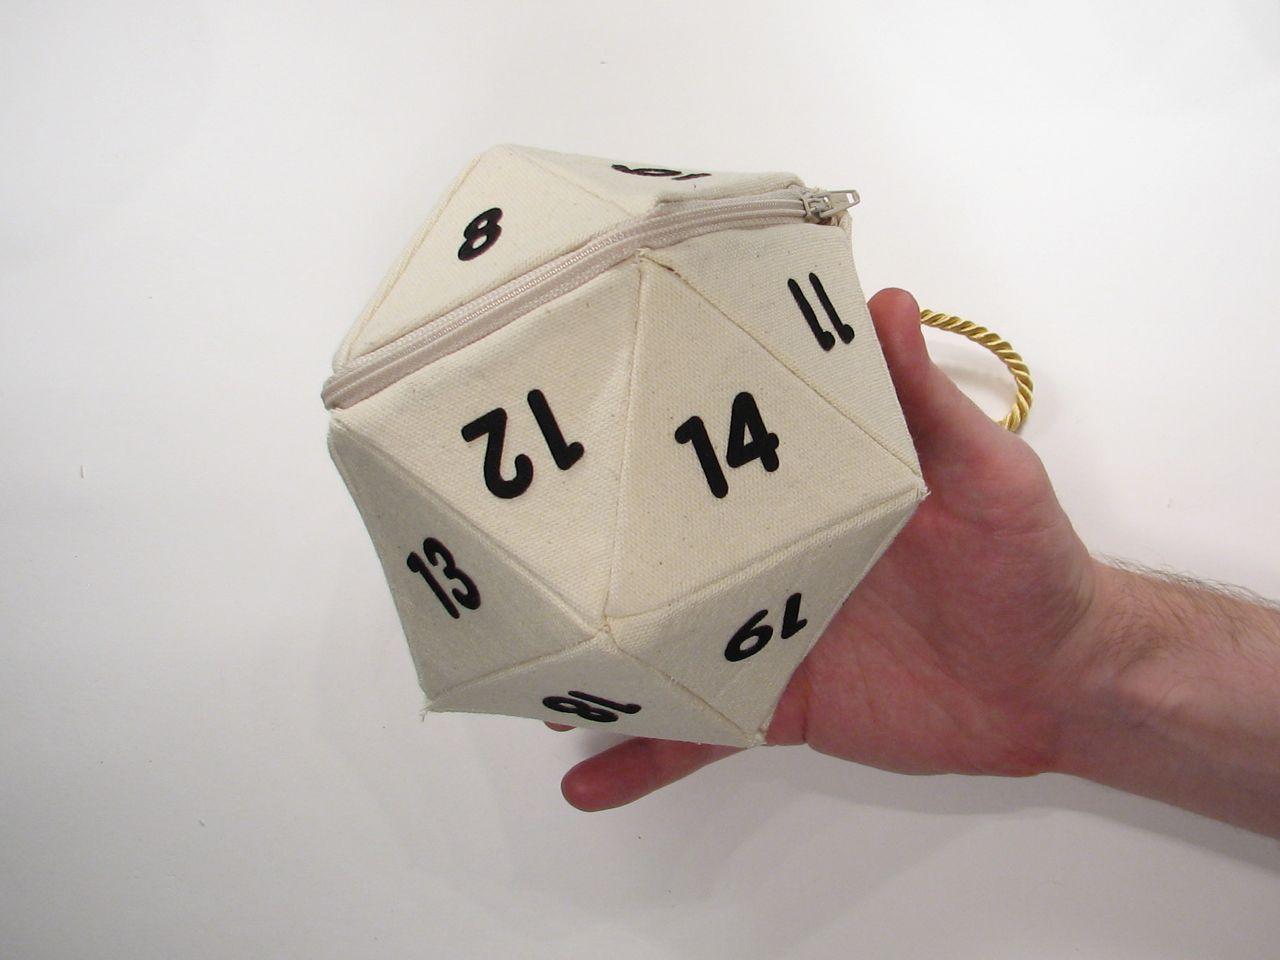
The retro-dork-chic-DIY D12 handbag is back and better than ever– We’ve added a zipper, a handle cord, panel stiffeners and beautiful numbers.

Comparing this side by side to the original, it looks as though the original is getting floppier. That’s partly age, and partly just how much nicer the new model is. The new version is easier to assemble and holds its shape much better, thanks to internal pentagonal stiffeners that are fused to each face. The neat and tidy zipper closure is much neater and more reliable than the original magnetic enclosure.
And… those athletic style numbers (which are the best that our local craft stores carry) just had to go! We used a neat font called BPreplay to get simple rounded numbers that look like they could have been carved into a die. But we carved them with a laser: They’re made from cotton-poly blend which fuses as it is laser cut so that it the edges of the numbers won’t fray. Finally, the new handle cord is an obvious improvement over the simple fabric strip on the first verison.
And, by popular demand, we’ve designed a d20 as well:
The d20 has the same basic design as the new d12– complete with triangular internal stiffener panels to give it the right shape.
Today we’re releasing both of these new designs along with their patterns and assembly instructions. The d12 project is documented here and the d20 project is documented here. We’re also making kit versions of both projects available here.
As always, if you are inspired to make something by our projects, we’d love to see the results in the Evil Mad Scientist flickr Auxiliary.
By popular request following the d12 bag, here it is: the d20 bag! Now you can make your very own icosahedron.
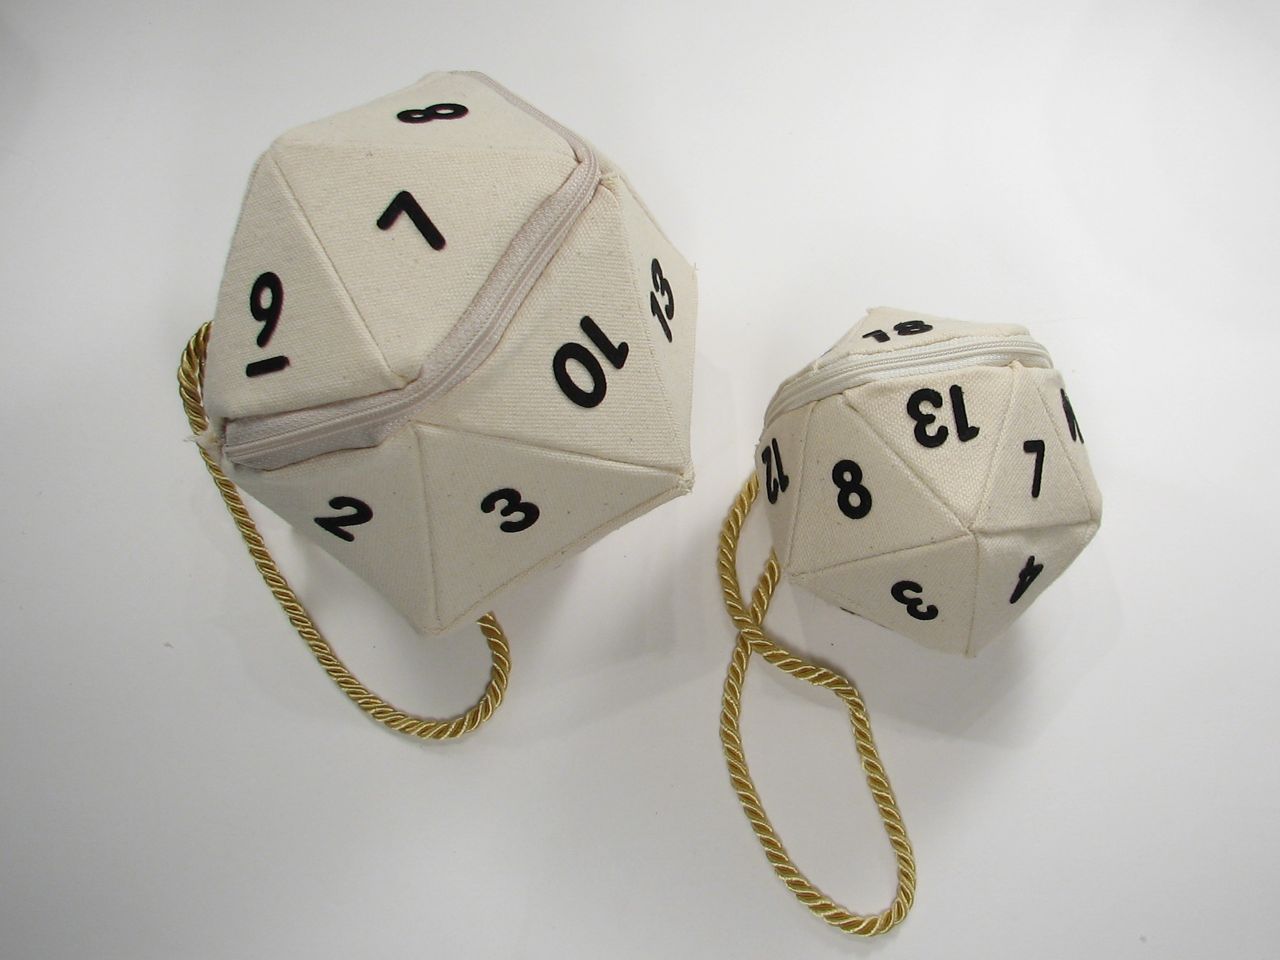
We’re making a pattern and kit for this project available in two sizes: darling and practical. The tiny one is just over three inches tall, and holds little things for you. The larger size is about five inches tall and will fit your phone, wallet and keys along with your dice.
This is the set of build instructions for the updated version of our original retro-dork-chic-DIY D12 handbag.
This accompanies an article about the new version, and the d20 bag that we designed as well.